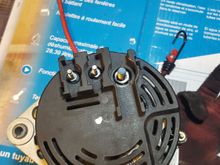
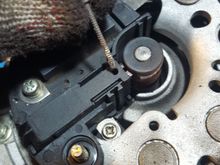
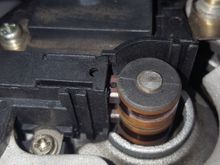
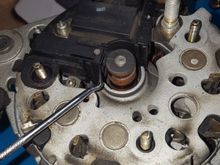
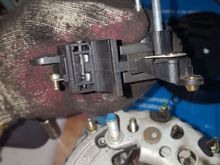
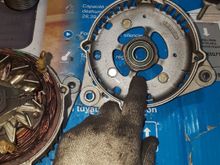
Once you have the cover off you can access the bearing. There is one in the front also, but I could tell from feel that this one needed replacing. I just pressed it out with a brass drift , and installed a new one that I picked up at a local alternator and starter repair shop. It is just a sealed bearing, I could have probably picked one up at Home Depot or some place like that.