
Driveshaft rebuild done!


Thread Starter
|
Rock Crawling
Joined: Apr 2010
Posts: 342
Likes: 4
From: North Jersey
If I ever tell you that I'm going to do this again, please shoot me. Thanks.
I was going to do the rear shaft, but that might have to wait while my hands recover.
All told I spent:
So, without the beer, I spent about $100 in parts and $100 held for a rental deposit (even if refunded, it's still $100 not in my pocket during the process.) Add to that, about 12 hours of my time (the press I rented was slightly bent/misaligned and threads deformed/tight, so it made pressing the joints out a living hell since the other side blocked the caps from coming out) and I would gladly pay someone an additional $100 to $200 more to have them do it.
With that said, I've never felt so proud from working on my car as I have today. I'll mount it tonight and see if it needs to be dropped again for balancing.
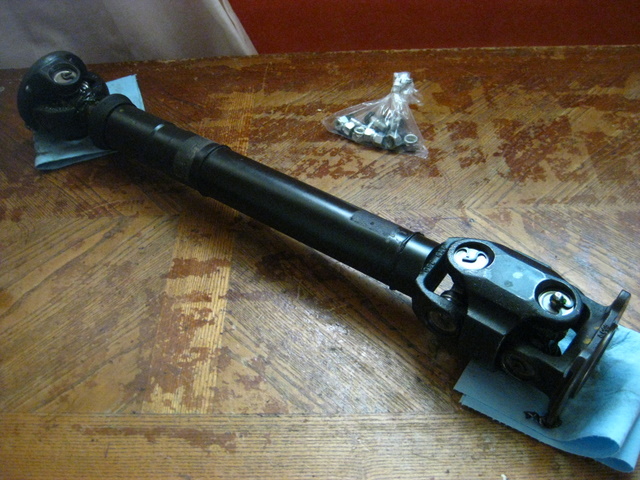
Here are some pics:
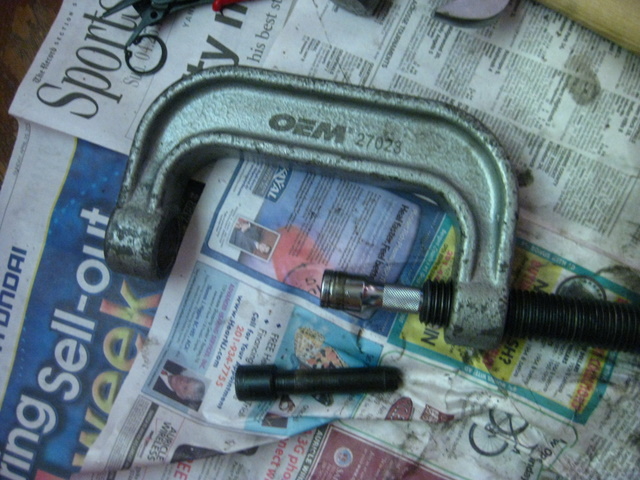
The misaligned and tight press (since I couldn't get it to close that far, I put a 1/2" drive ratchet extension into it. That closed the gap.)
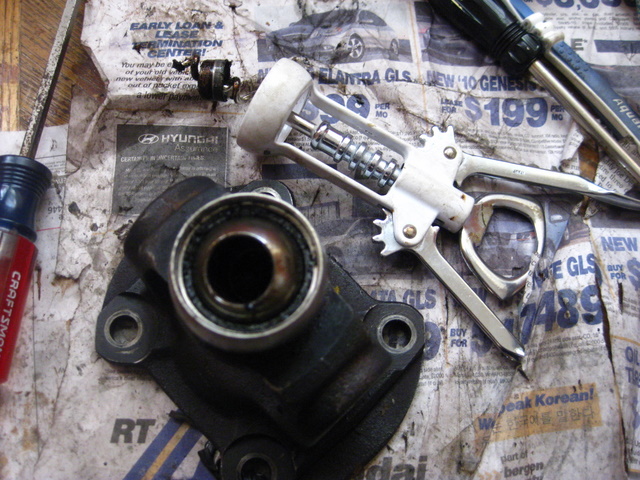
The old joint with cap removed. None were dry, but looked like only mechanical grease and some bearings had burn marks

I didn't have a wire brush so I just used some WD-40 and a regular toothbrush to clean up the yokes' eyes/holes

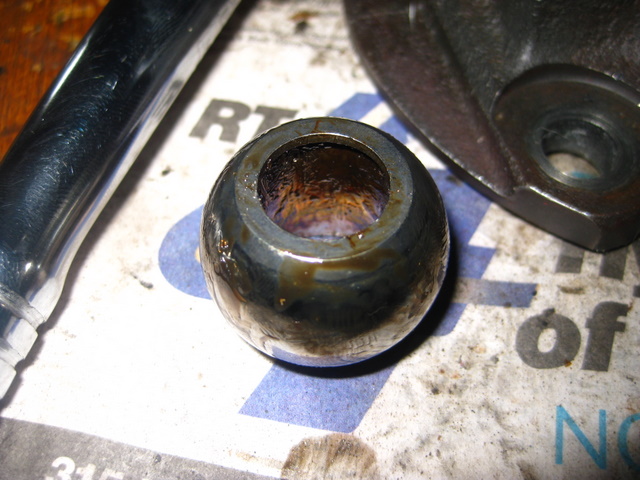
Used a corkscrew to remove the washer inside the ball kit
I was curious - yet doubtful - to see if it could also pull the ball out with it = Corkscrew FAIL.

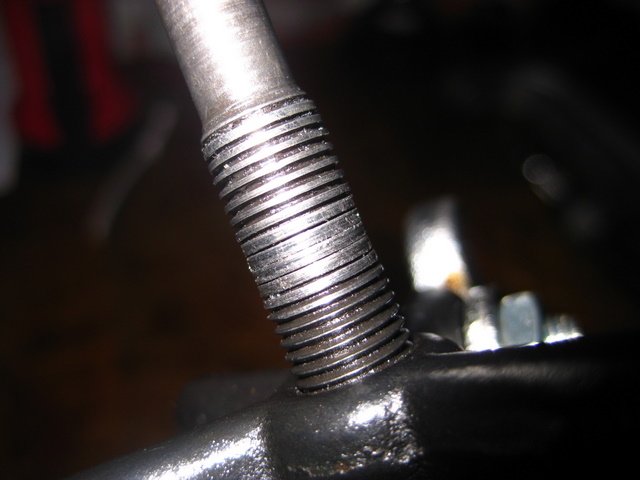
Since my local Autozone's slide hammer was missing the hooks, I had to improvise with a 2-ton puller and the sleeves/spacers that came with the joint press...

Success! I felt like a genius.

Celebration was short-lived as I realized it only pulled the ball and not the casing
Re-arranged the puller legs again for the casing...

Boom! I was on a roll (no pun intended)

But not without some damage to the puller threads (maybe I got lucky)
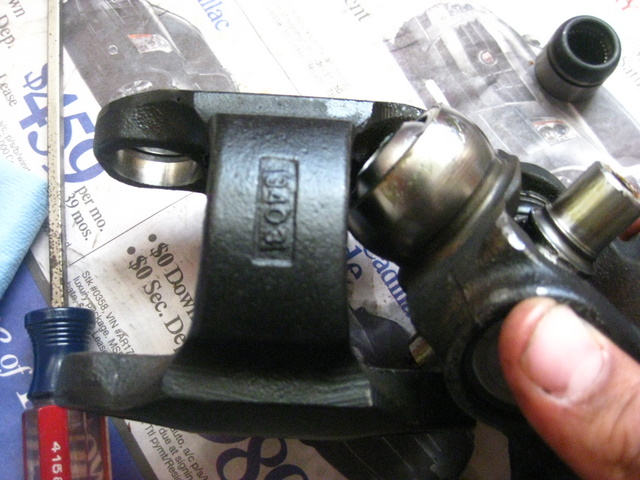
This joint was cake to put back together and grease (as was the spline as well)

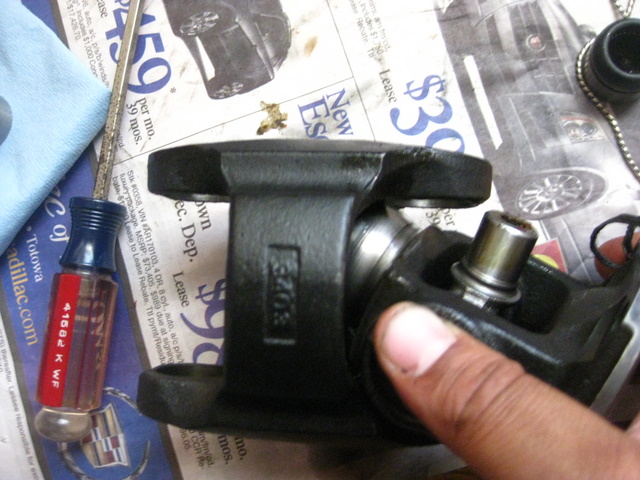
Putting the ball/yoke into the cardon assembly was easy with the right angle...

Just put on of the joint legs with the ball at a 45-degree angle...

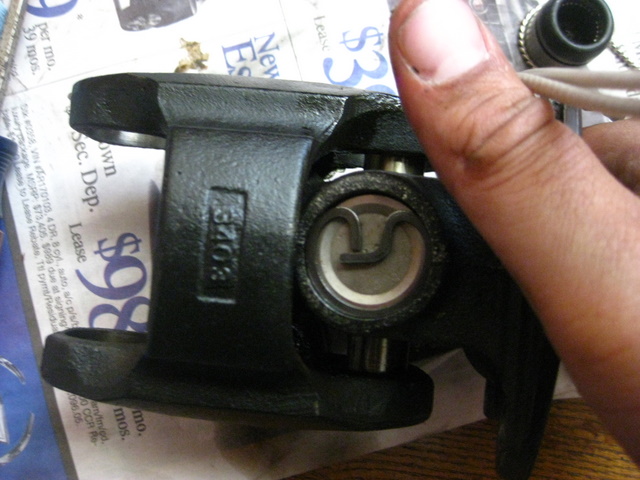
Now for the hard part - putting the cardon assembly on the shaft yoke
Don't ask what the best angle is for that one - I'm still in shock over how hard it was - especially after having knocked down some bearing needles in the ball with the spring. I got them back into position with patience and grease, but this is the point where I would recommend using the beer.
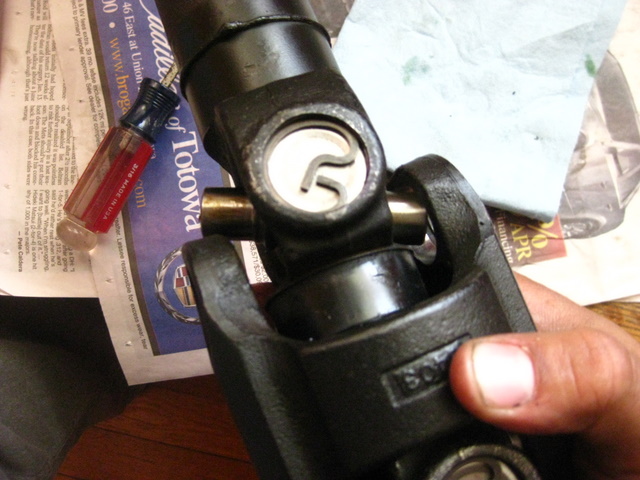
Done! Ain't she pretty? (w/ new Nylock/Nylon-insert nuts ready)
Excuse me while I load up on pain killers for my hands, legs, and head.
-Anthony
I was going to do the rear shaft, but that might have to wait while my hands recover.
All told I spent:
- $81.15 - 4 u-joints and 1 centering ball kit from Advance Auto (free shipping)
- $15.00 - Grease gun from Strauss Discount Auto
- $4.49 - Grease tube/cartridge from Strauss Discount Auto
- $12 - 4-pack Dogfish Head 90-minute IPA (beer makes the cardon joint seem "fun")
- $5.04 - 8 new Nylock nuts at local hardware store (steel grade 5 for 3/8" bolts w/ 24TPI I believe)
- $0.00 - Rented C-joint/ball-joint press from Autozone ($100 deposit, refunded if returned within 90 days)
So, without the beer, I spent about $100 in parts and $100 held for a rental deposit (even if refunded, it's still $100 not in my pocket during the process.) Add to that, about 12 hours of my time (the press I rented was slightly bent/misaligned and threads deformed/tight, so it made pressing the joints out a living hell since the other side blocked the caps from coming out) and I would gladly pay someone an additional $100 to $200 more to have them do it.
With that said, I've never felt so proud from working on my car as I have today. I'll mount it tonight and see if it needs to be dropped again for balancing.
Here are some pics:
The misaligned and tight press (since I couldn't get it to close that far, I put a 1/2" drive ratchet extension into it. That closed the gap.)
The old joint with cap removed. None were dry, but looked like only mechanical grease and some bearings had burn marks
I didn't have a wire brush so I just used some WD-40 and a regular toothbrush to clean up the yokes' eyes/holes
Used a corkscrew to remove the washer inside the ball kit
I was curious - yet doubtful - to see if it could also pull the ball out with it = Corkscrew FAIL.
Since my local Autozone's slide hammer was missing the hooks, I had to improvise with a 2-ton puller and the sleeves/spacers that came with the joint press...
Success! I felt like a genius.
Celebration was short-lived as I realized it only pulled the ball and not the casing
Re-arranged the puller legs again for the casing...
Boom! I was on a roll (no pun intended)
But not without some damage to the puller threads (maybe I got lucky)
This joint was cake to put back together and grease (as was the spline as well)
Putting the ball/yoke into the cardon assembly was easy with the right angle...
Just put on of the joint legs with the ball at a 45-degree angle...
Now for the hard part - putting the cardon assembly on the shaft yoke
Don't ask what the best angle is for that one - I'm still in shock over how hard it was - especially after having knocked down some bearing needles in the ball with the spring. I got them back into position with patience and grease, but this is the point where I would recommend using the beer.
Done! Ain't she pretty? (w/ new Nylock/Nylon-insert nuts ready)
Excuse me while I load up on pain killers for my hands, legs, and head.
-Anthony
Last edited by Antmen; May 7, 2010 at 08:46 AM.


Mudding
Joined: Mar 2010
Posts: 217
Likes: 0
I did my d2 shaft on the tail gate of my truck with a hammer and snapring pliers... It was 4 hours of pure hell. I am like you... I never want to rebuild one of these again. I bought cheap pdq ujoints at 12 bucks a pop so I had about $40 in my rebuild with gas to get the parts. Already owned the hands and hammer :P feels good knowing it's done though!
Thread Starter
|
Rock Crawling
Joined: Apr 2010
Posts: 342
Likes: 4
From: North Jersey
Thanks for the sticky vote, V3NOM, but the post linked to from under the write-ups is fantastic and is what guided me. I simply wanted to share my experience with pictures.
In short, if you have tons of patience and decent mechanical skills or ingenuity, go for it! If you don't have patience and - no beer - buy the parts and pay someone.
Greg - lucky fo' sure! I wouldn't wish this on anyone. LOL.
-Anthony
In short, if you have tons of patience and decent mechanical skills or ingenuity, go for it! If you don't have patience and - no beer - buy the parts and pay someone.
Greg - lucky fo' sure! I wouldn't wish this on anyone. LOL.
-Anthony

