When you click on links to various merchants on this site and make a purchase, this can result in this site earning a commission. Affiliate programs and affiliations include, but are not limited to, the eBay Partner Network.
I think my next go around w/ lights will involve adding more than just a couple up front (thinking bigger front grill light, ditch lights like you have, rear spot/backup lamp to augment the rather anemic factory backup lights, rear chase light). So I'll be springing for that 4 channel Trigger system which IMHO for it's capabilities and convenient install is an awesome way to go and I REALLY don't want to punch through the firewall to run a wire.
LOL, apparently my memory isn't as good as it used to be, especially after a couple of drinks, don't post buzzed/happy
Thanks for the attribution, I had stumbled across this solution August 2022 and did a detailed post on it on another LR Forum (Defender2) back then. I'm glad that folks continue to find this low impact solution helpful!
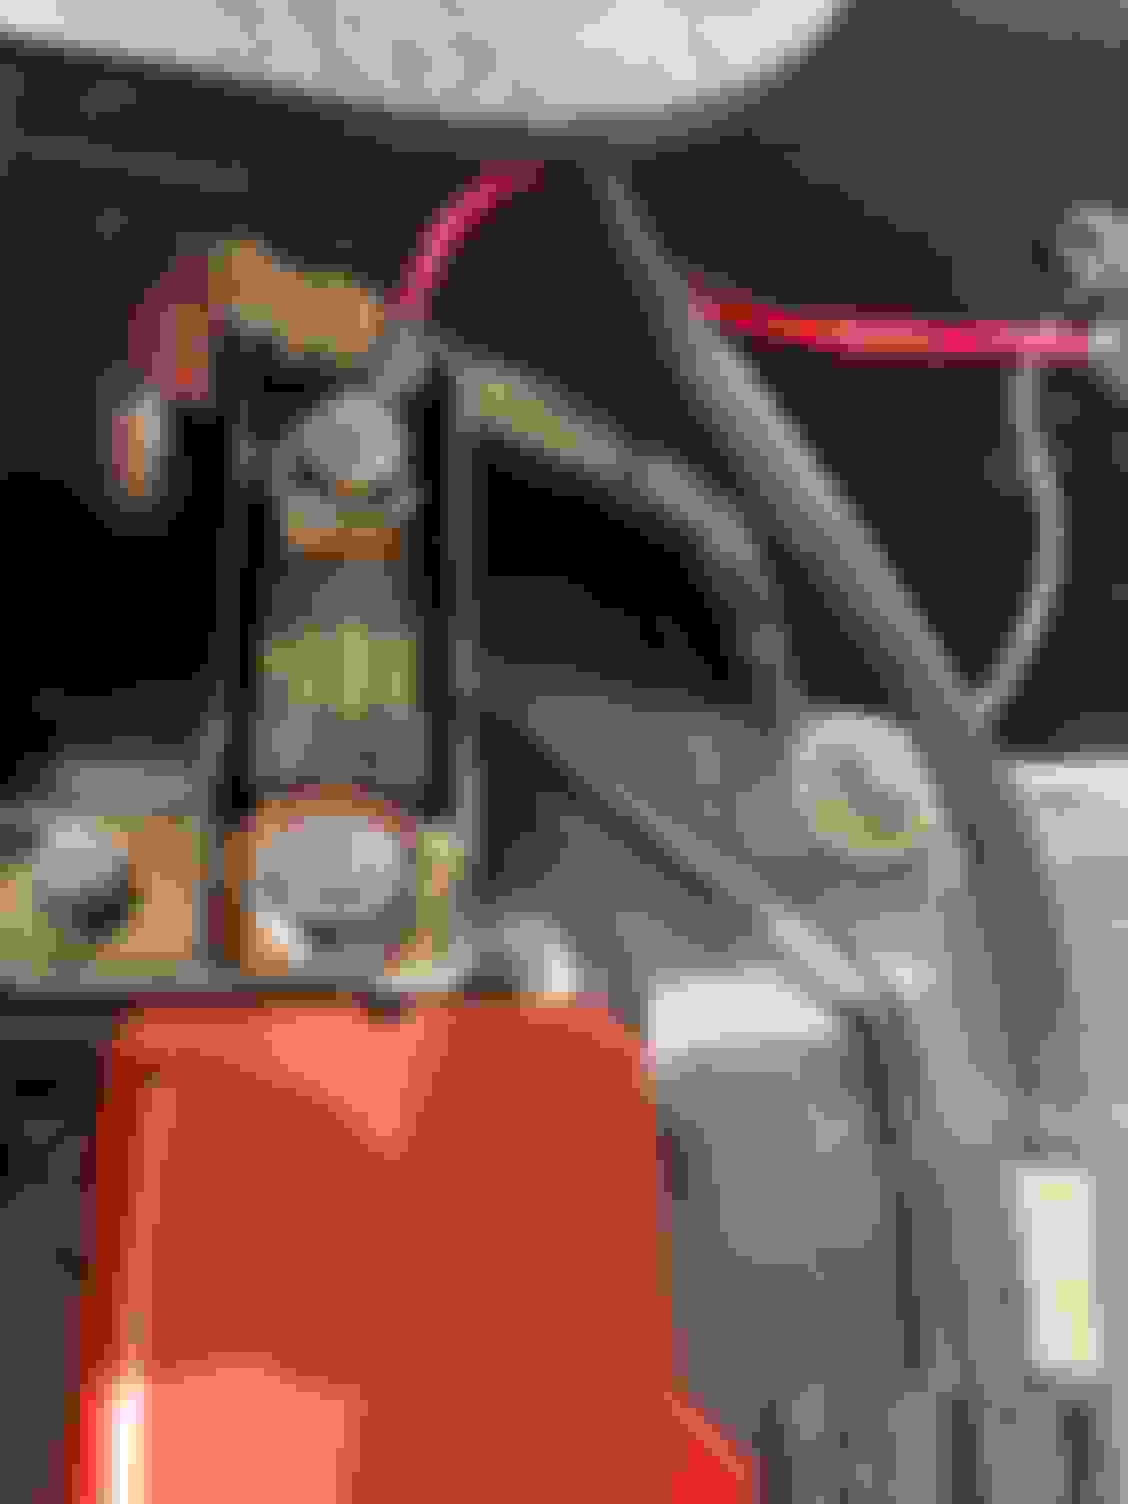
Excellent, that last picture shows the take off points perfectly. Heck, LR was nice enough to put that in there for us to use so why not take advantage of that! Putting in that fuse and doing it properly will feel better and give better electrical protection/isolation of the rest of the Defender's electronics from your lighting add on.
what size fuse would be advised.
Seems like all the bolt in fuses are high amperage 60 + whereas the lights draw 3.1 Amps at 14.4V. It's just the wire between the power takeoff and the fuse the harness came with that could be affected by an overage.
Seems like all the bolt in fuses are high amperage 60 + whereas the lights draw 3.1 Amps at 14.4V. It's just the wire between the power takeoff and the fuse the harness came with that could be affected by an overage.
I'm no expert either, just know enough to break stuff but that 60 Amp fuse will be more than fine for your two 3.1Amp lights with plenty of capacity to spare should you decide to add additional lights/accessories to that circuit in the future.
I didn't initially have a fuse on hand or a second nut so I just hooked up the red wiring harness lead to the live +12V bolt in that black box (the ones closer to the front of the car) w/o installing one of those big fuses. I figured the harness had its own inline fuse so that would do temporarily. Putting the big fuse in settles my OCD and potentially would be somewhat protective against a LR warranty denial if you somehow (very very unlikely) had an electrical issue down the line and you had it set up like LR intended it to be used...
(Somebody who is more knowledgeable on this stuff please correct or comment)
Tidied things up.
Took power from where I should.
grounded the relay
used the ground point adjacent to the jump start point and popped loom around the wiring.
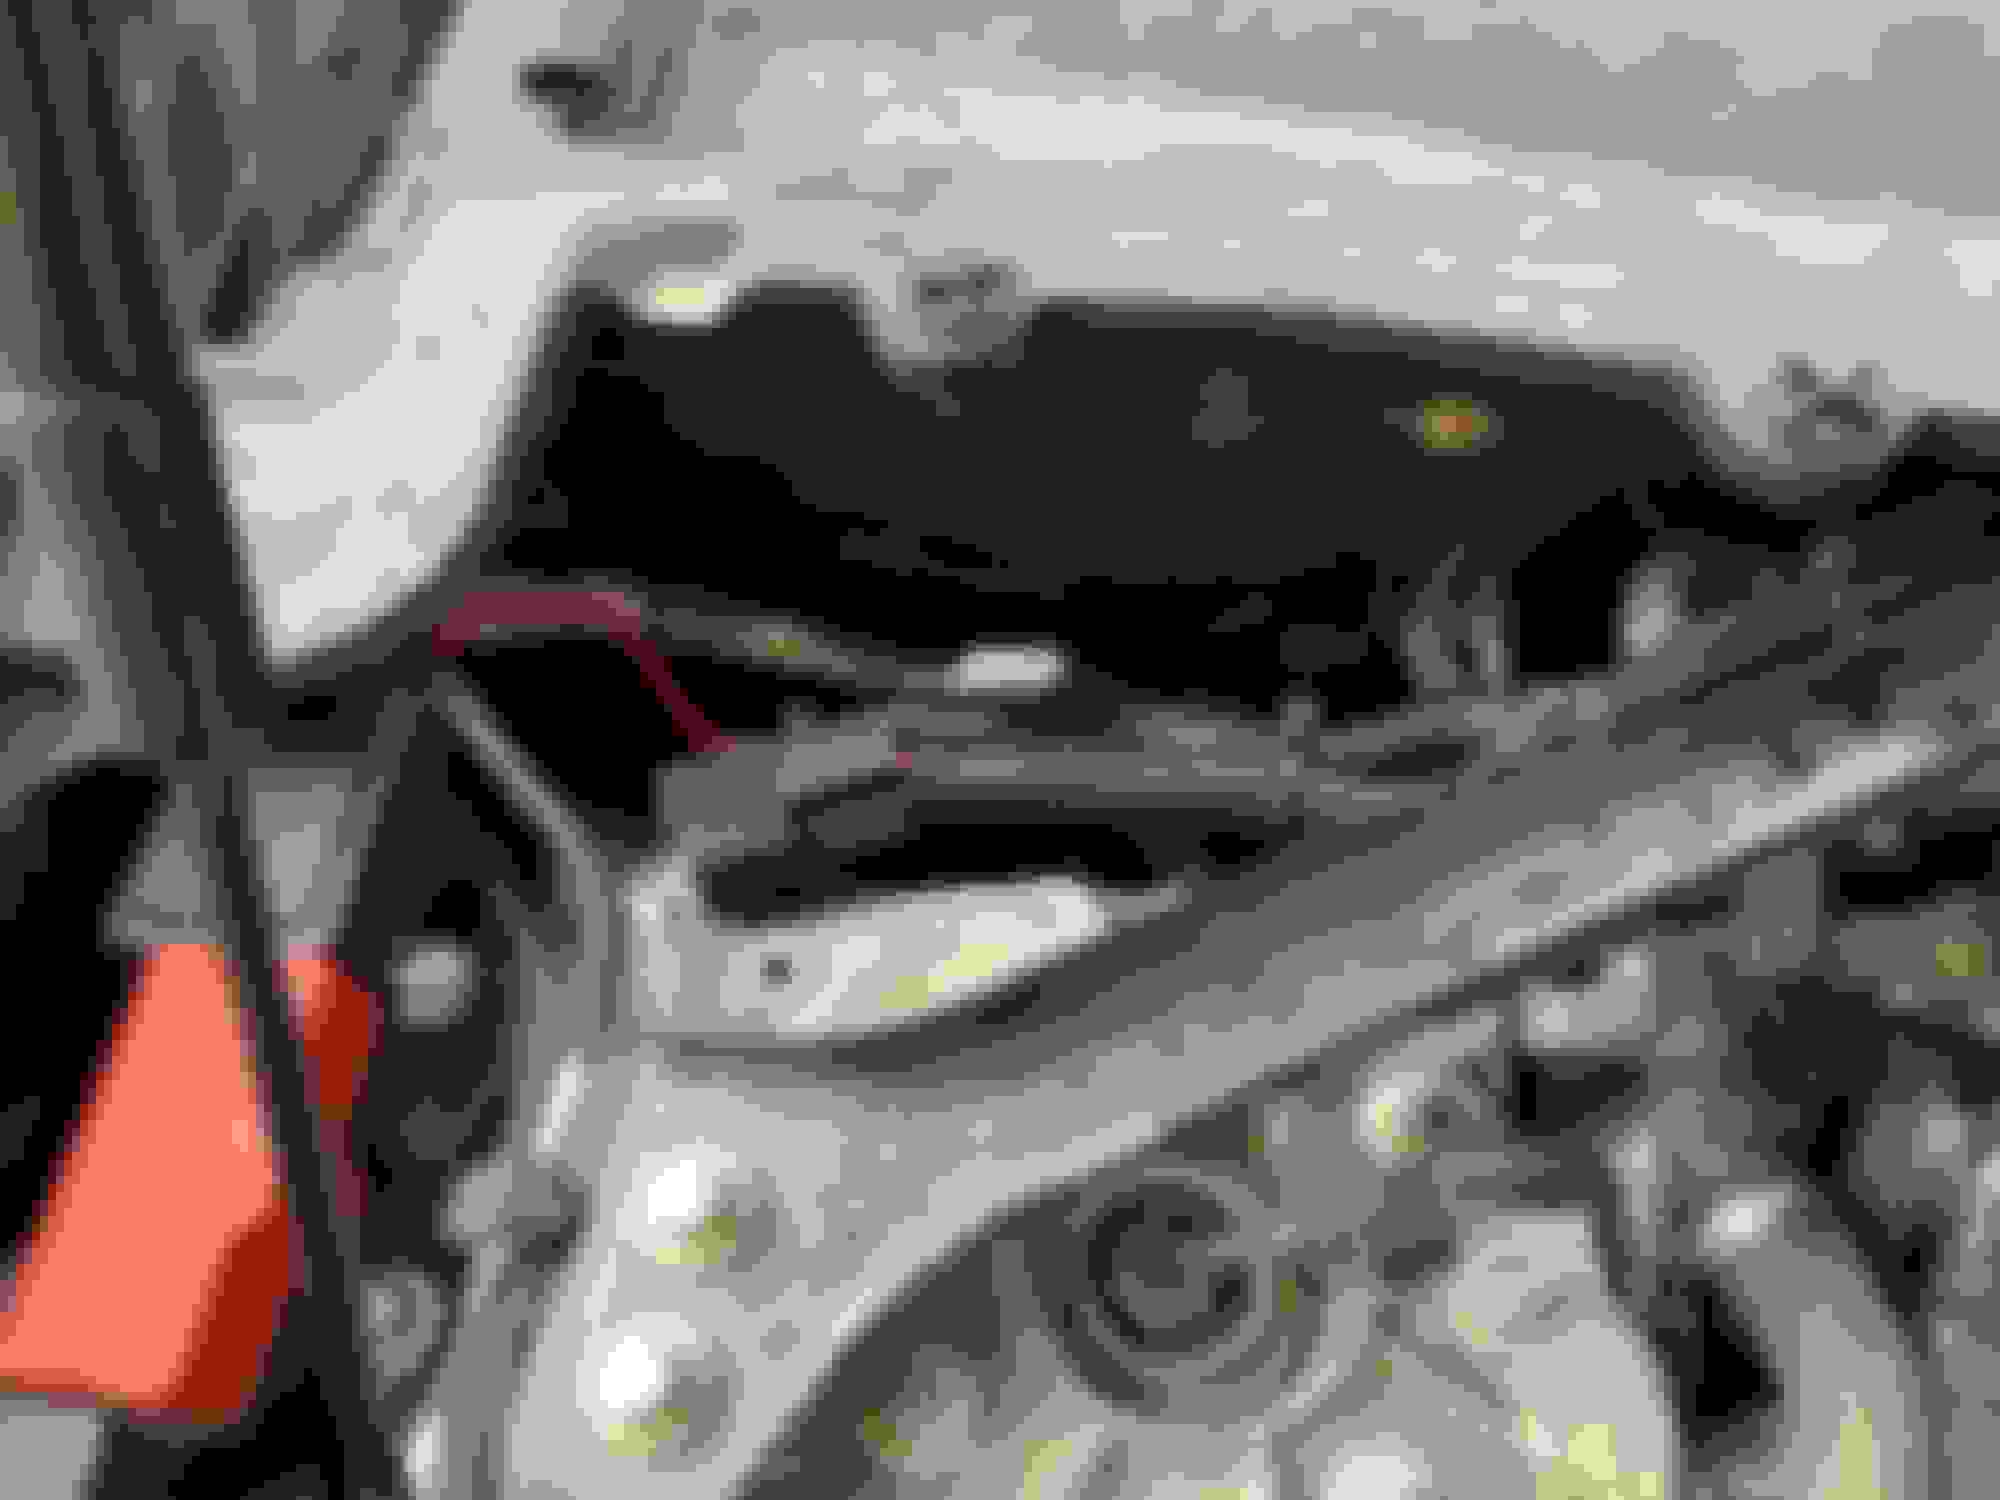
looks better. Less like the work of a hired gibbon. Getting to Gorilla or dare I say it, Chimpanzee level. The final appearance in the engine bay.
I think you're having fun with this! That looks fantastic, like what you did tidying up the wiring and the ribbed plastic wiring shroud all around the harness and wires looks great. Like the way the power wire runs now to the power take off box looks like a much more direct/cleaner. LOL looks pretty stock/professional
Smallest amperage fuse I could get at Autozone was 100A.
No don't do this. The fuses are meant to protect the wire, not necessarily the equipment. The wire should be sized for the equipment electrical load and then the proper fuse for the wire. The wire insulation type dictates the max amperage allowed. If the amperage goes above the max allowed for the insulation, the insulation will melt possibly causing a short. This could then cause a fire in your engine bay.
That looks like 14awg, so depending on the insulation on the wire and length it should be fused for like 20amps or so. Take a look at this chart.
Nice work otherwise. The lights look great. Just want to make sure you don't start your defender on fire in the middle of nowhere at night.
yes that�s what I wanted to do. A smaller fuse.
There don�t appear to be any bolt in fuses less than 60A. None that I could find at least.
I must need to alter my search criteria.
better than no fuse I guess but not a whole lot better.
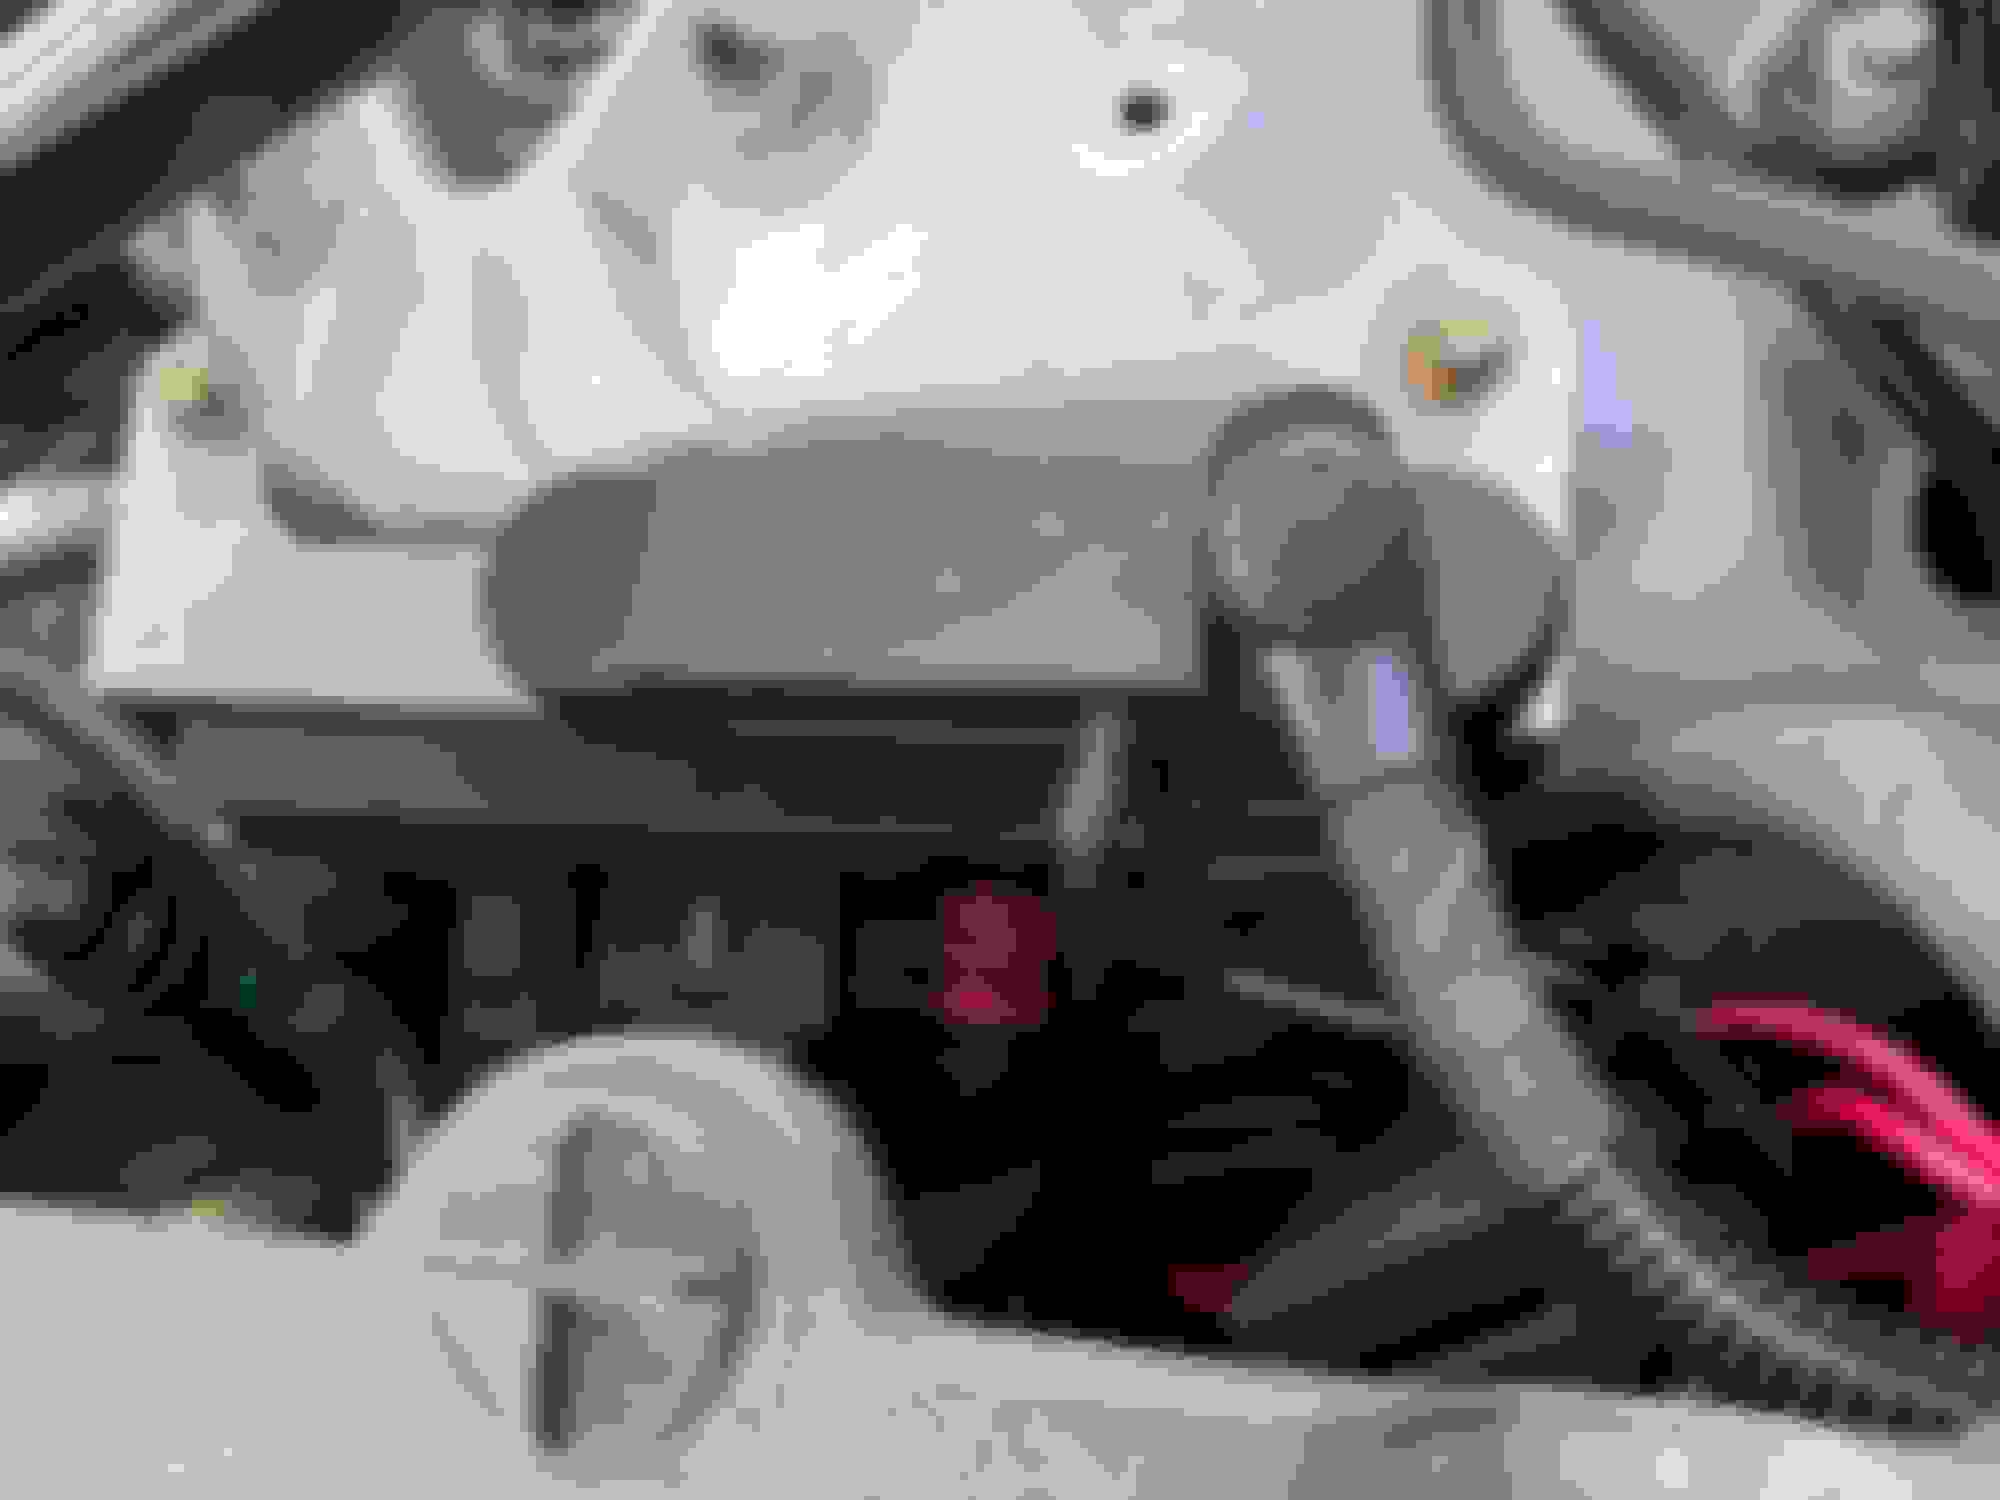
There�s about 6� of wire between the 100A fuse and the inline 7.5A fuse. for sure a potential problem.
Good to know you have an inline fuse, sorry I missed that. I didn't even put a fuse there. I just used an inline fuse. I could not find one small enough for that either.
I went with Rigid because the light output color (~6000k color temperature) matched the headlights color output perfectly. The Baja Designs are more yellow than the headlights (~5000k color temperature). My OCD kicking in...lol5000K5000K.
I went with the SR-Series Pro 20� Spot/Drive bar, instead of a round light, because I didn't want the lights to interfere with the Adaptive Cruise Sensor in the grill LR badge.
My Auxiliary Lighting Setup:
I used Lucky8�s method of running wires in the cabin (link below).
KC under hood light kit with a bracket I modified to hold the switch that utilizes the radiator shroud clip for retention.
I secured the lights with large Stainless Steel fender washers and bolts with nylon locking nuts. I did have to poke holes in the liner to attach the lights�basically sandwiched the liner in between two fender washers.
I ran the wires under the hood liner (secured with heat resistant ducking tape) to the battery terminal under the hood, grounded at a factory underhood location.

 05-26-2024, 10:01 PM


 but that 60 Amp fuse will be more than fine for your two 3.1Amp lights with plenty of capacity to spare should you decide to add additional lights/accessories to that circuit in the future.