When you click on links to various merchants on this site and make a purchase, this can result in this site earning a commission. Affiliate programs and affiliations include, but are not limited to, the eBay Partner Network.
Strong work!! Looks like a really awesome/clean install. Glad the inexpensive harness and RF switch from SuperBrightLED w/ the HomeLink learning method worked for you and you didn't have to punch through the firewall into the cabin to control things.
Originally Posted by GavinC
Thanks again @DaveCNB
Engine bay electrical fires are a free bonus.
LOL, I would guess that the amperage draw from those lights w/ the well done wiring harness, sealed connectors w/ inline fuse and relay (what a total bargain for $20 yeah? Way easier than cobbling something from scratch oneself) is plenty of protection from a mishap. There are plenty of things in that engine compartment that are drawing way more current. You can always add a fuse at that red power take off box for extra piece of mind but probably not necessary IMHO.
IIRC you have a spare open/unused memory HomeLink slot. You could program one of the other buttons on that little key fob remote that came with the RF switch to that if say....you wanted to be able to have a really annoying flashing spotlight feature at your disposal!
Enjoy the new lights, they look great and love the color of your Defender. You've definitely earned that beer!
Ah, yes, you ended up with alot of extra wire, it'd be good to get it all tucked away (or order new waterproof connectors for the lights and cut the wires shorter and crimp on new connectors if you're totally OCD). Theoretically the longer the wire the more resistance in the circuit (ie. heat/wasted energy) but those lights draw how many amps? Probably not a big deal w/ super efficient modern LED lamps vs old fashioned incandescent or high voltage Xenon lights.
Yeah, shortening those bolts to create more standoff space off your hood's paint would be a good idea. I think you can find little plastic or silicone caps for the exposed screw ends at the hardware store.
Originally Posted by GavinC
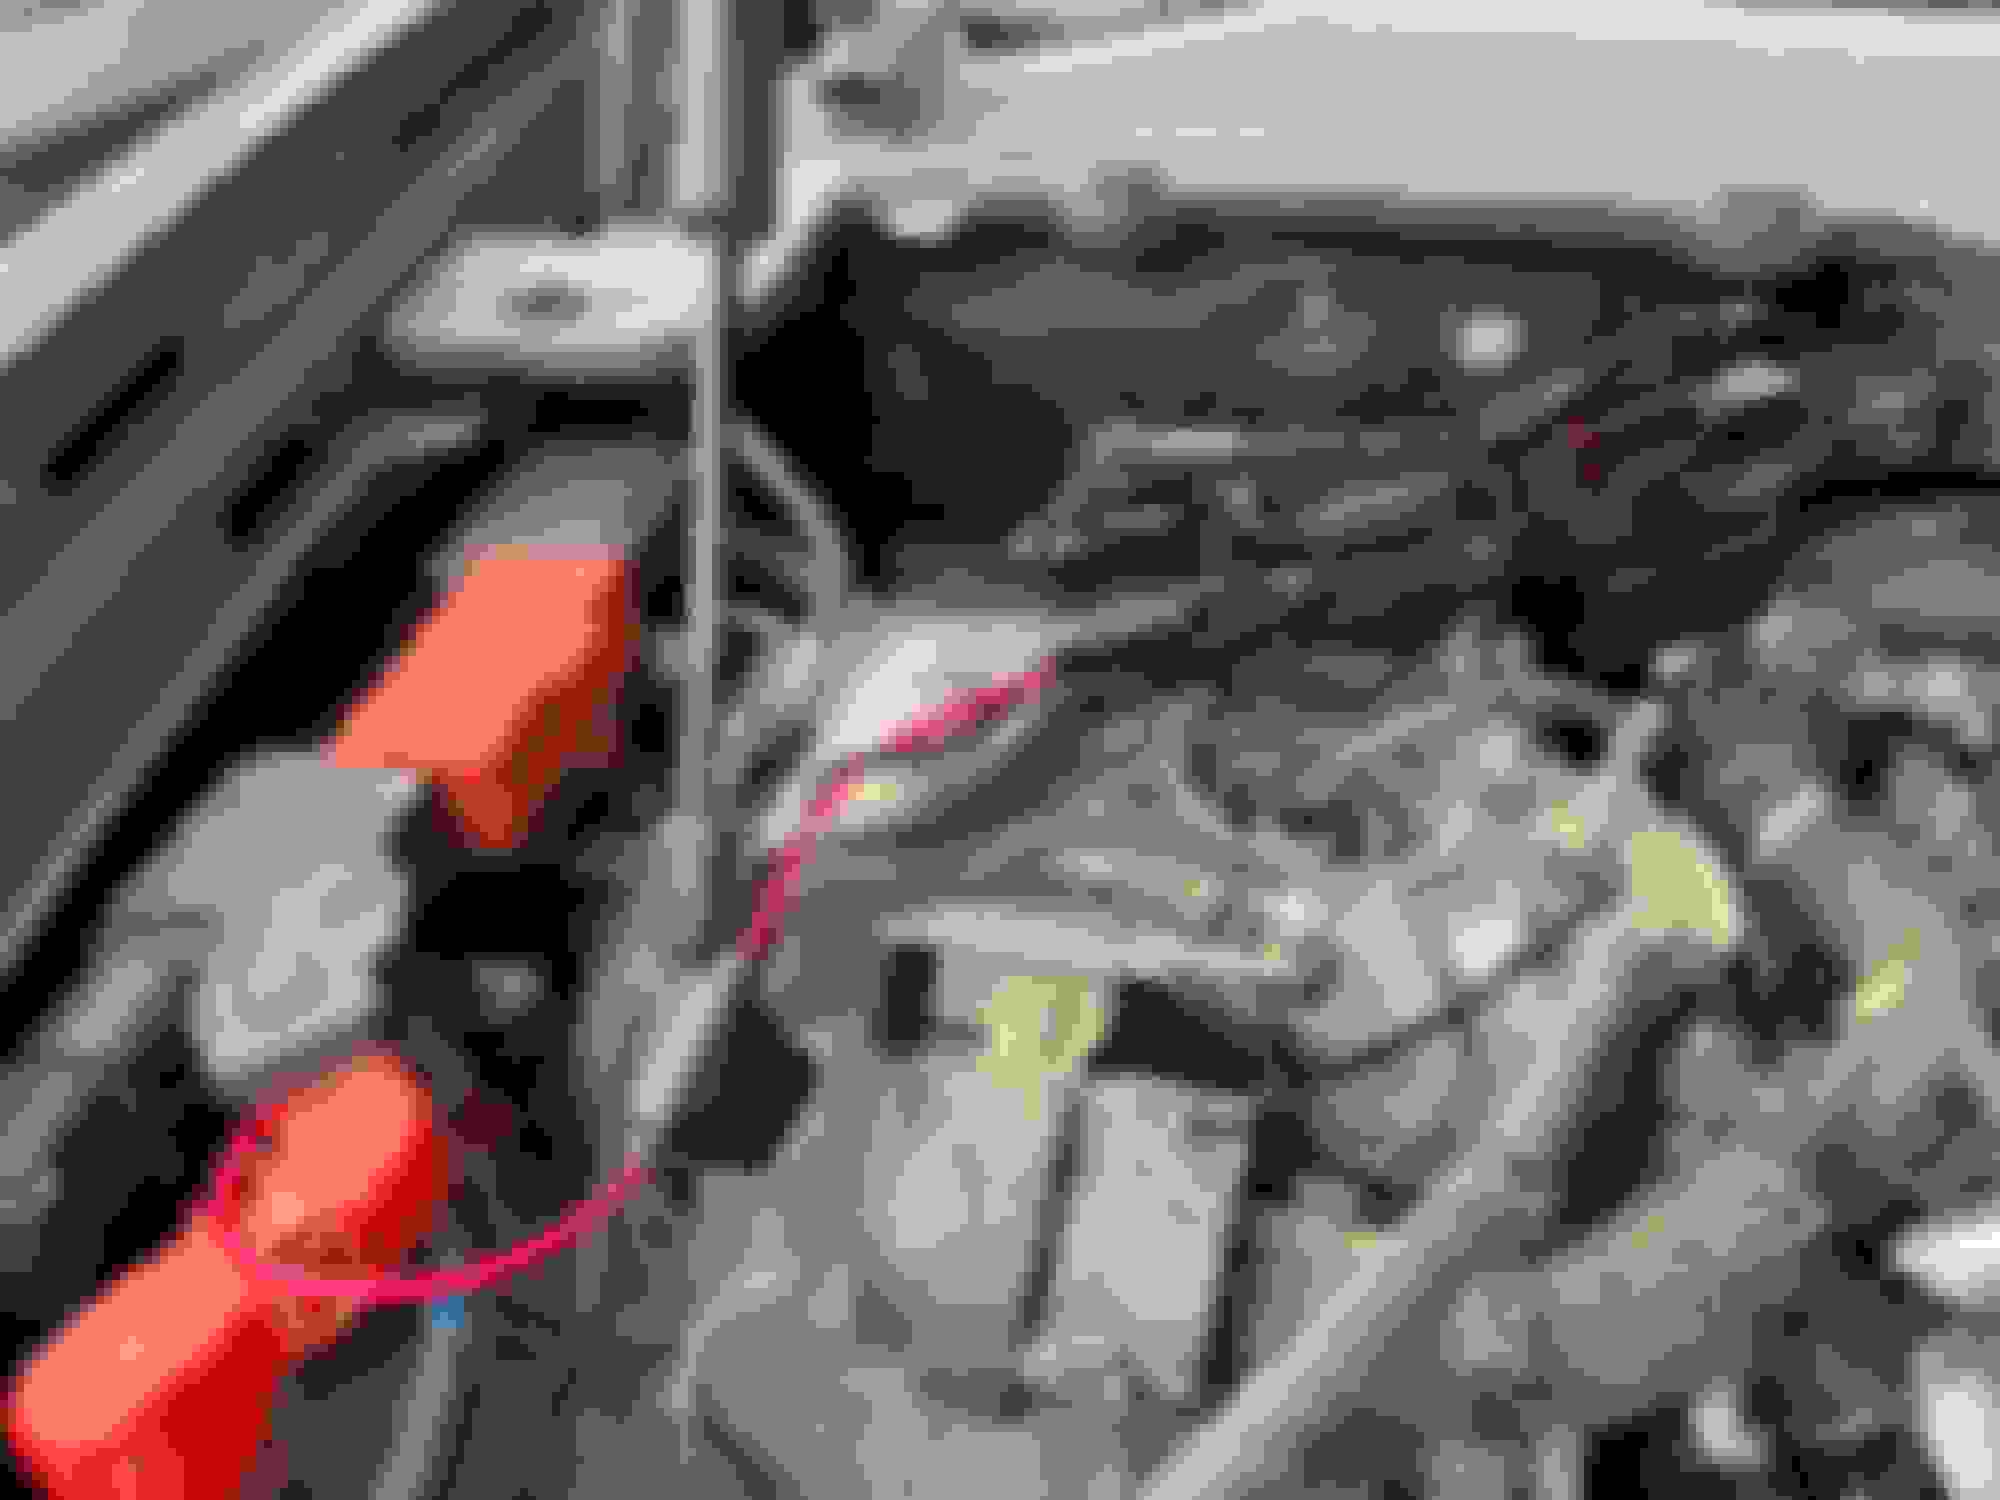
It looks like you tapped into the power at the fused jump start terminal. By chance, did you flip open the lid to the red box w/ the + symbol on it just above that spot in the picture? If you tie the power into there it's the factory supplied power take off spot. You can tap into the pin closer to the front of the car if you don't add a fuse or the point towards the back of the car if you do add a fuse. That way you're using the recommended power take off point and it might be cleaner and a better direction to route the wires from as well.
Ah, yes, you ended up with alot of extra wire, it'd be good to get it all tucked away (or order new waterproof connectors for the lights and cut the wires shorter and crimp on new connectors if you're totally OCD). Theoretically the longer the wire the more resistance in the circuit (ie. heat/wasted energy) but those lights draw how many amps? Probably not a big deal w/ super efficient modern LED lamps vs old fashioned incandescent or high voltage Xenon lights.
Yeah, shortening those bolts to create more standoff space off your hood's paint would be a good idea. I think you can find little plastic or silicone caps for the exposed screw ends at the hardware store.
It looks like you tapped into the power at the fused jump start terminal. By chance, did you flip open the lid to the red box w/ the + symbol on it just above that spot in the picture? If you tie the power into there it's the factory supplied power take off spot. You can tap into the pin closer to the front of the car if you don't add a fuse or the point towards the back of the car if you do add a fuse. That way you're using the recommended power take off point and it might be cleaner and a better direction to route the wires from as well.
Dave
yes. I had a look again under the lid for the jumpstart terminal.
nowhere to bolt anything to in there so I took it from the proximal fused terminal.
Seems like it would be the same thing. Perhaps not.
My factory winch is installed just a little bit further back under that G5 & G6 (I think it reads G and not C). You can pull the top off and there are two connectors there, very similar to the one you wired your lights into. I'll try and take a photo tomorrow for you.
My factory winch is installed just a little bit further back under that G5 & G6 (I think it reads G and not C). You can pull the top off and there are two connectors there, very similar to the one you wired your lights into. I'll try and take a photo tomorrow for you.
Good stuff. I remember seeing Simon�s 5 part epic winch installation where he opened up that and added some monster fuse.
I will do that if it�s recommended.
I�m not the brightest bulb in the box when it comes to this stuff.
Good stuff. I remember seeing Simon�s 5 part epic winch installation where he opened up that and added some monster fuse.
I will do that if it�s recommended.
I�m not the brightest bulb in the box when it comes to this stuff.
Hey, whatever floats your boat, it's all connected and at the same voltage. Here's the other side, where my winch is connected.
You can also see the winch bluetooth antenna, they installed that on top of the black cover for those terminals.
Ah, you guys are right, sorry, it's been awhile since I've looked under the hood at the wiring. The 2 power take off points are in the black box BEHIND the red box marked "+" (that's the jump start point). The next bock further back from where I drew the orange arrow in the picture a few posts back.
That's where I attached the power to my grill lights after getting an appropriately sized fuse. On my 2022, the fuses were not installed and there were no nuts on the threaded empty bolts and I had to scrounge a nut that fit (can't remember what size I used).
My bad, sorry GavinC for my faulty recall.
Dave
no worries Dave. You�ve been more than helpful.
I shared the mirror switch and this low cost solution on FB and have had a couple of folks thank me for saving them $500 on switches. Told me how brilliant this idea is.
Clearly this idea is above my pay-grade so was quick to tell them I got it here.
I did pop off the cover for the take off points yesterday. I have no M8 nuts in my junk box of stuff.
I will change it to that point. I simply can�t not do it the correct way. A fuse would be no bad thing too.
I think my next go around w/ lights will involve adding more than just a couple up front (thinking bigger front grill light, ditch lights like you have, rear spot/backup lamp to augment the rather anemic factory backup lights, rear chase light). So I'll be springing for that 4 channel Trigger system which IMHO for it's capabilities and convenient install is an awesome way to go and I REALLY don't want to punch through the firewall to run a wire.
Originally Posted by GavinC
no worries Dave. You�ve been more than helpful.
I shared the mirror switch and this low cost solution on FB and have had a couple of folks thank me for saving them $500 on switches. Told me how brilliant this idea is.
Clearly this idea is above my pay-grade so was quick to tell them I got it here.
LOL, apparently my memory isn't as good as it used to be, especially after a couple of drinks, don't post buzzed/happy
Thanks for the attribution, I had stumbled across this solution August 2022 and did a detailed post on it on another LR Forum (Defender2) back then. I'm glad that folks continue to find this low impact solution helpful!
Originally Posted by GavinC
I did pop off the cover for the take off points yesterday. I have no M8 nuts in my junk box of stuff.
I will change it to that point. I simply can�t not do it the correct way. A fuse would be no bad thing too.
Excellent, that last picture shows the take off points perfectly. Heck, LR was nice enough to put that in there for us to use so why not take advantage of that! Putting in that fuse and doing it properly will feel better and give better electrical protection/isolation of the rest of the Defender's electronics from your lighting add on.

 05-24-2024, 01:33 AM