When you click on links to various merchants on this site and make a purchase, this can result in this site earning a commission. Affiliate programs and affiliations include, but are not limited to, the eBay Partner Network.
So finally after 19 months driving the White 90, it is time for my desired colour change. Did order specific the Fuji White solid because I didn't want a metallic Will stay on a solid color, 2K paint from Glasurit 22 Serie
Made arrangements with my bodyshop that I will do the full stripping and rebuild. So basically they do the sanding, masking, full Respray of the car and all parts that need body color. They will pick up the car on a trailer from me to the body shop.
Started with the 4 inner wheel liners / wheel arches. ( Managed to get them all out whitout breaking)
Checklist before further dismantling:
1. Electronic Parking Brake in maintenance mode and connectors off. 2. Charging the Battery full. 3. Windows half open 4. Rear door open. 5. InControl in maintenance setting 6. Electronic steering Lock in Free and direct after Battery power Cut off. 7. Automatic in recovery mode neutral under the bonnet.
So now it is possible to push or tow, roll and steer.
Removing cladding outside & underside. Clips will break ,13 pcs a side Removing doorcard, window/glass, inner seal, handle, locks, wireloom connector, outerseal, Mirror Removing front and rear skid/bumper, Lights, small parts, seals. Removing all parts from the rear door and the rear bumper armature. Removing Fenders, Airintake partial , Washer fluid tank, stripping everything inside bonnet/hood + Cowl Removing the residu from the glued outerseal with a flap foil eraser and punching the exact line for the new outerseal.
Used an Starrett Automatic punch for exact location / installing the new outerseals after respray
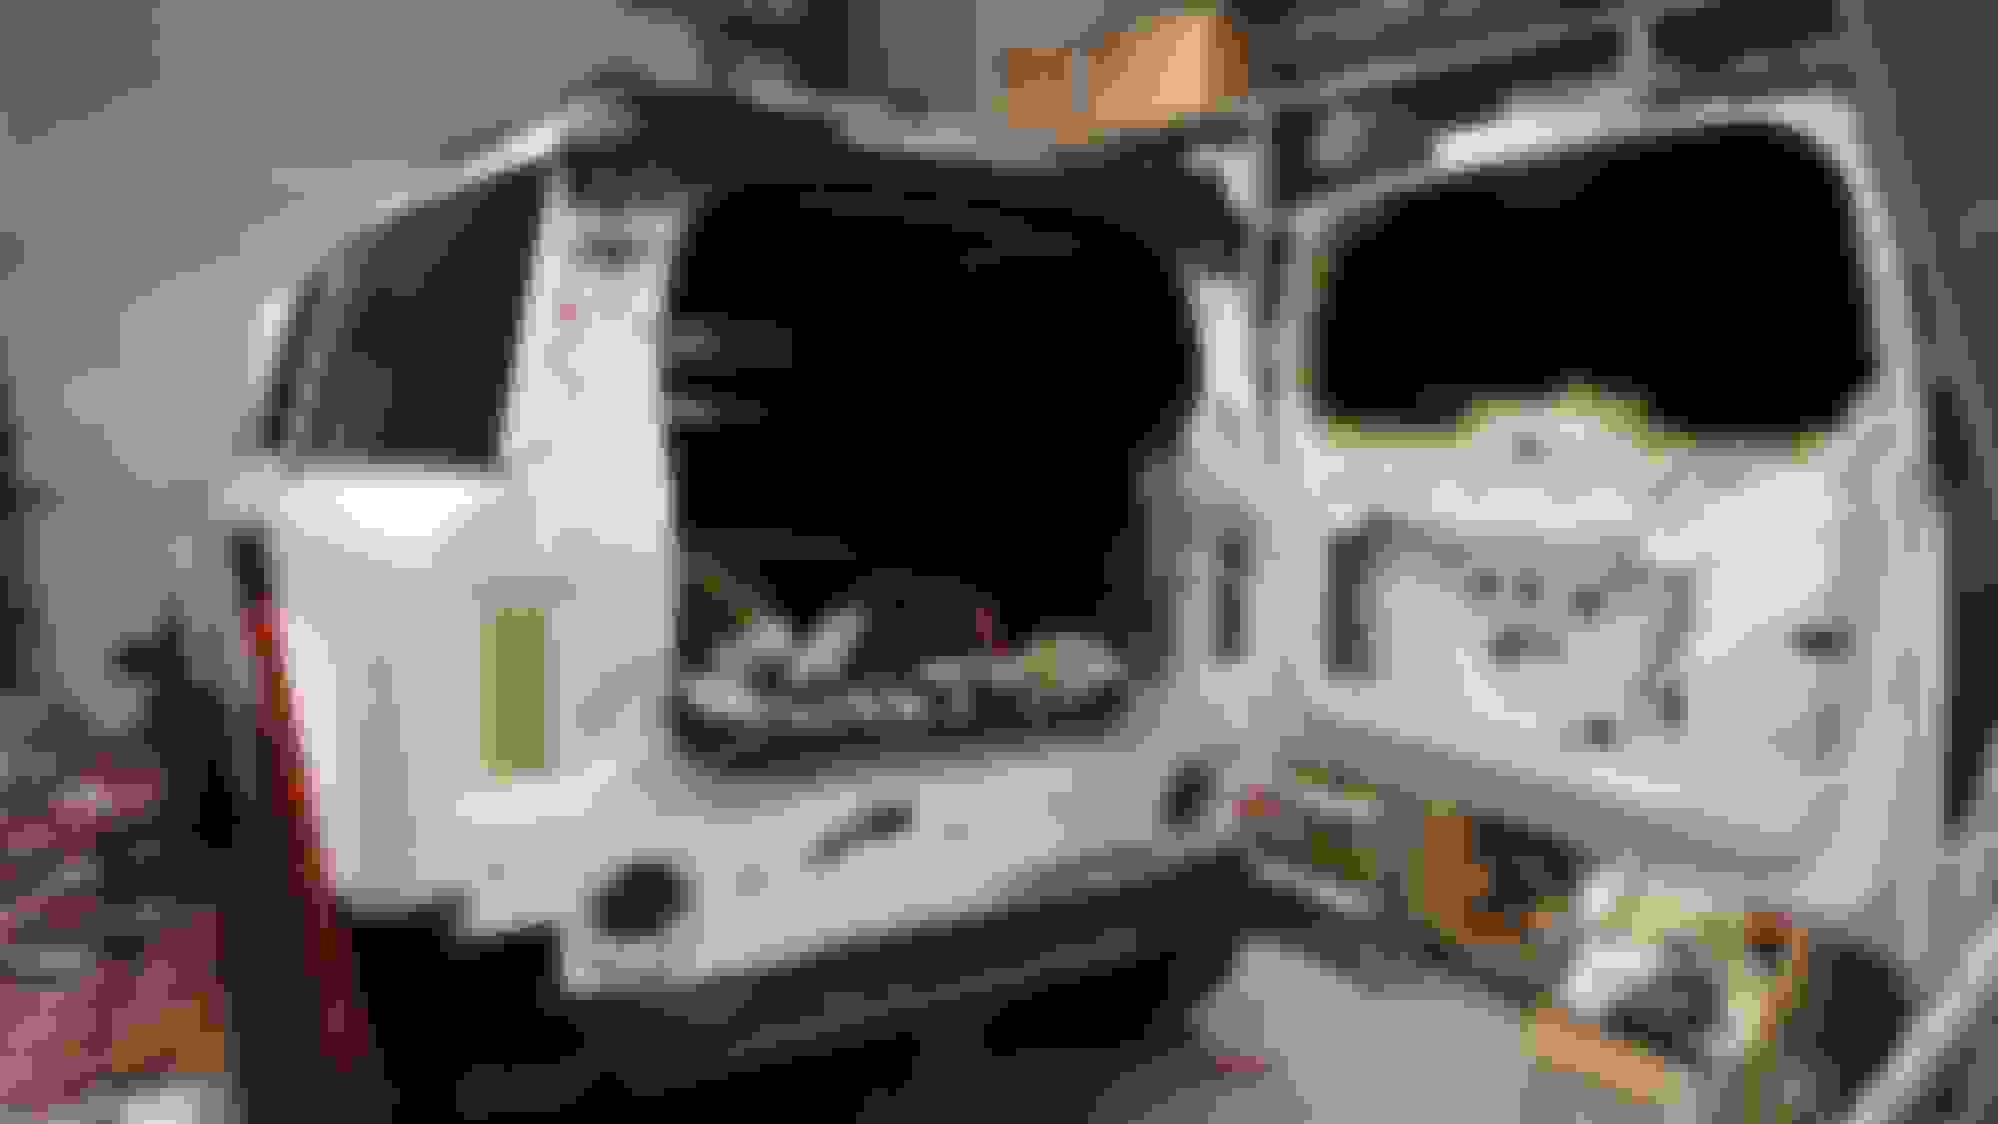
Everything stripped on the rear
Fenders, Cowl and Hood stripped
Doorcard, window, mirror, seals
To the bodyshop , basic protected
Went to the bodyshop when the car was in for inspection and details.
First pictures received from bodyshop
Defender is home again ! Rebuild day 1
Rolled inside and started rebuild at the rear
Side trim installed
Rear door, wireloom, wipermotor, bracket, Lock with soft close actuator , Handle, wiper, Everything Connected
Rebuild day 2
Started with the heavy rear armature, lowering the exhaust for the six long bolts under.
Bumper back on and fully connected, Badging Defender and Landrover logo. ( Did use doubleside automotive tape )
One major problem today, the Tailgate felt into Lock, So now I have to finish all electronic connectors before I can re-open the Tailgate .
Cowl and Wipers , hoses connected again
Inside Hood , except the Rubber today
To be continued.. Almost daily
Last edited by Defendit..; Mar 7, 2024 at 08:57 AM.
Reason: Thread name change
Did the final finishing, new outer weatherseals on the doors, airbag decals b pillar and on the inside tailgate warning label.
Outside the Union Jack decals are back on.
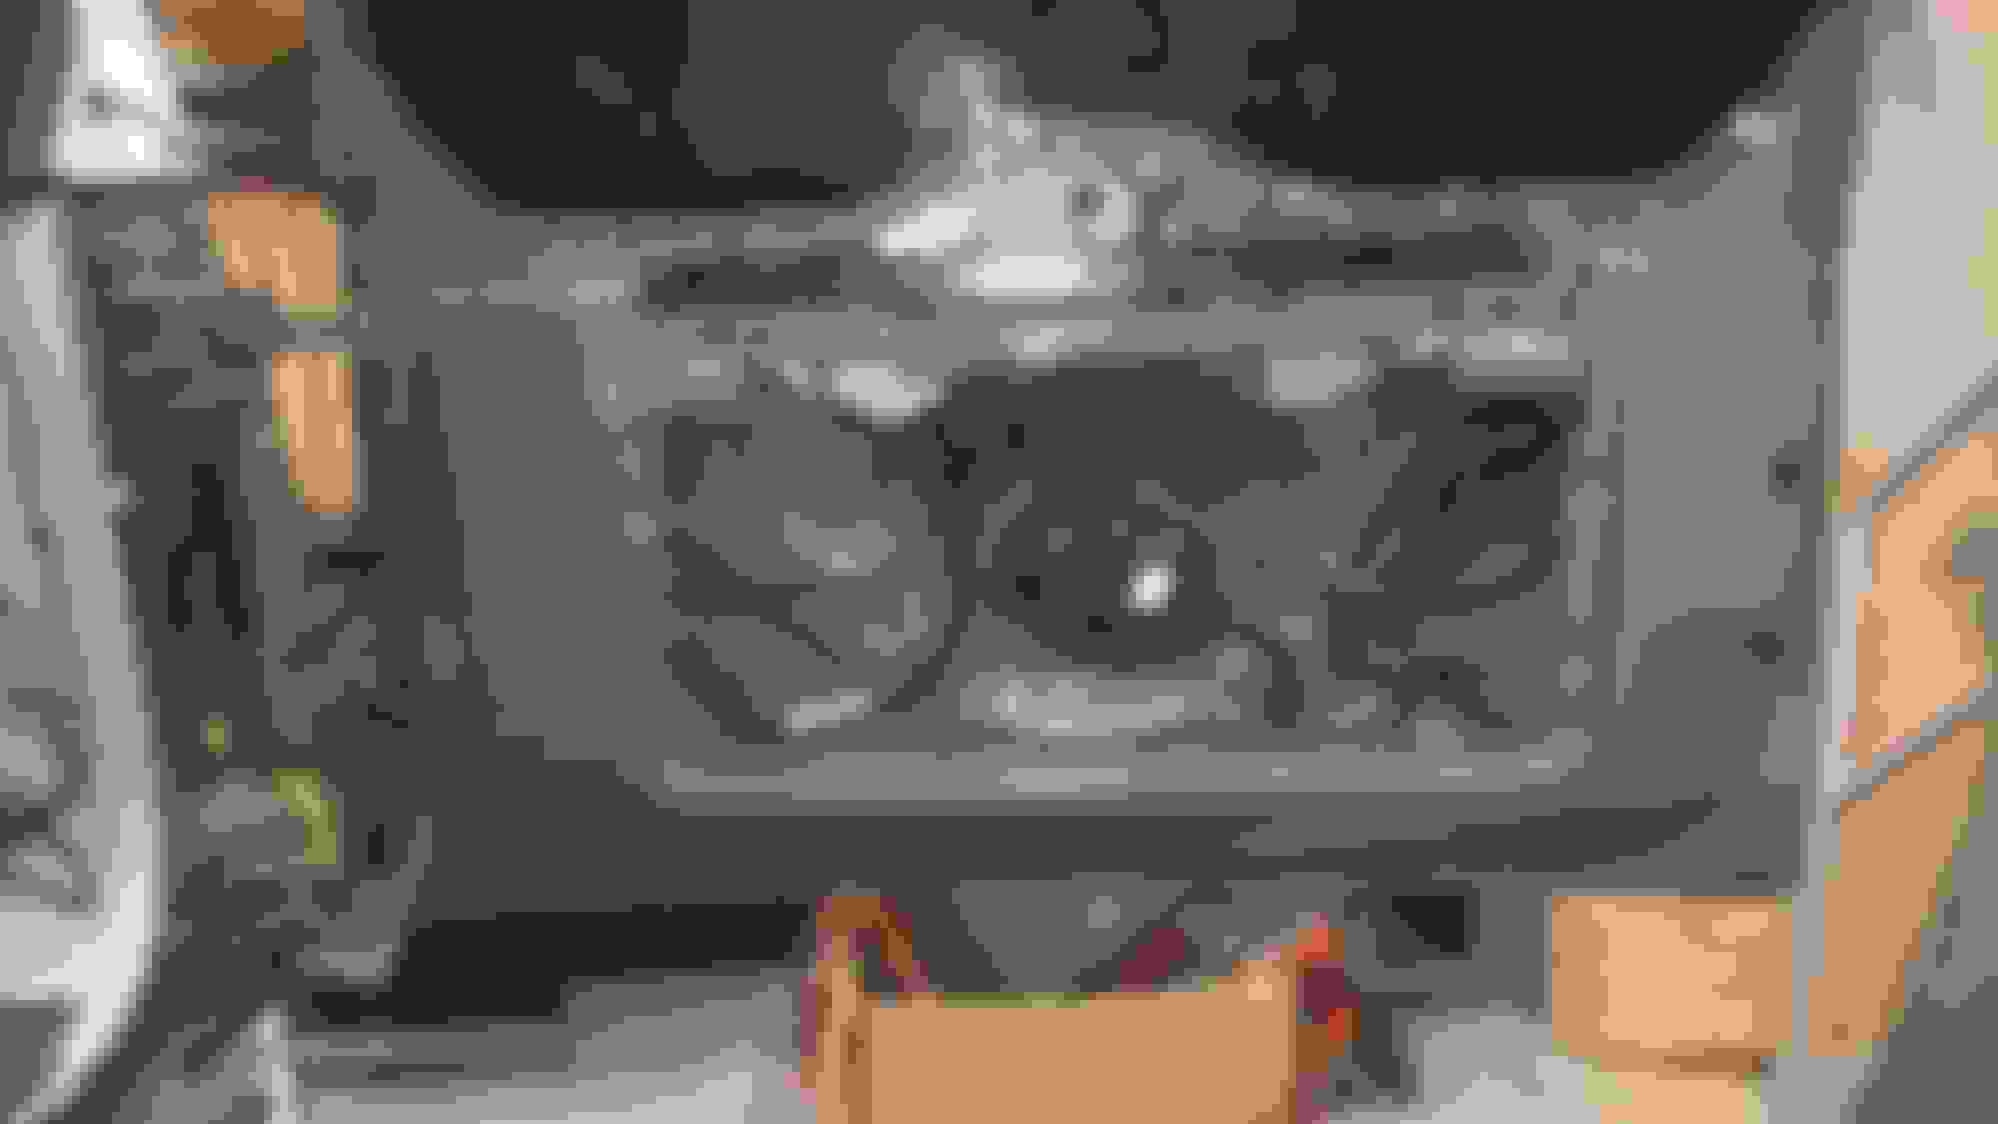
Show pics of the engine bay! Did you remove the hood and strip it? How much of a pita was removing the front quarter panels?
The bodyshop did remove the hood , they spayed the hinges as far as possible while still on the car. So adjustment of the Hood remains original.
Front quarter panel, Left
Remove the air intake tube inside the panel, remove foam piece at the B pillar,
2 nuts at the B pillar, 2 bolts under,
3 bolts at the top, 1 bolt in the front, 1 bolt inside fender.
Front quarter panel - Right
Remove fluidwasher tank 2 nuts, disconnect 2 electrical connectors, disconnect 2 hoses ( clips )
2 nuts at the B pillar, 2 bolts under,
3 bolts at the top, 1 bolt in the front, 1 bolt inside fender.
At both sides there are inside 'balloons' on top - will post a picture soon
Last edited by Defendit..; Dec 28, 2022 at 01:45 AM.