When you click on links to various merchants on this site and make a purchase, this can result in this site earning a commission. Affiliate programs and affiliations include, but are not limited to, the eBay Partner Network.
This is why I followed Lucky8’s recommendation and got myself the arb Jack. It pretty much solves all these issues except it makes a nice dent in your wallet. At this point though, what’s another $800.
Whoa -- that is really nice -- and addresses all the issues in jacking up off-road. Ummp.
Looks like the bottle and scissor jack will be relegated to the garage -- once I make several months of blood donations.
@Tartan - Can you add more info re: Voyager sliders? Not finding anything in a search. I've been thinking of the Lucky8's and they seem incredible, but before I leap I want to compare.
Installed my sliders this weekend. The information in this thread was super helpful.
Took me about 4hrs to do yesterday. It is actually much quicker than I had expected, and would have gone much quicker if I'd have not been so hesitant on the drilling of the holes for the trim piece above the sliders. That part sucks, especially the most forward holes. Door is in the way to drill in perpendicular to the side of the truck. Nutsert went in at a bit of an angle, but no big deal.
I then spent an hour today putting the two metal body panels on and cutting and installing the black fiber panels to cover the vast openings their removal leaves.
A few notes that will help you perhaps:
Order replacement clips ahead of time. I'm waiting 2 days to replace that front-most piece of molding until Amazon can deliver
I had thought I could cut the side fiber boards so that they would tuck above the inner-most edges of the slider, but no. They sit a good inch or two lower than the slider.
Cutting the rear bracket is easy. OP indicated they had shortened these, but photos were hard to interpret. Once you get under there, you will understand. It is the metal bracket that starts behind and wraps around fuel tanks. Cut just forward of the first 10mm head bolt and throw away that bit (same on both sides).
Fiber boards cut easily with an angle grinder metal cutting wheel. I marked mine with a sharpie after putting up there to see what had to come off. I'll post some before/after photos of my fiber boards below.
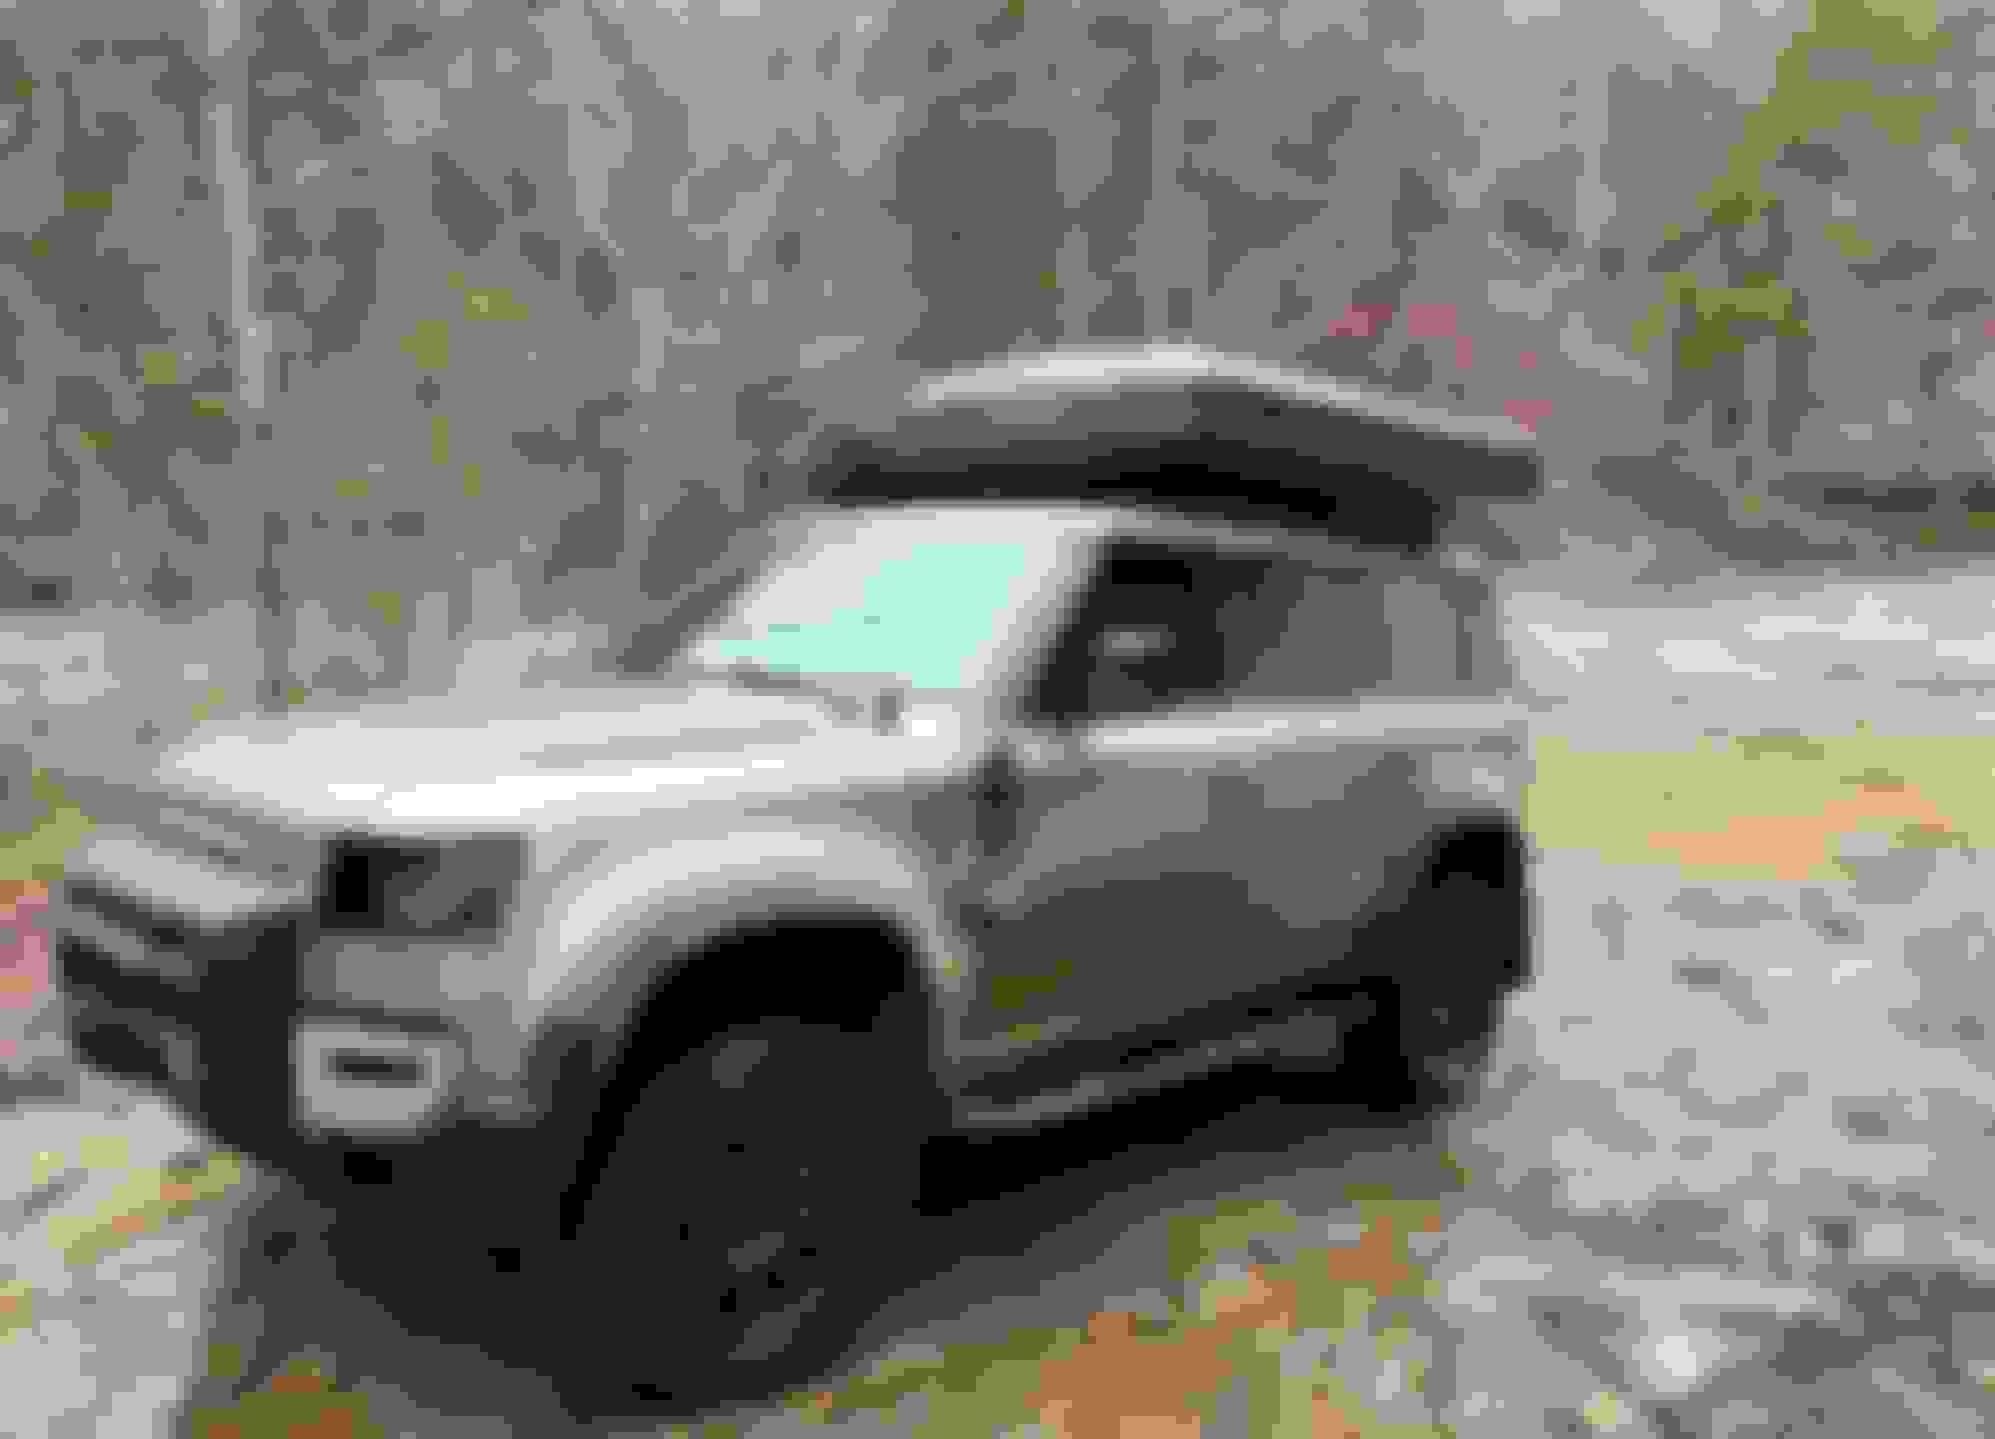
Going wheeling in the Ozarks next weekend. Glad to have the additional protection. They are beefy and give me a good bit of comfort in going over sketchy rock obstacles.
It goes back in super easy, right back in the holes it was previously attached to. The lateral edges of that fiber board are free, but quite stiff. I don't see flapping as being an issue.
I'll attach a photo from the side below here so you can see.
The middle fiber board and the 2 metal plates that sandwich it...had to pull a few bolts after installing a piece only to realize the single bolt went through all 3. But no big deal.
I will say the forward most edge of the central fiber board that goes up in the front wheel well...really glad I did not cut that off or lose the two black clips that hold it in place. Right behind the front tire.. Note this bottom fiber board goes behind the fender well liner, but not too bad to tuck up in there.
OK, so if you are going to actually use your sliders for what they are made for, looks like cutting and reinstalling the fiber boards is not worth it. Wheeled my P400 pretty hard this weekend and had to pull the left side board before getting back on the highway. The board was sagging a good 4-5 inches at rest. Can't imagine what it would do at 75mph. Now I wait for someone to come out with armor.
OK, so if you are going to actually use your sliders for what they are made for, looks like cutting and reinstalling the fiber boards is not worth it. Wheeled my P400 pretty hard this weekend and had to pull the left side board before getting back on the highway. The board was sagging a good 4-5 inches at rest. Can't imagine what it would do at 75mph. Now I wait for someone to come out with armor.
Great looking setup. I want to install sliders at some point. Next on my list.
I'm curious if you've gotten any grooves/scratches on the Tuffant rims on the fronts. I got some gravel or dirt caught between the caliper and rim. Gave one of them a decent internal grove about 1mm deep x 2mm wide.
Was worried I might get some on the rears given the tighter clearnce but its the fronts that are taking more of a beating.
Sorry for going off topic. Not many P400s running the Tuffant Kimberley so wanted to ask.