04 DII Build Thread
#51
 07-07-2016, 07:14 AM


I have a couple suppliers that I get all my parts from. I'm not going to post that information up on here there. Simply due to the fact that this is my source of income, and I don't want to take away from that.
You can shoot me a PM for more details though.
Mike
You can shoot me a PM for more details though.
Mike
#52
08-11-2016, 11:00 AM

#53
08-11-2016, 11:00 AM
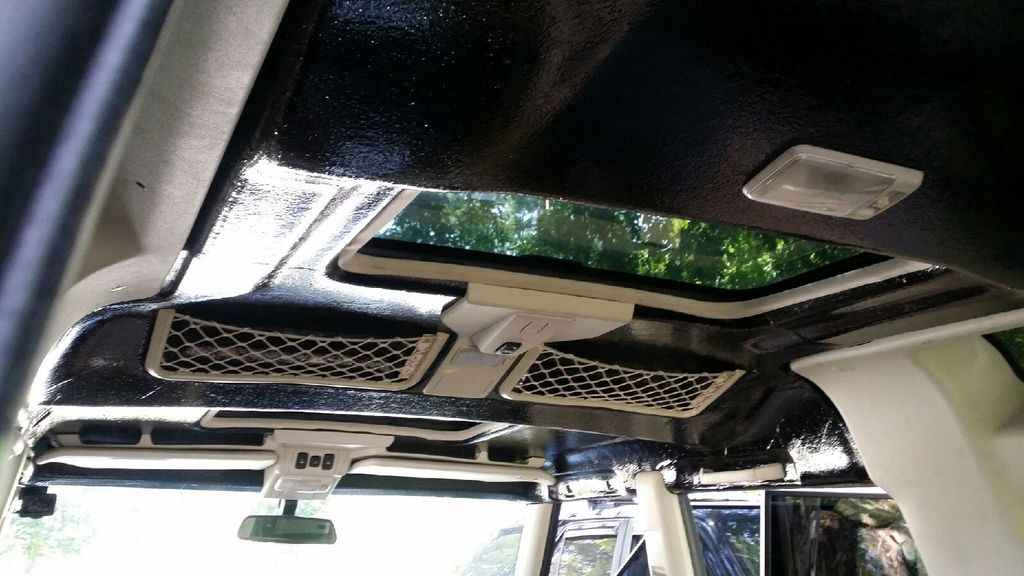
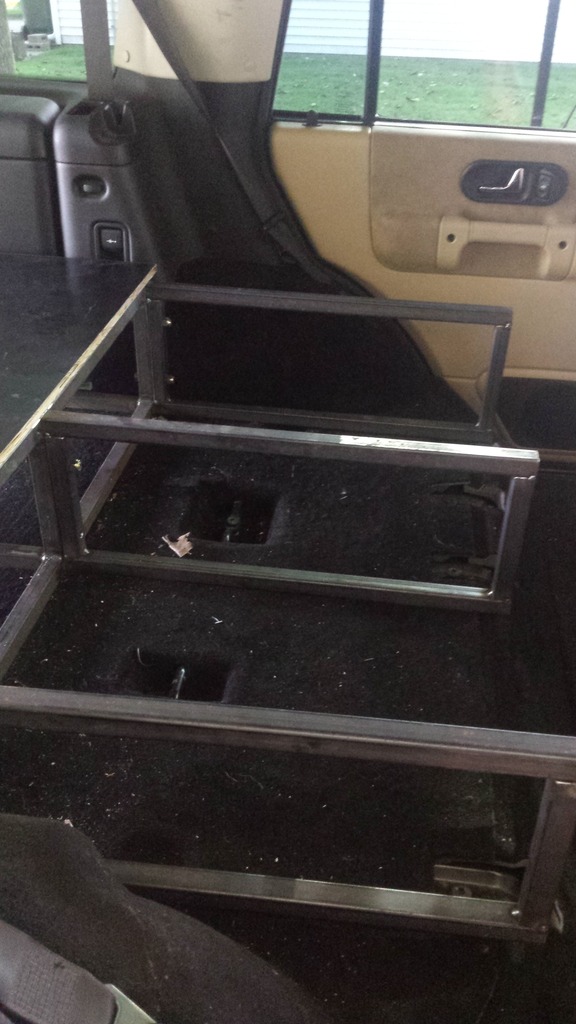
I've started on the sleep/storage platform for the front section. I've only been working on this for a few hours so far, and hope to have the framing finished by the end of the week.
This is how the project began.
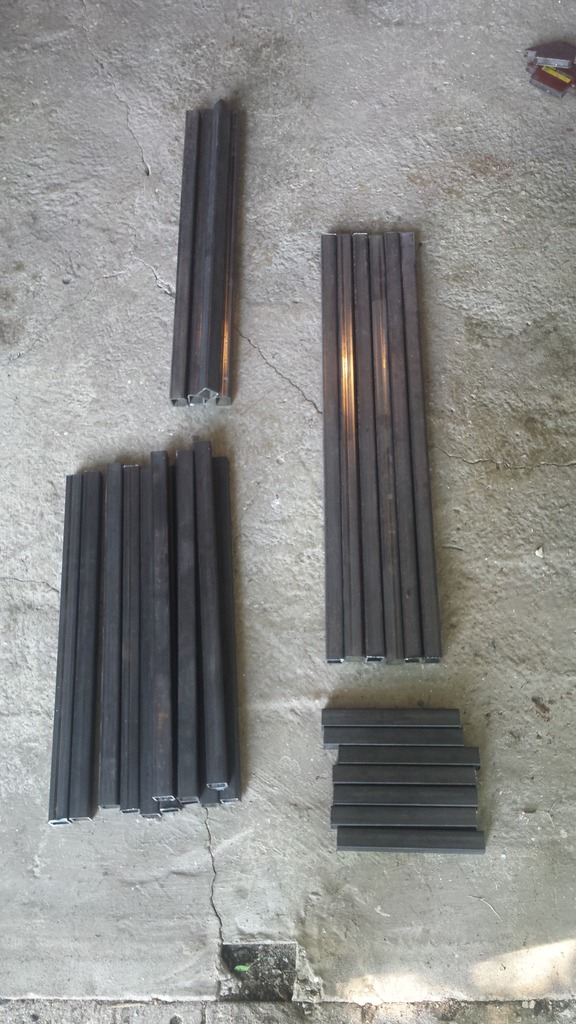
After removing the seats I needed to bend some metal that I could use as a mount. I have 3 of these plates that'll bolt into the factory seat bolt locations, and they'll get tied into the platform. These will be the anchor points for the front, and I'll continue to use the turn buckles in the rear.
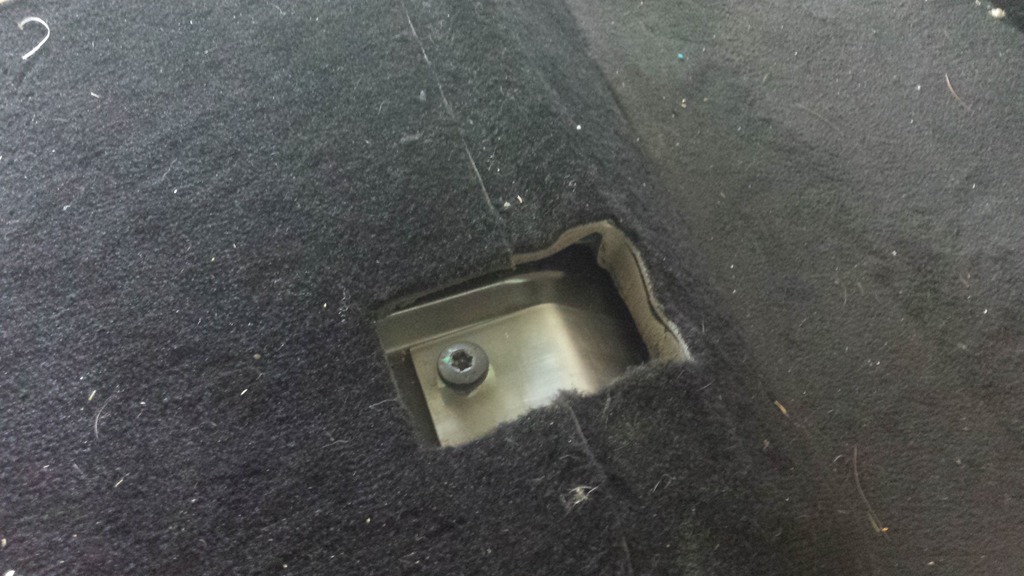
I have 3 small sections mounted to the rear section. These sections will be used to bolt the front and back sections together.
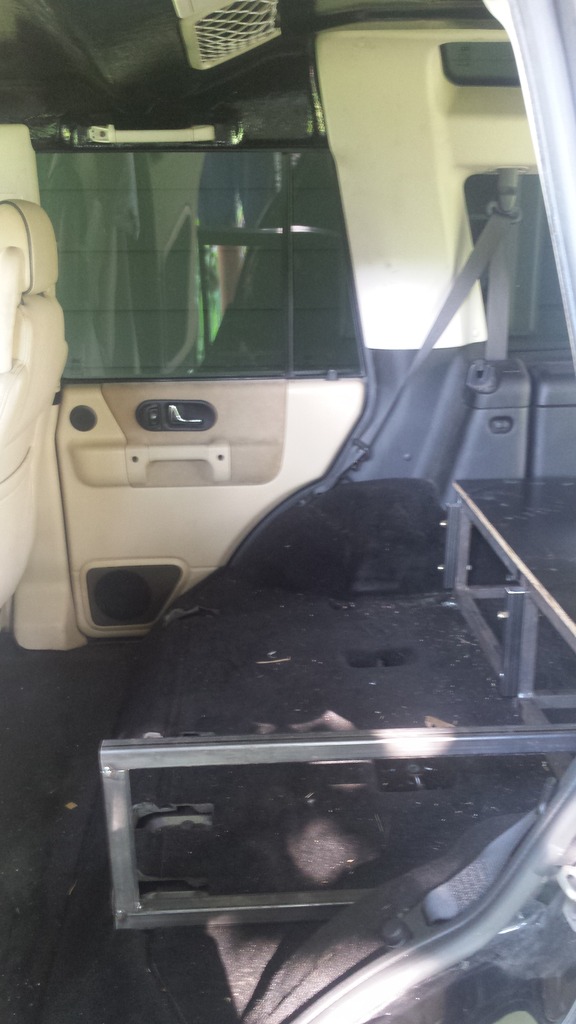
These 3 supports will be tied together on the top/bottom in the front/back. I plan on welding some wire mesh in the center section to act as a divider.
This is how the project began.
After removing the seats I needed to bend some metal that I could use as a mount. I have 3 of these plates that'll bolt into the factory seat bolt locations, and they'll get tied into the platform. These will be the anchor points for the front, and I'll continue to use the turn buckles in the rear.
I have 3 small sections mounted to the rear section. These sections will be used to bolt the front and back sections together.
These 3 supports will be tied together on the top/bottom in the front/back. I plan on welding some wire mesh in the center section to act as a divider.
#54
10-07-2016, 07:26 AM
I've been moving right along on the front section of the platform. It's just about done at this point, but I don't have any good pictures at this time. This section is built just like the rear section. I countersunk t-nuts into the plywood, and then put formica over the top. All of these panels are held on with fasteners from the inside for a nice clean look.
#55
10-13-2016, 08:13 AM
I've been able to get quite a bit finished up over the last week or so. The rear door is finally complete, and everything is working as it should.
Rear door panel finished up.
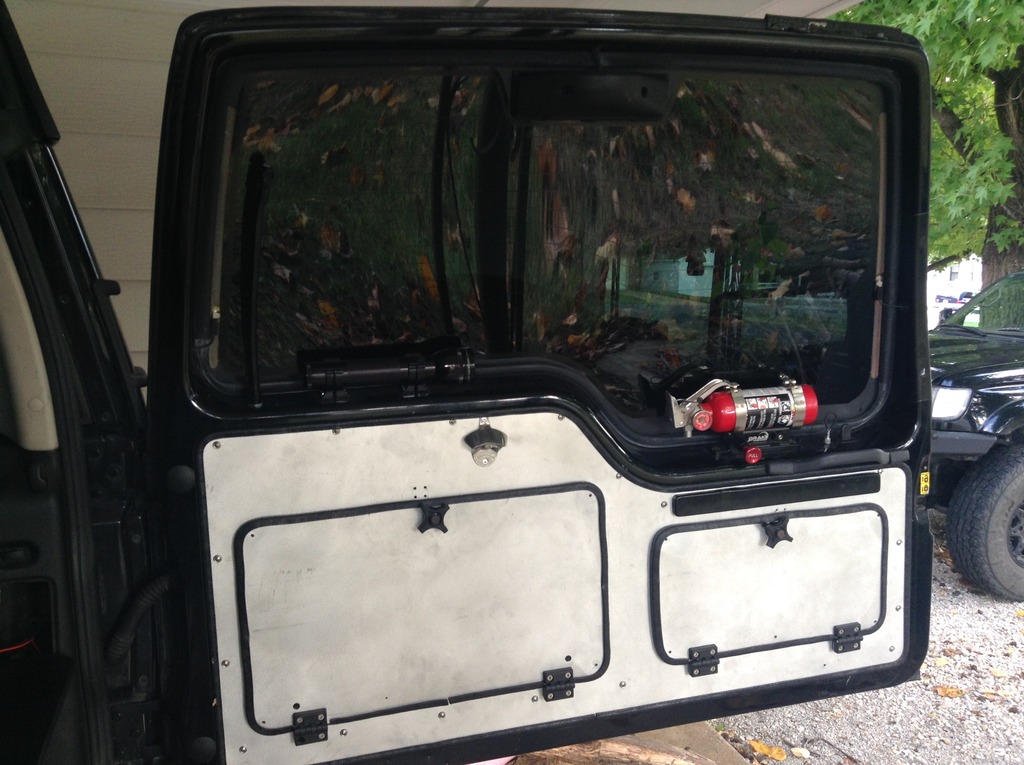
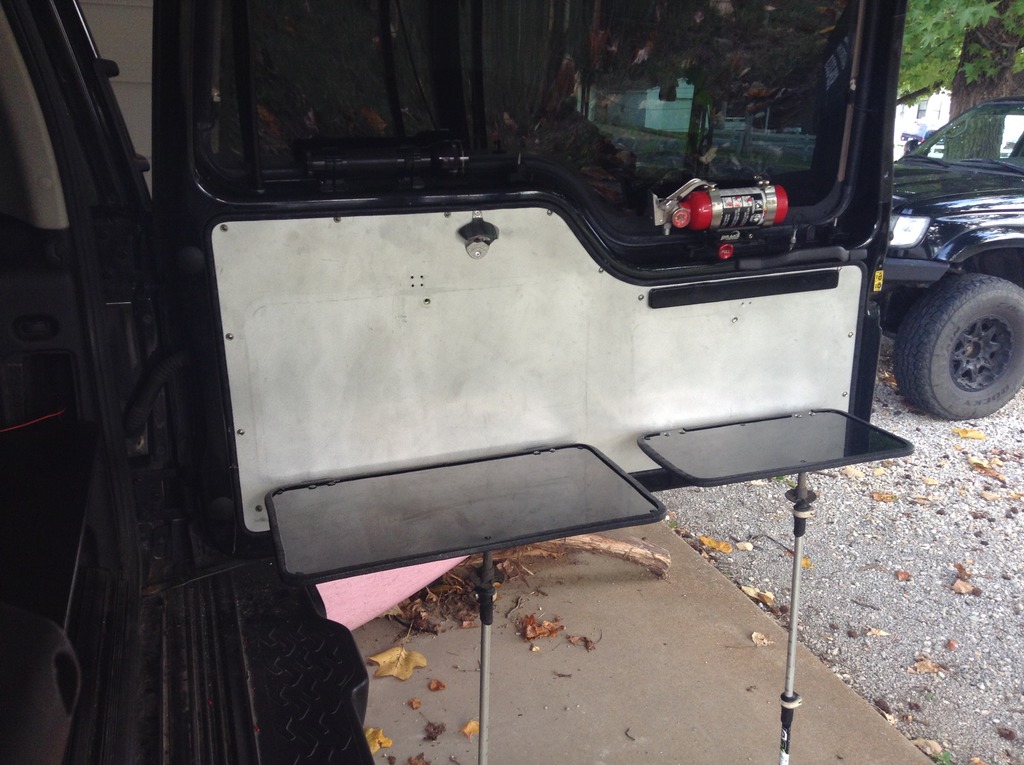
Dual fold down tables that are supported with our trekking poles. These are covered in HDPE for easy cleaning, and they can serve as cutting boards. The rear door also has a bottle opener, magnetic knife bar, led light on a gooseneck, modified rear door pull, and grap handle.
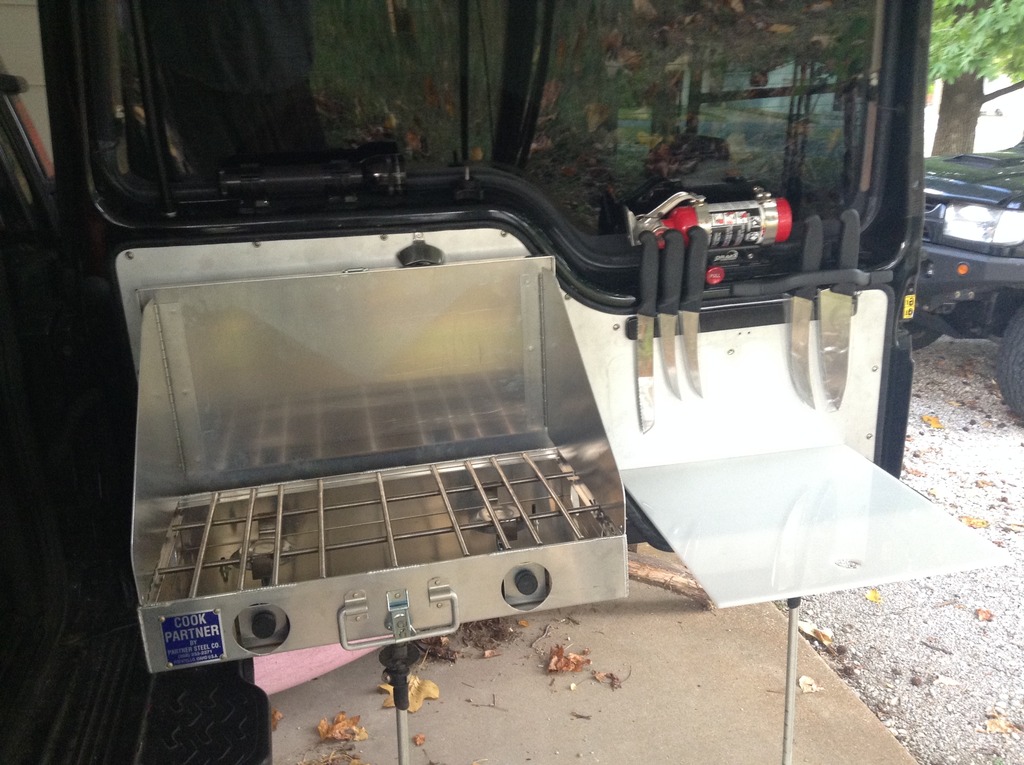
This is the cooking arrangement with stove, knives, and cutting board.
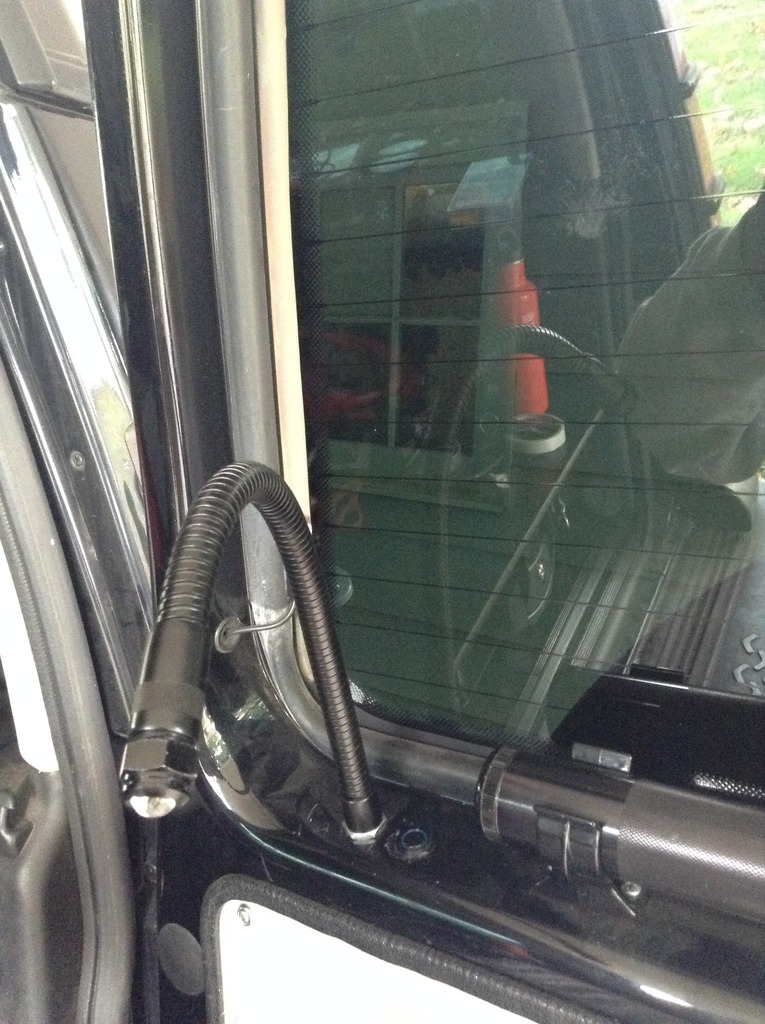
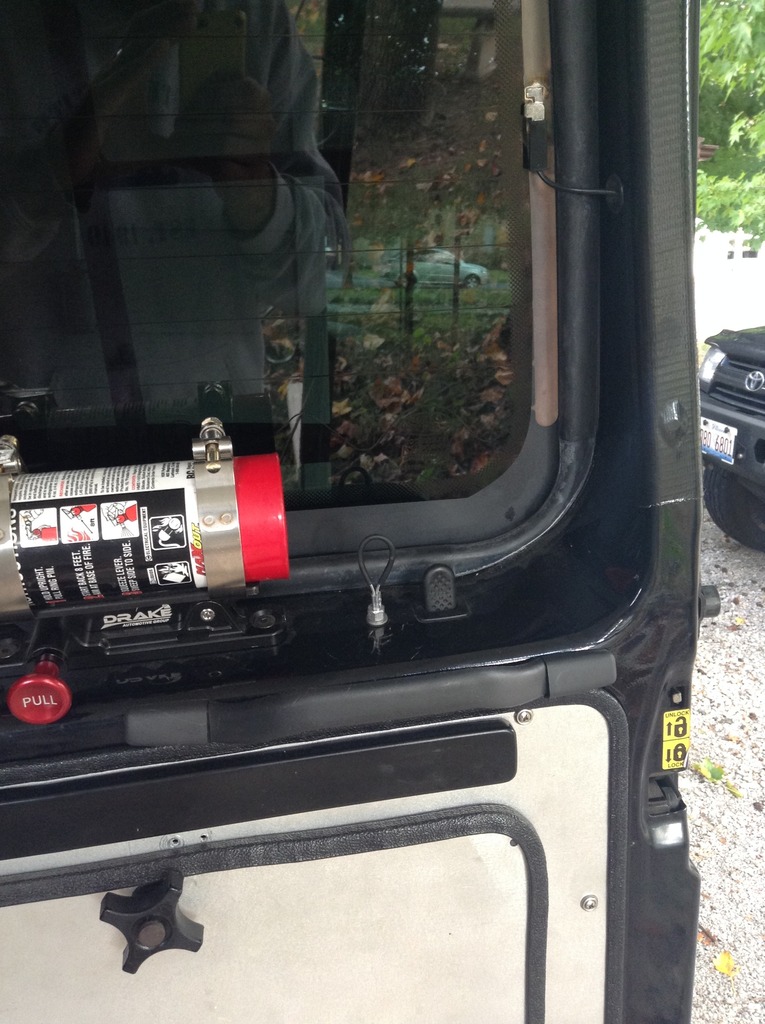
LED on a gooseneck, and the small on/off button to the right.
This is the modified door handle, and grab handle. The Rover used to have a handle flush mounted into the original rear door panel. That was no longer usable due to the panel that I made. I drilled a small hole, and ran the original cable from the handle through it. The added some heat shrink around the cable, and clamped it together. This will also us to open, and close the door from the inside it we need to.
Rear door panel finished up.
Dual fold down tables that are supported with our trekking poles. These are covered in HDPE for easy cleaning, and they can serve as cutting boards. The rear door also has a bottle opener, magnetic knife bar, led light on a gooseneck, modified rear door pull, and grap handle.
This is the cooking arrangement with stove, knives, and cutting board.
LED on a gooseneck, and the small on/off button to the right.
This is the modified door handle, and grab handle. The Rover used to have a handle flush mounted into the original rear door panel. That was no longer usable due to the panel that I made. I drilled a small hole, and ran the original cable from the handle through it. The added some heat shrink around the cable, and clamped it together. This will also us to open, and close the door from the inside it we need to.
#56
10-13-2016, 08:13 AM
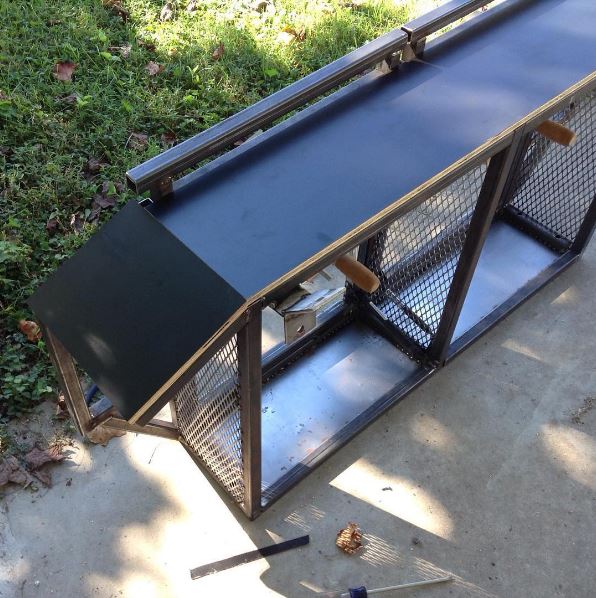
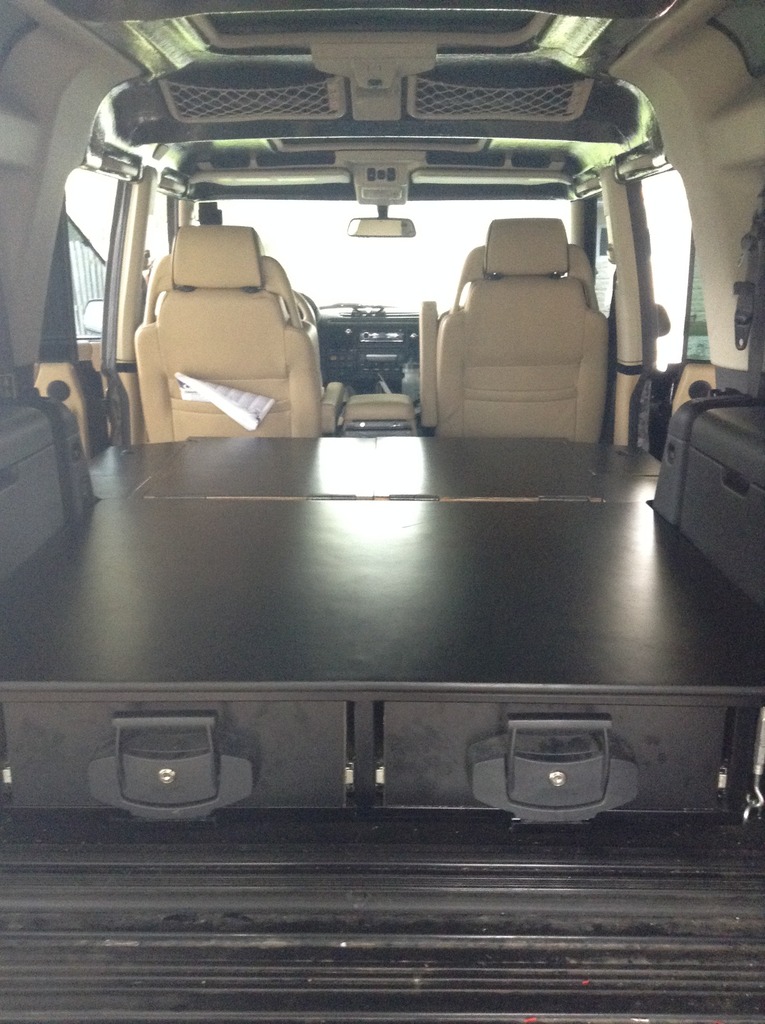
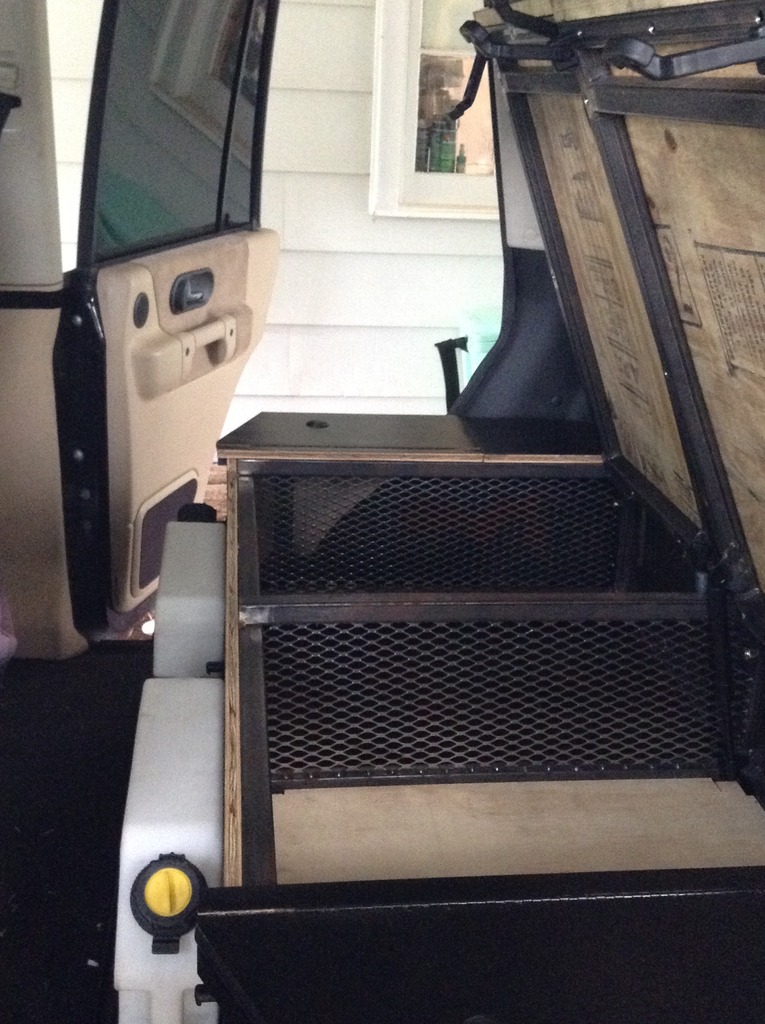
The front section of the platform is just about finished. I still need to add another section to the very front to extend about another 14" forward. I'm considering making two fold out sections to act as headrest, and to make the platform 74" in total length.
Looking from the rear forward. The back section has two large drawers that'll house all of our cooking supplies, and other things.
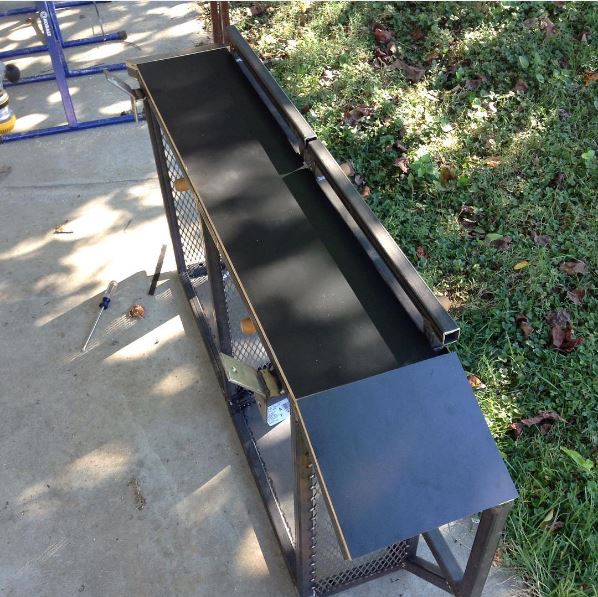
Side shot of the front section. I'm thinking of adding some black edge trim to the exposed plywood. Just not sure if I want to be able to see the unfinished wood or not, But maybe I'm just being OCD since it's never going to be seen once the custom bed is in there.
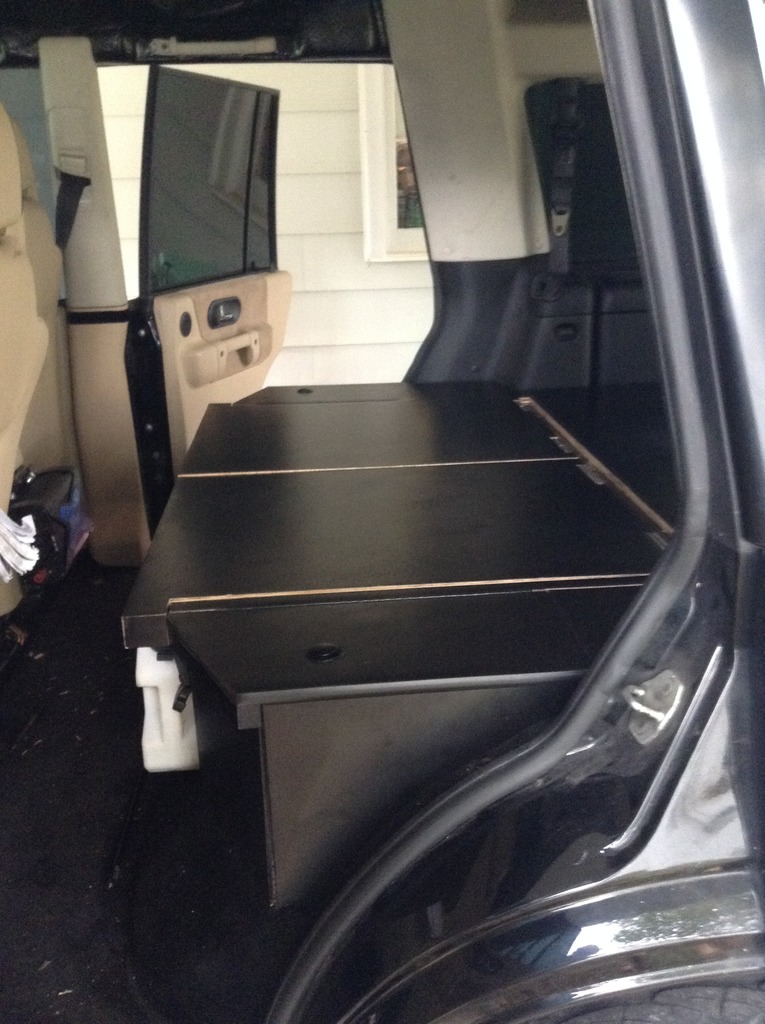
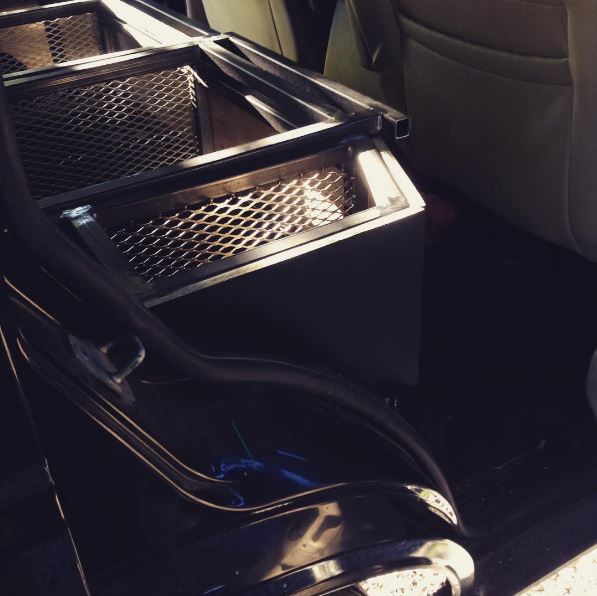
There are two small side compartments that are going to be used to store personal items, and things that we'll need to have close by. Even have a his, and her side. Which, will most likely end up as her, and her sides.
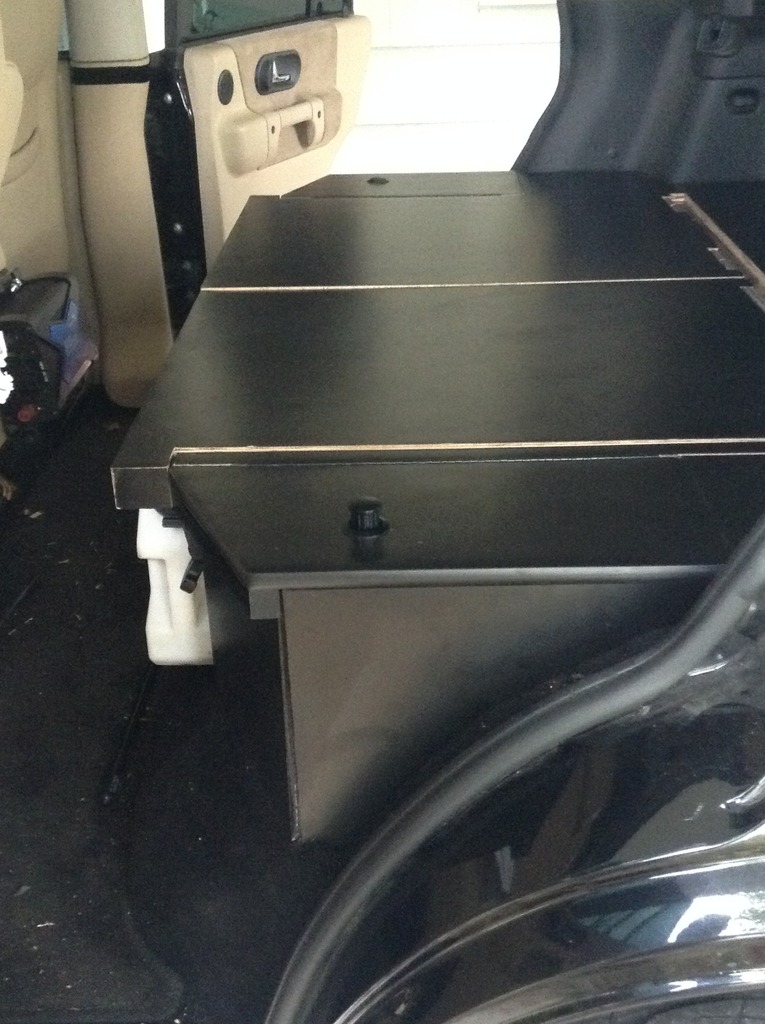
The handles for the side compartment are a push type ****. You push the **** down, and the it pops up. Once it's up you turn it 45*, and pull up.
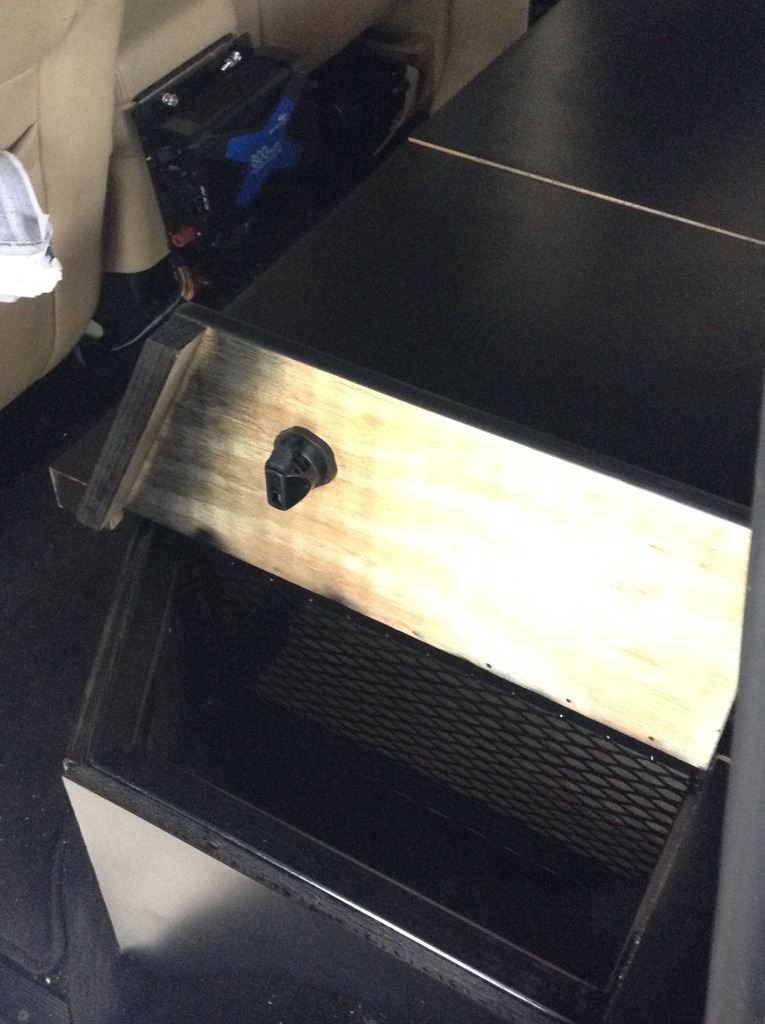
The middle of the front section also has two large hatches that flip up for more storage. Each hatch is held down by two rubber draw latches, and has one gas lifter for easy opening.
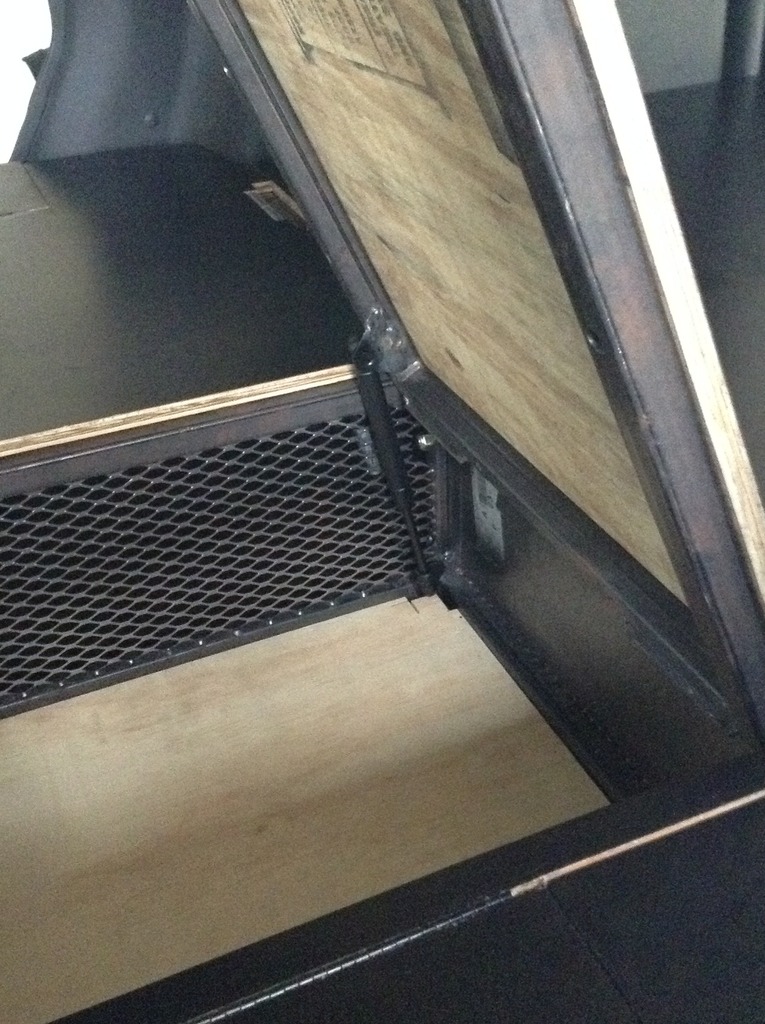
Here you can see the latches. I was able to install out two 1 gallon Rotopax just under the lips of the hatches. These Rotopax are going to be for drinking water, and will be kept inside most of the time.
Looking from the rear forward. The back section has two large drawers that'll house all of our cooking supplies, and other things.
Side shot of the front section. I'm thinking of adding some black edge trim to the exposed plywood. Just not sure if I want to be able to see the unfinished wood or not, But maybe I'm just being OCD since it's never going to be seen once the custom bed is in there.
There are two small side compartments that are going to be used to store personal items, and things that we'll need to have close by. Even have a his, and her side. Which, will most likely end up as her, and her sides.
The handles for the side compartment are a push type ****. You push the **** down, and the it pops up. Once it's up you turn it 45*, and pull up.
The middle of the front section also has two large hatches that flip up for more storage. Each hatch is held down by two rubber draw latches, and has one gas lifter for easy opening.
Here you can see the latches. I was able to install out two 1 gallon Rotopax just under the lips of the hatches. These Rotopax are going to be for drinking water, and will be kept inside most of the time.

#58
10-25-2016, 01:52 PM
I started poking around the motor over the weekend, and I don't like what I've found. It looks like one of the cylinder sleeves has slipped slightly, and this is the reason I keep blowing the gasket. I've blown two of them on the same cylinder at this point, and I'm not rebuilding this motor again.
Now it seems like I have a rebuilt motor or TD5 swap in my near future.
Now it seems like I have a rebuilt motor or TD5 swap in my near future.
#59
10-25-2016, 02:02 PM

I started poking around the motor over the weekend, and I don't like what I've found. It looks like one of the cylinder sleeves has slipped slightly, and this is the reason I keep blowing the gasket. I've blown two of them on the same cylinder at this point, and I'm not rebuilding this motor again.
Now it seems like I have a rebuilt motor or TD5 swap in my near future.
Now it seems like I have a rebuilt motor or TD5 swap in my near future.
can you get some detailed photos posted?
#60
10-25-2016, 03:15 PM