When you click on links to various merchants on this site and make a purchase, this can result in this site earning a commission. Affiliate programs and affiliations include, but are not limited to, the eBay Partner Network.
I would use the diff lock every time you think you might need it; you can ruin your case if you do a lot of slipping unlocked; look on Ashcroft transmissions website for explanation..
I would use the diff lock every time you think you might need it; you can ruin your case if you do a lot of slipping unlocked; look on Ashcroft transmissions website for explanation..
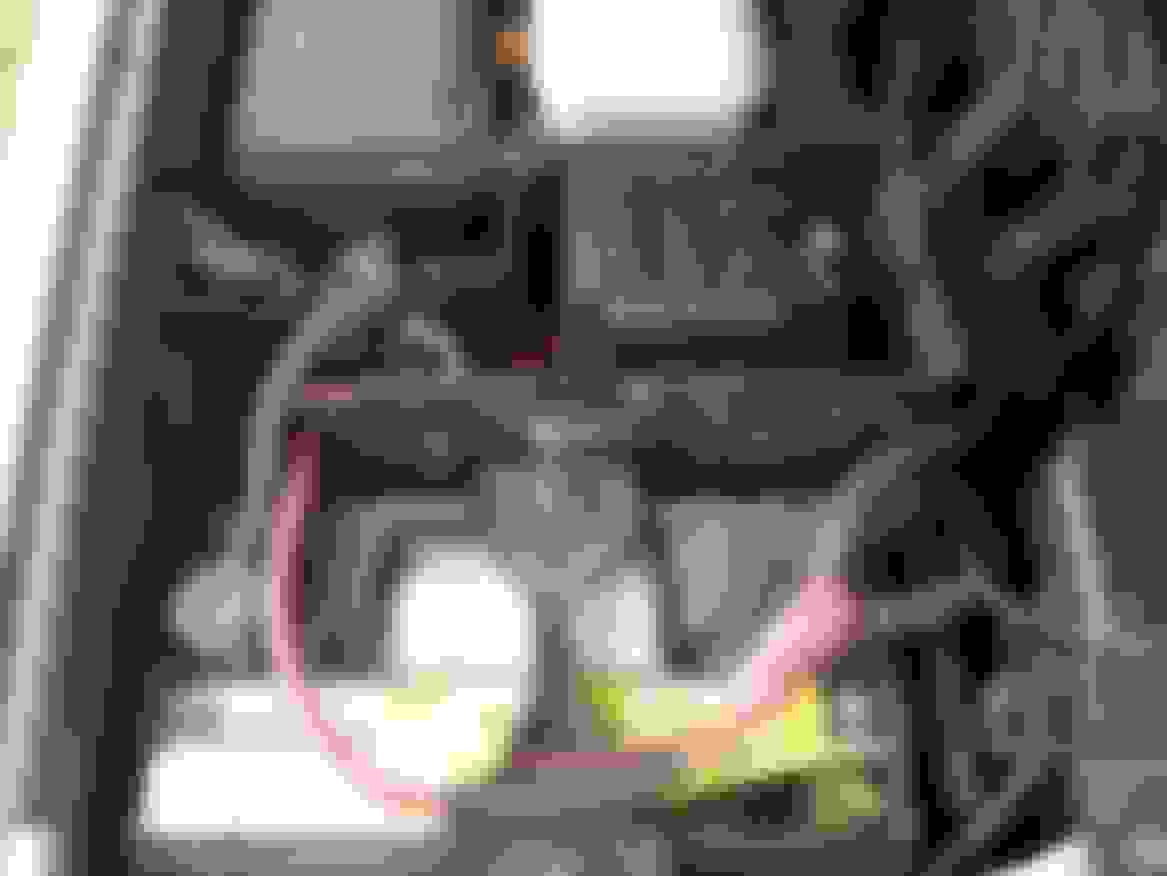
Mounted the control/solenoid pack within jack storage area. Fit inside pretty nicely and the length of the plastic compartment give me plenty of room for excess cable. Drilled a couple large holes and ran all four cables cleanly to the winch. Plenty of room between frame rail and radiator.
Cut a hole in the battery box lid, for access to the winch controller plug.
Closer look.
Controller attached.
Closer look. l'd like to keep the control attached and route the wire through the dash, mounting it somewhere handy in the drivers compartment. Then buy another controller for pulls that put me outside the vehicle.
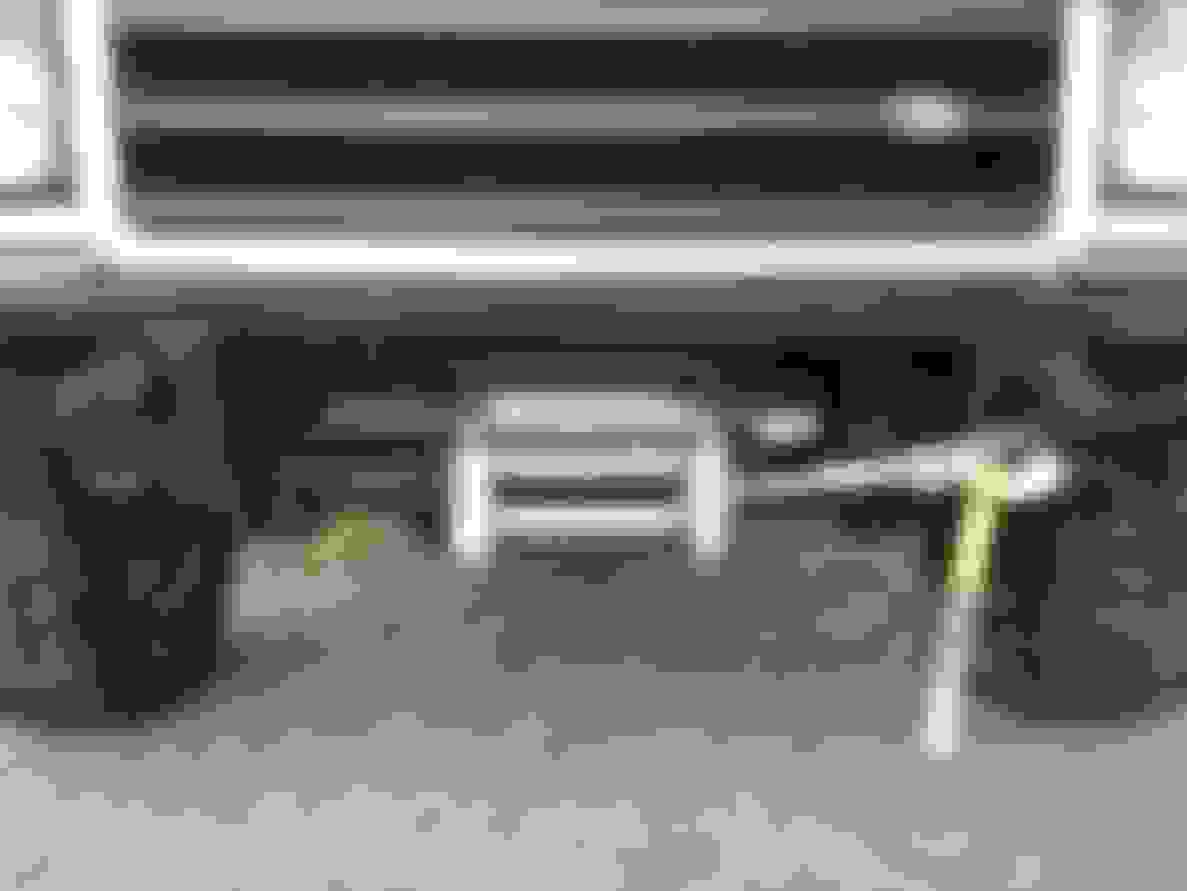
Paid out the winch cable and pulled the truck with the parking brake mildly set, to tighten the cable on the spool. Was amazed at the quietness of the winch and smooth operation.
Now that the winch is mounted, l'm going to put a piece of steel between the two recovery mounts, along top to hide/protect the winch.
The other day she mentions that mine sits higher than hers now...and she likes the "looks" of it...and wants hers to be a bit higher. And they say..."you can take the girl out of the city, but you can't take the city out of the girl."
It's been a slow, arduous task with its inherent difficulities...but l've successfully turned my wife into a redneck...lol.
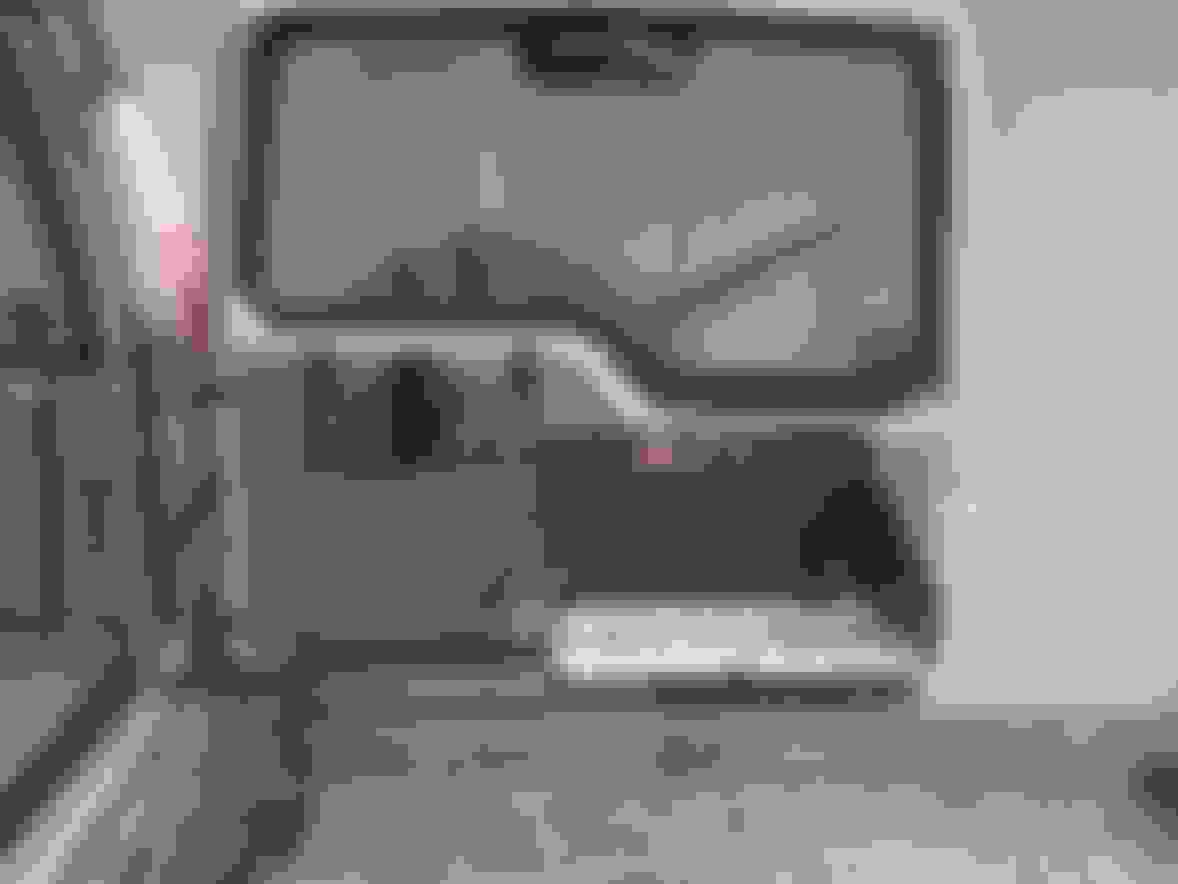
Good bye sagging on my head headliner. Didn't go as hardcore as Jeff (Blake) and remove side plastic pieces. Need to leave them in place for now, so as to keep the grandkids heads from bunching off steel while riding with grandpa. Daughter frowns on such things...lol.
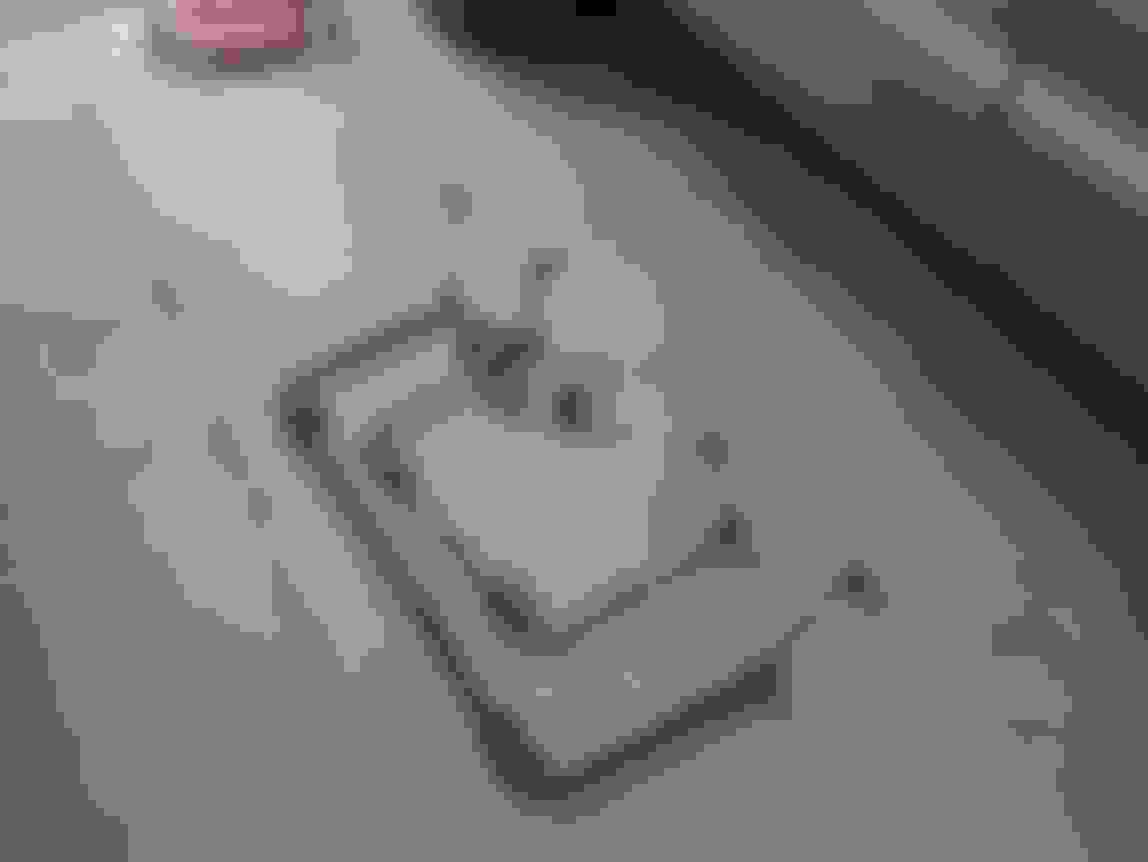
Out and on the ground in about fifteen minutes. Pretty easy, when you have no intentions on reinstalling.
Lower shelf.
The upper one will mount on pivots screwed to the door just above panel, pretty much the depth it is, and fold upward.
The lower one will mount to a round tube on each end, where I'll add about four inches to the depth of the shelf and will pivot off brackets at the end of the round tubes. I'll use rubber coated cables to support them when in use and have a couple broom holder clips to support them when they're not.
Removed drivers side rear seat. Would have remove the other...but those darn grandkids would mess grandpa up good, if that happened.
Put the bottom shelf in place. Couldn't use the upper shelf, got in the way of stove...so I just added a rack I had leftover from an old grill that met its maker.
Good "hood" camping...
Bad "hood" camping...
Need to come up with a shelf support arm, thinking about just doing one at the end closest to the hinge side of door. The stove sits out away from the panel about two inches, hope this is enough space for heat issues. If not, another panel will have to be made.