When you click on links to various merchants on this site and make a purchase, this can result in this site earning a commission. Affiliate programs and affiliations include, but are not limited to, the eBay Partner Network.
An average-ly mechanically-inclined guy's first Land Rover
Here is my first ever Land Rover. A '99 D2 with about 65k on the clock. Per the seller, one day coolant came spewing forth while in the parking lot. The PO paid a friend of who replaced the head gasket a couple months ago. Then when she decided to sell it, someone took it in for a pre-purchase inspection at a local independent LR shop and was told it needed a head gasket.
It started right up and I was able to drive it around the parking lot without issue. The coolant was fresh and green. The oil needed to be changed, but no chocolate milk. Interior and body were in good condition as well. After forking over $2500, I did a combustion test in the parking lot (the kind using the blue fluid). After over 15 minutes, the solution was still blue, though maybe slightly less so than fresh. The temp according to BlueDriver stayed around 190. With that, I decided to drive it home ~15 miles.
Made it home without issues. Temp stayed around 190 F the whole way.
The first order of business is to pull the heads to see what's going on. I must've watched the Atlantic British video at least 10 times. With that, and the workshop manual, I was able to disassemble without issue. Hopefully reassembly is as easy.
Whoever worked on this last time decided to use silicone-type gasket on ALL mating surfaces...
Rockers looked a bit dirty, definitely overdue for an oil change.
Which I suspect is due to this piece being caught between the block and head. I did notice that the injector ground wire on the right side was blue instead of green like the other side. This explains it.
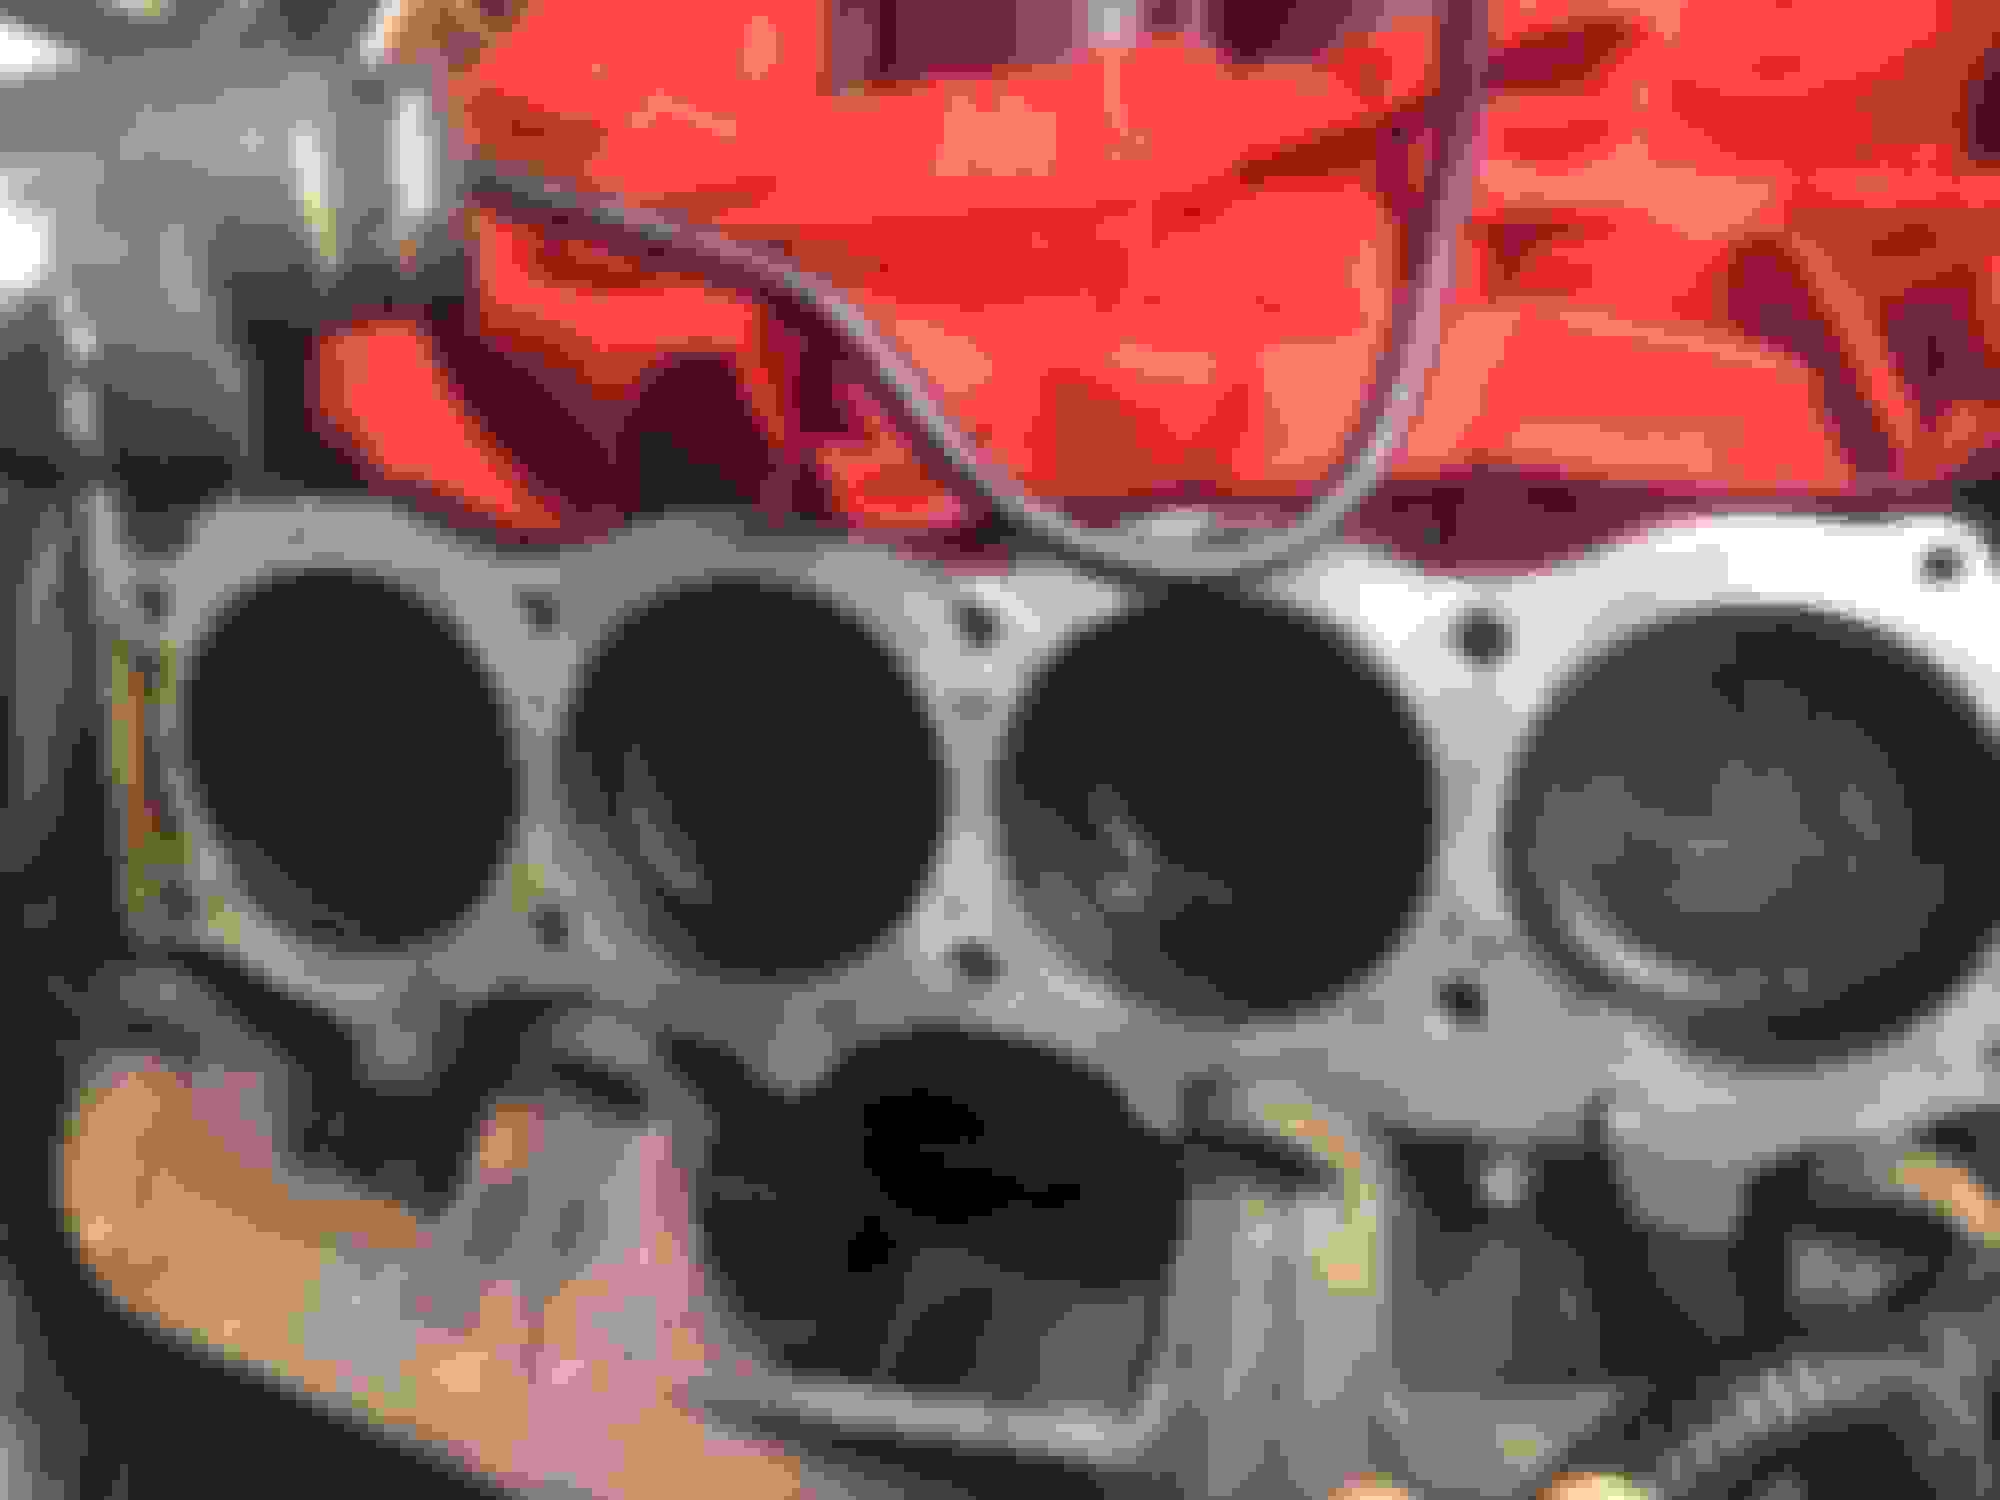
The existing head gaskets came right off in 1 piece. However, under it was quite a bit of old gasket material that had been baked on. It was quite rough as I ran my finger across it. There was also some very superficial scratch marks on the block mating surface which I suspect is from someone using a metal scraper before they finally gave up.
This is after about an hour with a plastic scraper and denatured alcohol. There are still pieces that aren't coming off. I have some CRC gasket remover coming tomorrow that will hopefully clean it off.
The areas next to the water jacket in the rear of the block don't feel like the rest of the old gasket material. Why is that?
I also noticed a very very slight "lip" on the rear of cylinder 7 and 8. It is only on the rear of those cylinders and only in a small section. Everywhere else feels completely smooth. Could this be a slipped liner?
So, did you do any diagnostics before you disassembled everything? Like compression/cylinder leakdown tests, was there any misfire codes, was it loosing anti-freeze, did you smell a sweet aroma at the tailpipe, did you have any unusual "ticking" sounds while running at operating temperatures? You already mentioned it wasn't overheating and passed the coolant/exhaust gases test...so why did you tear it down?
I'd get a wire wheel attachment for your cordless drill and clean the block surface with that. Although, this was obviously a pretty poor attempt at head gasket replacement by her friend...l don't see any areas of substantial damage (besides where wire was crushed).
I would not wire wheel that block. Use the gasket remover and a plastic scraper. If you have a really difficult spot use a straight blade razor scraper.
Originally Posted by The Deputy
So, did you do any diagnostics before you disassembled everything? Like compression/cylinder leakdown tests, was there any misfire codes, was it loosing anti-freeze, did you smell a sweet aroma at the tailpipe, did you have any unusual "ticking" sounds while running at operating temperatures? You already mentioned it wasn't overheating and passed the coolant/exhaust gases test...so why did you tear it down?
I'd get a wire wheel attachment for your cordless drill and clean the block surface with that. Although, this was obviously a pretty poor attempt at head gasket replacement by her friend...l don't see any areas of substantial damage (besides where wire was crushed).
Brian.
I did not perform a compression test or a leak down test. Since there was some slight color change in the combustion test solution it meant there was a small leak. I didn�t trust the previous HG attempt and wanted to redo it for peace of mind as well as my own education. It�s a good thing I did as well. During the disassembly I found many bolts to be improperly fastened and could just about loosen them by hand. There were also sealants of many different colors (red, blue, black) throughout the engine, often on the same mating surface.
As the title states I�m just an average guy with average mechanical skills. I can do basic maintenance but have never done major engine work before. The Disco is a project car to learn on and have fun.
Going to politely disagree with fishEH. Using a fine wire wheel attachment for your drill, will not remove any material from the block or heads. Been a fleet mechanic for forty some years, use them all the time on aluminum or steel, without issue. And...when you're a fleet mechanic...you see your mistakes...and l've seen none using a wire wheel. Now, don't go stupid crazy leaning into it like your drilling for oil or something...lol. Just work the area that needs cleaning, reverving the drill on occasion, until all gasket material is gone.
Actually, l see more mistakes made with a steel bladed scrapper...folks don't pay attention and gouge into aluminum block/head material.
Missed the statement about the exhaust gas test fluid changing slightly, just read the part about it being good for fifteen minutes. Anyhow, keep up the good work...you'll be a full-fledged mechanic by the time you are done, trust me.
Brian.
Last edited by The Deputy; Feb 18, 2019 at 05:35 AM.
Thanks. I didn�t trust myself with anything motorized. The gasket remover got a lot of the residue out. However, at the ends of the block next to cylinder 1, 2, 7, and 8 there was what I think is rust. It certainly was rust-colored and no amount of soaking with the solvent made any difference. Could it be remnants from an old gasket? I briefly tried lightly scraping with a razor with little affect.
Since the area was small, I decided to use a small piece of fine grit sand paper on the tip of my finger and lightly run it over the small bumps with a dab of WD-40 to help capture the fine particles. I was careful to stay away from the area immediately next to the cylinder walls and not get any residue into it. This worked quite well and the surface is now smooth to touch. There�s still some discoloration, but it should good enough for a seal.