It's not a Rover build thread, MGB with Ford 302 power :D

#153
 09-16-2015, 03:52 PM
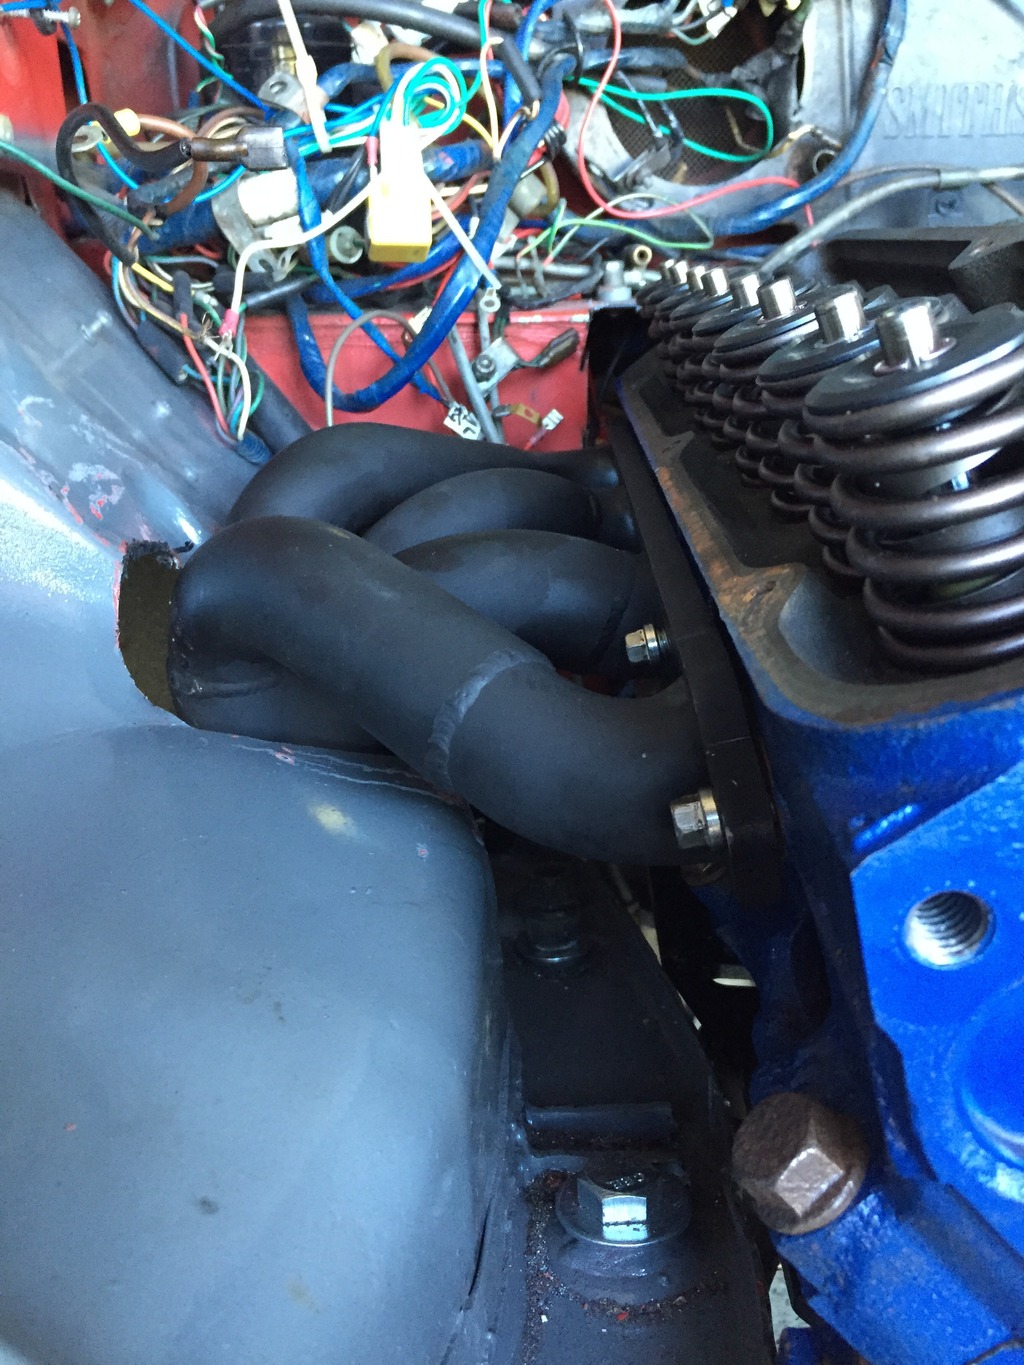
The headers are made to exit through holes I need to make in the inner fender and back from there. I have a choice of centering the gas tank and running duals on each side or running duals out the factory spot on the drivers side rear. Least favorite choices would be to dump at the sides before the rear wheels or side pipes
#154
09-19-2015, 05:37 PM
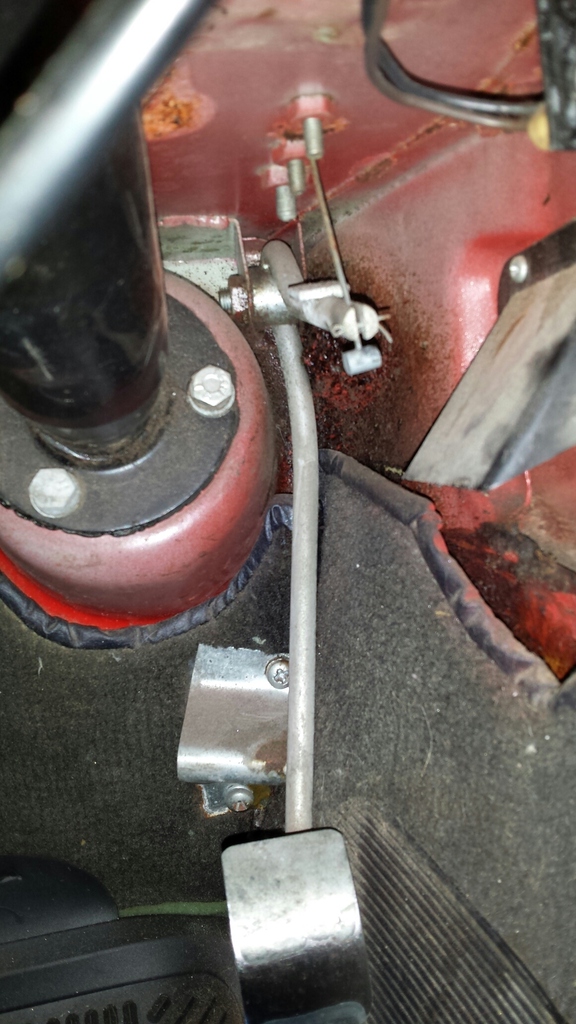
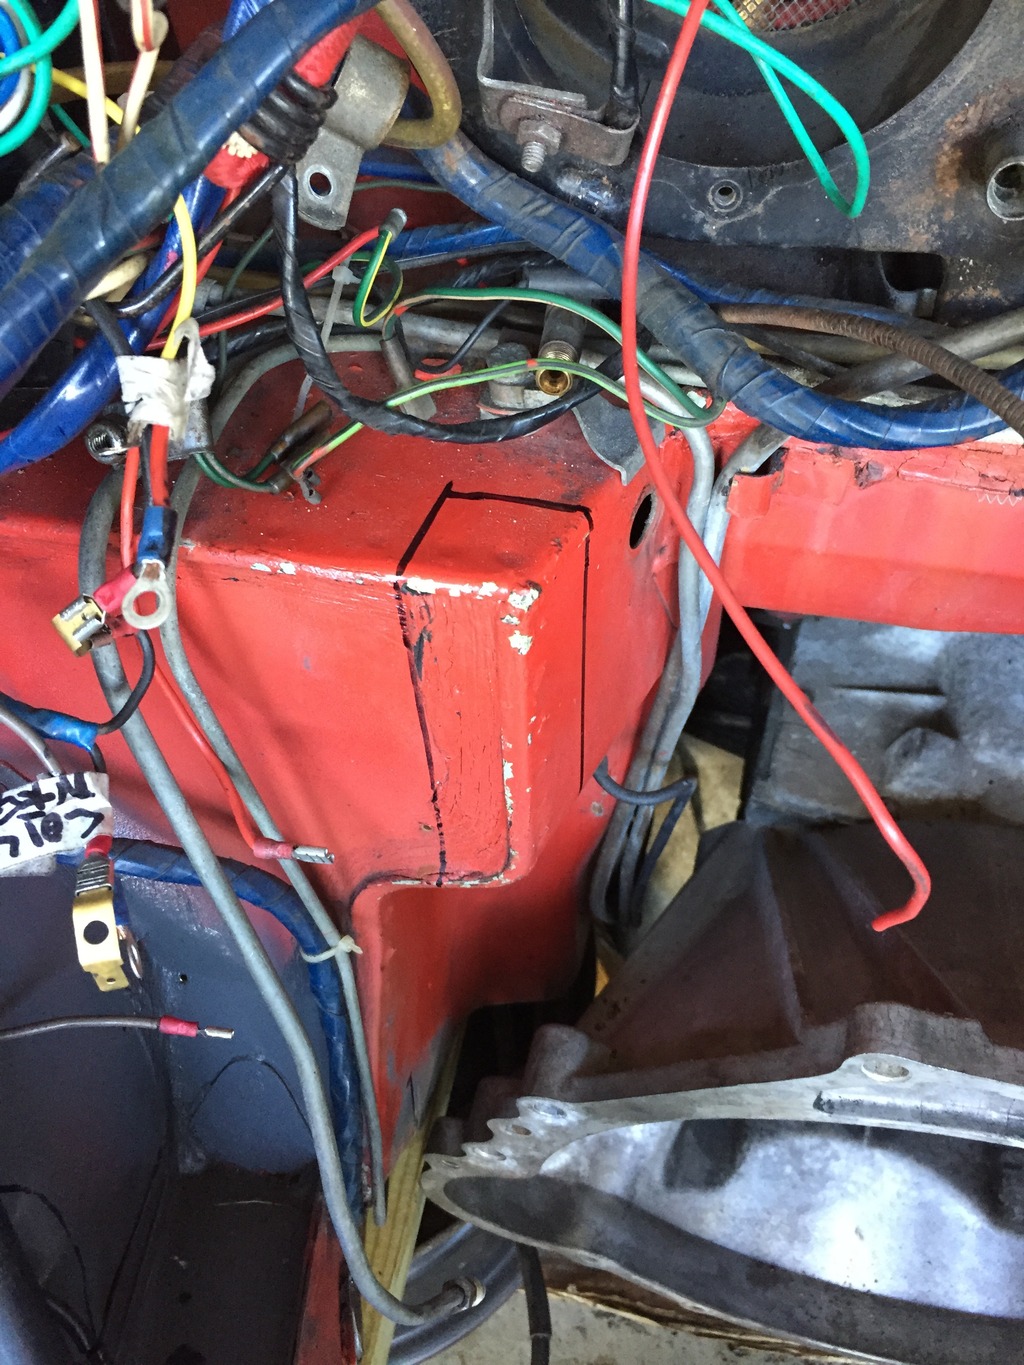
This is the back side of the area being cut out just have to keep a close eye on the gas pedal mounting so I can still control this beast when we're done cutting and welding.
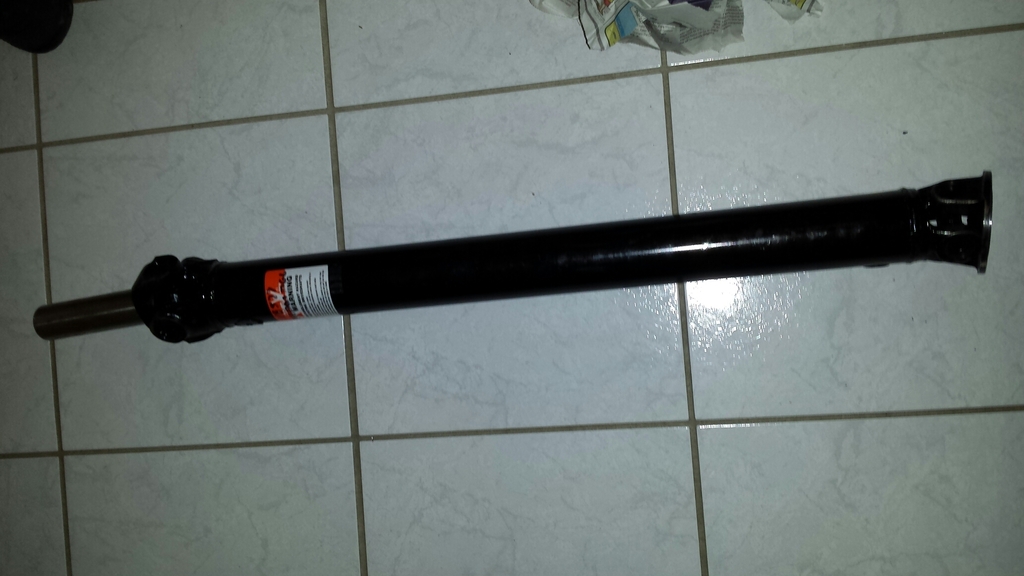
The driveshaft
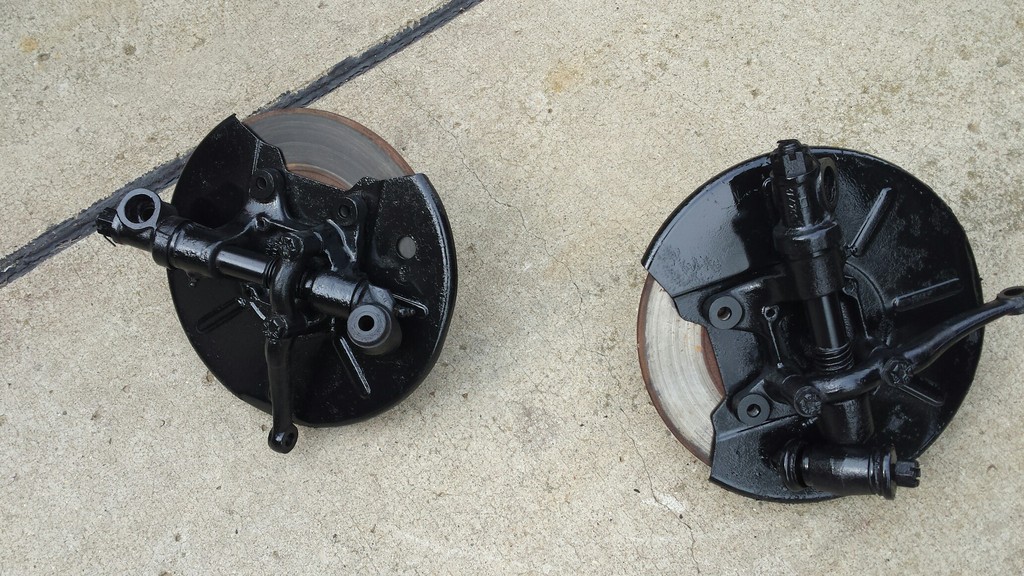
A few painted ready to go back on parts.
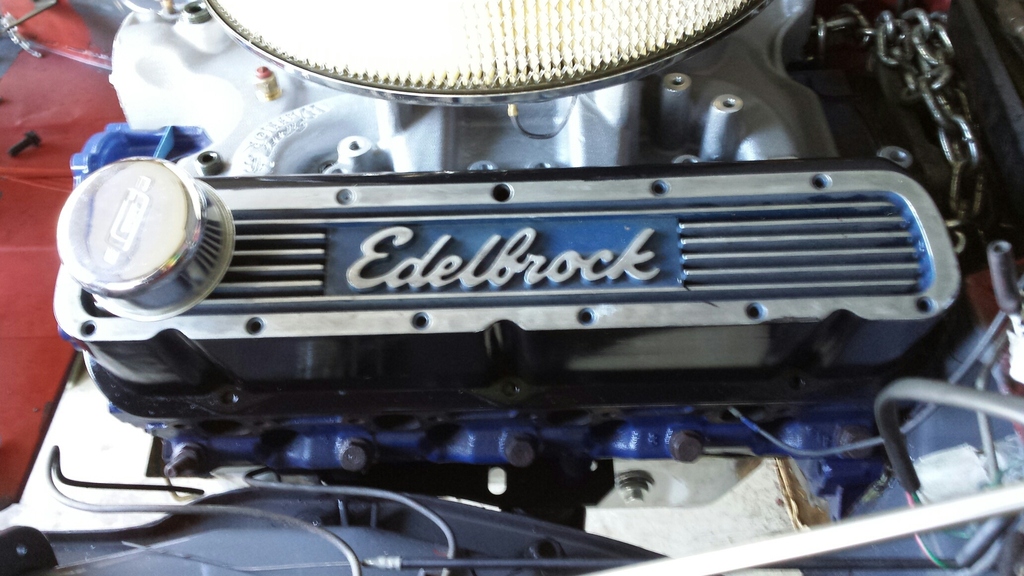
My dad decided to give a little something extra to the junk yard valve covers....

The driveshaft

A few painted ready to go back on parts.

My dad decided to give a little something extra to the junk yard valve covers....


Last edited by ArmyRover; 09-19-2015 at 05:39 PM.
#156
09-20-2015, 03:01 PM
The following users liked this post:
cmshoot (06-01-2018)
#157
09-20-2015, 08:37 PM
Ok so a bit more detail on this. We marked the firewall, on each side towards the trans tunnel. This had previously been massaged (translated smacked hard with a 3lb BFH). Well massaging only takes one so far, then it's time for the angle grinder. 2 Sets of cuts later and I'm really happy with where it's at.
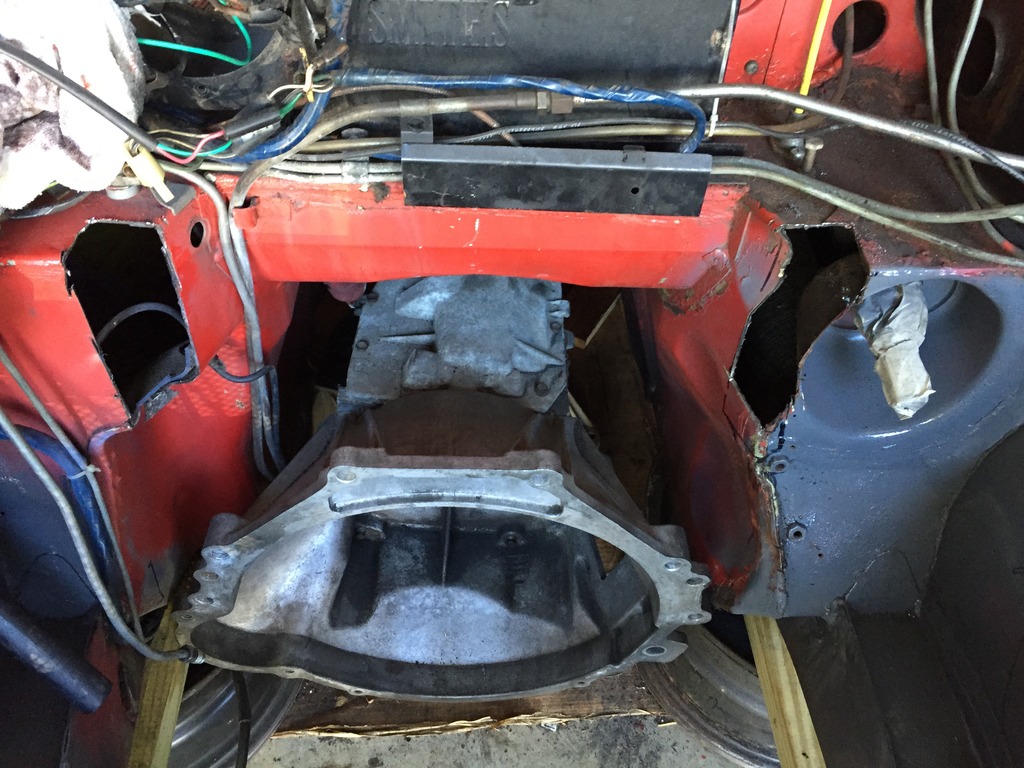
Then the test fit of the motor and she fits and sits back nice and tight. Did a bit more clean up of the cut areas for clearance on the valve covers.
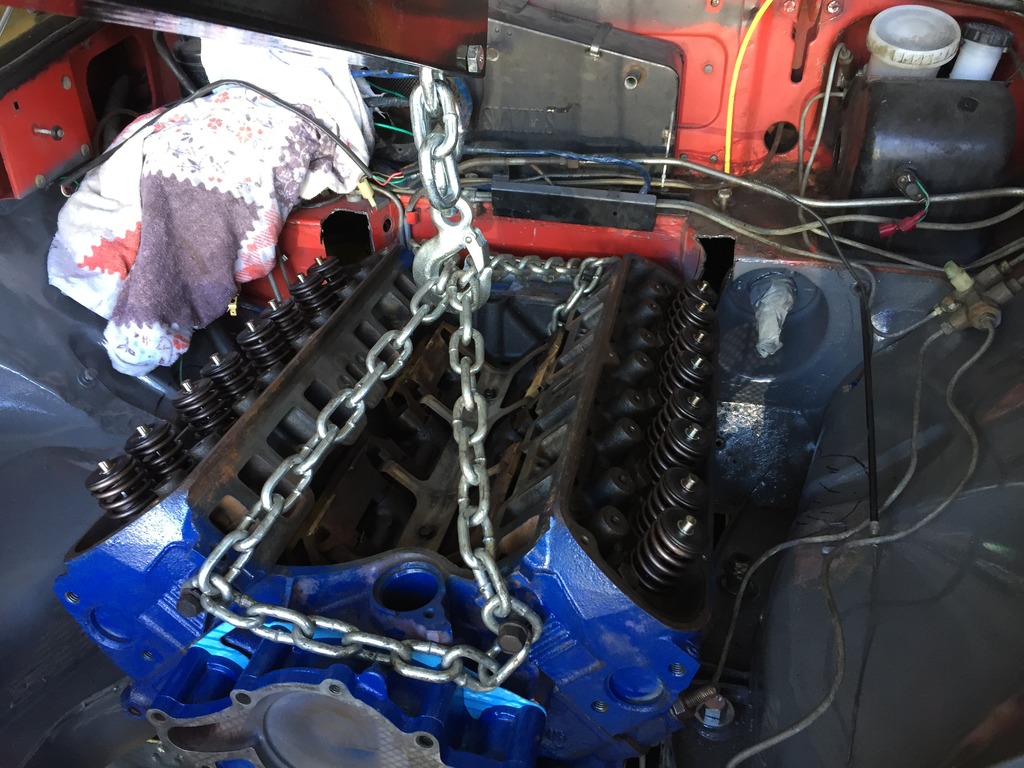
We then moved on to picking up sheet metal and making templates for the patches. Then I remembered that we need to do more cutting to fit the headers. So we make up some templates and break out the power tools. Some cutting some test fitting, some more cutting some more test fitting and so on..... Here is where it's at now I'm very happy with the fit just need to do some final alignments on the motor and trans mounts and it should be good to go.
Then it will be time to make the templates to make the patches to fill the holes I made in the firewall.


Then the test fit of the motor and she fits and sits back nice and tight. Did a bit more clean up of the cut areas for clearance on the valve covers.

We then moved on to picking up sheet metal and making templates for the patches. Then I remembered that we need to do more cutting to fit the headers. So we make up some templates and break out the power tools. Some cutting some test fitting, some more cutting some more test fitting and so on..... Here is where it's at now I'm very happy with the fit just need to do some final alignments on the motor and trans mounts and it should be good to go.

Then it will be time to make the templates to make the patches to fill the holes I made in the firewall.
Last edited by ArmyRover; 09-20-2015 at 08:41 PM.
#159
09-21-2015, 10:52 PM
Like they have carnal knowledge of each other. Oddly it shoots the gap and makes it fine. The real close call is the steering rack and the harmonic balancer. If I have a motor mount fail my first warning will be the loss of steering as the crank pulley cuts it in two.
Today wasn't a picture day. We pulled it all back out, installed the new rear main, pilot bearing, flywheel, clutch pressure plate and throw out bearing. Following that was a new input shaft assembly with new bearings and seals. Then a new output shaft seal. Then designed a bracket to mount the slave cylinder on. Then I opened up the front tray that used to hold dead space and a oil cooler so the radiator could live there.
So tomorrow will be picking up the slave cylinder, finalizing the bracket. Putting the starter in place and welding up the firewall. If we have time left from there running the new clutch line and some new brake lines. More time (yeah right) getting the radiator mounted..... Wish me luck I'm still trying to get it on the road by Sunday night
Remebering to find a fox body oil dipstick and measure to see if those SLP Loud Mouth 2 mufflers will fit in the back .....
.....
Today wasn't a picture day. We pulled it all back out, installed the new rear main, pilot bearing, flywheel, clutch pressure plate and throw out bearing. Following that was a new input shaft assembly with new bearings and seals. Then a new output shaft seal. Then designed a bracket to mount the slave cylinder on. Then I opened up the front tray that used to hold dead space and a oil cooler so the radiator could live there.
So tomorrow will be picking up the slave cylinder, finalizing the bracket. Putting the starter in place and welding up the firewall. If we have time left from there running the new clutch line and some new brake lines. More time (yeah right) getting the radiator mounted..... Wish me luck I'm still trying to get it on the road by Sunday night
Remebering to find a fox body oil dipstick and measure to see if those SLP Loud Mouth 2 mufflers will fit in the back
.....
Last edited by ArmyRover; 09-21-2015 at 10:54 PM.
#160
09-23-2015, 10:54 PM
Ok so life got in the way a bit and there were some set backs yesterday. We decided to start fitting up the cooling system and accessories so we could mark any additional cutting grinding etc to clearance the bay for everything so this would be the last time pulling the motor. So clutch slave bracket worked the treat and should present no issues. Then Alternator, ok need to cut off the old radiator mount brackets from the inner fender, no big deal. Radiator will need a notch added to the mounting flange no problem there, until we look at how far down the radiator will be sitting.
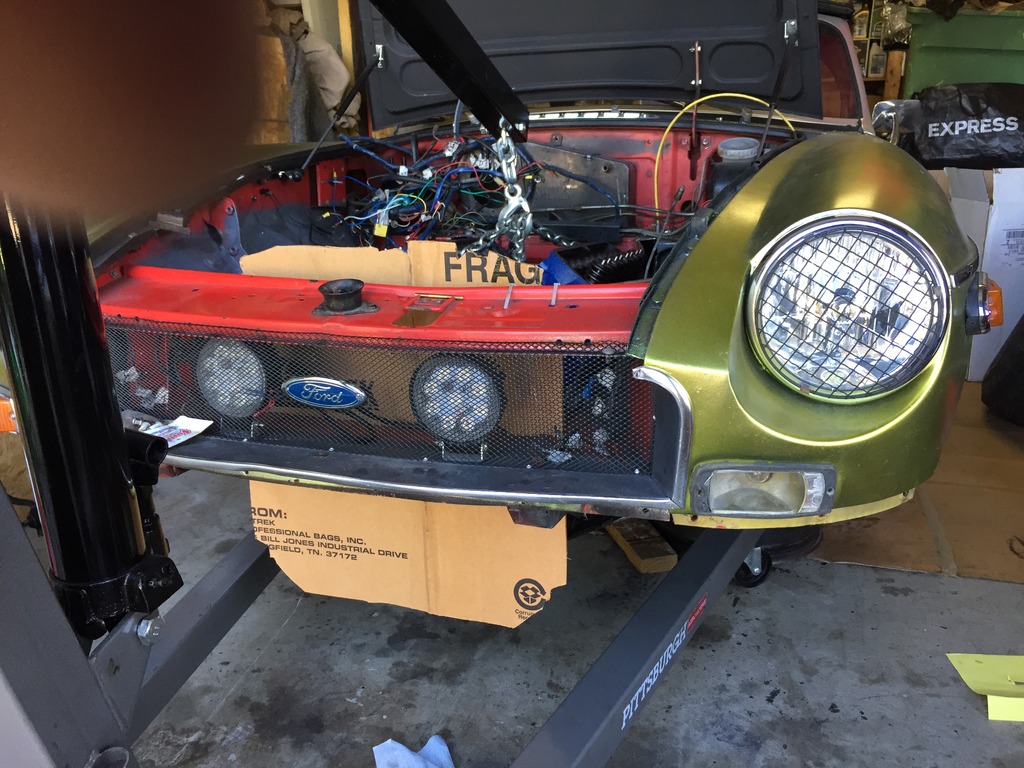
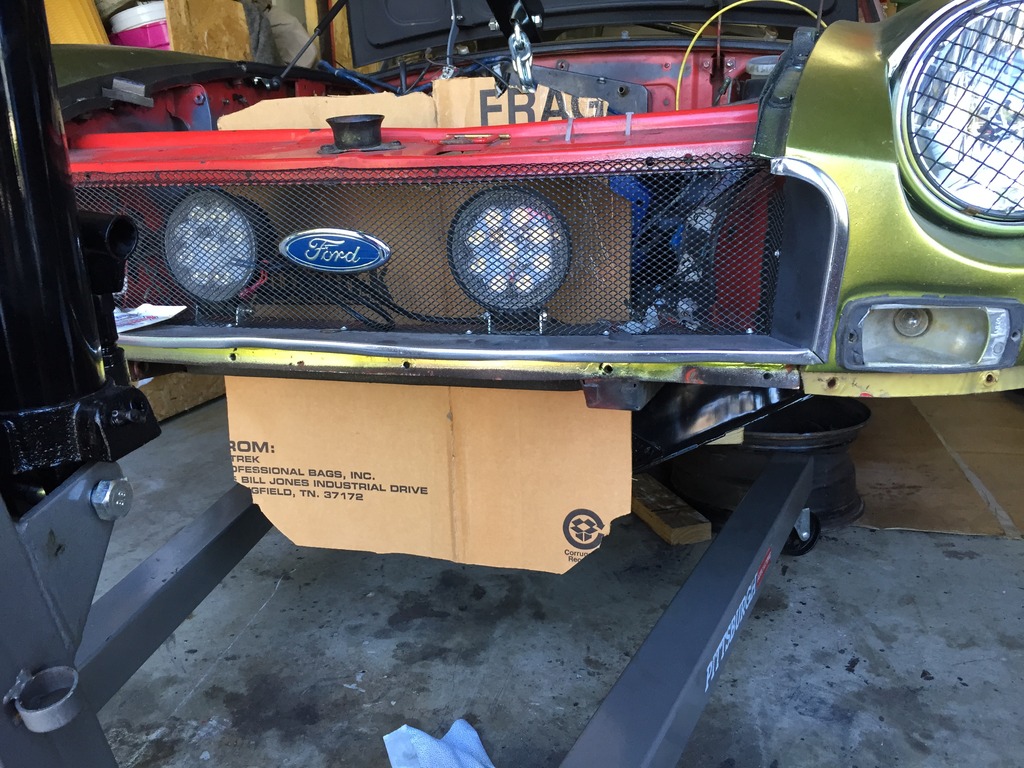
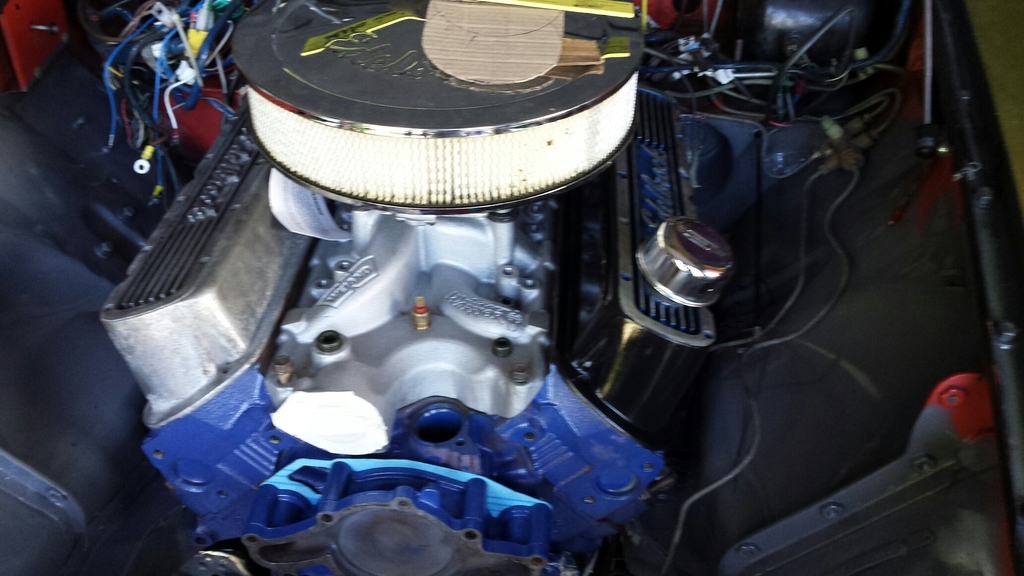
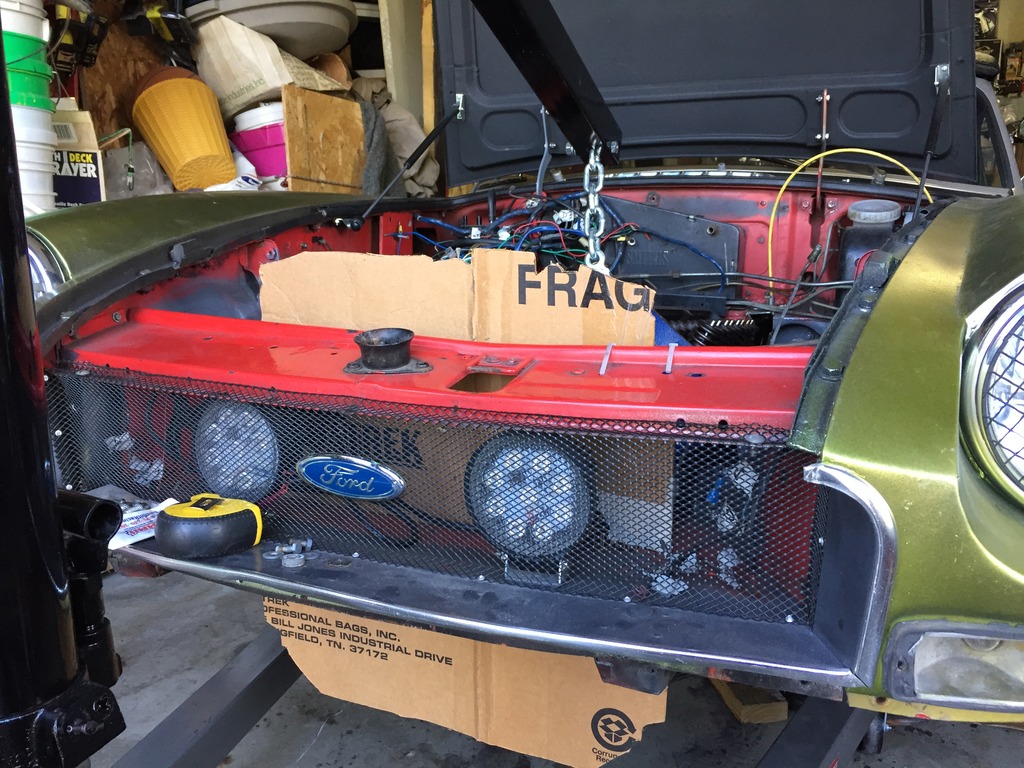
So we do more looking and fiddling but we are thinking we are screwed. That we are going to need another radiator. I decided to stuff myself in the open area in the bay with the card board radiator and a flash light. I had Dad close the hood so I could see first hand what we have to work with. I was amazed to find 2+ inches of clearance above the highest point of the radiator. So we made the changes to the template and now we are good to go on that.
So we moved on to the electric water pump, first problem is the radiator would need a hole in the middle to clear the pump, second problem is it doesn't match up to the water pump mounting bolts. I figure no issue we will just go with a belt driven unit. At that point we called it a day. As I had to head home for the night for some family time.
So back at it today and starting way late due to a couple of issues I had to help the wife with. We pick up the standard pump and get ready to start working. I hold the pump up and find it doesn't match the mounts either... WTF, I then figure out that the explorer motor has a different timing cover set up..... So some quick work on frugal mechanic shows a new timing cover in stock over at Advance auto 20 miles away. So in the truck we go to buy the cover. Get the cover check against the pump and we are now good to go. Except the guy points out that the sell a high flow version of the pump for 3 dollars more and they can have it for us tomorrow morning. So we return that pump and will have the better pump tomorrow.
Also we have found out the QA1 adjustable shocks have to go. The headers will occupy the same space as them so I had to order new lever arm shocks for the front. I got the uprated re-valved ones ordered. I couldn't believe they showed up in 48 hours simply amazing and look great.
So tomorrow will be pulling the motor and trans out one last time filling all the holes in the firewall, a quick trim on the exhaust openings, removal of the old radiator mounts, redo the timing cover, ad the harmonic balancer, water pump, pullies, finish the steering rack refresh, rework the gas pedal and put the motor back. Hopefully the hood will be here by then from Michigan so we can finalize the radiator mounting.
Fingers crossed for tomorrow


So we do more looking and fiddling but we are thinking we are screwed. That we are going to need another radiator. I decided to stuff myself in the open area in the bay with the card board radiator and a flash light. I had Dad close the hood so I could see first hand what we have to work with. I was amazed to find 2+ inches of clearance above the highest point of the radiator. So we made the changes to the template and now we are good to go on that.

So we moved on to the electric water pump, first problem is the radiator would need a hole in the middle to clear the pump, second problem is it doesn't match up to the water pump mounting bolts. I figure no issue we will just go with a belt driven unit. At that point we called it a day. As I had to head home for the night for some family time.
So back at it today and starting way late due to a couple of issues I had to help the wife with. We pick up the standard pump and get ready to start working. I hold the pump up and find it doesn't match the mounts either... WTF, I then figure out that the explorer motor has a different timing cover set up..... So some quick work on frugal mechanic shows a new timing cover in stock over at Advance auto 20 miles away. So in the truck we go to buy the cover. Get the cover check against the pump and we are now good to go. Except the guy points out that the sell a high flow version of the pump for 3 dollars more and they can have it for us tomorrow morning. So we return that pump and will have the better pump tomorrow.
Also we have found out the QA1 adjustable shocks have to go. The headers will occupy the same space as them so I had to order new lever arm shocks for the front. I got the uprated re-valved ones ordered. I couldn't believe they showed up in 48 hours simply amazing and look great.
So tomorrow will be pulling the motor and trans out one last time filling all the holes in the firewall, a quick trim on the exhaust openings, removal of the old radiator mounts, redo the timing cover, ad the harmonic balancer, water pump, pullies, finish the steering rack refresh, rework the gas pedal and put the motor back. Hopefully the hood will be here by then from Michigan so we can finalize the radiator mounting.
Fingers crossed for tomorrow
Last edited by ArmyRover; 09-23-2015 at 10:57 PM.