It's not a Rover build thread, MGB with Ford 302 power :D

#172
 09-28-2015, 06:01 PM

 SO what's the issue!?
#174
09-28-2015, 08:34 PM
I'll bring you guys up to date first as the issue is kind of my stop point.
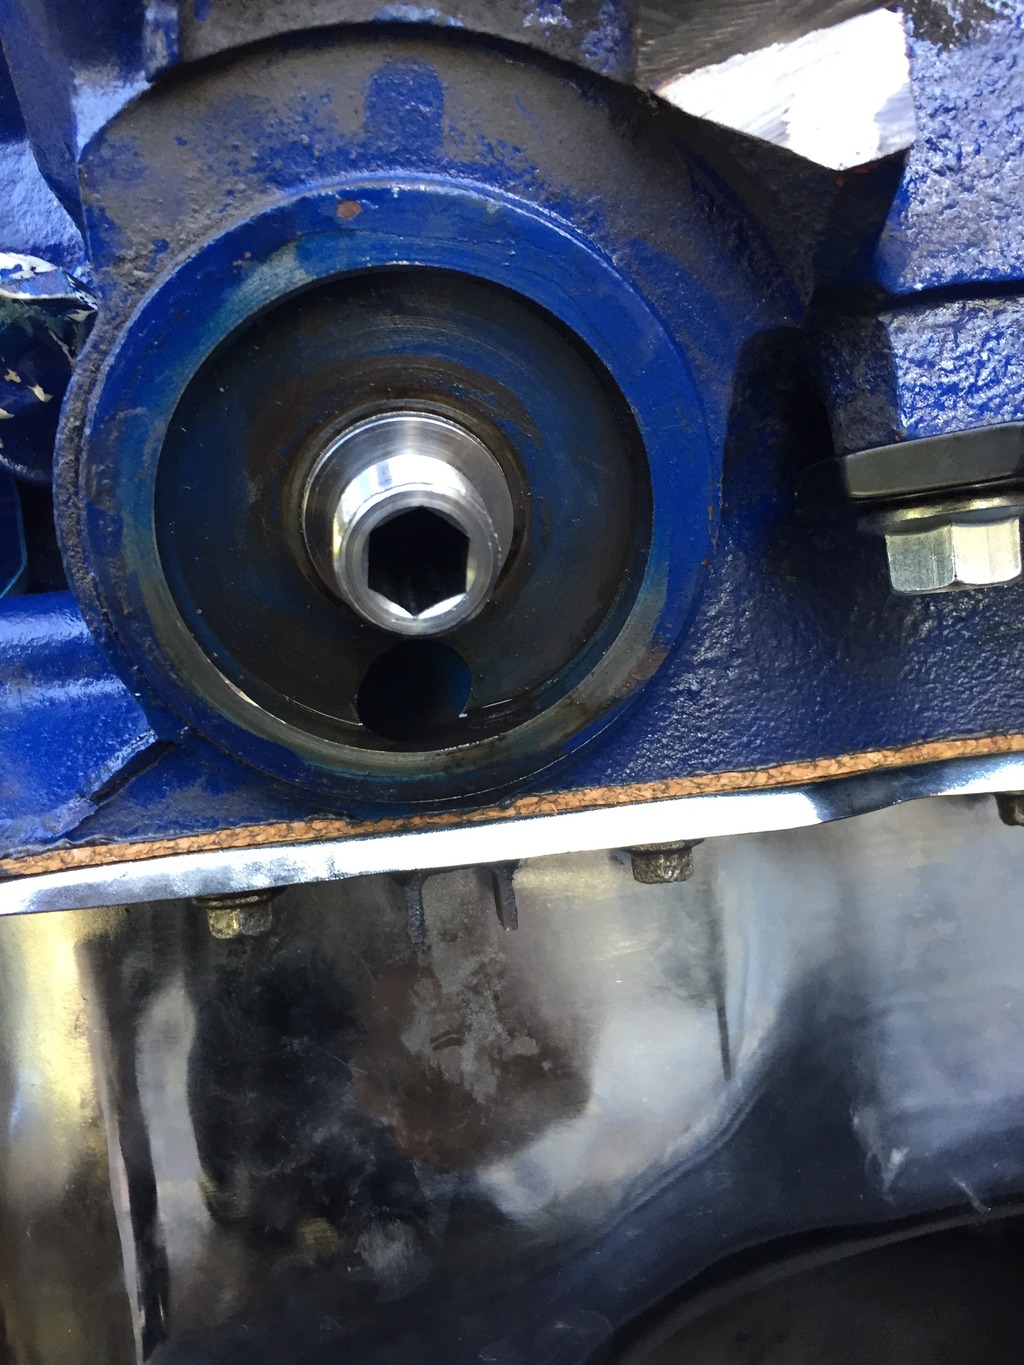
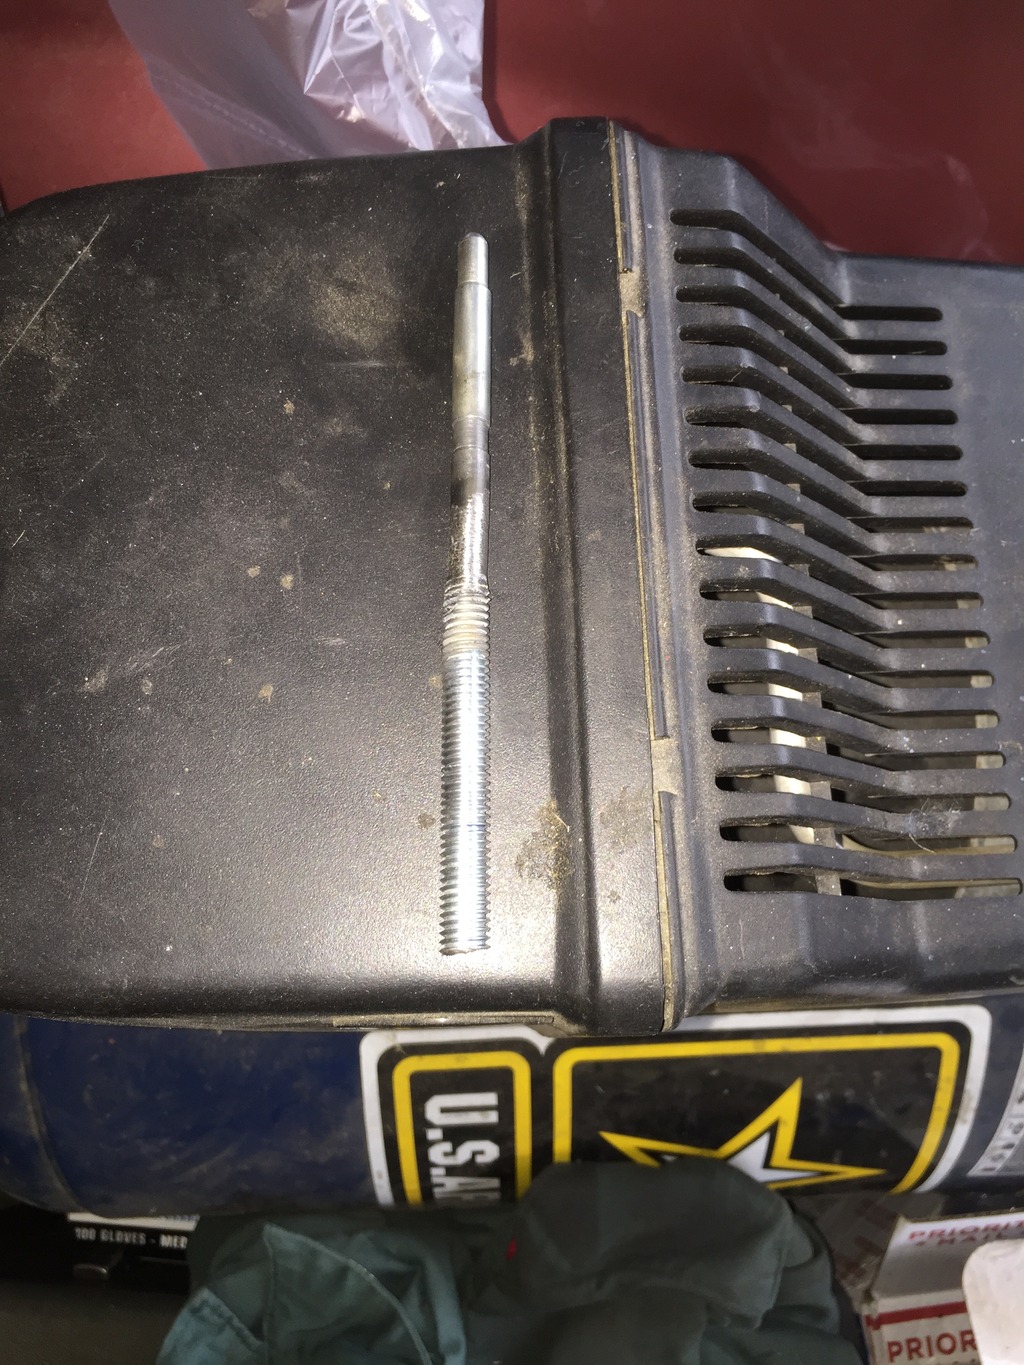
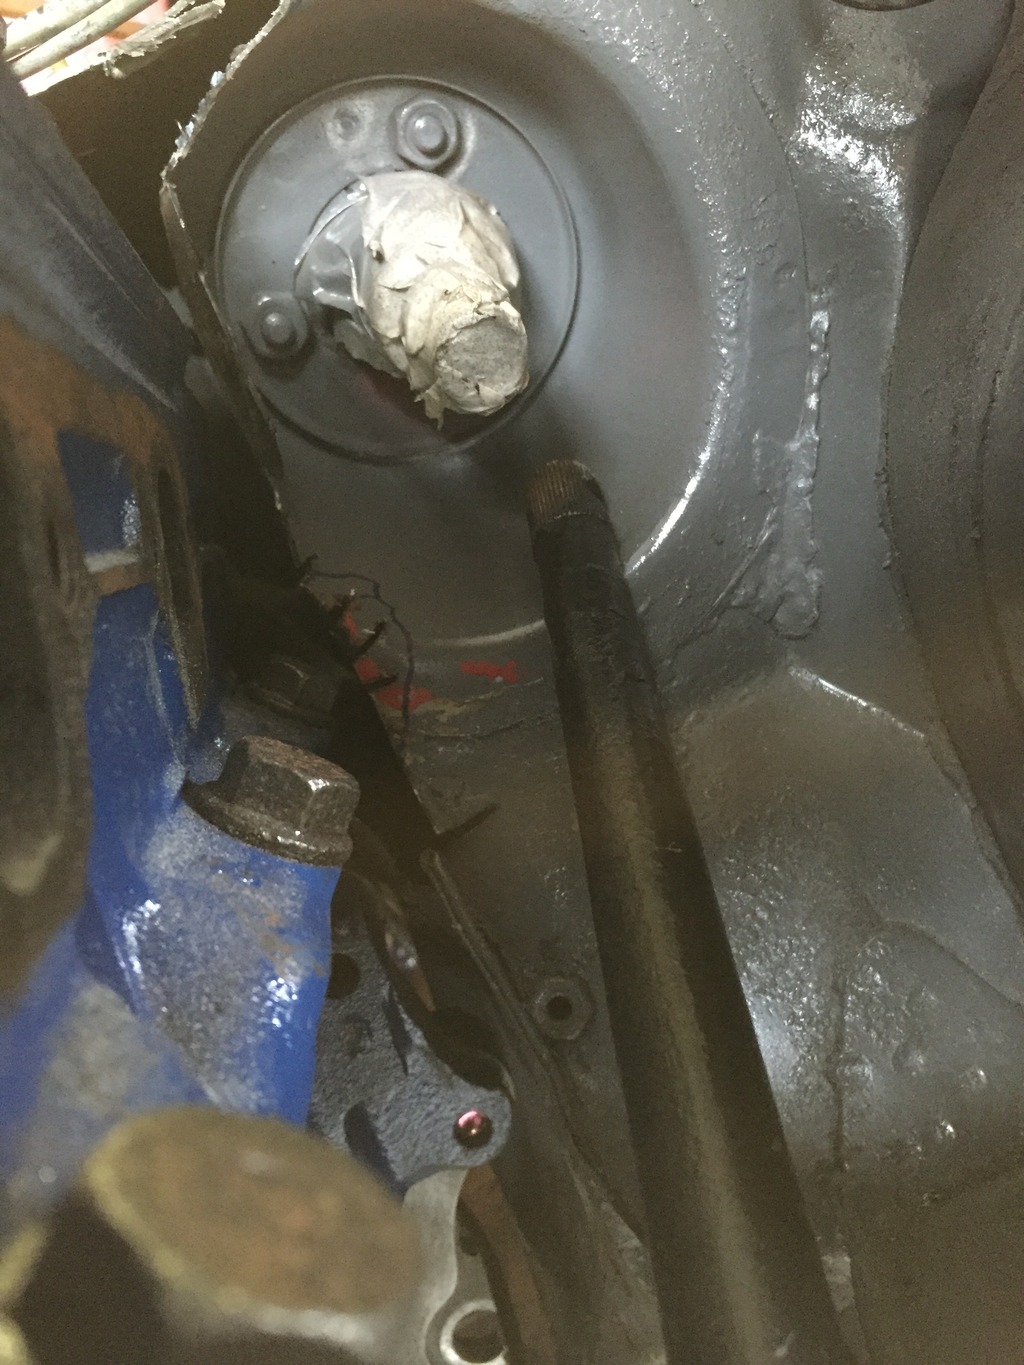
So figured out the oil filter adapter insert (part that screws into the block) is easily found but no so easy to put in. It has a 7/16 hex to screw it in. We had to use a little Polish ingenuity utilizing 1/4 bolt head as the wrench with a double nut to turn it.
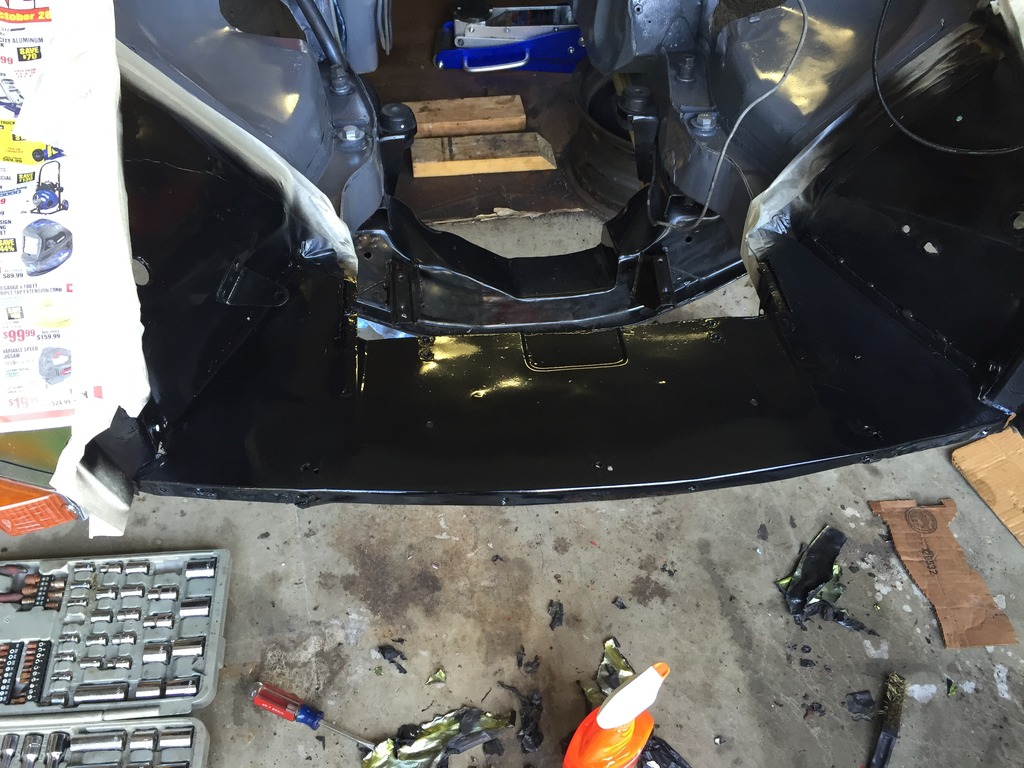
While I was working on that the Lucid senior put a fresh coat of paint on the front area behind the grill so we won't see the red anymore. We are sticking with the dark gray in the bay as leaks are easier to spot and trace on it than black.
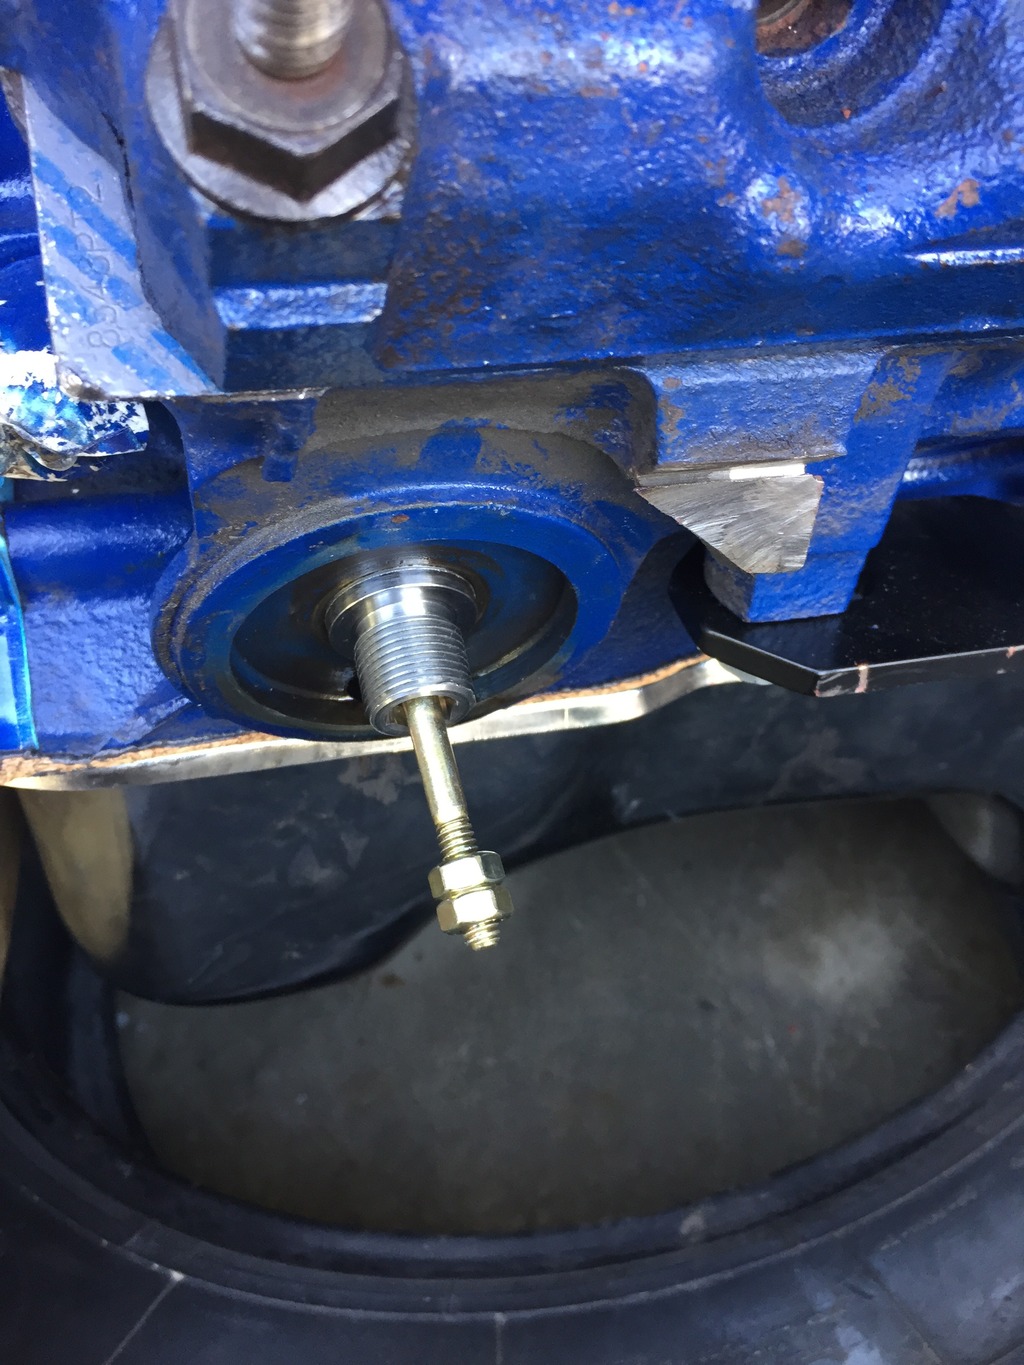
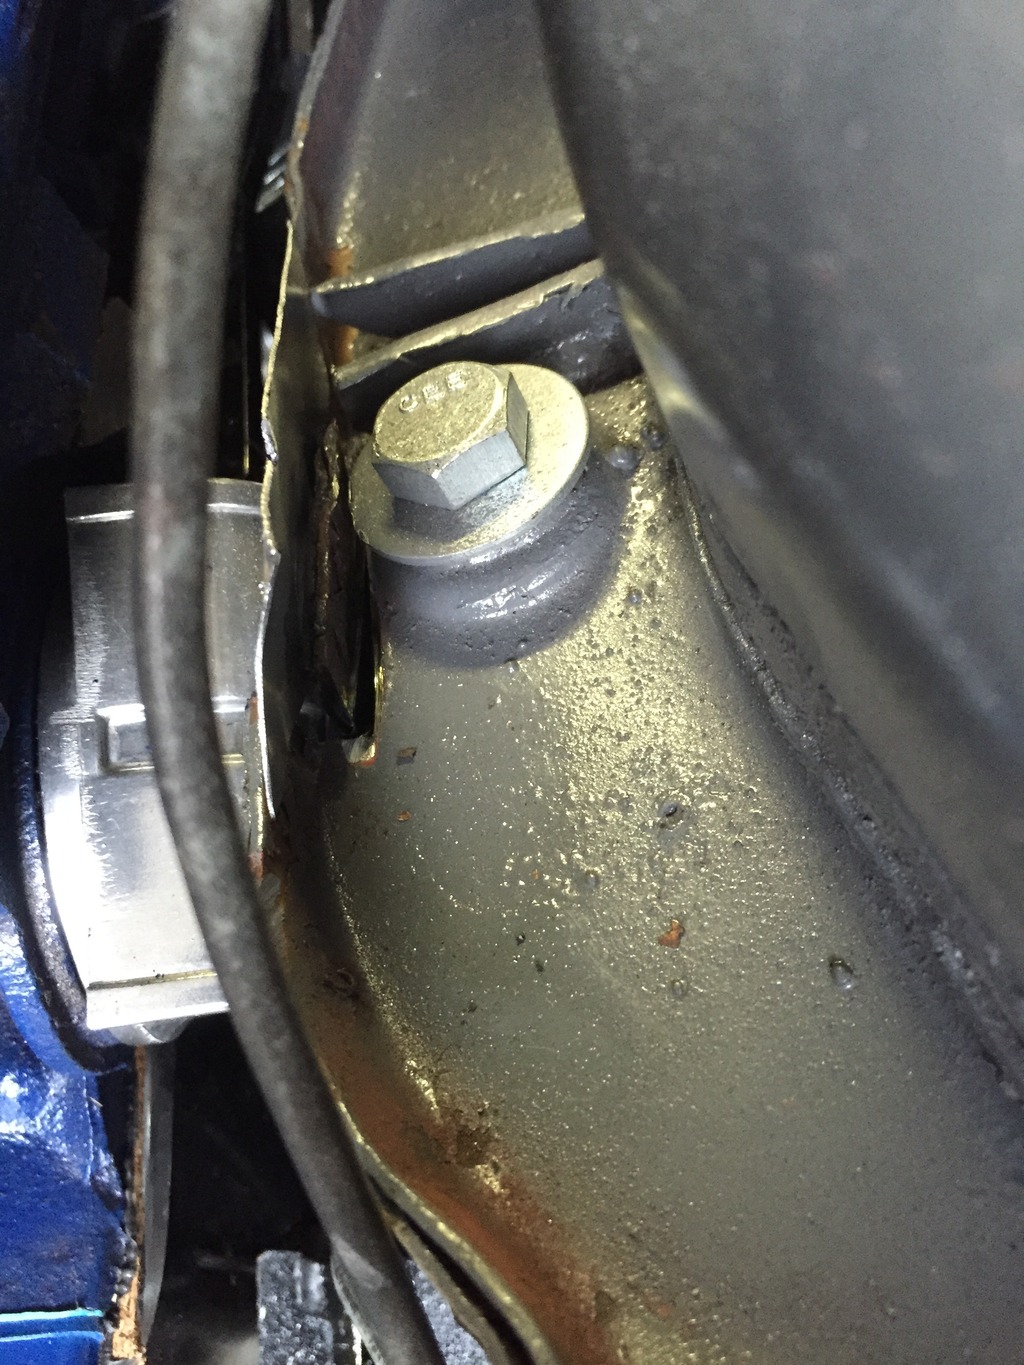
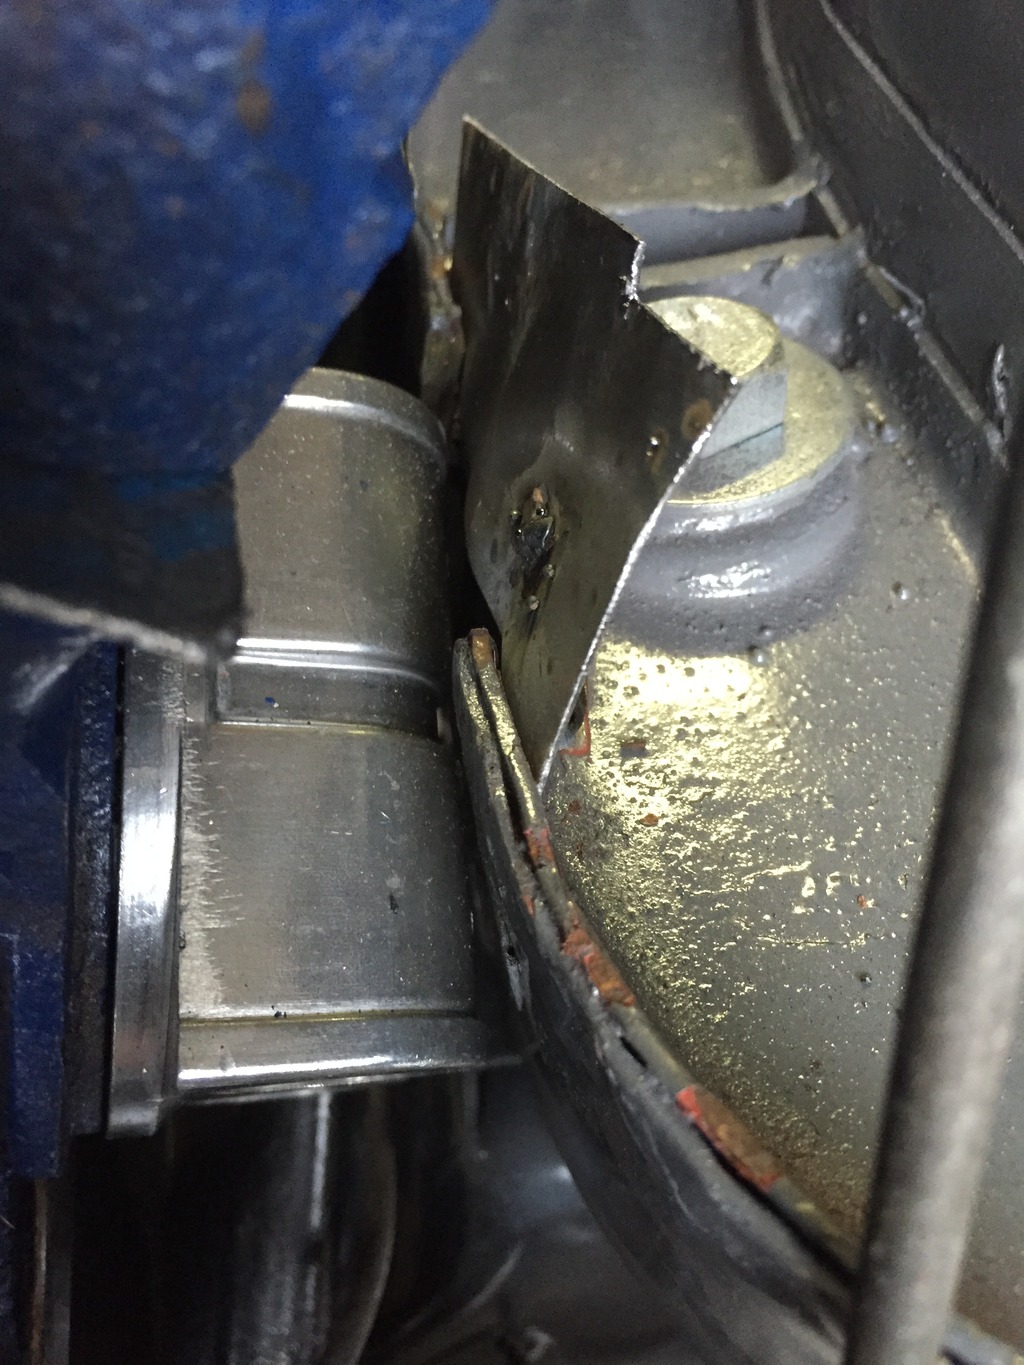
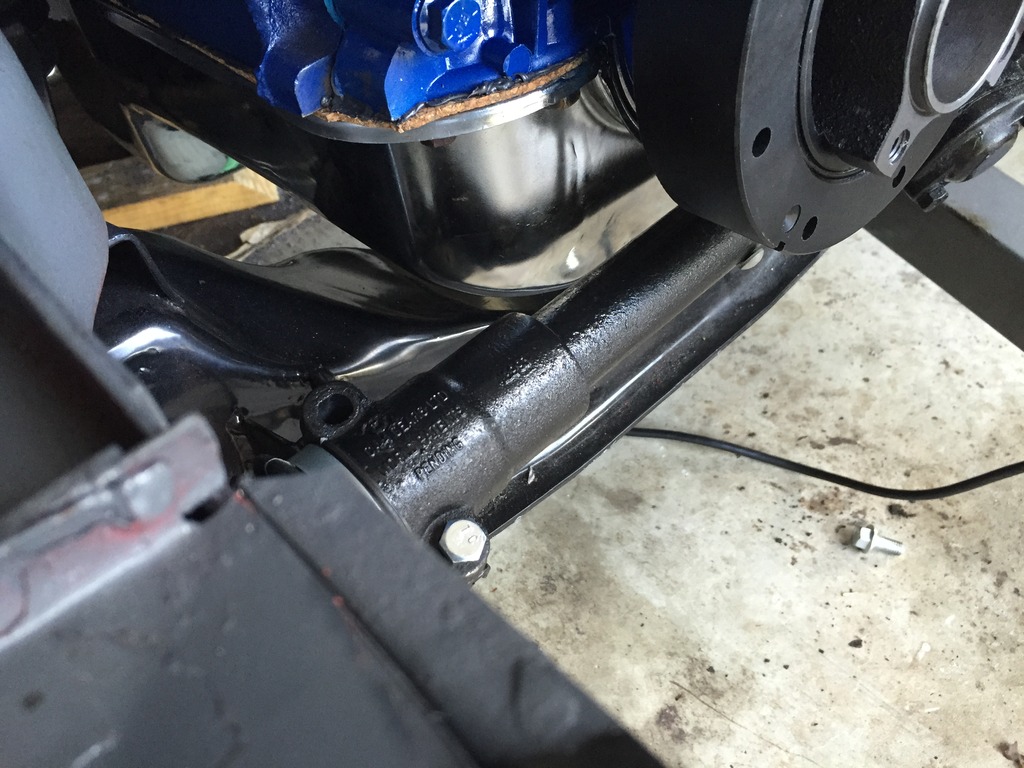
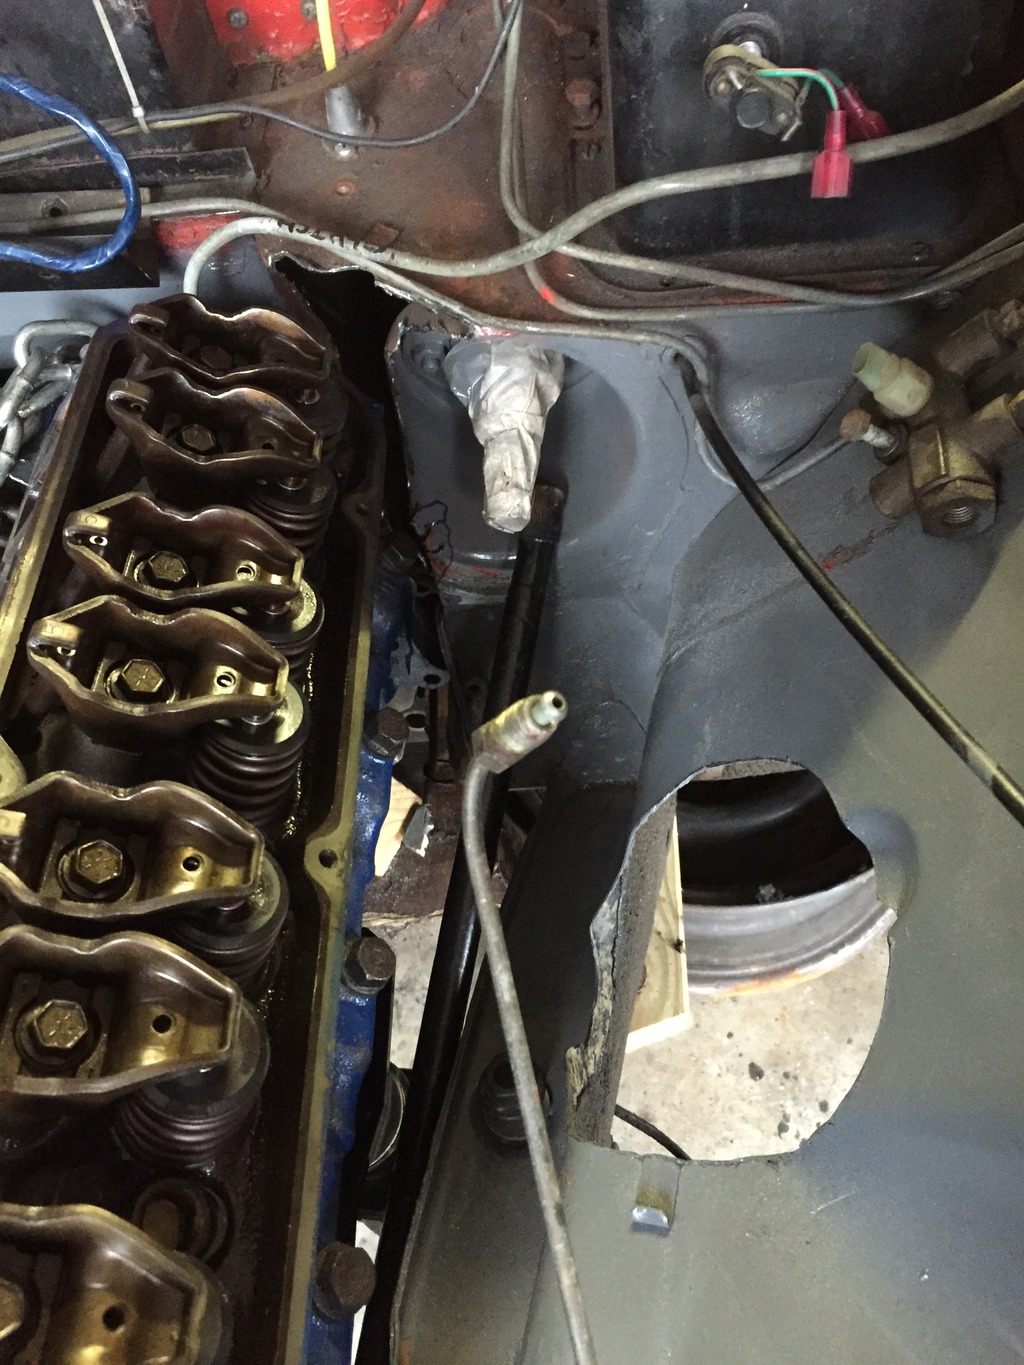
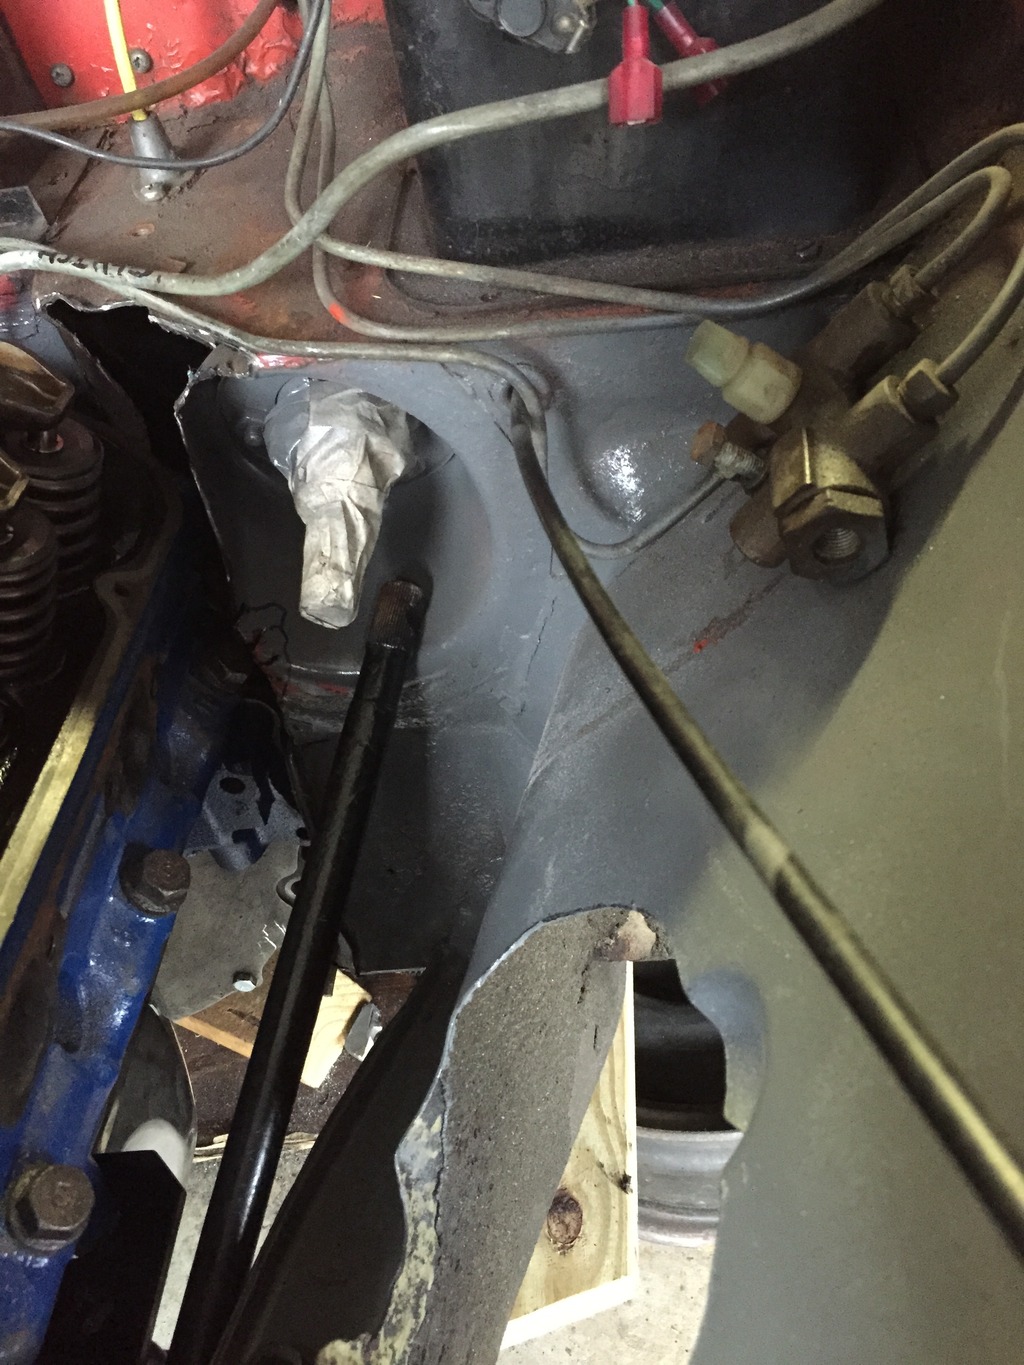
Clearances are definitely tight but we are really getting there. As you can see what was supposed to be a minor dent in on the frame rail has since turned into cutting the frame rail, grinding out material behind it to move the steel back to clear the remote oil filter adapter. I will have to weld that back in right at the cross member mount bolt, then add steel in to fill the gaps. (disregard the thin piece of steel sticking up, just a wedge to hold it back) Where it's at now might require a small dent to finish the modification out.
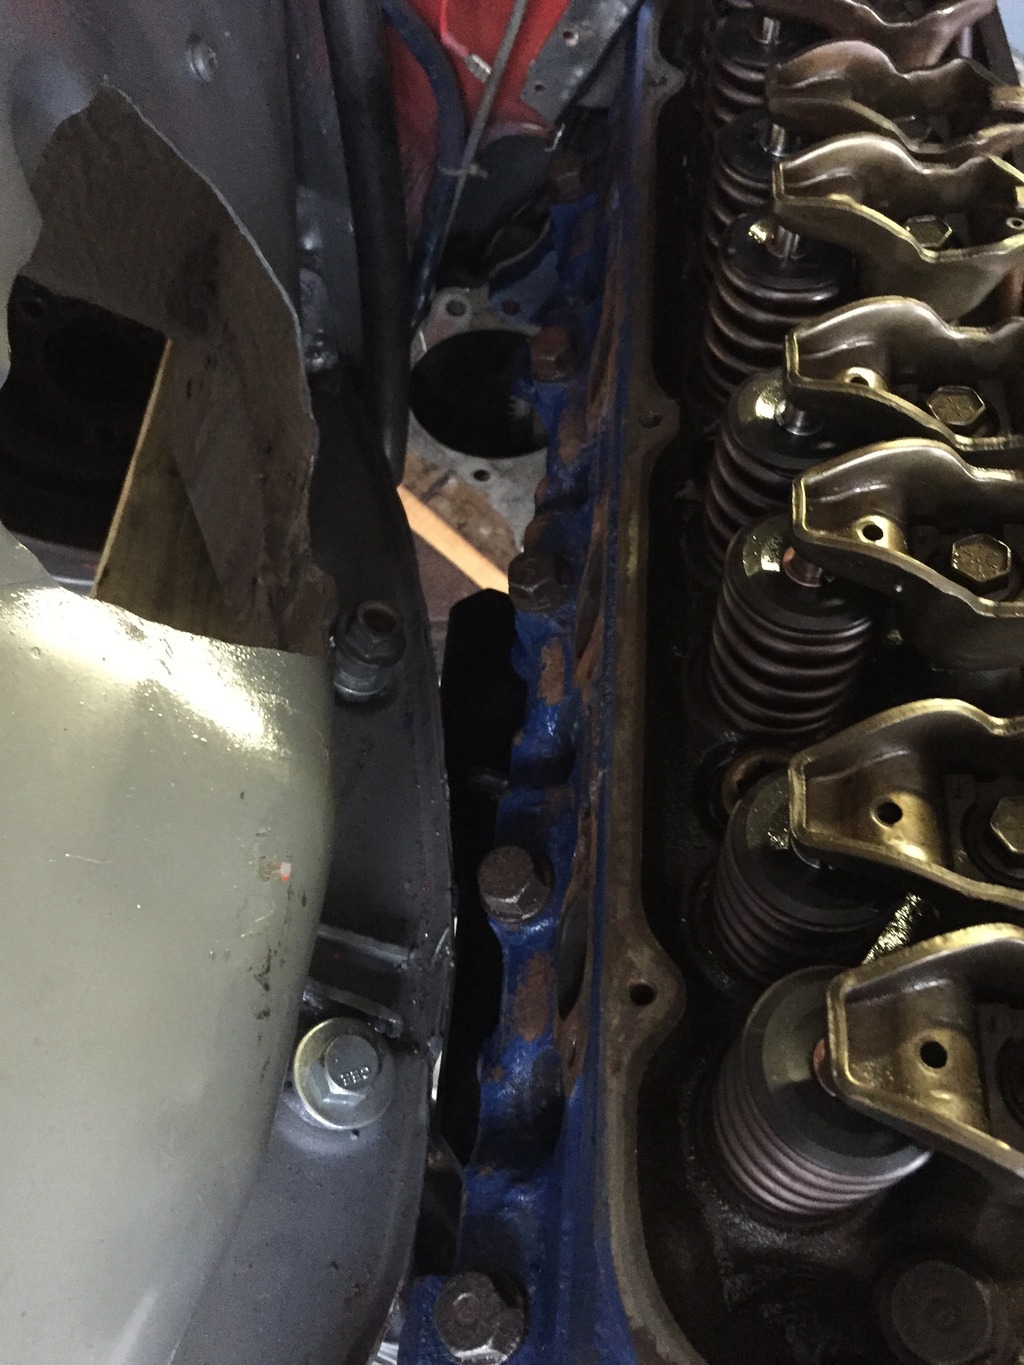
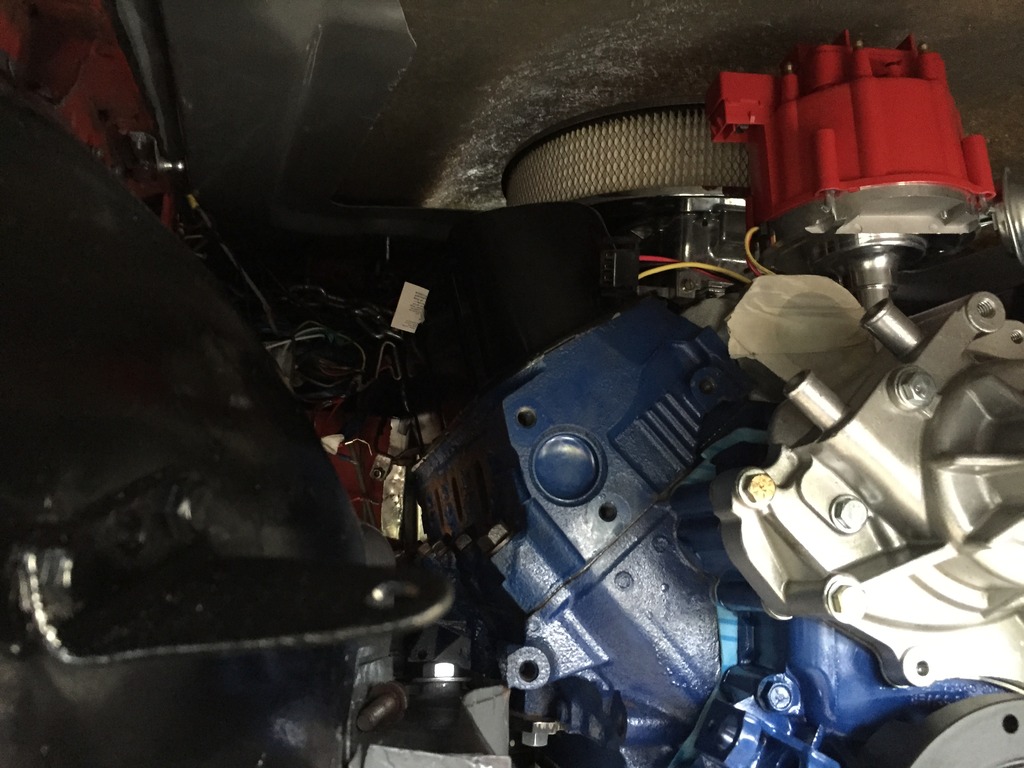
Some general shots of the clearances around the engine, the astute will pick out the problem in these.

I also need to share this just because I was proud of myself for not messing this up on my first and only shot at making the clutch slave push rod. Well only shot without having to buy another clutch slave cylinder...
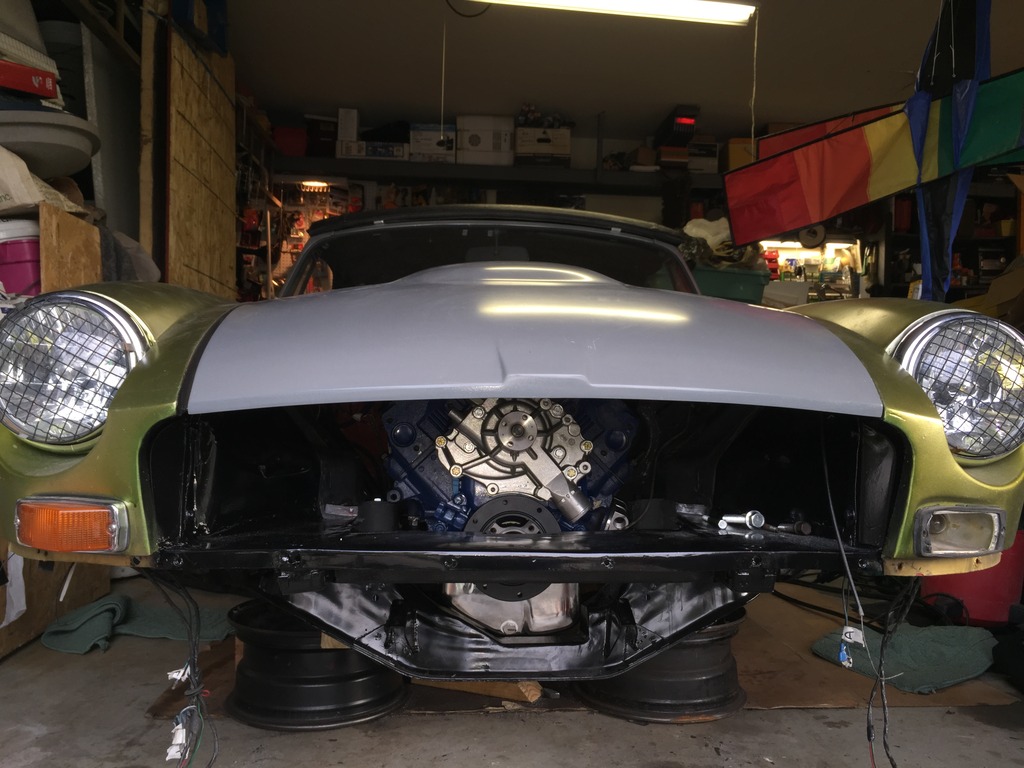
A few shots with the motor dressed out for clearance with the new hood and surprisingly the HEI distributor fit to.

Well we took a moment to fit the steering rack. We had to shim the motor up 1/2 inch on each side and move it shockingly forward about 1/2 inch. Which led to our show stopper problem and a annoying problem. I only have 3 inches between the water pump with no pulley and the most forward point of the radiator. The radiator they recommend you use is 3.5 inches thick with no cooling fan. That I have already figured a way around.
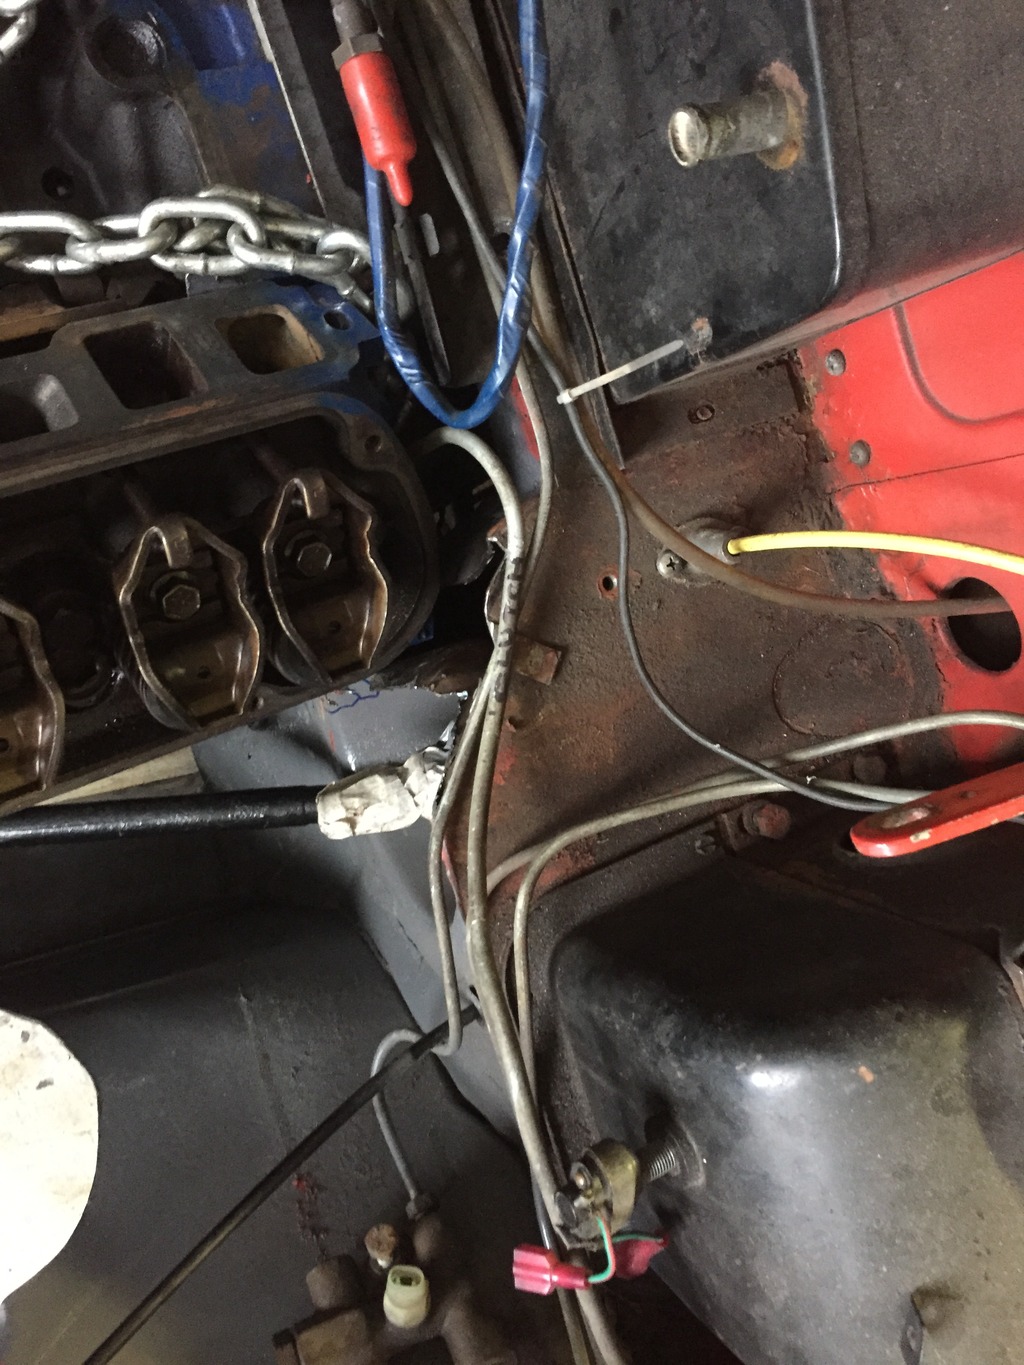
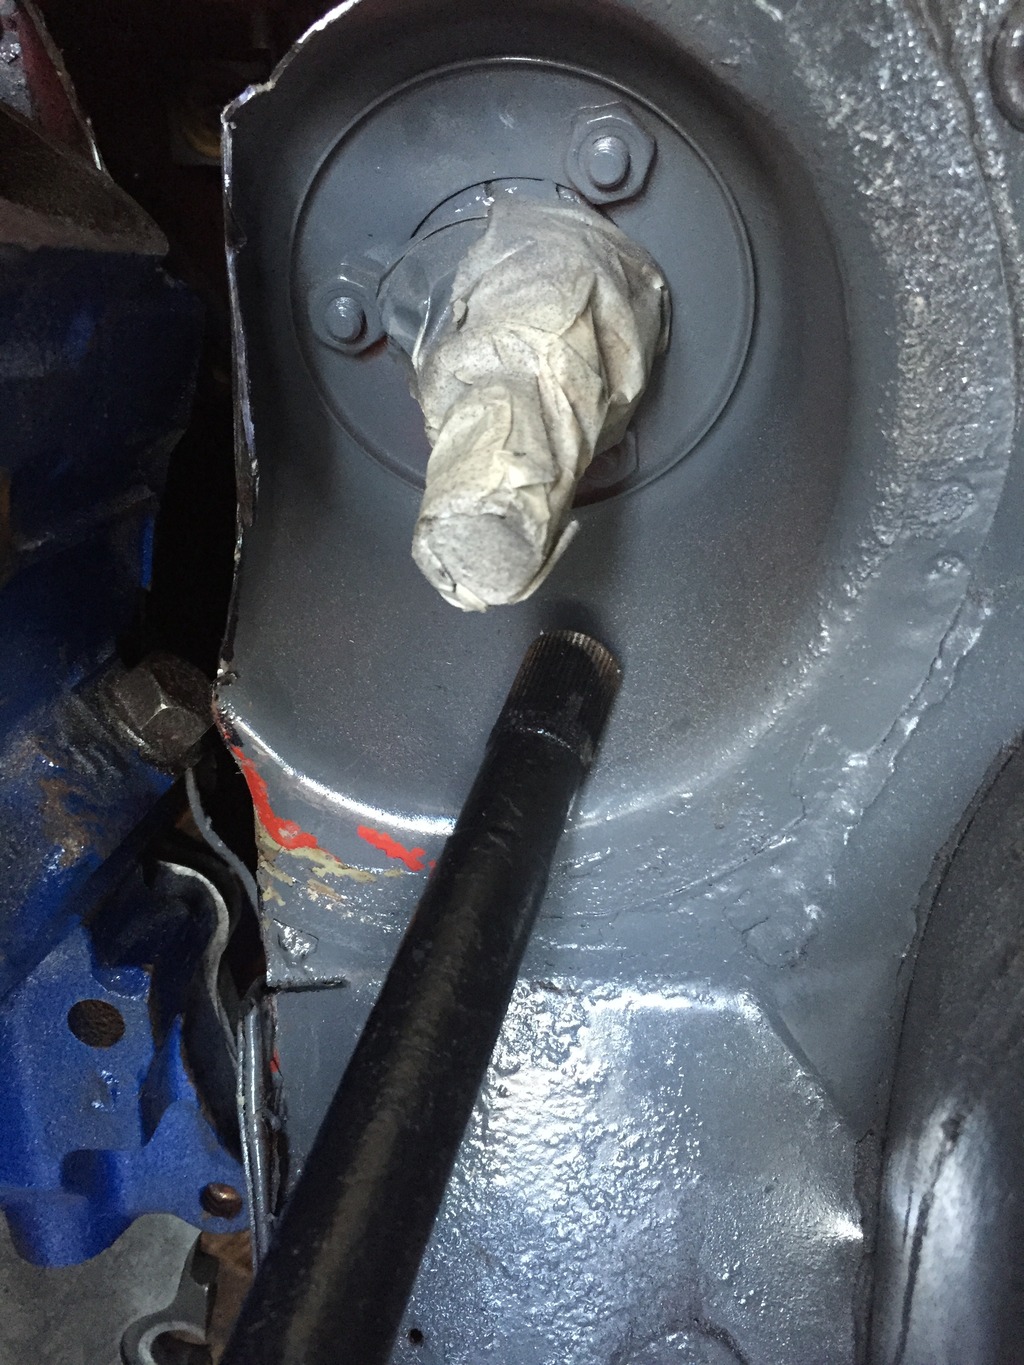
The show stopper. You use a rubber bumper 1974.5-1980 MGB front cross member for the swap and need to use the same rack. Somewhere in the guide etc I missed the part where you need a steering column from the same year range. That would be because they never mention it. No big deal right? Well the pics tell the tale. The shafts don't even line up as the steering shaft comes out in a entirely different spot on the later fire wall. The kit supplier "believes" you can use the 1972 steering shaft cone and just make your own firewall. If that is a no go than I need the entire corner of a firewall out of a car to somehow graft in. The part that pisses me off is this isn't covered in the guide that is supplied etc anywhere that I have seen. Here are the pics.
My thoughts are to remove the offending corner of firewall, bolt that steering shaft cone to the proper steering column (once I source one and the brackets). Attach the column to the mounts and to the car, attach the rack shaft to the column bolting everything up and build the firewall to suite it and the motor and deal with figuring out pedal clearance afterwards. The odds of finding a guy parting out the year range I need that wouldn't mind me taking a torch to his donor car is extremely low.
This sounds simple to type but is way outside of my ability group. I mean who am I kidding I'm proud of the clutch slave rod I made lol....
So figured out the oil filter adapter insert (part that screws into the block) is easily found but no so easy to put in. It has a 7/16 hex to screw it in. We had to use a little Polish ingenuity utilizing 1/4 bolt head as the wrench with a double nut to turn it.


While I was working on that the Lucid senior put a fresh coat of paint on the front area behind the grill so we won't see the red anymore. We are sticking with the dark gray in the bay as leaks are easier to spot and trace on it than black.

Clearances are definitely tight but we are really getting there. As you can see what was supposed to be a minor dent in on the frame rail has since turned into cutting the frame rail, grinding out material behind it to move the steel back to clear the remote oil filter adapter. I will have to weld that back in right at the cross member mount bolt, then add steel in to fill the gaps. (disregard the thin piece of steel sticking up, just a wedge to hold it back) Where it's at now might require a small dent to finish the modification out.


Some general shots of the clearances around the engine, the astute will pick out the problem in these.


I also need to share this just because I was proud of myself for not messing this up on my first and only shot at making the clutch slave push rod. Well only shot without having to buy another clutch slave cylinder...

A few shots with the motor dressed out for clearance with the new hood and surprisingly the HEI distributor fit to.


Well we took a moment to fit the steering rack. We had to shim the motor up 1/2 inch on each side and move it shockingly forward about 1/2 inch. Which led to our show stopper problem and a annoying problem. I only have 3 inches between the water pump with no pulley and the most forward point of the radiator. The radiator they recommend you use is 3.5 inches thick with no cooling fan. That I have already figured a way around.
The show stopper. You use a rubber bumper 1974.5-1980 MGB front cross member for the swap and need to use the same rack. Somewhere in the guide etc I missed the part where you need a steering column from the same year range. That would be because they never mention it. No big deal right? Well the pics tell the tale. The shafts don't even line up as the steering shaft comes out in a entirely different spot on the later fire wall. The kit supplier "believes" you can use the 1972 steering shaft cone and just make your own firewall. If that is a no go than I need the entire corner of a firewall out of a car to somehow graft in. The part that pisses me off is this isn't covered in the guide that is supplied etc anywhere that I have seen. Here are the pics.


My thoughts are to remove the offending corner of firewall, bolt that steering shaft cone to the proper steering column (once I source one and the brackets). Attach the column to the mounts and to the car, attach the rack shaft to the column bolting everything up and build the firewall to suite it and the motor and deal with figuring out pedal clearance afterwards. The odds of finding a guy parting out the year range I need that wouldn't mind me taking a torch to his donor car is extremely low.
This sounds simple to type but is way outside of my ability group. I mean who am I kidding I'm proud of the clutch slave rod I made lol....
#175
09-29-2015, 09:45 AM
Super Moderator
So that's your absolute final resting place for the steering shaft, with header installed?
Is that cone in the firewall offset(looks like it is in pic) if so can you cut where the cone meets the flat front of the firewall and rotate it around till the columns in the position u need? I would think header in mocked up at this point would be a good idea too like 2 bolts holding to the head
Is that cone in the firewall offset(looks like it is in pic) if so can you cut where the cone meets the flat front of the firewall and rotate it around till the columns in the position u need? I would think header in mocked up at this point would be a good idea too like 2 bolts holding to the head
#177
09-29-2015, 10:26 AM
Tom we had the header in place I just forgot to take pictures. That is where the shaft has to go.
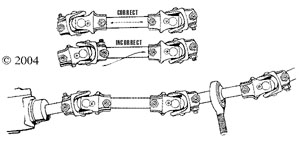
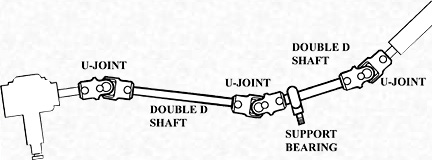
We looked at the u-joint option and there is no clearance at the bottom end and very little clearance under the header. It would need to be a extremely small maybe a 1.5" diameter to clear, headers frame etc.
The column is off set towards the tunnel. It needs to drop down the offset is acceptable, as that I think will be taken up by the u-joints that connect it. The replacement column is shorter and I believe will be set back slightly further in the fire wall.
The vendor, Mantell Motorsport, told me about the two options of grafting in a later model fire wall or constructing my own fire wall.

#180
09-30-2015, 02:53 AM
Rock Crawling