
New Life for '98 Discovery 1 "Project Pig"


Thread Starter
|
Mudding
Joined: Jun 2015
Posts: 138
Likes: 13
From: Athens, GA
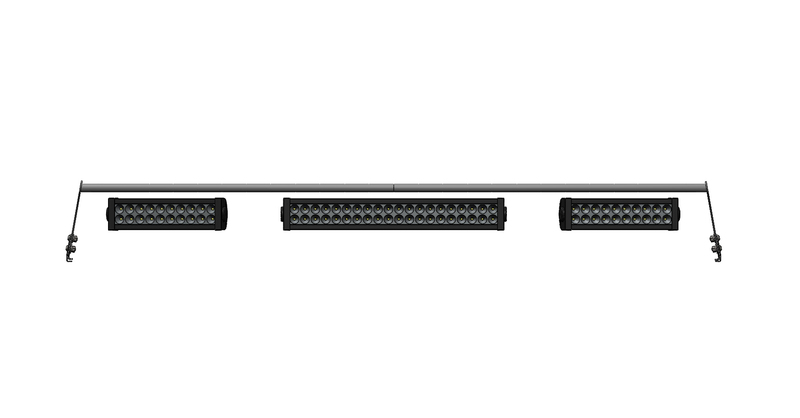
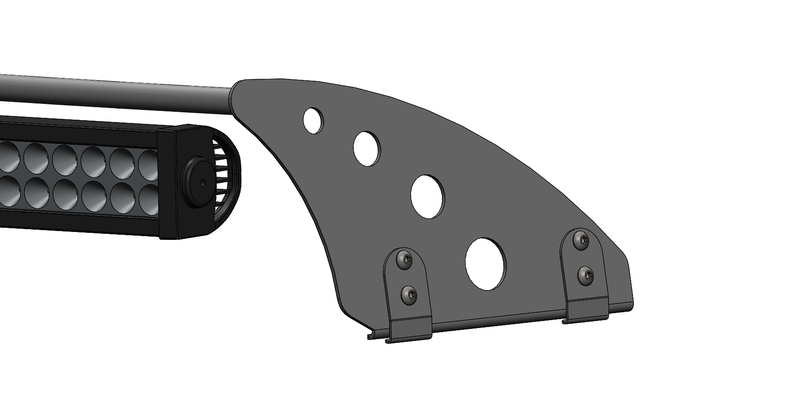
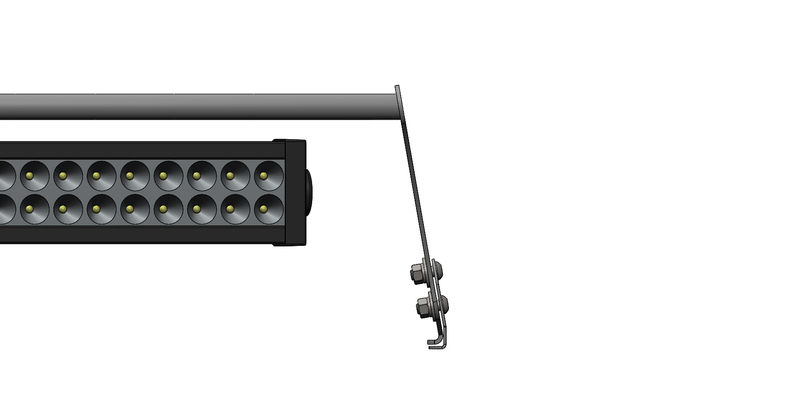
Alright, here is another version of the light bar. Under some advisement, I decided to go with the double row light bar configurations. This will have a lower profile than the large 9" round ones I was thinking about originally.
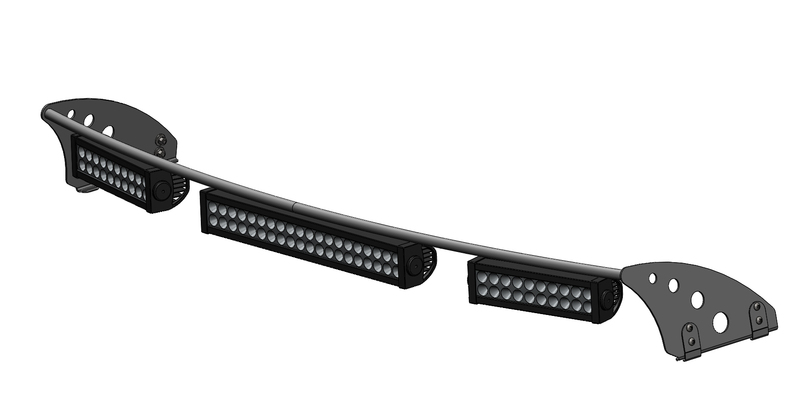
I like the idea of having separate lights for this for a couple of reasons. One of them, and I think its a big one, is that I can replace any one of the lights if one of the leds burns out. I have heard that some of the cheaper light bars will fail if a led burns out because of the circuitry and running the leds in series. I also like the idea that i can angle the two outer light bars to provide more side light. The curved light bars seem like they can do this pretty well, but again, its one big bar.
I have it currently set up with a 20" center and 2 10" on the sides. I have some options when choosing the lights as that I can use may different combinations like running a 30", 8", 8", or a 20", 12", 12", and so on.
I have yet to design any mounting tabs for the lights as they all seem to have different mounting arrangements depending on the light you get, so i will design them up once i get the actual lights in my hands.
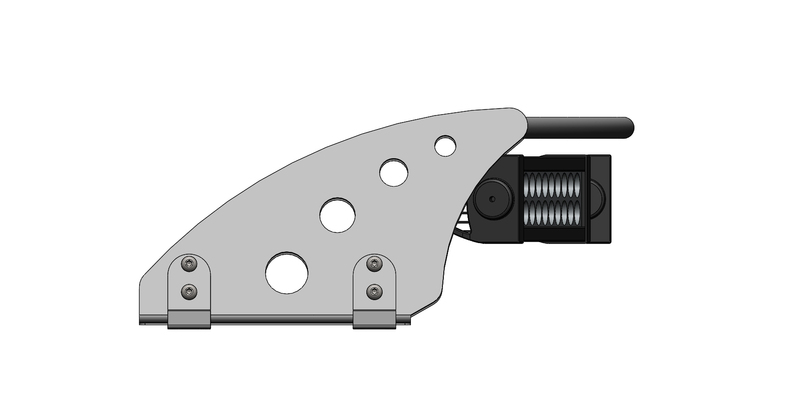
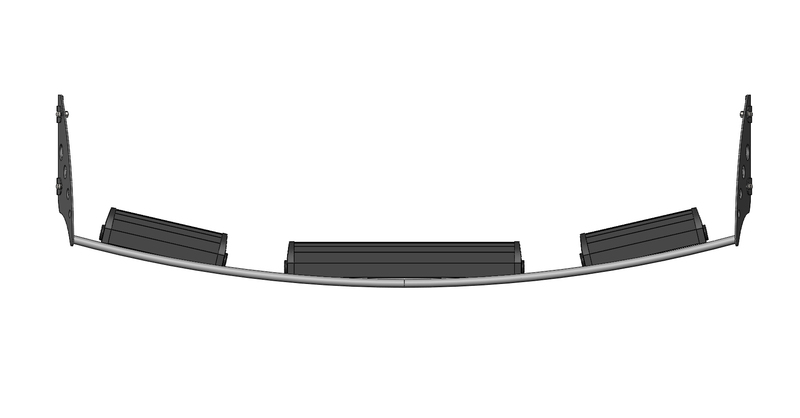
I have design a simple bracket that will allow me to mount this bar using the rain gutters. Take a look and let me know what you think.
I like the idea of having separate lights for this for a couple of reasons. One of them, and I think its a big one, is that I can replace any one of the lights if one of the leds burns out. I have heard that some of the cheaper light bars will fail if a led burns out because of the circuitry and running the leds in series. I also like the idea that i can angle the two outer light bars to provide more side light. The curved light bars seem like they can do this pretty well, but again, its one big bar.
I have it currently set up with a 20" center and 2 10" on the sides. I have some options when choosing the lights as that I can use may different combinations like running a 30", 8", 8", or a 20", 12", 12", and so on.
I have yet to design any mounting tabs for the lights as they all seem to have different mounting arrangements depending on the light you get, so i will design them up once i get the actual lights in my hands.
I have design a simple bracket that will allow me to mount this bar using the rain gutters. Take a look and let me know what you think.


Thread Starter
|
Mudding
Joined: Jun 2015
Posts: 138
Likes: 13
From: Athens, GA
Maybe one of these days I will get around to building one and find out.
I couldnt imagine that it would be any more than the full racks on these things.
Thread Starter
|
Mudding
Joined: Jun 2015
Posts: 138
Likes: 13
From: Athens, GA
Havnt been able to make much progress on the Disco this summer.
Just as an update, I have recently have a crank, no start issue that I believe is related to the fuel pump. I have already purchased a new pump and in the next couple of weeks, will be replacing that.
I have almost completed my cargo rack for the Disco. Still need to clean up the wiring for it, but mechanically, its good to go and have already been using it.
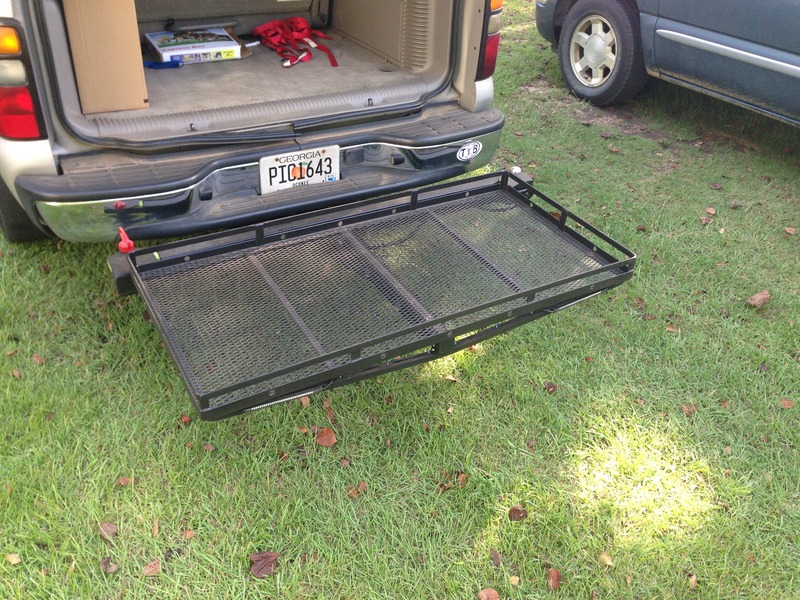
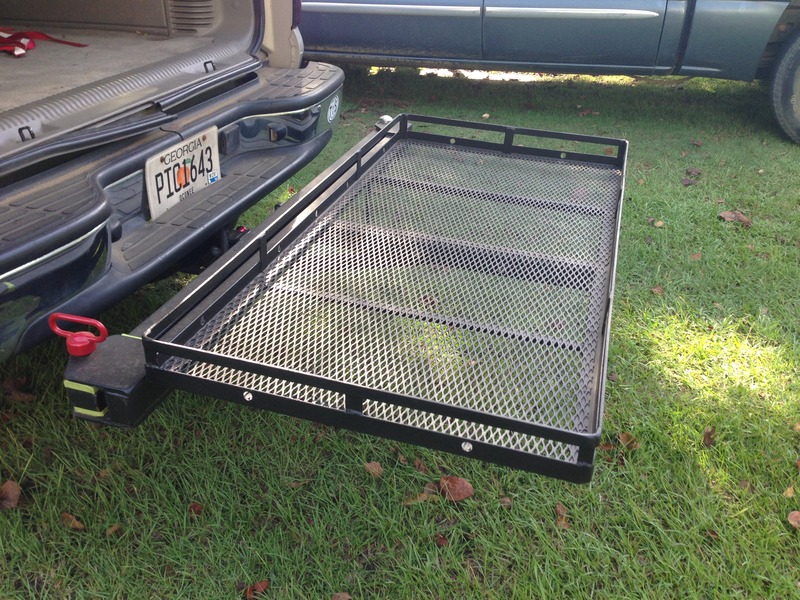
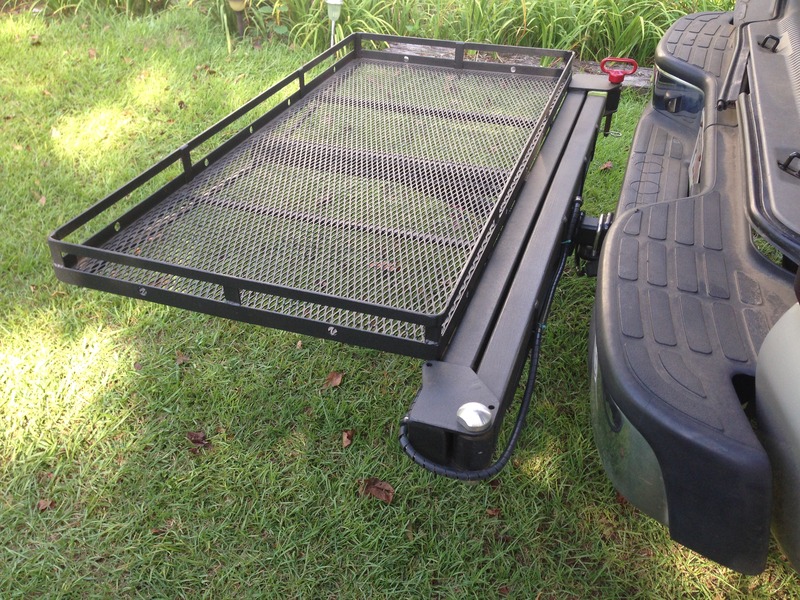
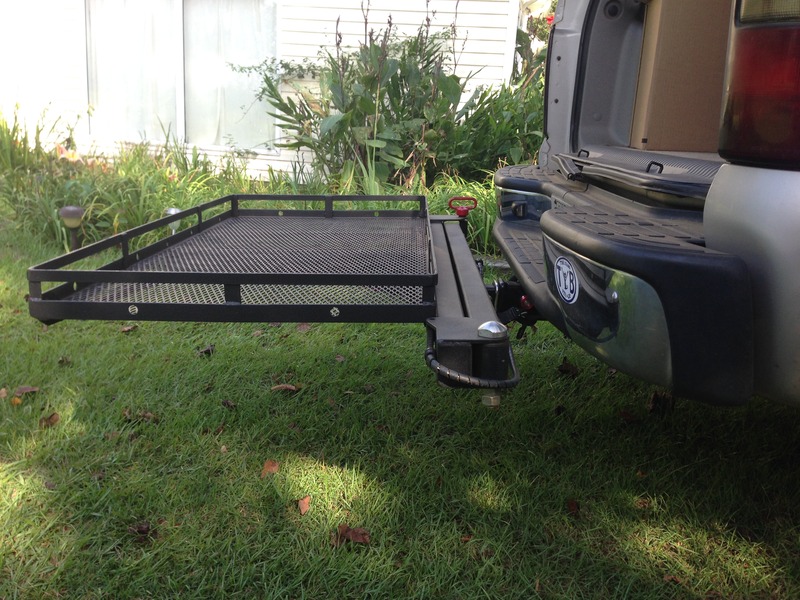
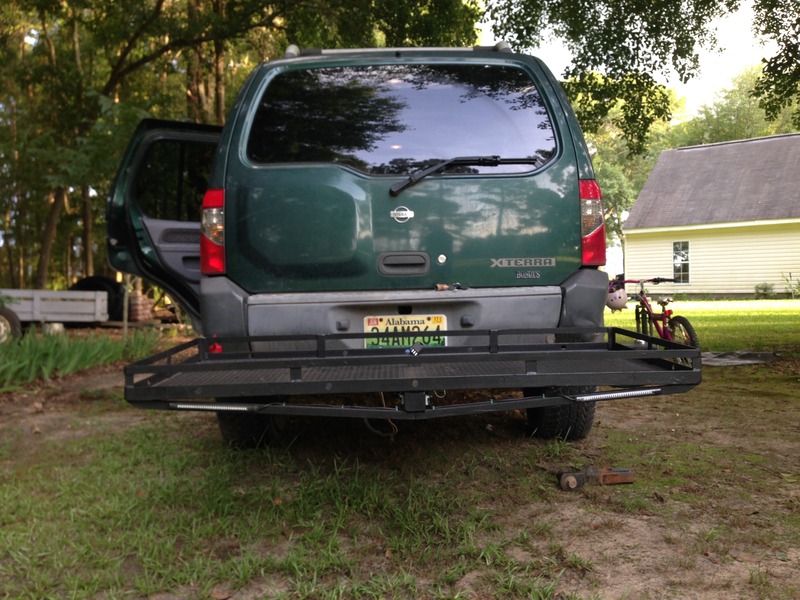
Here is a shot with it on my dads Xterra. Can see the motorcycle leds that I used for brake lights on this one.
Just as an update, I have recently have a crank, no start issue that I believe is related to the fuel pump. I have already purchased a new pump and in the next couple of weeks, will be replacing that.
I have almost completed my cargo rack for the Disco. Still need to clean up the wiring for it, but mechanically, its good to go and have already been using it.


Here is a shot with it on my dads Xterra. Can see the motorcycle leds that I used for brake lights on this one.


Rock Crawling
Joined: Jun 2016
Posts: 384
Likes: 15
I'll be looking forward to that report! Doing good work man, keep it up.
Thread Starter
|
Mudding
Joined: Jun 2015
Posts: 138
Likes: 13
From: Athens, GA
So finally got around to tearing into the Fuel tank so i can replace my fuel pump.
Here are a few images during the tear out:
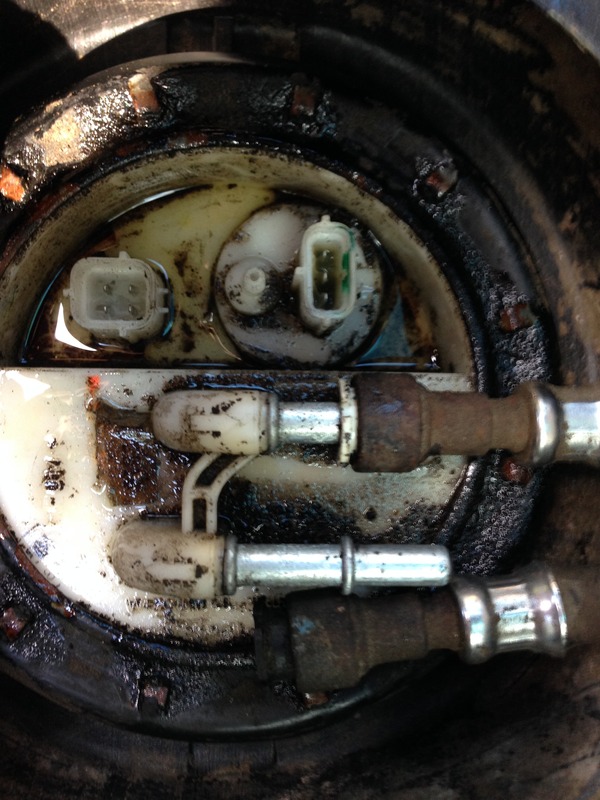

This one shows the fuel pump that I will be replacing:
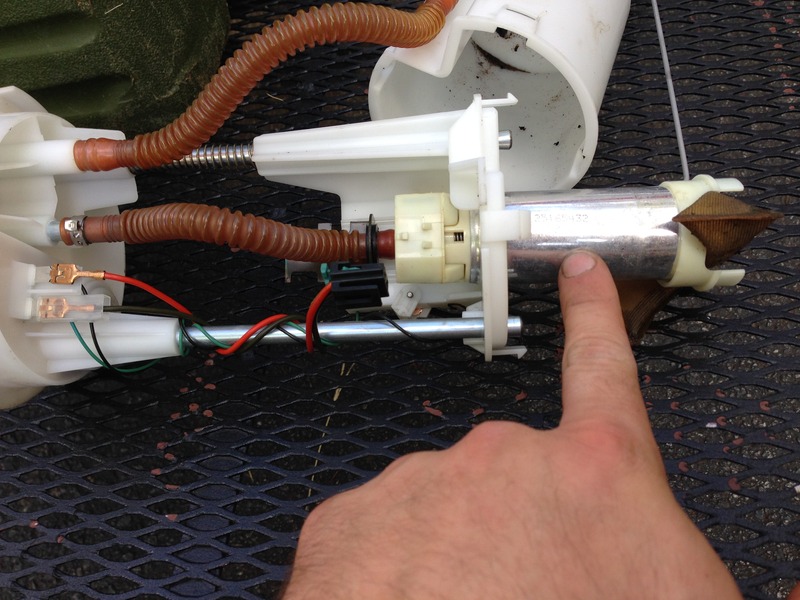
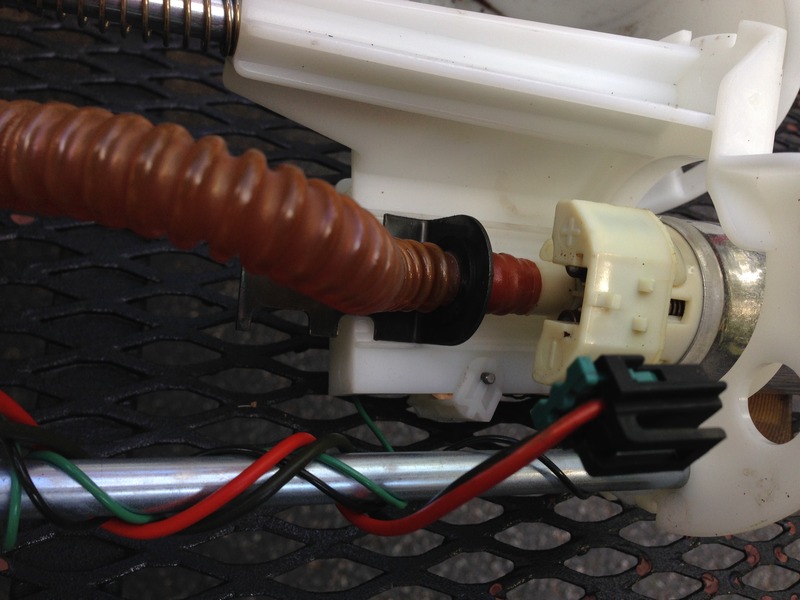
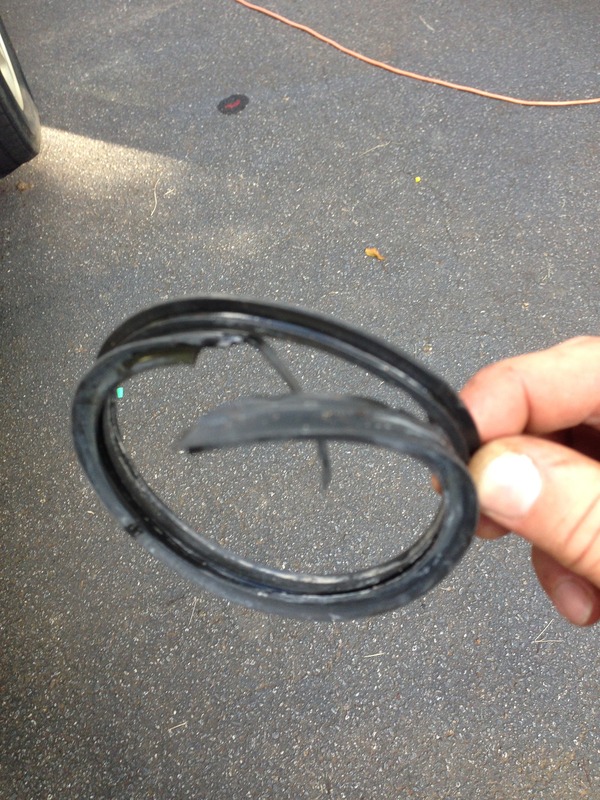
Guess I will need a new seal for the sending unit.....
Here are a few images during the tear out:


This one shows the fuel pump that I will be replacing:


Guess I will need a new seal for the sending unit.....

Thread Starter
|
Mudding
Joined: Jun 2015
Posts: 138
Likes: 13
From: Athens, GA
Here is the fuel pump that I will use to fix my issue....hopefully.
New Premium High Performance Fuel Pump with Installation Kit Strainer GA3270 | eBay
Whats in the box.....

The "pig tail" wire connector will not be needed as this pump will be a direct swap and the factory connector plugs right in with no issue.
New Premium High Performance Fuel Pump with Installation Kit Strainer GA3270 | eBay
Whats in the box.....

The "pig tail" wire connector will not be needed as this pump will be a direct swap and the factory connector plugs right in with no issue.
Thread Starter
|
Mudding
Joined: Jun 2015
Posts: 138
Likes: 13
From: Athens, GA
Ugh, cant get the stupid straw off of the old pump. I tried to use a little heat to make it a little more pliable, but that just seemed to have a opp site affect. Guess i will be making a trip to the part house. To Be Continued.......


