
Pimpin' my ride


Thread Starter
|
Mudding
Joined: Apr 2010
Posts: 125
Likes: 8
From: Montreal
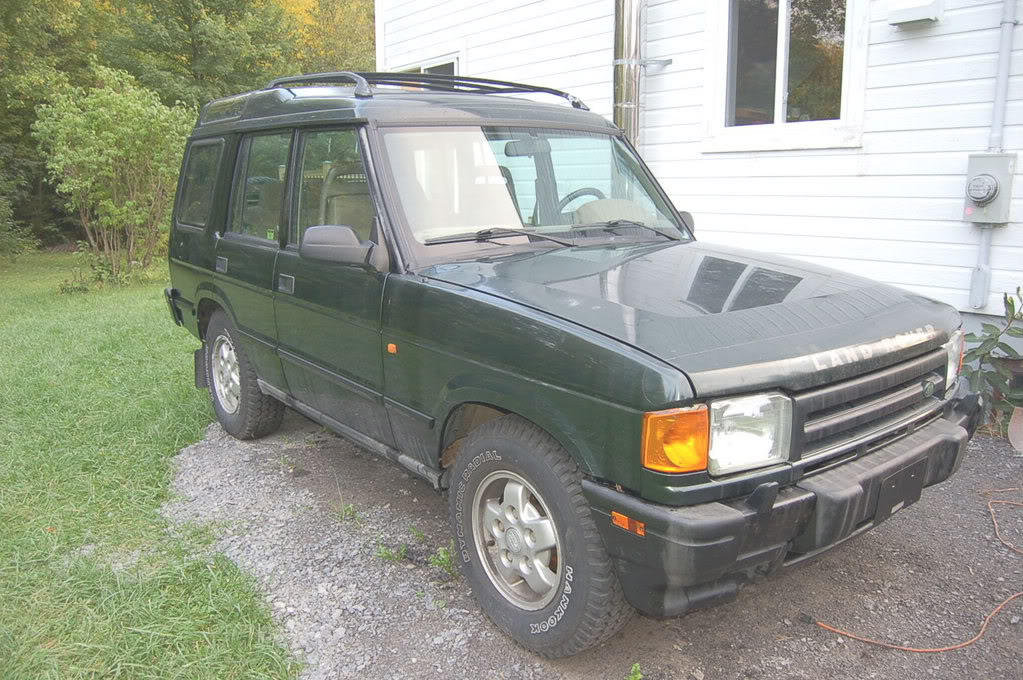
I have this truck already two years and it was neglected , because I also have 2001 d2.So now I decided to fix it a bit because I really like how it drives.I know there is some rust but this doesn't bother me , frame is solid.
Isuzu Trooper you see in the background will be used for parts.


Isuzu Trooper you see in the background will be used for parts.
Thread Starter
|
Mudding
Joined: Apr 2010
Posts: 125
Likes: 8
From: Montreal
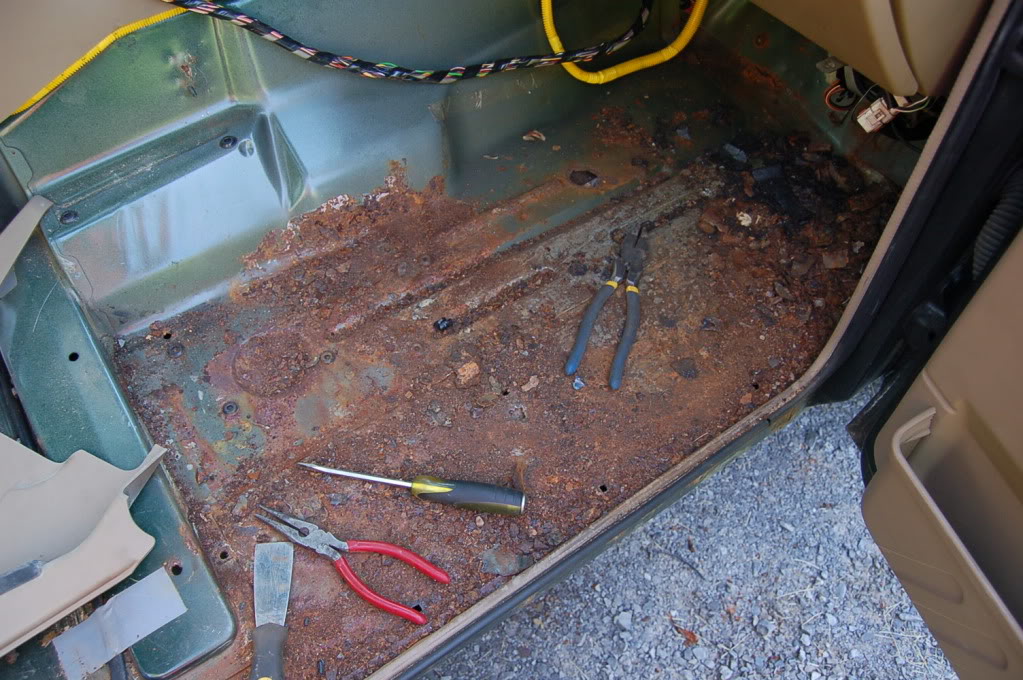
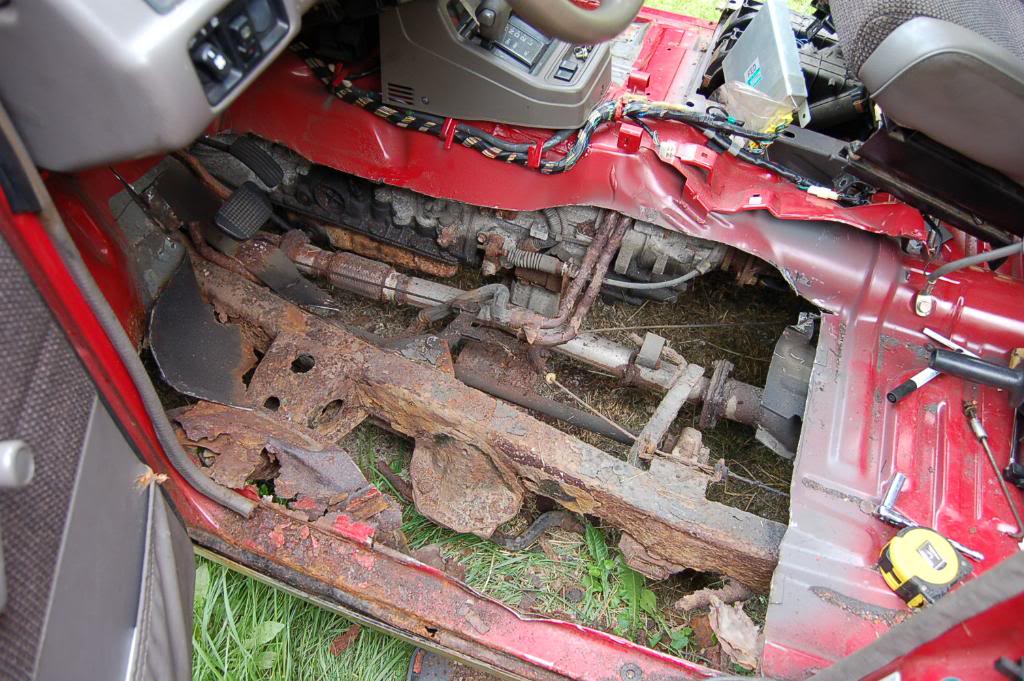
First thing was to remove all carpets and padding and repair the rust.
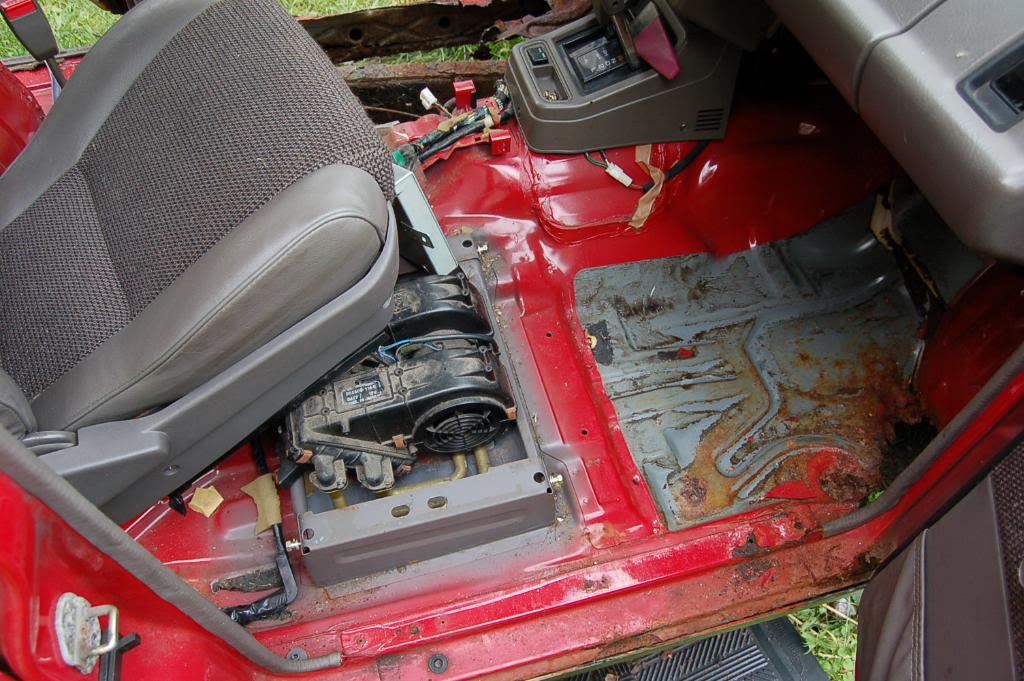
You can see what I found under the carpet.Drivers side floor is totally shoot.

Passengers side is bit better but only rust is holding the floor.This floor will go too.
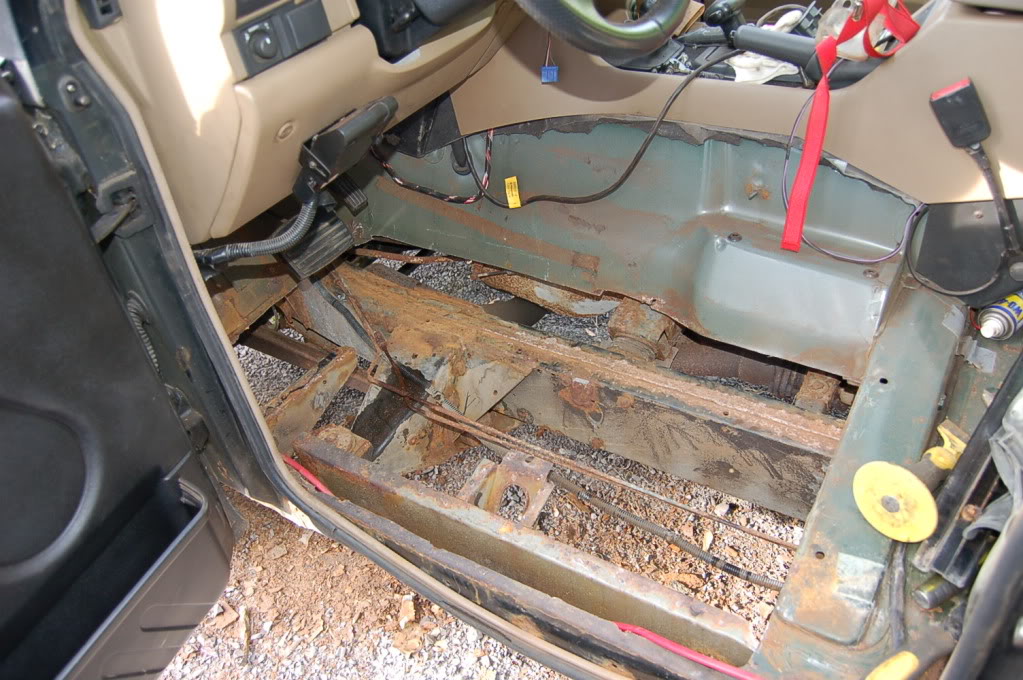
More I look more I find.
While removing drivers side floor I damaged the brake line.Brake line was attached to the floor.
You can see what I found under the carpet.Drivers side floor is totally shoot.
Passengers side is bit better but only rust is holding the floor.This floor will go too.
More I look more I find.
While removing drivers side floor I damaged the brake line.Brake line was attached to the floor.
Thread Starter
|
Mudding
Joined: Apr 2010
Posts: 125
Likes: 8
From: Montreal
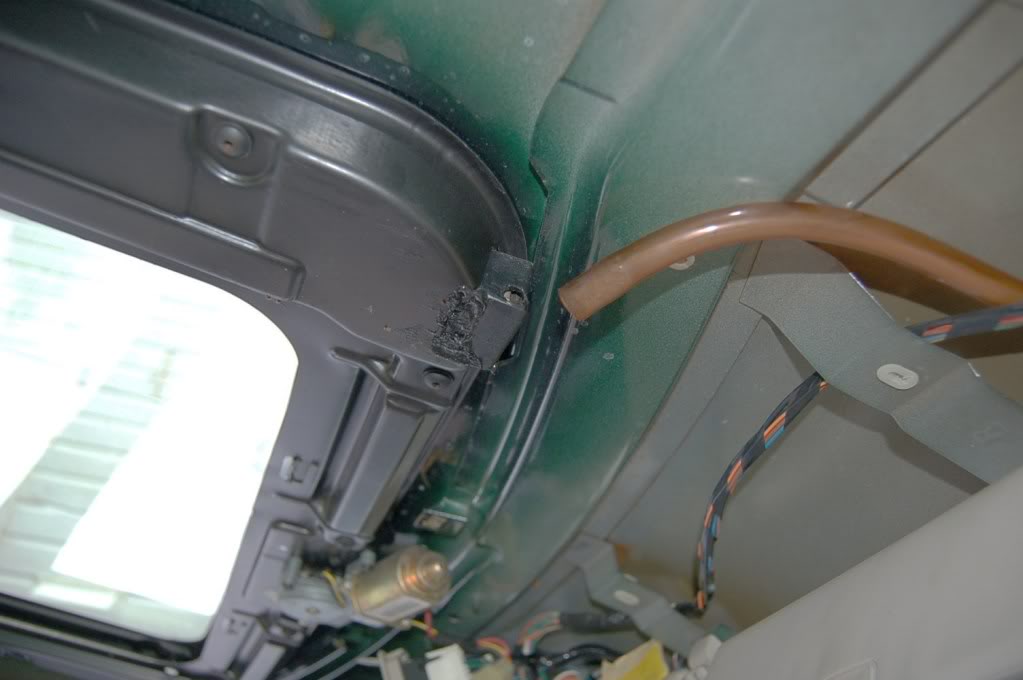
That's it.Looks like I will have to open everything.Rust on the top of the A pillar
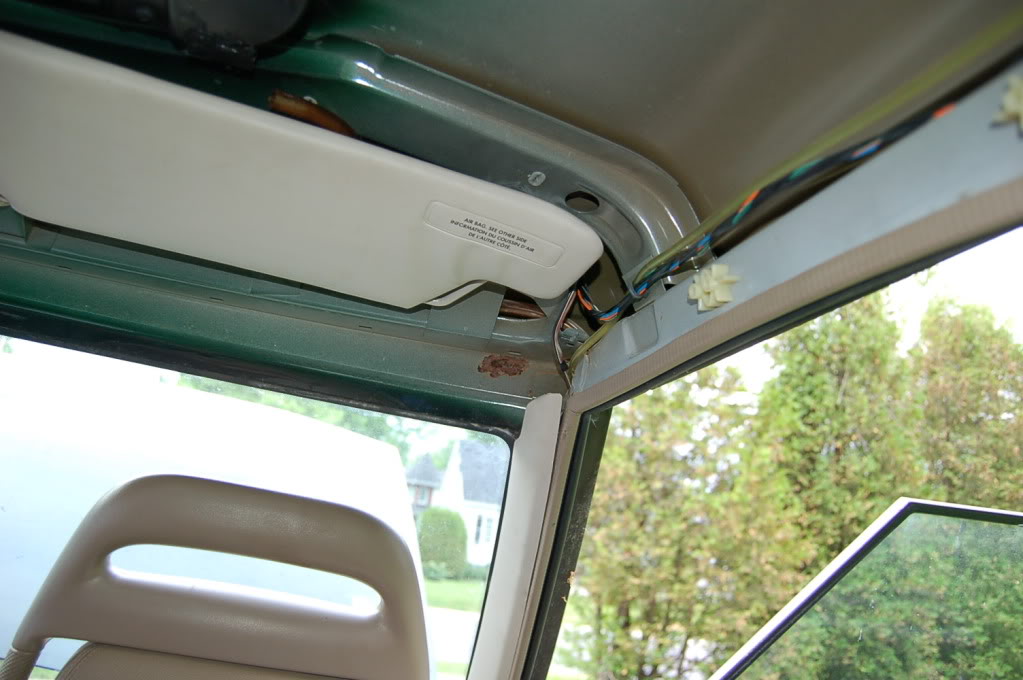
Broken down spout line.
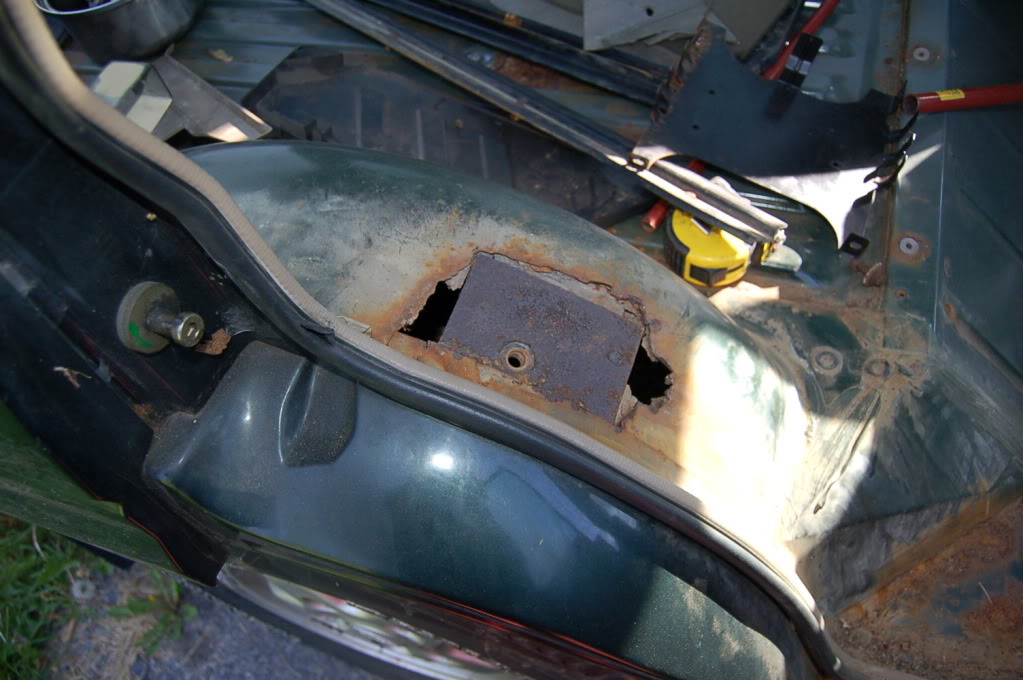
These is my trunk floor.
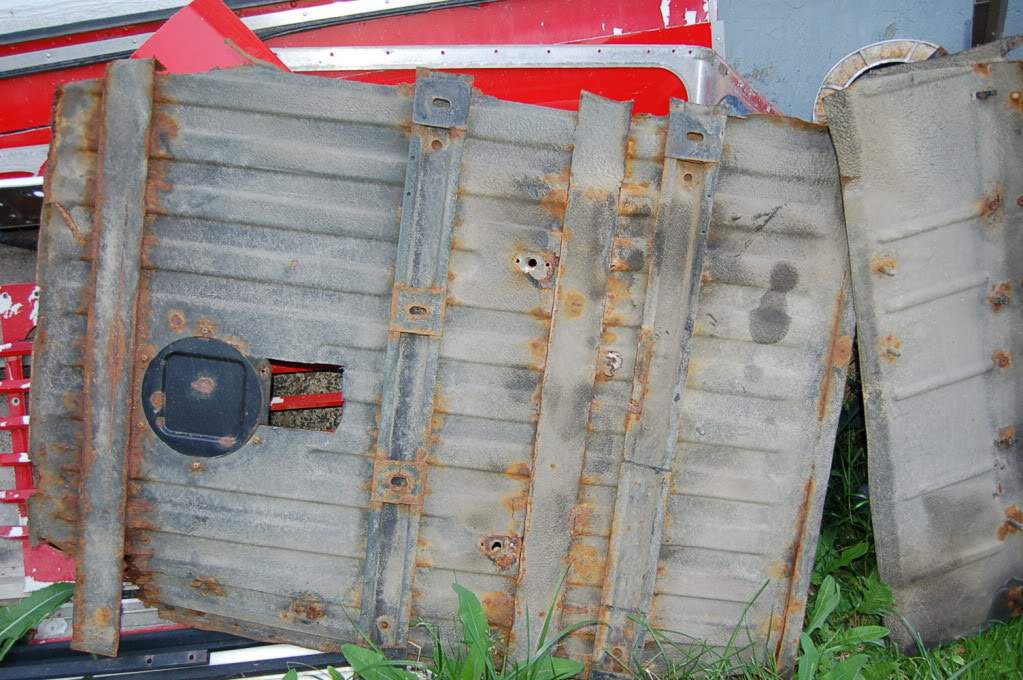
Frame is rusted but solid.
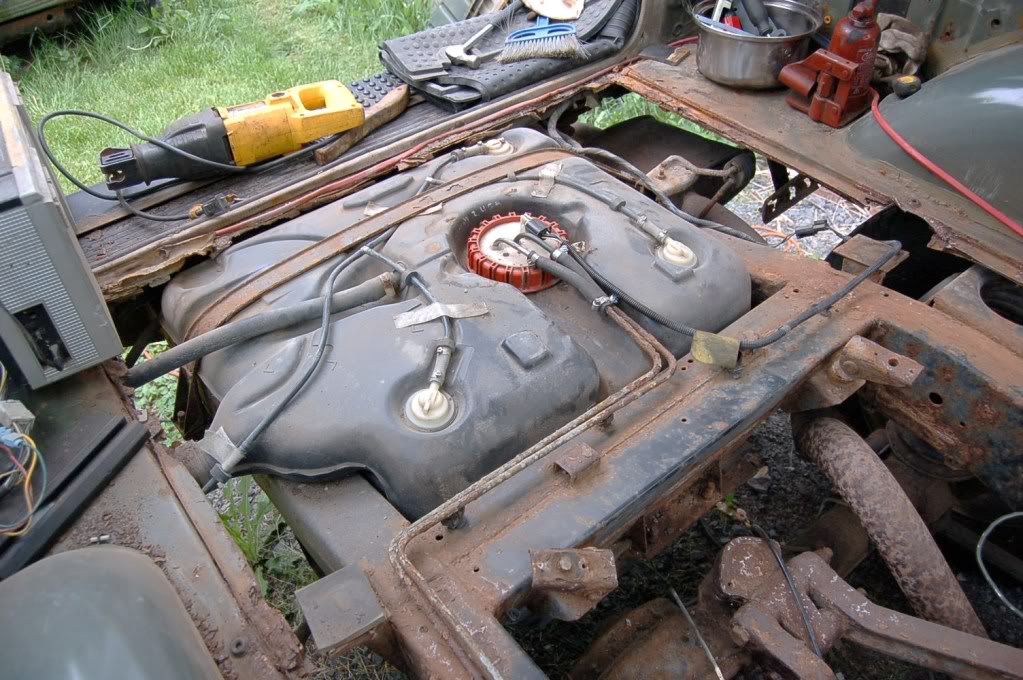
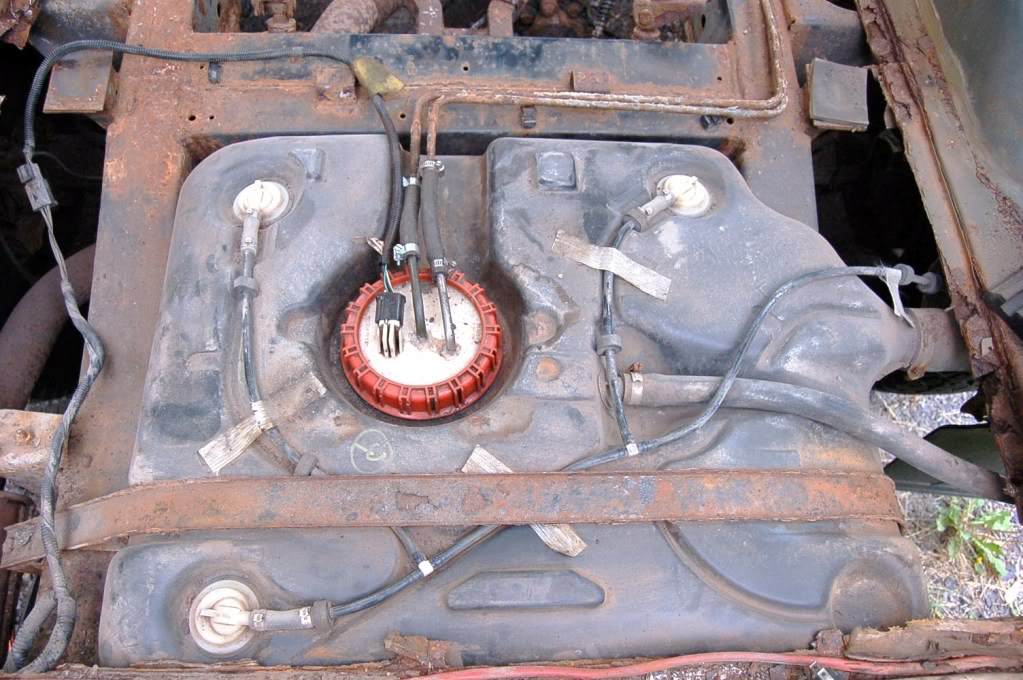
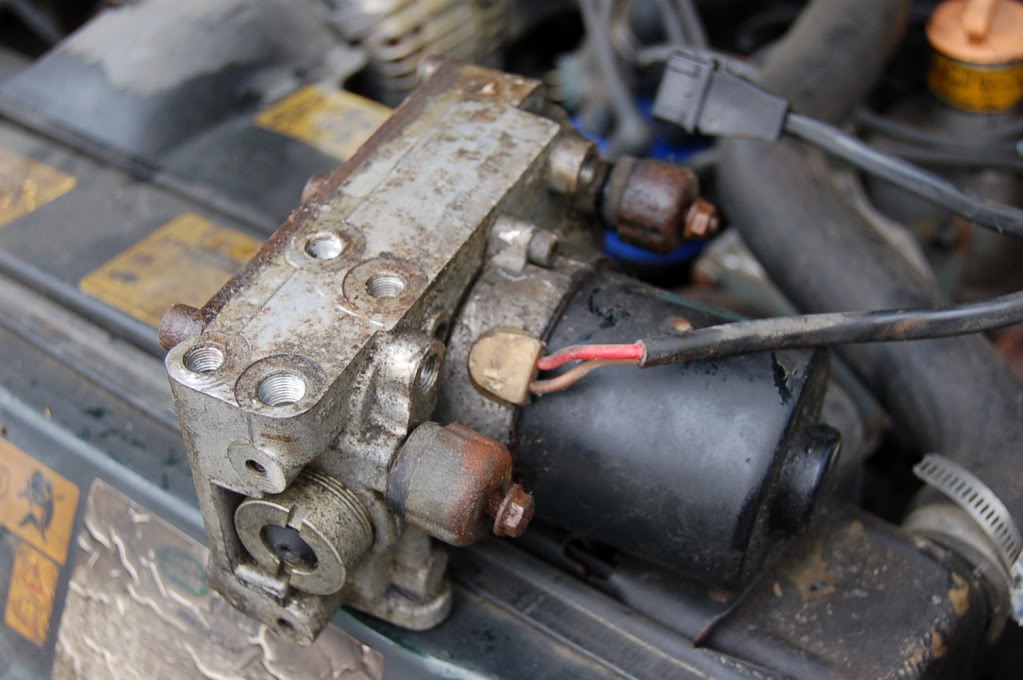
I already repaired fuel pump.Connectors were rusted and started to leak gas.I replace them with pieces made from gas line, also fuel level wire was broken so I fixed that also.
Broken down spout line.
These is my trunk floor.
Frame is rusted but solid.
I already repaired fuel pump.Connectors were rusted and started to leak gas.I replace them with pieces made from gas line, also fuel level wire was broken so I fixed that also.
Thread Starter
|
Mudding
Joined: Apr 2010
Posts: 125
Likes: 8
From: Montreal
To repair my brake lines I decided to ditch ABS , it never worked anyways.
So I went from this.....
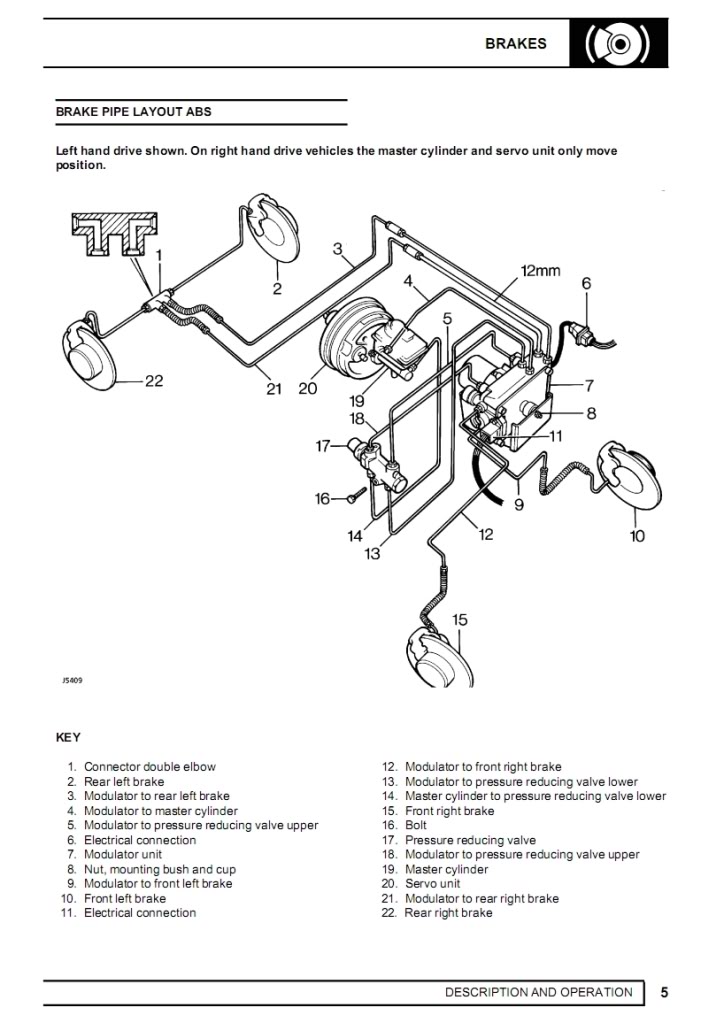
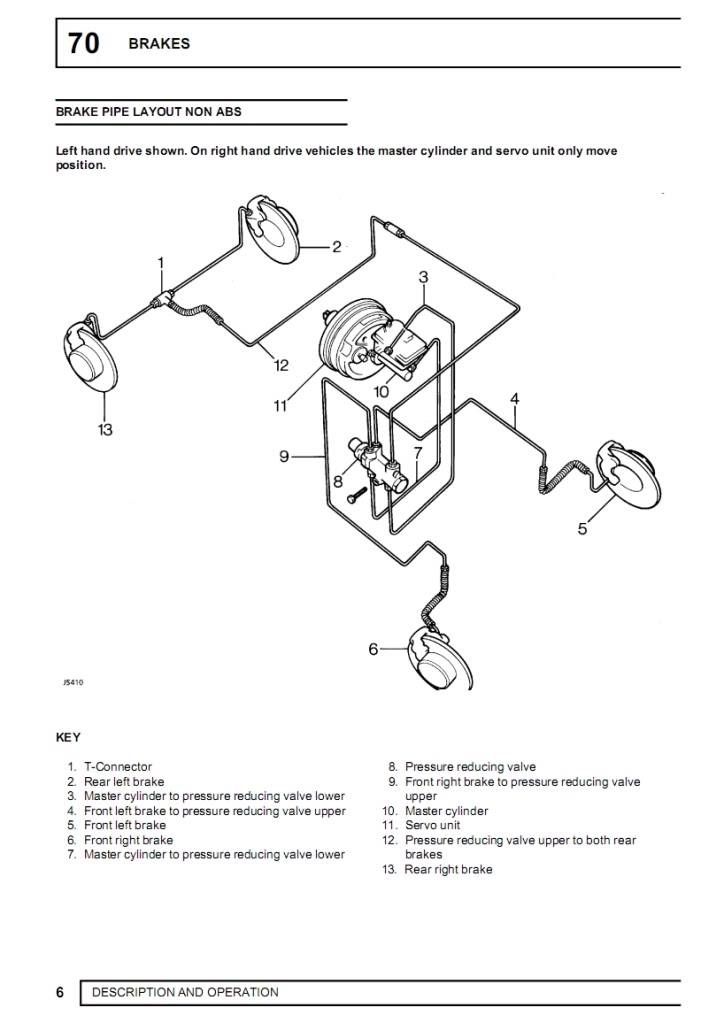
to this
This is how it looks like without modulator.
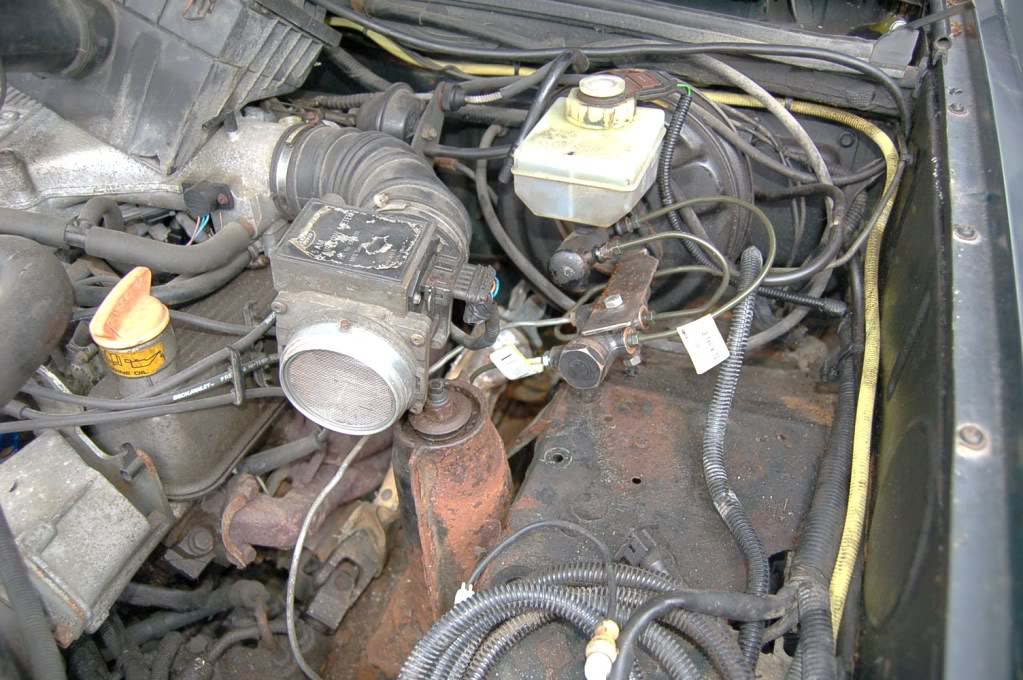
This thing goes in garbage .Believe it or not new one cost 2500$
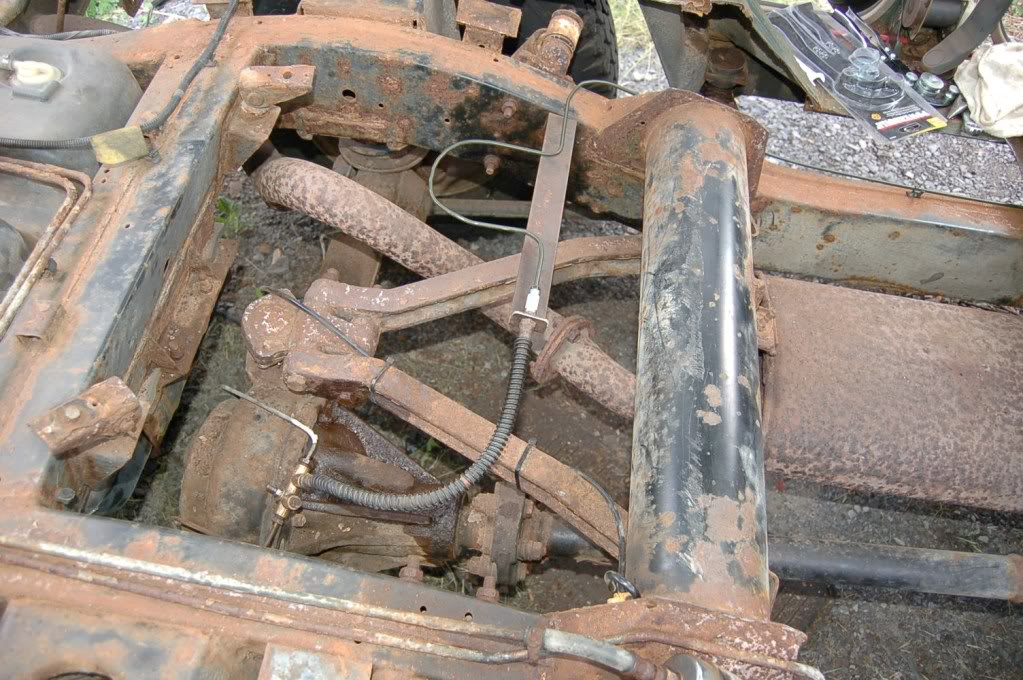
This is my new simple brake line.

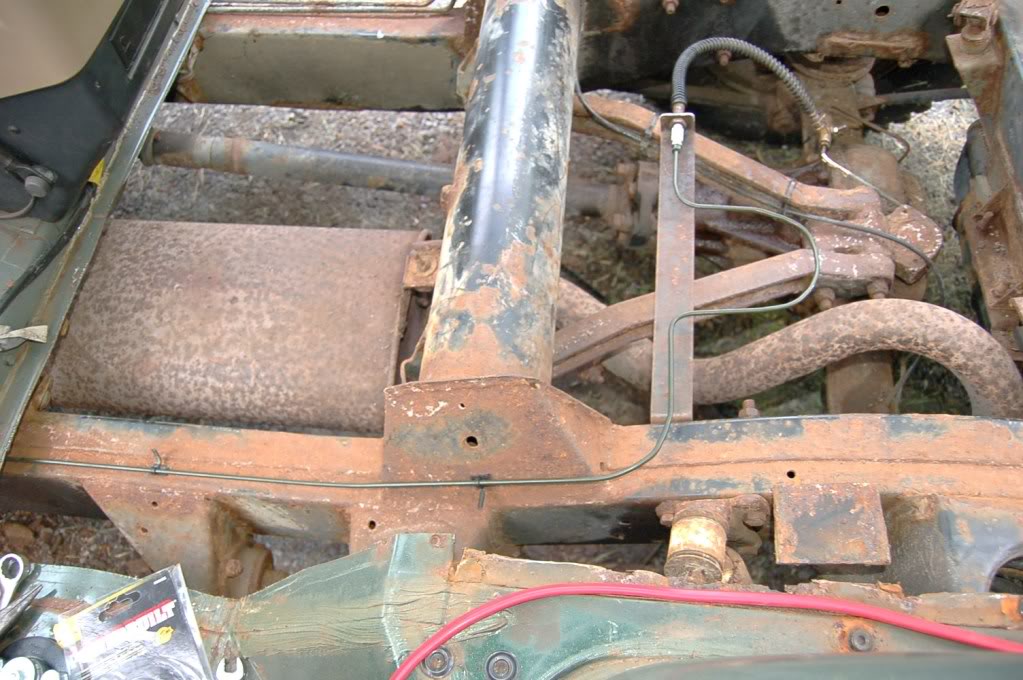
I built new bracket to hold brake line , old one was supported by trunk floor.
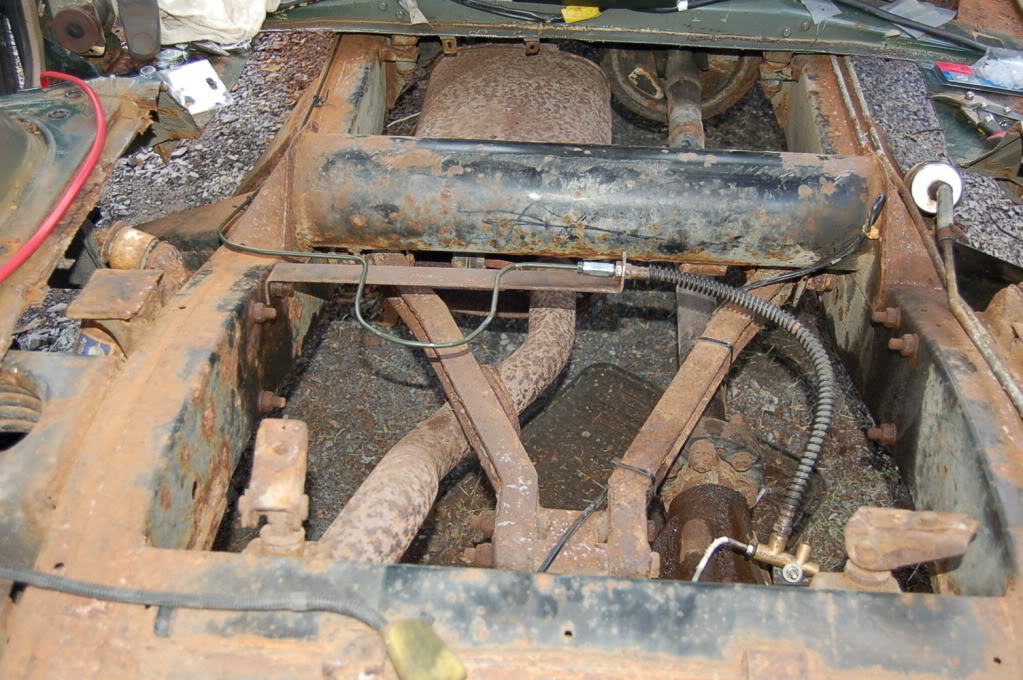
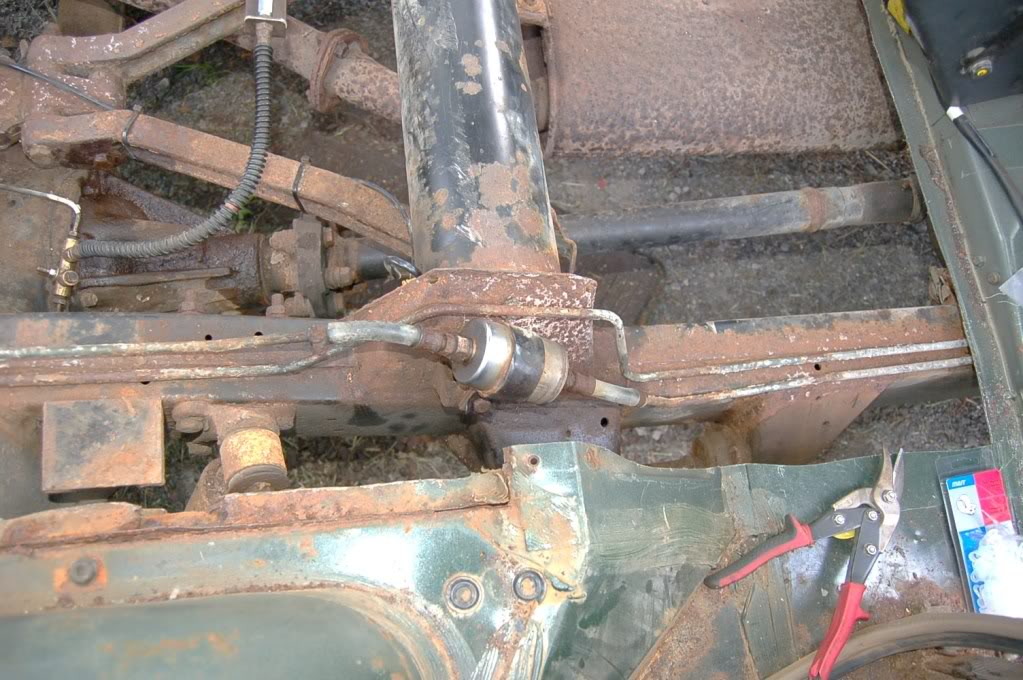
For new members this is where fuel filter is located.
So I went from this.....
to this
This is how it looks like without modulator.
This thing goes in garbage .Believe it or not new one cost 2500$
This is my new simple brake line.
I built new bracket to hold brake line , old one was supported by trunk floor.
For new members this is where fuel filter is located.

Mudding
Joined: Apr 2010
Posts: 140
Likes: 2
From: With the boss
I'll be following your pimping with great interest.
My advice is to paint all exposed areas with POR 15 paint. It really likes to bond to rusted surfaces, just a lot pricey, like $60 a liter but worth it every dollar.
POR15.ca is near Montreal, check their site. I purchased the "starter kit" and am painting wherever there is a rust issue to stop rust.
Please note that if you get it on your fingers, you have to remove it before it dries or wait untill it wears off.
SD


Baja
Joined: Mar 2010
Posts: 5,584
Likes: 7
From: Pittsburgh PA suburbs.
After seeing yours, I am glad my 97 DI is minimal rust in comparison.
I am interested in your brake mod. So you basically just removed the Wabco ABS modulator and replumbed the rest? No other new parts except the new brake lines?
I just replaced my fuel lines from the tank to the engine bay. A 25 foot coil of steel tubing for about $22. I tried to replace the inlet and outlet lines to the fuel pump housing but was not successful, so I bought a new unit from Rovers North for about $105.00.
Does anyone want the old one I removed? The pump and sender are good. If anyone needs it let me know, you would have to use a different top piece, so if you have one with a bad pump but a good top piece, it would work for you.
I am cleaning out my garage so if anyone wants the old fuel pump, let me know before I throw it away. You can have it for $30 to cover USPS flate rate shipping to get it to you. PM me if you want it.

Thread Starter
|
Mudding
Joined: Apr 2010
Posts: 125
Likes: 8
From: Montreal
Originally Posted by Danny Lee 97
So you basically just removed the Wabco ABS modulator and replumbed the rest? No other new parts except the new brake lines?
Originally Posted by Danny Lee 97
I am cleaning out my garage so if anyone wants the old fuel pump, let me know before I throw it away. You can have it for $30 to cover USPS flate rate shipping to get it to you. PM me if you want it.
Thread Starter
|
Mudding
Joined: Apr 2010
Posts: 125
Likes: 8
From: Montreal
Well I took part of the floor with seat mounting from the Isuzu Trooper.This truck was owned by my father in-law.Great truck but rust eat it away.Surprisingly body is better than frame.He wanted to scrap it , than I decided to take it for parts.
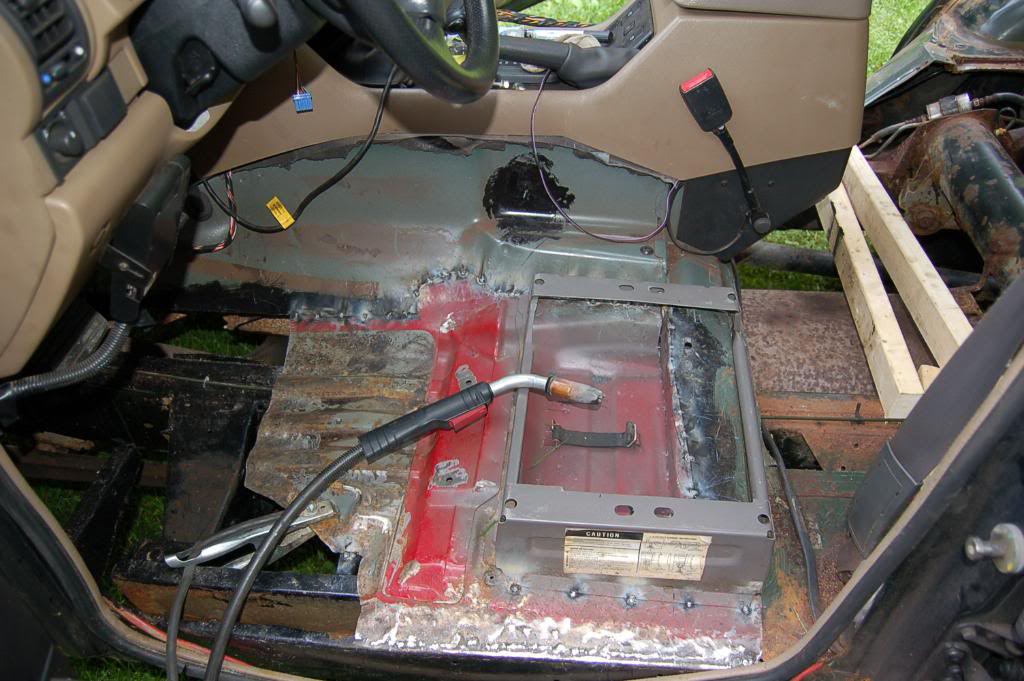
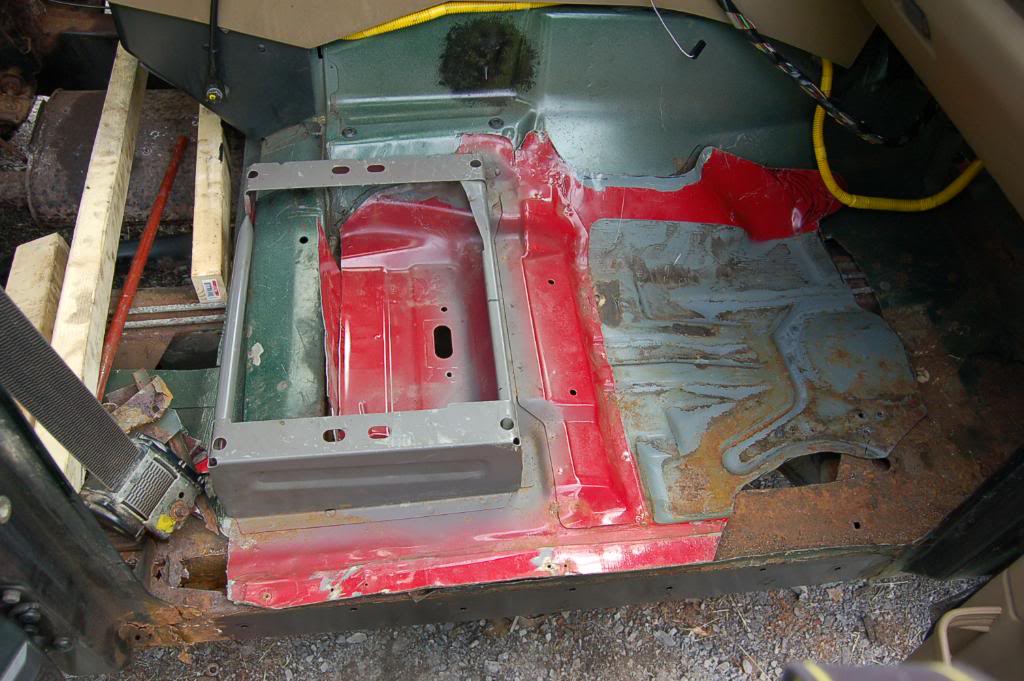
This is test fitting the Isuzu Trooper floor to Discovery .

This is Isuzu Trooper passengers side before cutting.There is heating unite under the seat.
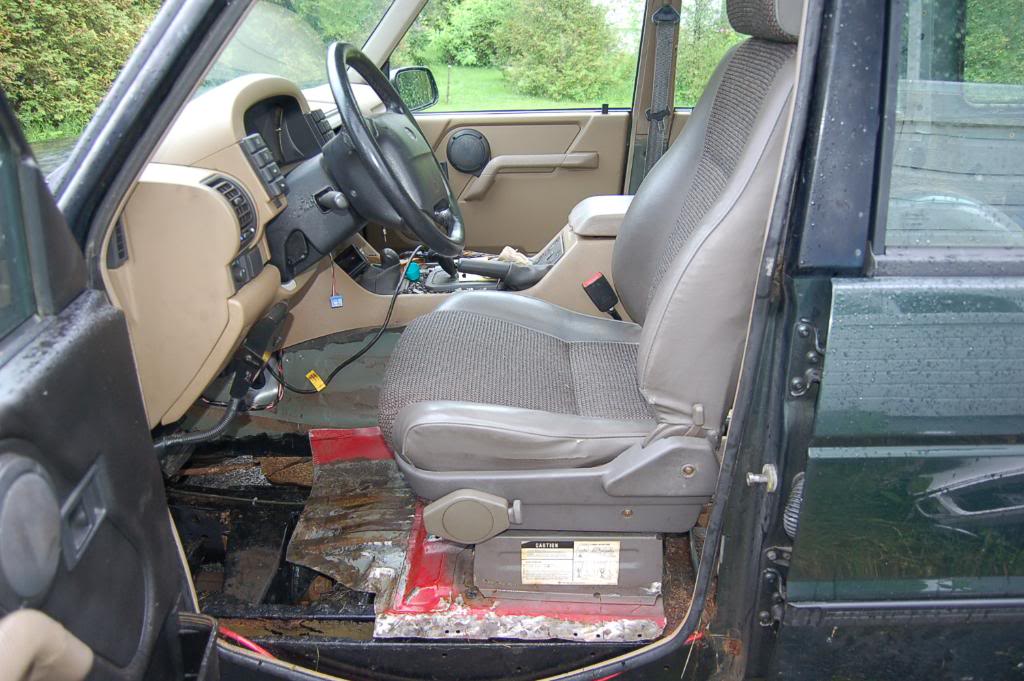
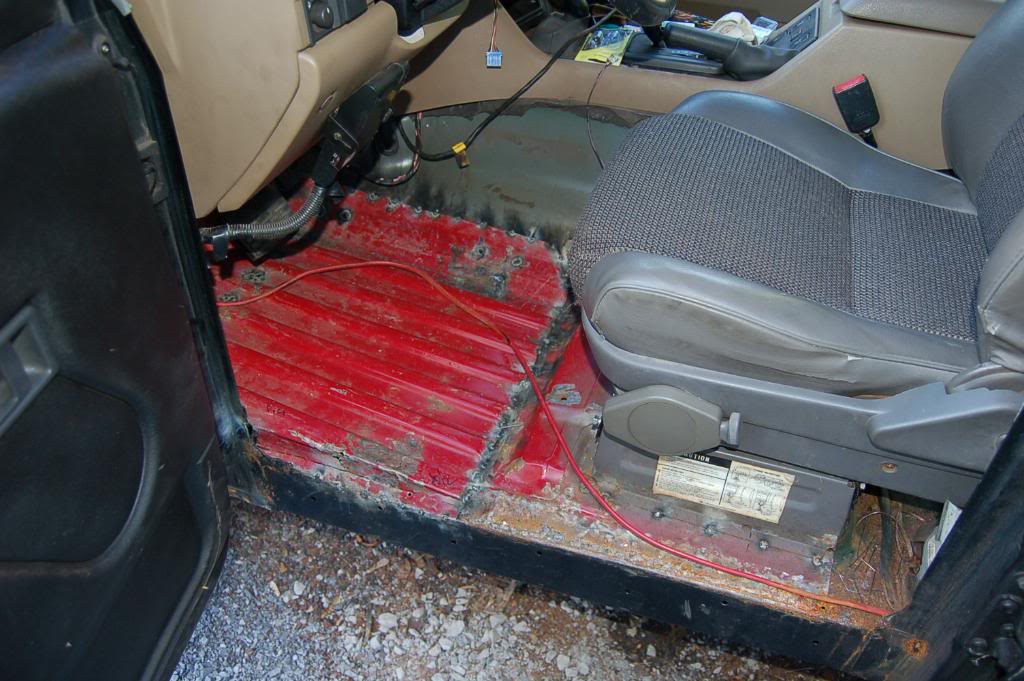
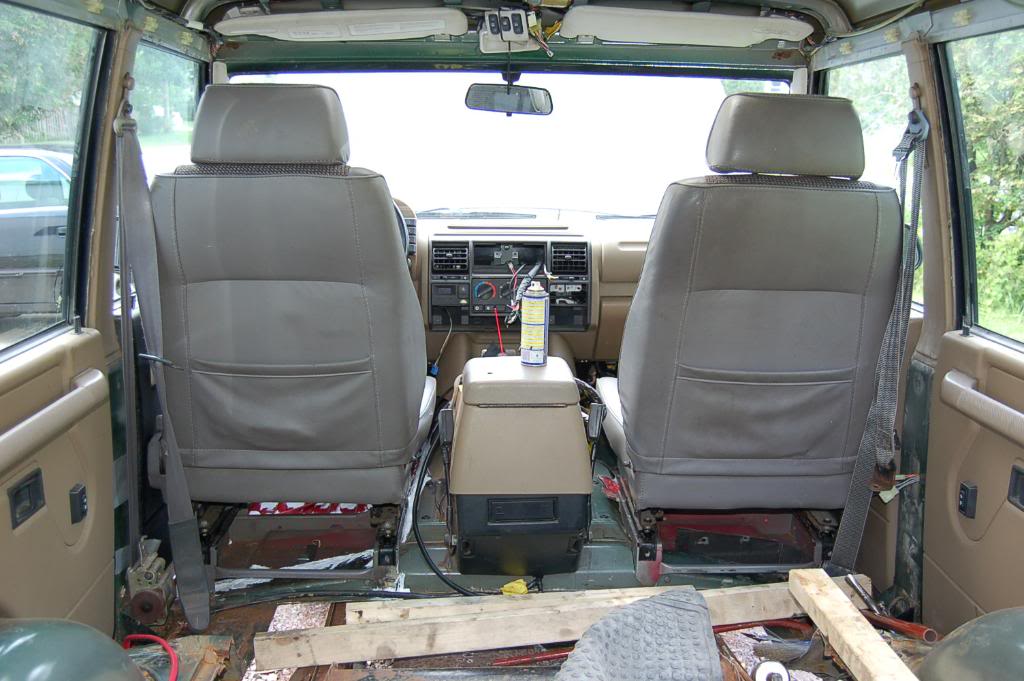
Test fitting the floor and the seat , noting is welded yet.Interesting thing with Isuzu Trooper driver seat is , it can be adjusted not just forward reverse but up and down.It can be moved up to 2 inches.Somebody on this forum asked about it and answer is yes everything is possible.I didn't pick these seats because of these height adjustments , I pick them because I have them for free.
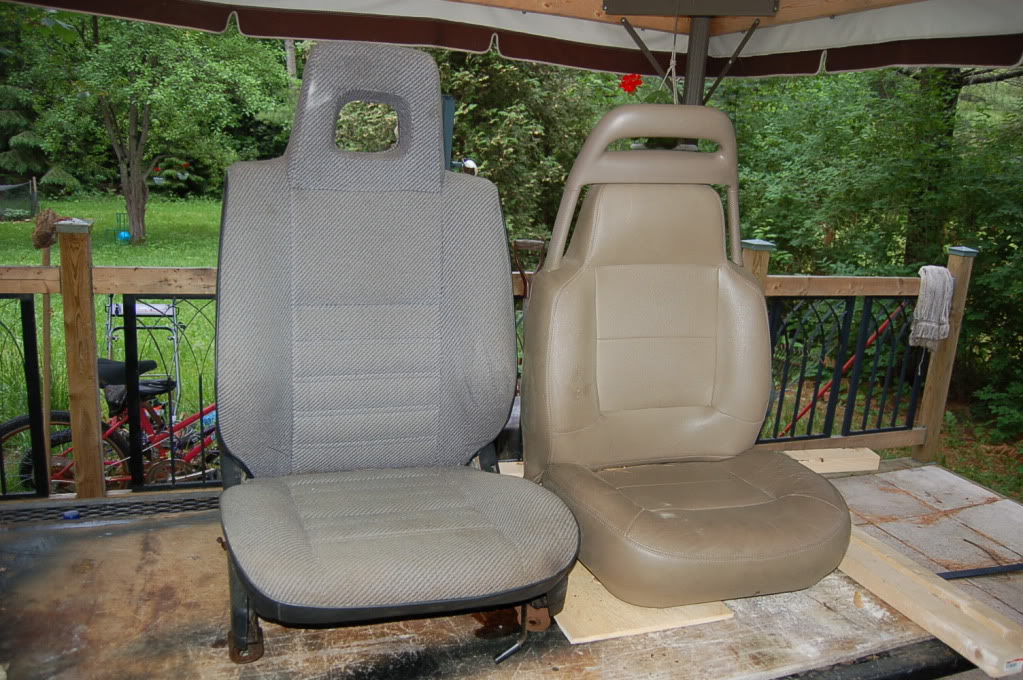
Actually I have these Toyota Tercel seats that I like more than Trooper's,( I got them for free also) somewhere in the future I am planing to install them. Here you can see Toyota Tercel seat next to original Discovery seat.
Seat support is tacked in.
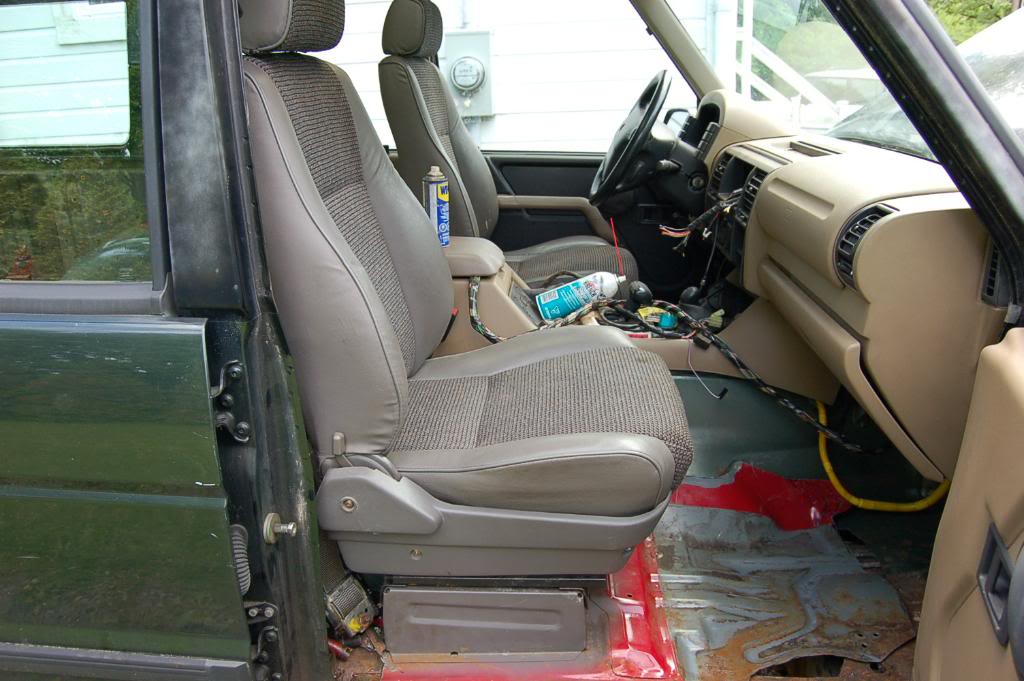
Seat installed in permanent position.

Floor is part of the cargo floor from Isuzu Trooper.
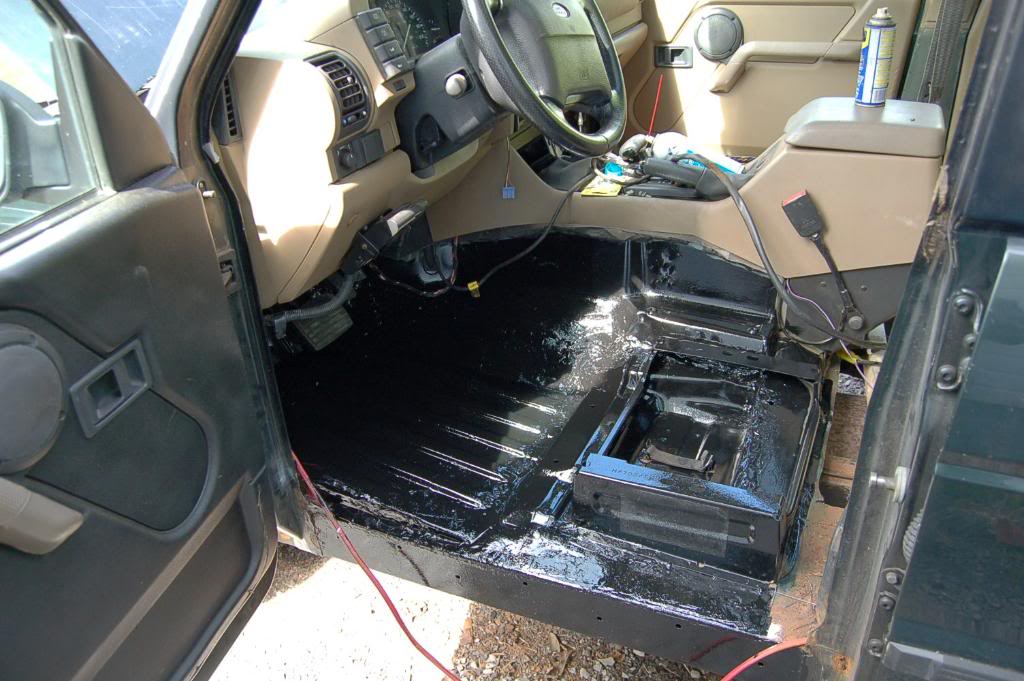
I caulked it.
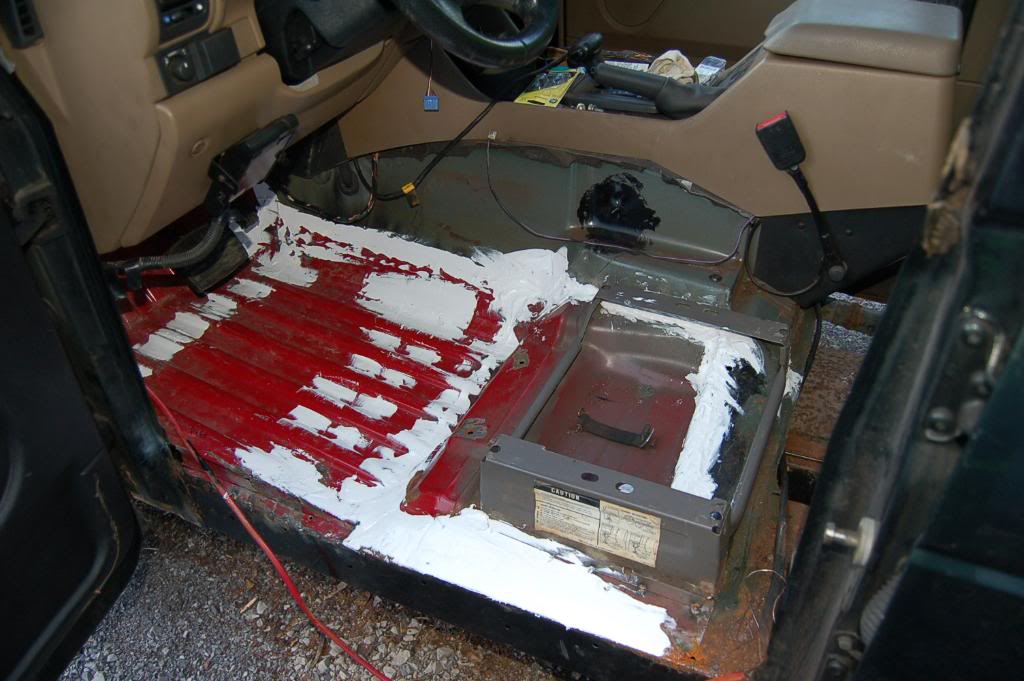
Painted.
Passenger area test fit.Those 2x3 you see are to measure level of the seats supports towards the frame.Should be parallel.
Test fit the passengers seat and support.Not welded yet.
Look from the back.
Now at this point I came to the snag.Maybe it is good idea to change my fuel lines while everything is open.Does anybody have any pics of how to do it?
This is test fitting the Isuzu Trooper floor to Discovery .
This is Isuzu Trooper passengers side before cutting.There is heating unite under the seat.
Test fitting the floor and the seat , noting is welded yet.Interesting thing with Isuzu Trooper driver seat is , it can be adjusted not just forward reverse but up and down.It can be moved up to 2 inches.Somebody on this forum asked about it and answer is yes everything is possible.I didn't pick these seats because of these height adjustments , I pick them because I have them for free.
Actually I have these Toyota Tercel seats that I like more than Trooper's,( I got them for free also) somewhere in the future I am planing to install them. Here you can see Toyota Tercel seat next to original Discovery seat.
Seat support is tacked in.
Seat installed in permanent position.
Floor is part of the cargo floor from Isuzu Trooper.
I caulked it.
Painted.
Passenger area test fit.Those 2x3 you see are to measure level of the seats supports towards the frame.Should be parallel.
Test fit the passengers seat and support.Not welded yet.
Look from the back.
Now at this point I came to the snag.Maybe it is good idea to change my fuel lines while everything is open.Does anybody have any pics of how to do it?