Pimpin' my ride
#41
Seeing all this rust makes me realize how lucky I am with my project Ugly Duckling. Ugly Duckling has spent its entire 50 year life here in Alaska where rust isn't a huge issue. We don't use salt on the roads so the only vehicles with rust issues are the ones that launch boats.
Keep up the good work and can't wait to see more updates.
Keep up the good work and can't wait to see more updates.
#42
#43
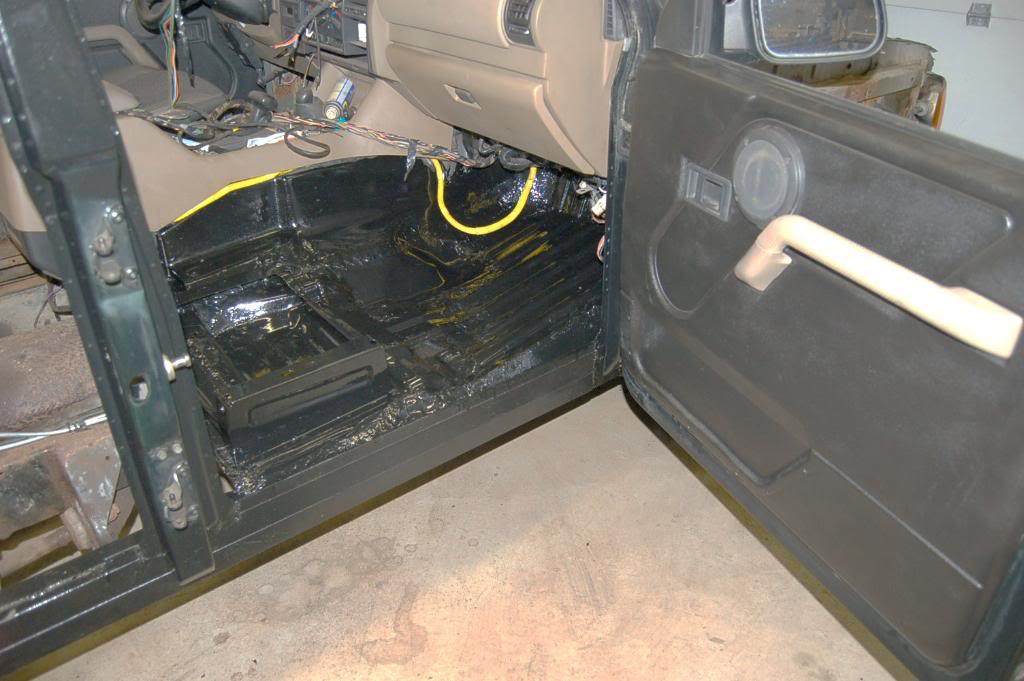
These days I didn't do much . We have temperatures around 35C-38C that would be around 90F-100F. Heat got me , I am tired like a dog.Lucky me that I put my truck in the garage , so it is cool inside.I just put door together , and it looks good.Floor is shiny like new.
Also bought new bolts and made new sub-floor support brackets.From the picture you can see how these support brackets are going to be installed.
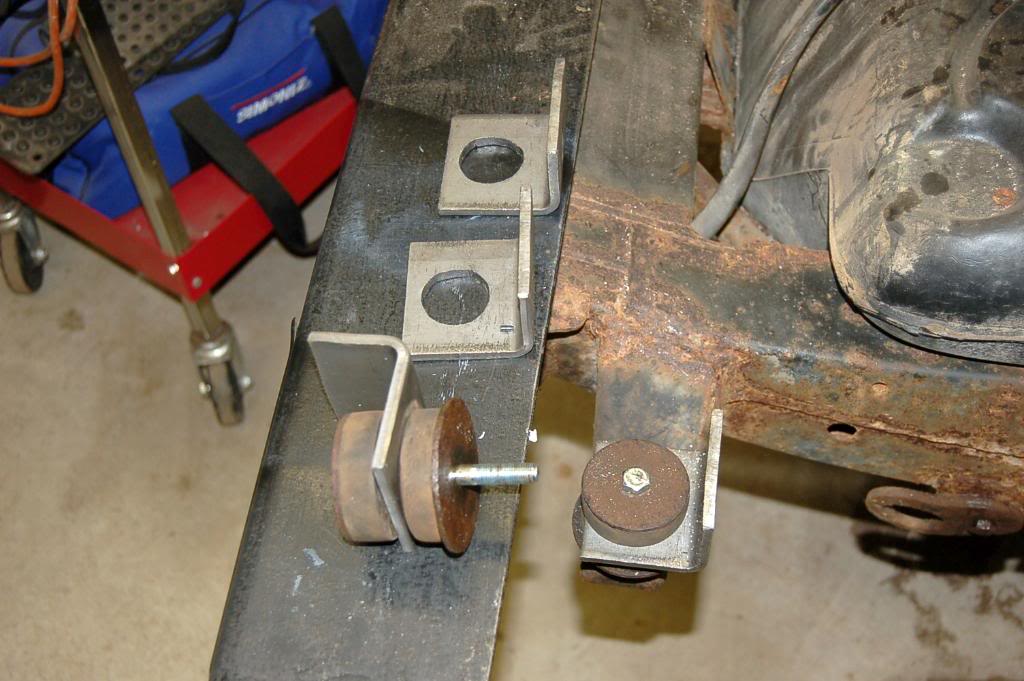

Also bought new bolts and made new sub-floor support brackets.From the picture you can see how these support brackets are going to be installed.

#46
I was working on the floor sub-frame all weekend and have nothing to show and is still not done .I welded it all wright , but now i have to take it of off the truck so I can make those off the position welds and while everything is open it is good chance to paint the frame...
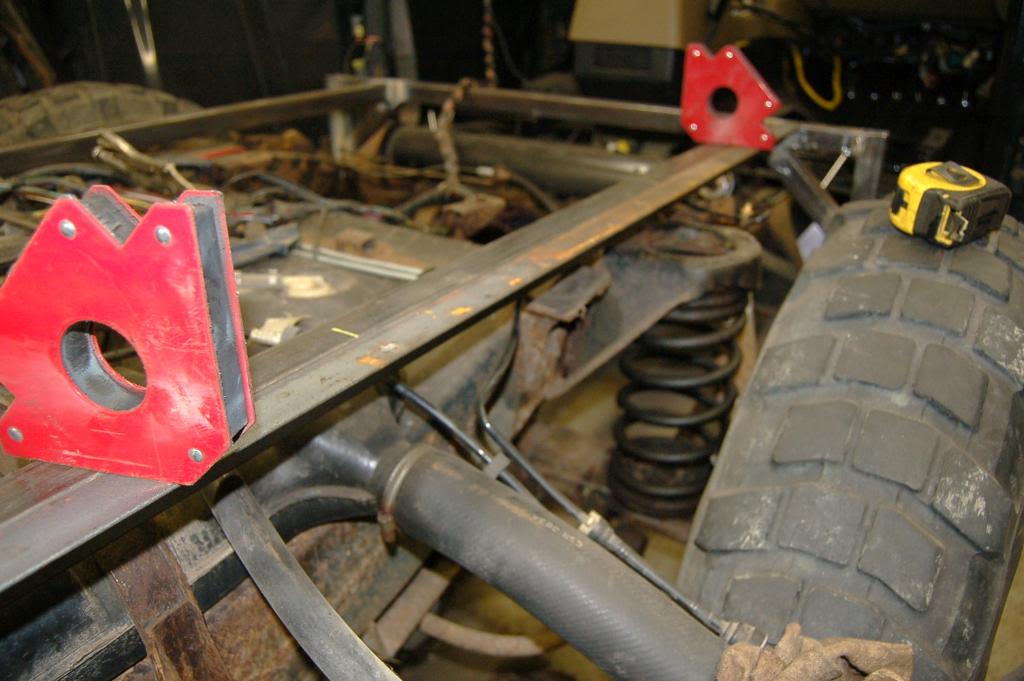
Here I tested inside right fender to the sub-frame...
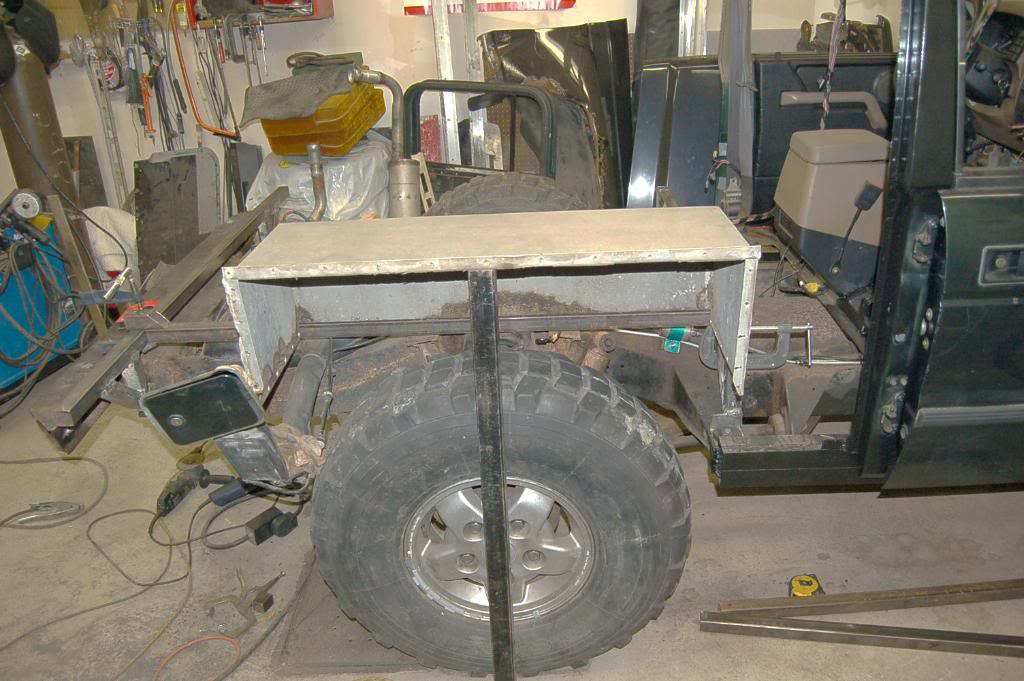
look from other side...
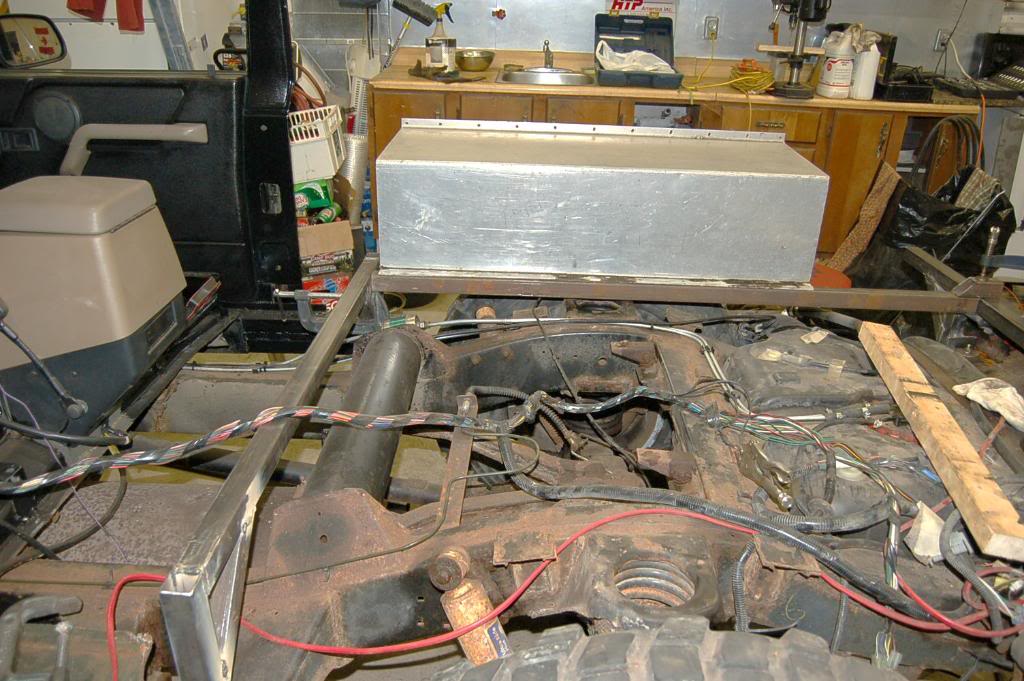
look from the back...
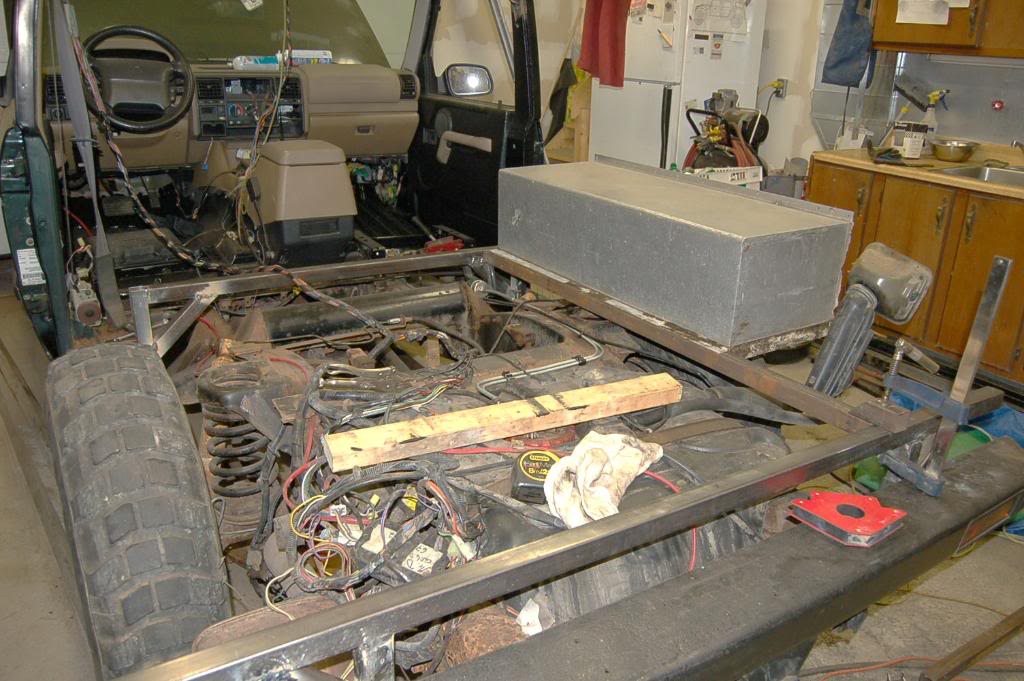
test fit of the left fender to the sub-frame...
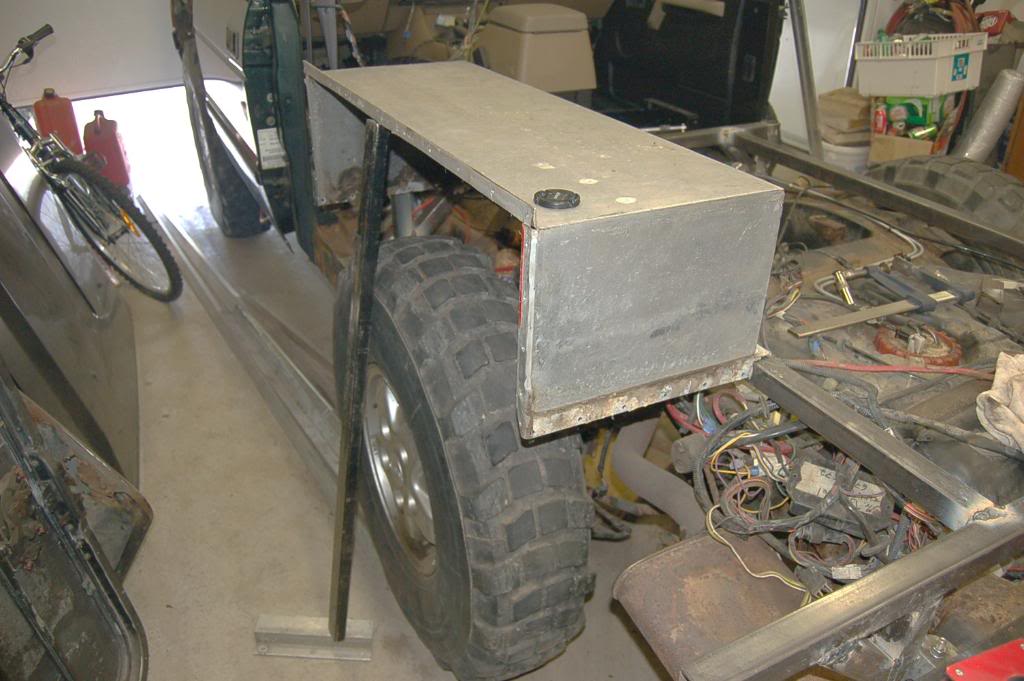
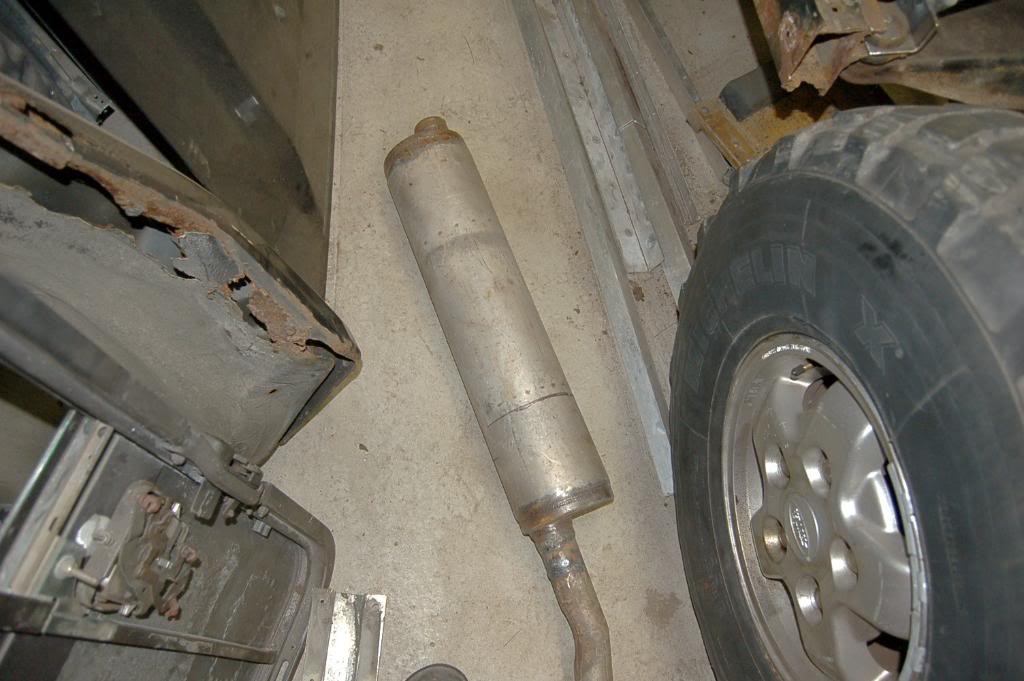
...while working on the sub-frame I keep looking at my rusty muffler.Muffler is OK , it doesn't make noise but it is on the way and sooner than later I will have to change it...
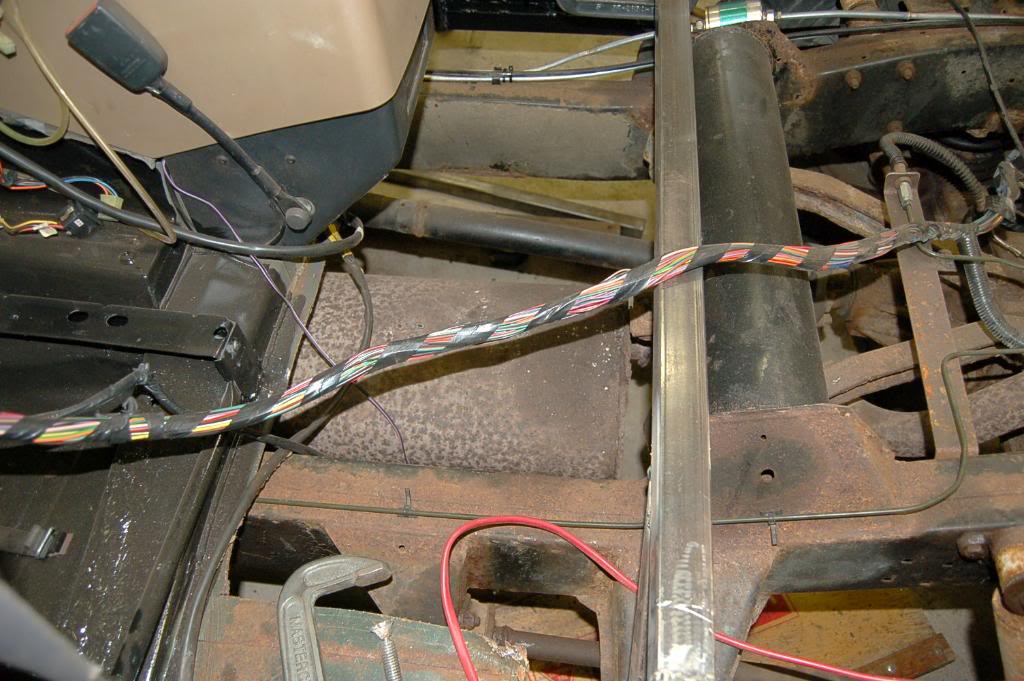
...and in the same time I have this perfectly good muffler from my donor truck...so change is on the way...
...test fitting left inner fender...

...this is my floor from my donor truck...thickness is 1/8 aluminum...
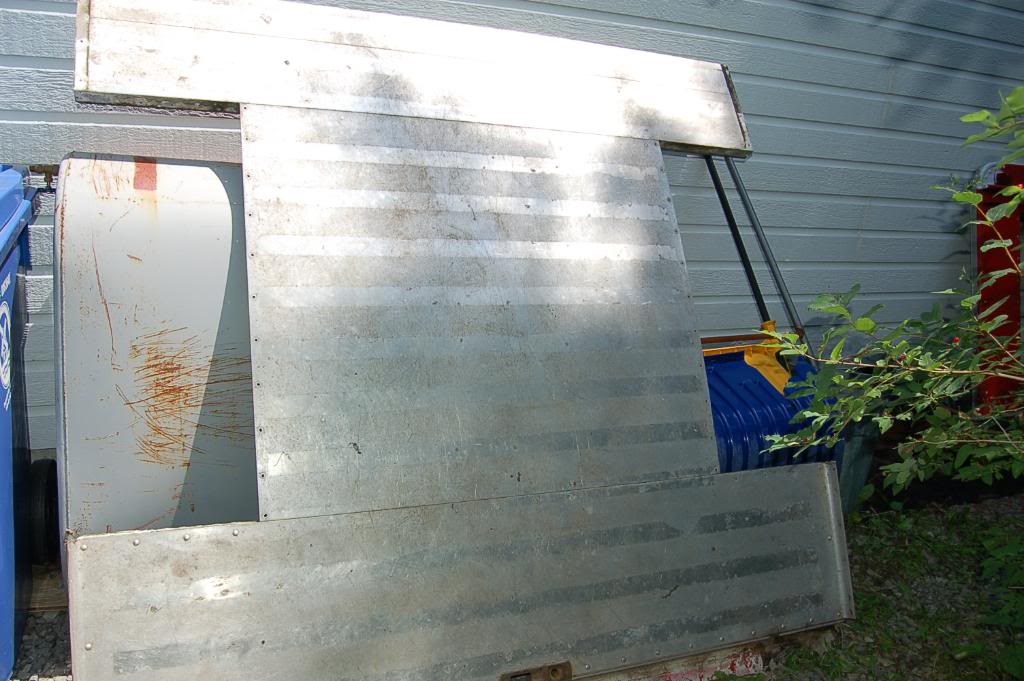
...this is underside of it for better understanding how it is constructed...
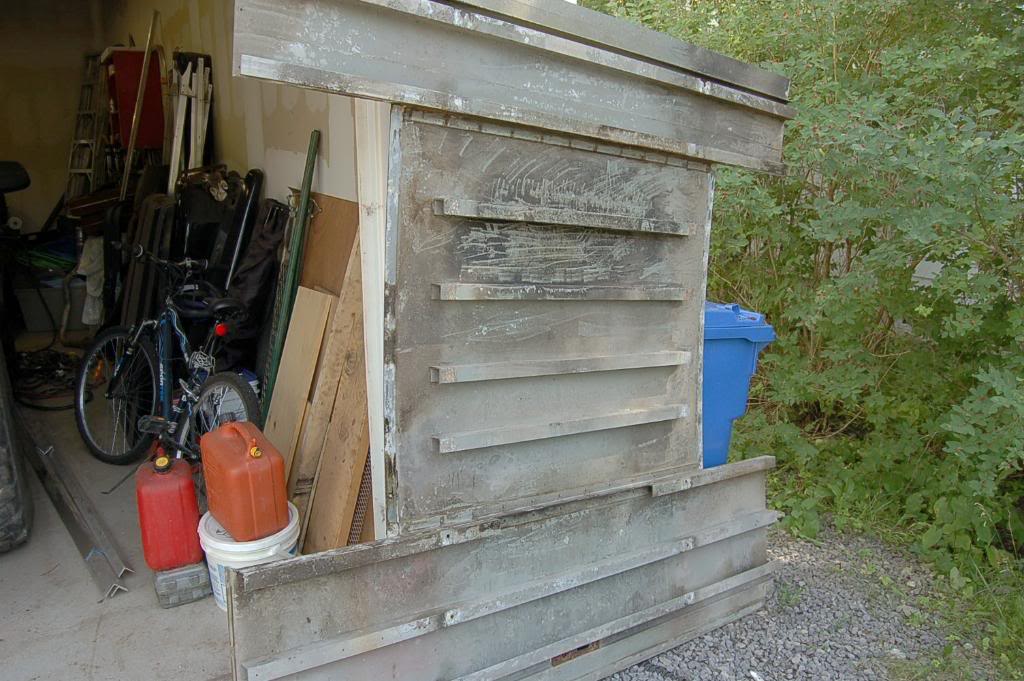
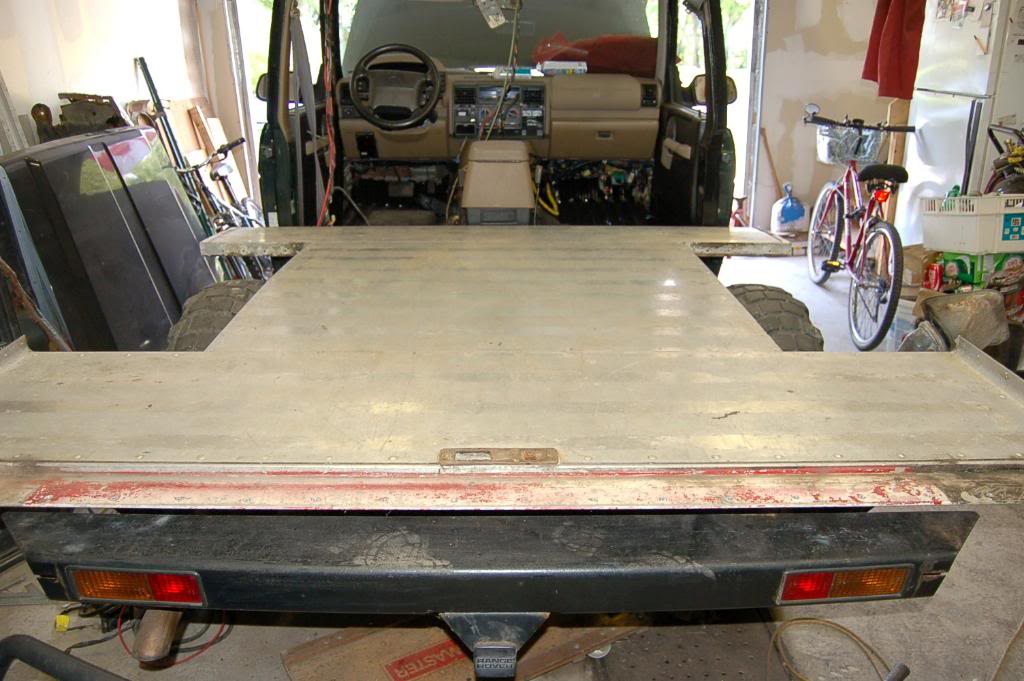
...this is my back of the truck...still have to cut it...it is too wide...
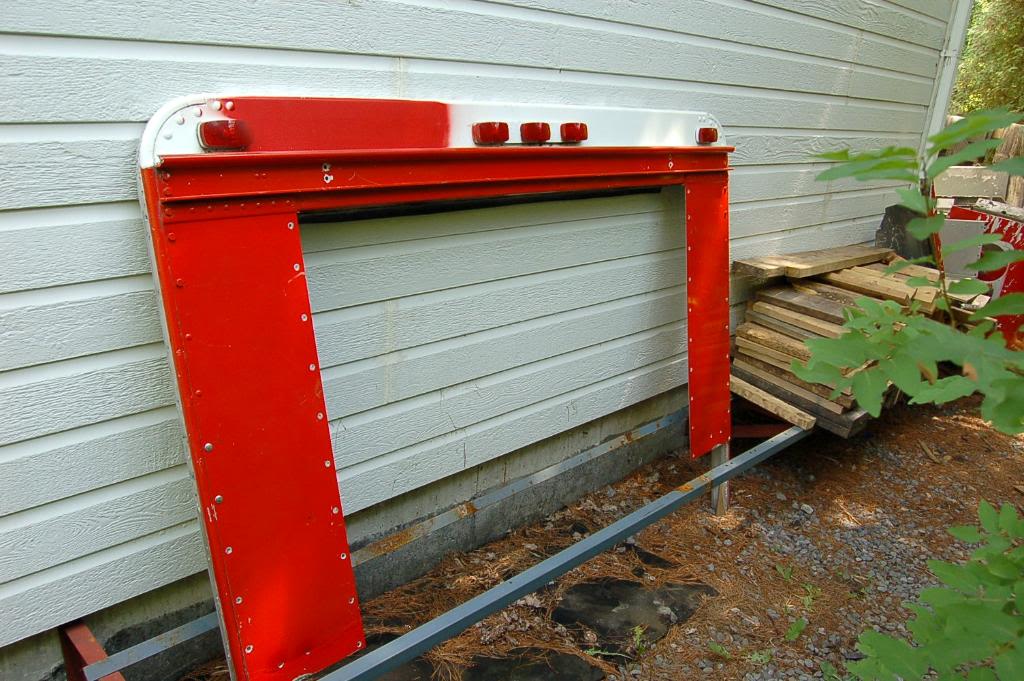
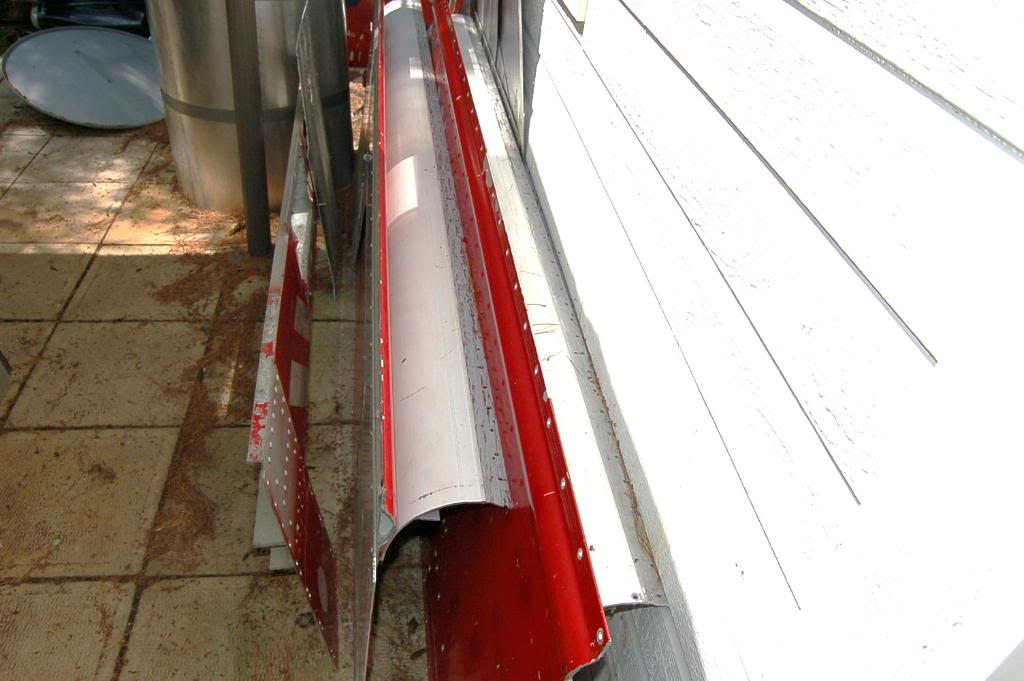
..these are my side panels ...1/8 aluminum...waiting for the floor to be finished so I can install them...in the back you can see that big roll of the aluminum , that is roof...
..so her I wanted to see floor on my new sub-floor...obviously it is too wide I will have to cut it...
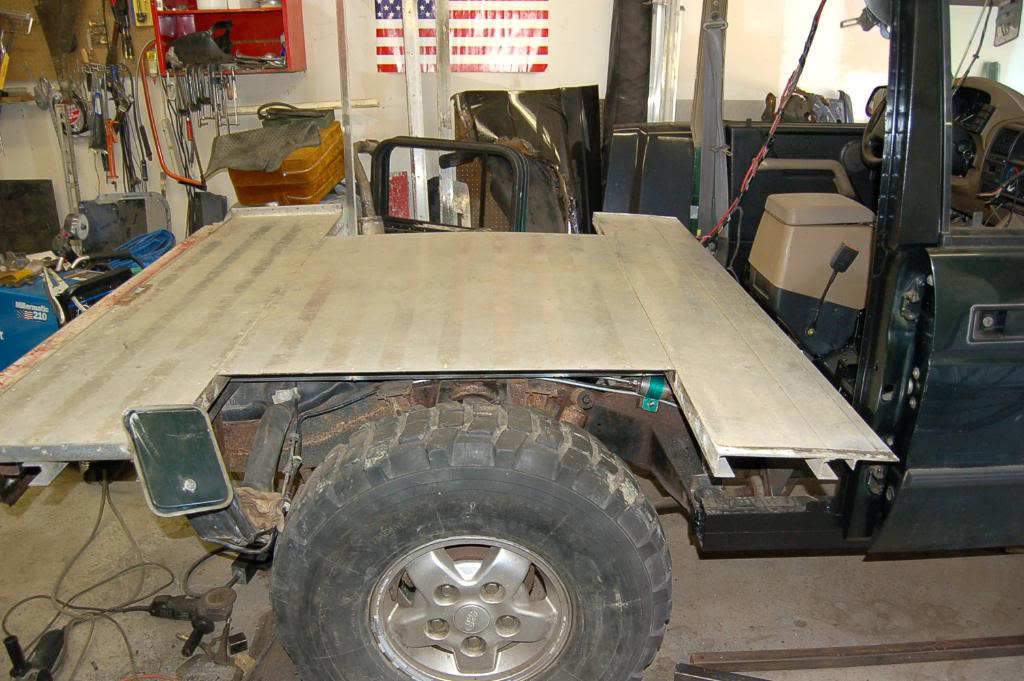
...side view...
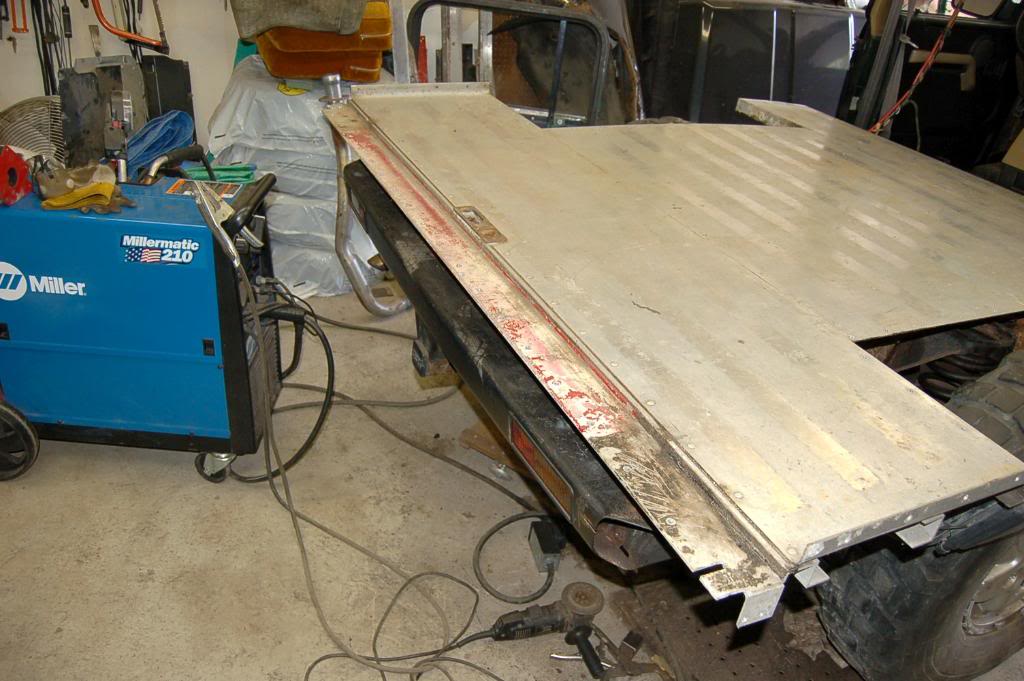
...it is going to be 3 inches shorter than before...

Here I tested inside right fender to the sub-frame...

look from other side...

look from the back...

test fit of the left fender to the sub-frame...

...while working on the sub-frame I keep looking at my rusty muffler.Muffler is OK , it doesn't make noise but it is on the way and sooner than later I will have to change it...

...and in the same time I have this perfectly good muffler from my donor truck...so change is on the way...

...test fitting left inner fender...

...this is my floor from my donor truck...thickness is 1/8 aluminum...

...this is underside of it for better understanding how it is constructed...

...this is my back of the truck...still have to cut it...it is too wide...

..these are my side panels ...1/8 aluminum...waiting for the floor to be finished so I can install them...in the back you can see that big roll of the aluminum , that is roof...

..so her I wanted to see floor on my new sub-floor...obviously it is too wide I will have to cut it...

...side view...

...it is going to be 3 inches shorter than before...

#48
Thanks Danny . Totally forgot to post something.This is how much I had to trim it.
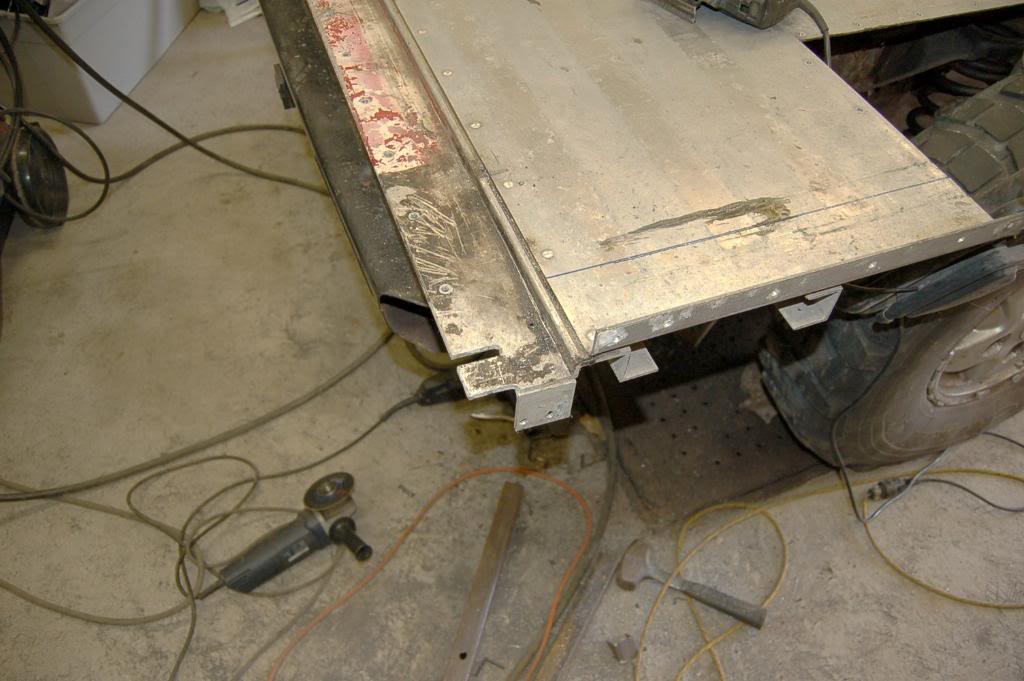
...another look...
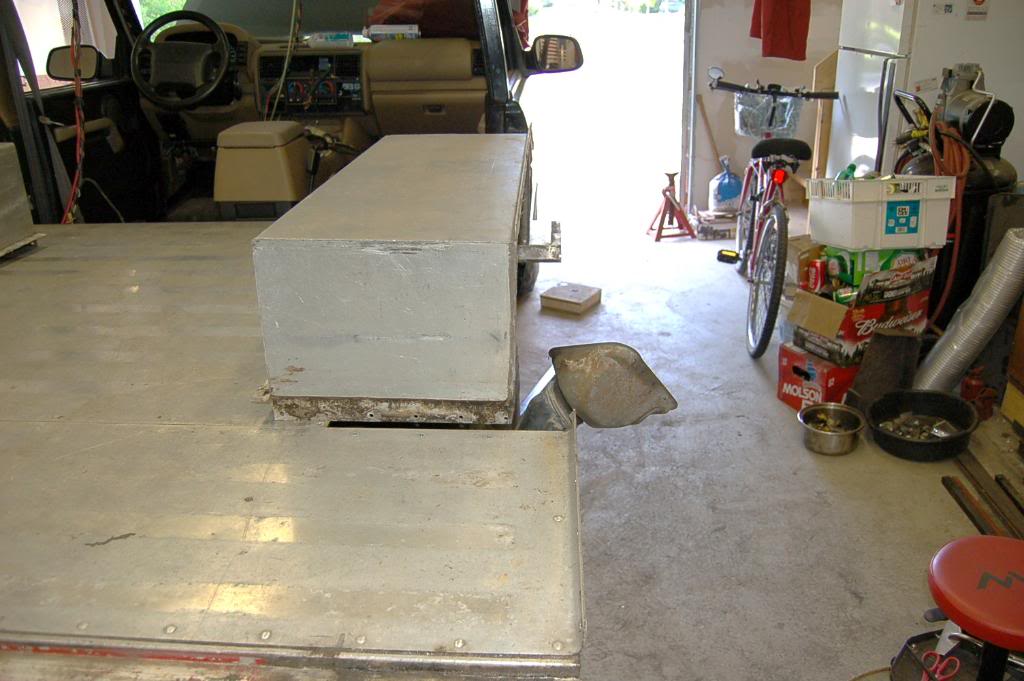
...all together...
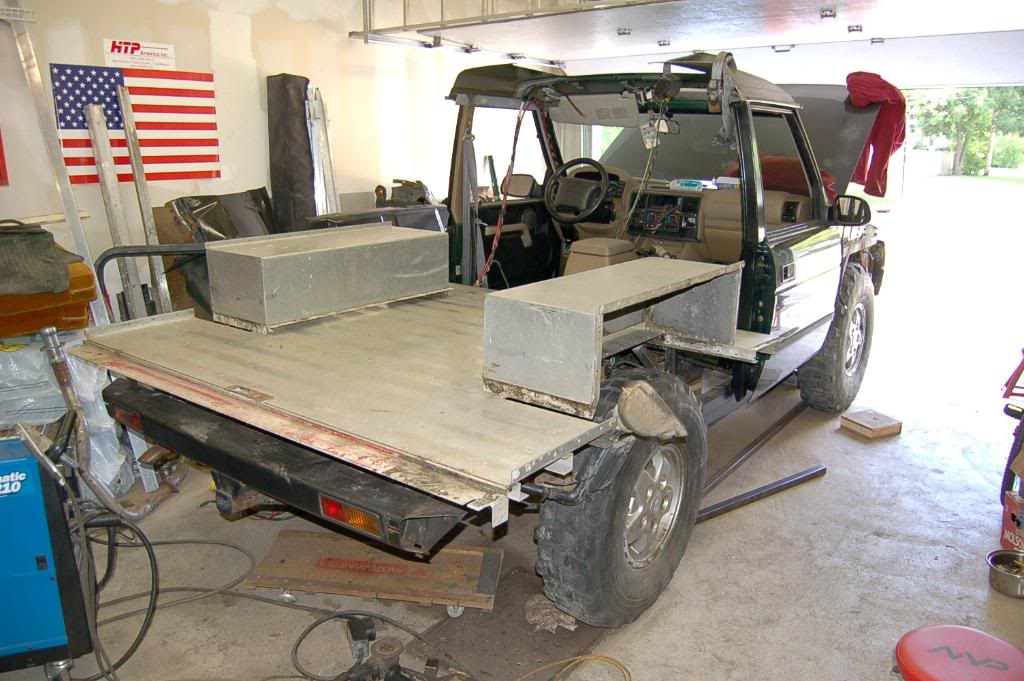
...I like it...
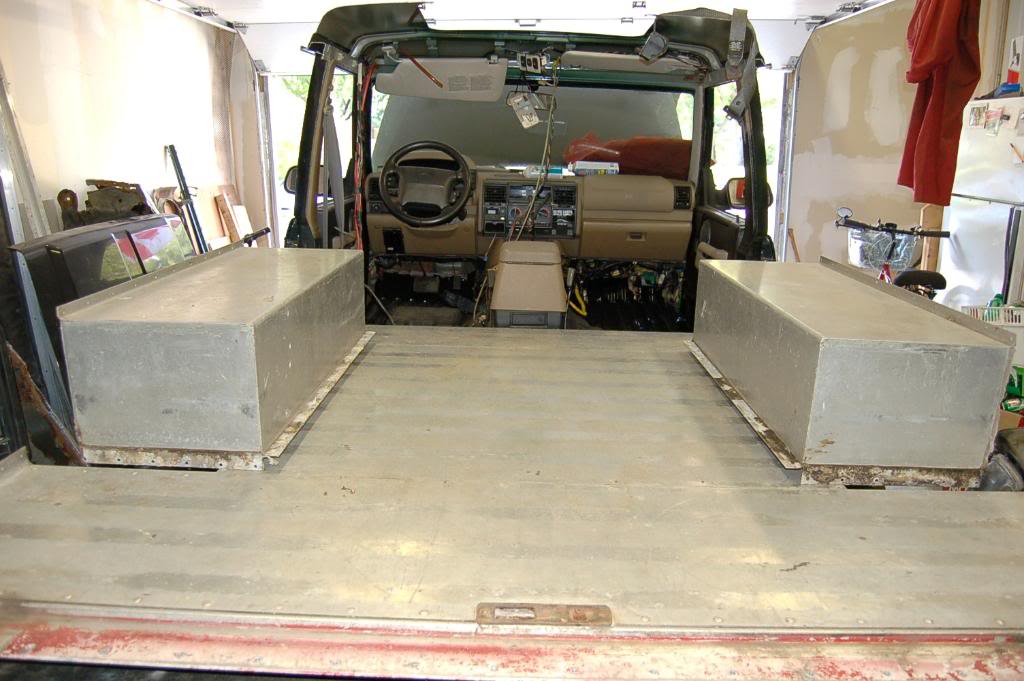
...when all is going to be done I will have around 10 inches space for the wheel to move , remember this is still factory stock set up...
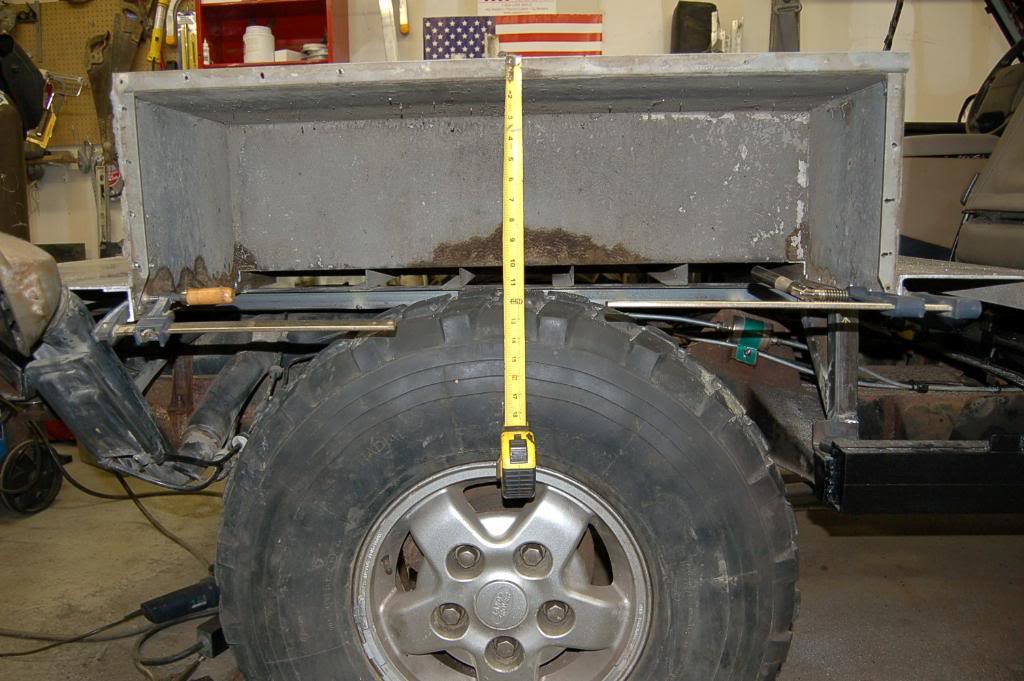
...this is my final floor plan after cutting...
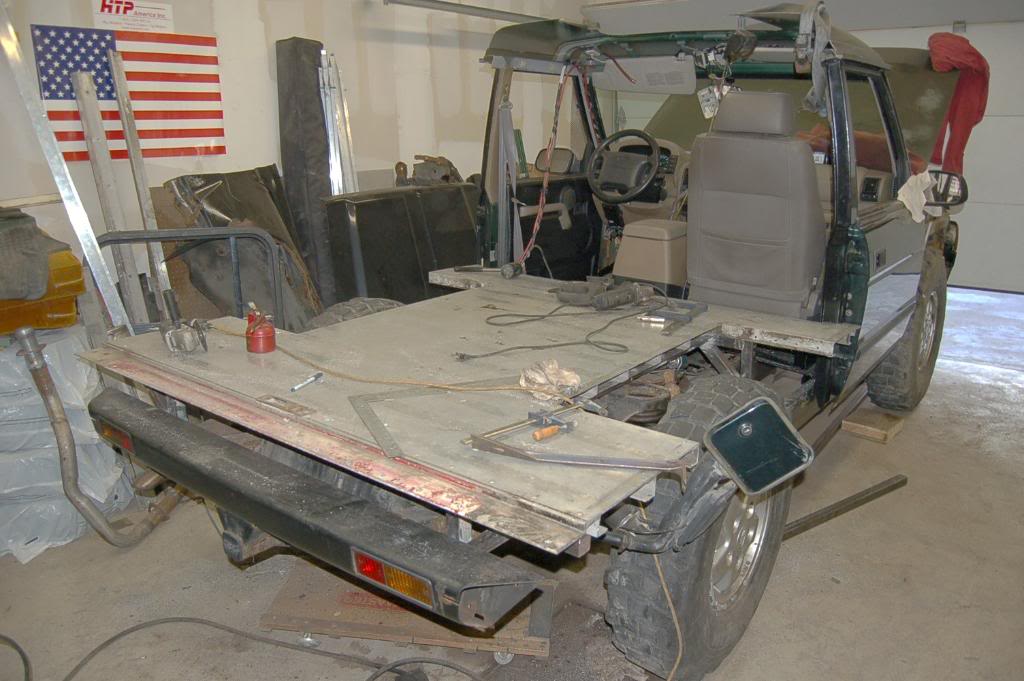

...another look...

...all together...

...I like it...

...when all is going to be done I will have around 10 inches space for the wheel to move , remember this is still factory stock set up...

...this is my final floor plan after cutting...


