When you click on links to various merchants on this site and make a purchase, this can result in this site earning a commission. Affiliate programs and affiliations include, but are not limited to, the eBay Partner Network.
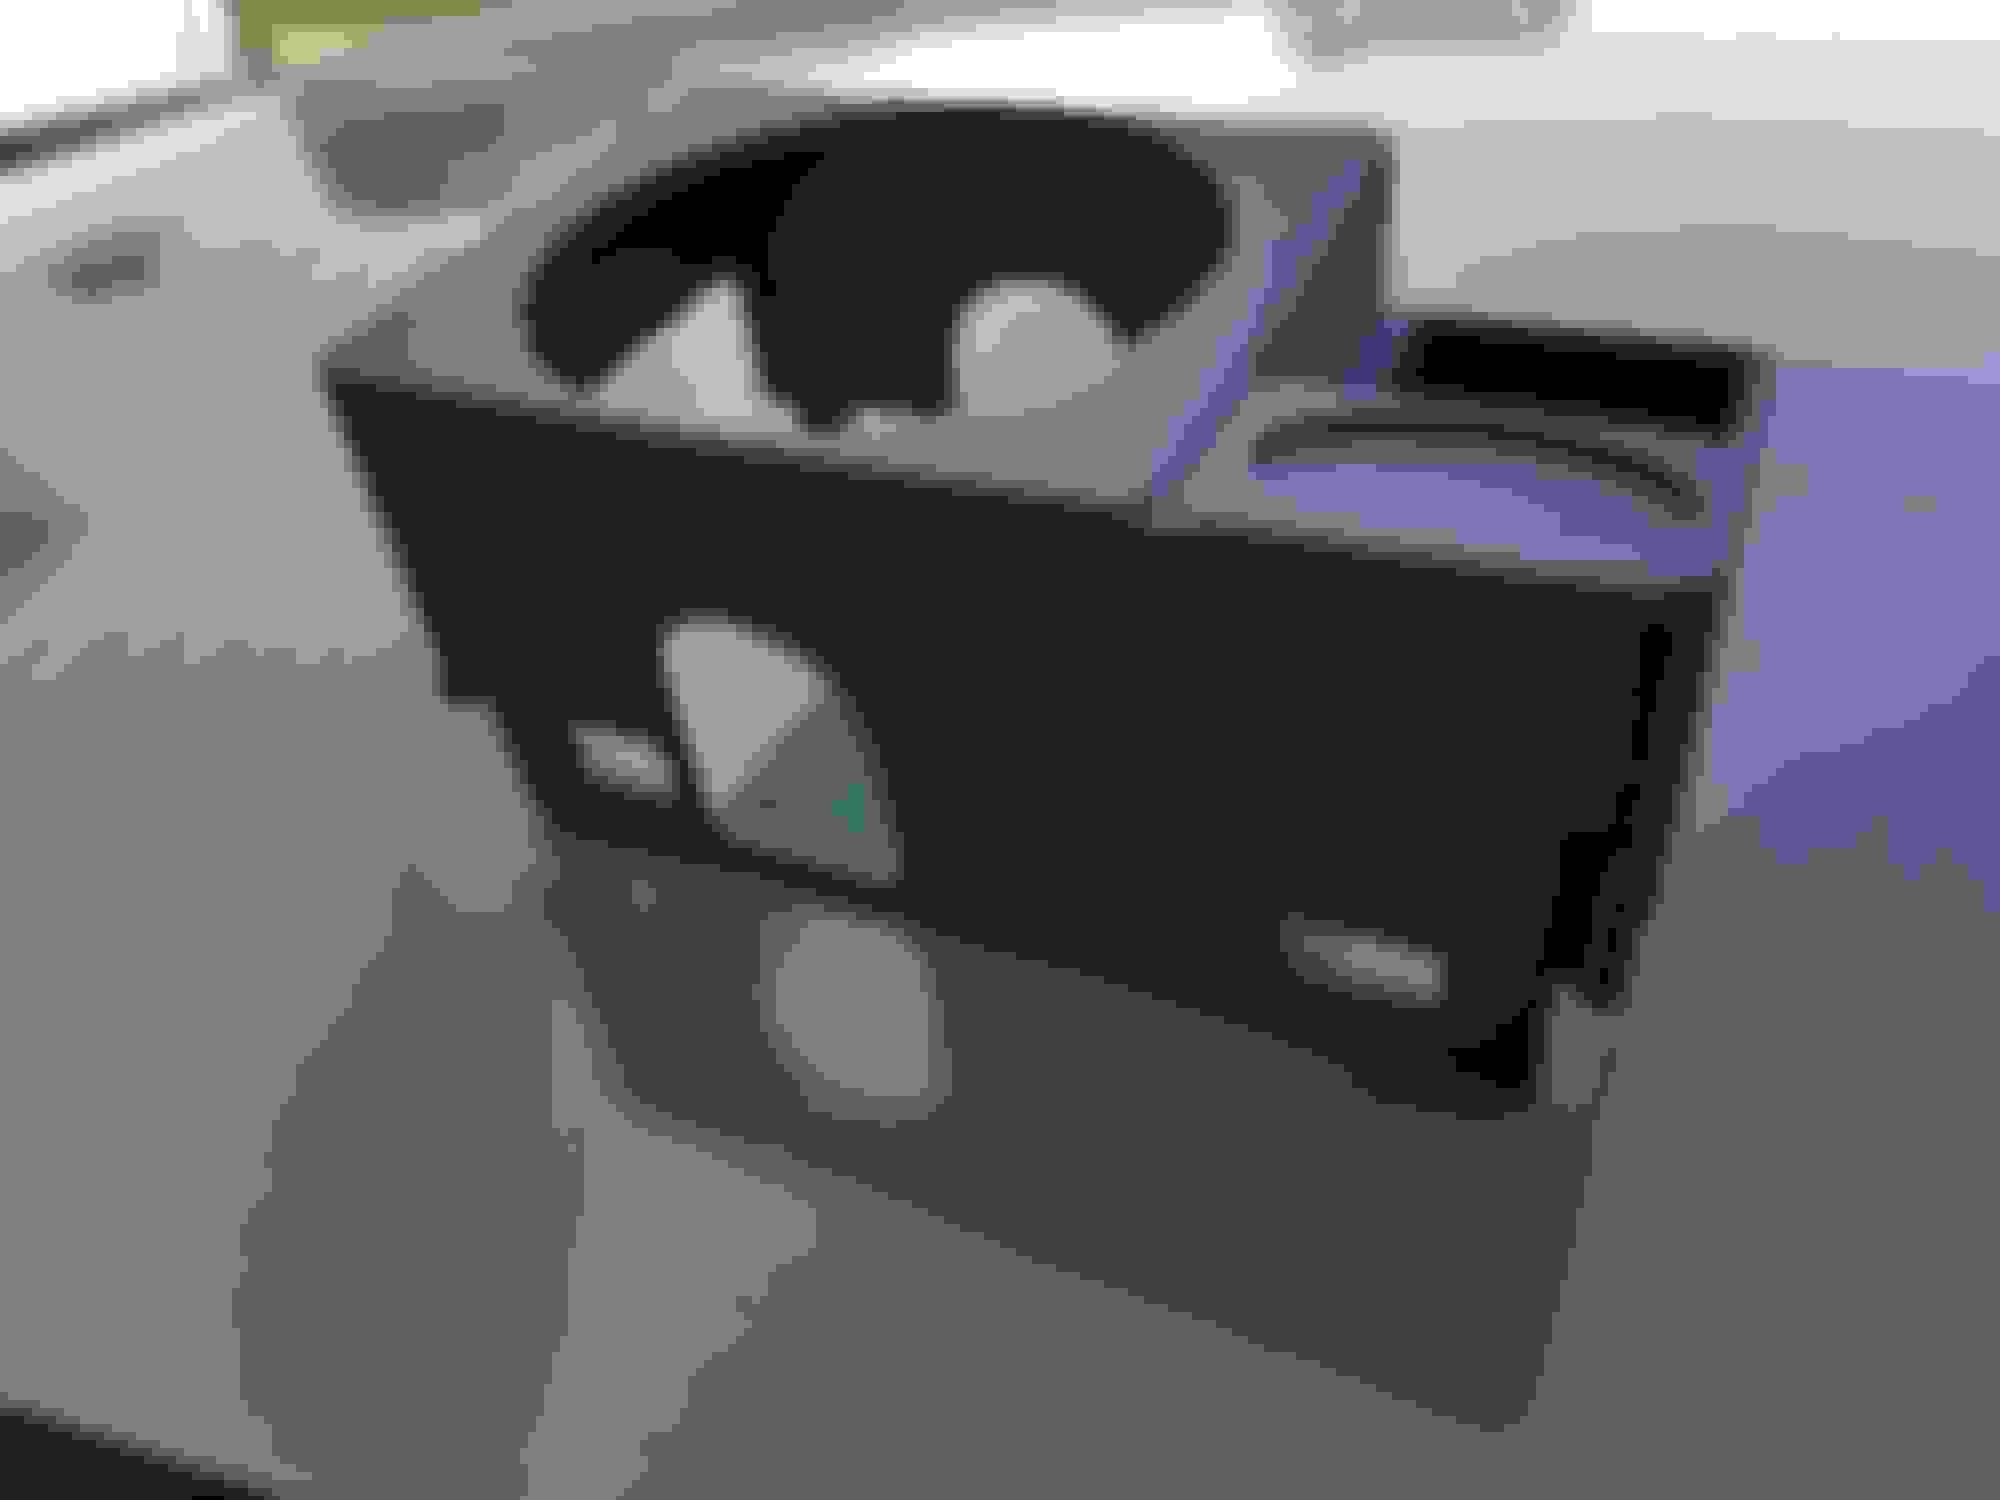
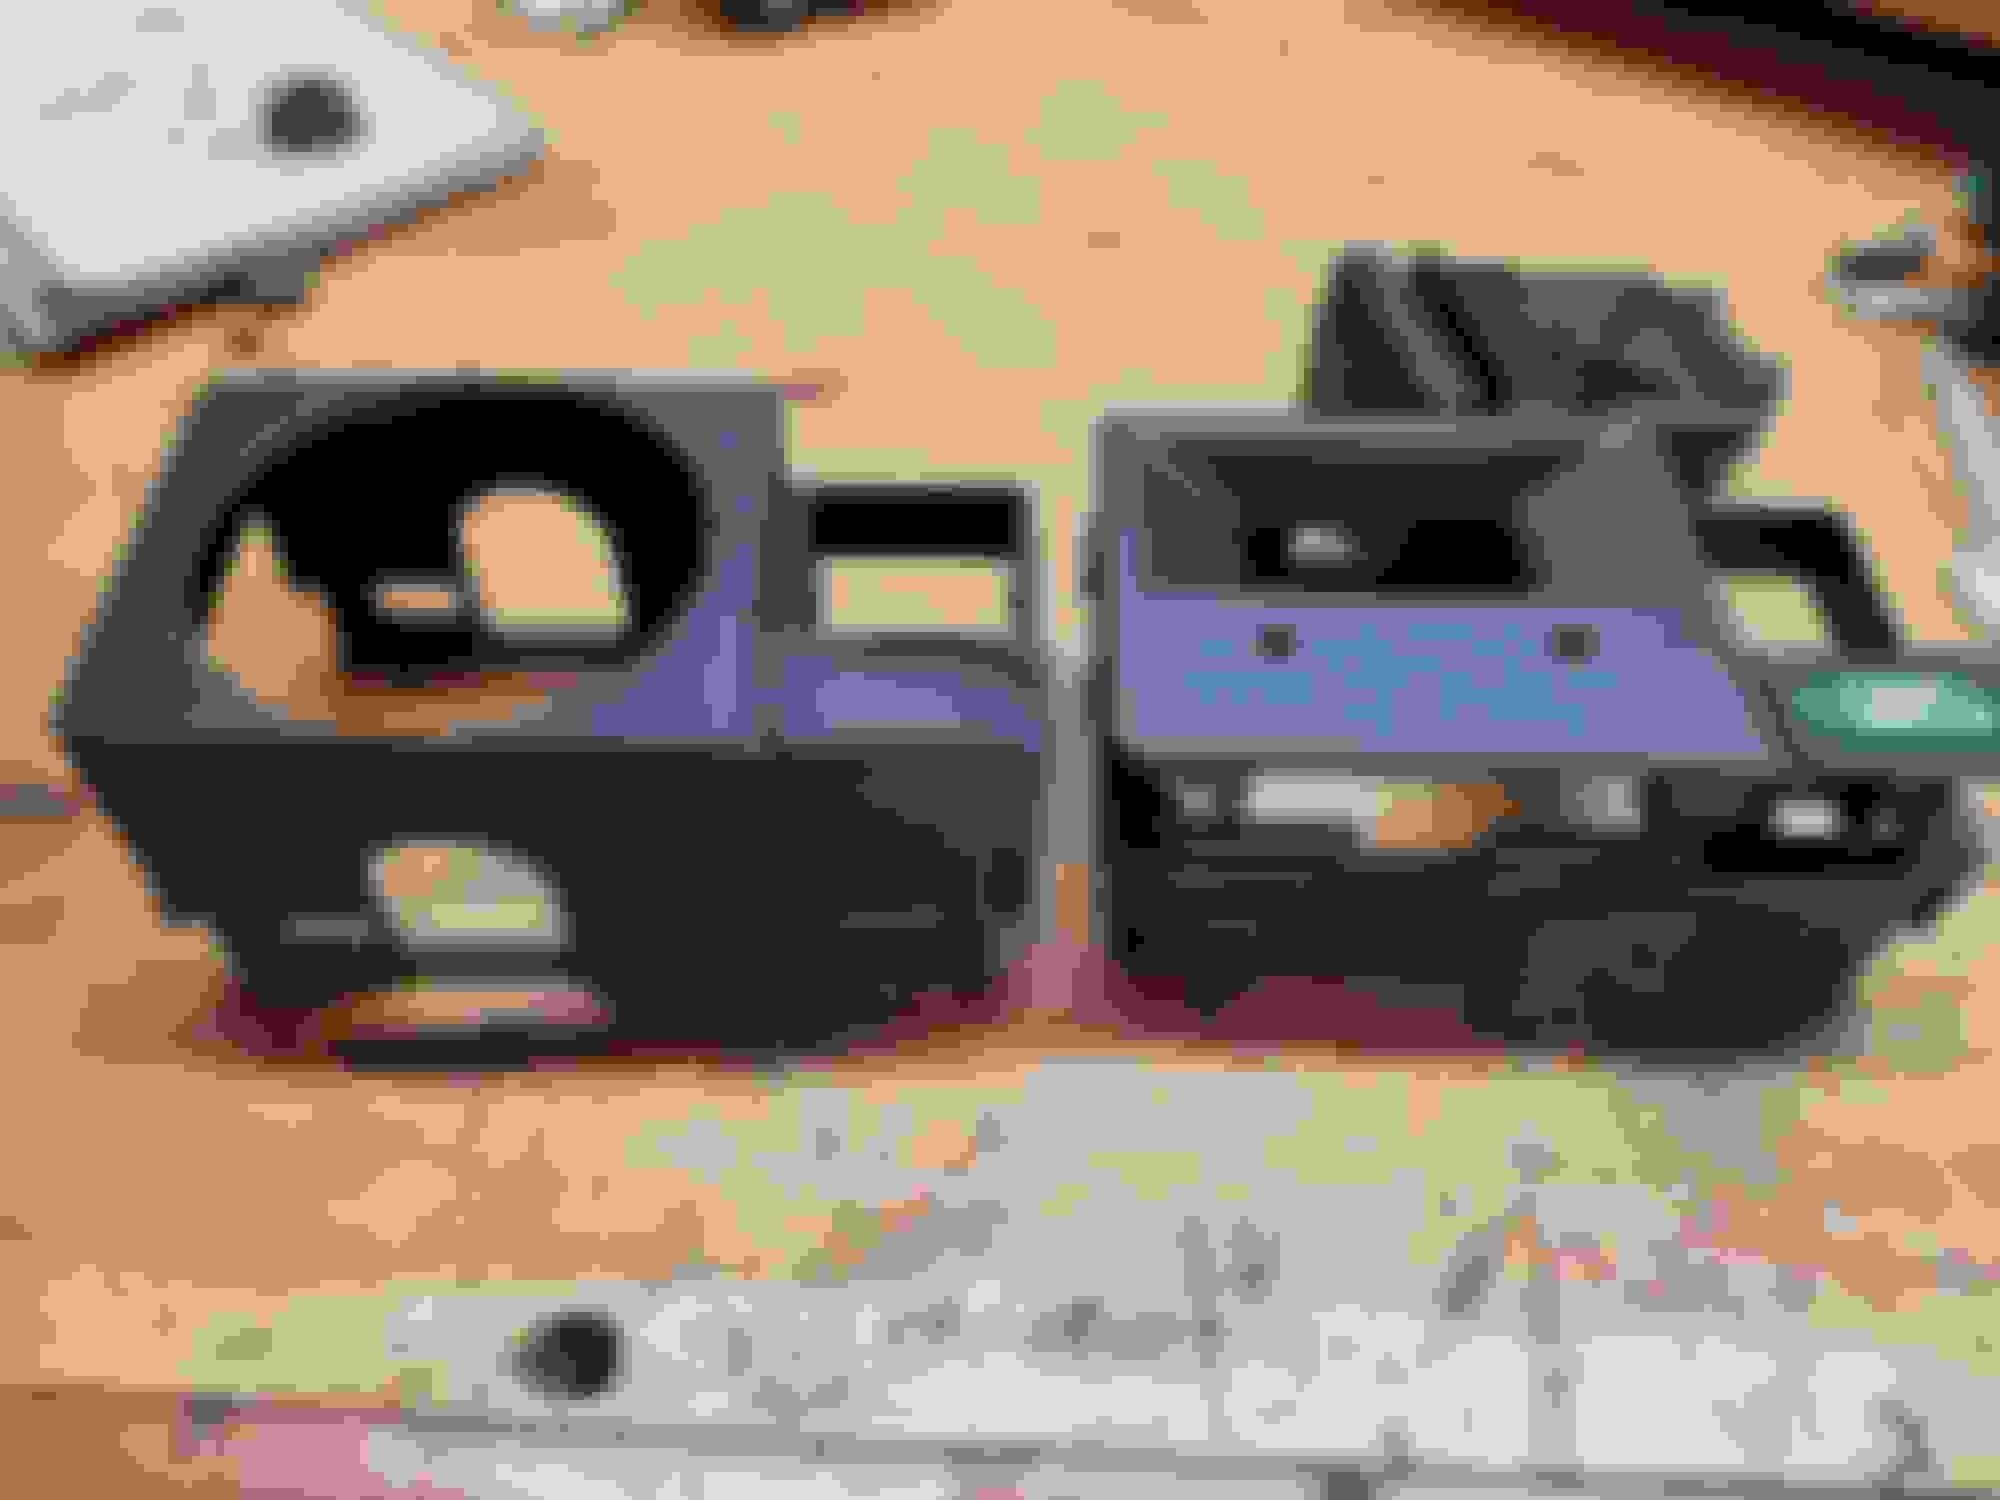
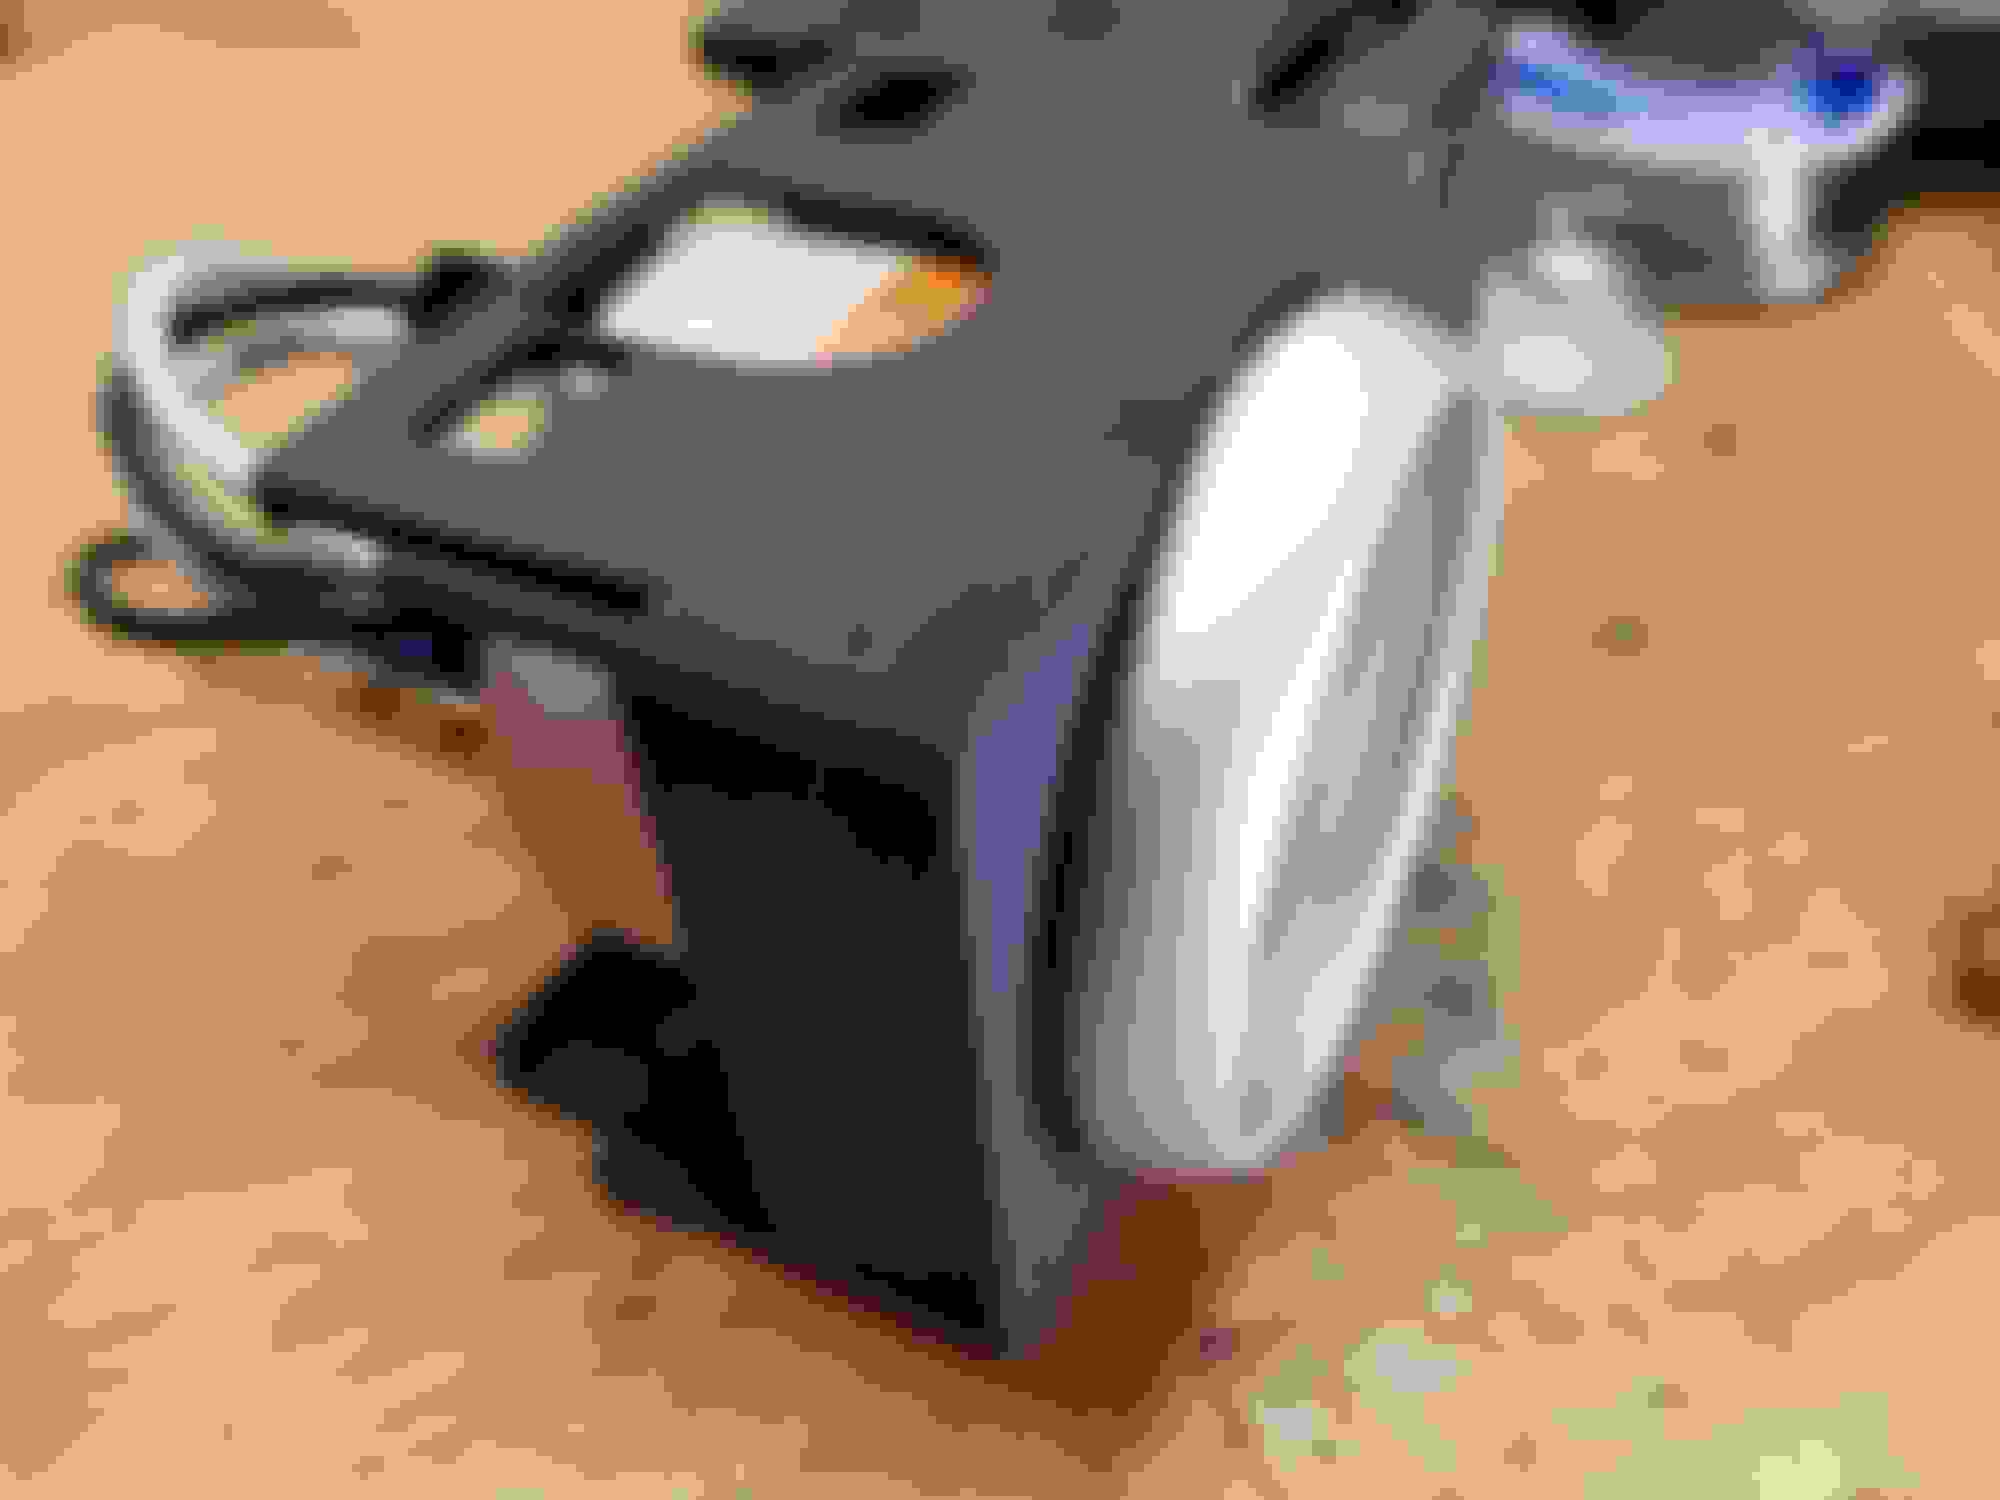
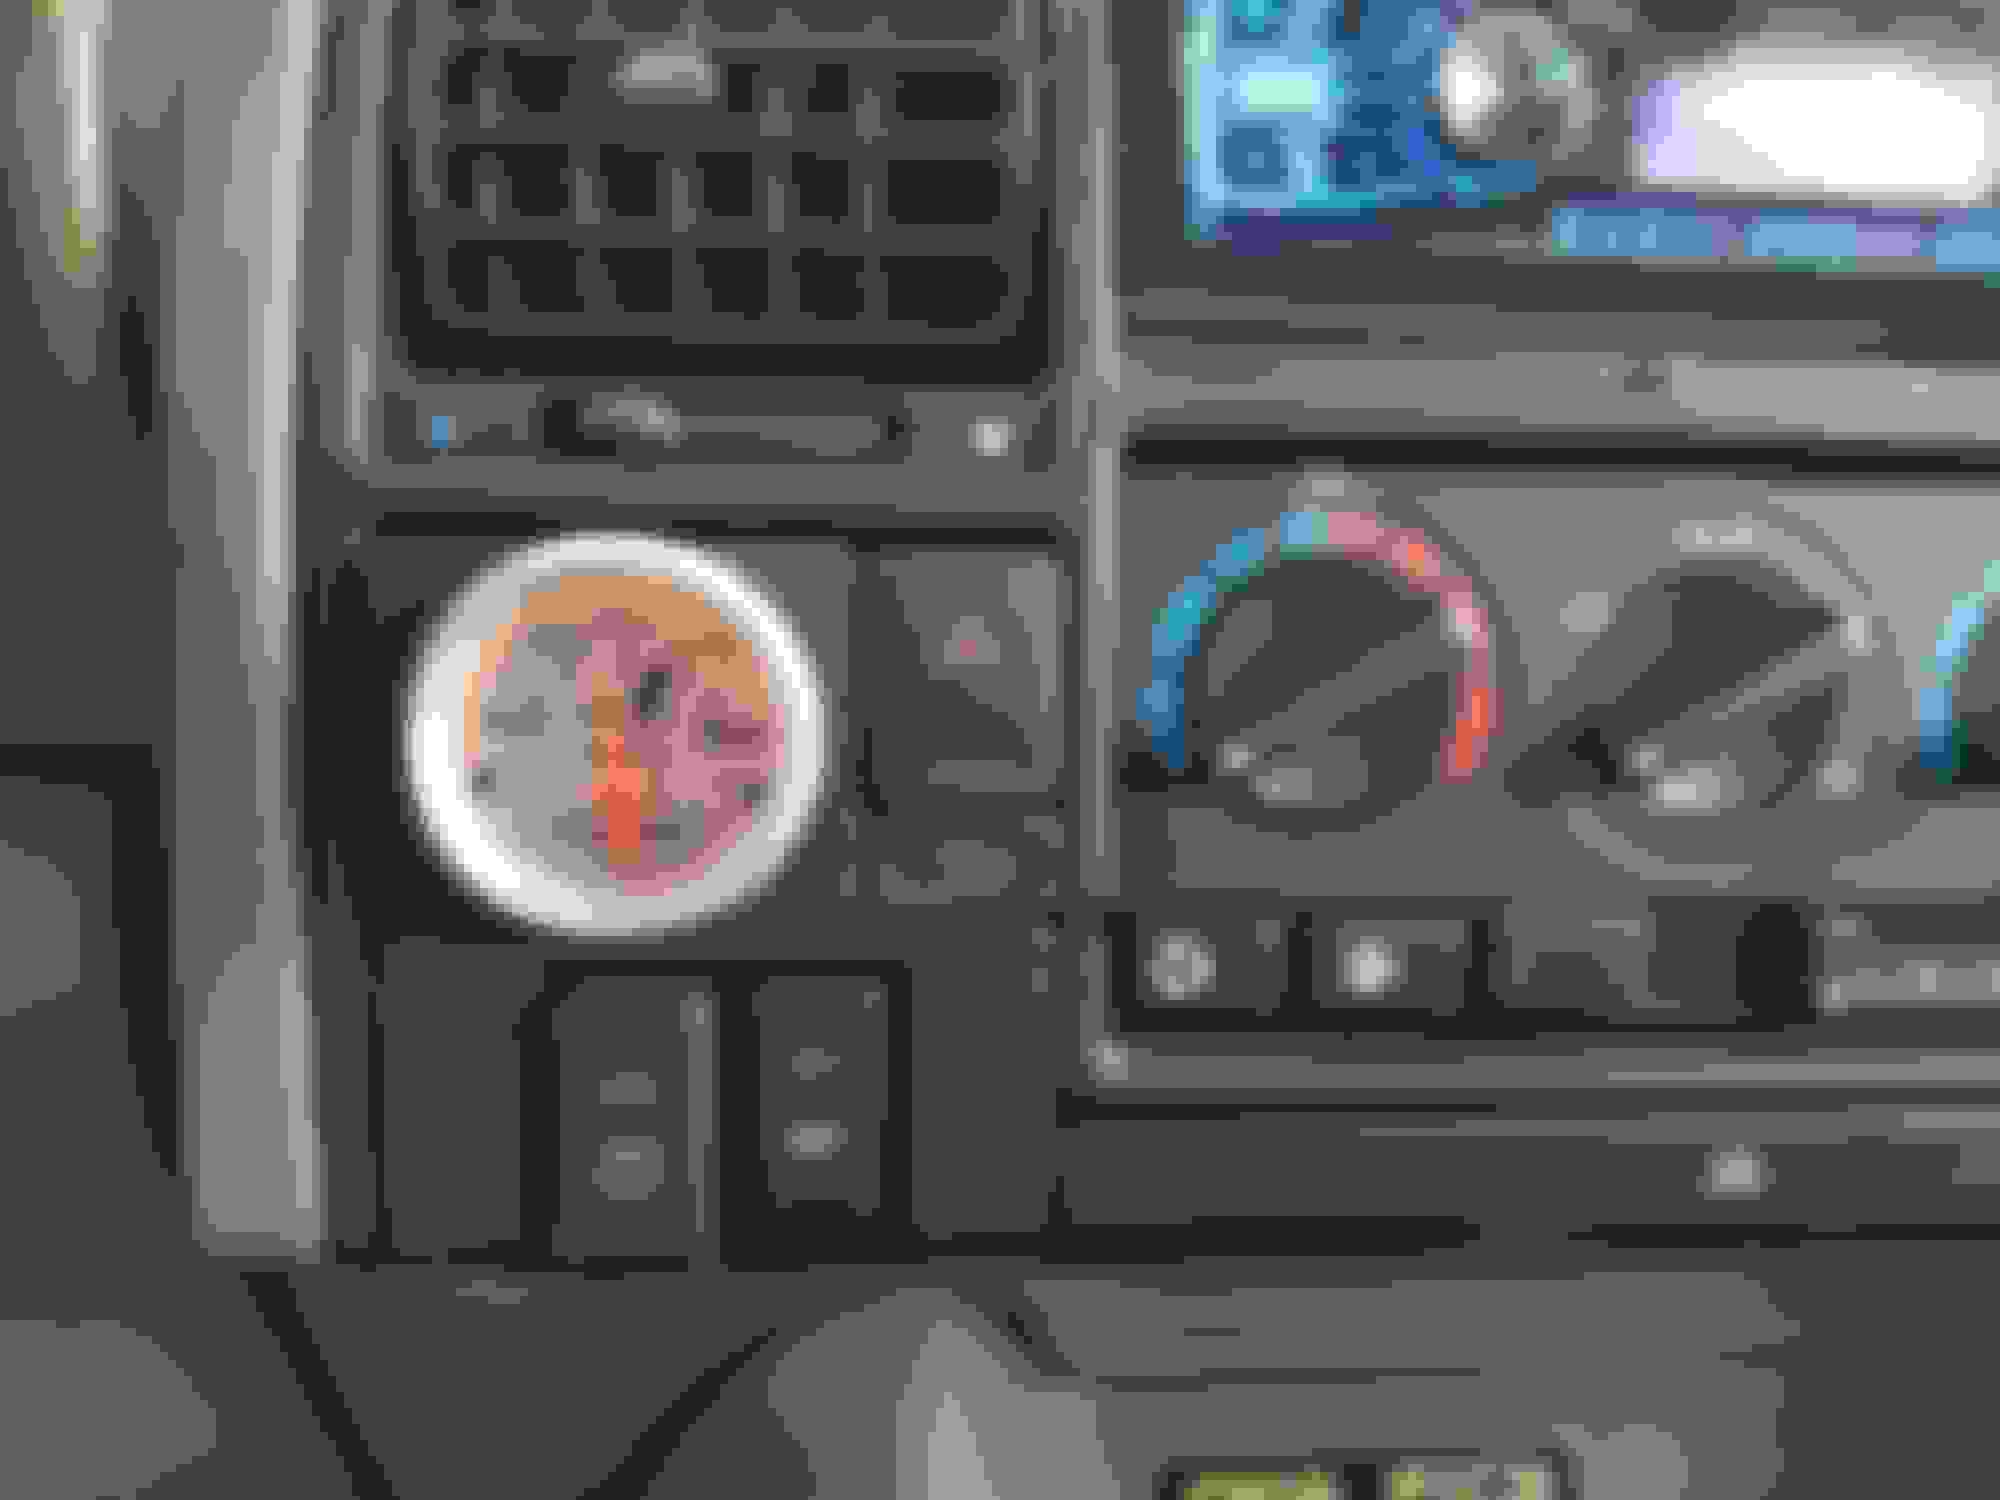
I bought me one of those 3-D printed 2-1/16" gauge holders that replaces the digital clock in a D1. Was super simple to install and looks fantastic. One note. It does not use the retainer on the back- it's a press fit. The gauge is plenty tight and firm in the hole right now, but i may be squeezing a dab of silicone in a year or so. This is the source. https://www.shapeways.com/shops/fhsolutions?li=pb
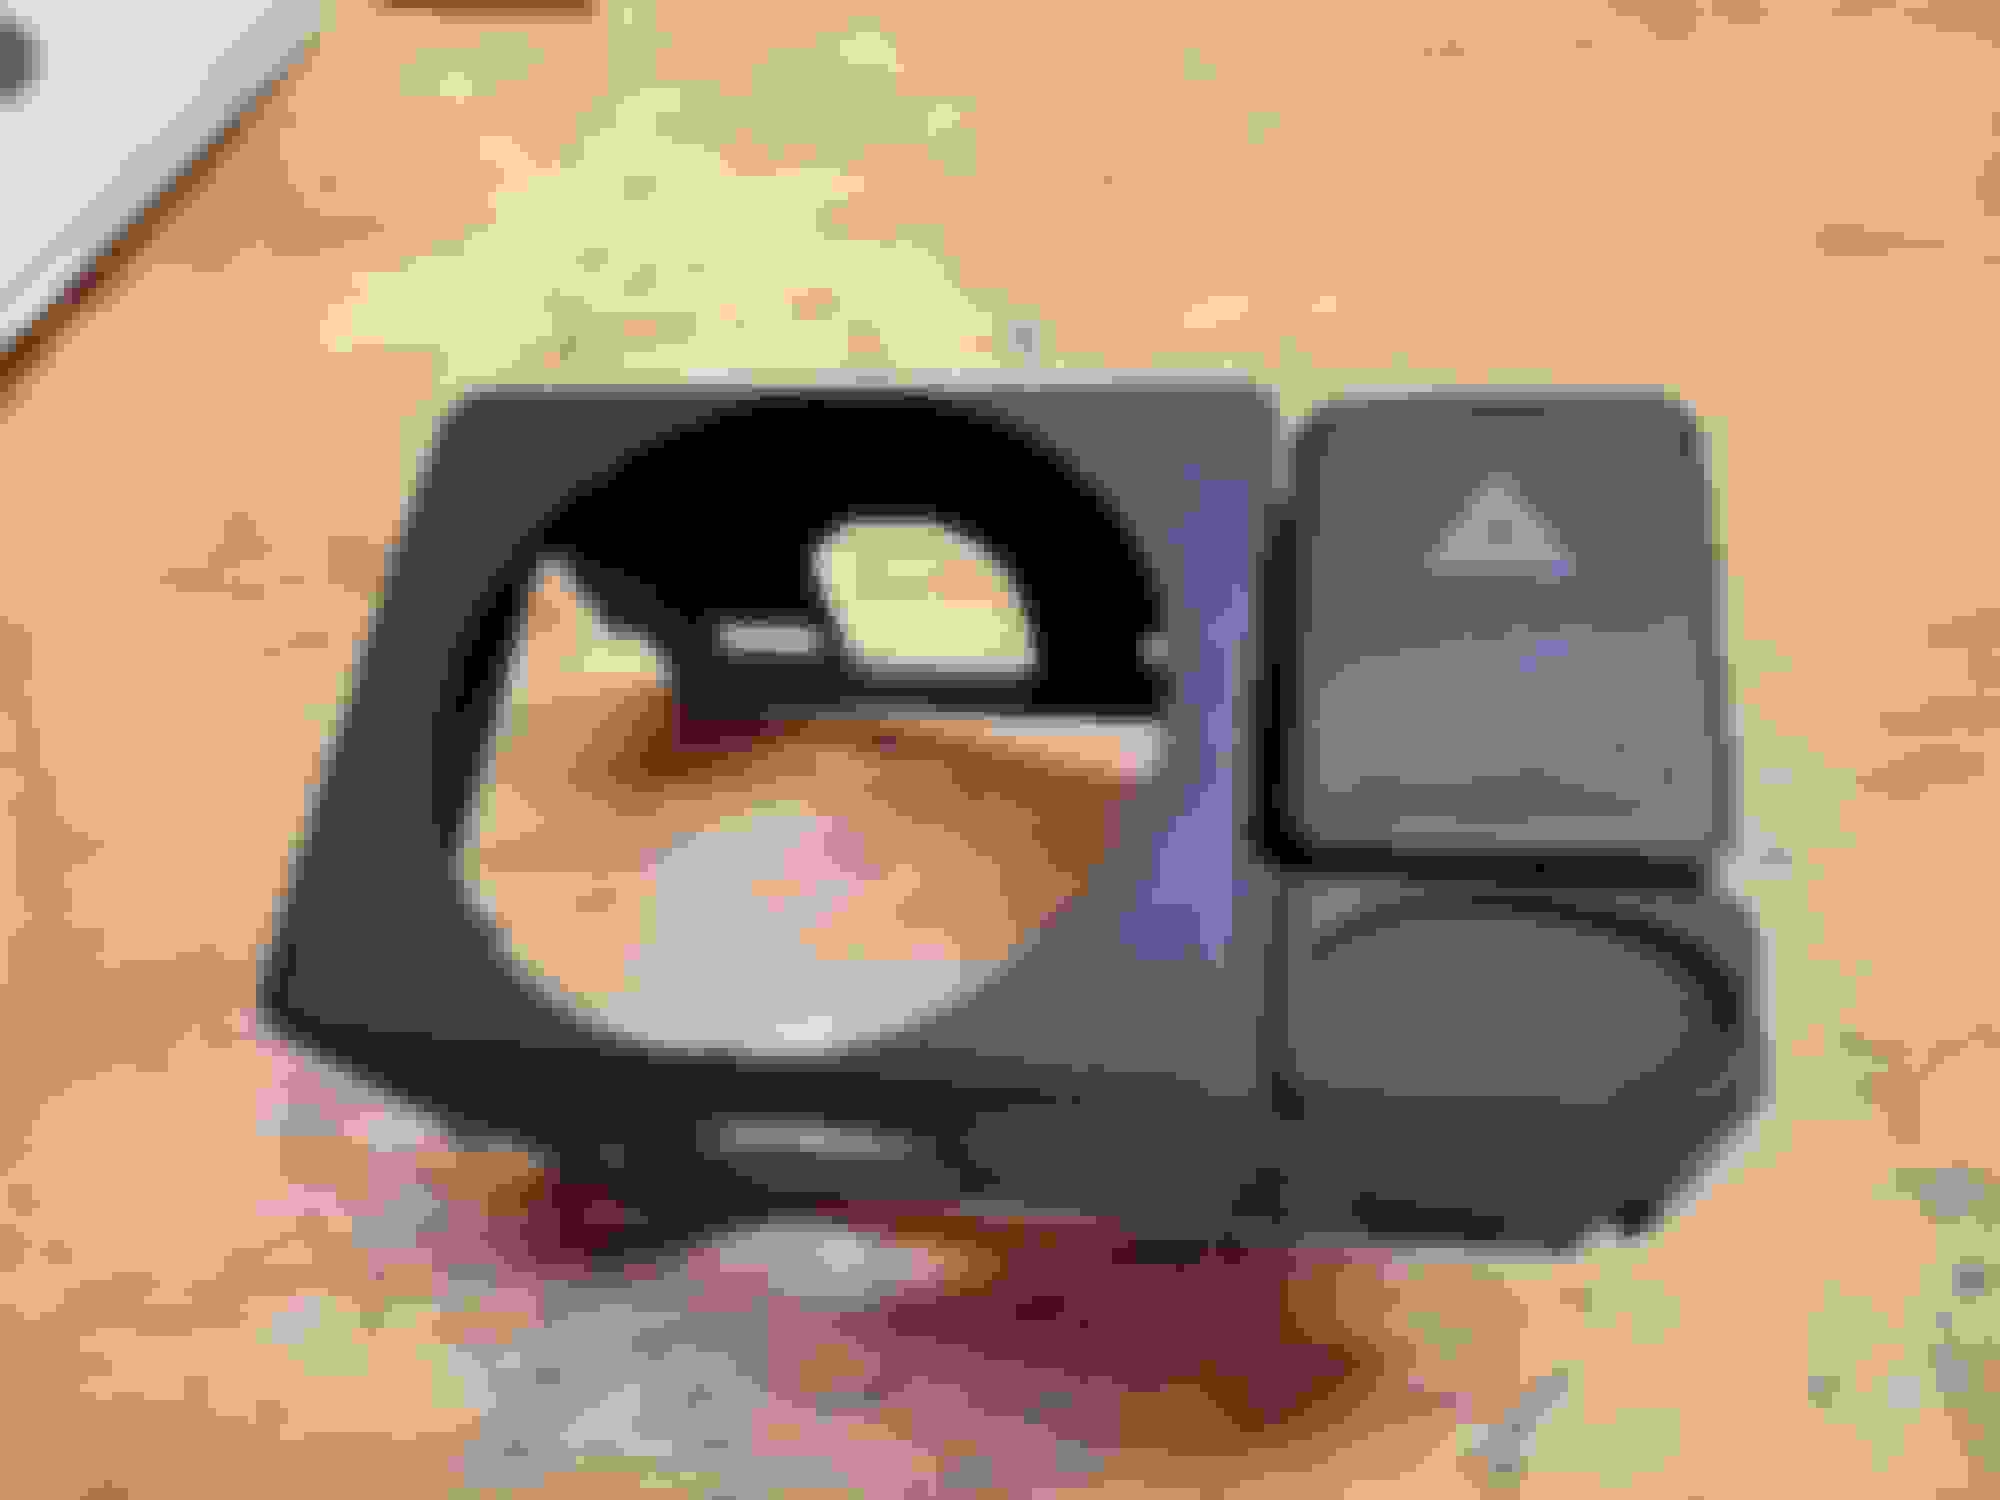
Does anyone have an idea of how to remove the Land Rover badge from the clock? Seems a bit tricky.....
Nevermind. Broke one of my rules- never destroy a perfectly serviceable part...... filed at the back of the badge til it was thin enough to flex and i gently lifted. The sticky on the back was still good enough to reuse.
The install looks great! It's also good to see the 3D printed bit looks quality.
Just a thought on keeping the LR Badge in place long term... take a hairdryer (NOT a Heat gun) and from a few inches away run it on High for only 2 - 3 minutes.
Then just press the Badge down until it "cools", should take all of a minute or 2.
After the adhesive gets sticky with the heat, the small amount of pressure will keep that Badge in place no worries.
the printing quality is excellent; looks nearly exactly like the factory stuff. I should have waited for your reply. i will guess that removal is the opposite? oh well. my thought to destroy the clock mount was,nobody likes those dang Disco 1 clocks anyway. before i found this printed part, i was going to replace it with a RR analogue clock. since i've taken up that surface with the temp gauge, i am going to try one of the other printed parts to mount a clock in. i bought one (a clock) from Belarus that i will mount using one of the printed parts to fit in the ashtray or coin try slots if the clock looks nice enough. https://www.ebay.com/itm/Luch-Quartz-Car-Dashboard-Clock-Round-Retro-Restoration-old-school-12V-2021/272813385342?ssPageName=STRK%3AMEBIDX%3AIT&_trksid =p2060353.m2749.l2649
if not, i will grab a clock from a LR 5 dash. i really like having a clock visible in the truck so i dont have to find my phone or dig the watch from out a sleeve.
Also, the press in fit- it's pretty tight; took a little effort to turn the gauge to level so maybe it will stay put, long term.
highly recommend this if you're looking for a place to put a temp gauge in your D1
Last edited by Johnny K; Jul 25, 2018 at 06:35 AM.