
Another Source for O2 Sensors


Thread Starter
|
Baja
Joined: Mar 2010
Posts: 5,584
Likes: 7
From: Pittsburgh PA suburbs.

Having an extensive background in wire harnesses and every other related electrical system, I would say that if you butcher the attempt to solder them on, that would be correct. However, if you do a good job, properly prepare the wires, achieve a good solder joint by properly melting the solder, forming a true connection with no fractures or "Cold Solder Joints", then properly insulating it there should be no reason this would not function.
That said, I would put my soldering up against any prewired product available. (Mine would outperform most of the cheaply made ones)
If you do not do a good job, then you can expect problems. I could take the connectors that I cut off of mine and reterminate them to another sensor, as long as that sensor was good and have a totally acceptable product.
But Will sold me a pair of "Good" used LR o2 sensors at a great price, so why not give him a call.
The important thing is not leaving old ones in there that are beyond their useable life like a lot of people are probably doing.
I was merely trying to let others know how I managed to get mine out, thru patience and determination along with some good whiskey and cold beer.
(I do have the 2 connectors I cut off of my old sensors, Anyone want them? There is only 1 set so first one that yells can have them, no guarantees of course)
Have Fun!
If you cannot try it on your own, I am available, depending on where you are.
Dirty Deeds Done Dirt Cheap!
Last edited by Danny Lee 97 Disco; May 11, 2011 at 02:58 PM.

Overlanding
Joined: Aug 2010
Posts: 22
Likes: 0
From: Morgantown, WV
13927 Oxygen Sensor - OE Type - Exact Fit - Downstream Sensor w/o Advance evaporative loss system; Two required; 4 Wire; Heated;
13923 Oxygen Sensor - OE Type - Exact Fit - Upstream Sensor w/ Advanced evaporative loss system; Two required; 4 Wire; Heated;
13927 Oxygen Sensor - OE Type - Exact Fit - Upstream Sensor w/o Advance evaporative loss system; Two required; 4 Wire; Heated; Check / Replace Interval: 100,000 Miles V8-3950cc 4L FI Vin 2 GAS
Last edited by revoRdnaL; May 9, 2011 at 10:43 AM. Reason: Sorry, these are Bosch & not NGK
Overlanding
Joined: Aug 2010
Posts: 22
Likes: 0
From: Morgantown, WV
Hey Danny Lee, thanks for the input & appreciate you posting your experiences. I agree a good solder is just as good. Yeah I figured the rear O2s just tell if the cat is bad. Got P1314 code with pending P0138 and my scanner shows live readings of >1 Volts one rear and front O2. If you want to sell those generic O2s I can pick them up some day, I live 1.5 hr away from Pittsburgh. Trying to buy that window motor on CraigsList up there also. I will replace the front O2s with OEM/NGK and the rear backs with generics, just so the CEL clears. I have to replace the windshield also, cracked from a rock, Autoglass estimated ~400 with built-in radio antenna.  This needs to be done to get my inspection sticker.
This needs to be done to get my inspection sticker.
Overlanding
Joined: Aug 2010
Posts: 22
Likes: 0
From: Morgantown, WV
Hey, do you know if they have the correct connectors? I'm looking at them now and it looks like pigtails for splicing. With this code 51135383431335 typed into the "How did you hear about us?" field you get a %5 discount.

Recovery Vehicle
Joined: Feb 2010
Posts: 1,062
Likes: 23
From: West Chester PA
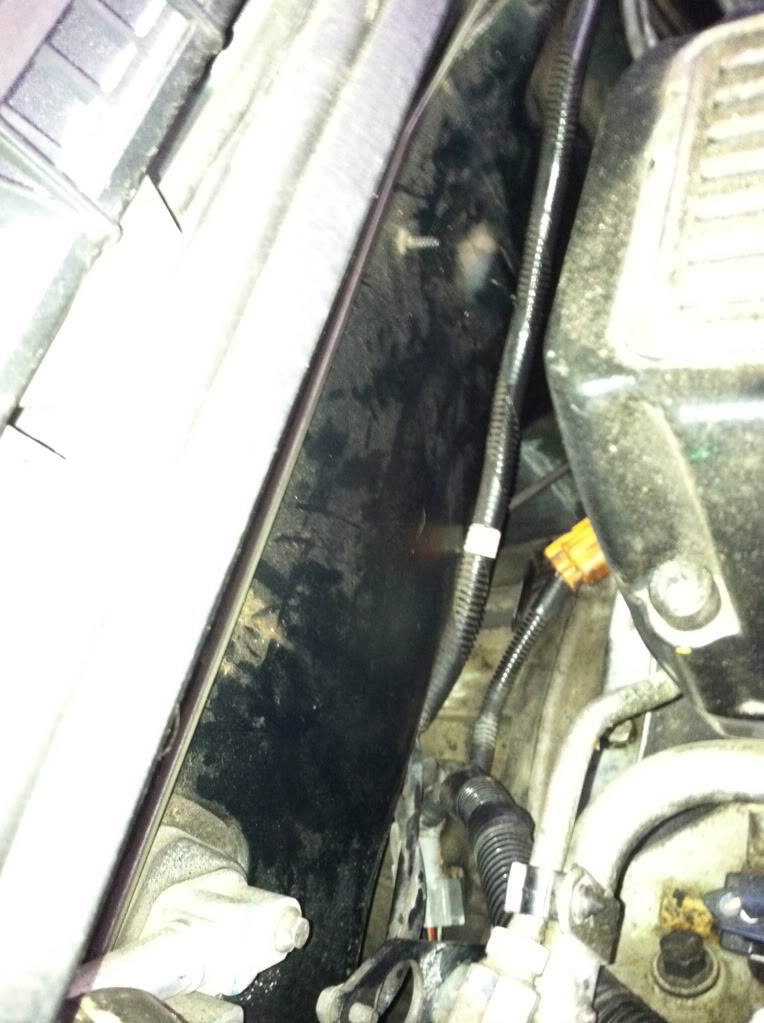
and because i did them today here are some shots of the sensors from the top of the motor looking down onto the bell housing
take the coil pack out
from the back of the plenum the drivers side clip is at the 1:30 position and the passenger clip is at the 11:00 position underneath the wiring harness. Dirvers side is orange, passenger is grey


they suck to get to, ive done em twice and opt to break the clips on the o2 that hold them to the mounting clips. Its easier than trying to get them to slide off the right way
its a lot of fun i hope everyone has as much fun as i do
take the coil pack out
from the back of the plenum the drivers side clip is at the 1:30 position and the passenger clip is at the 11:00 position underneath the wiring harness. Dirvers side is orange, passenger is grey
they suck to get to, ive done em twice and opt to break the clips on the o2 that hold them to the mounting clips. Its easier than trying to get them to slide off the right way
its a lot of fun i hope everyone has as much fun as i do

Baja
Joined: Sep 2007
Posts: 5,232
Likes: 52
From: Georgia, USA
With the price from Will what it is, and the price of new in the box OEM sensors what they are, I can't figure out why anyone in their right mind would fool around with generic sensors.
For removing them I made a sensor socket out of a 17mm impact socket I cut in half, notched, welded to a piece of 3/16x1x3 steel then welded the drive end on the other end.
Basically this, just not as pretty.

Worked a treat.
On reinstall I carefully applied some pure nickel Never-Seez to the threads. Carefully because you don't want any on the sensor. If I have to remove them again, they should come out more easily.
For access to the front connectors on my wife's '97 I removed the two engine mount rubbers and lowered the engine a couple of inches. That gave me room to get my hand in. It helped I also had the new connector in hand to see exactly where I needed to press to release it.
I'm disinclined to cut/break things for access unless I really have to.
For removing them I made a sensor socket out of a 17mm impact socket I cut in half, notched, welded to a piece of 3/16x1x3 steel then welded the drive end on the other end.
Basically this, just not as pretty.
Worked a treat.
On reinstall I carefully applied some pure nickel Never-Seez to the threads. Carefully because you don't want any on the sensor. If I have to remove them again, they should come out more easily.
For access to the front connectors on my wife's '97 I removed the two engine mount rubbers and lowered the engine a couple of inches. That gave me room to get my hand in. It helped I also had the new connector in hand to see exactly where I needed to press to release it.
I'm disinclined to cut/break things for access unless I really have to.
Thread Starter
|
Baja
Joined: Mar 2010
Posts: 5,584
Likes: 7
From: Pittsburgh PA suburbs.
That is excellent Tom. I did not like breaking the clips but was unable to get them to release either. So I gently peeled them away.
I did something similar in that I used a lit wee bit of the powdered graphite dust on the threads. I had found a small plastic squeeae bottle of it in my garage that was probably 40 to 60 years old and had never been opened. I them sprayed a bit of PB Blaster on the top of a block that I was working beside, touched my finger into it then touched the threads just enough to lubricate the threads.
I like the way you did that socket adapter, you should make a batch of them and sell them to fellow Discovery owners.
Baja
Joined: Sep 2007
Posts: 5,232
Likes: 52
From: Georgia, USA
