When you click on links to various merchants on this site and make a purchase, this can result in this site earning a commission. Affiliate programs and affiliations include, but are not limited to, the eBay Partner Network.
My Disco desperately needed a radio upgrade, the unit that was in it when I bought it was a crappy single din aftermarket unit that had a TON of ground interference & would always reset after every use.
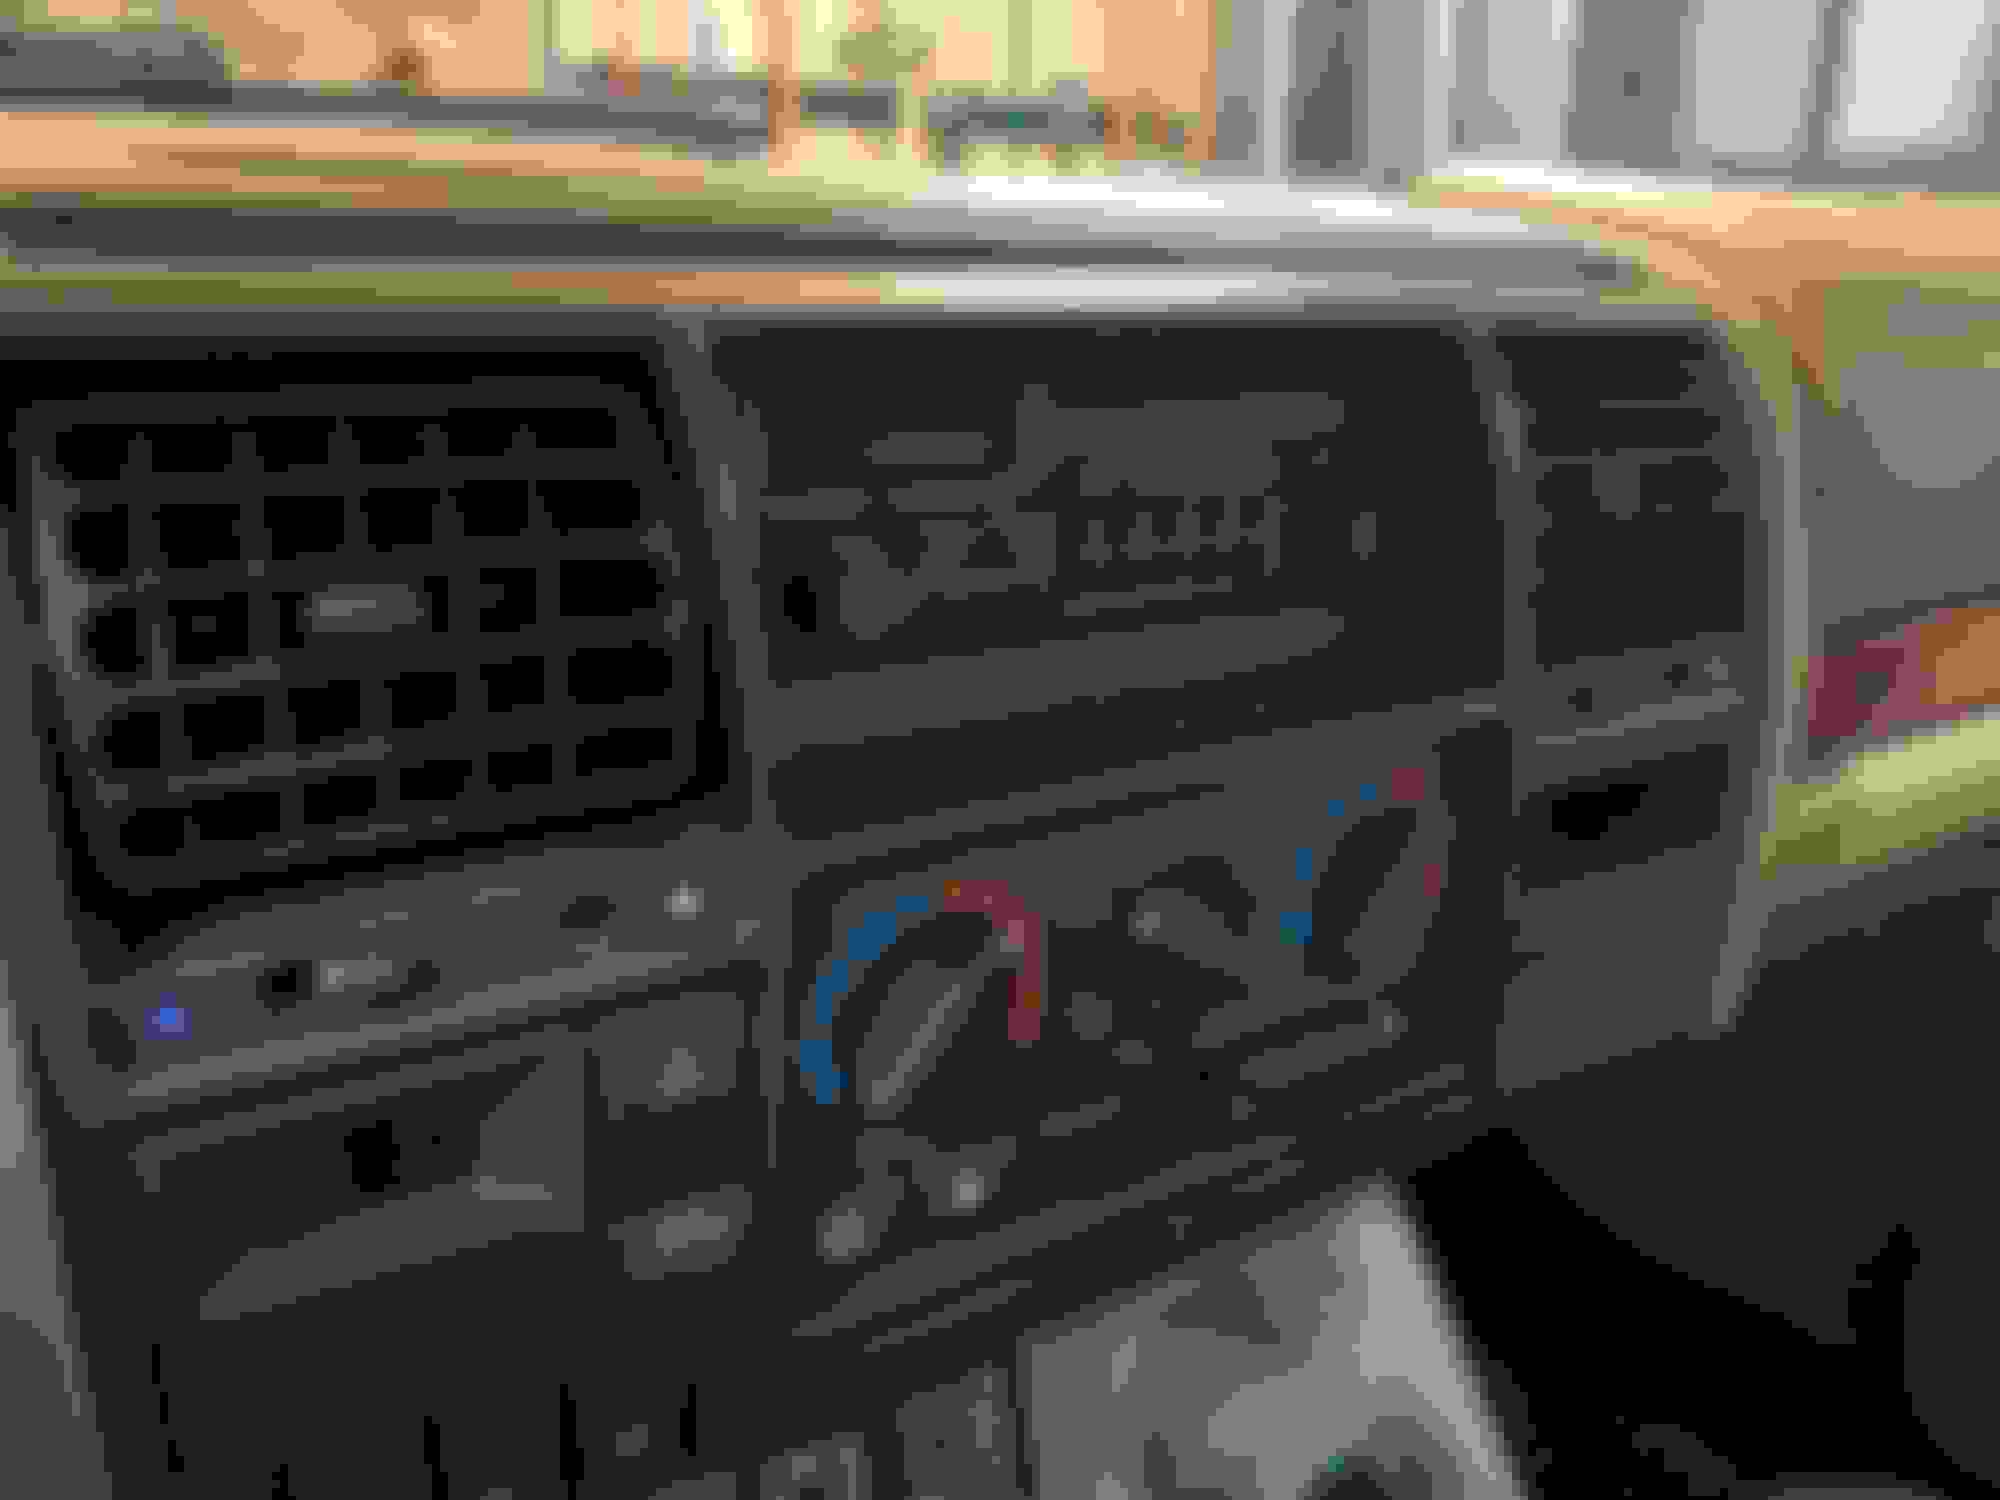
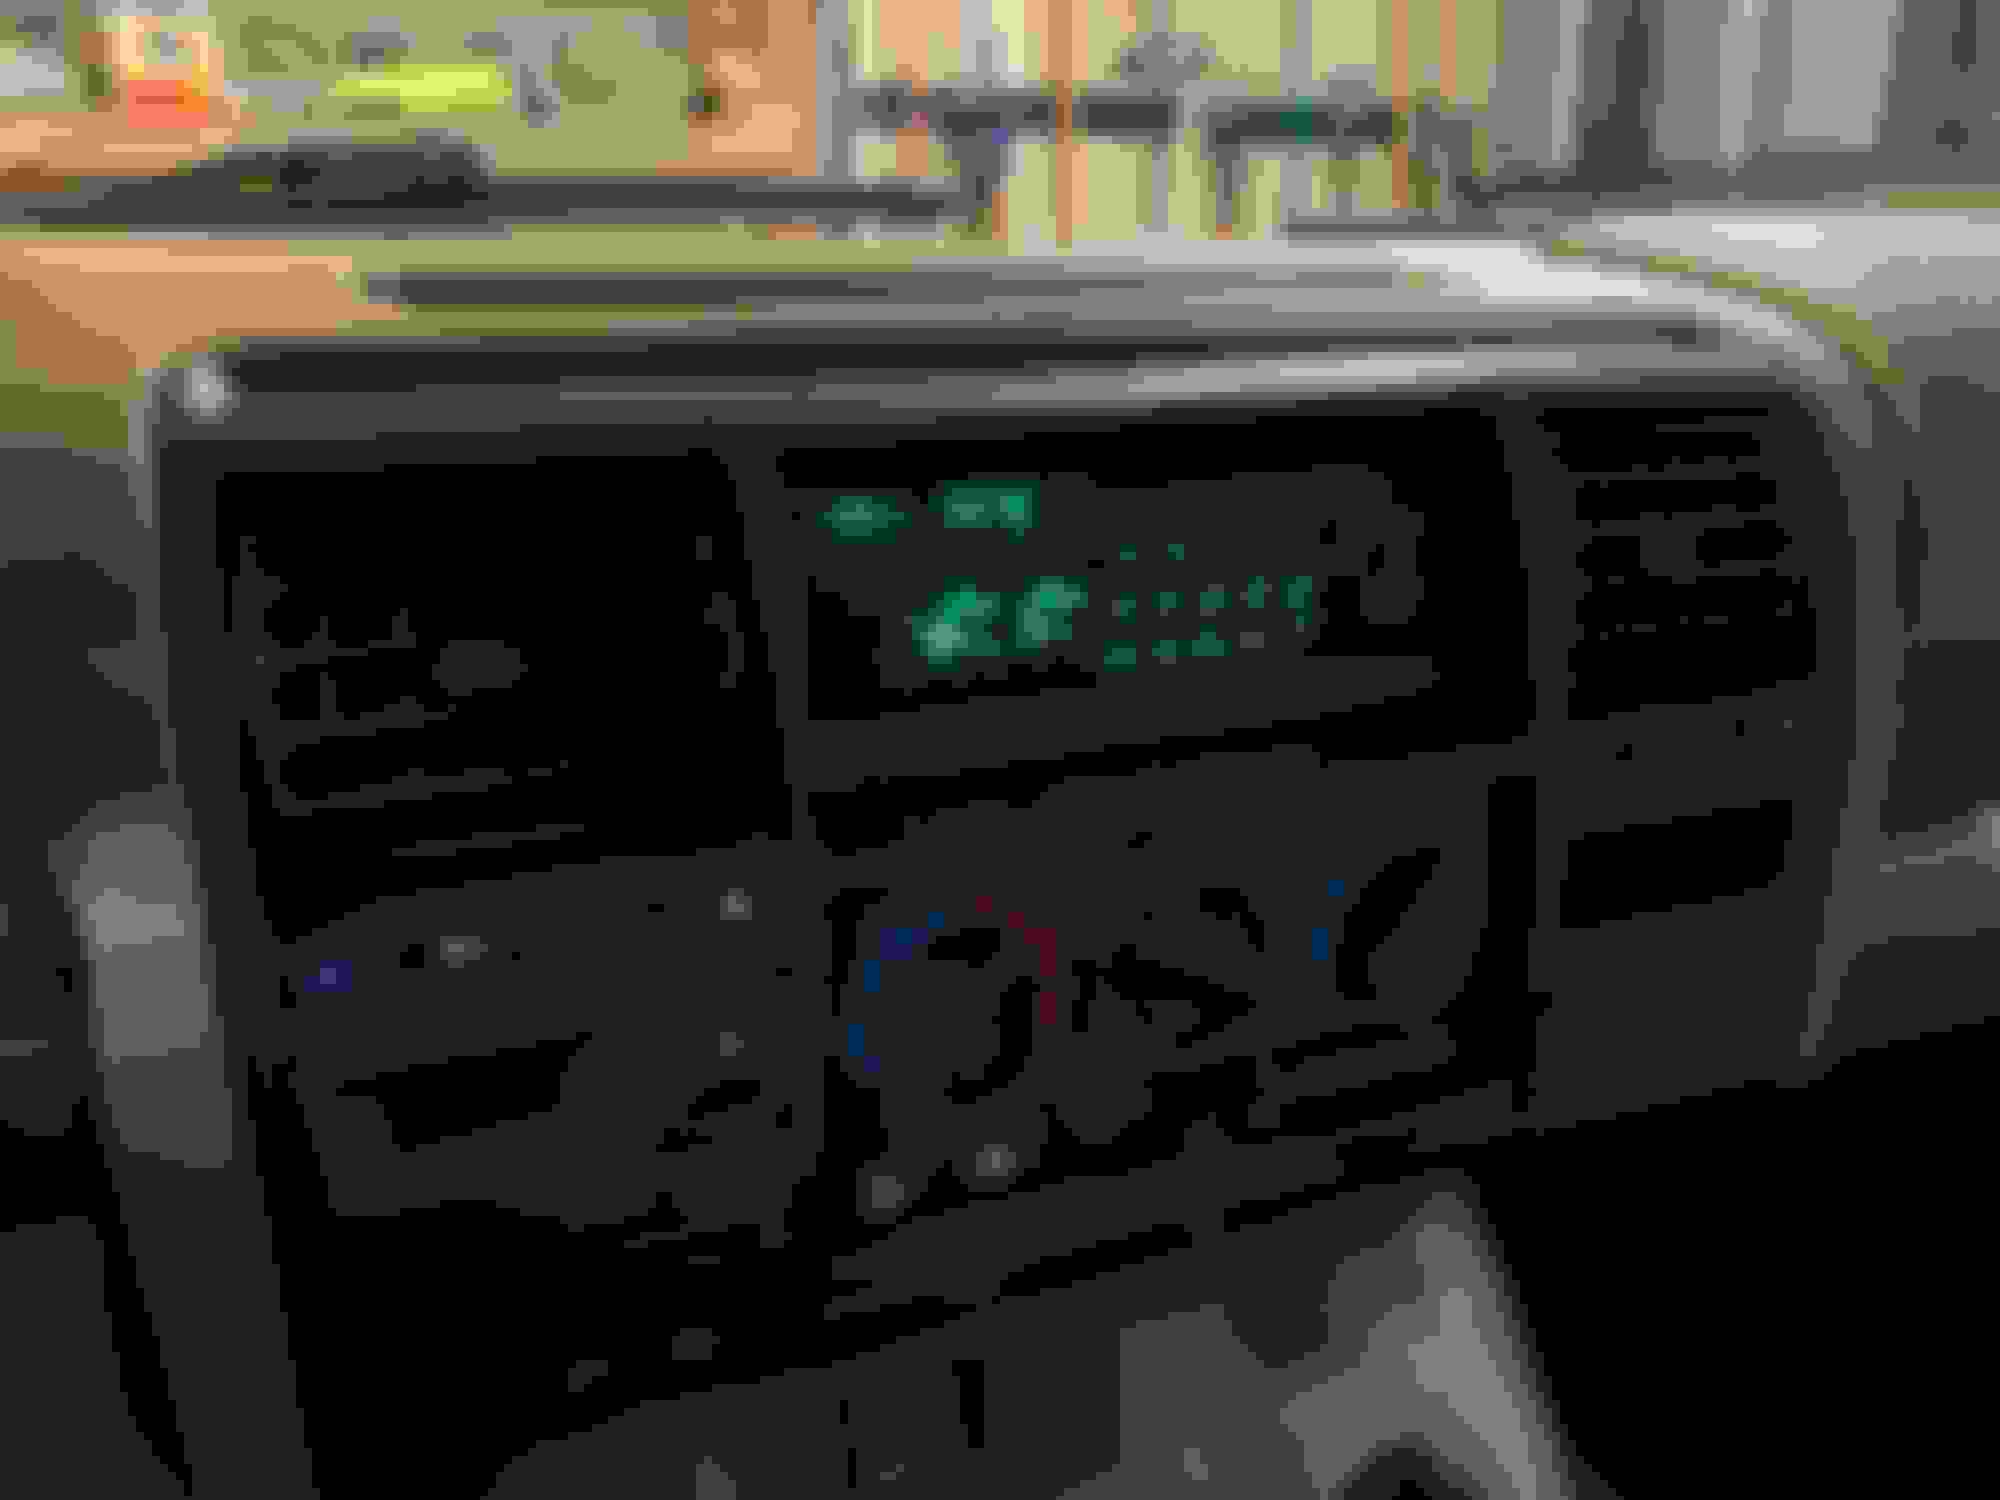
I wanted a radio that was bluetooth capable & would look like it was period correct. I went with a Blaupunkt Bremen SQR 46 DAB and couldn't be happier. It works great & you can change the color of the buttons & screen using RGB values to get it exactly what you want. I bought it from Crutchfield and added the pre-wired harness kit. The install should been easy but the previous owner installed the radio very poorly, tons of cut wires. My brother (mostly) and I had to cut & splice & solder the new harness to the existing wiring but we got it to work. I added the "steering wheel controls" harness too and the volume up button the dash does work but I need to add a resistor for the volume down to work too, haven't done that yet.
The ground wire was barely wrapped around a mounting screw that was attached to plastic, so we relocated the ground wire to the bolt that hold the hood release to the body in the driver footwell. This kind of helped with the interference but not nearly enough. After the speaker install & replacing my hood latch cable & mechanism, I sanded down the metal & stripped the wire for more copper & added better stainless mounting hardware & that made a noticeable difference; next to try is a ground loop isolator.
Once we started it up & played music through it, it was obvious that the stock speakers were shot, so I went back to Crutchfield's website & searched for "upgrades with factory amp" and decided to go with all speakers & tweeters from Kicker CS Series. I paid $220 for the set of all of them.
The front door & rear pillar are the same 4" speakers and fit perfectly, the only issue was the connectors one the stock wiring barely didn't fit the connectors on the new speakers, the speakers came with new wiring & connectors, and with butt splices to replace the old wires/connectors; this is a pretty easy task to complete but be sure to match up the positive & negative wires correctly otherwise the sound will be inconsistent, I looked it up in the Rave manual & confirmed that big connector replaces big connector.
The front pillar tweeters install was very easy, don't be misled by the website saying "Requires Modification", the only modification I did was cut 4 very small plastic pins & the tweeter clicked into the existing tabs and fit while retaining the stock cover, I did have to cut & splice the wires but again the new wires & splices & crossovers were provided. Also be careful removing the hot glue holding the tweeters into the 4 tabs, I broke two tabs off one of my tweeter mounts but they were diagonal from each other & it didn't affect the mounting.
The rear door was the issue; the speakers are a great upgrade from the stock ones while retaining factory amplifiers and provide a huge upgrade in bass; HOWEVER, for the installation, the stock amplifier is mounted to the rear of the stock speakers with a screw but the Kicker 46CSC674 speakers dont have a a threaded insert like the stock ones so I had to create a custom mounting solution within the rear door to accommodate the amp, this was pretty difficult with such limited space.
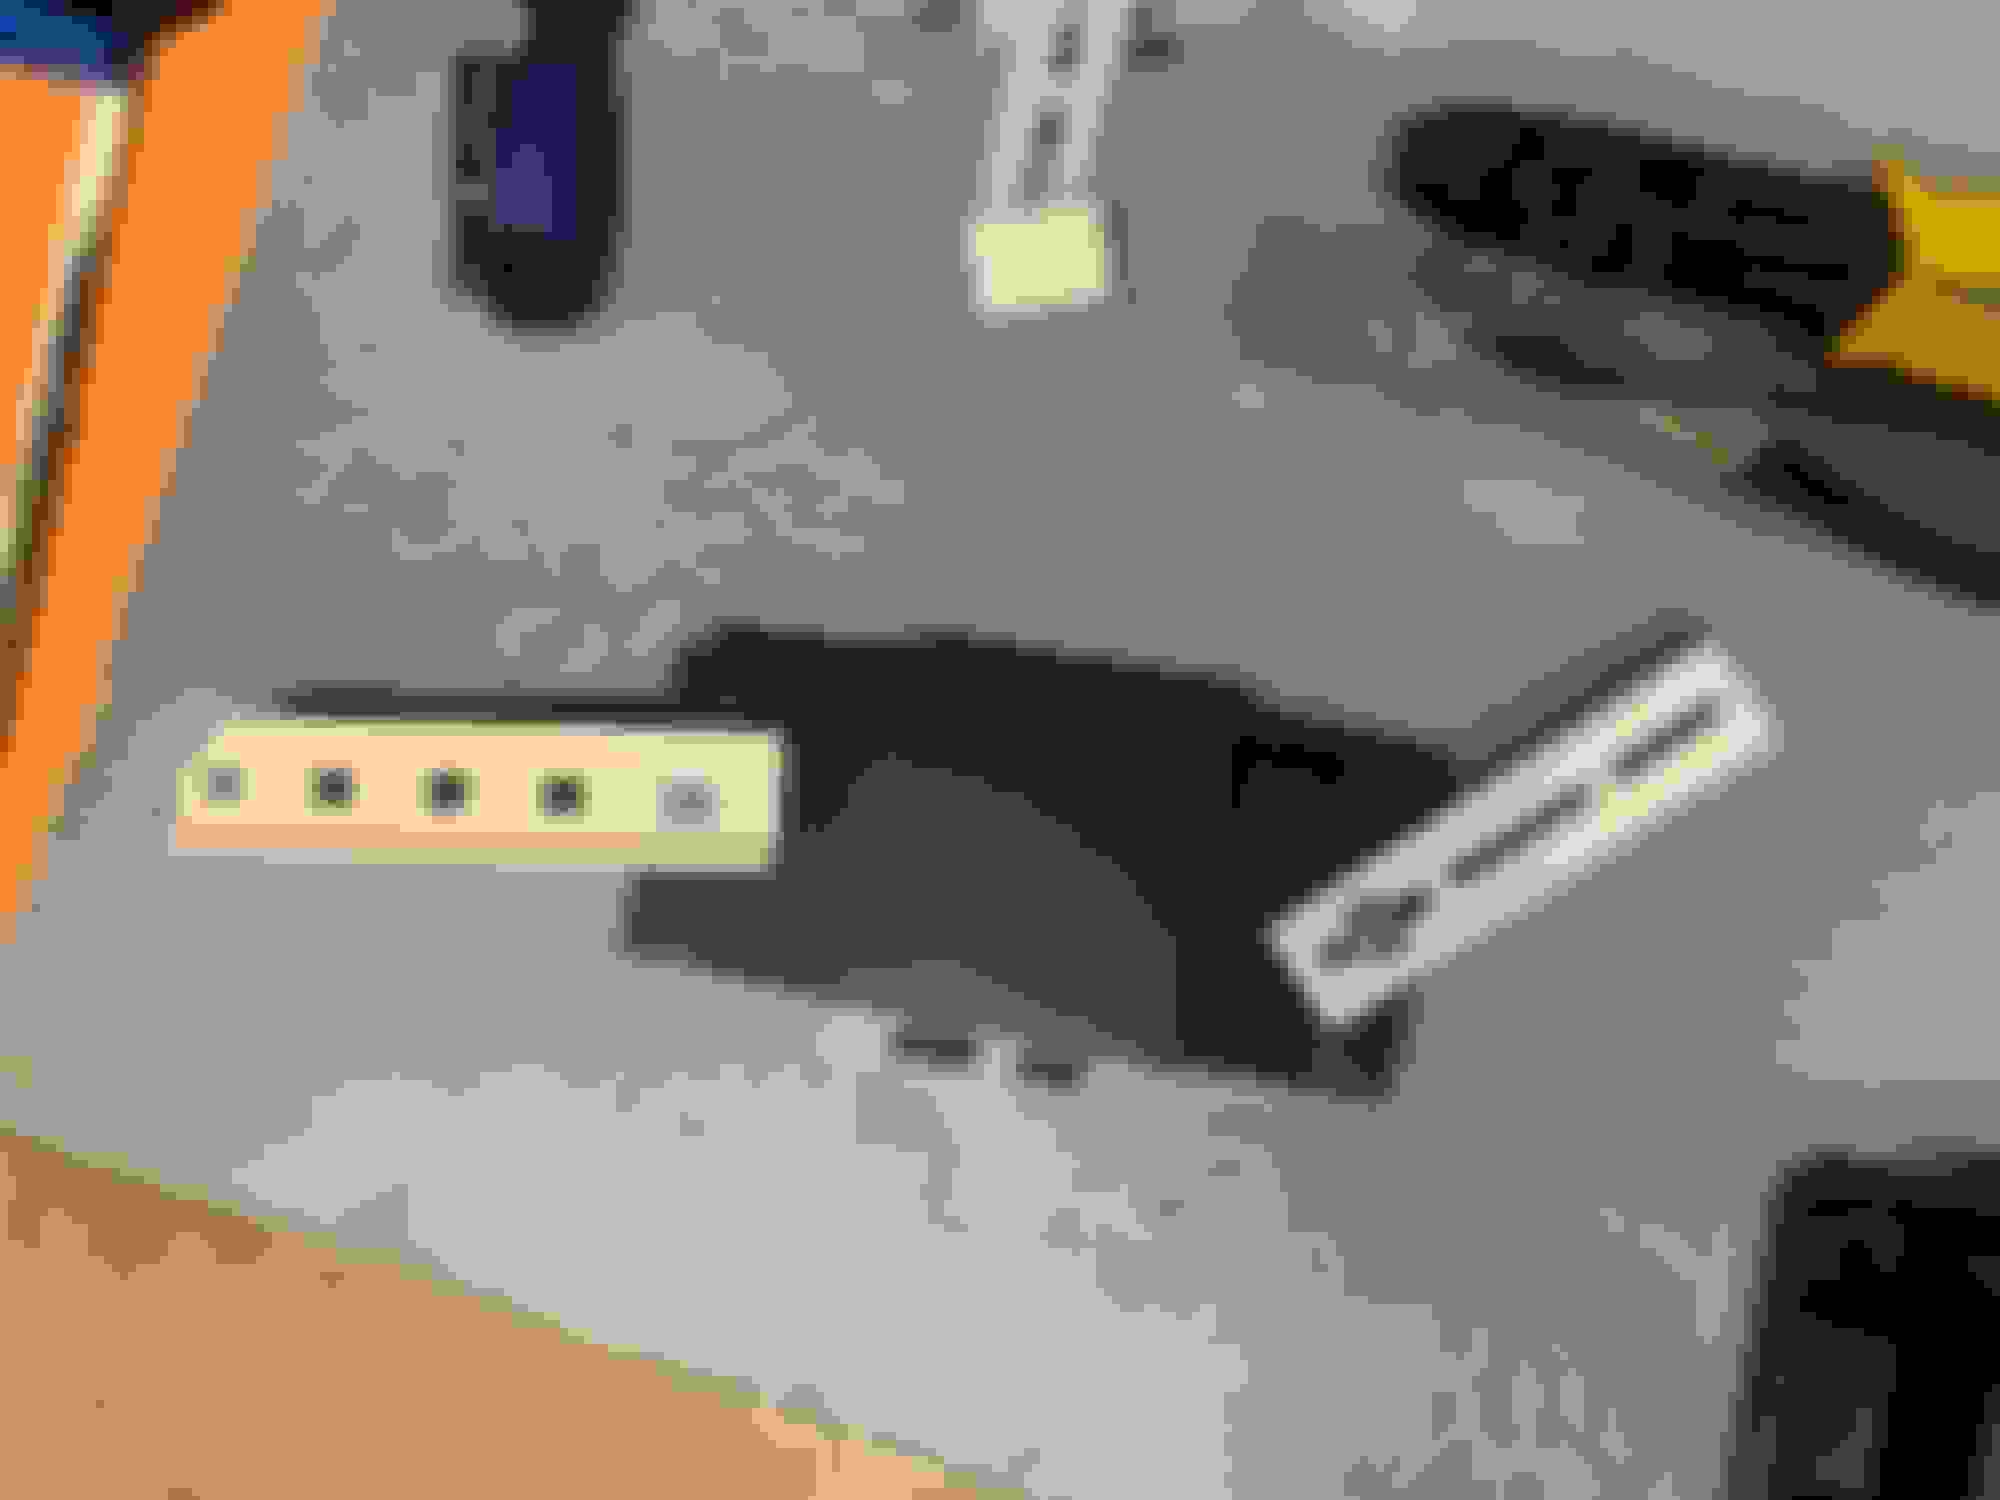
I had some plastic tab laying around and used a screw with a flat washer, a split lock washer, & a nut to attach the tab to the amp. Then I utilized two of the speaker enclosure screws to mount the amp, (the two red circled screws) I installed them first then slid the amp with bracket onto the screws inside the door & used a nylon insert locknut to secure the bracket; then I had reinstalled the speaker harness into the amp, and then installed the speaker enclosure to the door. I also replace some fabric vibration pads with rubber washers on the front of the rear door speaker enclosure. I know this sound confusing & I didn't get enough pictures because I wasn't planning on doing a write up initially so please ask questions if you need.
Well that gives me some ideas, previous owner installed some crappy pioneer everything else stock. But more importantly the butcher the actual radio facia, I hate broken stuff that I can see. I'm going to get some parts saturday including some busted plastics. I'm guessing the rover is not offended by the german radio. As a side note, your wiper look brand new. I need to replace the driver one for sure to me they look stock and very tired.

 11-21-2022, 10:28 AM