When you click on links to various merchants on this site and make a purchase, this can result in this site earning a commission. Affiliate programs and affiliations include, but are not limited to, the eBay Partner Network.
Thought Id throw up a bit of an update for everyone interested as I head into phase 2 of the build. So I have fixed tons and tons of problems with the car, and actually was able to drive it quite a few times over the summer and have some fun, but now its heading back to the shop to finish all the things I didnt get to and solve all of the new problems.
So recently discovered it blew a head gasket, it also needs a new valley pan gasket because it is creating a vacuum leak, and replaced the O2 sensors which helped the misfires tremendously. I have also started the rust repair and will be fully done after I rebuild the engine. I also managed to find a perfect parts truck and snag a ton of perfect interior bits to replace my broken parts, including mint condition seats, gauge cluster, centre console and carpet, so my interior is going to be looking like new after this. I also have decided to keep the rig white, rather than repaint it green like I wanted to, due to cost and complexity during the winter.
I will try to be diligent in updating this thread as I go along, and I hope to create a new thread with a bunch of information and tips that I learned along the way to people new to LR as these forums can be hard to navigate sometimes with bits of info everywhere but not coherent or easily understandable. Thanks for all the help so far everyone!
I can also say, with almost certainty, that although I am enjoying the project and absolutely love so many things about the disco, I think this might be my first and last rover. IMO I have had way too many issues and frustrations along the way, expensive parts and the inability to upgrade parts that apparently are prone to failure (which apparently is nearly every part in the whole car). I have never experienced such a high failure rate in any vehicle, and although this is my oldest vehicle I have many friends with old trucks that dont have near the issues that I have, except, of course, anyone with a chevy...
So here are some of the repairs and mods that I have done along the way.
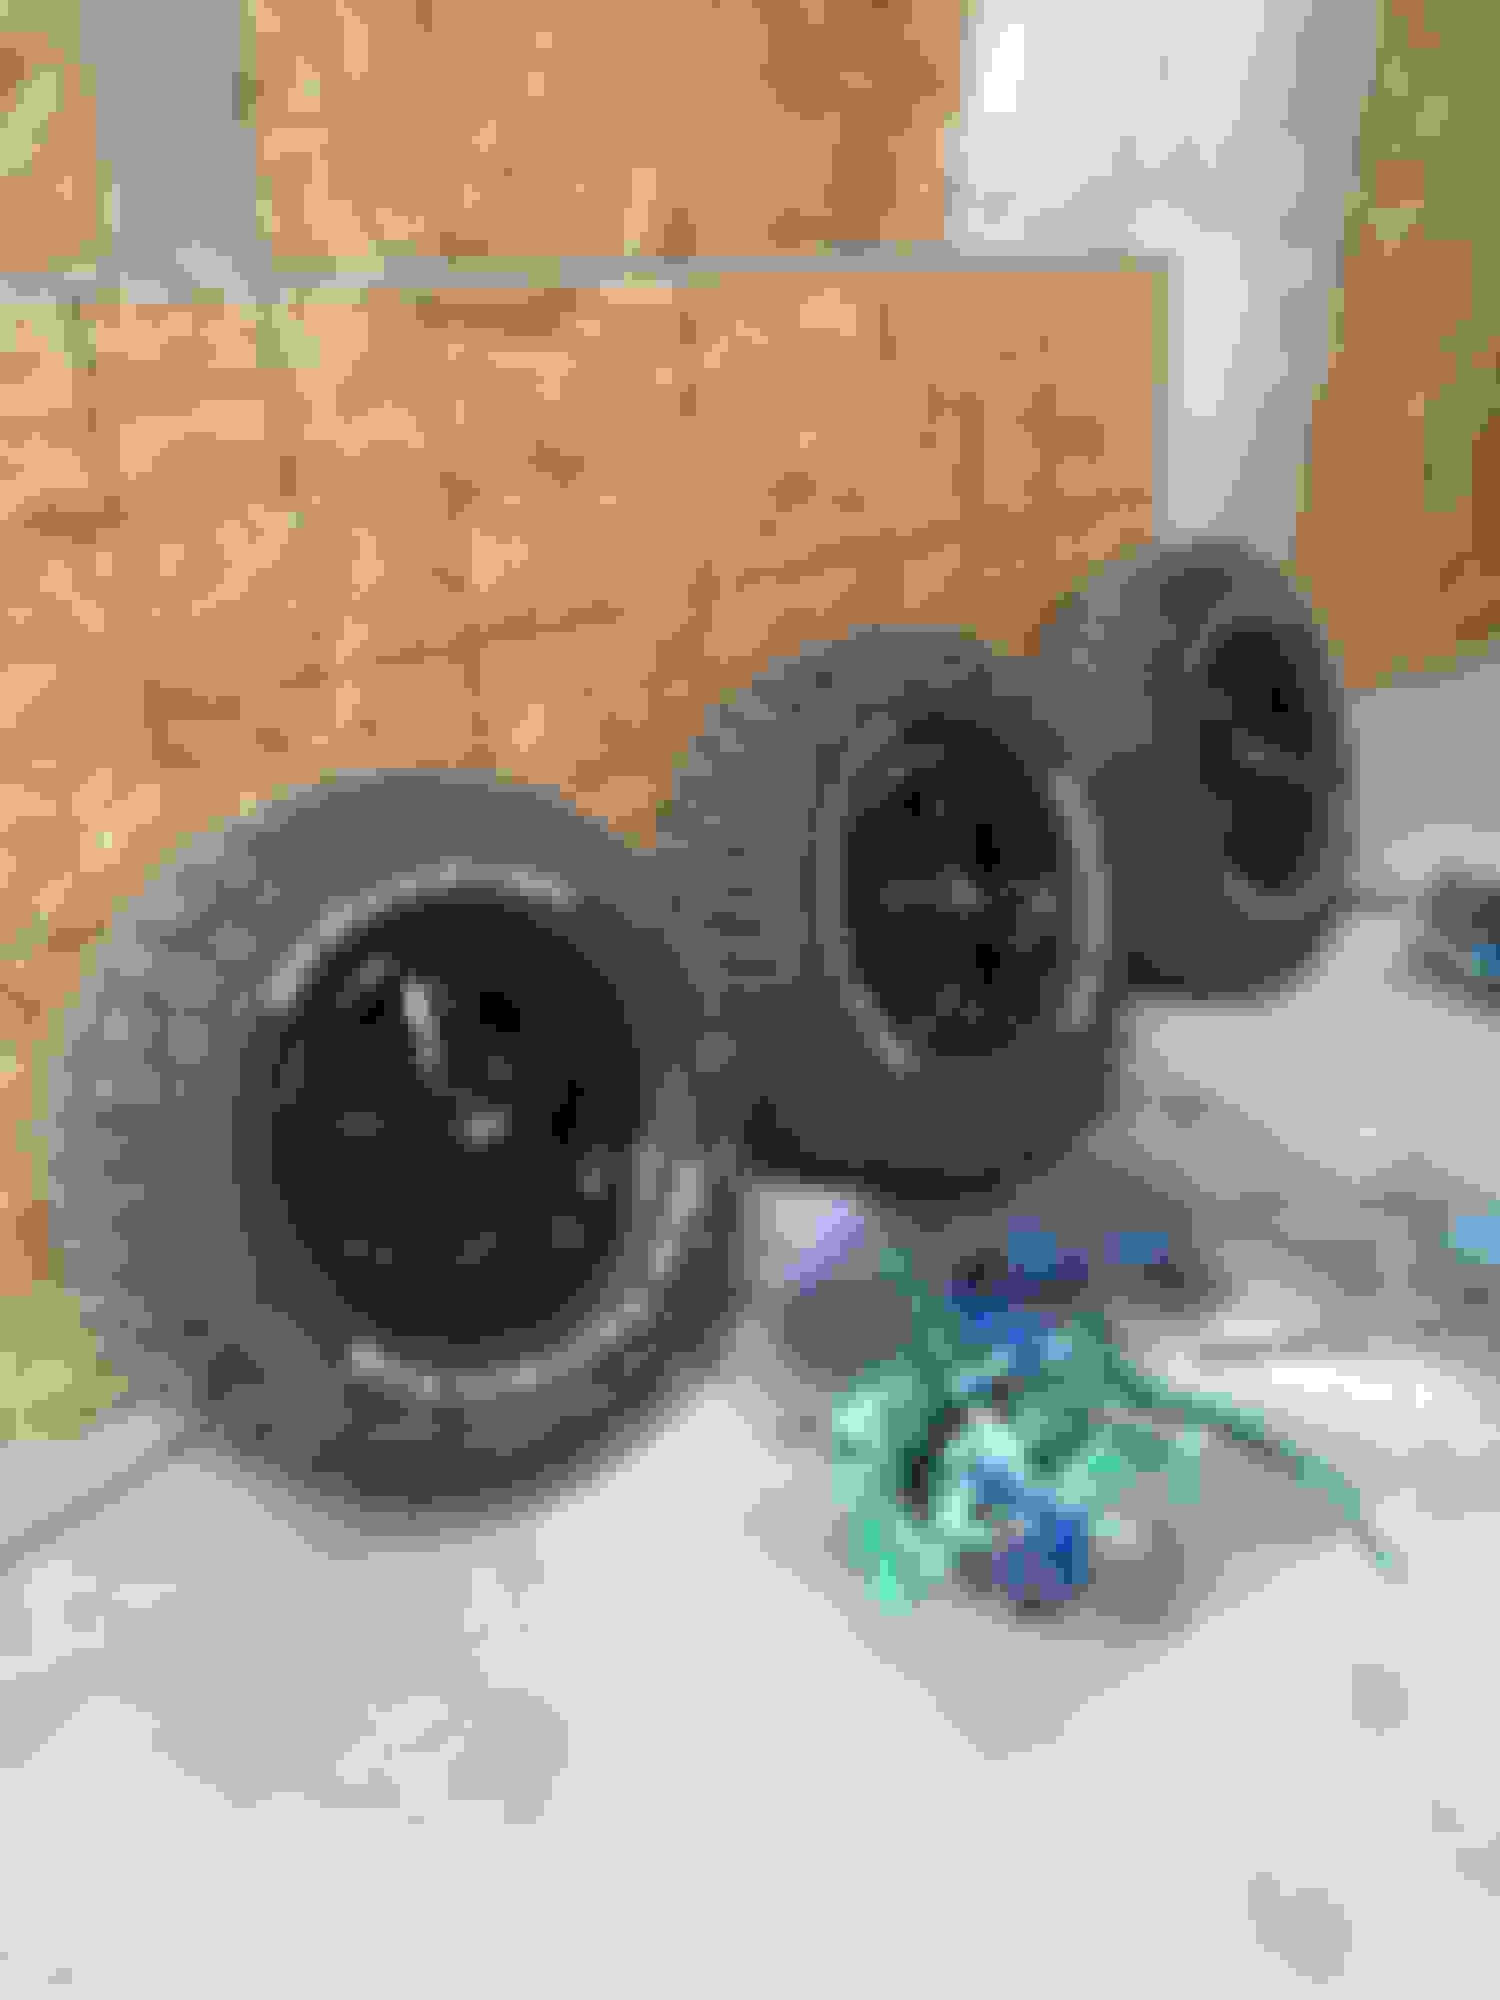
First off, a considerable amount of repainting on a bunch of random things. My colour theme is red, silver and black, so wheels got painted black with silver letters, shocks red and springs silver. Steering bars are also silver.
Next was bumpstop extensions to keep my tires from hitting the inner fender, yes I could have lifted more and I actually wanted to do a body lift but decided not to because I wont have the car long enough to justify it.
Next was the slight "camel cut" to the rear fenders to clear the tires. I simply used shears to cut a little and fold back the rest to keep some rigidity.
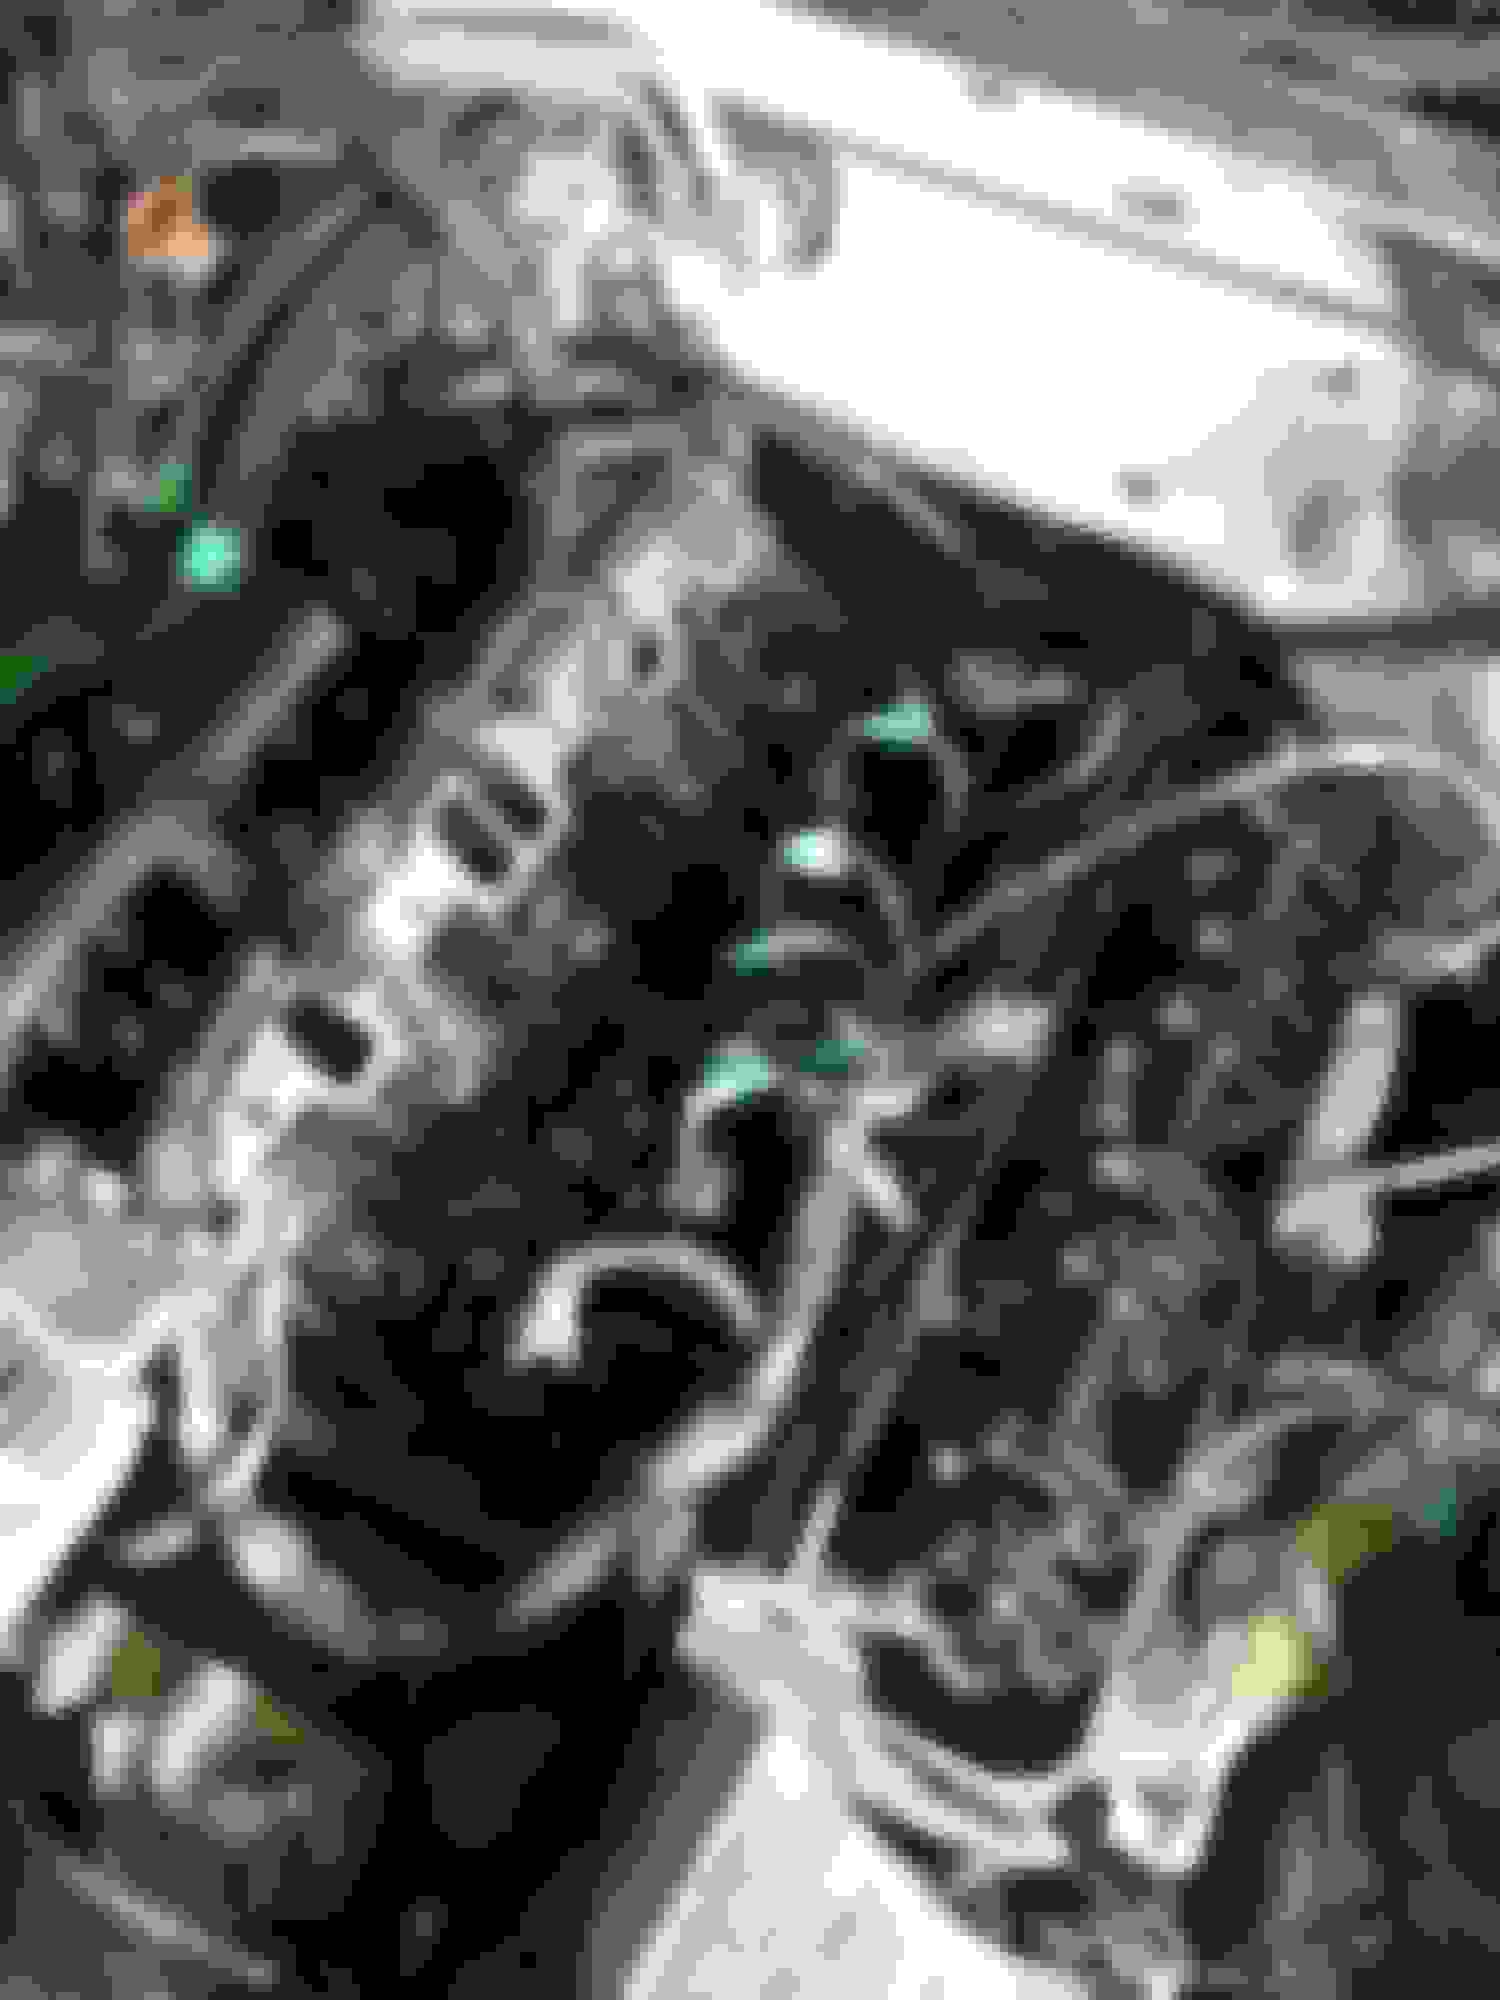
Next up was the engine. I ended up not doing the head gaskets (we determined it was just the valley pan) So tore it down and replaced the valve cover gaskets and valley pan gasket, then some paint work, some cleaning, and sealed her back up.
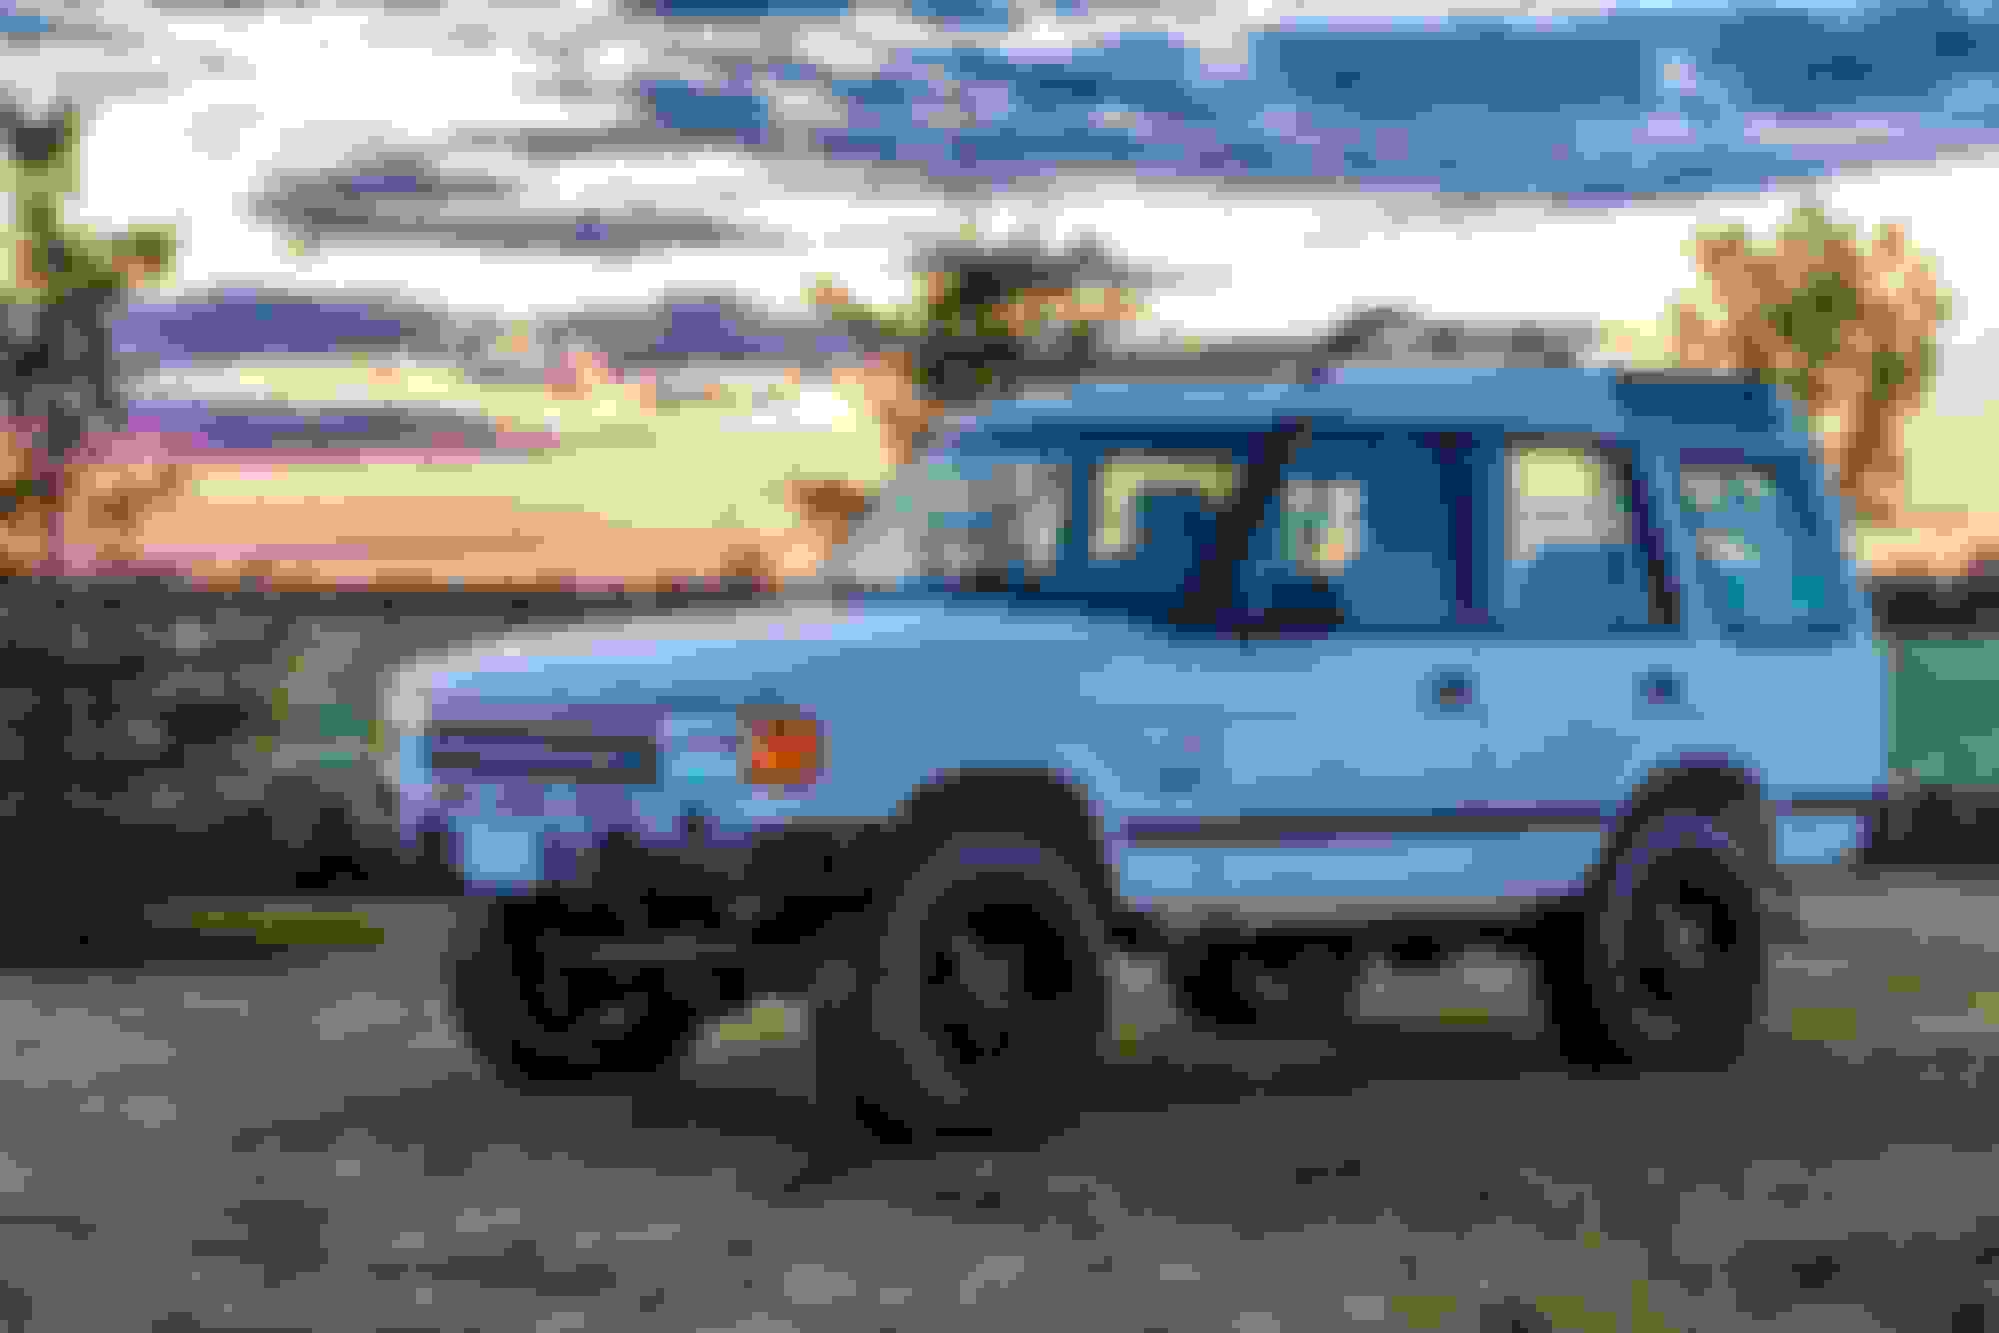
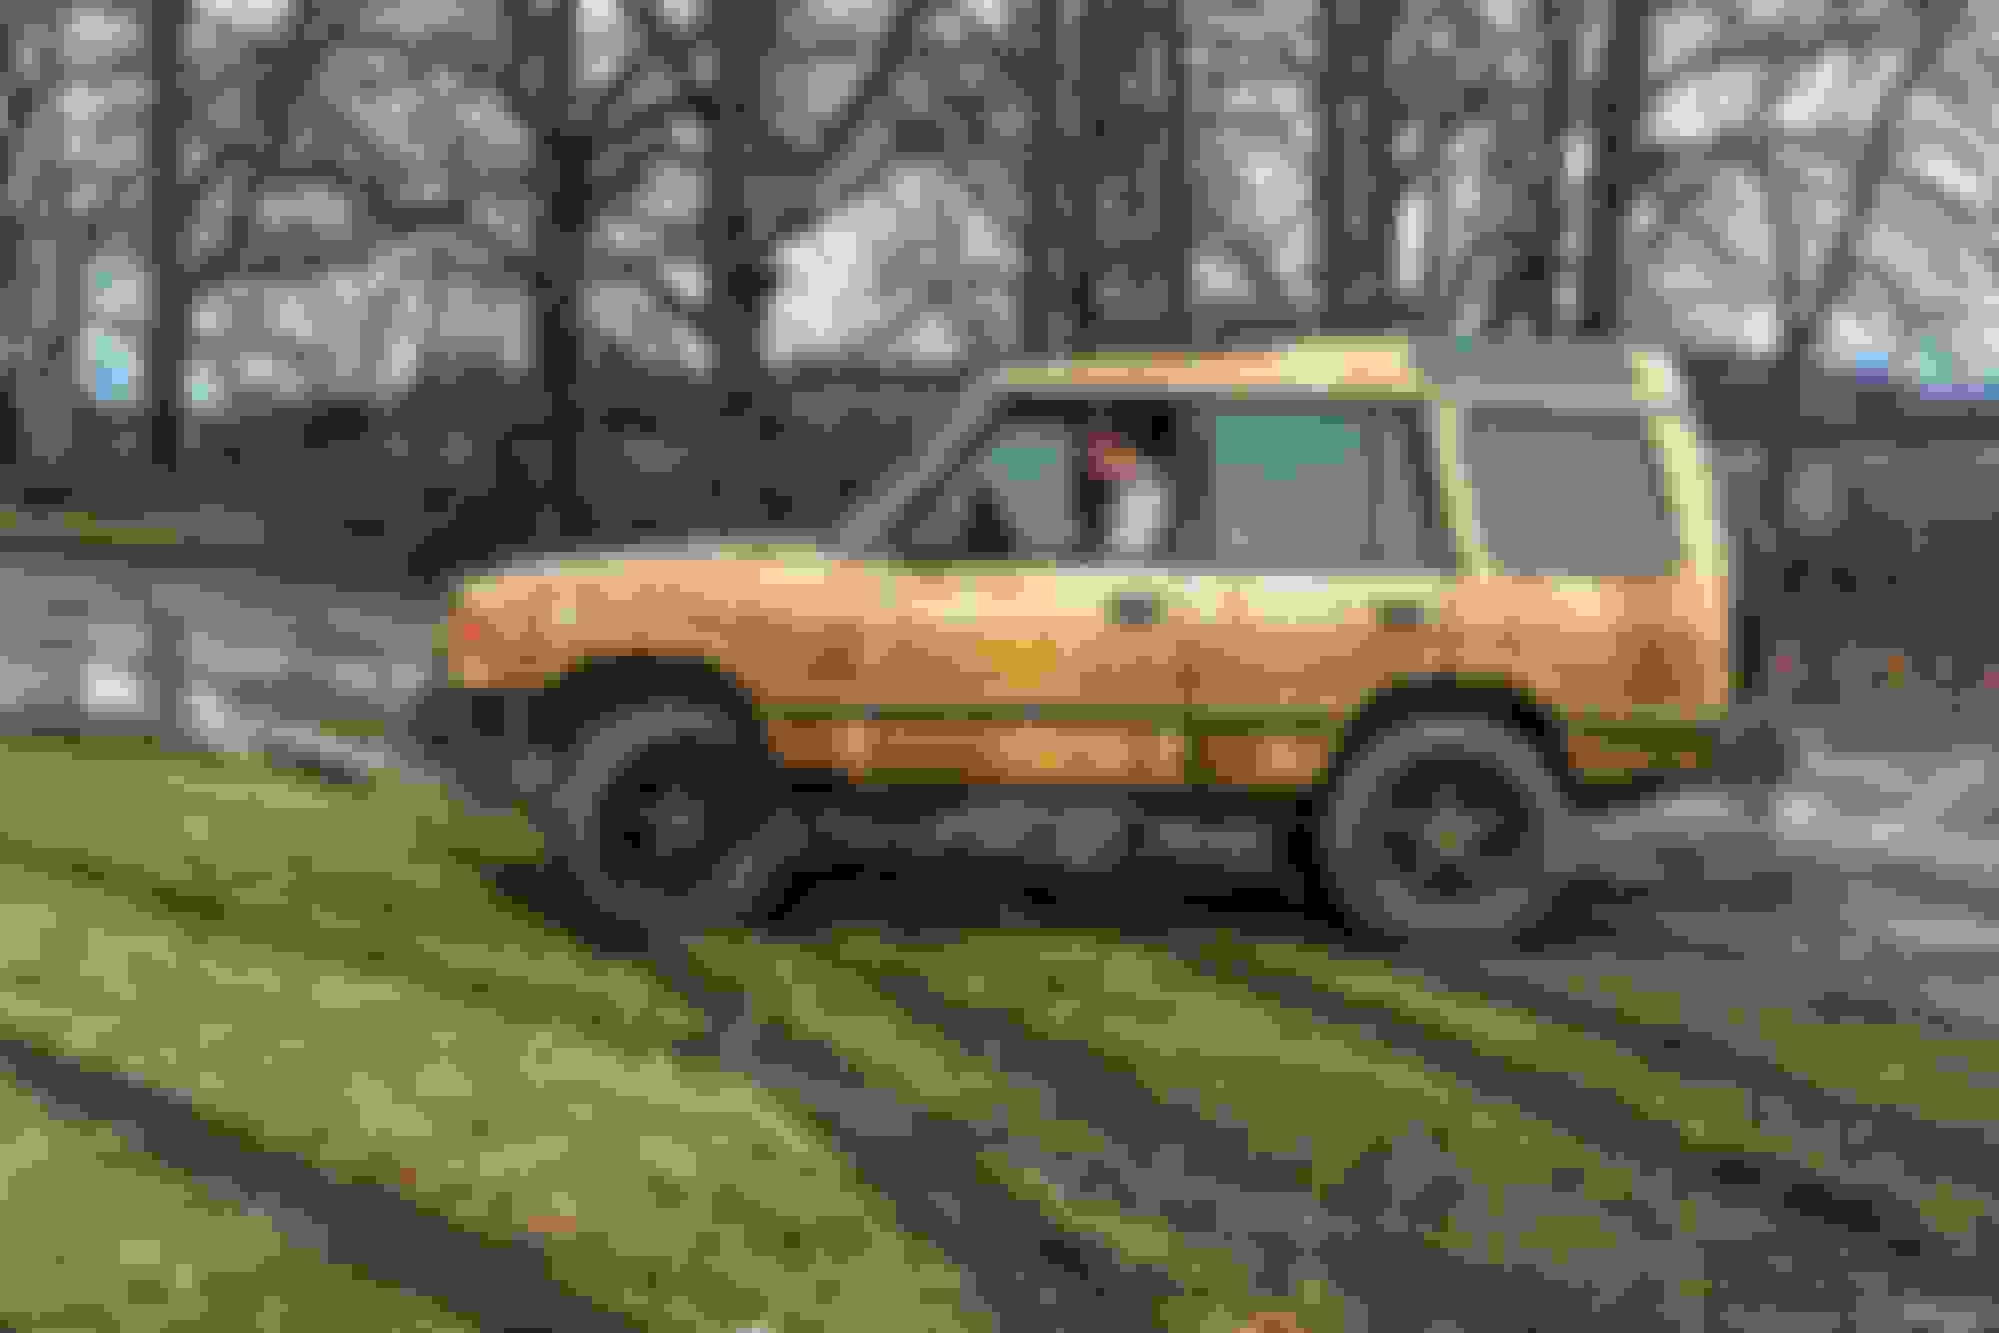
BEFORE
AFTER The silver lettering makes it really look great
Rust repair was up next, did the whole engine bay and the rear stuff. Have not got to the front seats yet, needed to teach myself how to weld and do body work on the less noticeable areas first. Front coming soon...
Battery tray is totally gone new battery tray from underneath other inside corner all replaced both fenders had large holes where they met the C pillar, tough to tell now
Now for the fun stuff since I had some spare time.
wood trim from the donor car tie downs mounted, plated on both sides bolted through for strength. 8 in total sway bar disconnects tab on top allows the sway bar to bolt up out of the way
I had a few other issues along the way, including my new fuel filter being clogged and causing a no start, as well as some other little gremlins.
Some other notes, for anyone that hates screws into plastic clips like these rovers seem to be made of, buy your self a rivnut gun. I got one for $50 and have been removing all the plastic things like the door sills and using rivnuts with real bolts, so much nicer to take apart. I also used black silicone on the window seals to hide the cracks, actually worked better than youd think, ill have to get some pictures of it.
I also noticed that the front seats from the donor car are heated, so I took the harness from it and will be putting in the new required wires for those to work. As well, I added the new grille and hood from the donor to replace my beat up ones. They will get painted soon to match.
Basically there was a pretty significant hole right at the corner, I cut it all out from the bottom, made my own panel and welded it in. Luckily it didnt seem like any of the structural integrity of the C pillar was gone, so it was simply filling the hole. After my panel was bent to shape from underneath and welded in, I seam sealed underneath and used bondo on top (after some filing/sanding and grinding on the welds to make it as flat as possible. Sanded down the bondo until it looked original, and paint with primer and colour matched paint.
No problem. As long as you dont overlap the panel when you weld so thats its flush, and have the tools to grind the welds, just spend a lot of time on the bondo and it will turn out really well. This was my very first time using bondo and doing body work, I learned how to weld off youtube a few months ago doing the engine bay, so anyone can do it!
Have been doing a tonne of work to the rover over the last month or so, here is some of my progress!
First the things I dont have pictures of, I fixed the roof leak from the rear sunroof, and fixed the one rear door lock that stuck, also replaced a bunch of the door trim with stuff from a parts truck that was in much better shape. Driver door was adjusted using a home made aluminum spacer because it was way off, but then it leaked because it had crushed the door seal in from all those years of being too tight to the body, so added an extra seal around the window frame to compensate and is good now.
I also replaced the entire front footwells and built new seat supports as well as fabricated metal seat boxes to replace the broken plastic ones. I designed them to resemble the defender seat boxes but fit like the factory plastic ones.
Next up, I scored a sweet set of 5 BFG KM2s in 265/75r16 to replace my old ATs of the same size.
Next I started working on the bumper. So I wanted to take the stock bumper and finish off the corners to match the body like an HD bumper, but without the cost of a new one. Here is the final corner design before body filler and paint. I am currently painting it, so pics will be up this week of final results. I am very happy with it, and might do a write up on the bumper mods if there is enough interest.
So part of the bumper mods were that I raised up the bumper slightly by extending the steel and drilling new holes for the mounts. This tucked it up to the body better, but also allowed for mounting tow points. In order to make it strong enough, I boxed in the entire end of the bumper where it attached to the frame with 1/4 inch steel on all 4 sides, and welded in nuts on the back for easy mounting. More pics of the final setup this week once its on, I have a bracket that bolts with the tow hook and reinforces the frame mounting points, all will be connected with M12 and M10 10.9 grade bolts. Please disregard the really ugly holes, I did not have the right tools for this job and am apparently not good at measuring.
Here it is mounted, albeit without the extra support. But gives a general look. You can see that I trimmed the plastic to accommodate the tow hooks (which are OEM from an F150), and drilled through the plastic to use bolts to hold it on rather than those threaded plastic holes. M8 rivnuts for the licence plate.
Heres paint and body filler on the hood. Got a new hood from donor car and wanted to do the hood blackout plus paint it white. I also got some 3D raised letters off ebay which will look great on the hood. Also being finished up this week, so more pics of it complete coming soon.


 07-09-2019, 11:37 AM