
Starter Replacement


Thread Starter
|
Recovery Vehicle
Joined: Feb 2010
Posts: 1,062
Likes: 23
From: West Chester PA
As always, before you do anything disconnect the negative battery terminal as the starter is in a really cramped spot with the positive and negative really close together. If you get a ratchet anywhere near the solenoid with both terminals still on, you're gonna get a shock (TRUST ME).
The starter is located on the passenger side of the motor underneath the exhaust manifold and a heat shield that protects the Starter and starter solenoid
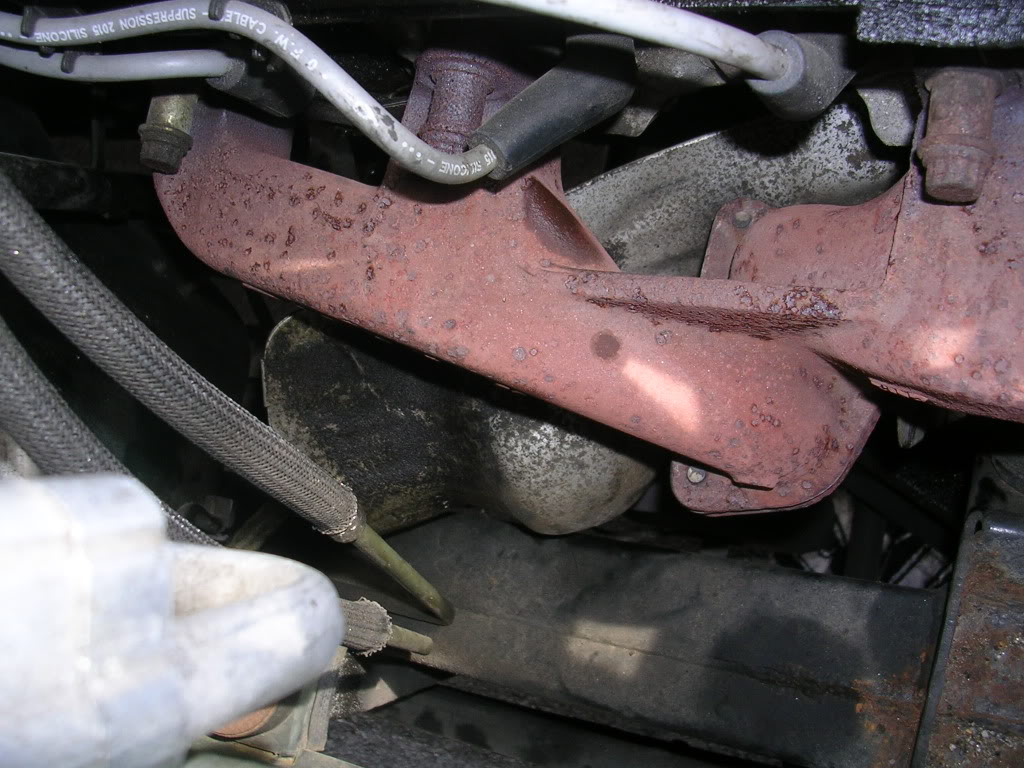
(here you can see the exhaust manifold below the plug wires, the heat shield for the starter just below that (bent away from its clip) and the frame rail below that)
The heat shield pulls right away from the solenoid, its only fixed with a spring clip so it comes on and off easily.
From the underside it looks like this.
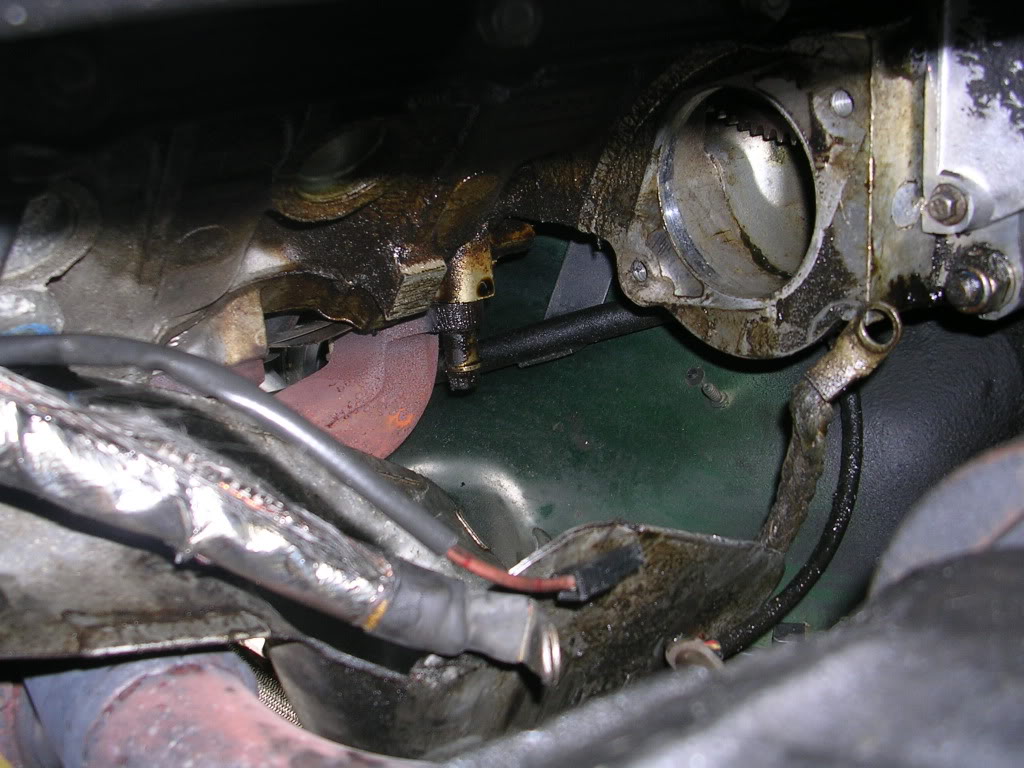
here you see the hole for the starter as I had already taken it out, the positive wire for the starter positive post and the ignition relay wire are in the left foreground, relay
wire is smaller, positive from the battery is obviously the larger. The ground cable is in the right background near the hole for the starter gear. It’s the braided cable.
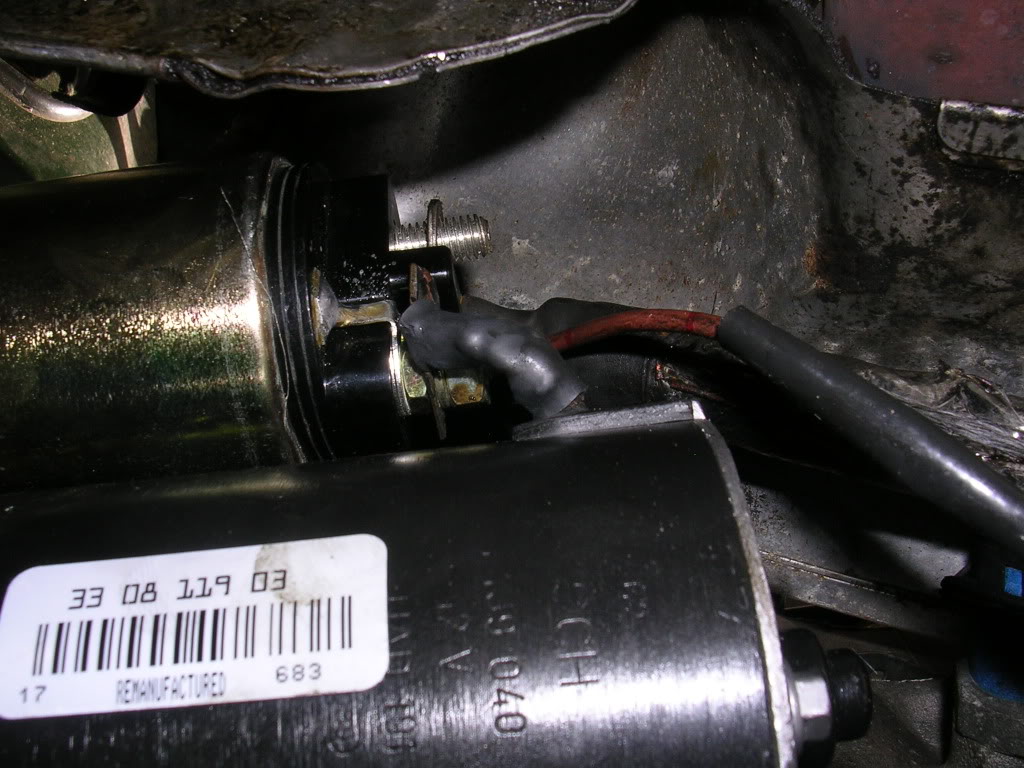
They attach to the starter here
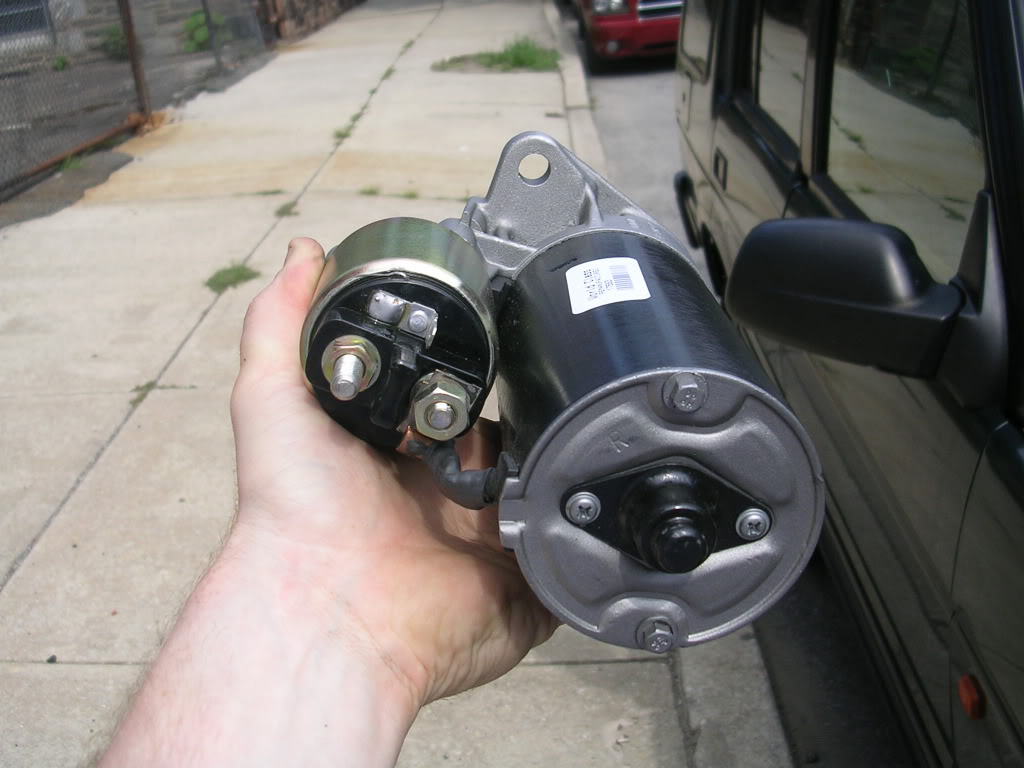
The main positive wire attaches to the post on the far left ( I believe it’s a 13mm socket), ignition relay attaches to the clip above it, you can see the solder point better than the clip itself and the ground cable attaches to the upper hex bolt that holds the starter in place.
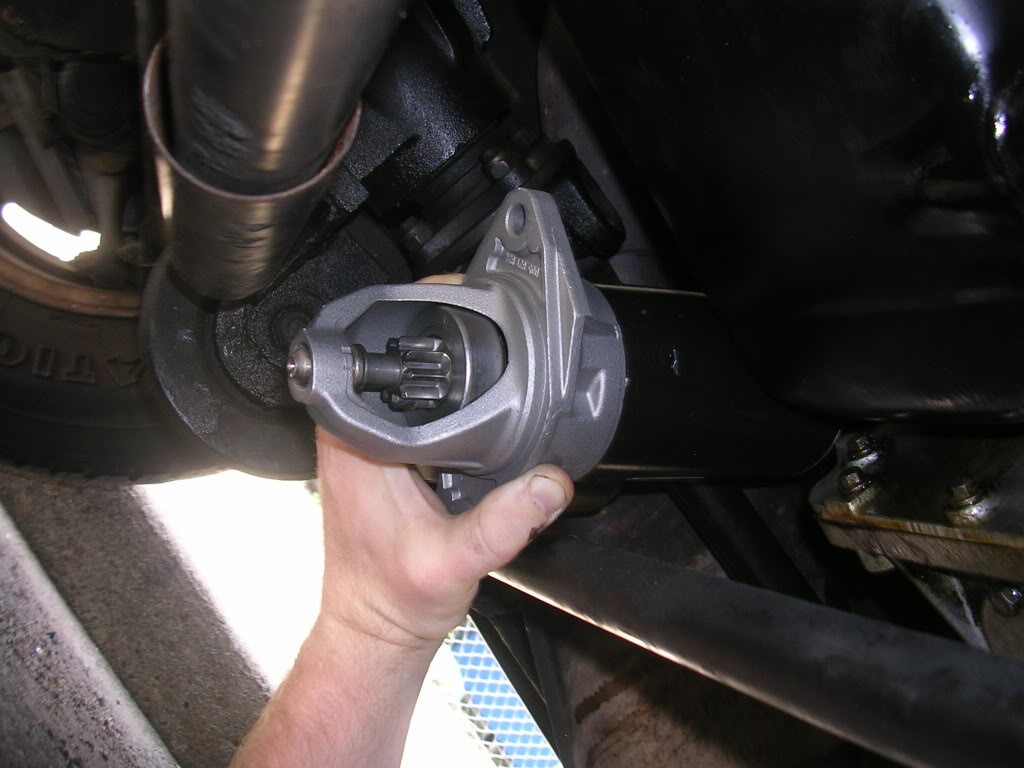
The starter slides out and in the same way (in this picture im actually putting it in backwards, you want the bell housing to go in first so that the terminals are facing the front of the truck), through the gap underneath between the junk here, I don’t remember exactly what is what (feel free to edit for clarity)
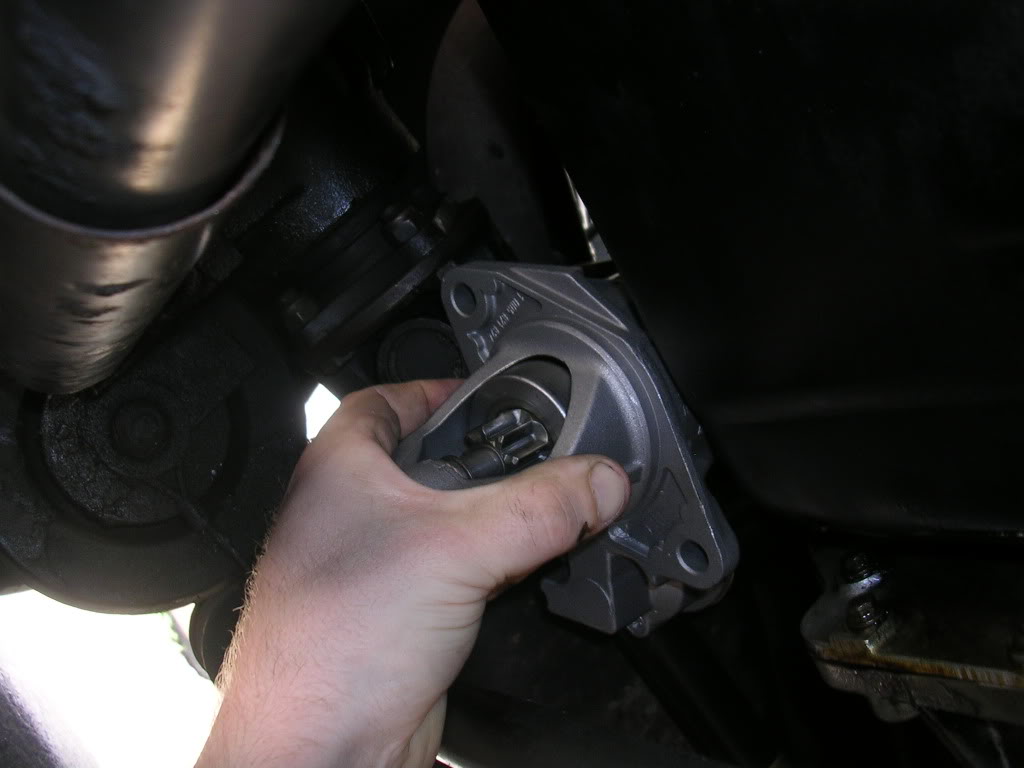
Once the starter is in, you can finger tighten the hex head bolts to hold it in place. Here is the starter with the bottom hex bolt, finger tight and the ground cable off. Also you can see the battery cable is looped over the starter post ready to be tightened down. You also want to hook up the ignition relay for the solenoid before doing the battery positive as the relay is a clip that will be tough to get at after the positive line has been torqued down.

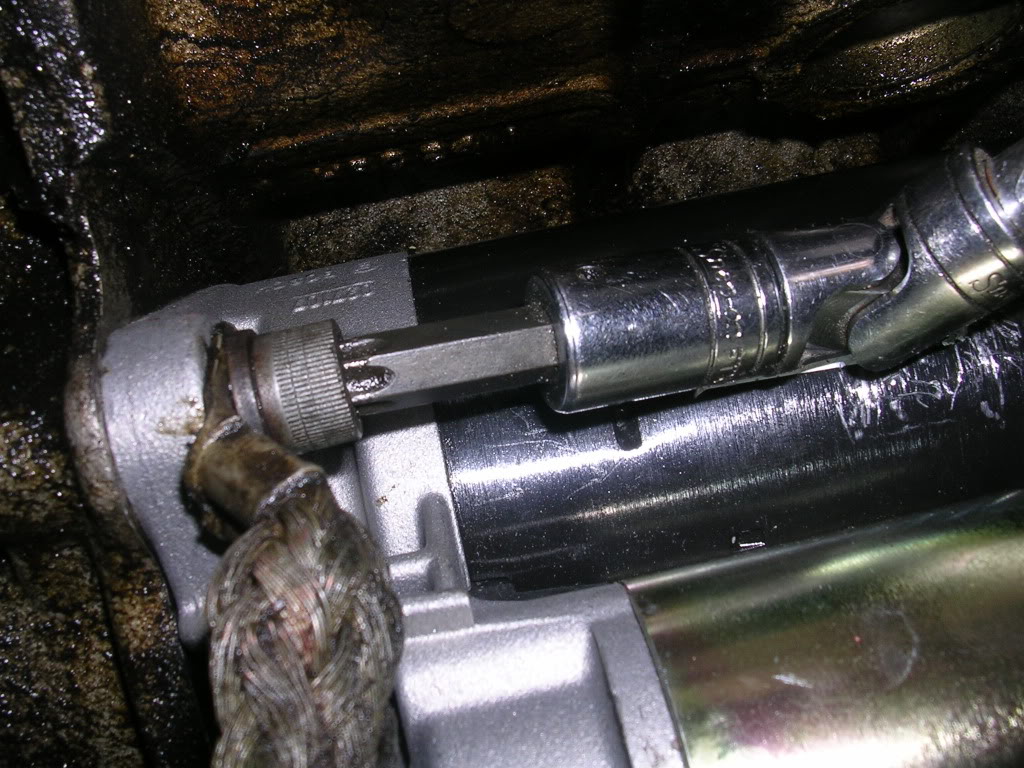
Here's a closer look
I chose to tighten the hex bolts before I went after the battery cable connection, for the bottom bolt you can run an extension about 24” to get ahead of the front axel which gives you much more space to torque the bolt and just work your wrench in general. This is the view from the top of engine compartment of me torquing the top hex bolt with the ground cable in place.
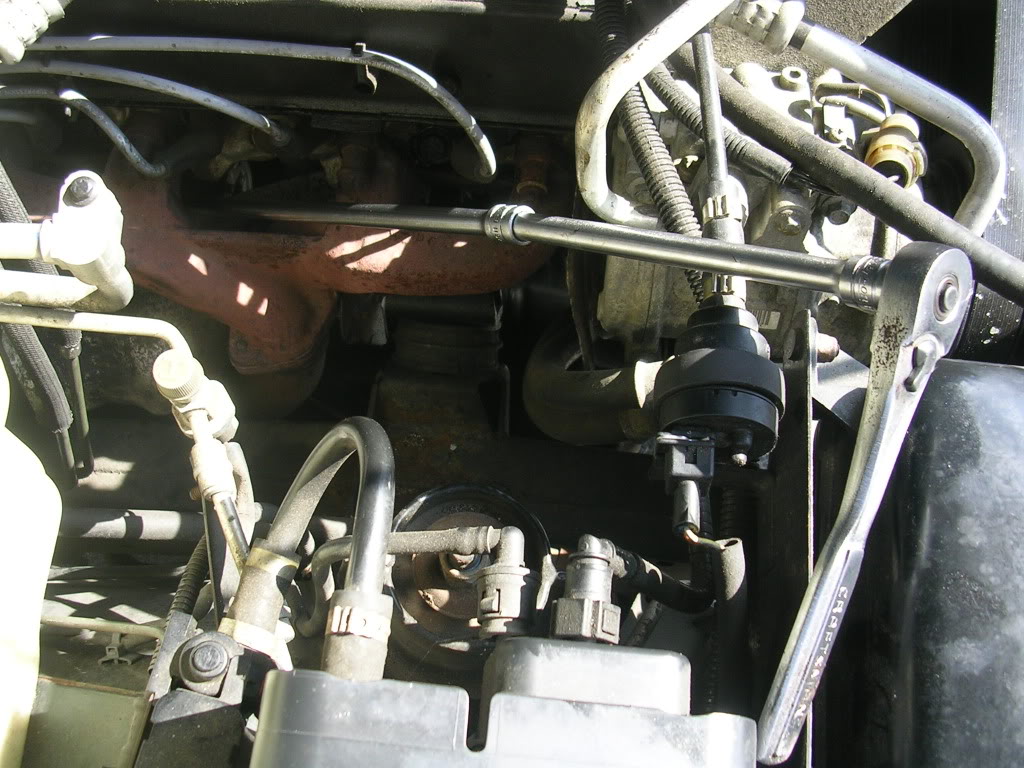
to give you an idea, this is how much extension I used.
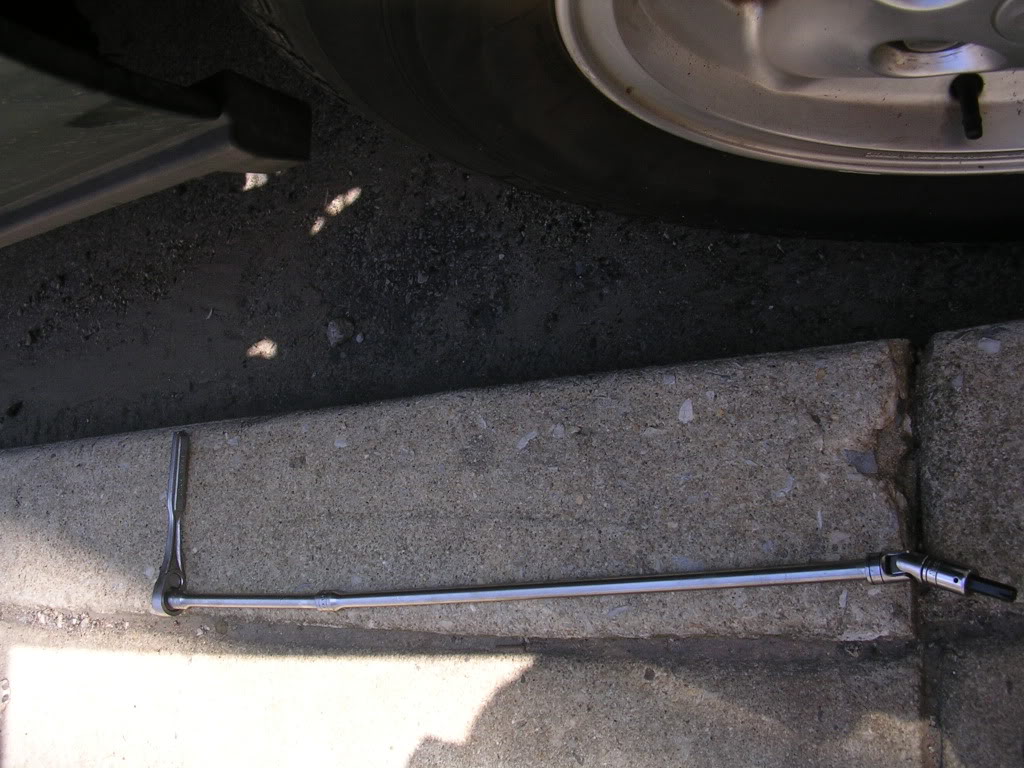
Going after the bottom hex bolt is the same as going after the starter positive post, except instead of a hex , the positive post is a 13mm socket. You want to use the adjustable angle adapter (from the previous pics) for the socket and run about 24” of extension to get you out in front of the pumpkin with your ratchet. So once you’ve got your two hex bolts (the top one including the ground cable) and your starter cable all bolted up and the solenoid relay clipped on, you’re ready to go. Don’t forget to push your heat shield clip back onto the solenoid as well.
Congrats, you just replaced your starter.
The starter is located on the passenger side of the motor underneath the exhaust manifold and a heat shield that protects the Starter and starter solenoid
(here you can see the exhaust manifold below the plug wires, the heat shield for the starter just below that (bent away from its clip) and the frame rail below that)
The heat shield pulls right away from the solenoid, its only fixed with a spring clip so it comes on and off easily.
From the underside it looks like this.
here you see the hole for the starter as I had already taken it out, the positive wire for the starter positive post and the ignition relay wire are in the left foreground, relay
wire is smaller, positive from the battery is obviously the larger. The ground cable is in the right background near the hole for the starter gear. It’s the braided cable.
They attach to the starter here
The main positive wire attaches to the post on the far left ( I believe it’s a 13mm socket), ignition relay attaches to the clip above it, you can see the solder point better than the clip itself and the ground cable attaches to the upper hex bolt that holds the starter in place.
The starter slides out and in the same way (in this picture im actually putting it in backwards, you want the bell housing to go in first so that the terminals are facing the front of the truck), through the gap underneath between the junk here, I don’t remember exactly what is what (feel free to edit for clarity)
Once the starter is in, you can finger tighten the hex head bolts to hold it in place. Here is the starter with the bottom hex bolt, finger tight and the ground cable off. Also you can see the battery cable is looped over the starter post ready to be tightened down. You also want to hook up the ignition relay for the solenoid before doing the battery positive as the relay is a clip that will be tough to get at after the positive line has been torqued down.
Here's a closer look
I chose to tighten the hex bolts before I went after the battery cable connection, for the bottom bolt you can run an extension about 24” to get ahead of the front axel which gives you much more space to torque the bolt and just work your wrench in general. This is the view from the top of engine compartment of me torquing the top hex bolt with the ground cable in place.
to give you an idea, this is how much extension I used.
Going after the bottom hex bolt is the same as going after the starter positive post, except instead of a hex , the positive post is a 13mm socket. You want to use the adjustable angle adapter (from the previous pics) for the socket and run about 24” of extension to get you out in front of the pumpkin with your ratchet. So once you’ve got your two hex bolts (the top one including the ground cable) and your starter cable all bolted up and the solenoid relay clipped on, you’re ready to go. Don’t forget to push your heat shield clip back onto the solenoid as well.
Congrats, you just replaced your starter.
Last edited by turf63; Aug 16, 2010 at 08:24 AM.

Baja
Joined: Sep 2007
Posts: 5,232
Likes: 52
From: Georgia, USA
For anyone needing a starter I highly recommend the Nipon Denso gear reduction start from BritishStarters.com.
Cheaper than OEM, free shipping and lifetime warranty.
Also, replacing the starter is a good time to run a longer ground wire and tie it in at the same point where the battery ground attaches to the chassis.
Good write-up, though the photos are a bit large.
Cheaper than OEM, free shipping and lifetime warranty.
Also, replacing the starter is a good time to run a longer ground wire and tie it in at the same point where the battery ground attaches to the chassis.
Good write-up, though the photos are a bit large.
Thread Starter
|
Recovery Vehicle
Joined: Feb 2010
Posts: 1,062
Likes: 23
From: West Chester PA
Also, i would NOT recommend the refurb unit i bought through Advanced, i put one in in december and then ended up replacing it again in may or june. So who knows how long i'll get out of this one, although they have limited lifetime too.


Camel Trophy
Joined: Nov 2009
Posts: 4,079
Likes: 227
From: IL
Never seen this thread before but....... its not great.
You don't need to remove the driveshaft or the oxygen sensor.
The starter is held in place with two allen socket cap screws. This guy is using a Torx bit!!!!
Start by removing the heat shield and tossing it in the garbage can.
Then you need to get into the head of those two socket cap screws with a pick and remove ALL the debris if you want any chance of not stripping out the heads. Place the hex/allen bit into the screws and tap it home gently with a hammer. Use whatever combination of extensions needed to get as straight a shot at the screw as possible.
Toss those socket cap screws in the garbage too. Replace them with regular old 3/8 hex cap screws(normal bolts). Use a 3" or 4" bolt and use large nuts as spacers between the bolt head and the starter. The idea here is to move the end of the bolt into a position that's easily accessible so that all you need in the future is a single combination wrench to pull the starter(no sockets or hodge podge of extensions.

TReK
Joined: Sep 2006
Posts: 3,306
Likes: 165
From: CT
Yeah, I agree. Lots of misinformation. Even the heat shield can be a PITA if you don't know there's 10mm bolt securing it at the right motor support. The head of the bolt is usually covered in greasy buildup. It's #2 on the diagram.

Overlanding
Joined: Dec 2020
Posts: 19
Likes: 2
As always, before you do anything disconnect the negative battery terminal as the starter is in a really cramped spot with the positive and negative really close together. If you get a ratchet anywhere near the solenoid with both terminals still on, you're gonna get a shock (TRUST ME).
The starter is located on the passenger side of the motor underneath the exhaust manifold and a heat shield that protects the Starter and starter solenoid
Attachment 46867
(here you can see the exhaust manifold below the plug wires, the heat shield for the starter just below that (bent away from its clip) and the frame rail below that)
The heat shield pulls right away from the solenoid, its only fixed with a spring clip so it comes on and off easily.
From the underside it looks like this.
Attachment 46868
here you see the hole for the starter as I had already taken it out, the positive wire for the starter positive post and the ignition relay wire are in the left foreground, relay
wire is smaller, positive from the battery is obviously the larger. The ground cable is in the right background near the hole for the starter gear. It�s the braided cable.
They attach to the starter here
Attachment 46869
The main positive wire attaches to the post on the far left ( I believe it�s a 13mm socket), ignition relay attaches to the clip above it, you can see the solder point better than the clip itself and the ground cable attaches to the upper hex bolt that holds the starter in place.
Attachment 46870
The starter slides out and in the same way (in this picture im actually putting it in backwards, you want the bell housing to go in first so that the terminals are facing the front of the truck), through the gap underneath between the junk here, I don�t remember exactly what is what (feel free to edit for clarity)
Attachment 46871
Once the starter is in, you can finger tighten the hex head bolts to hold it in place. Here is the starter with the bottom hex bolt, finger tight and the ground cable off. Also you can see the battery cable is looped over the starter post ready to be tightened down. You also want to hook up the ignition relay for the solenoid before doing the battery positive as the relay is a clip that will be tough to get at after the positive line has been torqued down.
Attachment 46872
Here's a closer look
Attachment 46873
I chose to tighten the hex bolts before I went after the battery cable connection, for the bottom bolt you can run an extension about 24� to get ahead of the front axel which gives you much more space to torque the bolt and just work your wrench in general. This is the view from the top of engine compartment of me torquing the top hex bolt with the ground cable in place.
Attachment 46874
Attachment 46875
to give you an idea, this is how much extension I used.
Attachment 46876
Going after the bottom hex bolt is the same as going after the starter positive post, except instead of a hex , the positive post is a 13mm socket. You want to use the adjustable angle adapter (from the previous pics) for the socket and run about 24� of extension to get you out in front of the pumpkin with your ratchet. So once you�ve got your two hex bolts (the top one including the ground cable) and your starter cable all bolted up and the solenoid relay clipped on, you�re ready to go. Don�t forget to push your heat shield clip back onto the solenoid as well.
Congrats, you just replaced your starter.