Sweet smell from exhaust! ohnoessss
#51
 03-02-2011, 10:42 AM


Overlanding
Join Date: Oct 2009
Location: Cookeville Tennessee
Posts: 19
Likes: 0
Received 0 Likes
on
0 Posts
I think with your experience level, you should probably leave it alone. I don't mean this to sound rude, I'm also a newbie when it comes to engines. But i do know, that when I start 'tinkering' with things, sometimes it ends up worse than it originally was. It would be terrible to get some of the aluminum shavings down inside the cylinder.
Besides, when you get your engine put back together it's going to run 10-fold better than it did. You've refreshed the heads(valvework etc...) so compression should be spot on.
Did you replace the timing chain while you were at it?
Besides, when you get your engine put back together it's going to run 10-fold better than it did. You've refreshed the heads(valvework etc...) so compression should be spot on.
Did you replace the timing chain while you were at it?
#52
03-02-2011, 01:41 PM

Baja
Join Date: Mar 2010
Location: Pittsburgh PA suburbs.
Posts: 5,584
Likes: 0
Received 7 Likes
on
7 Posts
First off, I would never take a dremel to that port, I think you are inviting disaster to the party if you do.
Also, I noticed a few of your exhaust ports were terribly nasty with carbon build-up. I am no expert, but I would think that maybe that could/should be cleaned up while you have it open.
I appreciate the pictures, that is the first ones I have seen with the heads removed.
In the one with the valley pan gasket, looked like quite a few leaks there?
#53
03-02-2011, 05:30 PM

Yeah I agree with you Spot, might be better to leave things alone I was just getting people's opinions on porting. And you are right about a big improvement just from getting everything cleaned out and sealed up correctly. Compression will improve from the valve seats but I guess the piston rings are the most important when talking about compression. Not changing those out.
@Danny Yeah the heads are getting the treatment and will be beautifulllllll when they're back. I'll post pics when I get them back though.
@Danny Yeah the heads are getting the treatment and will be beautifulllllll when they're back. I'll post pics when I get them back though.
#54
03-05-2011, 09:02 PM
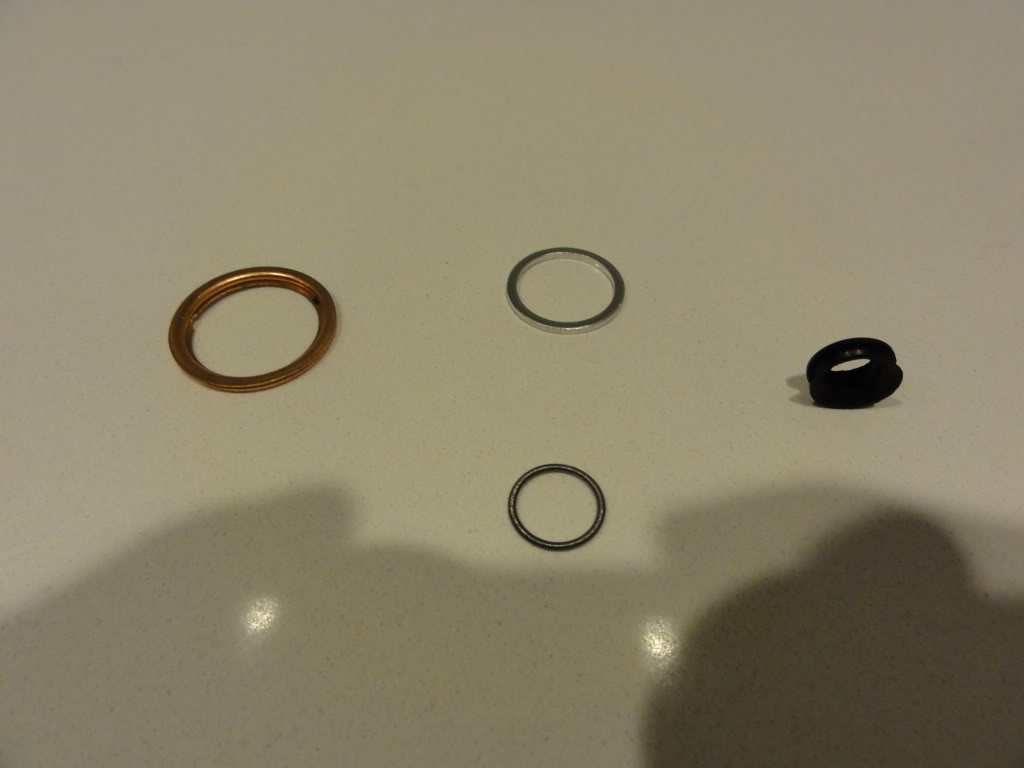
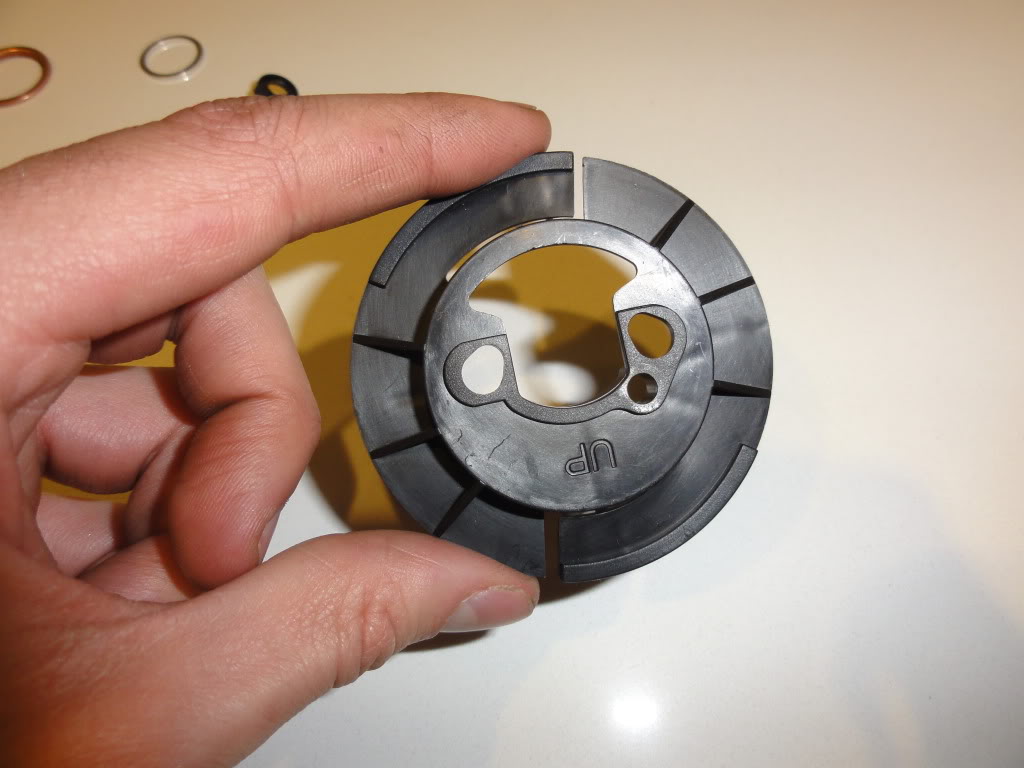
I received the package from Will a few weeks ago and I went through everything in the bag of gaskets today to make sure I knew where everything will go tomorrow when we put the heads on. I am having difficulty with the items below. If you guys could lend a hand and identify what goes where i'd really appreciate it!
1)
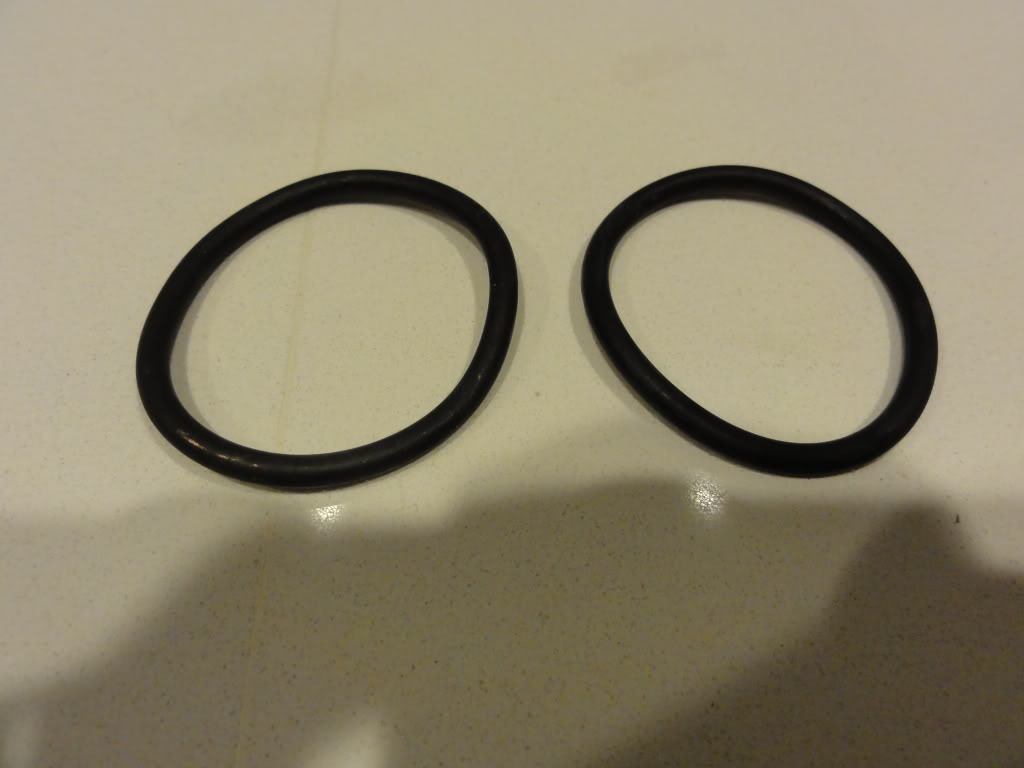
2)
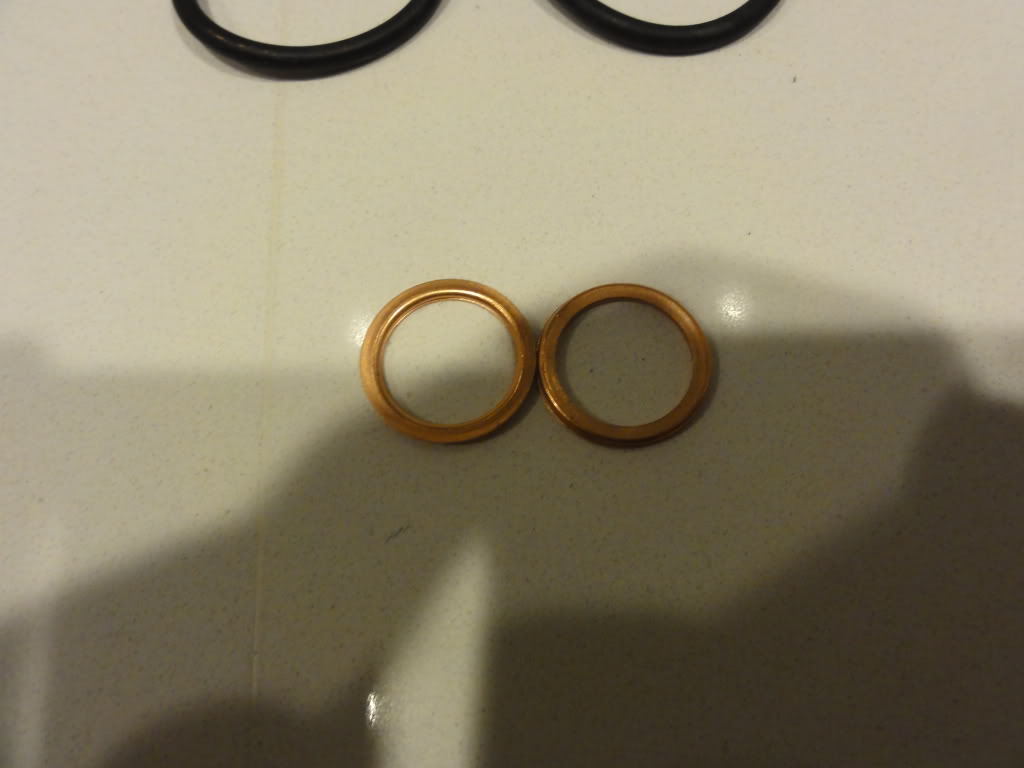
3)
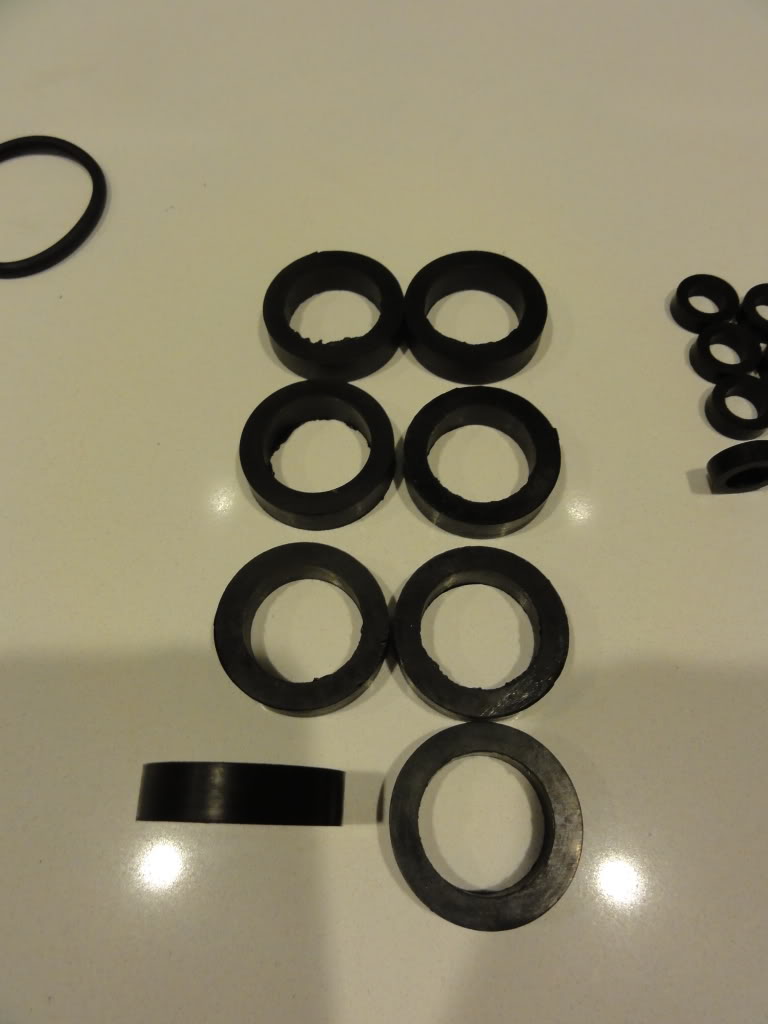
4)
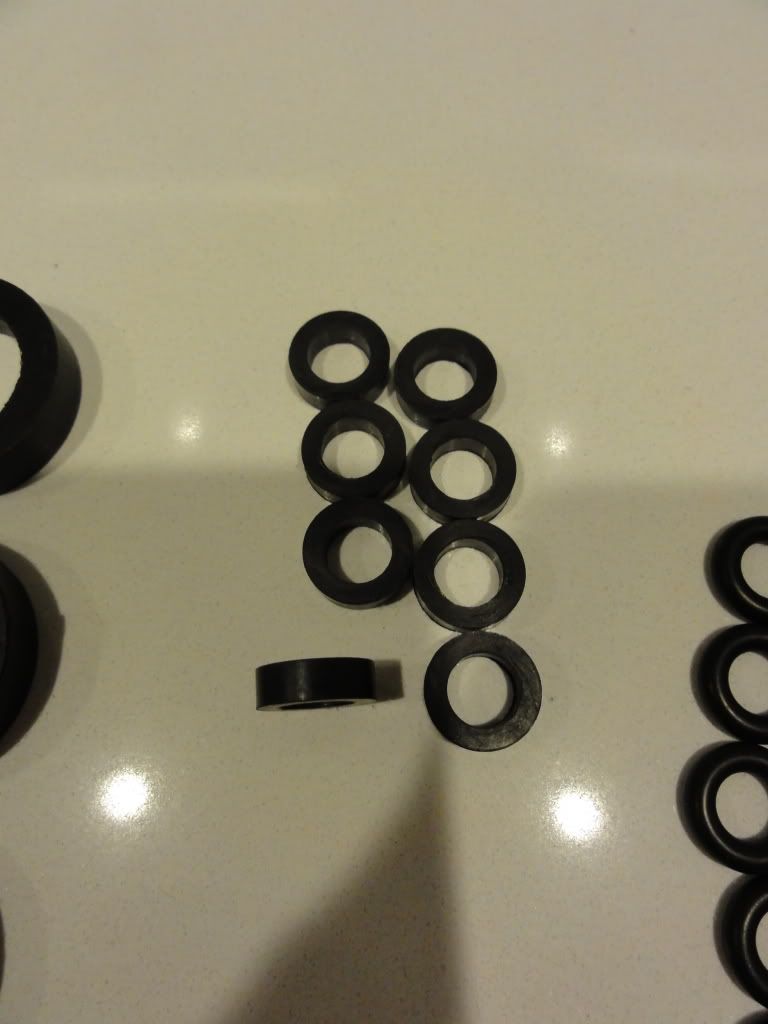
5)Notice the round edges
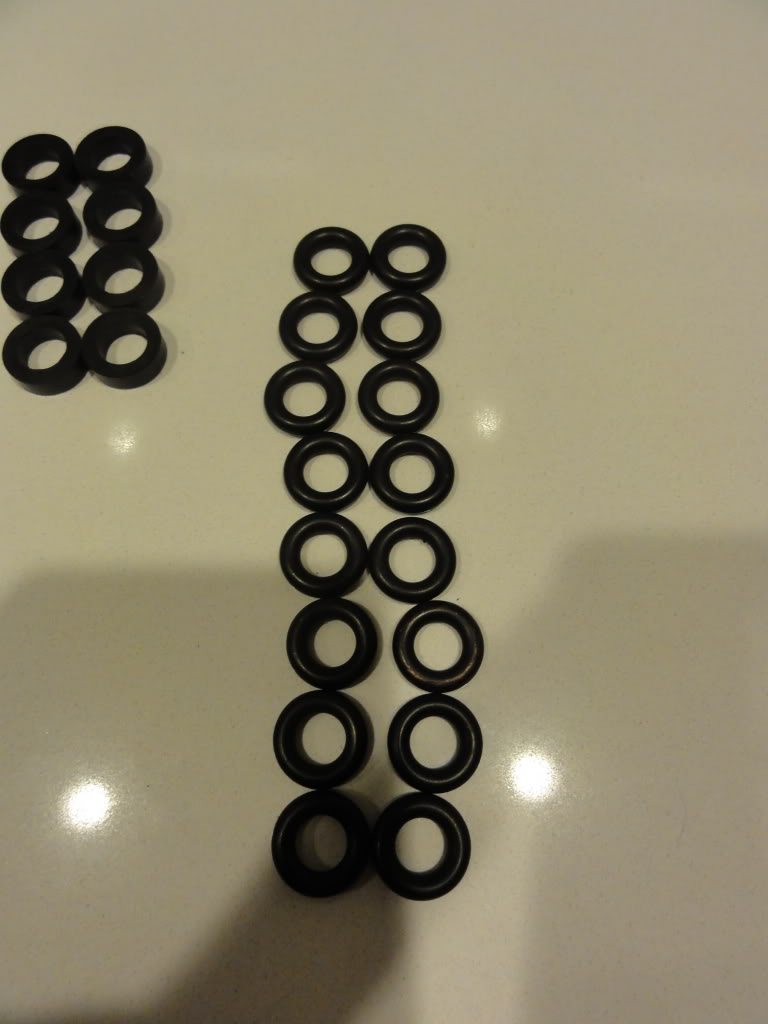
6)These 4 are all different, the one on the bottom is actually a spring
7)
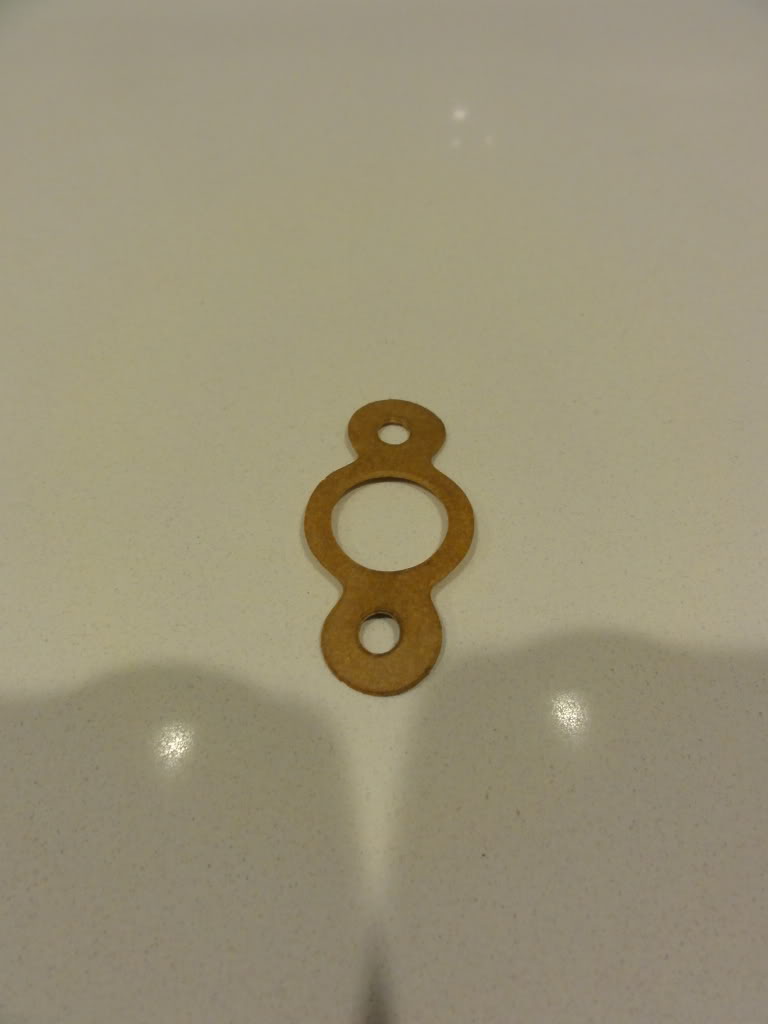
8)
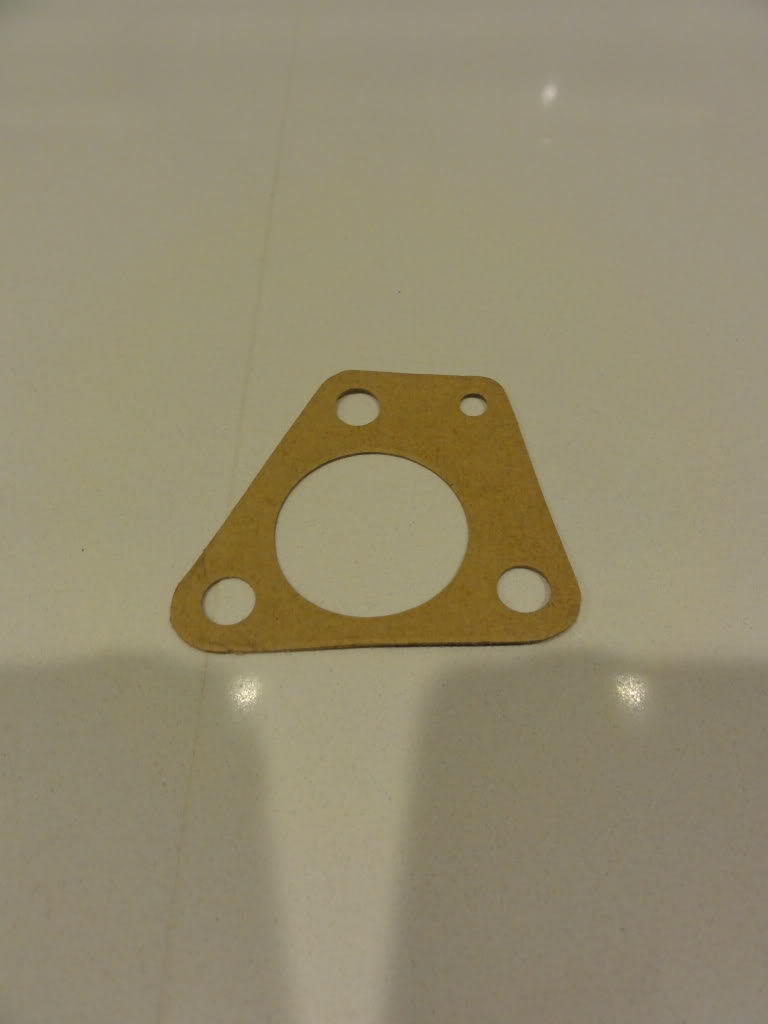
9)
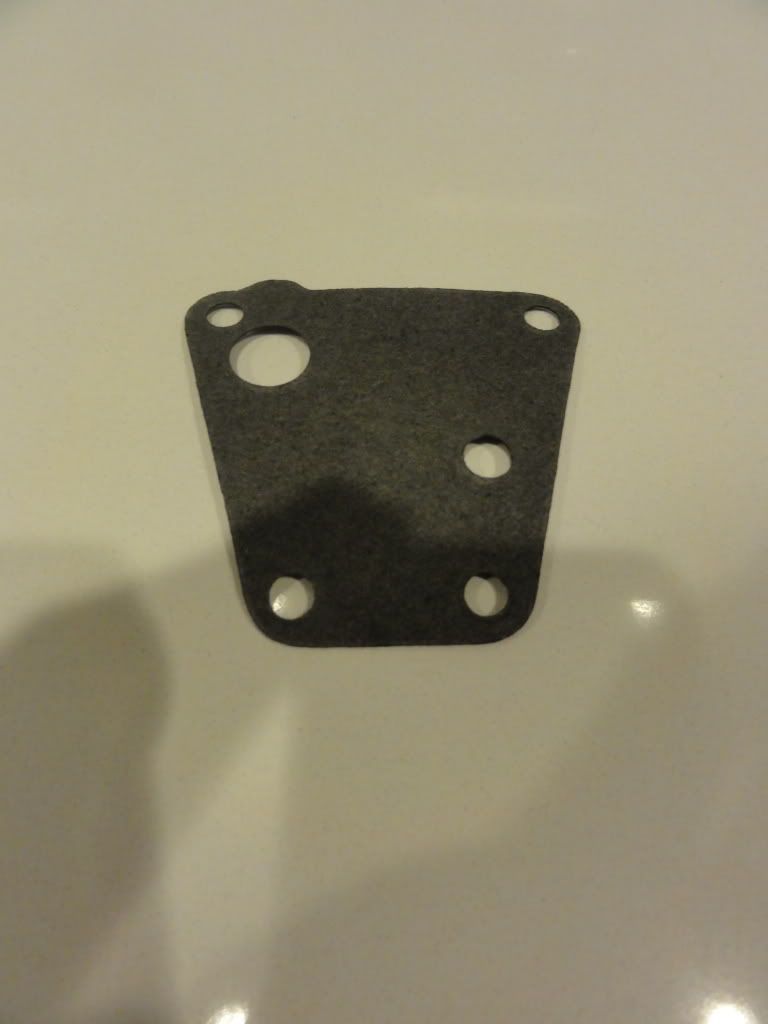
10)Not sure if this ring below was included in the package, it may have fallen in the box while I was working around the truck, look familiar?
1)
2)
3)
4)
5)Notice the round edges
6)These 4 are all different, the one on the bottom is actually a spring
7)
8)
9)
10)Not sure if this ring below was included in the package, it may have fallen in the box while I was working around the truck, look familiar?
#55
03-06-2011, 11:06 AM
Baja
Join Date: Mar 2010
Location: Pittsburgh PA suburbs.
Posts: 5,584
Likes: 0
Received 7 Likes
on
7 Posts
It is great that you are going thru it like you are. I believe it is imperative to have that level of understanding before you dive in to such a job. I myself have never torn into one to that detail yet. One piece of advice though is to have a digital camera on hand, take pics at every stage of disassembly to help you document orientation and such as you go. These can be a valuable reference later upon reassembly if questions do arise.
You make try looking at some of the webpages if the RAVE is not detailed enough. I have not really looked at it to see. I am sure some of the more seasoned vets on here cn help you with your questions as well. Good Luck.
You make try looking at some of the webpages if the RAVE is not detailed enough. I have not really looked at it to see. I am sure some of the more seasoned vets on here cn help you with your questions as well. Good Luck.
#56
03-06-2011, 11:19 AM

Pro Wrench
#57
03-07-2011, 01:43 PM
I gave Will a call and he let me know that I would not be using all the parts as the kit he sends is made to include parts for many of the Land Rover models. I will just inspect and replace as I go. Ordered the water pump gasket today, magnecore 7mm wires, rotor and cap. Now to figure out how to mark the distributor, wire sequence, and how to pull out the rotor without pulling everything else out... O_O
#59
03-07-2011, 04:25 PM


