
2002 Chawton White - A Buildish Thread


Well I guess now is a better time than ever to do a build thread. Here I will include nearly everything that has really been done to my Disco. Please feel free to post questions regarding different modifications if you'd like.
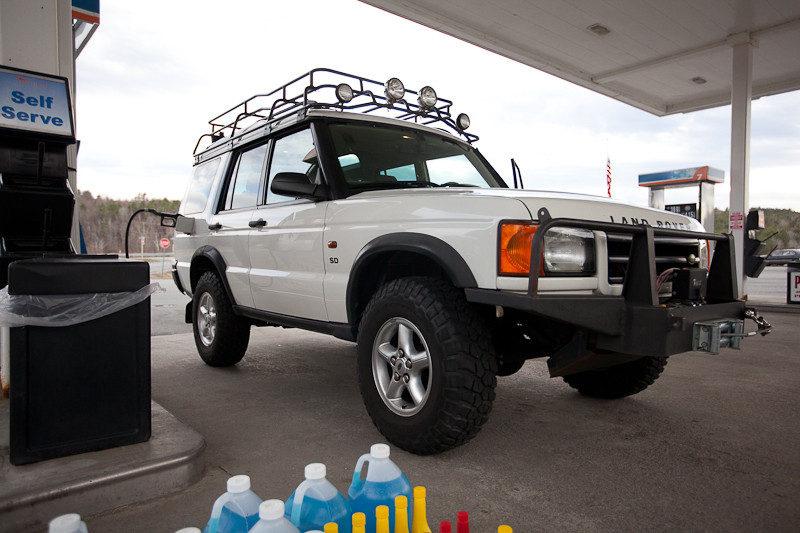
The day I picked it up, a little over a year ago.
First thing I did, clean the interior/exterior and install new e-brake and t-case boots.

Where to buy
Brakes were next, went with Proline for those.

After installing the Hella 4000s I went for a little wash.

Then installed a Heavy Duty Rovers North rear bumper, RNA196

Installed a Grom iPod connection
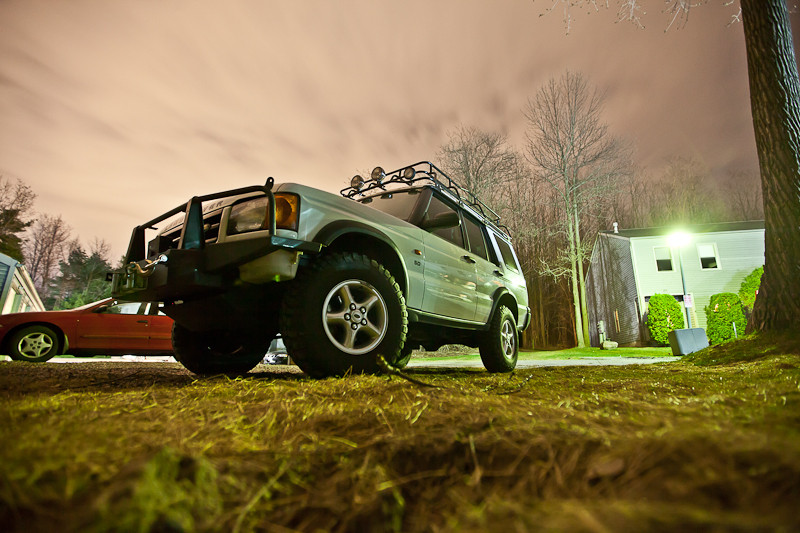
It was around then that I went with the ARB Winch Bumper 3432060
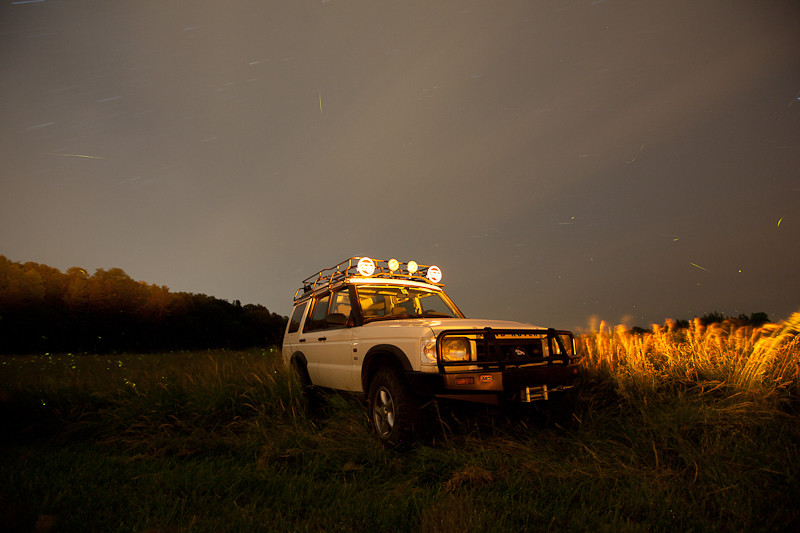
Then after a few months of owning it and driving on the tired OME setup, I switched to the Terrafirma HD 2" kit. I also added the Terrafirma steering stabilizer at that time.


After switching to the ARB bumper it was quite clear how ugly the 99-02 headlights were, as well as the glass breaking constantly with rocks. I got the headlights used for a great deal, and the guys at Roverlandparts.com - We know Land Rover Parts were gracious enough to send me 12" of each wiring harnesses for the headlight conversion. After a few nights in the shop I ended up with this.

I was not liking the ride height of the vehicle, so I put 1.75" spacers in the front, and 1.25" spacers on the rear. I also switched to the +3" Terrafirma Prosport shocks.

Then I went ahead and designed a tire cover, which I also made into a shirt.
KEEP CALM, ROVER ON, ROVER, KEEP CALM ROVER ON, TIRE COVER - Rovers North - Classic Land Rover Parts

In April I switched from the RNA196 rear HD bumper to a Greg Davis rear bumper, which I can provide contact info if you're interested.

It took a while, but I finally got around to installing the PEL500110 Land Rover Genuine 180 degree Thermostat. It wasn't hard, but it hurt!

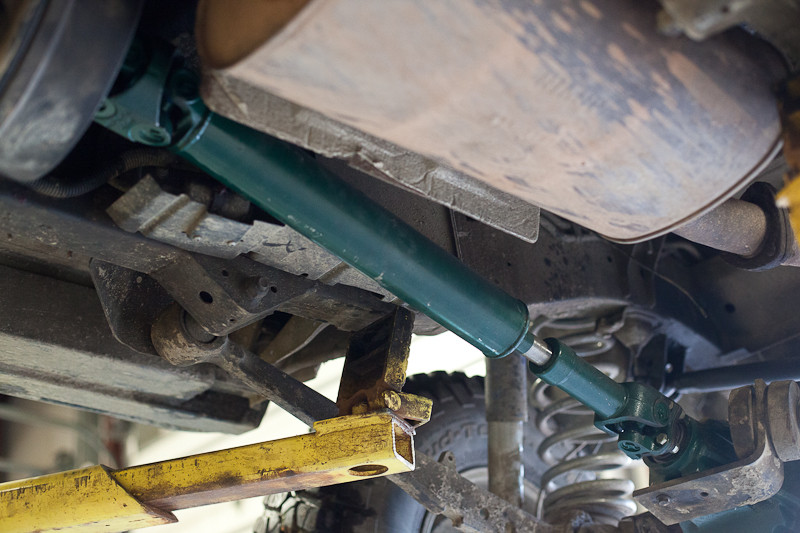
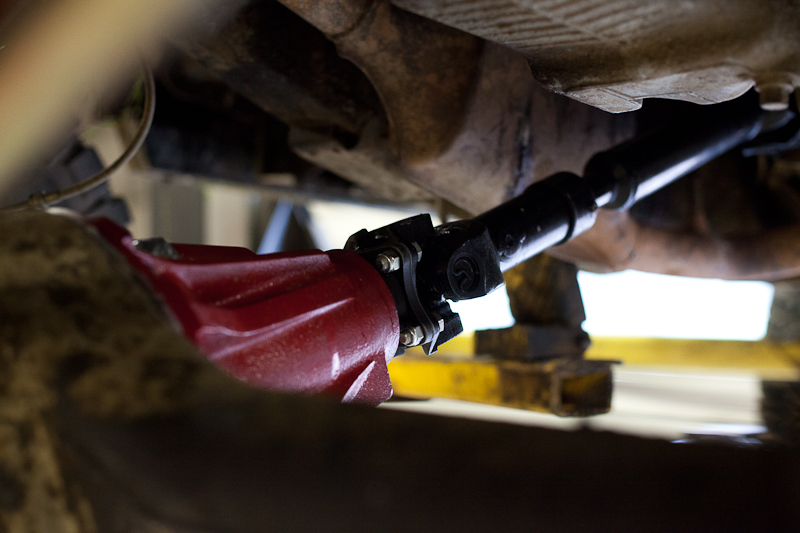
Somewhat recently I switched to the Terrafirma Adjustable Panhard rod, as well as the Rovers North heavy duty steering rod kit. They are both much stronger and better designed.

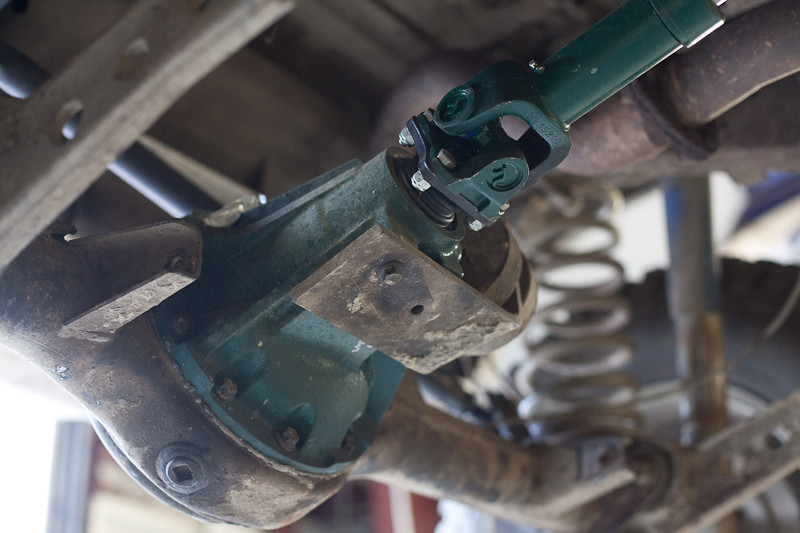
Even more recently I had my watts linkage converted to a panhard rod. This is one of my favorite additions to the vehicle. It has made it much flexier and it articulates much better, all while being the same or better on the road. You can find that kit here: Panhard Kit - RuffStuff Specialties
Select: Axle offset bracket, and Frame Outside Panhard.
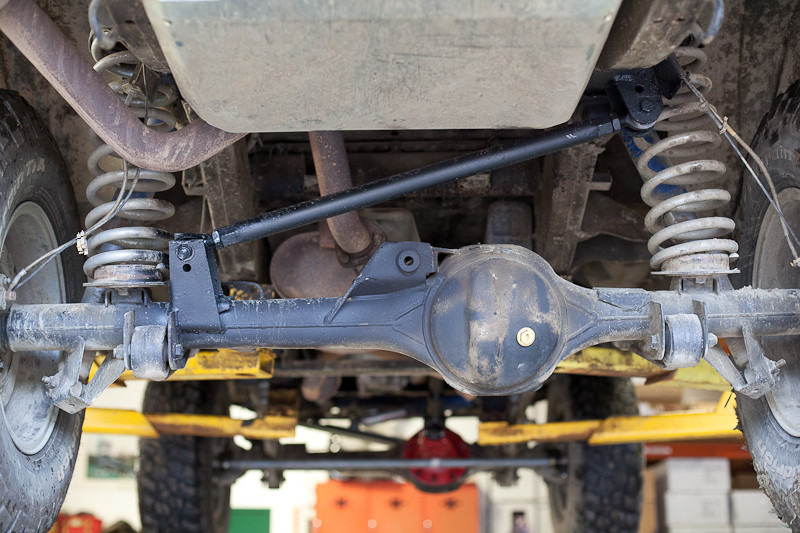
The next day I finalized my differential swap. I had new diffs built by Great Basin Rovers, and my front was built by Justin's diff guy at Lucky8. So right now I have a front red diff and rear green diff. They are both built with Ashcroft air lockers and GBR 4.11 gears. I also have the rear GBR double cardon driveshaft with U-joint conversion. I also use the Rovers North Heavy Duty front driveshaft RNA665HD
I have much more stuff than this on the Rover right now... and will add more when I have some time.
Cheers,
Zack
The day I picked it up, a little over a year ago.
First thing I did, clean the interior/exterior and install new e-brake and t-case boots.
Where to buy
Brakes were next, went with Proline for those.
After installing the Hella 4000s I went for a little wash.
Then installed a Heavy Duty Rovers North rear bumper, RNA196
Installed a Grom iPod connection
It was around then that I went with the ARB Winch Bumper 3432060
Then after a few months of owning it and driving on the tired OME setup, I switched to the Terrafirma HD 2" kit. I also added the Terrafirma steering stabilizer at that time.
After switching to the ARB bumper it was quite clear how ugly the 99-02 headlights were, as well as the glass breaking constantly with rocks. I got the headlights used for a great deal, and the guys at Roverlandparts.com - We know Land Rover Parts were gracious enough to send me 12" of each wiring harnesses for the headlight conversion. After a few nights in the shop I ended up with this.
I was not liking the ride height of the vehicle, so I put 1.75" spacers in the front, and 1.25" spacers on the rear. I also switched to the +3" Terrafirma Prosport shocks.
Then I went ahead and designed a tire cover, which I also made into a shirt.
KEEP CALM, ROVER ON, ROVER, KEEP CALM ROVER ON, TIRE COVER - Rovers North - Classic Land Rover Parts
In April I switched from the RNA196 rear HD bumper to a Greg Davis rear bumper, which I can provide contact info if you're interested.
It took a while, but I finally got around to installing the PEL500110 Land Rover Genuine 180 degree Thermostat. It wasn't hard, but it hurt!
Somewhat recently I switched to the Terrafirma Adjustable Panhard rod, as well as the Rovers North heavy duty steering rod kit. They are both much stronger and better designed.
Even more recently I had my watts linkage converted to a panhard rod. This is one of my favorite additions to the vehicle. It has made it much flexier and it articulates much better, all while being the same or better on the road. You can find that kit here: Panhard Kit - RuffStuff Specialties
Select: Axle offset bracket, and Frame Outside Panhard.
The next day I finalized my differential swap. I had new diffs built by Great Basin Rovers, and my front was built by Justin's diff guy at Lucky8. So right now I have a front red diff and rear green diff. They are both built with Ashcroft air lockers and GBR 4.11 gears. I also have the rear GBR double cardon driveshaft with U-joint conversion. I also use the Rovers North Heavy Duty front driveshaft RNA665HD
I have much more stuff than this on the Rover right now... and will add more when I have some time.
Cheers,
Zack


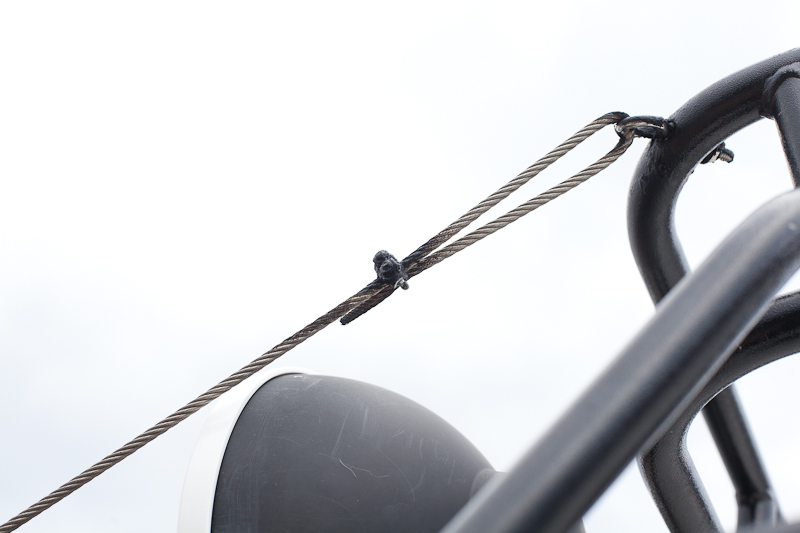
Limb Risers
The limb risers were purchased from Kurt Watson of Bushcables Uk . Kurt is a great guy and is very helpful, his product is on point.
At this point I already had my ARB bumper and Voyager Off Road safari rack. I purchased a set of our stainless steel limb riser brackets for the ARB bar, and drilled holes to bolt eyelets to the Voyager rack. I had Kurt send me a set that were made to the correct length for the application. I recently switched to the camel trophy style levers for ease of engine bay access.


Three Wheeling
Joined: Aug 2013
Posts: 91
Likes: 0
How difficult was your headlight conversion? I seem to remember there being a bit of cutting involved, but it seems kinda high stakes--better get it right because when you're done your old lights certainly won't be going back in.

The headlamp conversion isn't too bad but yes, once you cut out the frame for the old lights, there's no turning back.
And Zack! Looks great man. Where did you mount the air compressor for the locks? Which one did you use? This is hilarious because I'm literally waiting on one last package to arrive today before I did my own chawton white buildish thread! I'm done with mine! (Not so much an off road beast though))
And Zack! Looks great man. Where did you mount the air compressor for the locks? Which one did you use? This is hilarious because I'm literally waiting on one last package to arrive today before I did my own chawton white buildish thread! I'm done with mine! (Not so much an off road beast though))

