
CB and Antenna Help Needed


Winching
Joined: Sep 2008
Posts: 589
Likes: 4
From: Portland, OR
Here's the PDF for the CB install. I did a lot of research and decided to go with a Wilson antenna instead of a Firestik and have NOT been disappointed!
I'll upload my "shopping list" and source I bought from in a few moments as well.
I'll upload my "shopping list" and source I bought from in a few moments as well.
Winching
Joined: Sep 2008
Posts: 589
Likes: 4
From: Portland, OR
This was my parts list and the best deal I could find at the time to find everything shipped from one vendor. I have no idea whether or not they're still the best source, or even if they're still in business!
Winching
Joined: Sep 2008
Posts: 589
Likes: 4
From: Portland, OR
After a great deal of research for a compact and easy-to-use CB radio, I kept getting pointed to the Uniden PRO 510xl. I bought mine on eBay back then for about $40 or so, but now you can
with free 2-day shipping if you're a Prime member! Also, this little radio has a 4.5 star rating with over 50 reviews...
I mounted mine under the steering wheel and to the right- I didn't like the overhead options and ultimately wound up putting gauges for water temp and oil pressure overhead anyway... I'm fairly tall at 6'1", and it does not interfere with my leg/knee while driving. I can upload pics if anyone wants to see the mount.
I mounted mine under the steering wheel and to the right- I didn't like the overhead options and ultimately wound up putting gauges for water temp and oil pressure overhead anyway... I'm fairly tall at 6'1", and it does not interfere with my leg/knee while driving. I can upload pics if anyone wants to see the mount.

Mudding
Joined: Jun 2011
Posts: 114
Likes: 0
From: Canterbury, CT
After a great deal of research for a compact and easy-to-use CB radio, I kept getting pointed to the Uniden PRO 510xl. I bought mine on eBay back then for about $40 or so, but now you can get it on Amazon for $32.29 with free 2-day shipping if you're a Prime member! Also, this little radio has a 4.5 star rating with over 50 reviews...
I mounted mine under the steering wheel and to the right- I didn't like the overhead options and ultimately wound up putting gauges for water temp and oil pressure overhead anyway... I'm fairly tall at 6'1", and it does not interfere with my leg/knee while driving. I can upload pics if anyone wants to see the mount.
I mounted mine under the steering wheel and to the right- I didn't like the overhead options and ultimately wound up putting gauges for water temp and oil pressure overhead anyway... I'm fairly tall at 6'1", and it does not interfere with my leg/knee while driving. I can upload pics if anyone wants to see the mount.

Winching
Joined: Sep 2008
Posts: 589
Likes: 4
From: Portland, OR
I can get a few pics in a bit, but I don't have much to add in the way of install notes since it was about 4 years ago when I did this project! A fuse tap for power, ground to the chassis of the dash where the flip-down part bolts on, and you're good to go! I ran my coaxial cable under the carpet and then up the driver's side of the center console. Pretty simple install, I'll grab some pics.
Winching
Joined: Sep 2008
Posts: 589
Likes: 4
From: Portland, OR
OK, here are some pics...
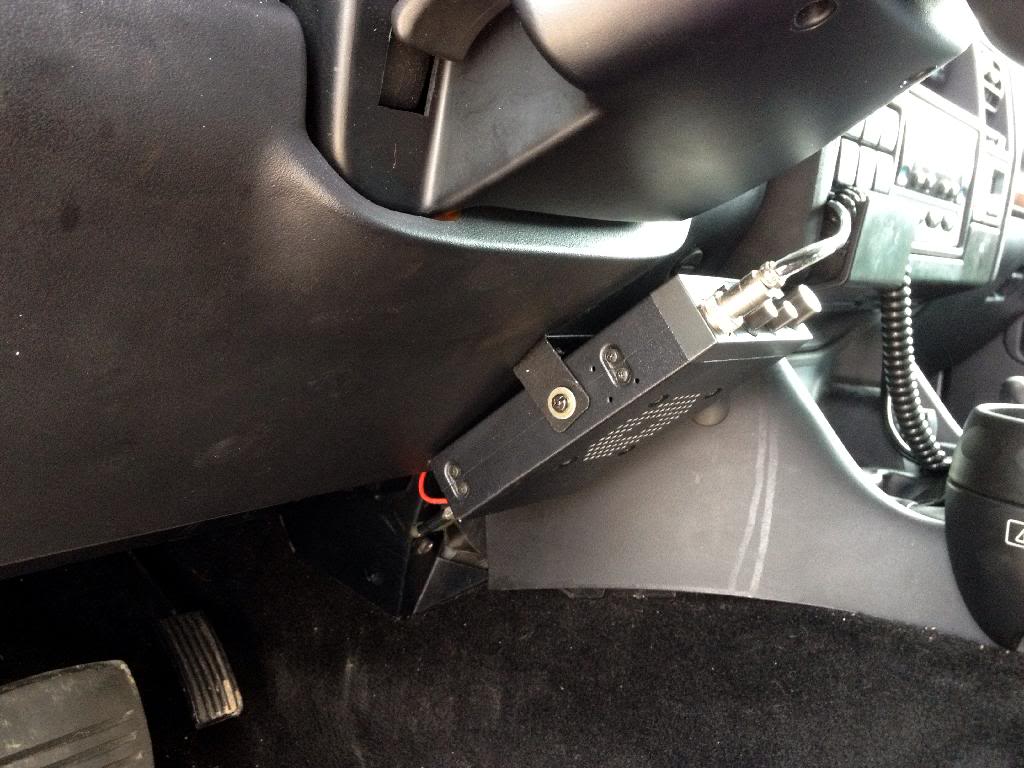
This is just a side view of the mount:
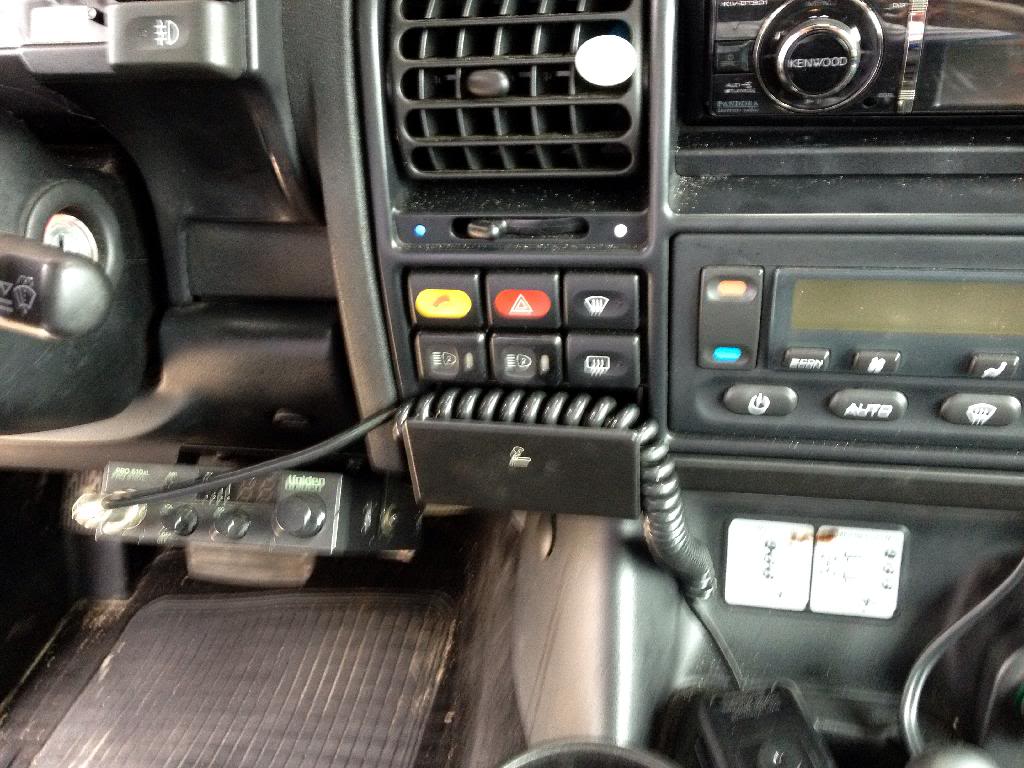
Here is how it looks from the front, I was leaning over the center console (from the driver's seat) to take the pic:
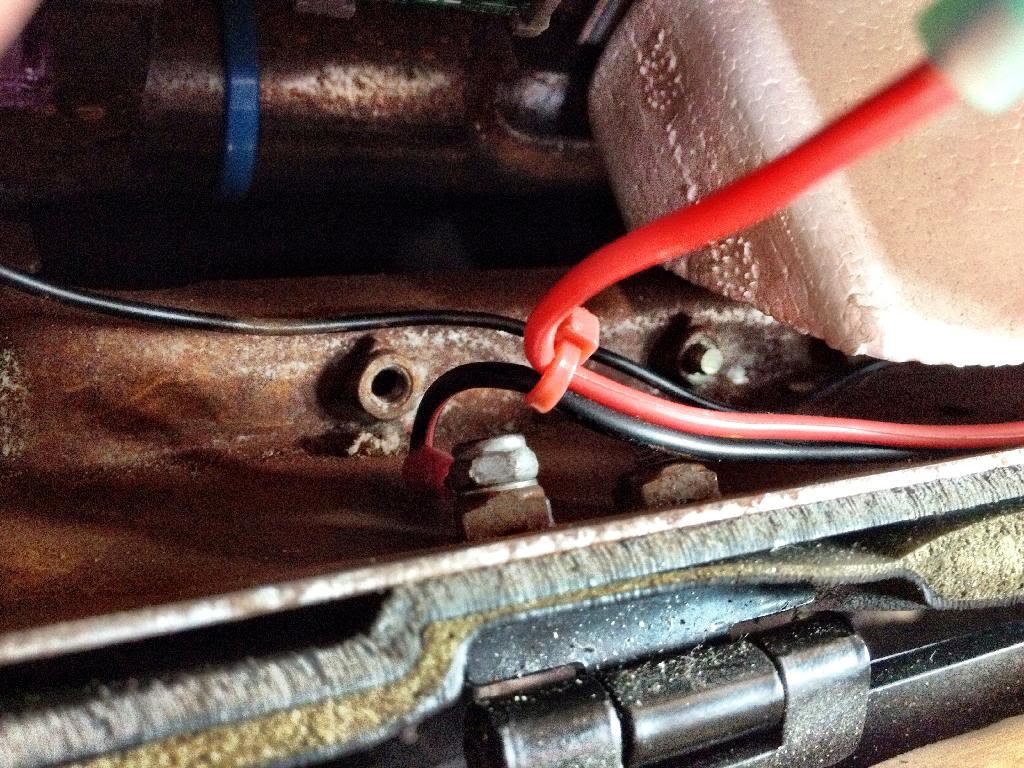
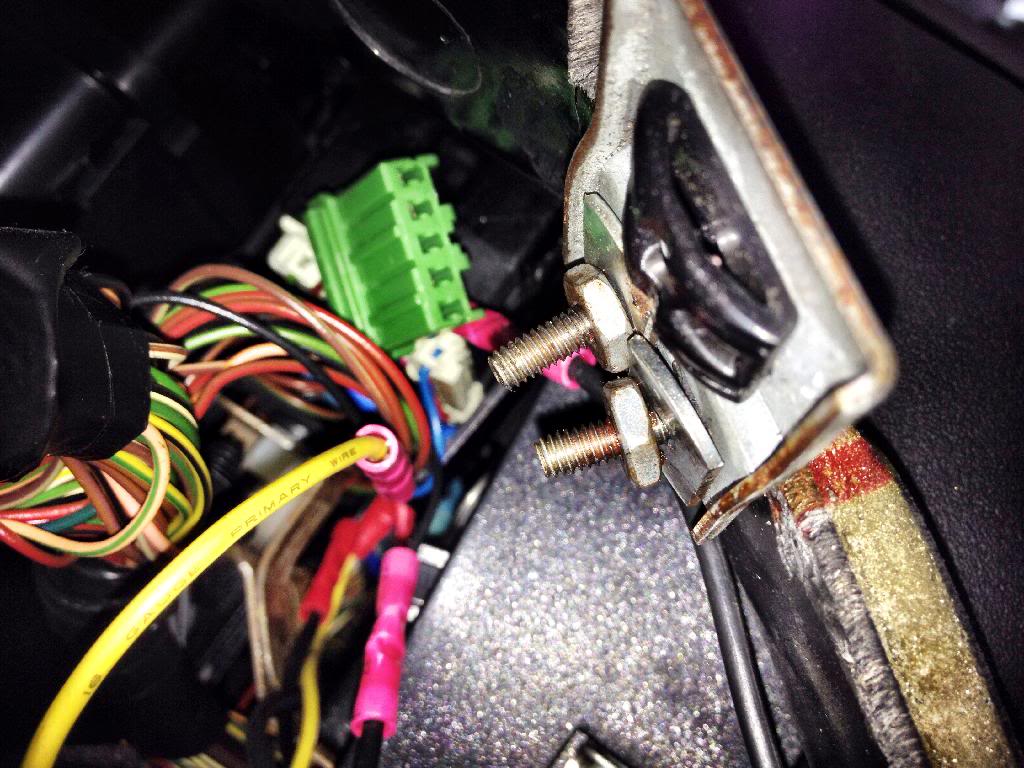
Here is my ground- to the left-most stud where the hinge for the access-panel mounts to the dash chassis:
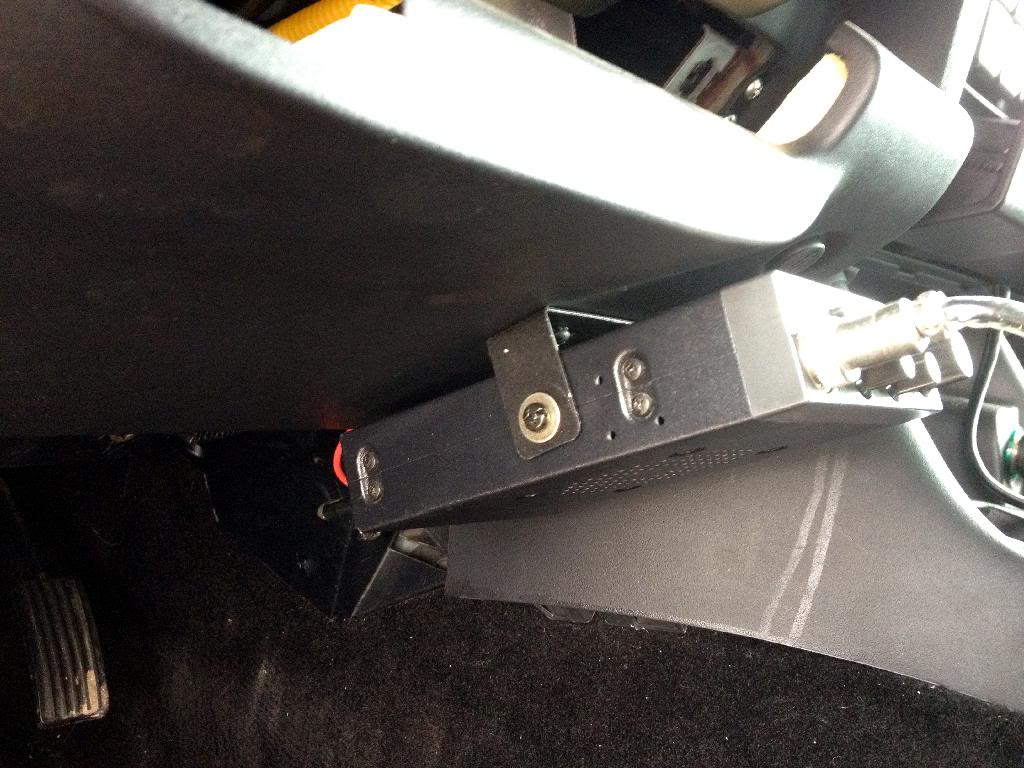
Another pic of the mount with the access-panel slightly opened. The power is supplied from a fuse-tap in the panel and the ground you see above. The wires for this run neatly under the styrofoam and over to the edge to discreetly power the unit. The coaxial cable is run from the back door, through the concertina boot, under the carpet, and then up the center console to the plug on the back of the CB radio unit. Very clean and discreet, and easy to disconnect and remove the unit if you wish to do so without leaving any unsightly wires dangling about.
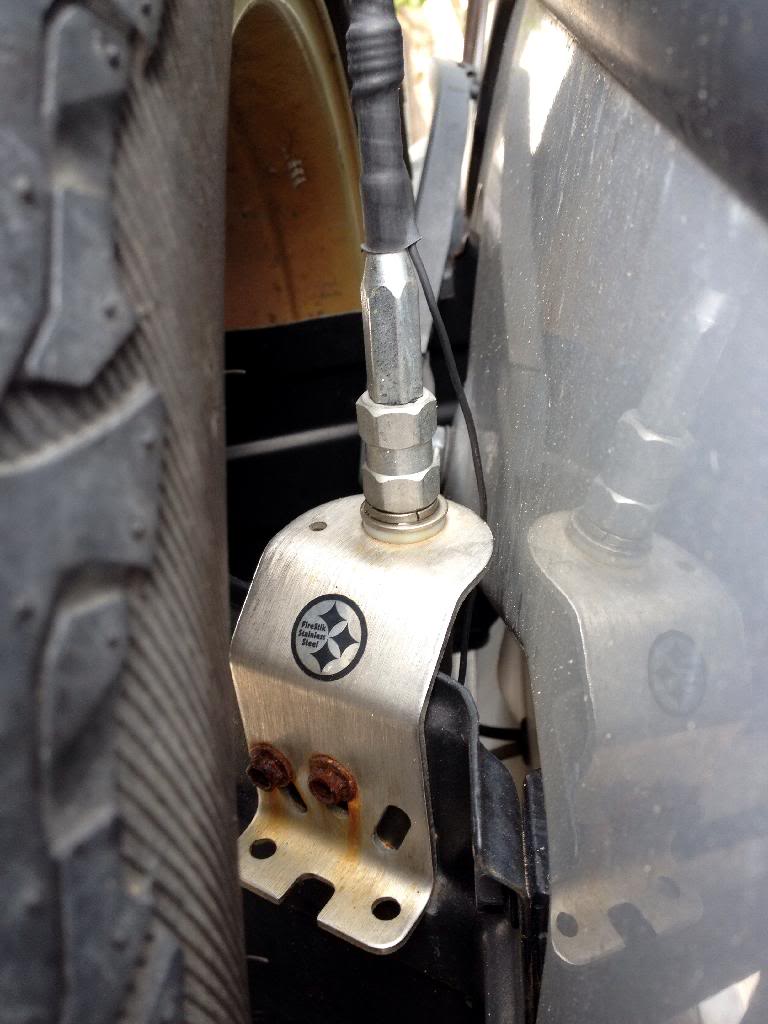
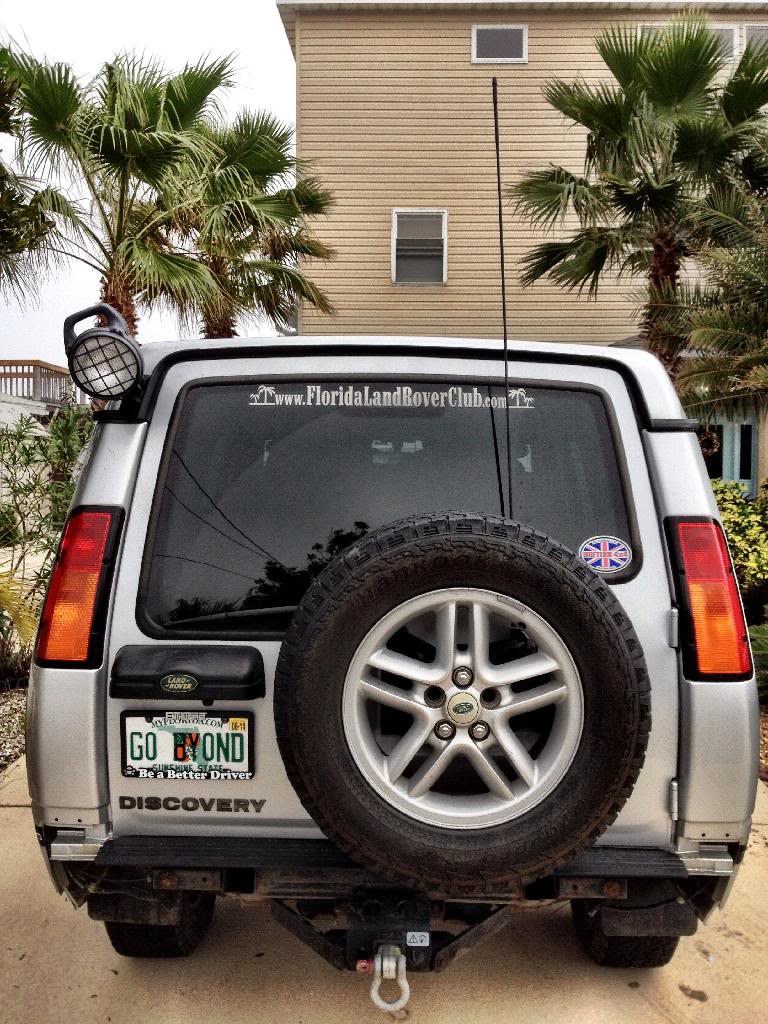
This is the antenna mount and a pic of the antenna on the back of the truck. I think they mounted to the left-most side in the write-up, I chose the right side. I do not remember why I chose to do it that way. I see that my mounting bolts are rusting, I'll replace them with SS nuts & bolts soon.
Hope some of you find the previously posted write-up, parts-list, and these pics & notes helpful.
This is just a side view of the mount:
Here is how it looks from the front, I was leaning over the center console (from the driver's seat) to take the pic:
Here is my ground- to the left-most stud where the hinge for the access-panel mounts to the dash chassis:
Another pic of the mount with the access-panel slightly opened. The power is supplied from a fuse-tap in the panel and the ground you see above. The wires for this run neatly under the styrofoam and over to the edge to discreetly power the unit. The coaxial cable is run from the back door, through the concertina boot, under the carpet, and then up the center console to the plug on the back of the CB radio unit. Very clean and discreet, and easy to disconnect and remove the unit if you wish to do so without leaving any unsightly wires dangling about.
This is the antenna mount and a pic of the antenna on the back of the truck. I think they mounted to the left-most side in the write-up, I chose the right side. I do not remember why I chose to do it that way. I see that my mounting bolts are rusting, I'll replace them with SS nuts & bolts soon.
Hope some of you find the previously posted write-up, parts-list, and these pics & notes helpful.
Winching
Joined: Sep 2008
Posts: 589
Likes: 4
From: Portland, OR
As an aside, after having the CB radio mounted like that for 2+ years, I did have an issue with the mounting bracket breaking off of the dash. You see, they're just plastic-welded on there and I guess the extra weight put too much stress on it. I fixed it by simply putting 2 small nuts & bolts with washers through the dash & bracket to make it more robust. I had to drill the dash, but with the access panel closed it's a completely invisible repair.
Pics:
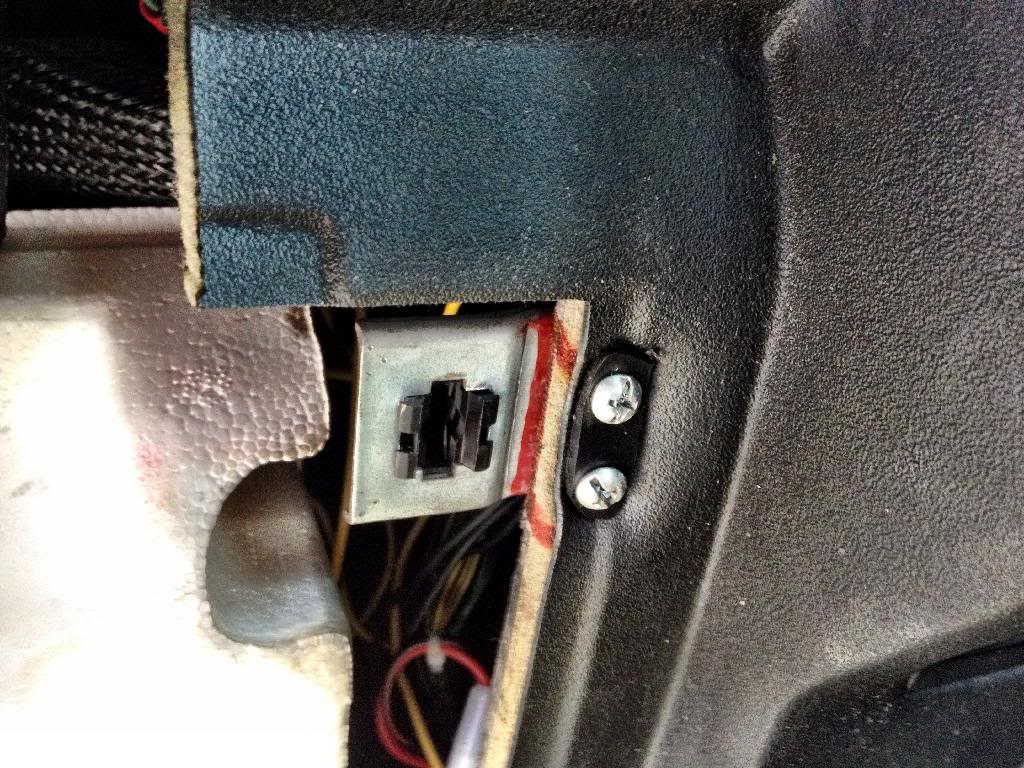
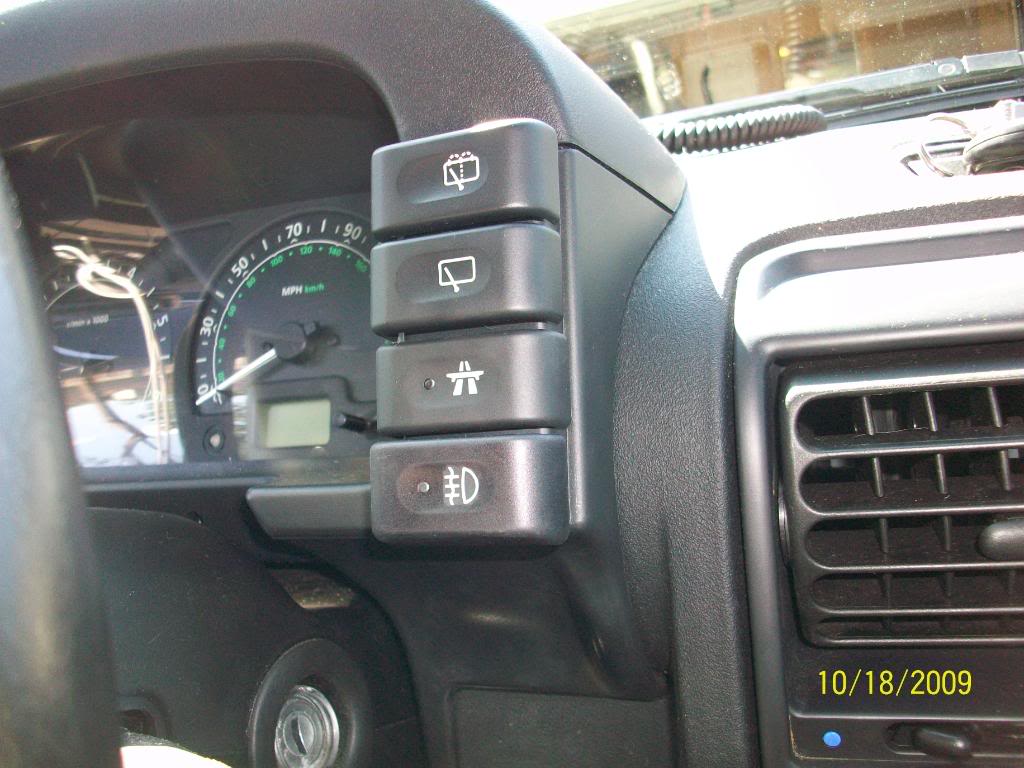
(Don't mind the wires with butt-connectors- I know it's not the "best" way to do it but that's just to connect to the switches for the overhead and bumper-mounted lights using the factory aux lights buttons from the six-pack of a '95 RRC! You can see how that turned out in the 2nd pic of my last post in this thread... They're protected by an inline fuse AND a proper Hella relay under the hood, so these connections are fine as the wires bear no significant load.)
Pics:
(Don't mind the wires with butt-connectors- I know it's not the "best" way to do it but that's just to connect to the switches for the overhead and bumper-mounted lights using the factory aux lights buttons from the six-pack of a '95 RRC! You can see how that turned out in the 2nd pic of my last post in this thread... They're protected by an inline fuse AND a proper Hella relay under the hood, so these connections are fine as the wires bear no significant load.)
Winching
Joined: Sep 2008
Posts: 589
Likes: 4
From: Portland, OR
That was fairly simple. It's a Hella Matador worklamp and I used a "latching" cruise-control switch on the lower-most right binnacle spot. I did snap off the plastic cover and replace it with one that is for the rear factory fogs- I couldn't just use a factory rear fog-light switch because they are "momentary" switches and I needed a manual on/off type of switch. My goal has been to keep as much of a "factory" look as possible with all of my modifications, especially on the inside of the truck.
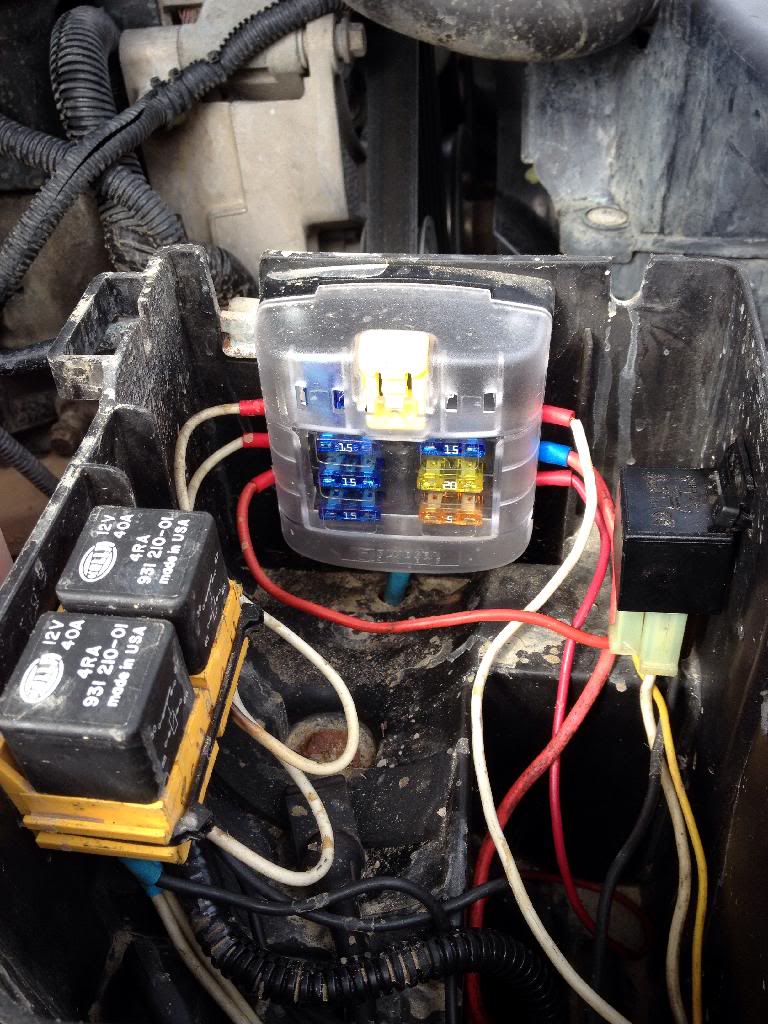
It's wired constant-hot (all my aux lamps are, as well as an extra set of 3 12V accessory sockets that replaced the ashtray on the back of the center console) and through a relay under the hood. I also used a West Marine fuse panel under the hood for all of the extra things I run straight from the battery. All the wiring is ran under the headliner. The most gruesome part was drilling holes in the roof to mount it, but that turned out well and I painted all the mounting hardware black and then sealed everything on both sides with black silicone. It has never leaked and the paint on the mount and all hardware has held up well.
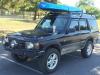
(Pardon the mess, went wheeling last weekend in some deep mud & water and haven't had a chance to do any more than pressure-wash the outside of it!)

I don't think I have any pics of the work-lamp installation, but there are several of what I did to fabricate and install the custom overhead light-bar in this photobucket album.
It's wired constant-hot (all my aux lamps are, as well as an extra set of 3 12V accessory sockets that replaced the ashtray on the back of the center console) and through a relay under the hood. I also used a West Marine fuse panel under the hood for all of the extra things I run straight from the battery. All the wiring is ran under the headliner. The most gruesome part was drilling holes in the roof to mount it, but that turned out well and I painted all the mounting hardware black and then sealed everything on both sides with black silicone. It has never leaked and the paint on the mount and all hardware has held up well.
(Pardon the mess, went wheeling last weekend in some deep mud & water and haven't had a chance to do any more than pressure-wash the outside of it!)
I don't think I have any pics of the work-lamp installation, but there are several of what I did to fabricate and install the custom overhead light-bar in this photobucket album.