Engine Options


Thread Starter
|
Rock Crawling
Joined: Nov 2014
Posts: 371
Likes: 12
From: Eugene, OR
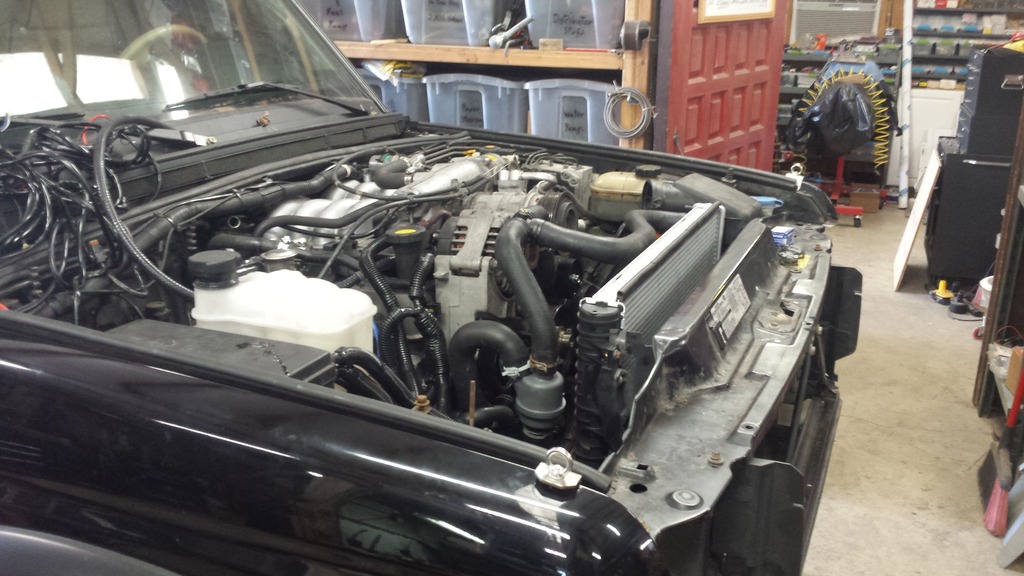
It was a busy Saturday, but the engine is out.
I do have a question for those o you that have replaced the loom covering the engine wiring. What sizes did you have to use? I don't have the Rover with me so I can't measure what sizes are needed. Thanks
I do have a question for those o you that have replaced the loom covering the engine wiring. What sizes did you have to use? I don't have the Rover with me so I can't measure what sizes are needed. Thanks
Thread Starter
|
Rock Crawling
Joined: Nov 2014
Posts: 371
Likes: 12
From: Eugene, OR
Still moving forward on the engine, but no pictures. I keep telling myself to make sure to get pictures the next time I'm at the shop, and never do. Either way the engine will be going back in this Saturday with hopes of starting it up on the 15th.
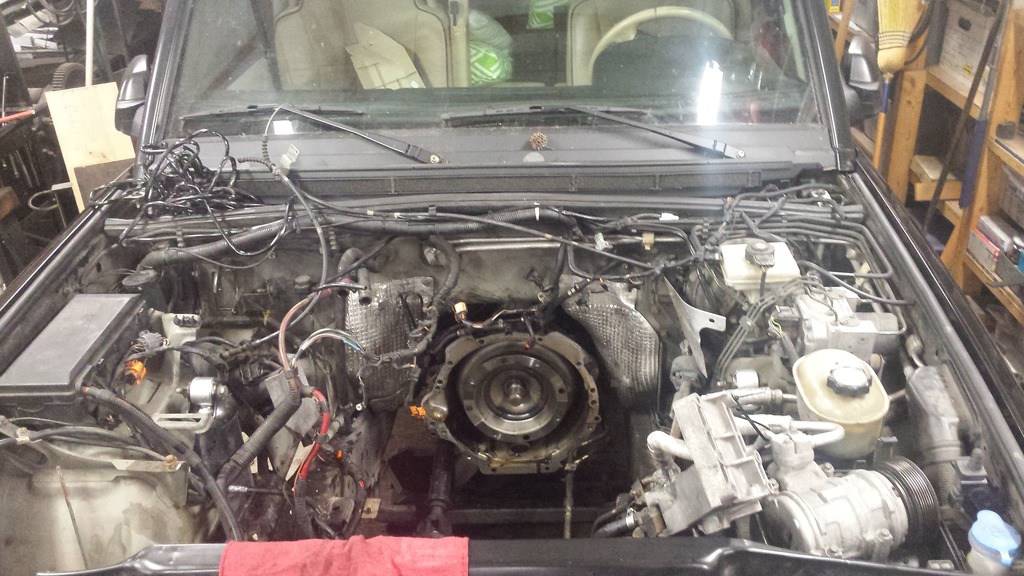
This past weekend was spent putting the rest of the engine together, and re-looming the engine bay. We also took care of a couple couple rust spots, and replaced the rusted shock towers.
This past weekend was spent putting the rest of the engine together, and re-looming the engine bay. We also took care of a couple couple rust spots, and replaced the rusted shock towers.
Last edited by Mstudt; Apr 6, 2017 at 03:17 PM.


Baja
Joined: Aug 2013
Posts: 5,845
Likes: 368
From: Near Bordeaux, France
Still moving forward on the engine, but no pictures. I keep telling myself to make sure to get pictures the next time I'm at the shop, and never do. Either way the engine will be going back in this Saturday with hopes of starting it up on the 15th.
This past weekend was spent putting the rest of the engine together, and re-looming the engine bay. We also took care of a couple couple rest spots, and replaced the rusted shock towers.
This past weekend was spent putting the rest of the engine together, and re-looming the engine bay. We also took care of a couple couple rest spots, and replaced the rusted shock towers.
Thread Starter
|
Rock Crawling
Joined: Nov 2014
Posts: 371
Likes: 12
From: Eugene, OR
We made some good progress this weekend on the engine. We were a bit nervous about putting the engine back in after reading several posts. Every one of those posts stated "getting the engine out was the easy part". I'm not sure what those people did, but that was the furthest from the truth. Within 30-45 minutes we had the engine on the cherry picker, and completely bolted to the bell housing. It took us about another 20 minutes to bolt up the torque converter.
Progress was stopped once we got to installing the fuel rail. After looking over the rail we noticed several cracked o-rings, and decided to order an o-ring kit for all the injectors. We should have the kit by Wednesday, and then back to the shop Thursday for the final push through the long weekend. We're hoping to fire it up over Easter weekend.
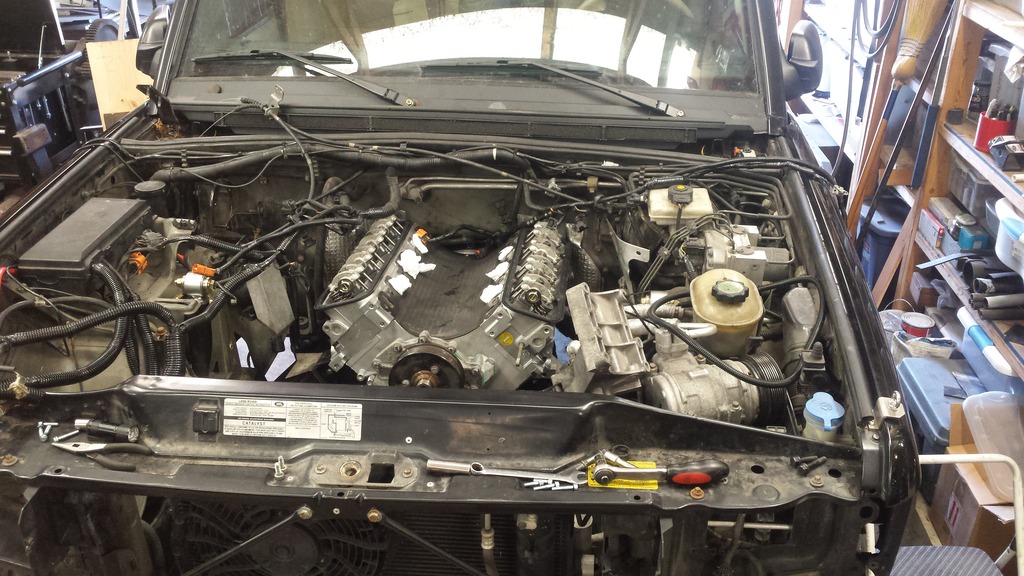
Progress was stopped once we got to installing the fuel rail. After looking over the rail we noticed several cracked o-rings, and decided to order an o-ring kit for all the injectors. We should have the kit by Wednesday, and then back to the shop Thursday for the final push through the long weekend. We're hoping to fire it up over Easter weekend.

Thread Starter
|
Rock Crawling
Joined: Nov 2014
Posts: 371
Likes: 12
From: Eugene, OR
A company called Bushcables out of the UK. I think you can find them on eBay as well.

Camel Trophy
Joined: Oct 2016
Posts: 4,869
Likes: 1,412
From: Michigan
Looks like it's coming along nicely. Me, I'd use the product I've link below on the valley pan gasket. In my 39 years as a mechanic...it is by far, leaps and bounds, the best product I've ever used...especially on aluminum engines.
https://www.permatex.com/products/ga...asket-maker-2/
You don't have to go crazy applying sealant, just a nice thin coat will do the job.
Again, great job and hope she purrs come Sunday.
Brian.
https://www.permatex.com/products/ga...asket-maker-2/
You don't have to go crazy applying sealant, just a nice thin coat will do the job.
Again, great job and hope she purrs come Sunday.
Brian.
Thread Starter
|
Rock Crawling
Joined: Nov 2014
Posts: 371
Likes: 12
From: Eugene, OR
We're getting even closer after this past weekend. We have just about everything on the engine now, and we don't have any leftover parts. We're aiming to start the new engine this Saturday. I still need to choose which oil I want to run, priming, and pickup a couple more parts.