
Finished the auxiliary light wiring
#1
 05-22-2016, 10:20 AM


Finally got around to finishing the wiring of the bumper mounted auxiliary lights.
I thought it be might be helpful for others to post some pictures and description, in case anyone else wants to do this in the future.
First, I have to thank forum member abran. He supplied me with the exact parts I needed at a ridiculously reasonable cost.
I bought a cruise control switch, with an aux light cover swapped on. Abran sent me the switch, cover, and most importantly, enough of the four wire connections to get me where I could easily splice it into the Rover.
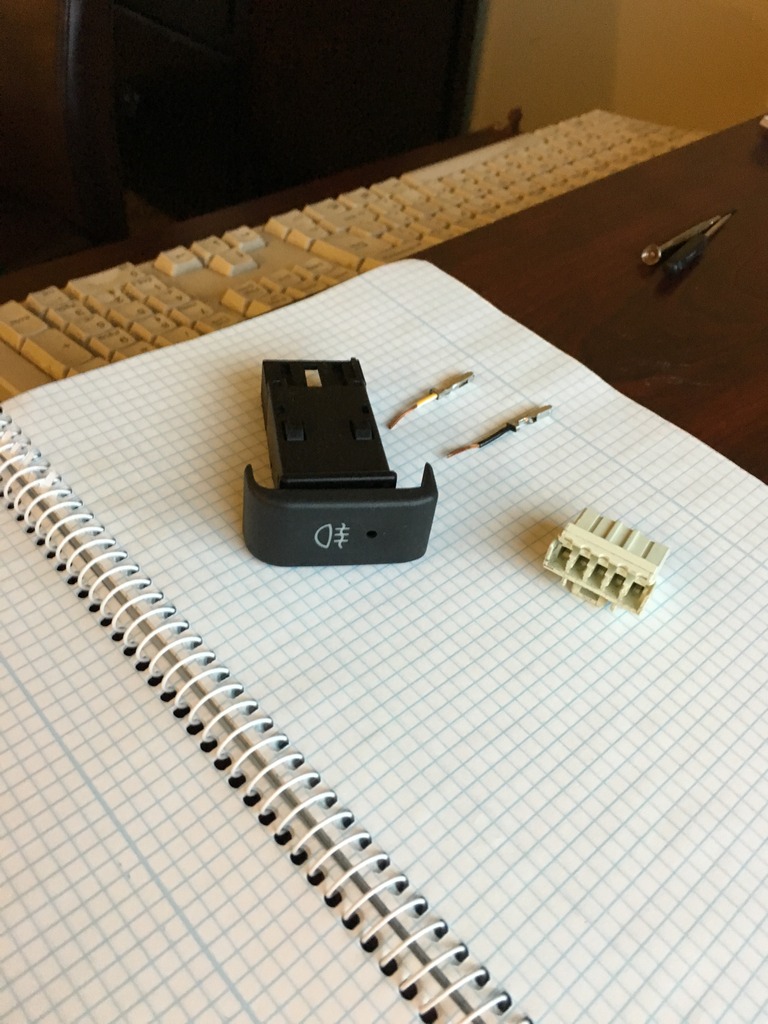
Switch, connector, and an inch or so of each wire.
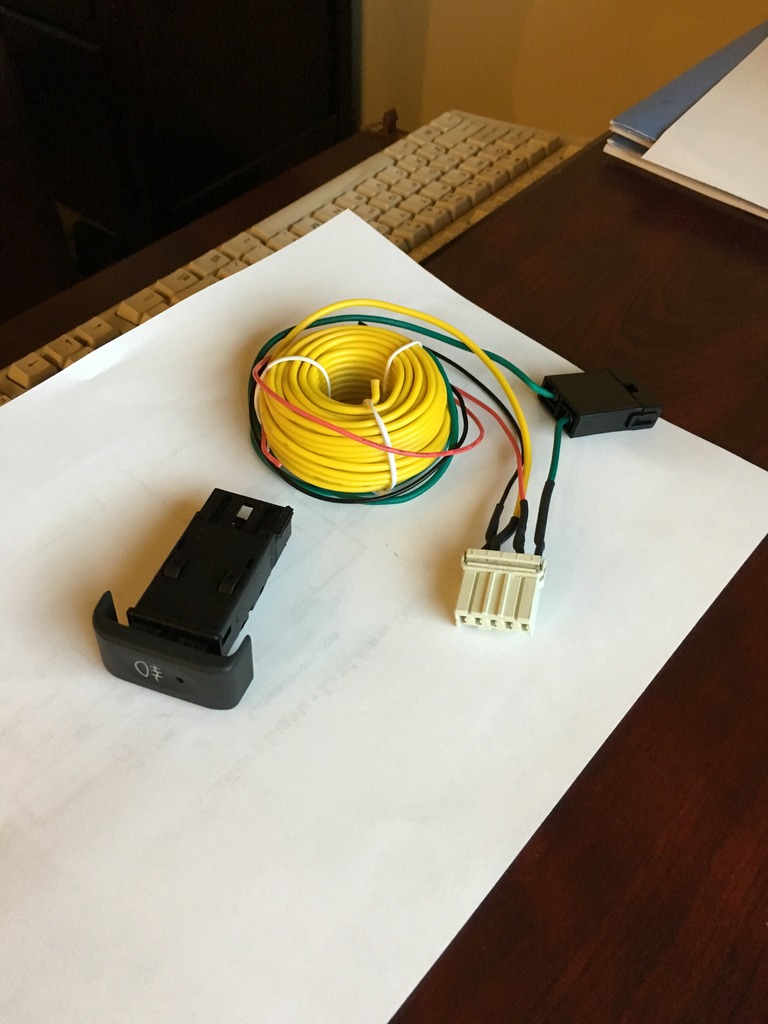
The switch, with the wiring soldered and heat shrunk. I used a 2 amp fuse link for the control tap to the switch.
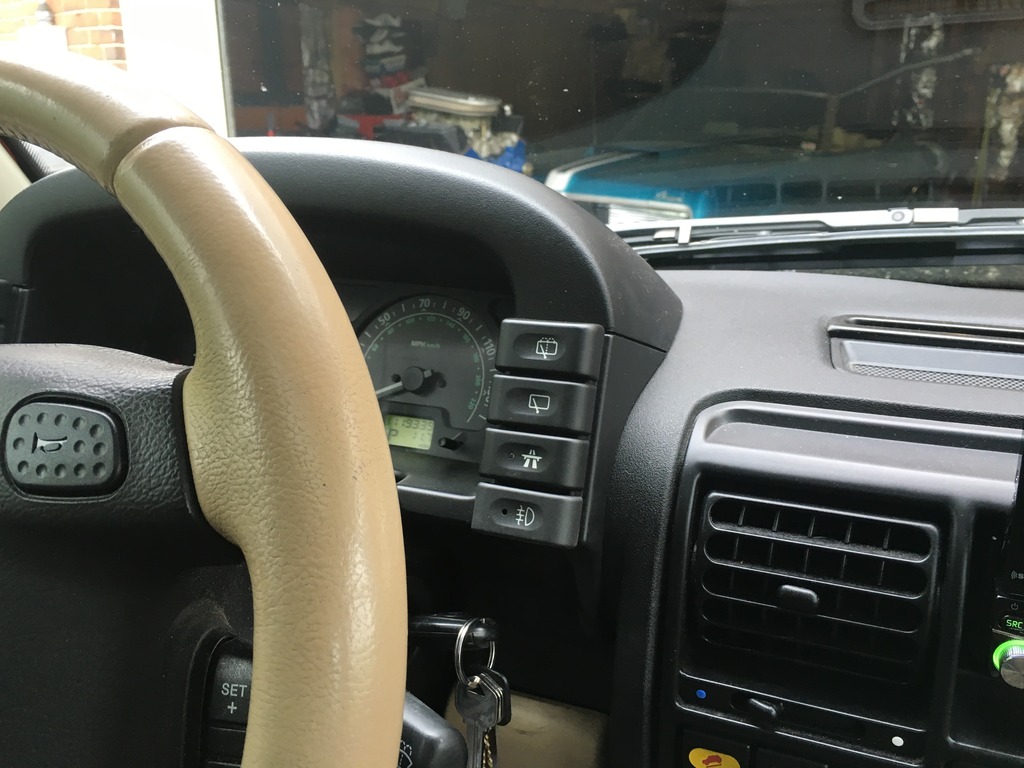
I tried to make this as easy as possible. As these will be used as auxiliary driving lights, I chose to tap the headlight lead, not the high beams.
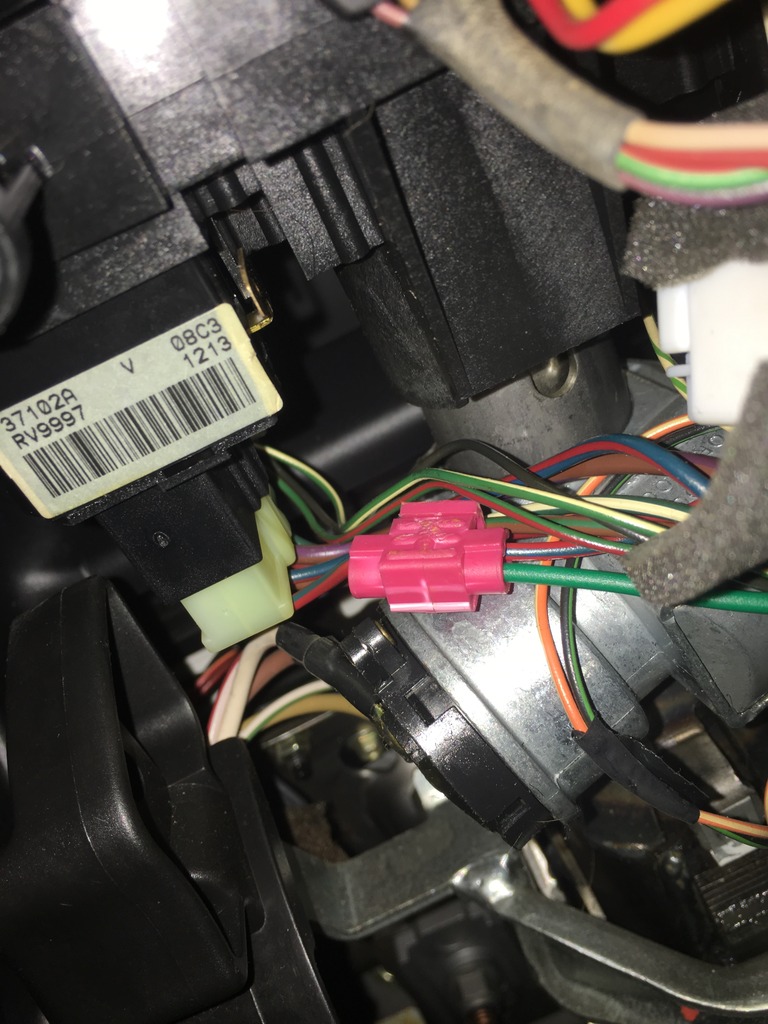
I pulled out the turn signal/headlight switch, and tapped the headlight lead where it comes out of the switch. This lead runs through the aux switch, and to the relay supplied by Hella with the lights.
I included a 2 amp fuse link so that if anything goes wrong, it stops between the TSHL switch, and the aux light switch. I tapped into the existing cruise controls power and ground.
The nice thing about the remote relay is that very little current is needed to actually work the aux switch. If you tap the headlight at the steering column, and pull the power and ground from the CC, you only need to run a single wire from the cab to the relay under the hood.
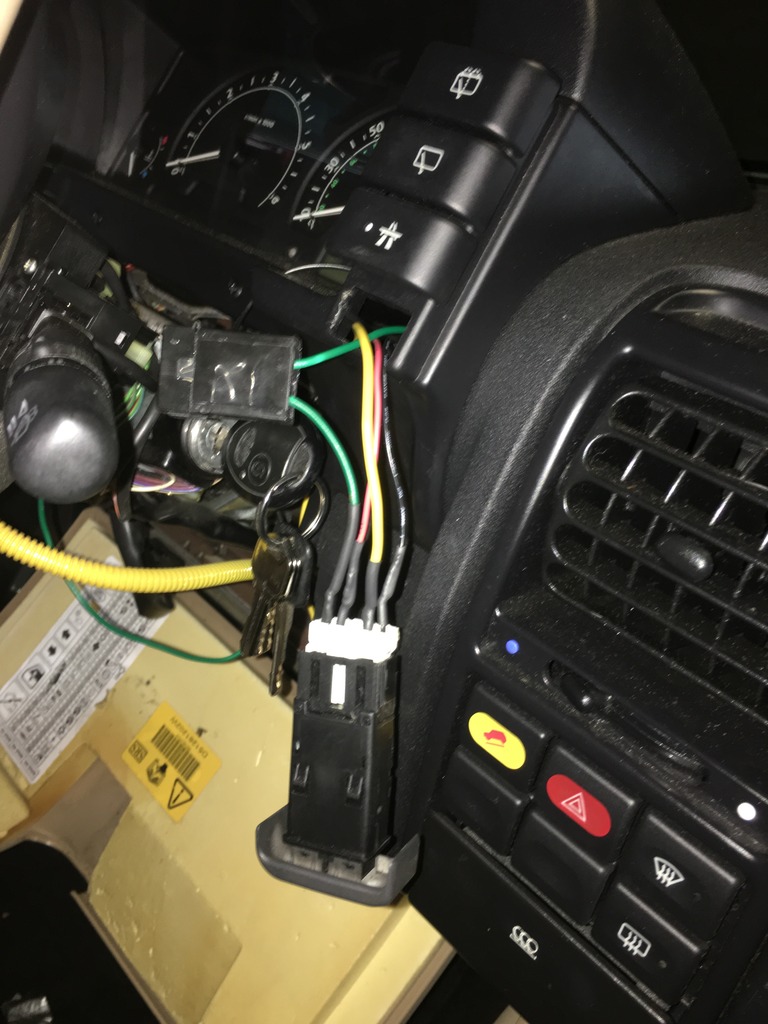
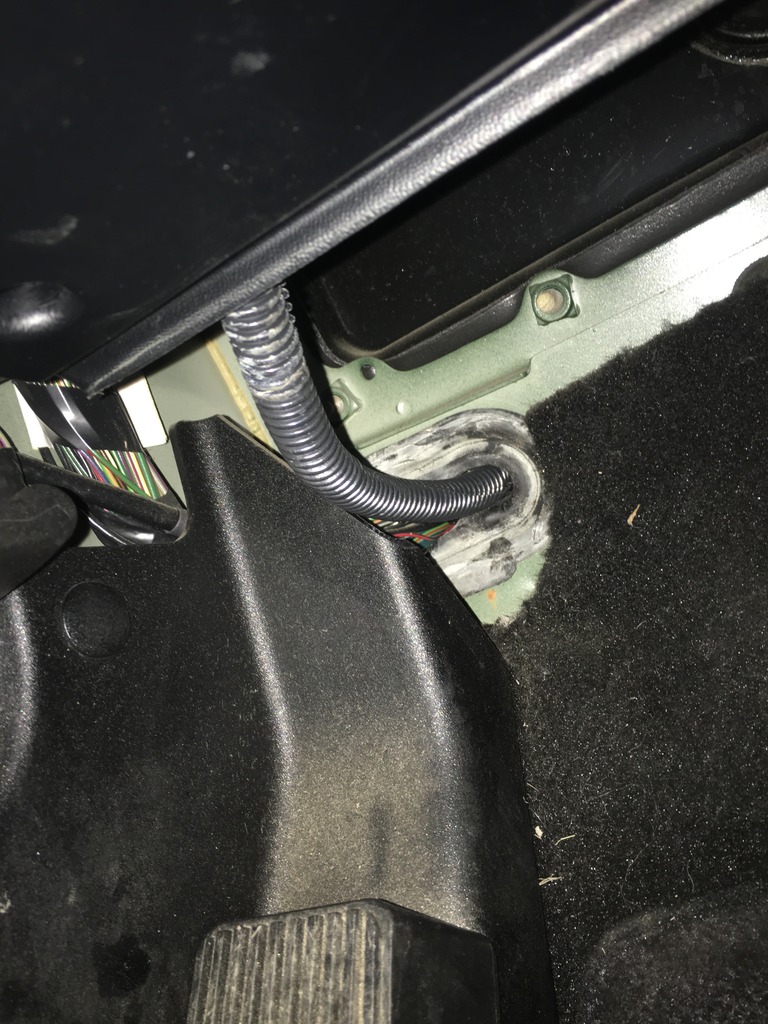
Took a razor and cut a small slit into the grommet where the main wire loom enters the cabin. Use a hanger, WD40, and duct tape to pull conduit through the rubber grommet. It actually worked surprisingly well. Ran the conduit, with a the wire that will trigger the relay, from the dash aux light switch to the inner fender well next to the battery. snap tied it to the main wire loom. You would never know it was not a factory installation.
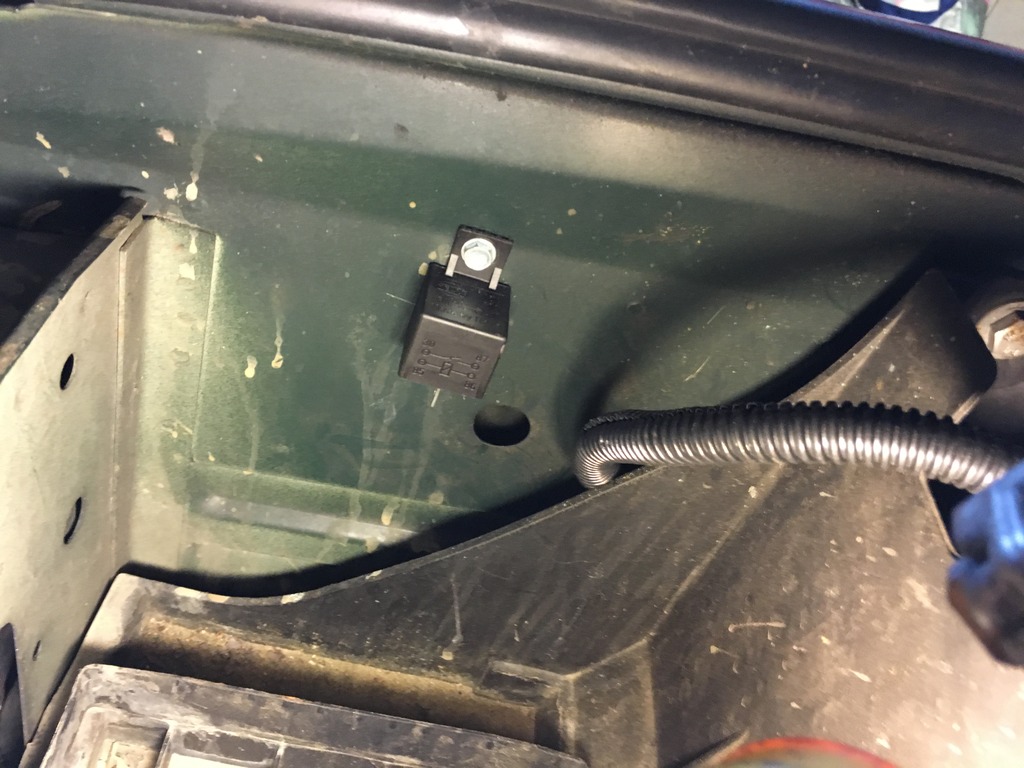
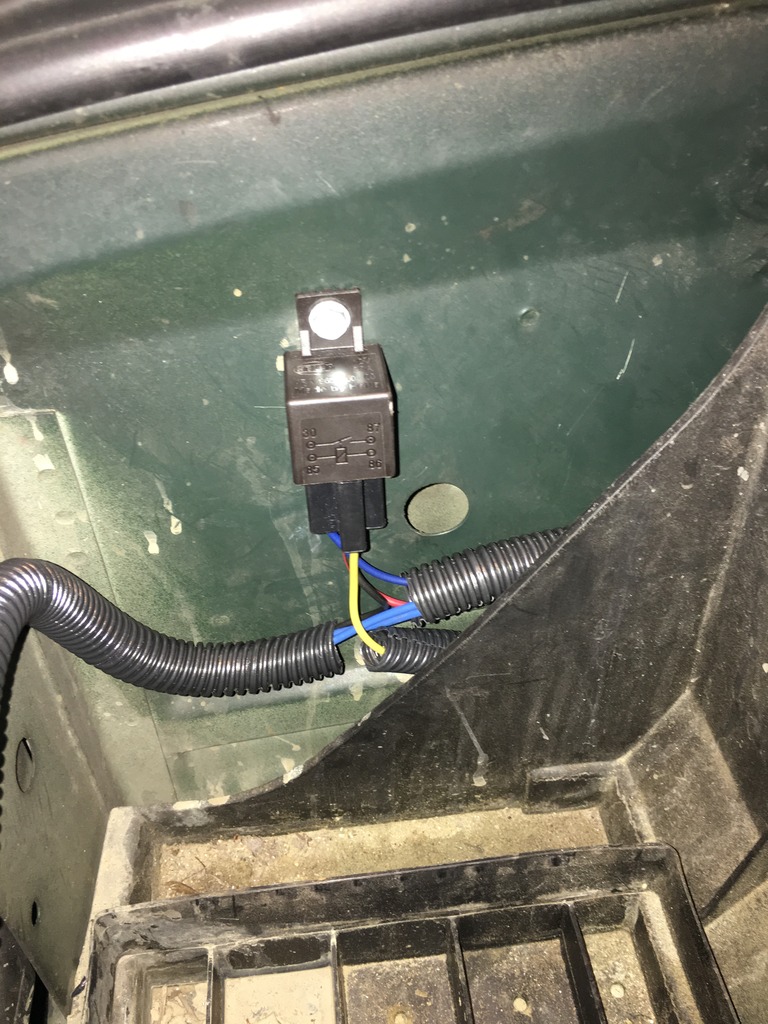
Relay mounted on the inner fender in the battery compartment.
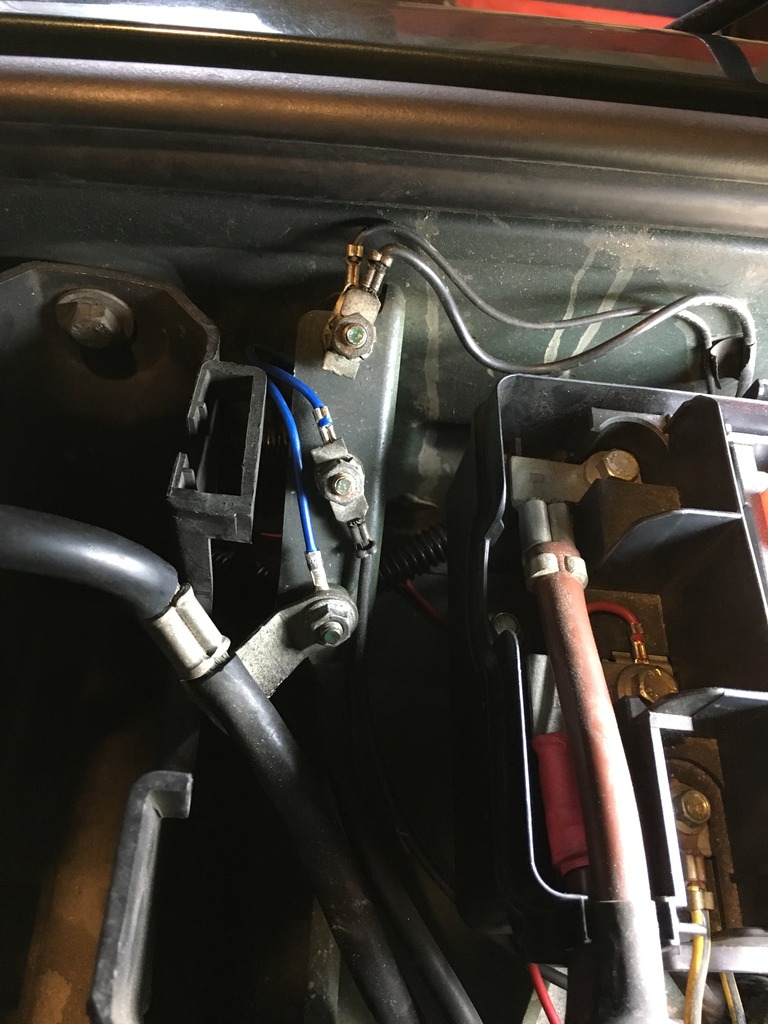
Tapped the 12V power for the aux light relay at one of the two mains in the fuse box. This tap has a 30 amp inline fuse link, between the main tap, and the relay.
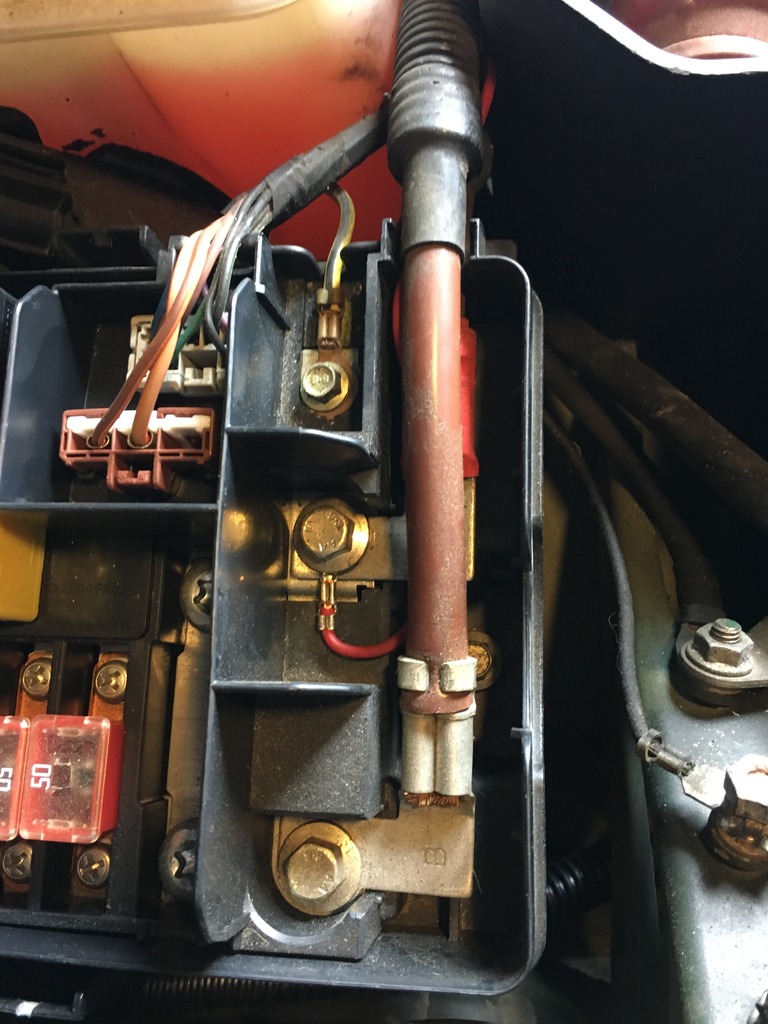
Ground taps for the relay, and the two auxiliary headlights.
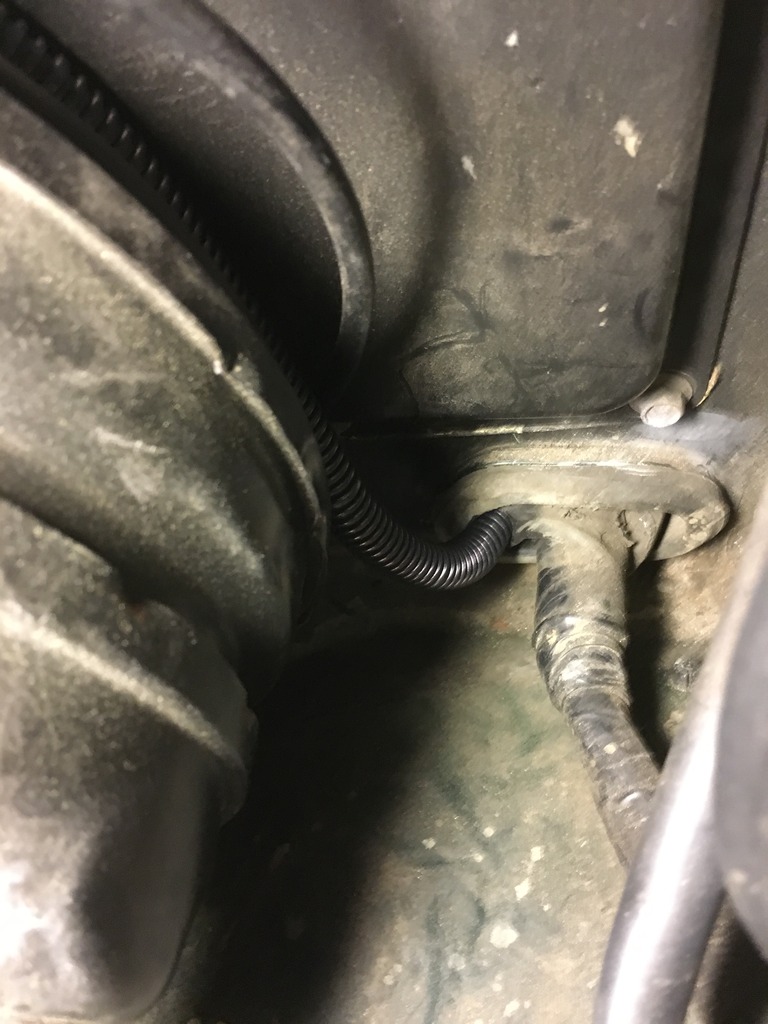
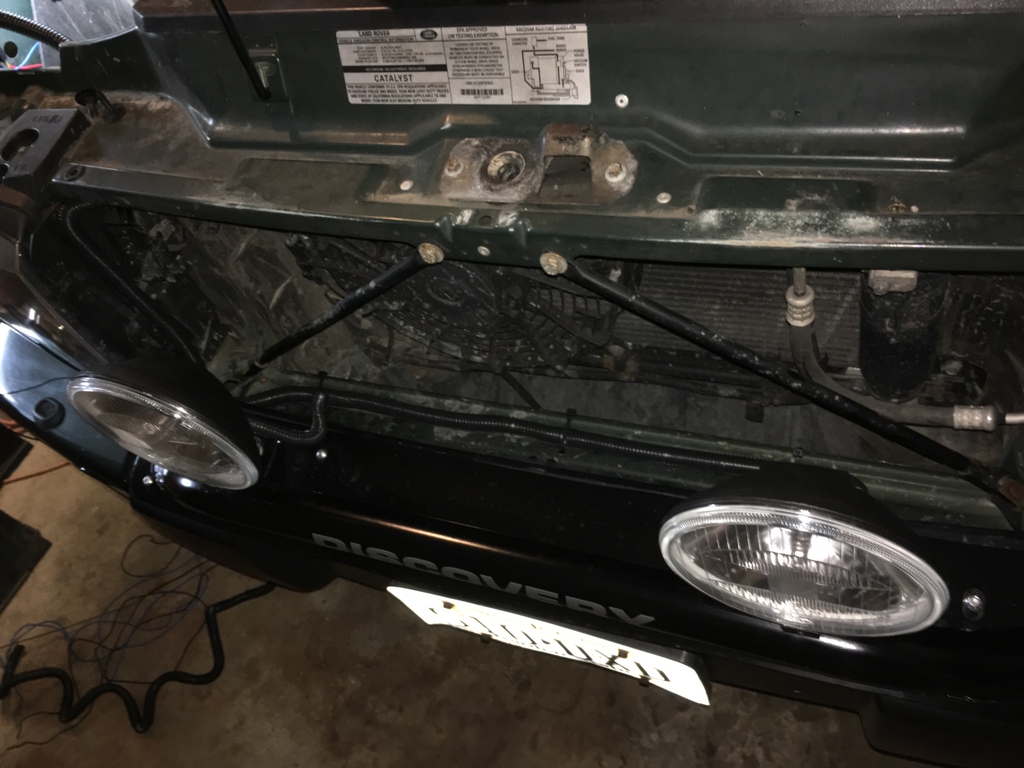
Ran the conduit through front panel/radiator support from the relay to both auxiliary headlights.
Finished wiring run from the cab, to the relay, fuse box, ground taps, and auxiliary lights.
Done!
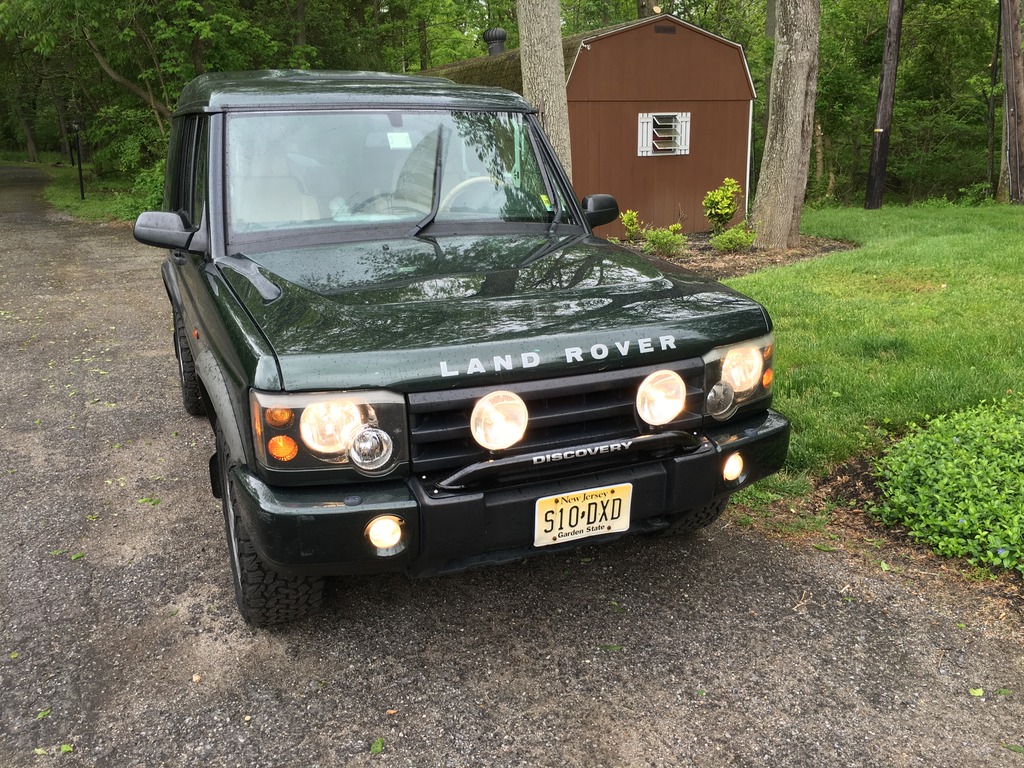
If anyone has any questions, feel free to ask. It was a pretty easy install. It took about three hours start to finish and looks like it was a factory option.
I thought it be might be helpful for others to post some pictures and description, in case anyone else wants to do this in the future.
First, I have to thank forum member abran. He supplied me with the exact parts I needed at a ridiculously reasonable cost.
I bought a cruise control switch, with an aux light cover swapped on. Abran sent me the switch, cover, and most importantly, enough of the four wire connections to get me where I could easily splice it into the Rover.
Switch, connector, and an inch or so of each wire.

The switch, with the wiring soldered and heat shrunk. I used a 2 amp fuse link for the control tap to the switch.

I tried to make this as easy as possible. As these will be used as auxiliary driving lights, I chose to tap the headlight lead, not the high beams.
I pulled out the turn signal/headlight switch, and tapped the headlight lead where it comes out of the switch. This lead runs through the aux switch, and to the relay supplied by Hella with the lights.
I included a 2 amp fuse link so that if anything goes wrong, it stops between the TSHL switch, and the aux light switch. I tapped into the existing cruise controls power and ground.
The nice thing about the remote relay is that very little current is needed to actually work the aux switch. If you tap the headlight at the steering column, and pull the power and ground from the CC, you only need to run a single wire from the cab to the relay under the hood.


Took a razor and cut a small slit into the grommet where the main wire loom enters the cabin. Use a hanger, WD40, and duct tape to pull conduit through the rubber grommet. It actually worked surprisingly well. Ran the conduit, with a the wire that will trigger the relay, from the dash aux light switch to the inner fender well next to the battery. snap tied it to the main wire loom. You would never know it was not a factory installation.


Relay mounted on the inner fender in the battery compartment.

Tapped the 12V power for the aux light relay at one of the two mains in the fuse box. This tap has a 30 amp inline fuse link, between the main tap, and the relay.

Ground taps for the relay, and the two auxiliary headlights.

Ran the conduit through front panel/radiator support from the relay to both auxiliary headlights.

Finished wiring run from the cab, to the relay, fuse box, ground taps, and auxiliary lights.

Done!


If anyone has any questions, feel free to ask. It was a pretty easy install. It took about three hours start to finish and looks like it was a factory option.
Last edited by gulfstream69xr7; 05-22-2016 at 10:24 AM.
The following users liked this post:
Toms (08-07-2022)


Thread
Thread Starter
Forum
Replies
Last Post
ghinesley
Retired - Private For Sale/Trade Classifieds
0
11-19-2007 02:50 PM