First D2 - What do I have here?


Baja
Joined: Aug 2013
Posts: 5,845
Likes: 368
From: Near Bordeaux, France
I'm no expert on D2 lift equipment by any means but the shocks should be extended in consequence with any extra lift as per TF's and others otherwise the springs are ineffective or coil bound. The limiting factor to droop on the axle is the maximum extention of the shock absorber. If the coils are progressive it's generally good but if coil bound they are ineffective and certainly not progressive in action with often the shocks too short. It's always good to match the shocks and springs together for spring loadings and rebound dampening rates. It's a common error in road race cars prepared by amateurs as they often see hard springs plus hard shocks as nirvana and improving handling and hence tire adhesion but in effect they often destroy all the handling characteristics. It's all about equal and opposed forces plus imposed mass and dynamic loads. The calcs are very complex and very heavy going which is why you need good available knowledge and advice from companies like Koni, Spax, TF and the many guys on here etc
I've seen guys put carbon rotors and carbon/ceramic pads on road motorbikes and then wonder why they are worse than the standard brakes and take twice the distance to stop ............. simples...............they ain't going anyways near fast enough and braking hard enough to generate sufficient heat to make them work as designed. There is a similar correlation with suspension components, weights and shocks.
I've seen guys put carbon rotors and carbon/ceramic pads on road motorbikes and then wonder why they are worse than the standard brakes and take twice the distance to stop ............. simples...............they ain't going anyways near fast enough and braking hard enough to generate sufficient heat to make them work as designed. There is a similar correlation with suspension components, weights and shocks.

Thread Starter
|
Drifting
Joined: Oct 2014
Posts: 40
Likes: 1
From: Arkansas
Thanks!
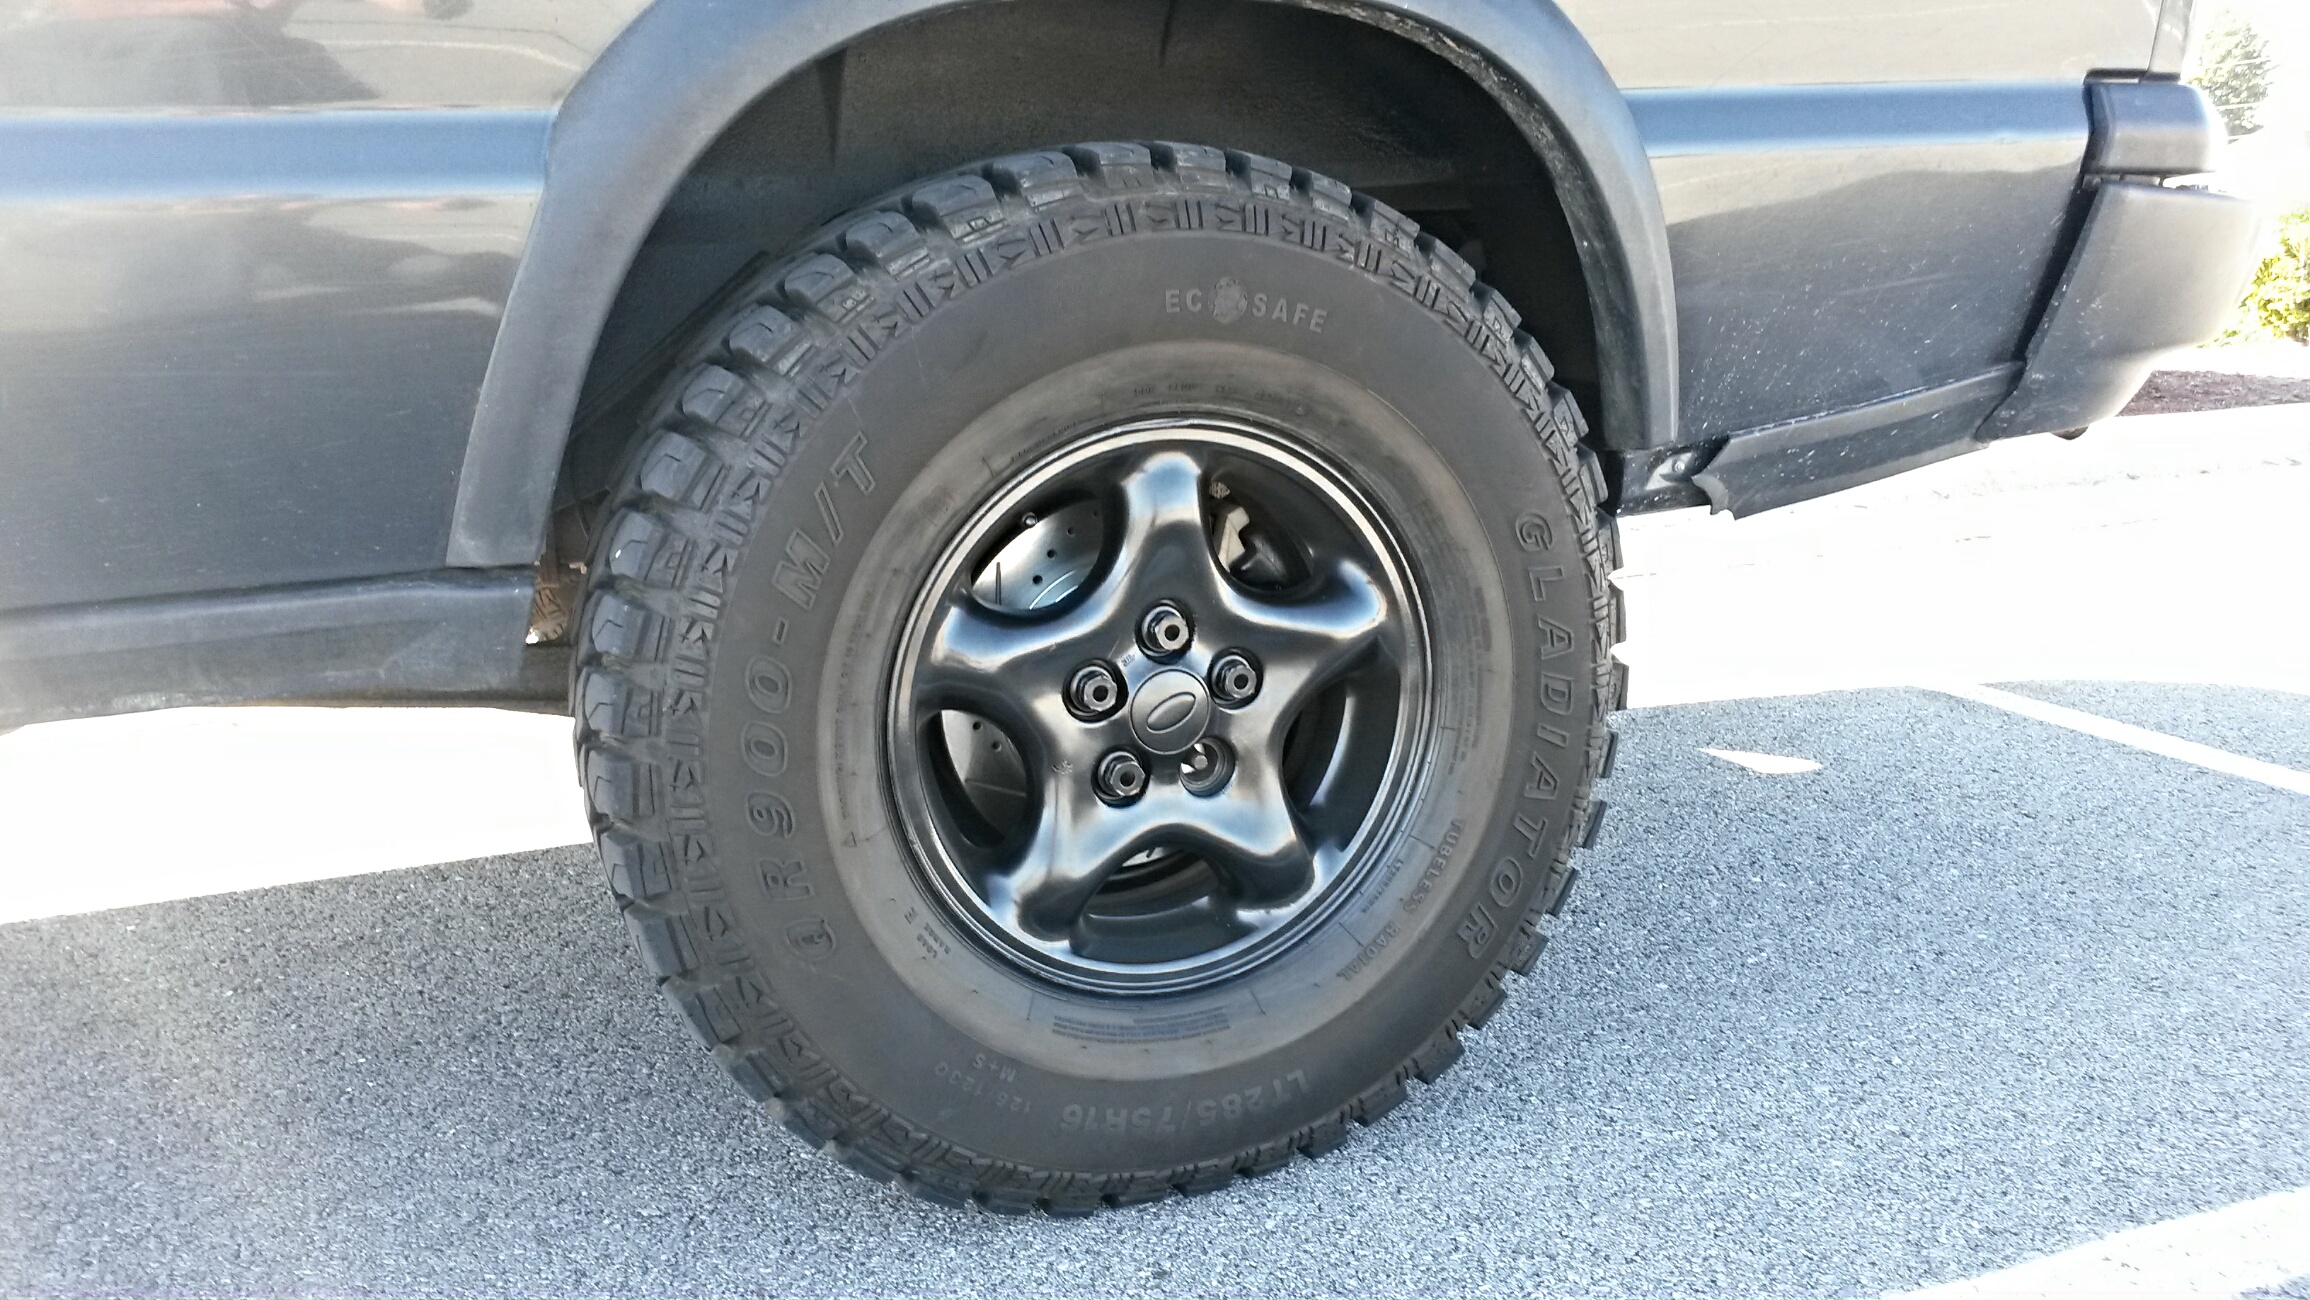
Front measures 21.75" and rear measures 20" on mine.
Thread Starter
|
Drifting
Joined: Oct 2014
Posts: 40
Likes: 1
From: Arkansas
I'm wanting to fix my steering box leak, but am having trouble sourcing the seal to fix it.
Looks like someone adjusted the steering box backlash (probably to take the play out of it), and it now leaks where that set screw threads into the top plate of the steering box.
This is also a common issue on the land cruisers when you adjust the play, and you just replace the seal washer with a new one, and you're good to go.
Does anyone know the Rover part number for the seal? I've searched, but haven't come up with an answer yet.

TReK
Joined: Nov 2011
Posts: 2,748
Likes: 506
From: Seattle, Wa
An easier way to fix steering backlash is to replace the worn out steering stabilizer. Might be something to check into once you fix the leak.
As for your lift, You'd be best to replace the spacers with a set of new springs and shocks. Sometimes you can get a deal by throwing in a matching steering stabilizer.
Those tires will work fine with a 2" lift kit and that would probably level it out correctly.
As for your lift, You'd be best to replace the spacers with a set of new springs and shocks. Sometimes you can get a deal by throwing in a matching steering stabilizer.
Those tires will work fine with a 2" lift kit and that would probably level it out correctly.
Last edited by Dave03S; Oct 24, 2014 at 01:04 AM.
Thread Starter
|
Drifting
Joined: Oct 2014
Posts: 40
Likes: 1
From: Arkansas
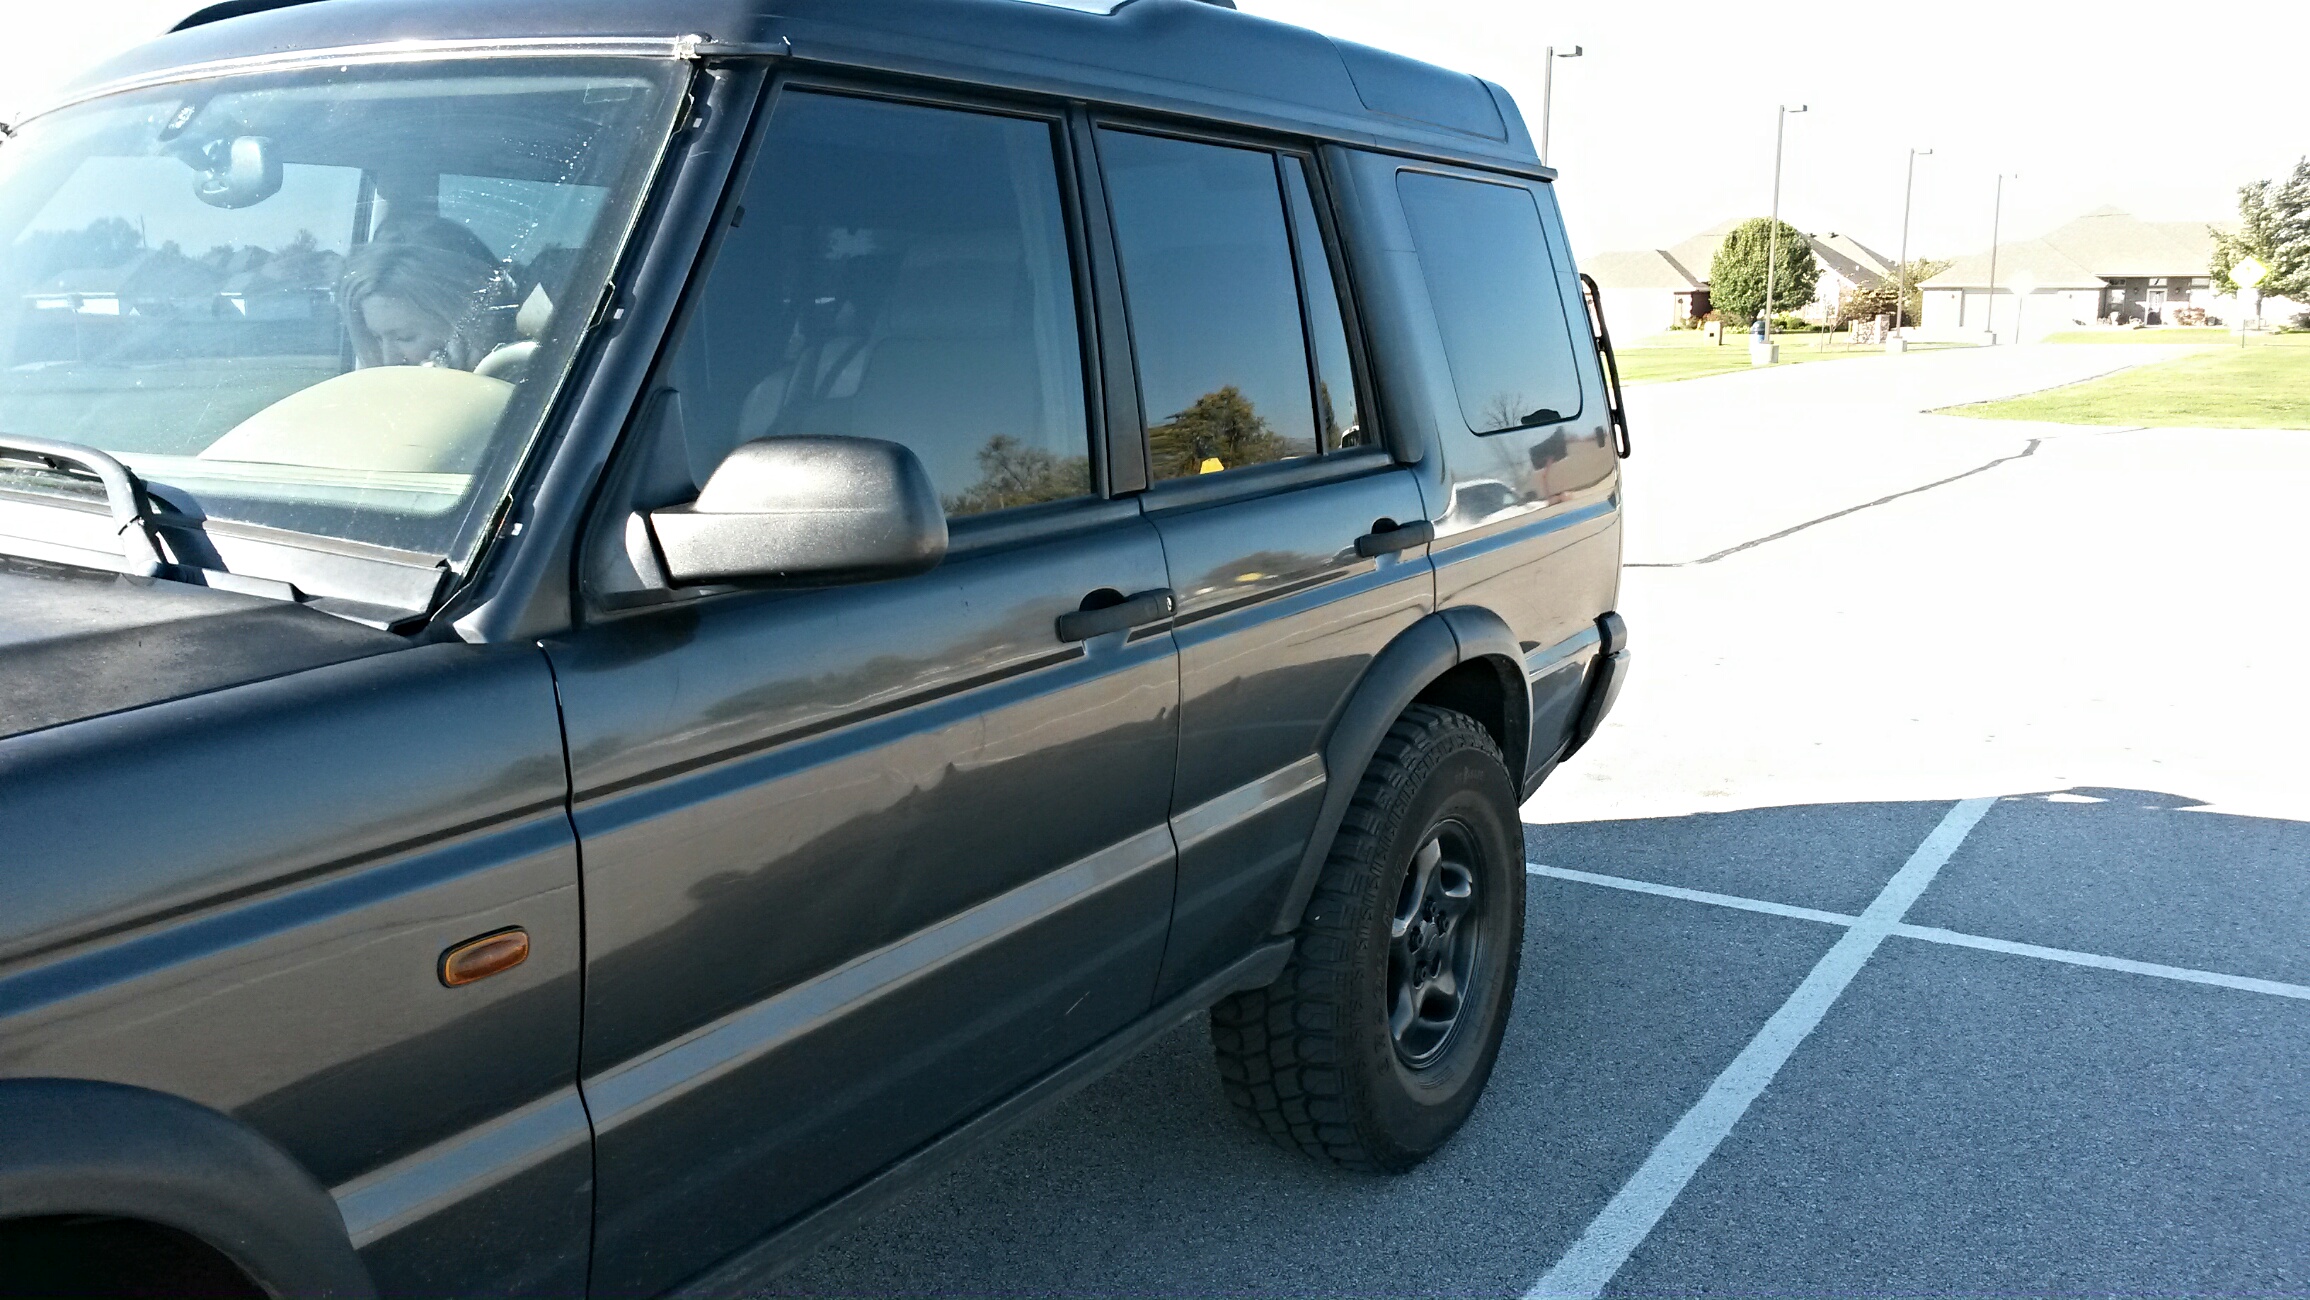
Made some good progress today on the rover.
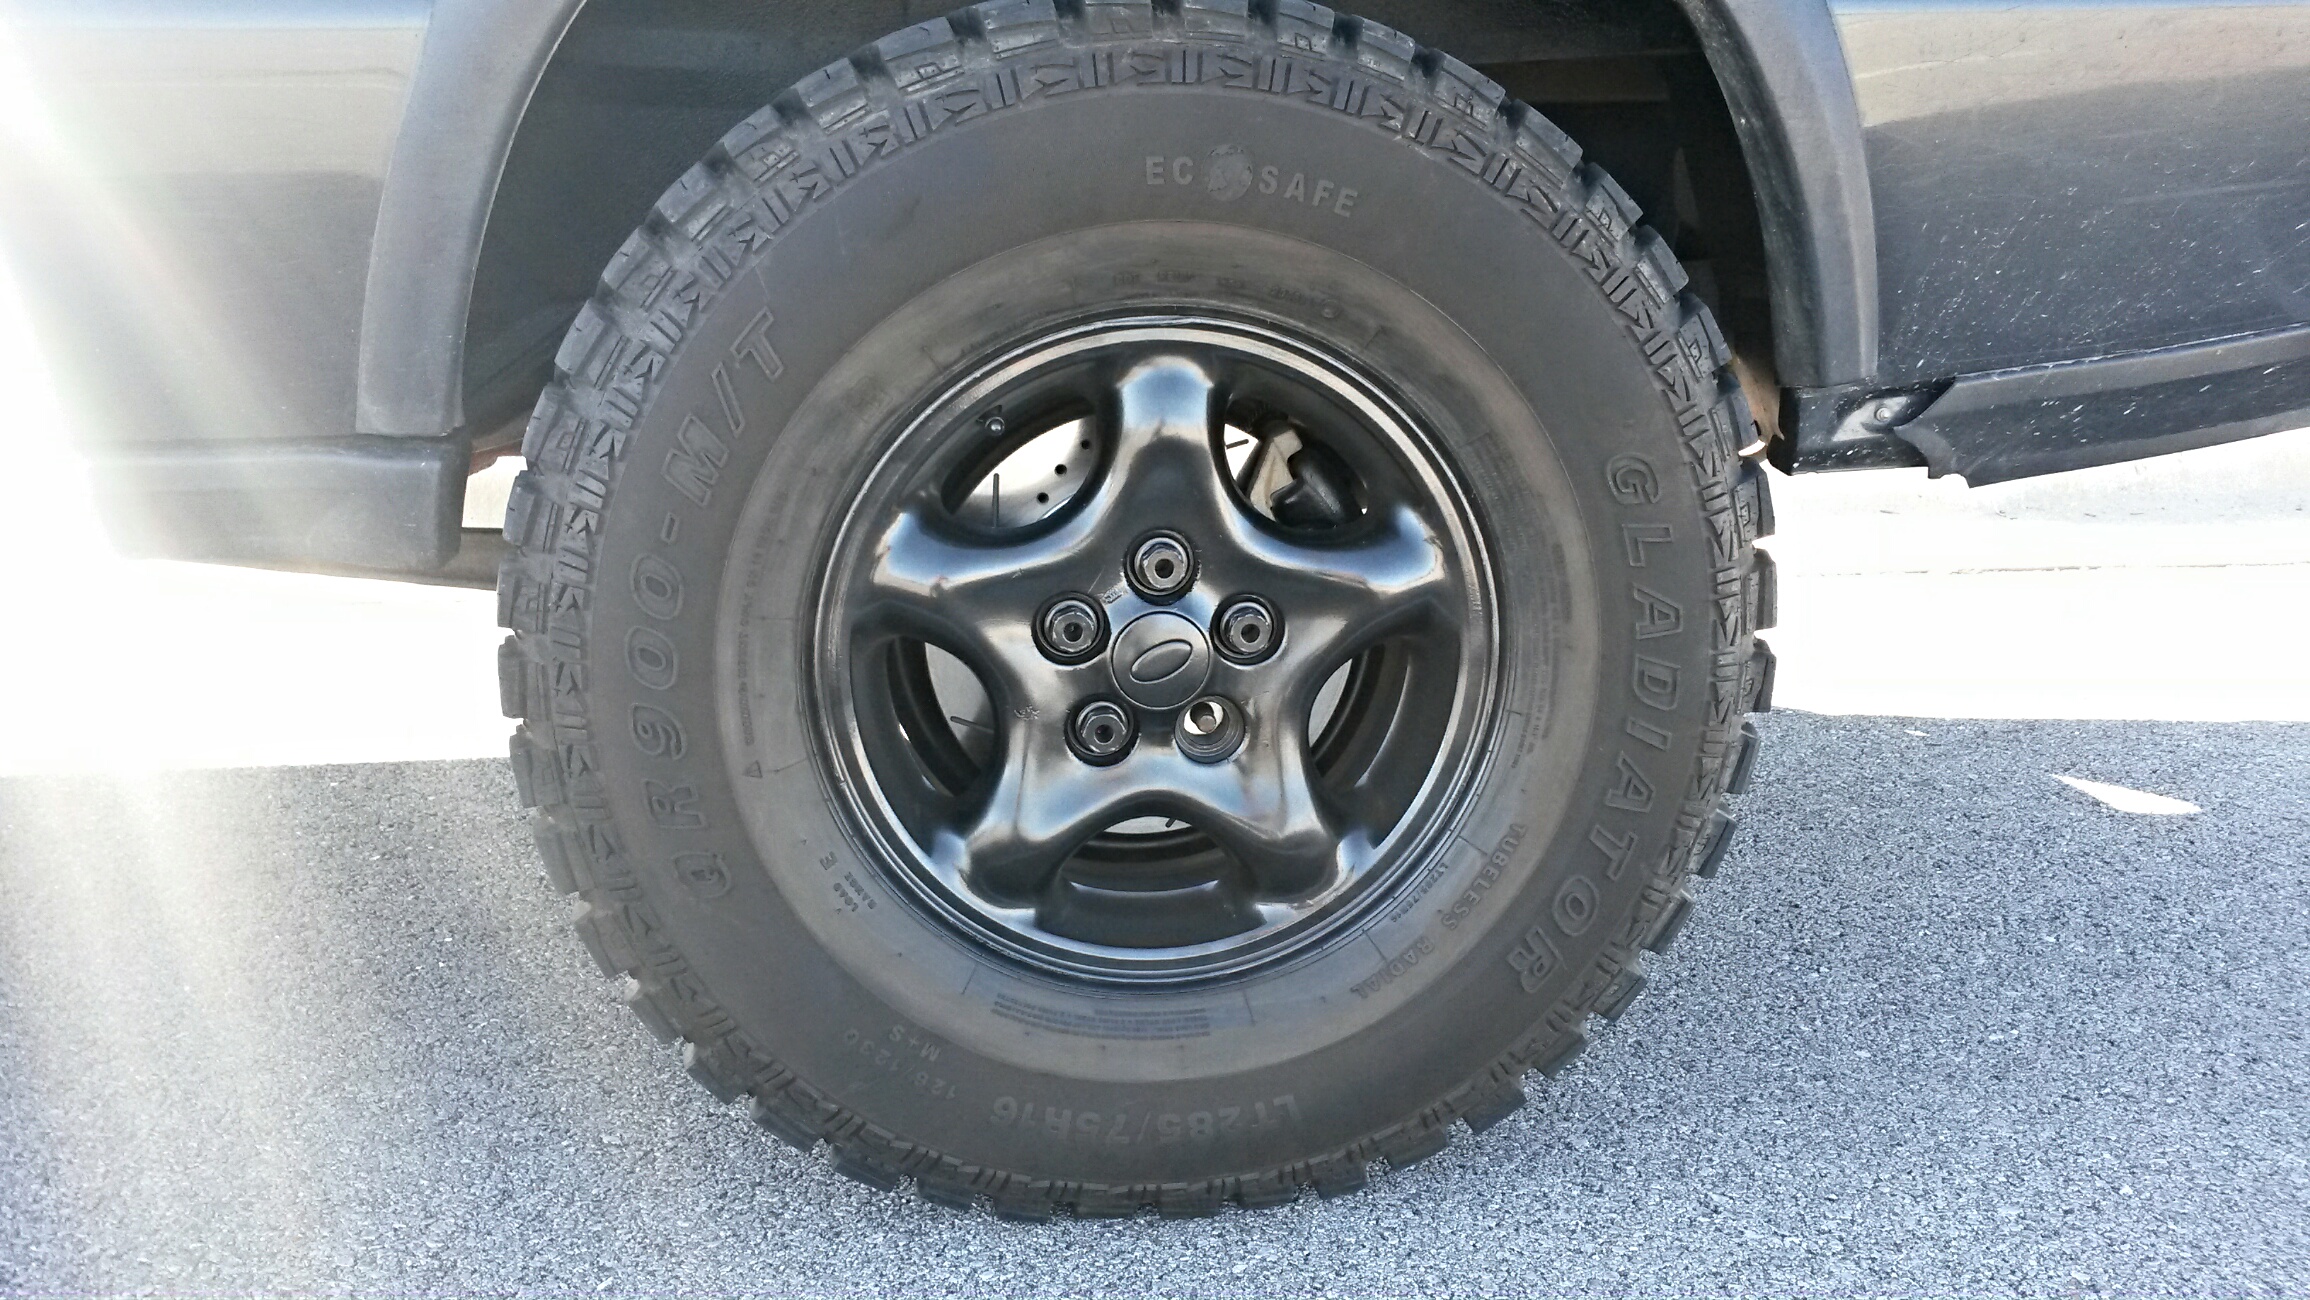
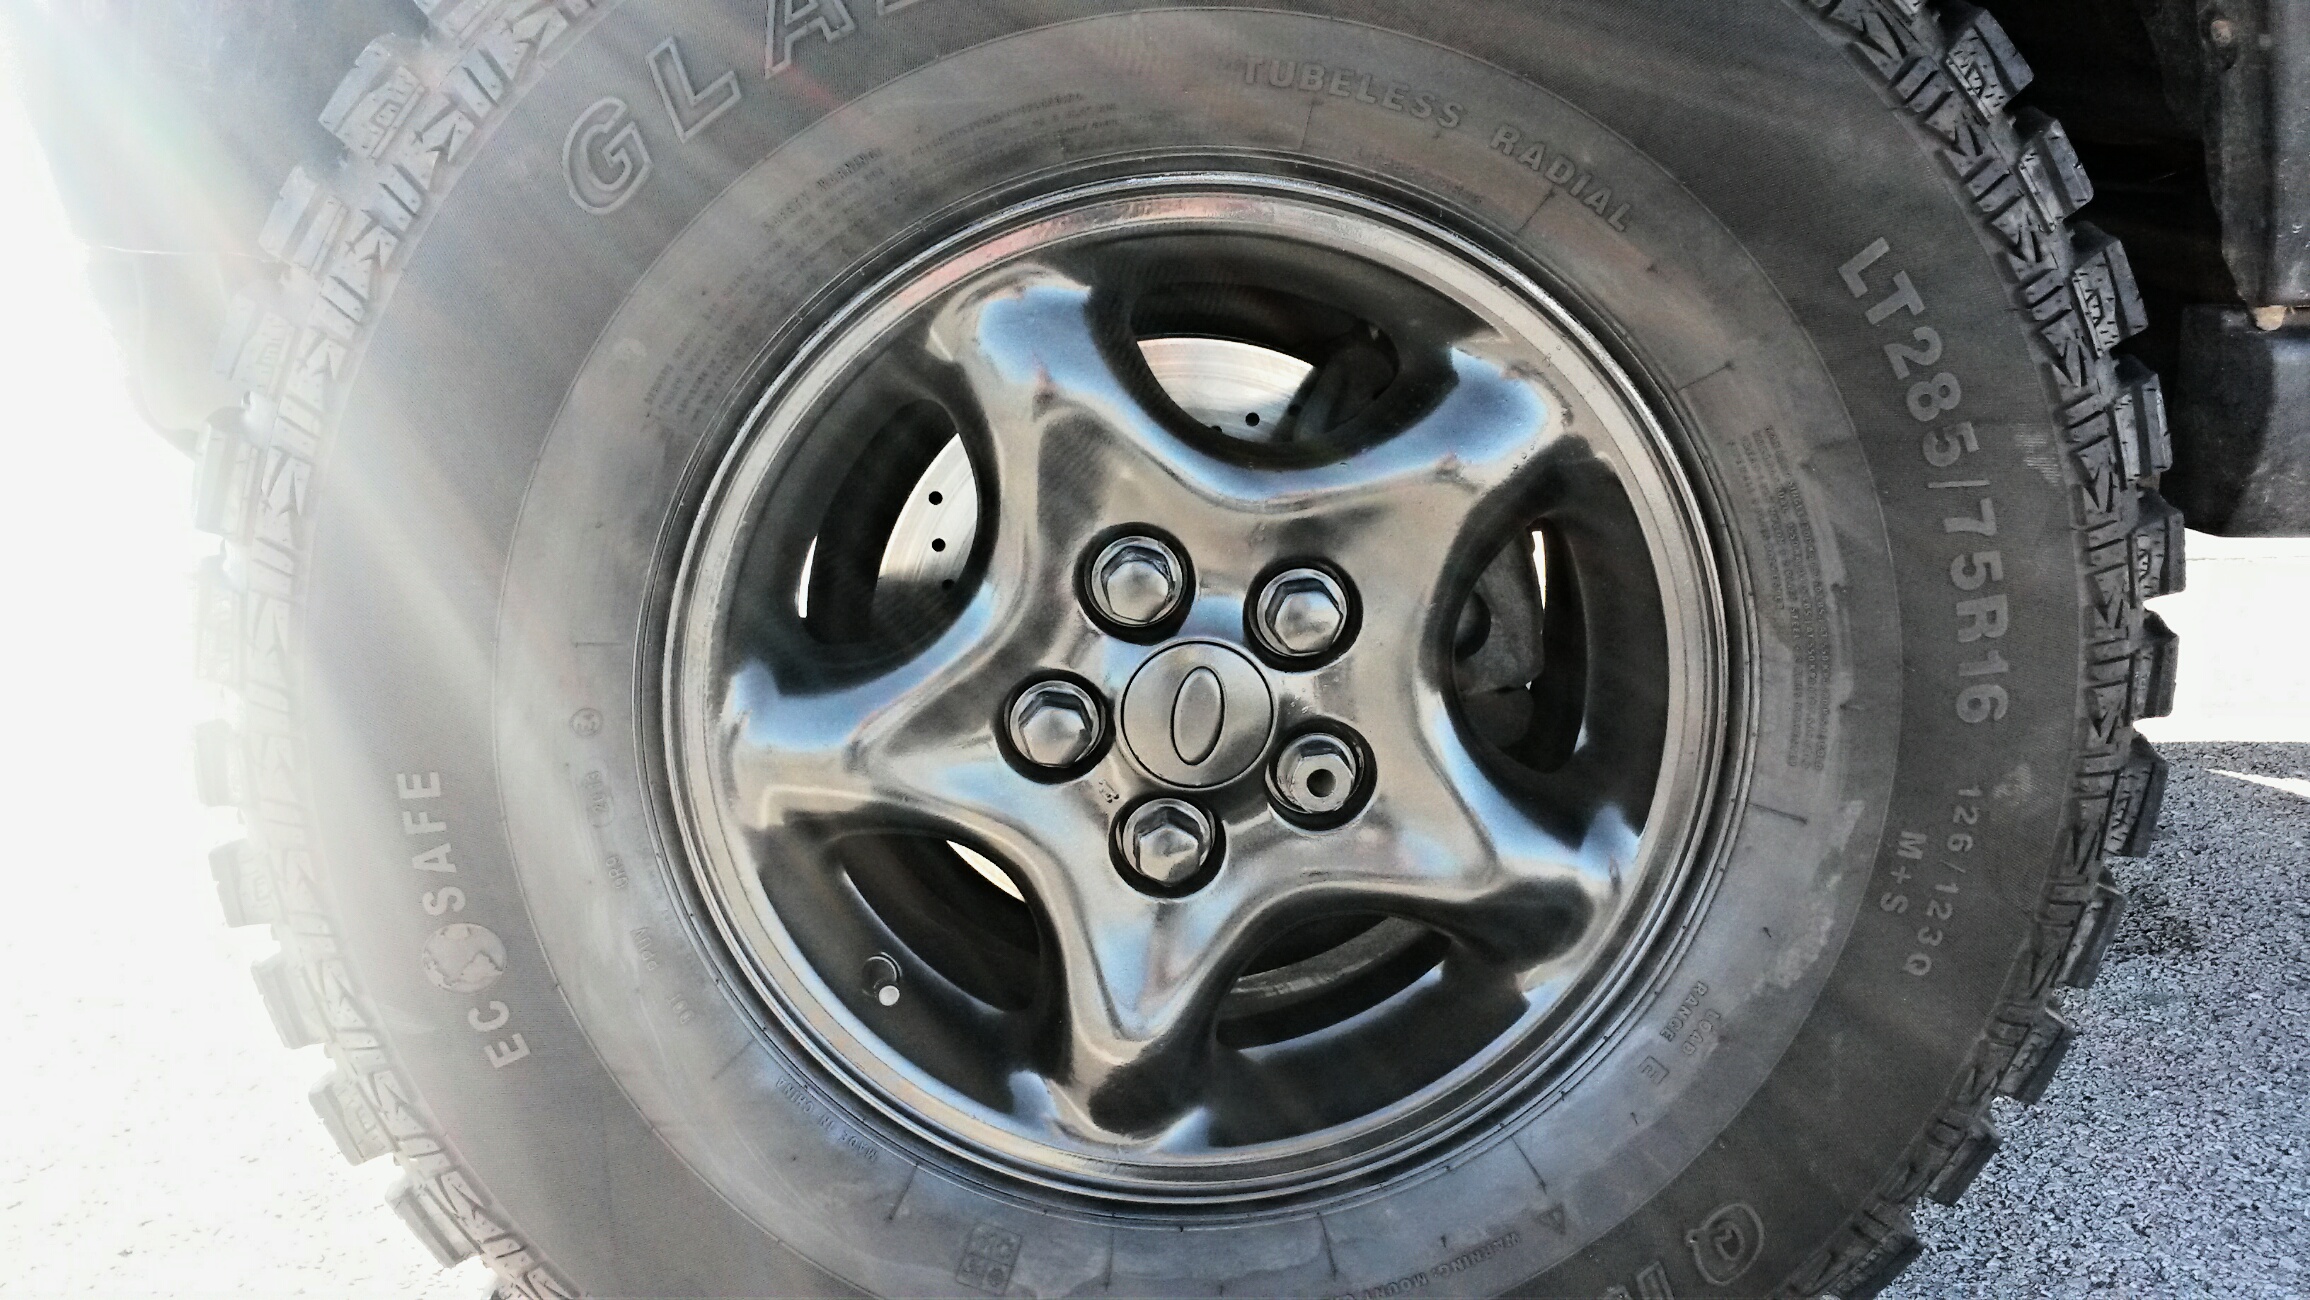
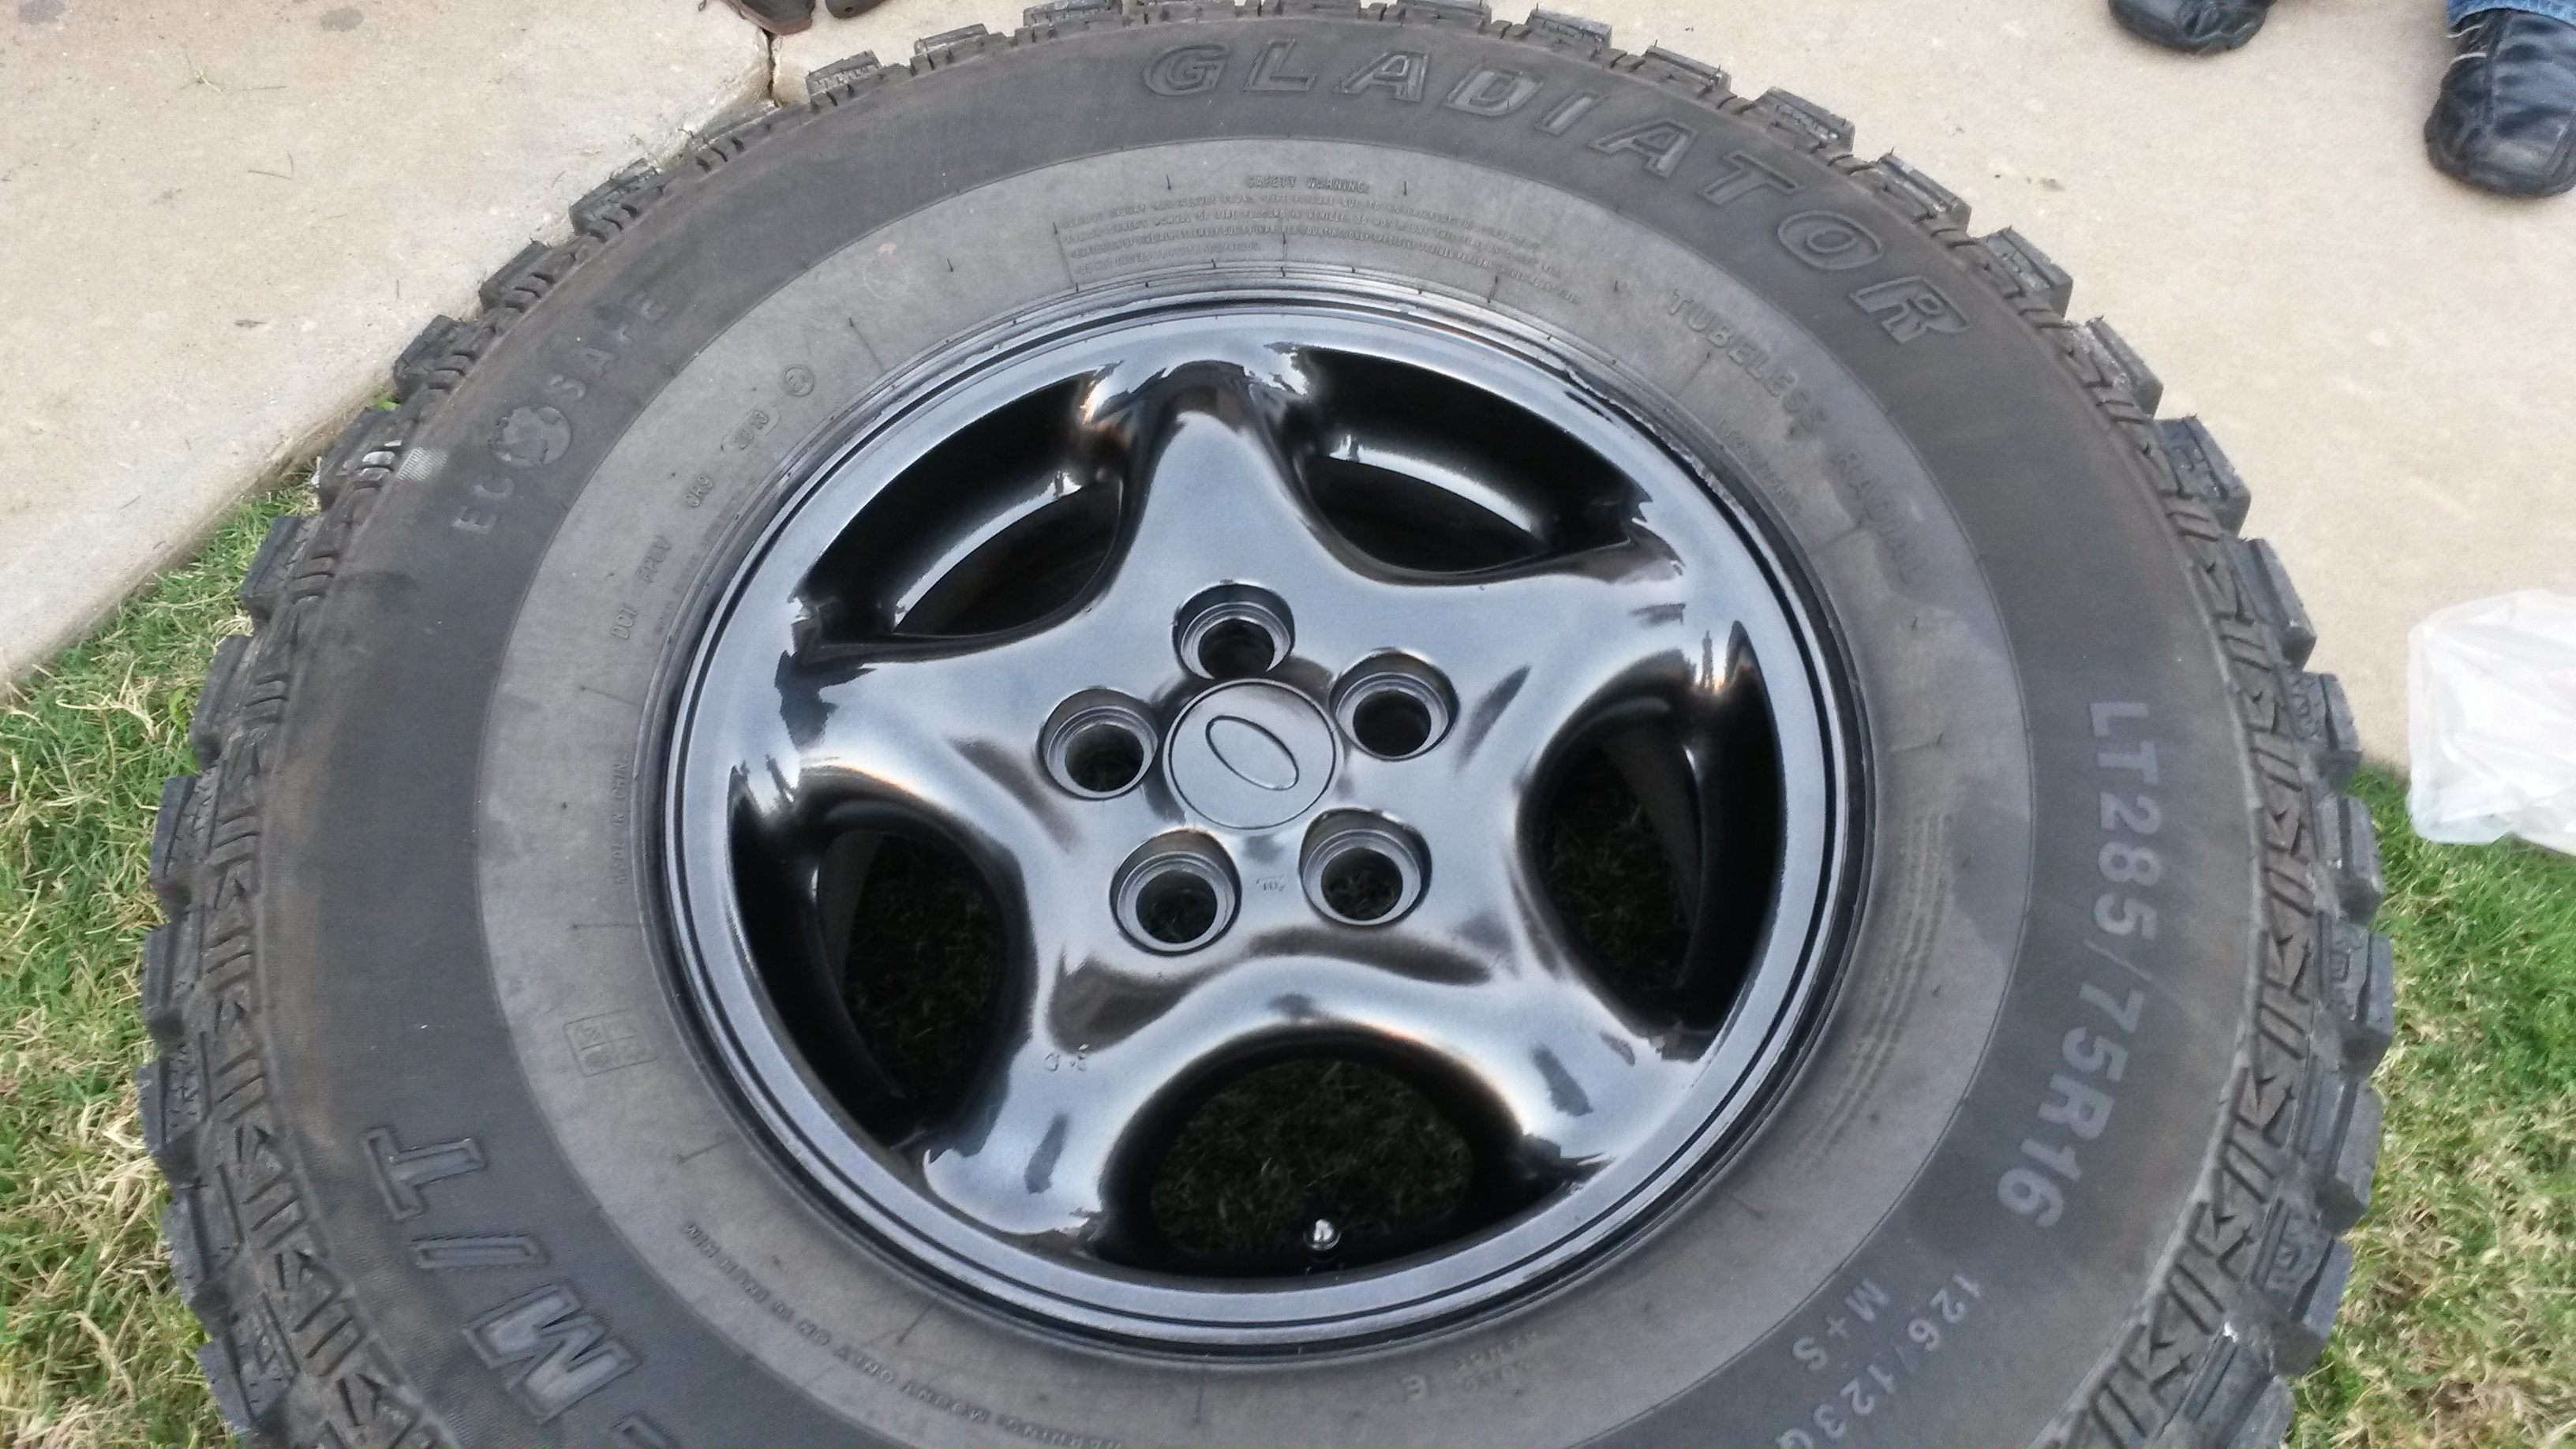
Got the new brakes installed, replaced the bad wheel speed sensor, painted the roof area that was really faded, and had enough paint left over to hit the wheels with some Niagara Grey. Looks a lot better than the faded black paint that was on them before.
And best of all..... No lights on the dash now! Kinda weird driving it without a Christmas tree lit up on the gauge cluster. Lol
Rock Crawling
Joined: Oct 2014
Posts: 347
Likes: 6
From: Colorado Springs
Wow... that looks great. I am also a new Disco II owner - however you scored a better rig that I did. Love the look! Quick question, how did you find the replacement of the speed sensor? Was it hard? Also did the three amigos go away OR did you have to have the fault reset?
Hope to see pictures of your Rover with the new wheel paint... Cheers!!
Hope to see pictures of your Rover with the new wheel paint... Cheers!!
Mudding
Joined: Aug 2013
Posts: 181
Likes: 8
From: Boston, MA
looks fantastic! Two questions:
- Did you just paint the wheels with the tires on? Careful masking?
- Any trouble loosening the caliper bolts? I tried to take mine off (I have new rotors waiting to install) and for the life of me could not loosen the front bolts. I had zero leverage with all the suspension bits in the way. Looking for ideas on how to do this. I plan to replace them in the spring.
Thread Starter
|
Drifting
Joined: Oct 2014
Posts: 40
Likes: 1
From: Arkansas
Wow... that looks great. I am also a new Disco II owner - however you scored a better rig that I did. Love the look! Quick question, how did you find the replacement of the speed sensor? Was it hard? Also did the three amigos go away OR did you have to have the fault reset?
Hope to see pictures of your Rover with the new wheel paint... Cheers!!
Hope to see pictures of your Rover with the new wheel paint... Cheers!!
looks fantastic! Two questions:
- Did you just paint the wheels with the tires on? Careful masking?
- Any trouble loosening the caliper bolts? I tried to take mine off (I have new rotors waiting to install) and for the life of me could not loosen the front bolts. I had zero leverage with all the suspension bits in the way. Looking for ideas on how to do this. I plan to replace them in the spring.
- Did you just paint the wheels with the tires on? Careful masking?
- Any trouble loosening the caliper bolts? I tried to take mine off (I have new rotors waiting to install) and for the life of me could not loosen the front bolts. I had zero leverage with all the suspension bits in the way. Looking for ideas on how to do this. I plan to replace them in the spring.
Thanks for the feedback!
I took the family on a little cruise today to look at potential new properties, and also to go to the park. Decided to take the rover and see how it would do.
Put a little over 100 miles on it with NO issues at all. Brakes work awesome, and all the dash lights remained off.
Outside temp was 85 degrees and sunny, with our usual humidity. So pretty warm here for this time of year. Air conditioning kept everything nice and cold, and I used my Autel 619 to monitor engine temps and intake air temps throughout the trip. I saw 198 degree engine coolant temp once, while sitting in a parking lot and idling for 10 min. Soon as I started moving again, the temp dropped back down to ~189-192 range for the rest of the trip. Seems like the cooling system is working pretty well, but it seems to me like the clutch fan is a little too "loose" while the engine is off. Will probably replace the fan clutch sometime in the future.
As for the wheel speed sensors, I got those here:
Wheel Speed Sensors
Fast shipping and a good price. I only replaced the one that was dead, but it works great. No problems.
Replacement was easy, as I was replacing brakes at the same time. If you're just replacing the sensor, you do have to pull the brake rotor off to get to it. I used my Autel 619 ($130 on amazon) to read the ABS codes, diagnose the bad wheel sensor, and then reset all of the lights. That tool is WELL worth the price...
The brakes I got here:
Full brake replacement set
And I have nothing but good things to say about them. They bedded in great, and are very confidence inspiring on the rover. Smooth and strong. I've had great luck with using those brakes on cars (as have many others I know), and I can now say that they work well on the rover too.
As for painting the wheels, it was really straight forward. I didn't even tape anything off... Lol
Just be careful around the outer edge of the wheel rim so you don't cover your tire. I wiped the wheels down first with a clean rag and some brake cleaner before spraying.
No problems removing any of the caliper bolts, or the caliper bracket bolts. They all came right off with a 3/8" ratchet.
I had more problems with those dang lug nuts and their stupid caps than I did with anything else. Really wish I could find some aftermarket lug nuts to replace them all with!
Oh, and the brake rotors were a pain to remove from the hub. Had to use a BIG hammer and beat on the old ones to break the rust/corrosion seal that had built up where the rotor meets the hub...
I snagged some pics today too. Will post up next.