


Hella Lights wired today - PICS


Thread Starter
|
Winching
Joined: Feb 2009
Posts: 513
Likes: 3
From: Pine Barrens, NJ
 Hella Lights wired today - PICS
So I got my lights wired up today and took some pictures for you guys.
The setup is 1 Dual Bulb Hella Work Lamp on the back and 4 Hella 700FF lights on the front. Once it is dark I will take some pictures as well so you can see them in action.
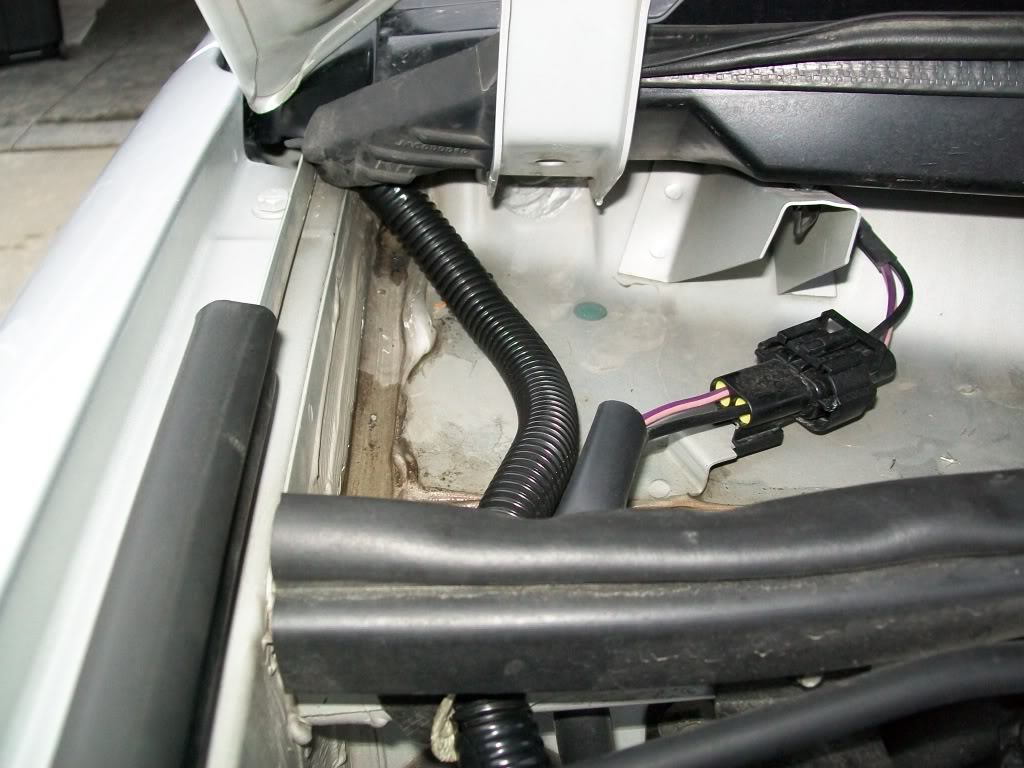
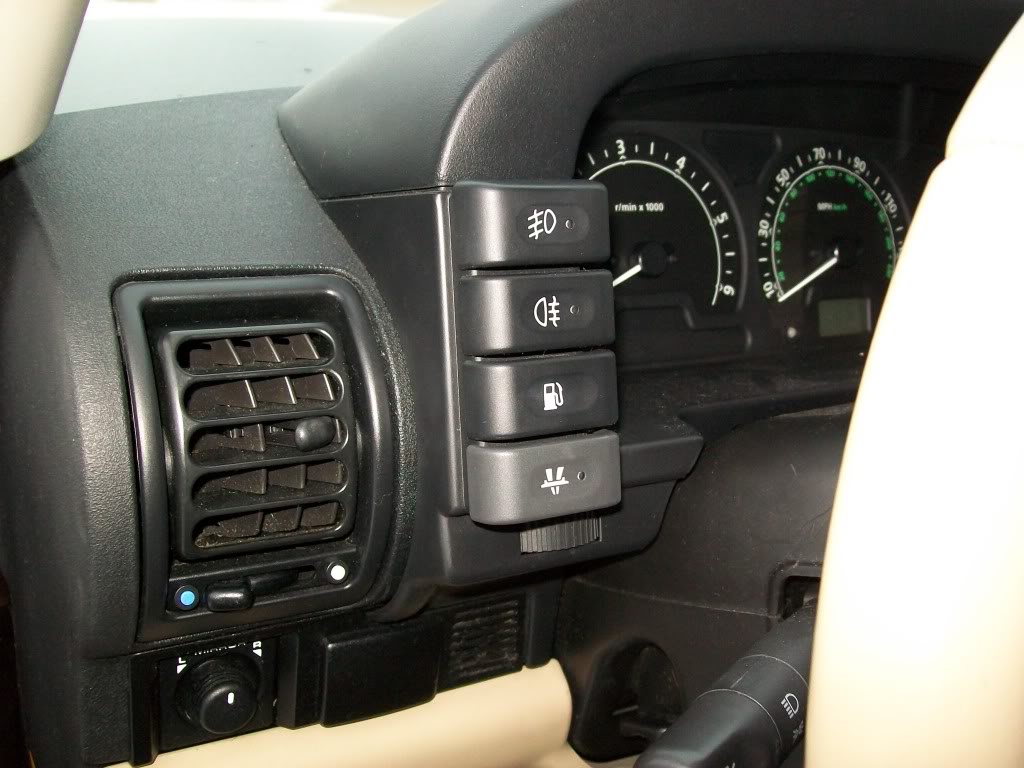
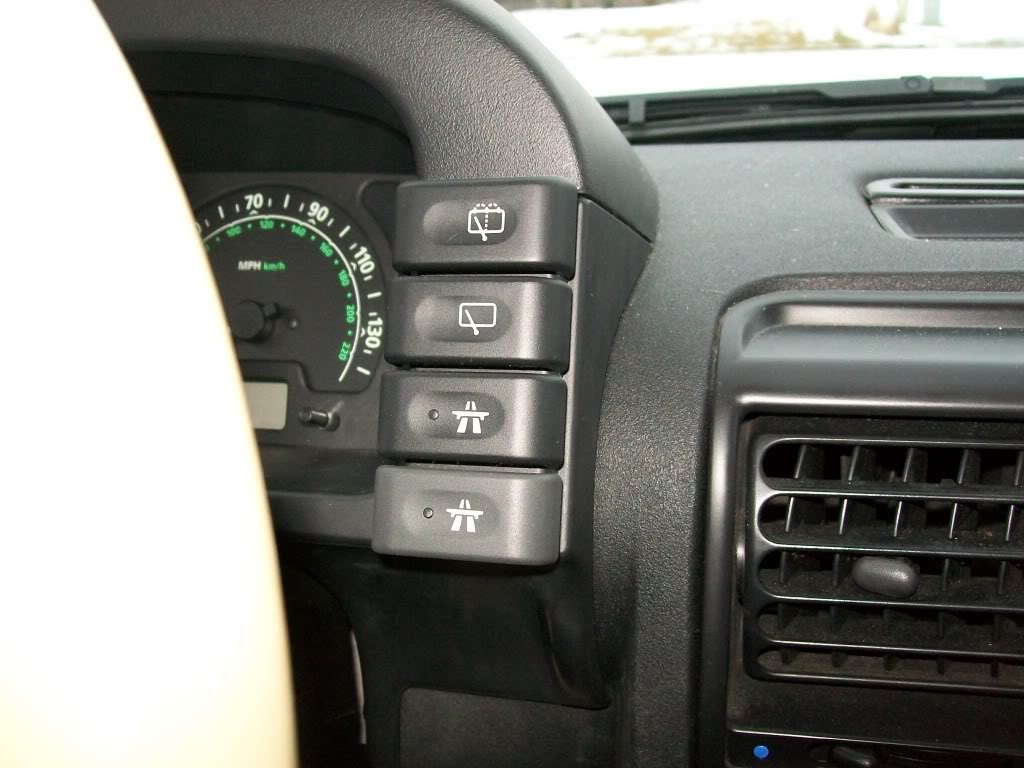
I tapped one of the bulbs in the back into the reverse lights and ran one to a switch inside the truck. All 4 up front are run to a switch inside the truck that is independent of the ignition or other lights.
Both switches were run with power so that the indicator light comes on when the switch is pressed and the lights are on.
I used the ash gray switches from the '99-00 as they were like $20per and the black ones from the '03-04 are $100per. My plan is to take the blank ones that were in the truck stock and drill a little hole for the light and pop them on.
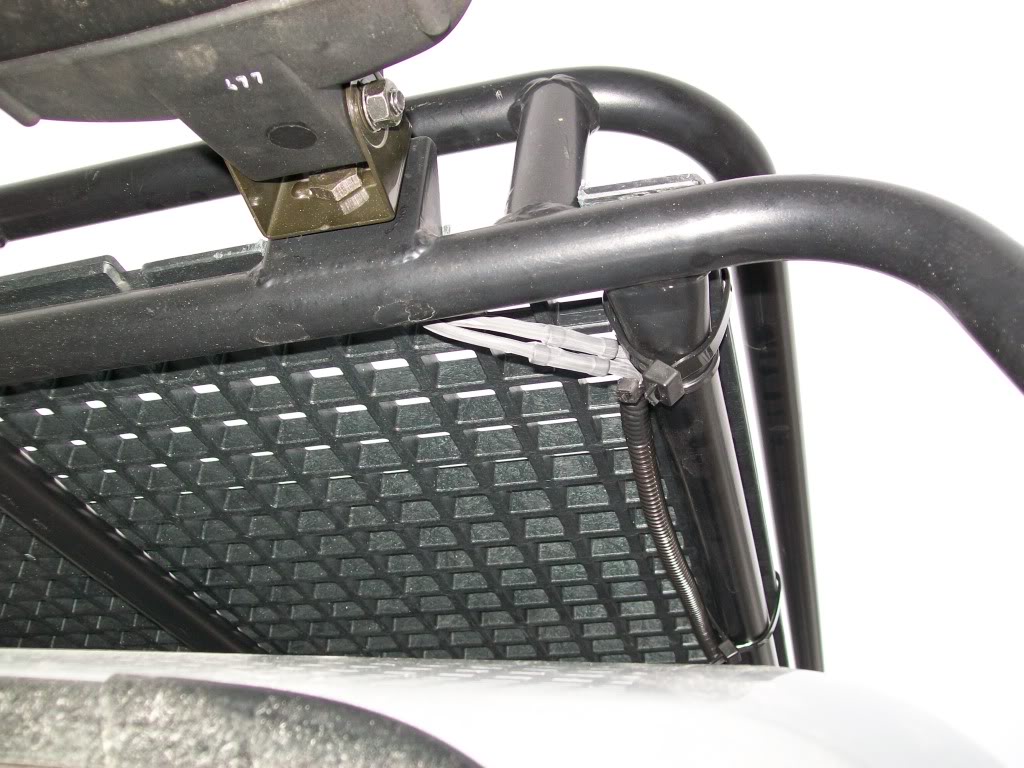
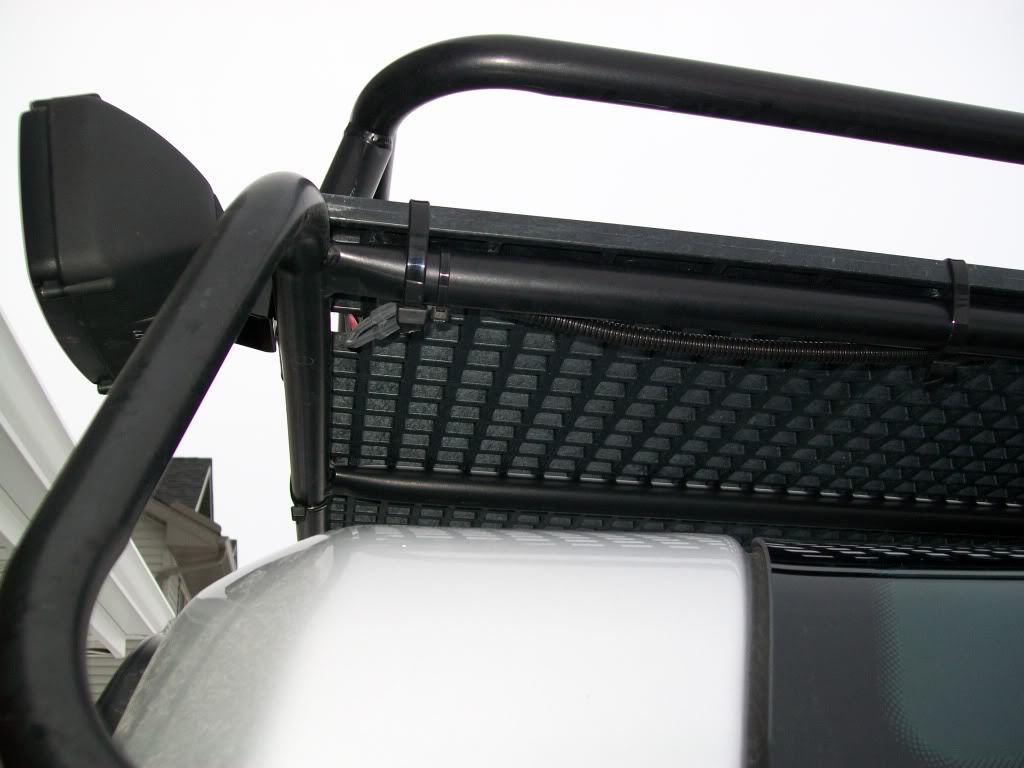
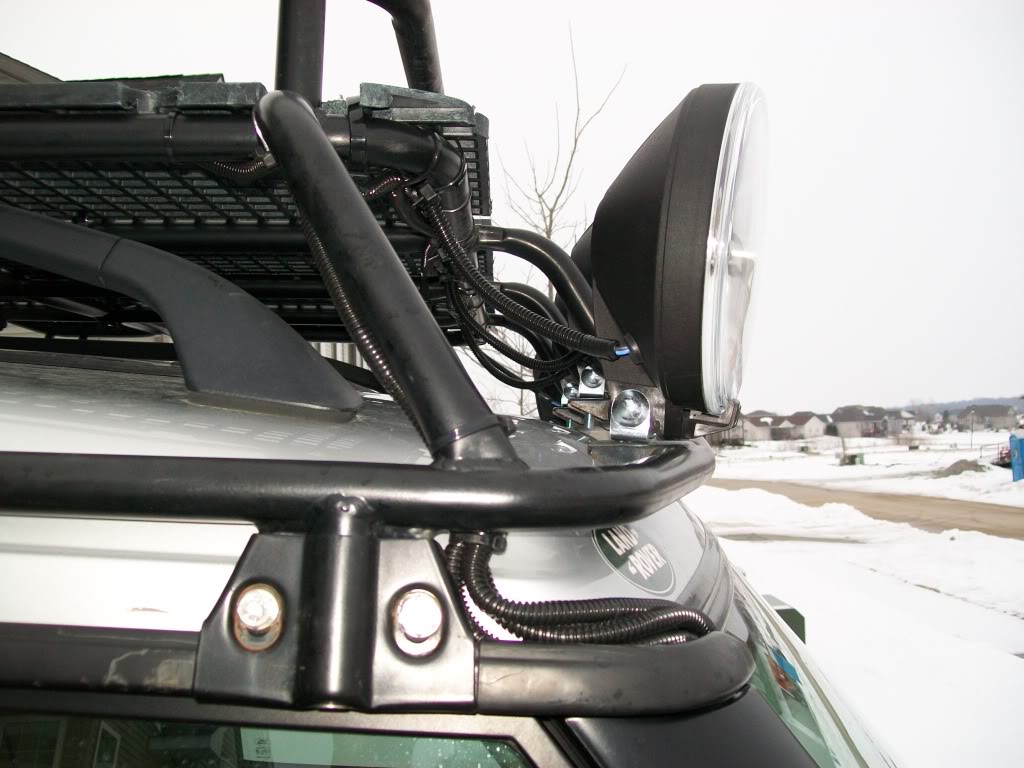
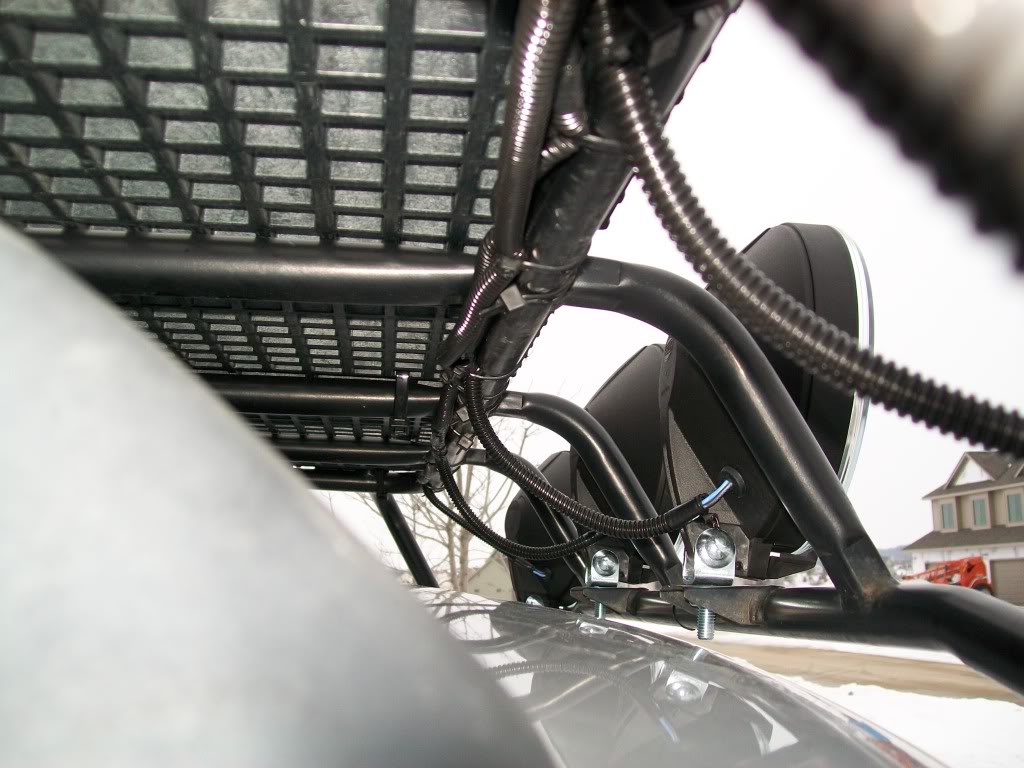
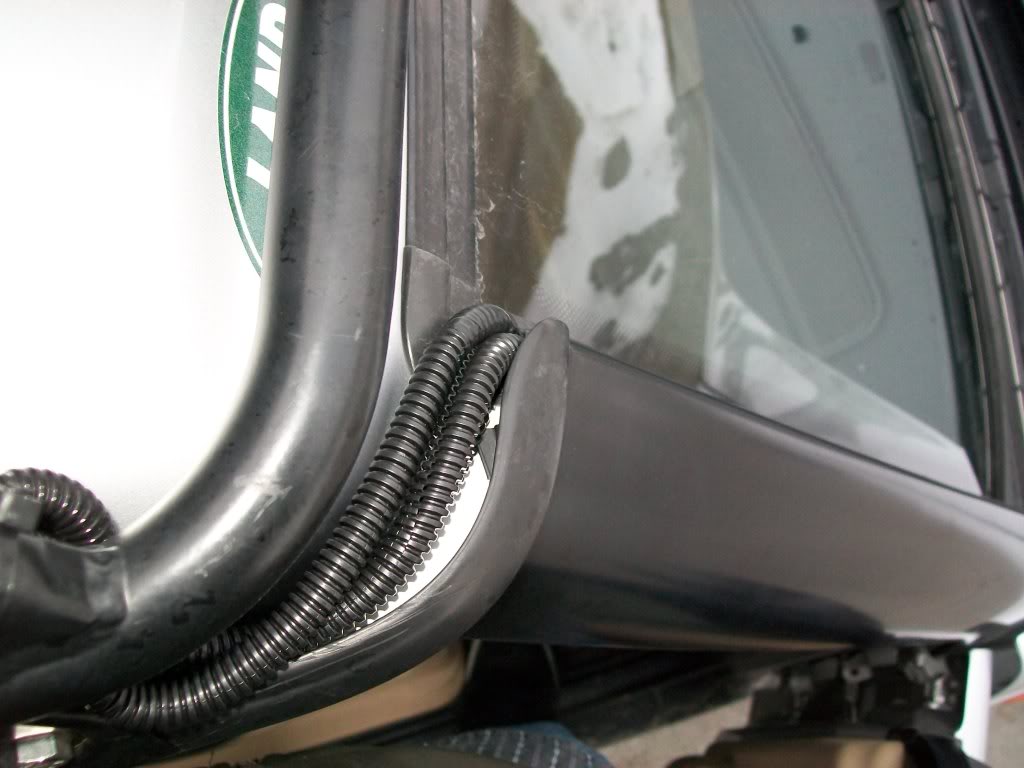
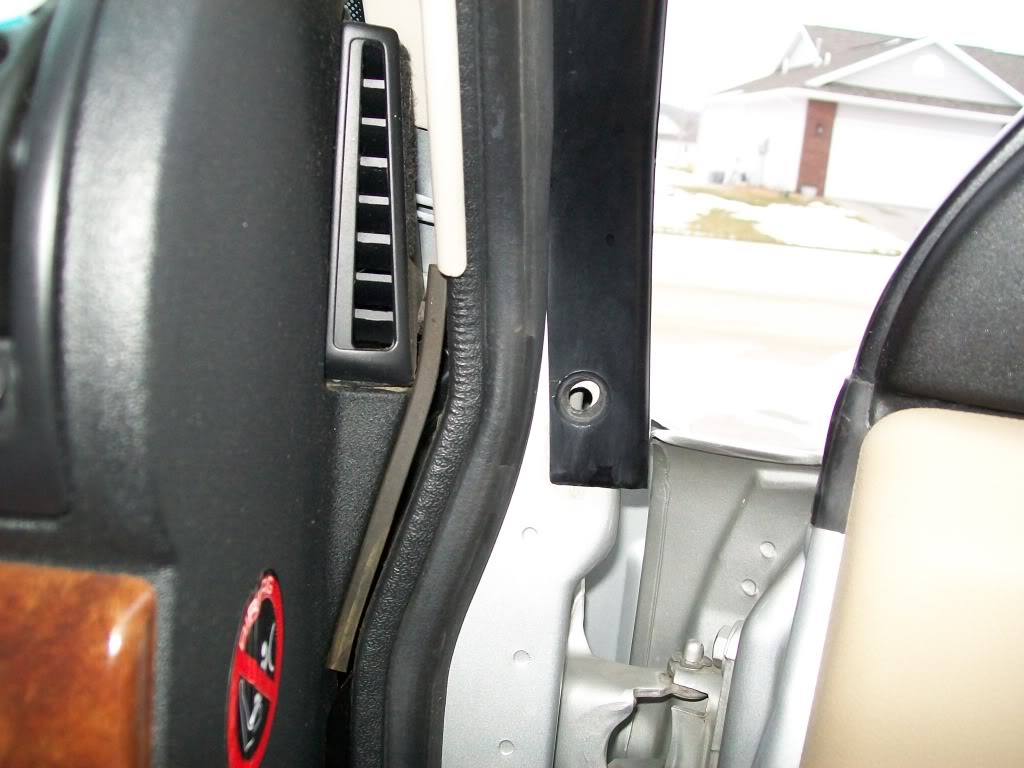
You probably can't see them in this picture but there are 3 pop-rivets on the inside of the plastic a-pillar that are "one-time" use. I thought I would be able to save them and reuse but I was wrong. I just ordered 3 from AB (http://www.roverparts.com/Parts/79086.cfm) and I am hoping that it stays on until they arrive.
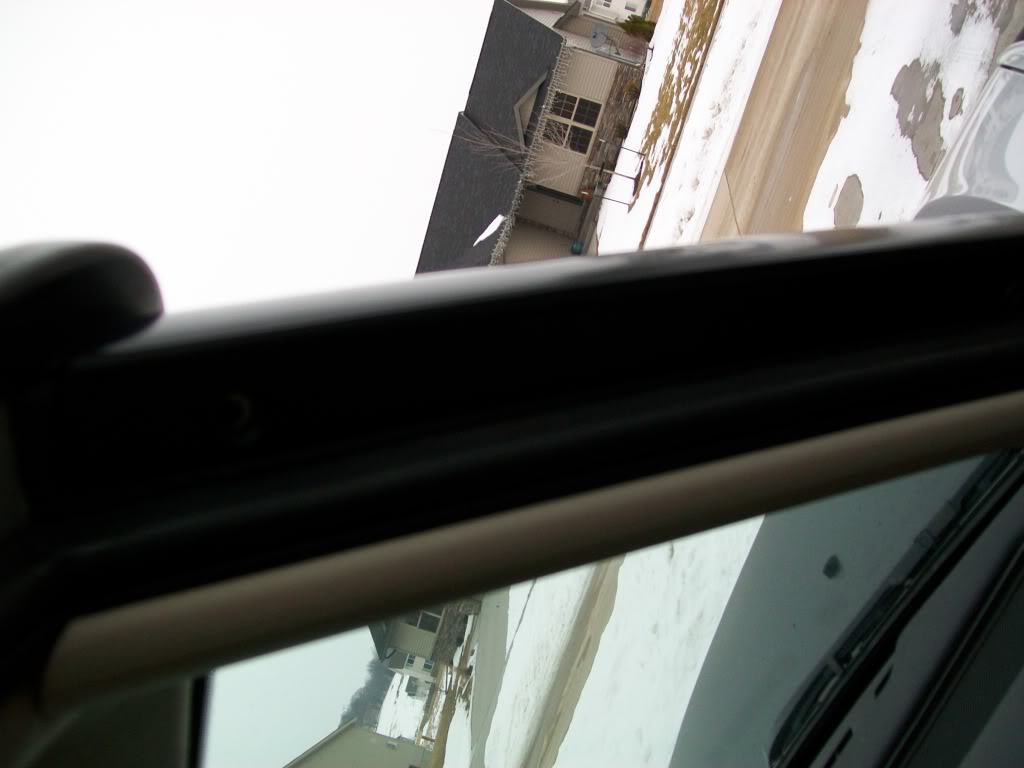
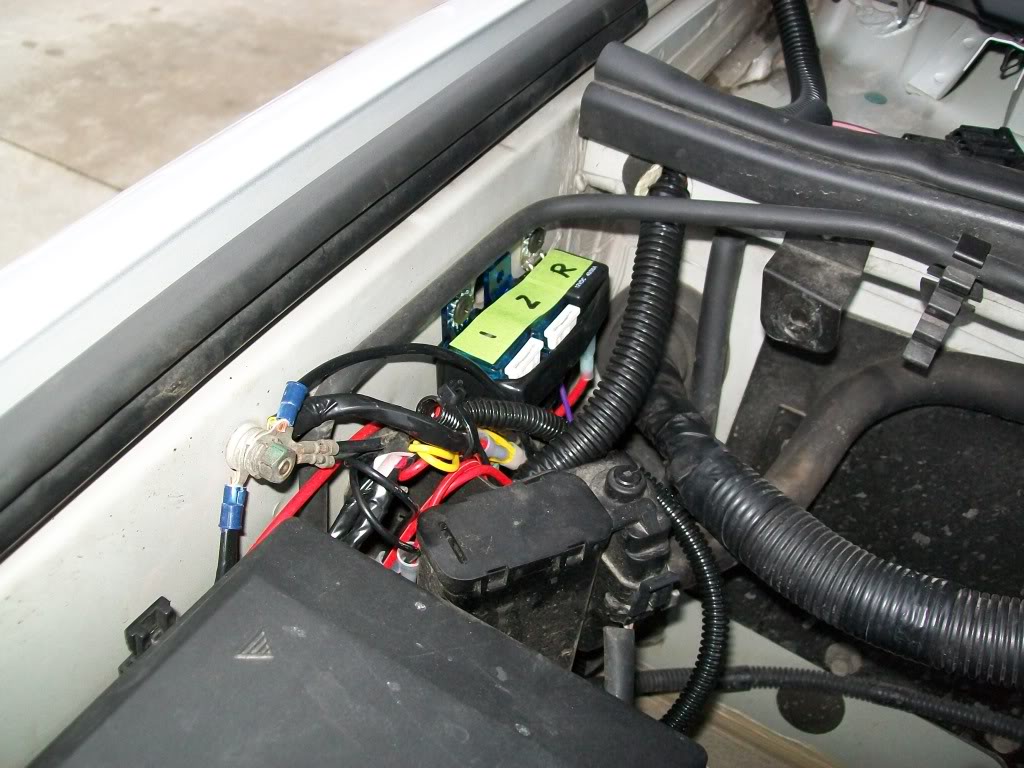
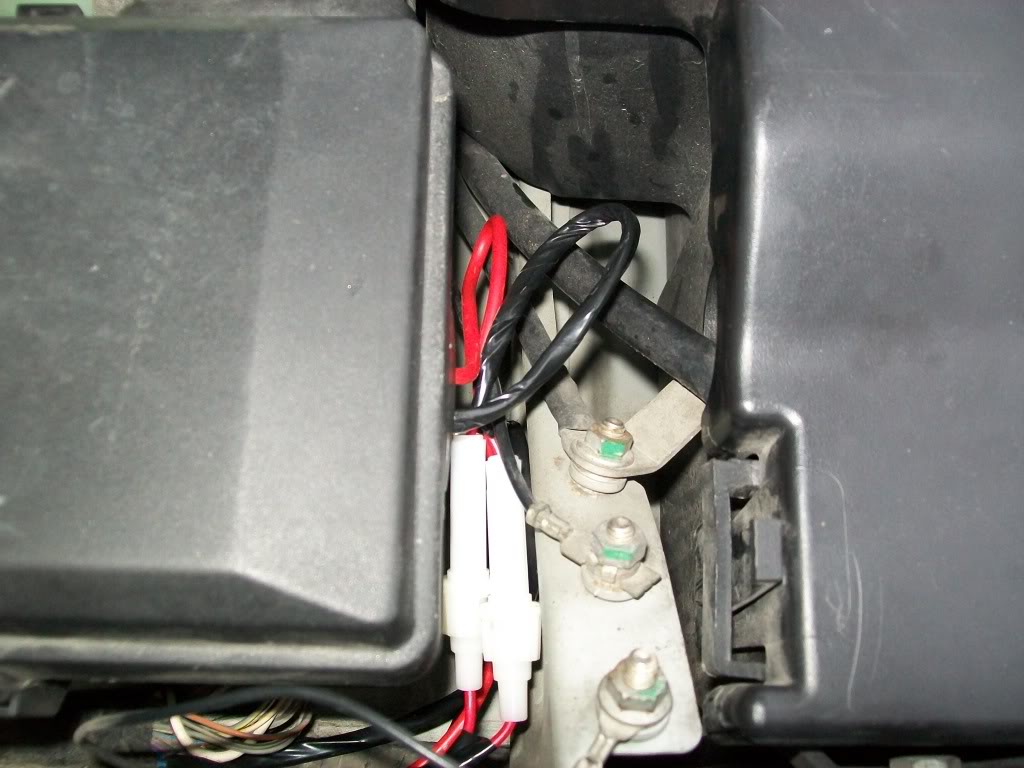
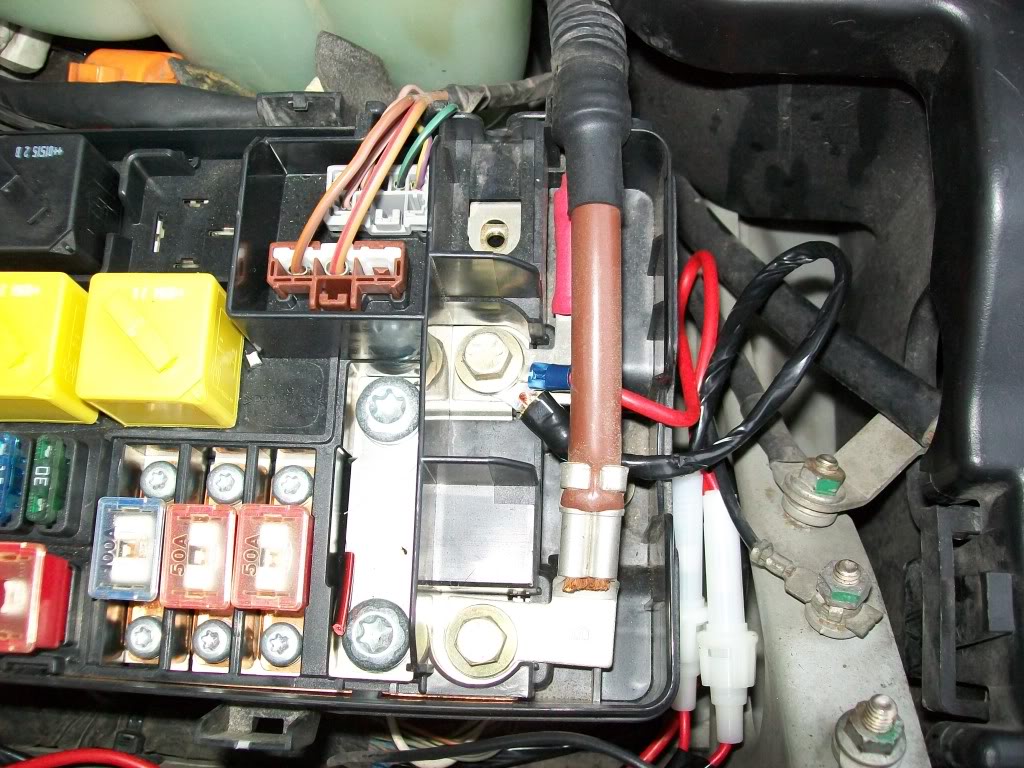
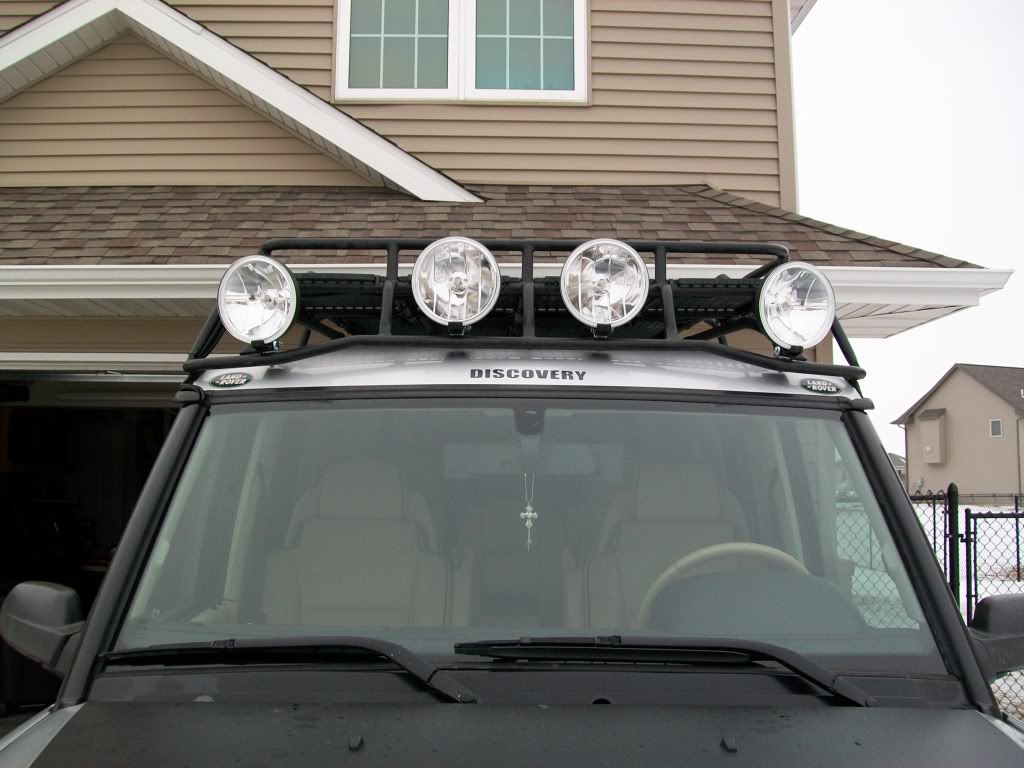
If anyone has any questions let me know.
THANKS-
The setup is 1 Dual Bulb Hella Work Lamp on the back and 4 Hella 700FF lights on the front. Once it is dark I will take some pictures as well so you can see them in action.
I tapped one of the bulbs in the back into the reverse lights and ran one to a switch inside the truck. All 4 up front are run to a switch inside the truck that is independent of the ignition or other lights.
Both switches were run with power so that the indicator light comes on when the switch is pressed and the lights are on.
I used the ash gray switches from the '99-00 as they were like $20per and the black ones from the '03-04 are $100per. My plan is to take the blank ones that were in the truck stock and drill a little hole for the light and pop them on.
You probably can't see them in this picture but there are 3 pop-rivets on the inside of the plastic a-pillar that are "one-time" use. I thought I would be able to save them and reuse but I was wrong. I just ordered 3 from AB (http://www.roverparts.com/Parts/79086.cfm) and I am hoping that it stays on until they arrive.
If anyone has any questions let me know.
THANKS-

Thread Starter
|
Winching
Joined: Feb 2009
Posts: 513
Likes: 3
From: Pine Barrens, NJ
Nope to the second one. It just goes through the bung on the passenger side and stays under the dash above the floor and up into the dash under the steering wheel. None of it is exposed within the truck either.
Once you start this project it is easy and pretty self explanatory. Once those 3 clips get here I will pull the pillar off before I put the clips in and take another picture.

Thread Starter
|
Winching
Joined: Feb 2009
Posts: 513
Likes: 3
From: Pine Barrens, NJ
Thanks-
I got it from Vigg - if you go to their website you will see it on the white D2 in under the "store" link. All 3 of the decals on my roof came as one, I just cut them and spread the 3 across the roof line. It was actually my lady's idea but I kind of like it better this way.

Recovery Vehicle
Joined: Mar 2008
Posts: 1,155
Likes: 8
From: UK
Couple of tips for you,
With ref to the plastic rivets that hold the a pillar trims on, what you can do to save them is drill a tiny hole in the centre of the middle pin, then screw in a tiny self tapping screw and use a pair of pliers to pull the centres out
Also, where your light conduit comes of the rack and sits against the corner of the roof, that will overtime rub your paint away, so either tie wrap it "off" the roof surface, or get some of that clear vinyl that you can stick onto the panel underneath to protect the paint, offcourse you could fit a snorkel, and that makes the wiring easier to get up to the rack
With ref to the plastic rivets that hold the a pillar trims on, what you can do to save them is drill a tiny hole in the centre of the middle pin, then screw in a tiny self tapping screw and use a pair of pliers to pull the centres out
Also, where your light conduit comes of the rack and sits against the corner of the roof, that will overtime rub your paint away, so either tie wrap it "off" the roof surface, or get some of that clear vinyl that you can stick onto the panel underneath to protect the paint, offcourse you could fit a snorkel, and that makes the wiring easier to get up to the rack
Thread Starter
|
Winching
Joined: Feb 2009
Posts: 513
Likes: 3
From: Pine Barrens, NJ
Couple of tips for you,
With ref to the plastic rivets that hold the a pillar trims on, what you can do to save them is drill a tiny hole in the centre of the middle pin, then screw in a tiny self tapping screw and use a pair of pliers to pull the centres out
Also, where your light conduit comes of the rack and sits against the corner of the roof, that will overtime rub your paint away, so either tie wrap it "off" the roof surface, or get some of that clear vinyl that you can stick onto the panel underneath to protect the paint, offcourse you could fit a snorkel, and that makes the wiring easier to get up to the rack
With ref to the plastic rivets that hold the a pillar trims on, what you can do to save them is drill a tiny hole in the centre of the middle pin, then screw in a tiny self tapping screw and use a pair of pliers to pull the centres out
Also, where your light conduit comes of the rack and sits against the corner of the roof, that will overtime rub your paint away, so either tie wrap it "off" the roof surface, or get some of that clear vinyl that you can stick onto the panel underneath to protect the paint, offcourse you could fit a snorkel, and that makes the wiring easier to get up to the rack
As for the conduit, I am going to go to the hardware store now and get some 2in wide black electrical tape and pull the zip ties off. Then wrap everything because the slit down the conduit for you to get the wiring into it is making a horrible whistle at 30mph+ and my lady will not even ride in it until I get it fixed. Once I do this I will zip them back on so they are NOT touching the paint.
Thanks for the tips. I will add the pictures in the dark tonight.

Thread
Thread Starter
Forum
Replies
Last Post
thehun
Discovery I
26
Mar 7, 2013 01:35 AM


