
Home-made Limb Risers - PICS


Thread Starter
|
Winching
Joined: Feb 2009
Posts: 513
Likes: 3
From: Pine Barrens, NJ
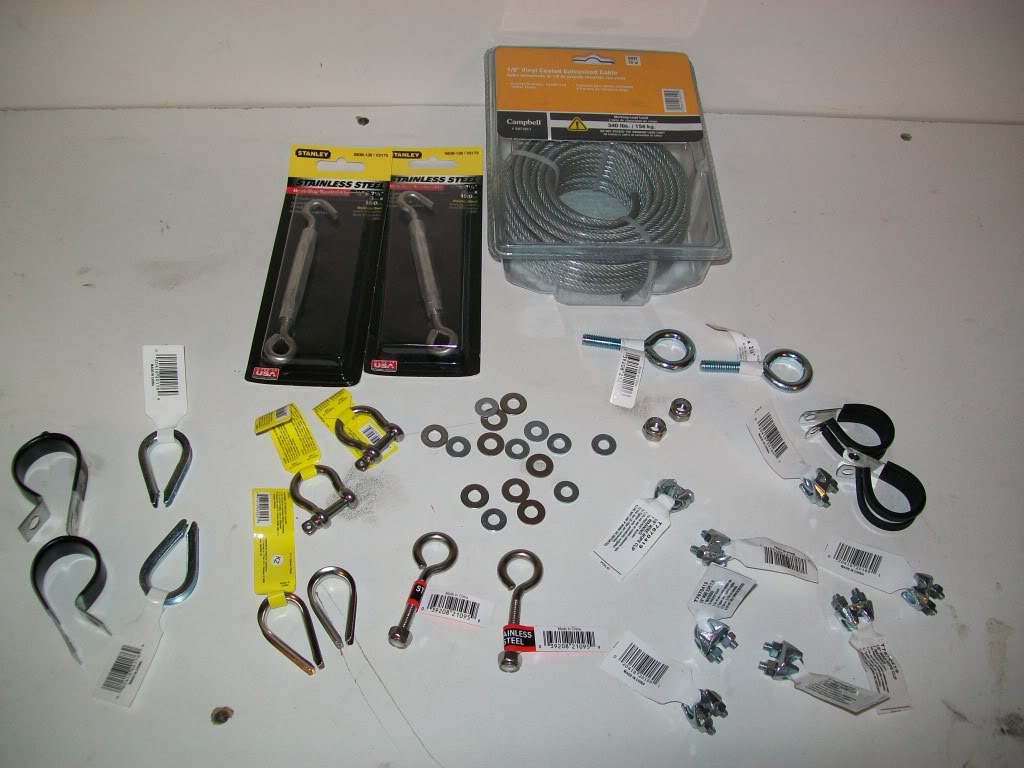
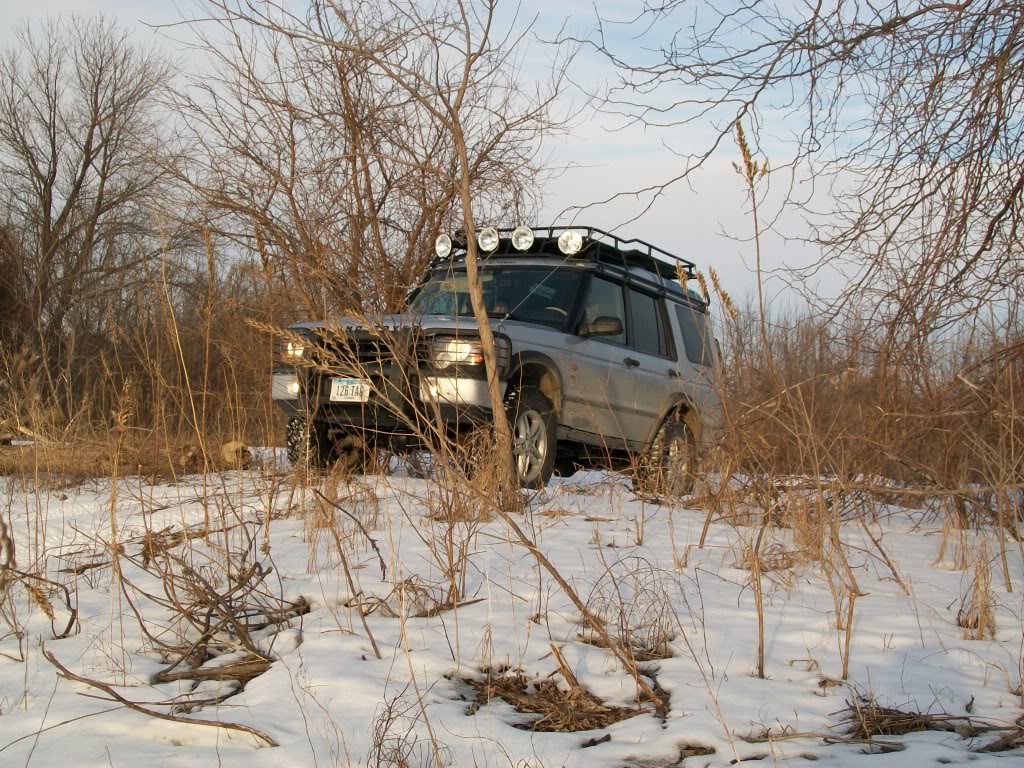
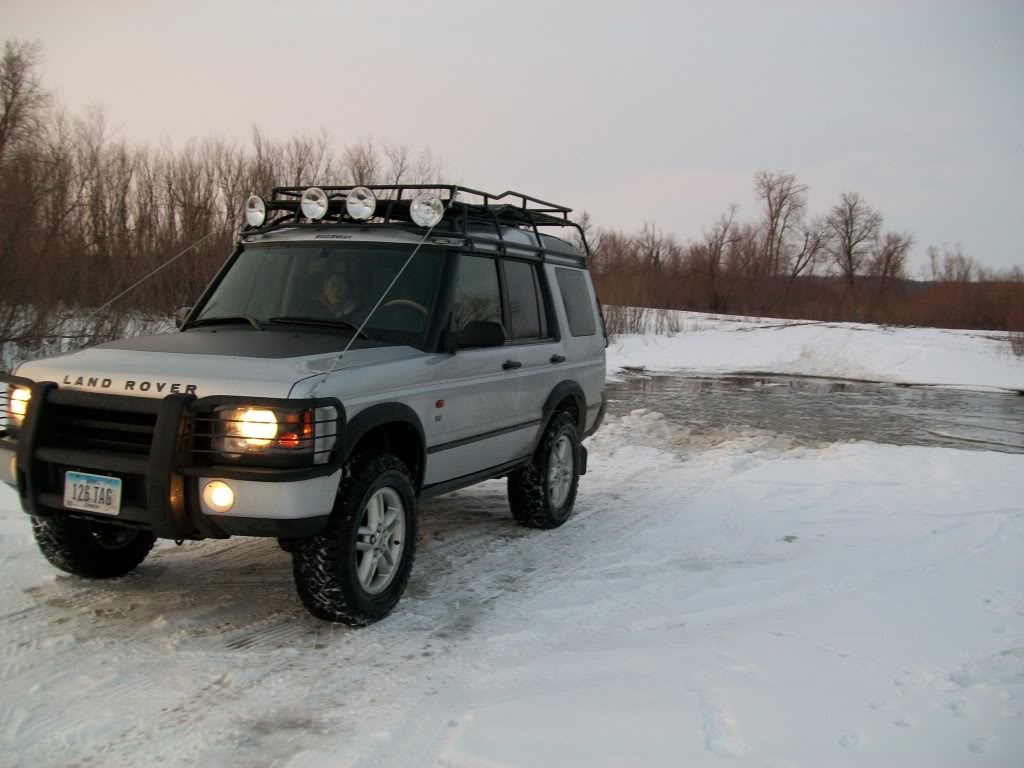
So I made some limb risers today, took some photo's, and thought I would post for you guys.
I used all stainless steel parts except for 2 of the thimble's and the front 2 "p" clamps as I these were the only ones I could find in my size. Also the cable is coated galvanized steel cable. Total cost was around $45 but I am sure if you didn't care about stainless steel then you would do it for 1/2 or less.
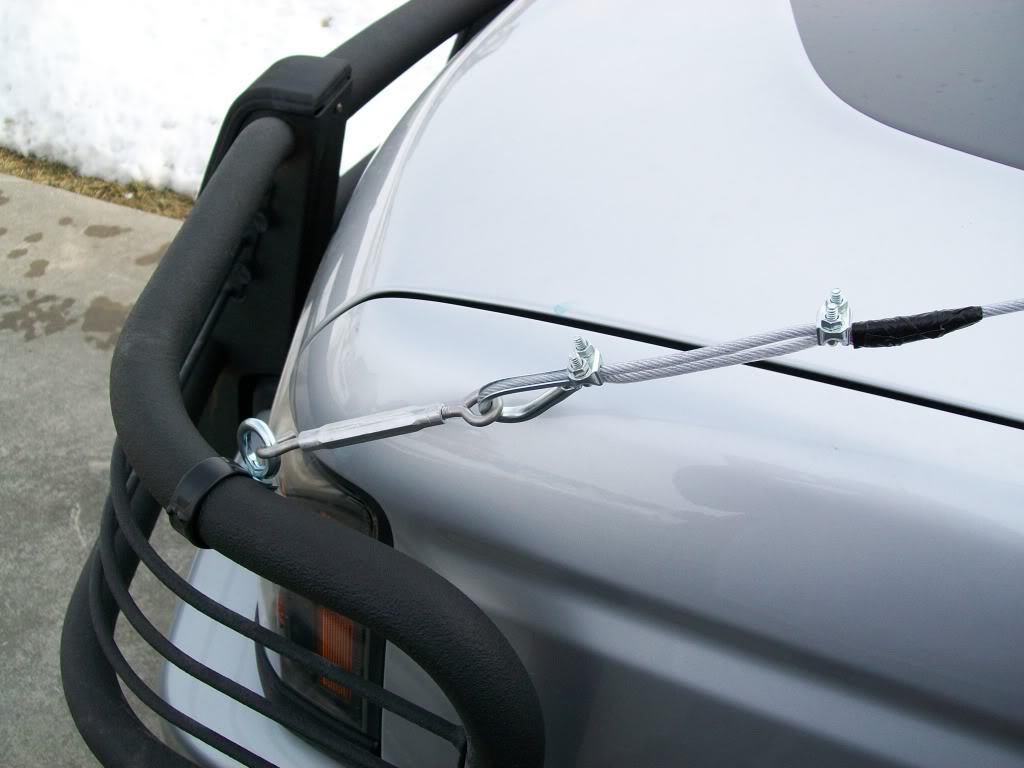
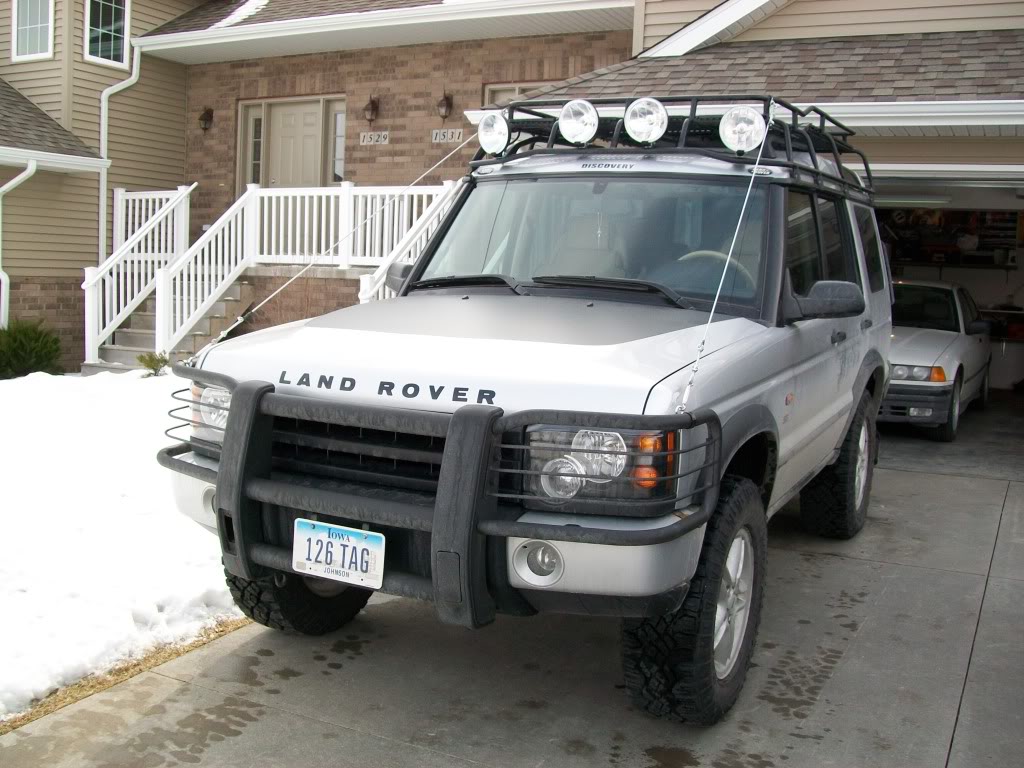
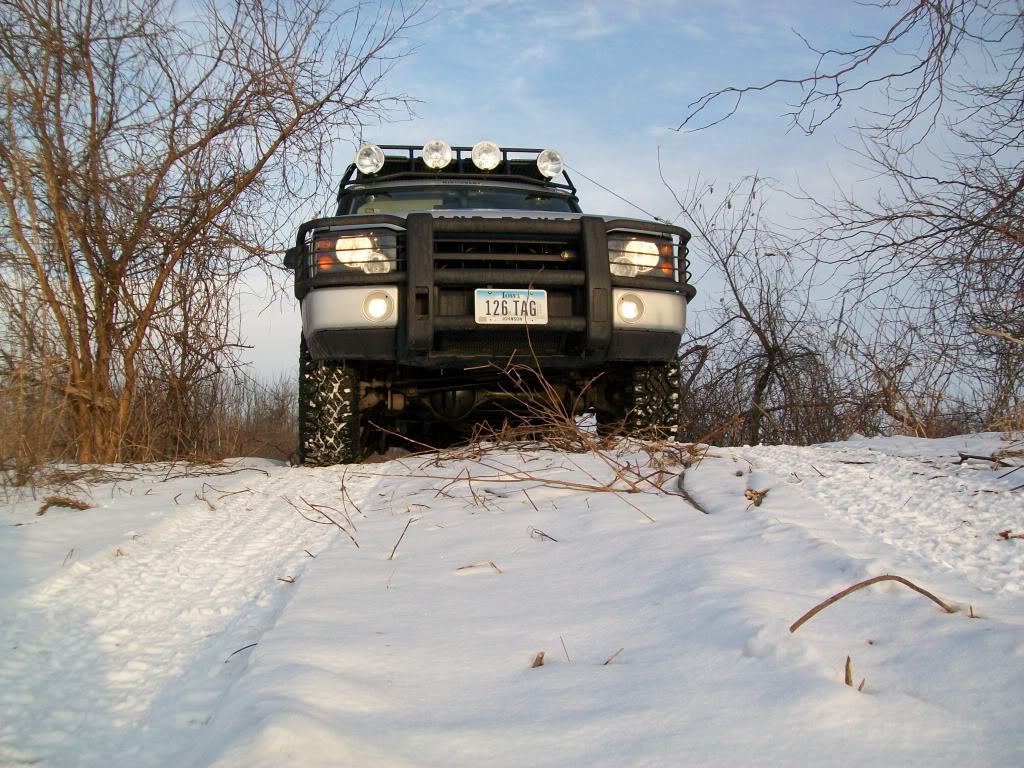
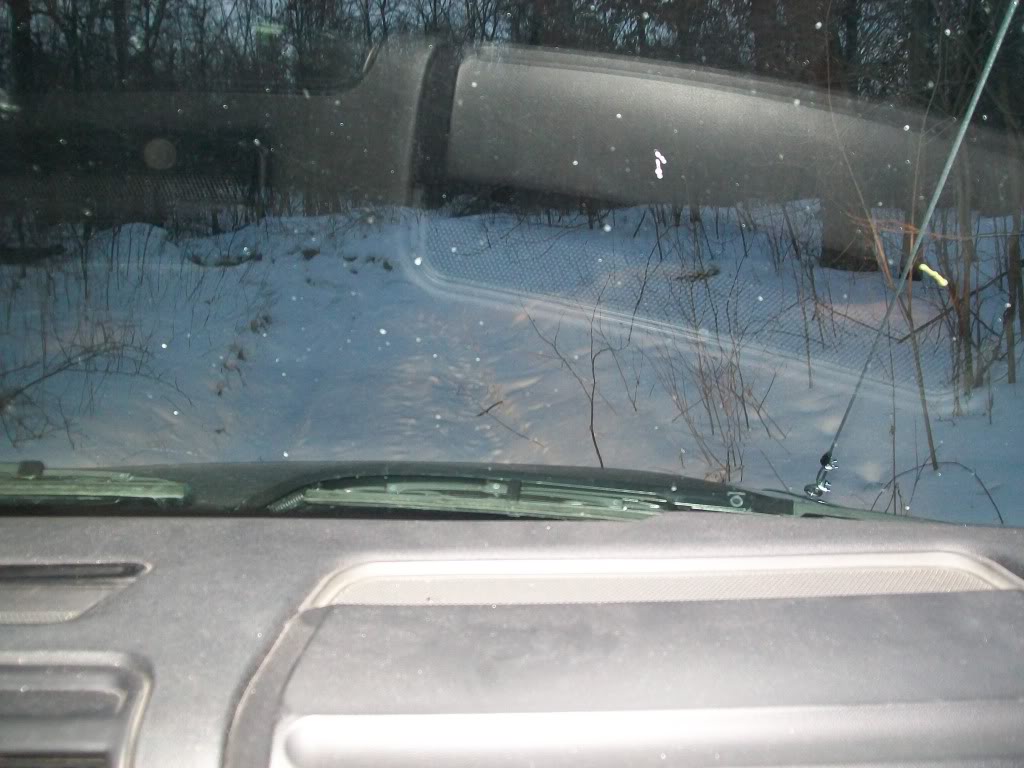
I tried mounting the "p" clamps in several different spots to allow me to open the hood without having to take the risers off with no luck. So I just ended up putting them where I thought they looked best, would brush as many limbs off as possible, and didn't rub on my Hella lights. Also, as you can see, the ones I made can come off in 60 seconds or less so its really no big deal.
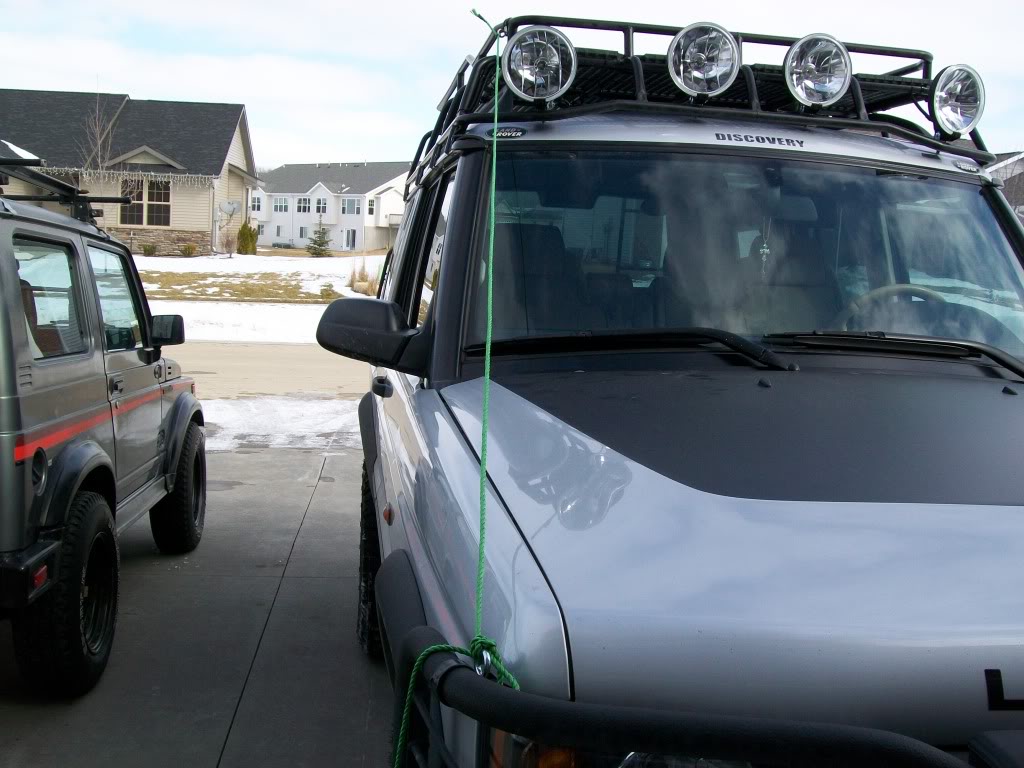
You will see in one of the photos that I used some thin green rope to test the different angles and get my lengths for the cable. Its 20 degrees outside so I tried to minimize the time I had to spend in the driveway by building them in the garage and just taking them outside once I was done.
Please let me know if anyone has any questions or would like sizes, part numbers, or anything else I can help out with.

I used all stainless steel parts except for 2 of the thimble's and the front 2 "p" clamps as I these were the only ones I could find in my size. Also the cable is coated galvanized steel cable. Total cost was around $45 but I am sure if you didn't care about stainless steel then you would do it for 1/2 or less.
I tried mounting the "p" clamps in several different spots to allow me to open the hood without having to take the risers off with no luck. So I just ended up putting them where I thought they looked best, would brush as many limbs off as possible, and didn't rub on my Hella lights. Also, as you can see, the ones I made can come off in 60 seconds or less so its really no big deal.
You will see in one of the photos that I used some thin green rope to test the different angles and get my lengths for the cable. Its 20 degrees outside so I tried to minimize the time I had to spend in the driveway by building them in the garage and just taking them outside once I was done.
Please let me know if anyone has any questions or would like sizes, part numbers, or anything else I can help out with.

TReK
Joined: Mar 2008
Posts: 2,306
Likes: 3
From: Woodstock, GA
thats a great idea and looks good. There's only one thing I'd be concerned about. When you hit a really big limb those front clamps might slip enough to cause slack in the line and the cable could take the paint off the fender. How tight were you able to get the front clamps?

Thread Starter
|
Winching
Joined: Feb 2009
Posts: 513
Likes: 3
From: Pine Barrens, NJ
thats a great idea and looks good. There's only one thing I'd be concerned about. When you hit a really big limb those front clamps might slip enough to cause slack in the line and the cable could take the paint off the fender. How tight were you able to get the front clamps?
Good observation though, you are always on the ball, aren't you?
Thread Starter
|
Winching
Joined: Feb 2009
Posts: 513
Likes: 3
From: Pine Barrens, NJ
LOL - I am sure it does.... The only part that is the same is the "p" clamp you used on the roof rack, other wise I think everything else is different.
I did have a question for you though; when are you going to get this page live http://www.discovery2.co.uk/SD_rack_lighting? It really would have helped me out the other day before I did my roof lights.
THANKS-
I did have a question for you though; when are you going to get this page live http://www.discovery2.co.uk/SD_rack_lighting? It really would have helped me out the other day before I did my roof lights.
THANKS-

Recovery Vehicle
Joined: Mar 2008
Posts: 1,155
Likes: 8
From: UK
LOL - I am sure it does.... The only part that is the same is the "p" clamp you used on the roof rack, other wise I think everything else is different.
I did have a question for you though; when are you going to get this page live http://www.discovery2.co.uk/SD_rack_lighting? It really would have helped me out the other day before I did my roof lights.
THANKS-
I did have a question for you though; when are you going to get this page live http://www.discovery2.co.uk/SD_rack_lighting? It really would have helped me out the other day before I did my roof lights.
THANKS-
Only joking lol, I did only notice / remind myself the other day actually and seeing your piccys etc jogged me memory again and made me think I must do it. It's similar to yours, although theres a few differences as I have a snorkel fitted so the conduit goes up the side of that. "Some" of it is covered in the rear work lamp page, but its only the routing etc, the switches and power source / relays is all under the original roof rack lighting page.

TReK
Joined: Mar 2008
Posts: 2,306
Likes: 3
From: Woodstock, GA
I think I just have a knack for seeing what can go wrong on the trail lol. If it was my old grand cherokee I wouldn't care but I'd like to keep my disco looking good and yours its really nice so i'd hate to see it get scratched up unnecessarily.
If it was my old grand cherokee I wouldn't care but I'd like to keep my disco looking good and yours its really nice so i'd hate to see it get scratched up unnecessarily.
Thread Starter
|
Winching
Joined: Feb 2009
Posts: 513
Likes: 3
From: Pine Barrens, NJ
Its a secret!!!!
Only joking lol, I did only notice / remind myself the other day actually and seeing your piccys etc jogged me memory again and made me think I must do it. It's similar to yours, although theres a few differences as I have a snorkel fitted so the conduit goes up the side of that. "Some" of it is covered in the rear work lamp page, but its only the routing etc, the switches and power source / relays is all under the original roof rack lighting page.
Only joking lol, I did only notice / remind myself the other day actually and seeing your piccys etc jogged me memory again and made me think I must do it. It's similar to yours, although theres a few differences as I have a snorkel fitted so the conduit goes up the side of that. "Some" of it is covered in the rear work lamp page, but its only the routing etc, the switches and power source / relays is all under the original roof rack lighting page.
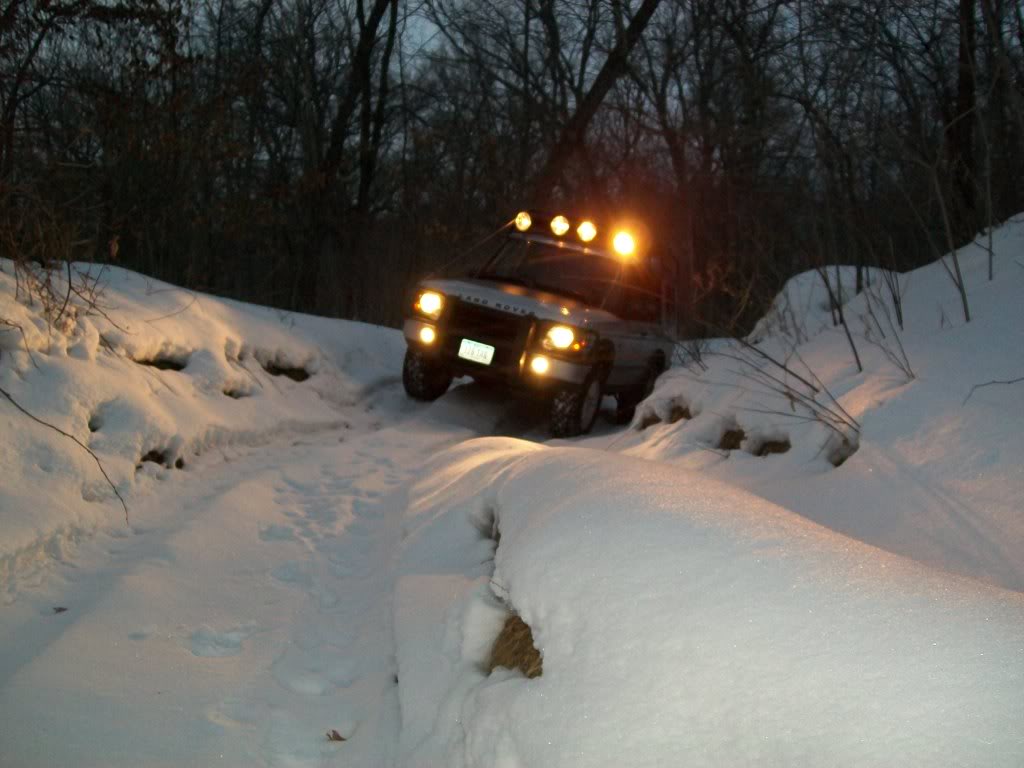
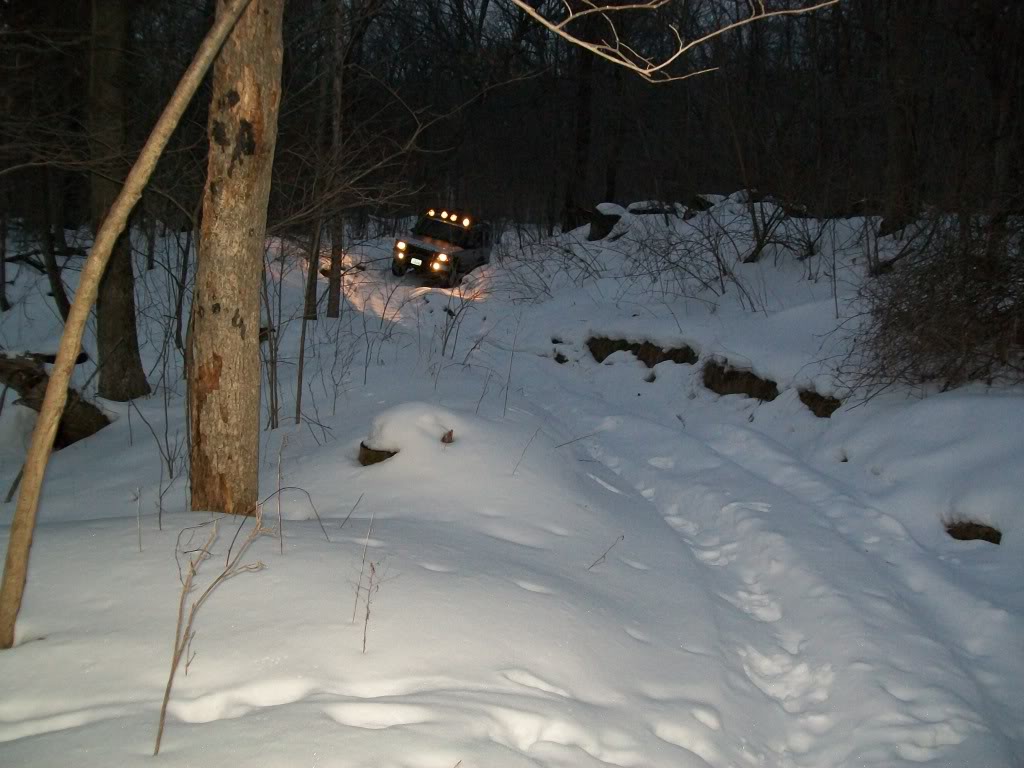
Thanks-
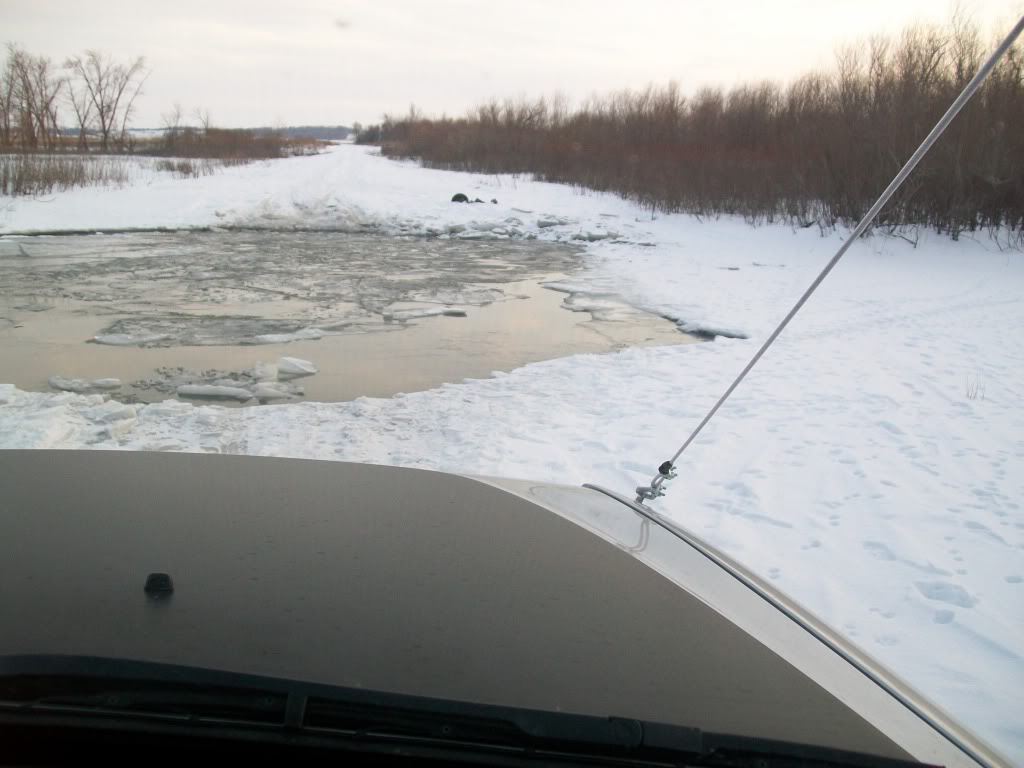
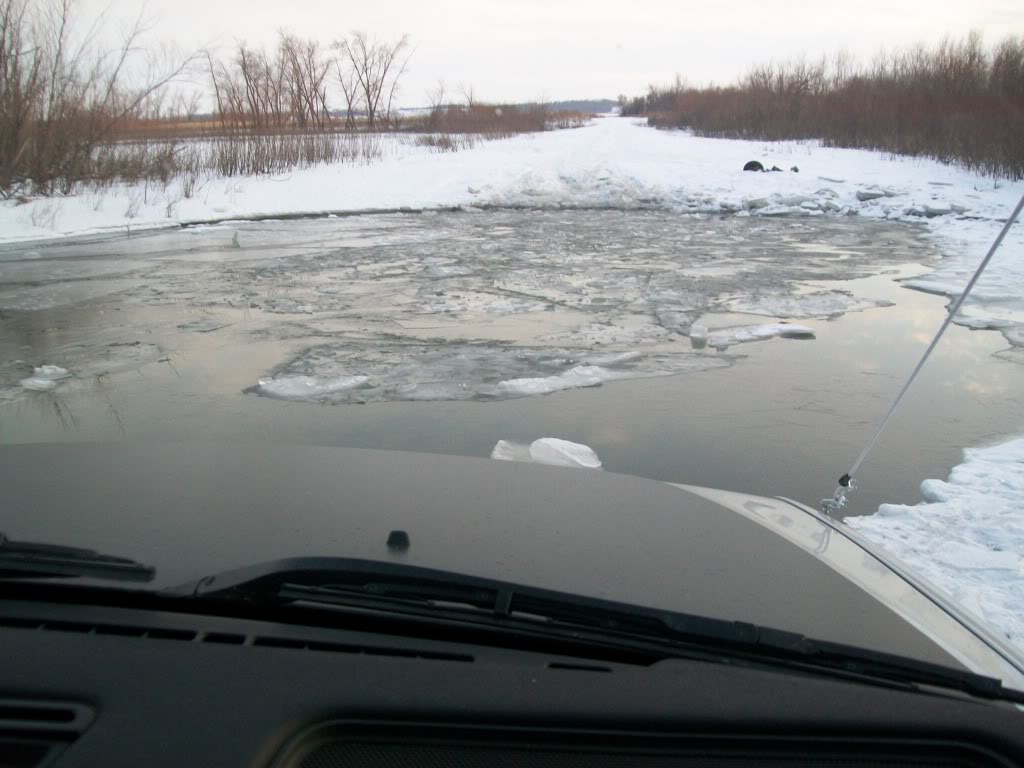
Here is a couple pictures from tonight:

Thread
Thread Starter
Forum
Replies
Last Post