Discovery II Talk about the Land Rover Discovery II within.
Sponsored by:
Sponsored by:

I know, I know, another 3 amigos post. But I really need your guys help.

Thread Tools
 
Search this Thread
 
  #11  
Old 08-20-2020, 12:27 PM
mln01's Avatar
Camel Trophy
Join Date: Dec 2009
Location: Charlotte
Posts: 3,762
Received 895 Likes on 646 Posts
Default

Yeah, forgive me if you know this already, but there are tiny release tabs on the pin for each wire accessed from the backside of the connector.

Was the end of the new sensor wire bare or did it already have the pins installed? I recall the ones I saw online were stripped and bare.
 
  #12  
Old 08-20-2020, 12:32 PM
Brandon318's Avatar
Pro Wrench
Thread Starter
Join Date: Apr 2019
Location: Monterey, CA
Posts: 1,613
Received 442 Likes on 279 Posts
Default

Originally Posted by mln01
Yeah, forgive me if you know this already, but there are tiny release tabs on the pin for each wire accessed from the backside of the connector.

Was the end of the new sensor wire bare or did it already have the pins installed? I recall the ones I saw online were stripped and bare.

They were bare but came with pins to solder or crimp onto.

...so the release tabs... they're accessed from the backside? Maybe I just need a thinner screwdriver to access them with. Ugh. I'm so tired of taking this truck apart, but maybe I'll give it another attempt today.
 
  #13  
Old 08-20-2020, 12:48 PM
mln01's Avatar
Camel Trophy
Join Date: Dec 2009
Location: Charlotte
Posts: 3,762
Received 895 Likes on 646 Posts
Default

Try a toothpick. Look carefully at the pins that came with the sensor to see how the release is configured.
 
  #14  
Old 08-20-2020, 12:54 PM
Brandon318's Avatar
Pro Wrench
Thread Starter
Join Date: Apr 2019
Location: Monterey, CA
Posts: 1,613
Received 442 Likes on 279 Posts
Default

I’ll give that a shot in a minute.

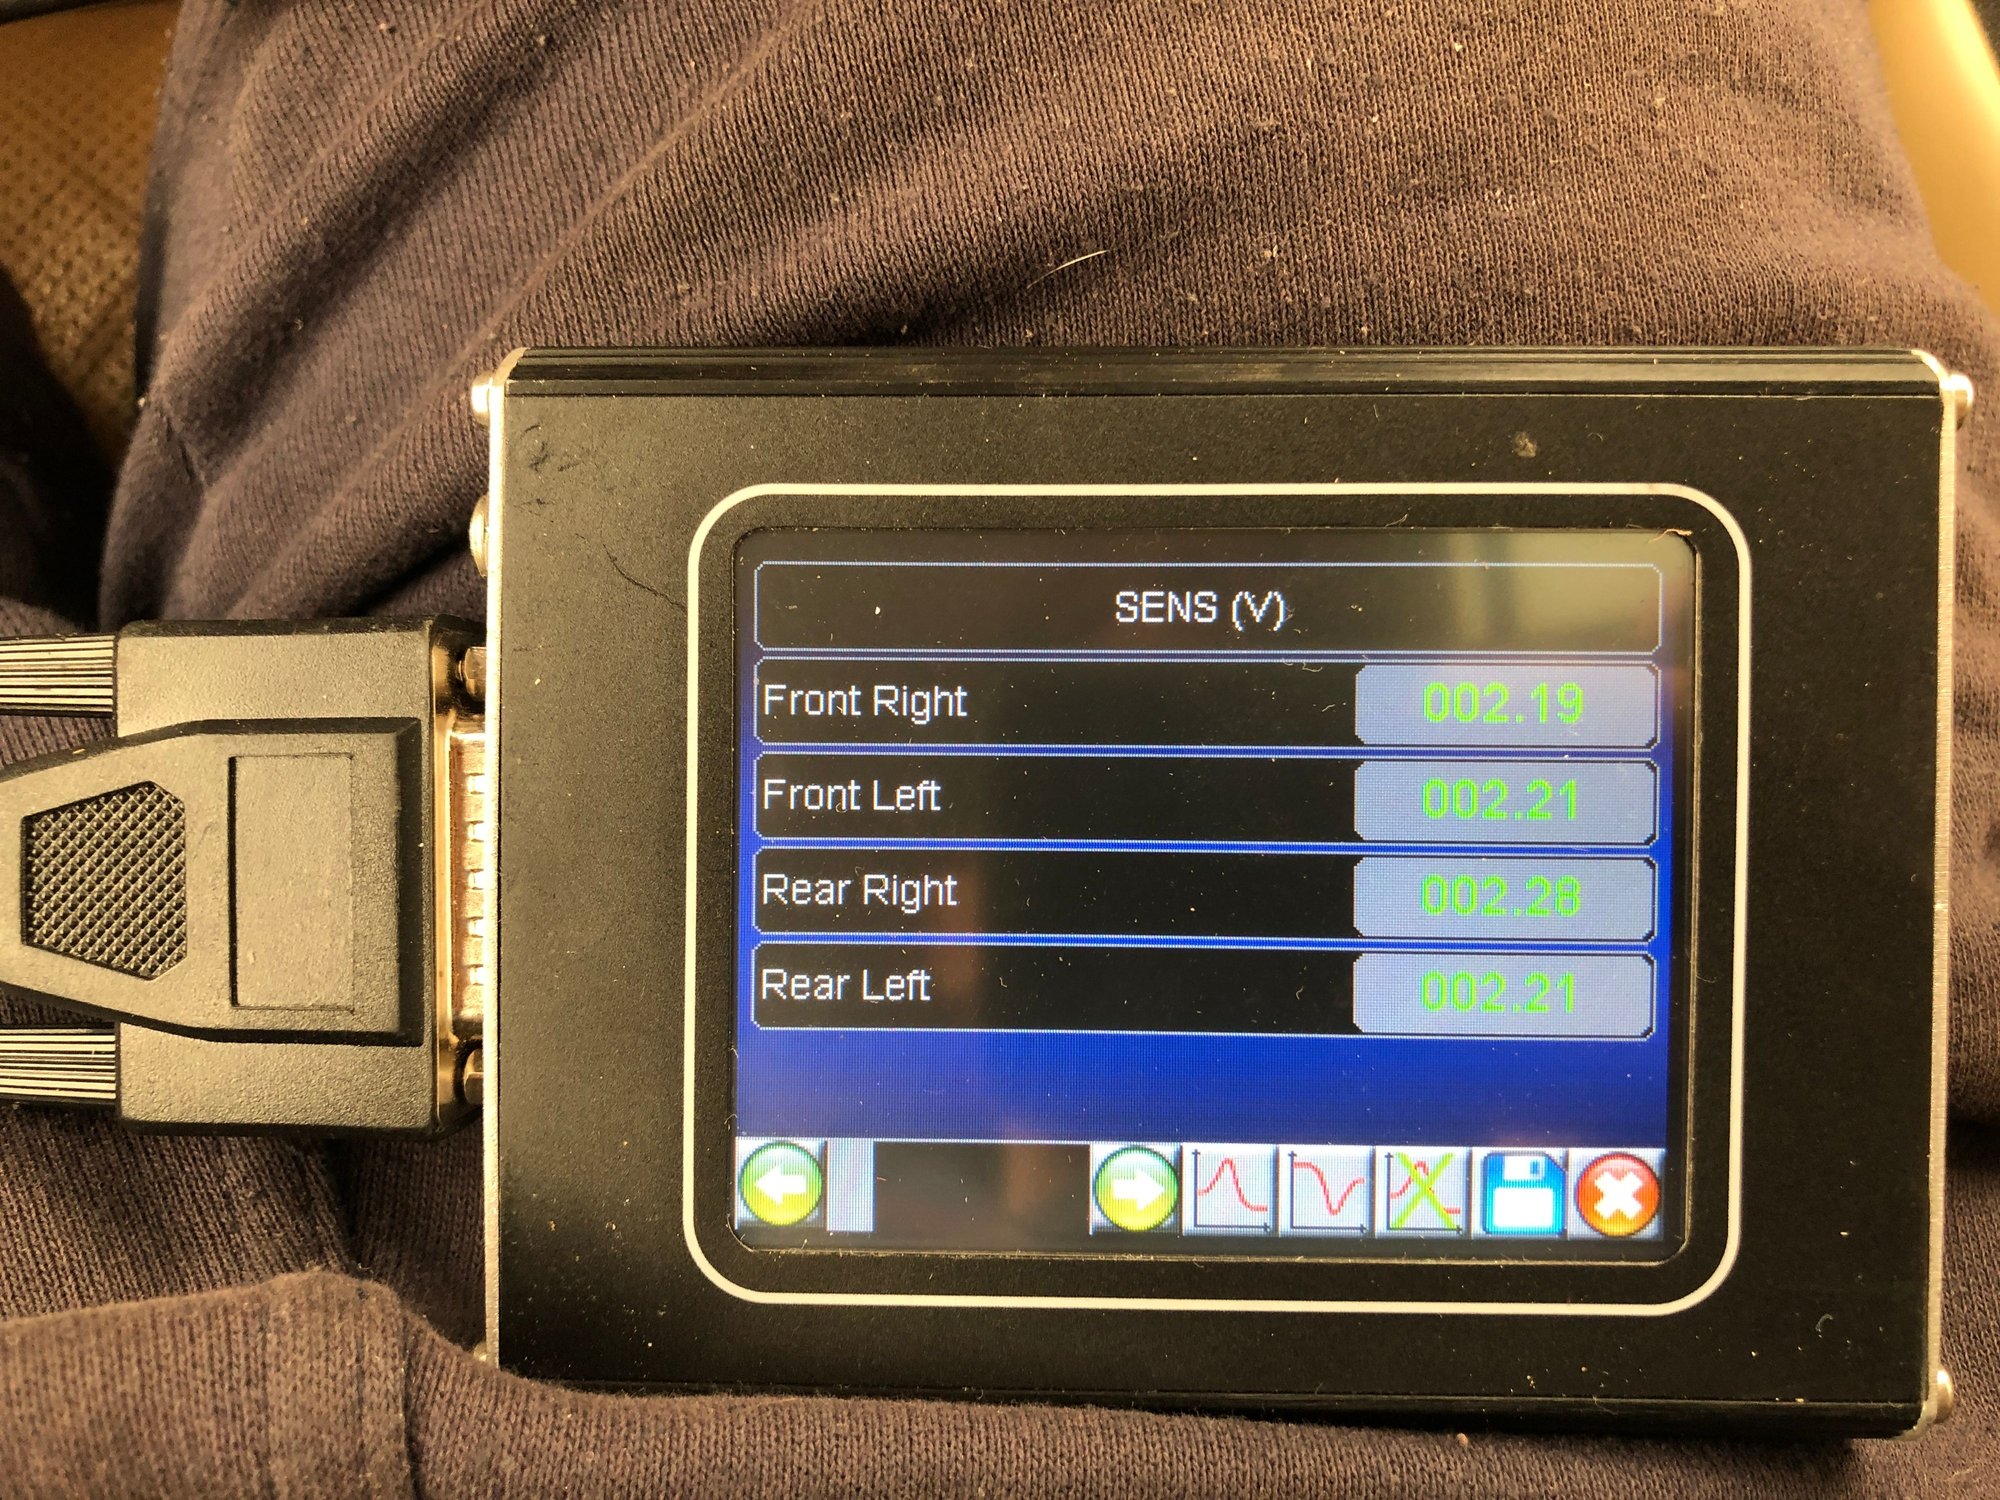
Just took live input readings of the sensors... don’t they all look OK?


  #15  
Old 08-20-2020, 12:56 PM
Best4x4's Avatar
Super Moderator
Join Date: Apr 2015
Location: Beaumont, TX
Posts: 7,737
Received 2,297 Likes on 1,688 Posts
Default

I use a small needle (borrow from the mrs sewing kit) then just gently apply pressure and it should release from the connector. On my 04, someone just went down about 3 inches and snip/spliced em poorly. I dunno why people don't cut em at say 6inches lol... I think I'll crawl under the dash and verify they're all connected good. The idiots ran the drivers side like just above the gas and brake pedals vs taking their time and routing it properly...
 
  #16  
Old 08-20-2020, 01:35 PM
Brandon318's Avatar
Pro Wrench
Thread Starter
Join Date: Apr 2019
Location: Monterey, CA
Posts: 1,613
Received 442 Likes on 279 Posts
Default

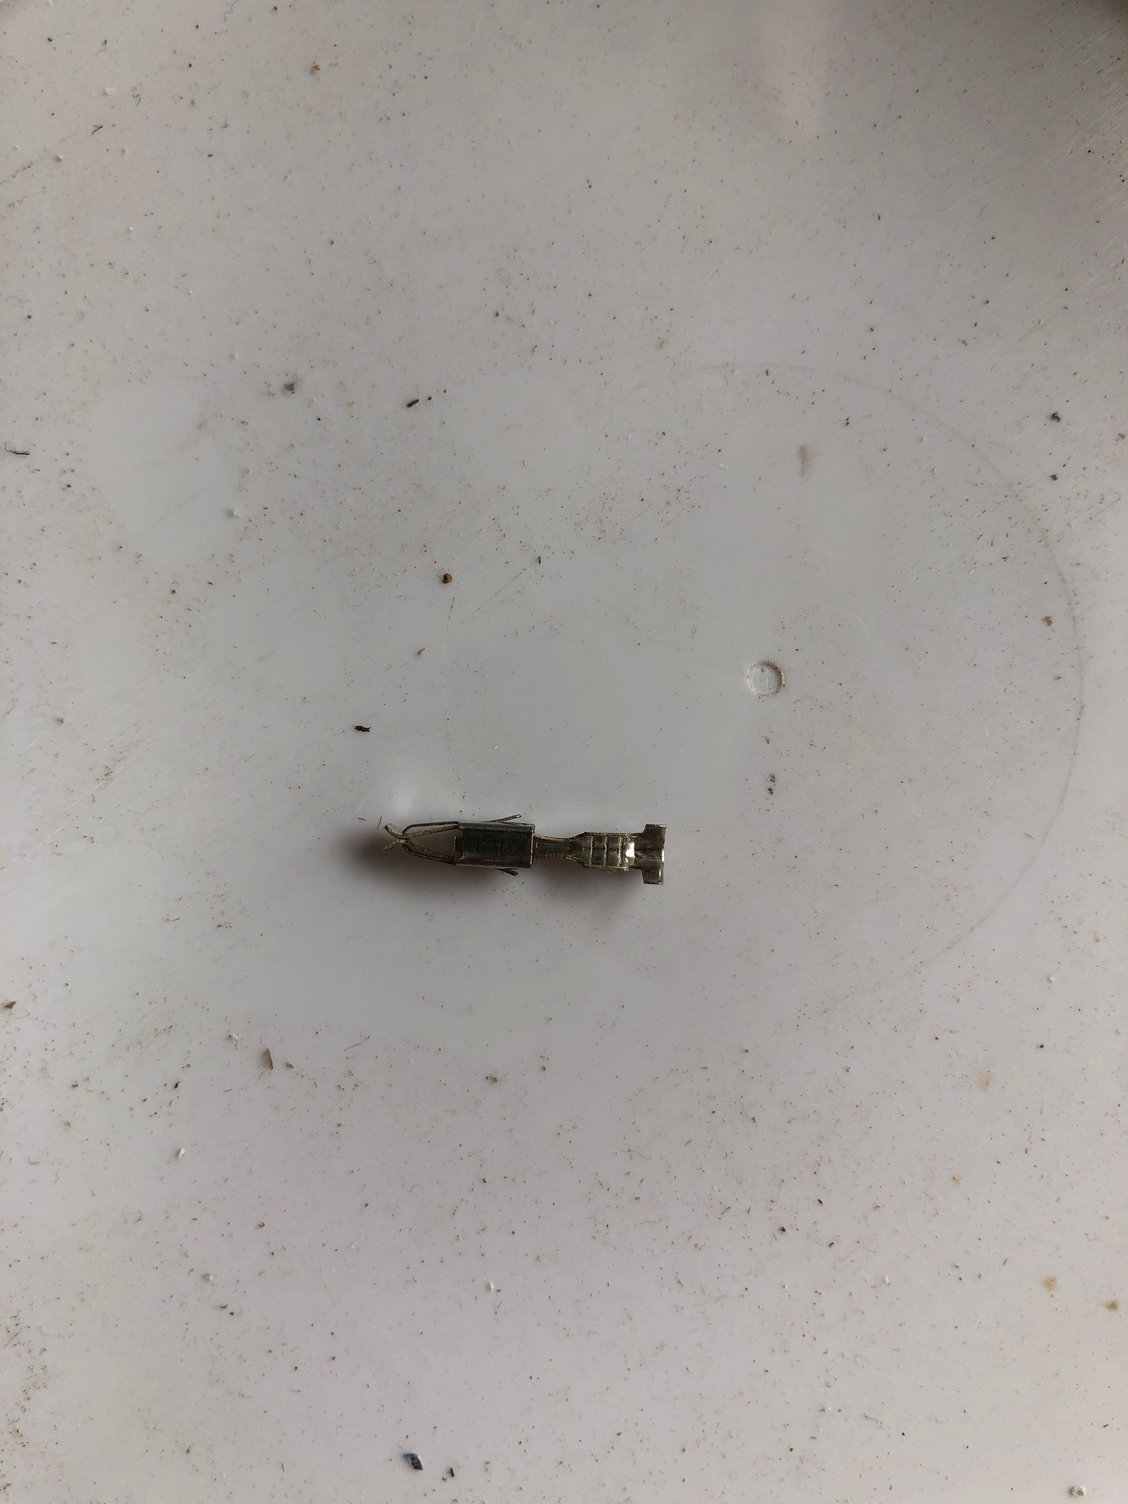
Are you sure it’s released from the back? The connector looks like the barbs need to be released from the front, ya?


This is a replacement one that came with the new wire.
 
  #17  
Old 08-20-2020, 01:41 PM
mln01's Avatar
Camel Trophy
Join Date: Dec 2009
Location: Charlotte
Posts: 3,762
Received 895 Likes on 646 Posts
Default

OK. Maybe the ABS pins are made to be released from the front. Whatever. The important thing is that you can see the little "ears" that need to be pressed down to release the pin.
 
  #18  
Old 08-20-2020, 02:14 PM
Brandon318's Avatar
Pro Wrench
Thread Starter
Join Date: Apr 2019
Location: Monterey, CA
Posts: 1,613
Received 442 Likes on 279 Posts
Default

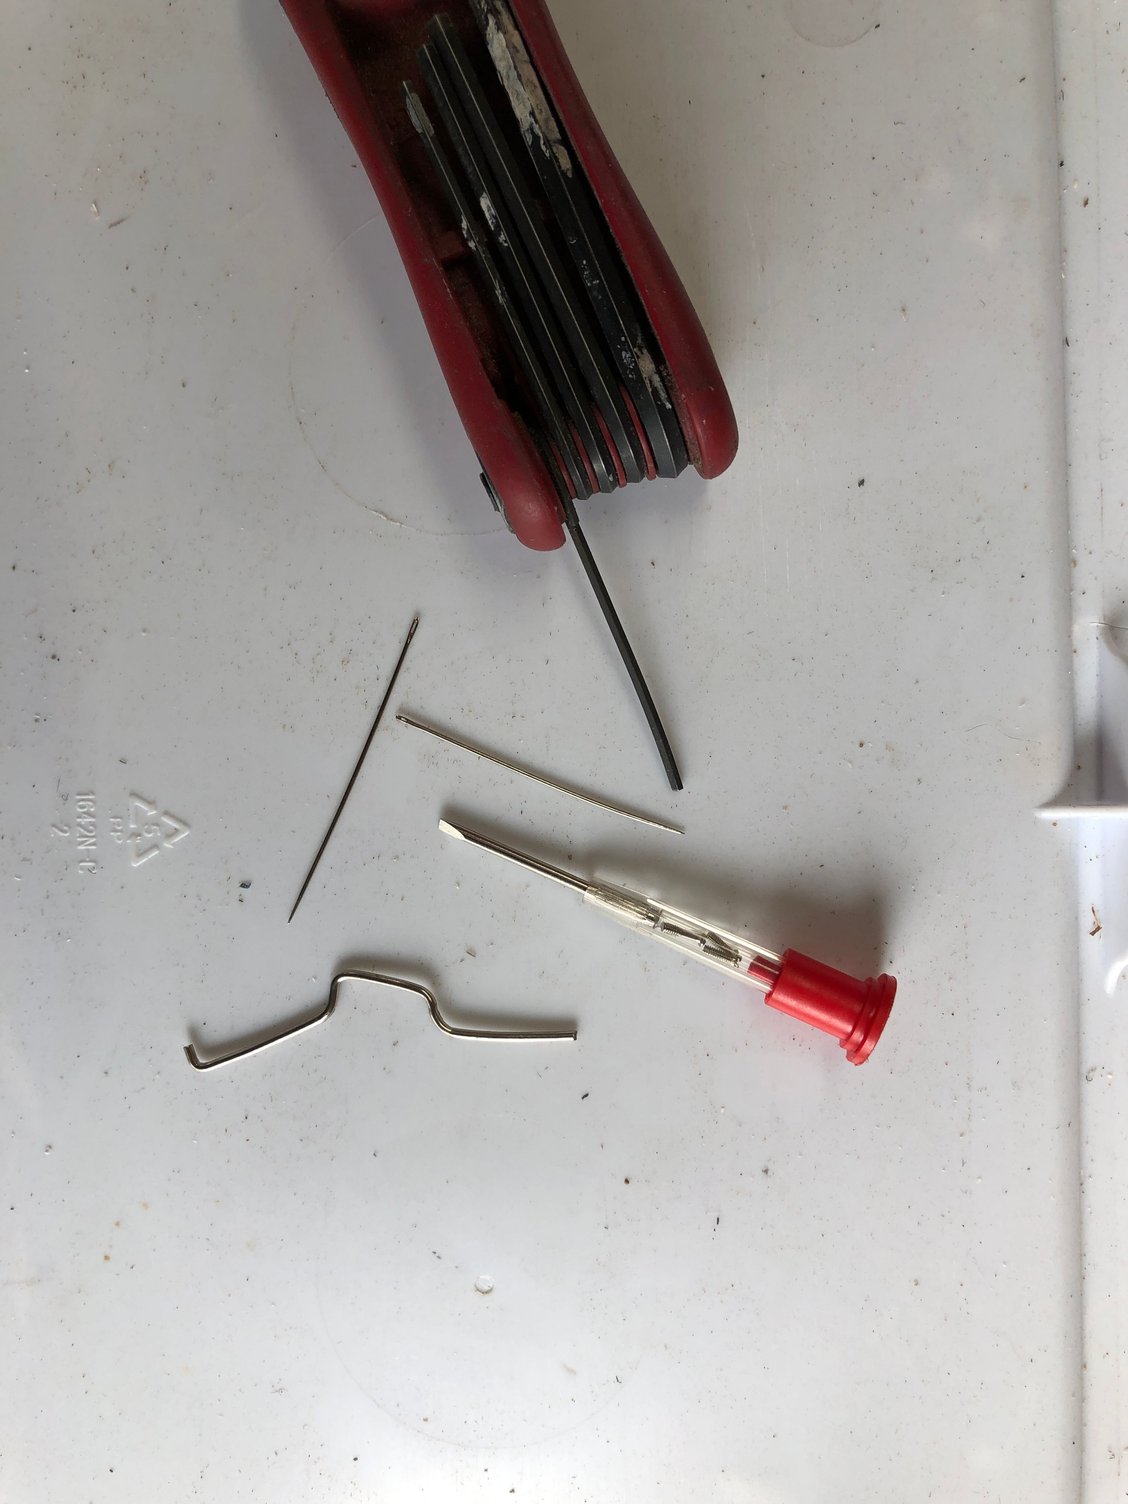
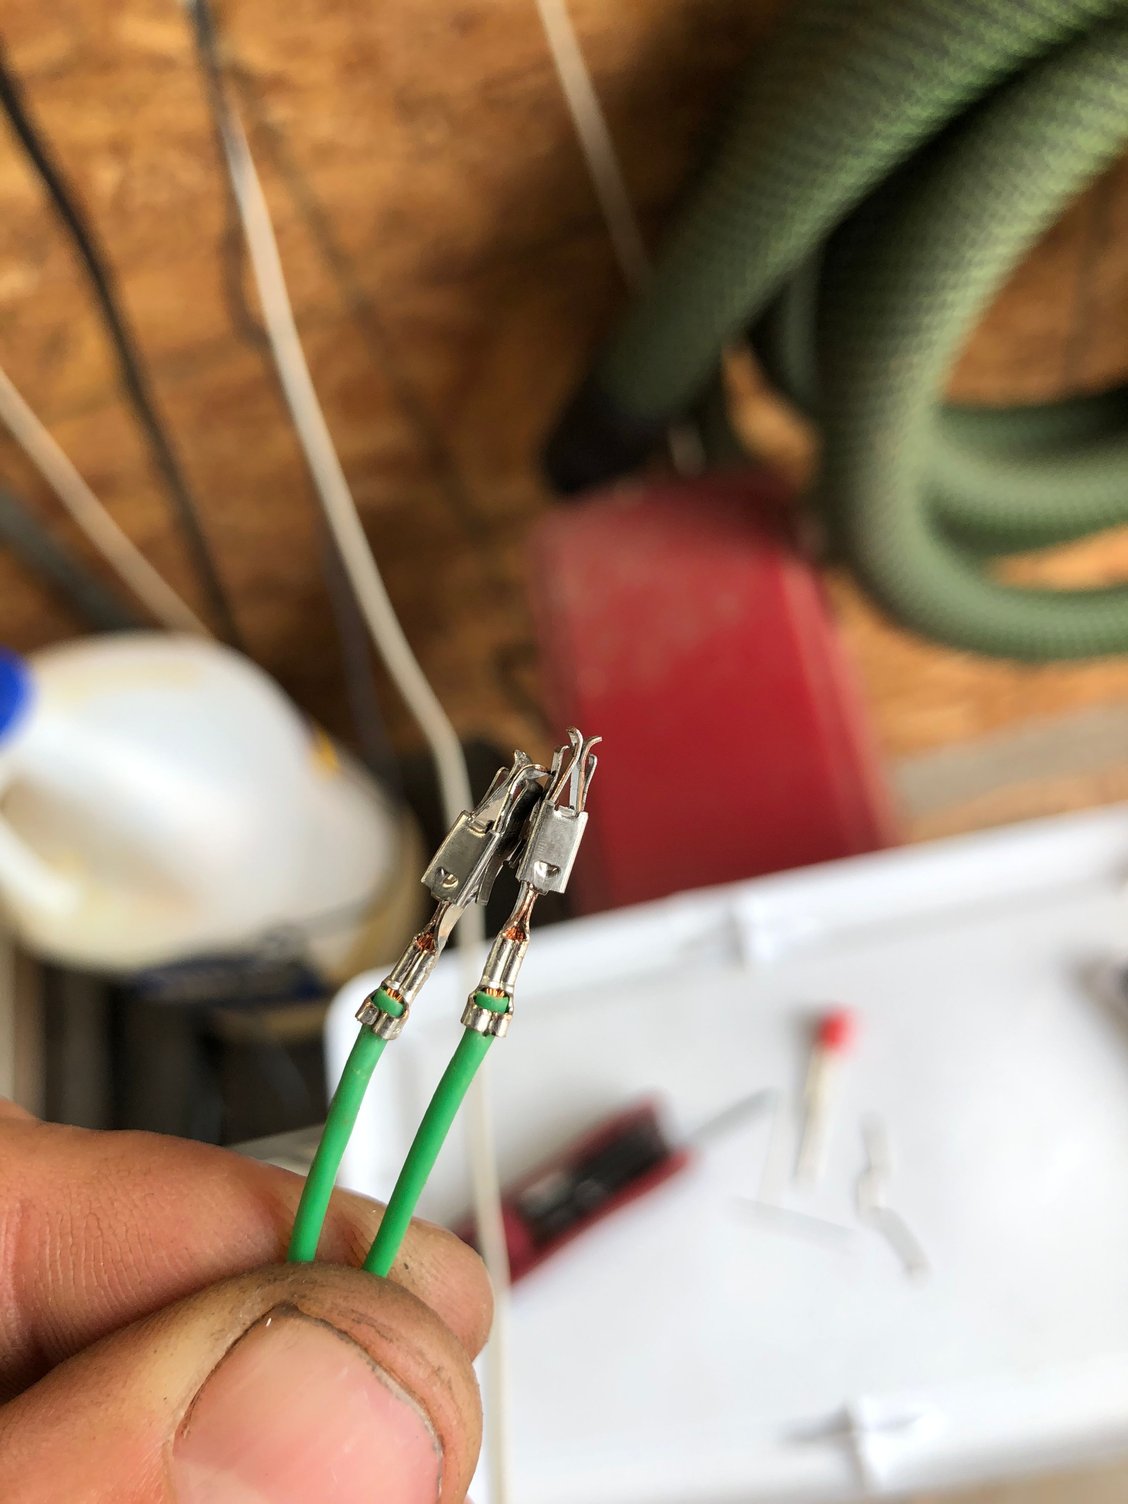
Got em out! Out of all these things, the tool that removed them immediately and without struggle is this 1.5mm Allen. And yeah, going from the front of the connector.


  #19  
Old 08-20-2020, 02:17 PM
Brandon318's Avatar
Pro Wrench
Thread Starter
Join Date: Apr 2019
Location: Monterey, CA
Posts: 1,613
Received 442 Likes on 279 Posts
Default

These original ends look fine, but I guess we’ll see ¯\_(ツ)_/¯


  #20  
Old 08-20-2020, 02:51 PM
mln01's Avatar
Camel Trophy
Join Date: Dec 2009
Location: Charlotte
Posts: 3,762
Received 895 Likes on 646 Posts
Default

I'm confused. Have you cut the wires connected to those pins? Looks like they're out of the truck.

If not, or even if you have, use your multimeter to check continuity and resistance roundtrip to and from the sensor. According to the RAVE (p.877) resistance should be 950-1100 ohms. That's what the SLABS is looking for.


Quick Reply: I know, I know, another 3 amigos post. But I really need your guys help.


All times are GMT -5. The time now is 01:16 PM.