My DIY Complete Engine Rebuild - LOTS OF PICS, some questions


Thread Starter
|
Three Wheeling
Joined: Feb 2013
Posts: 79
Likes: 8
From: South Florida, South America
New to this site - never had a Rover before. Picked up a 2003 SE7 Discovery for $1,800 (asking price was $2,800) with 122,000 miles. Had a bad headgasket, sat in the guy's garage for months before I bought it. The starter had exploded and chipped 2 teeth on the flywheel. The previous owner had an overheating problem, replaced the radiator, then overheated again and took it to the dealer who advised he had blown a headgasket. I researched the forums and decided to dive into my first ever complete engine rebuild. I'm not a novice in auto repair having rebuilt a 700R4 transmission myself and done top-end repairs before among countless oil, brake pad, ATF, and brake fluid changes. I'll organize this thread better and include more pictures later - today and tomorrow is about engine assembly. I am only waiting on my cam, but will install pistons, bearings, crank, and heads this weekend.
I'm going to post some lingering questions I have before I begin with the pics.
QUESTIONS:
NEW PARTS:
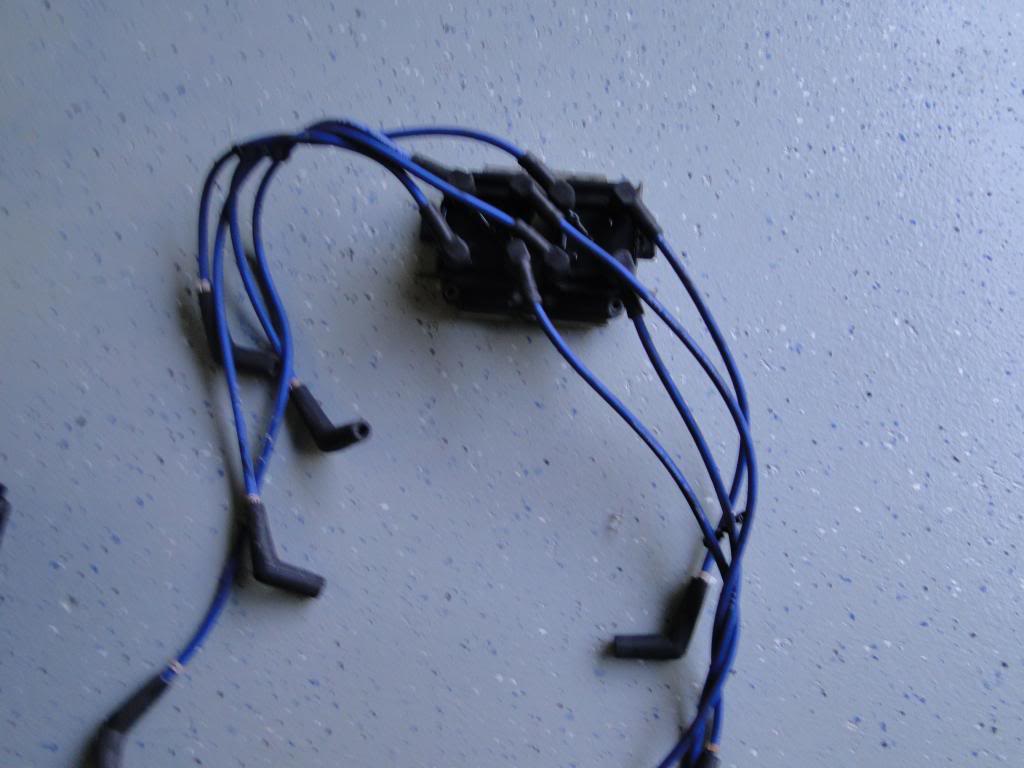
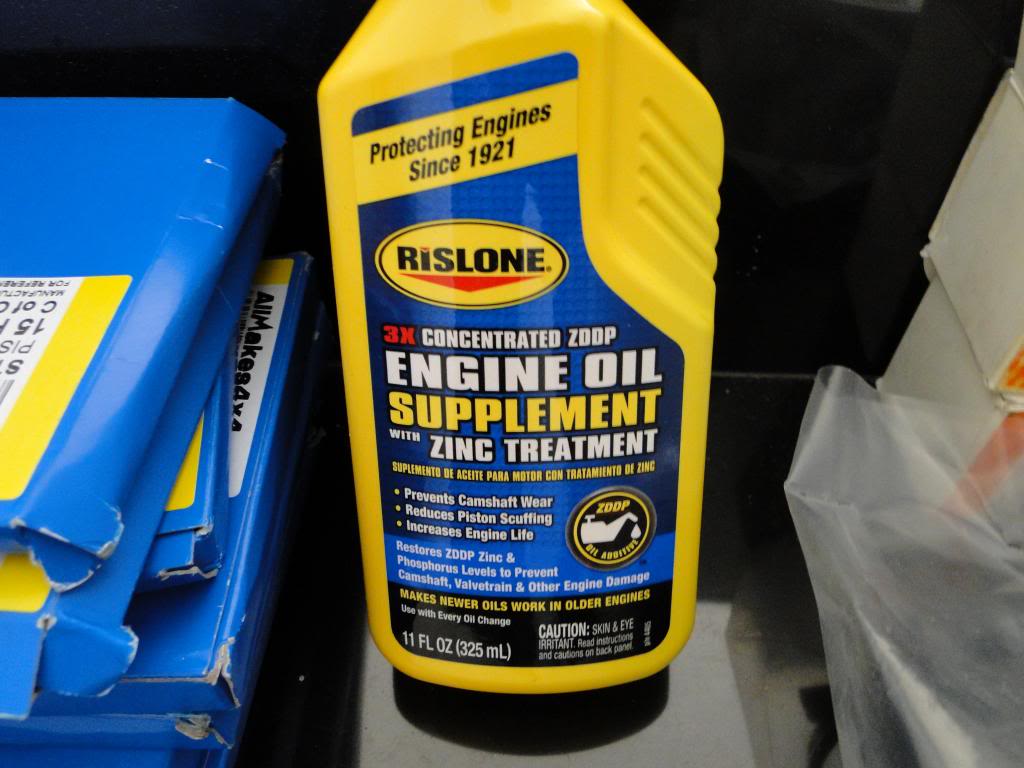
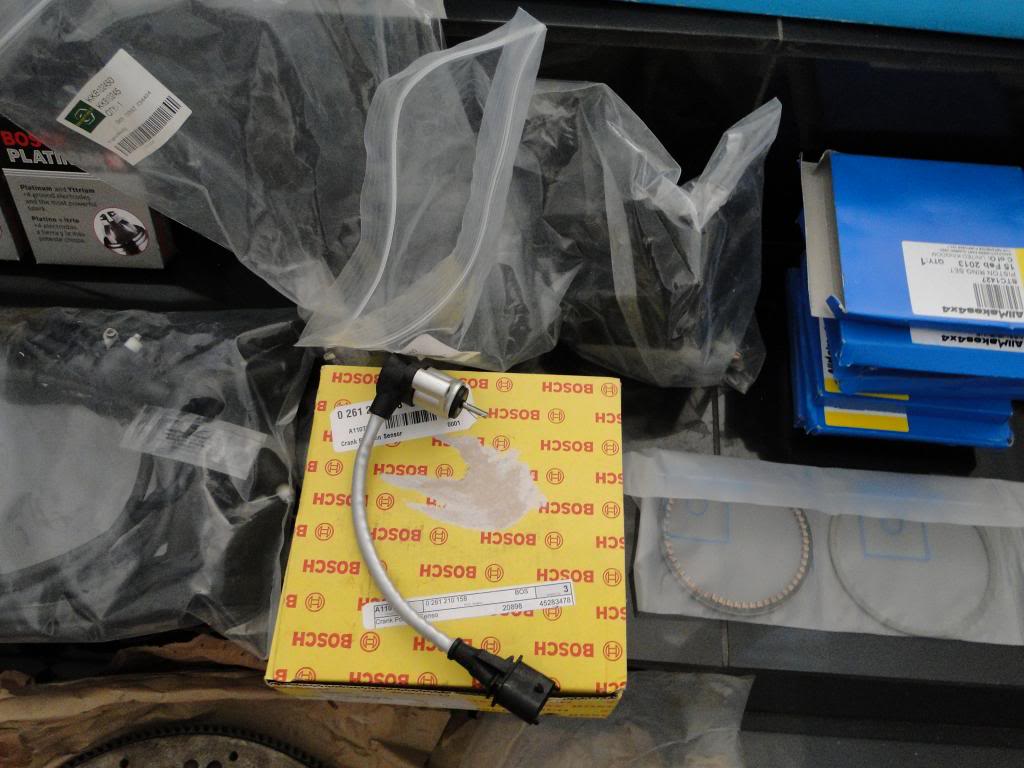
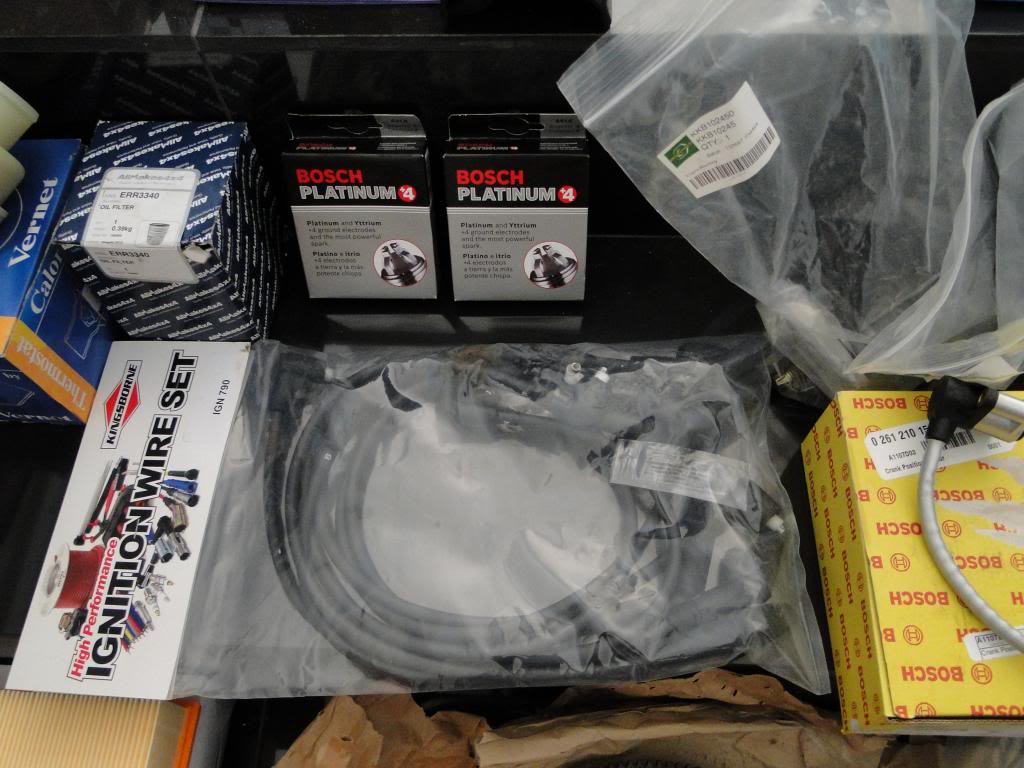
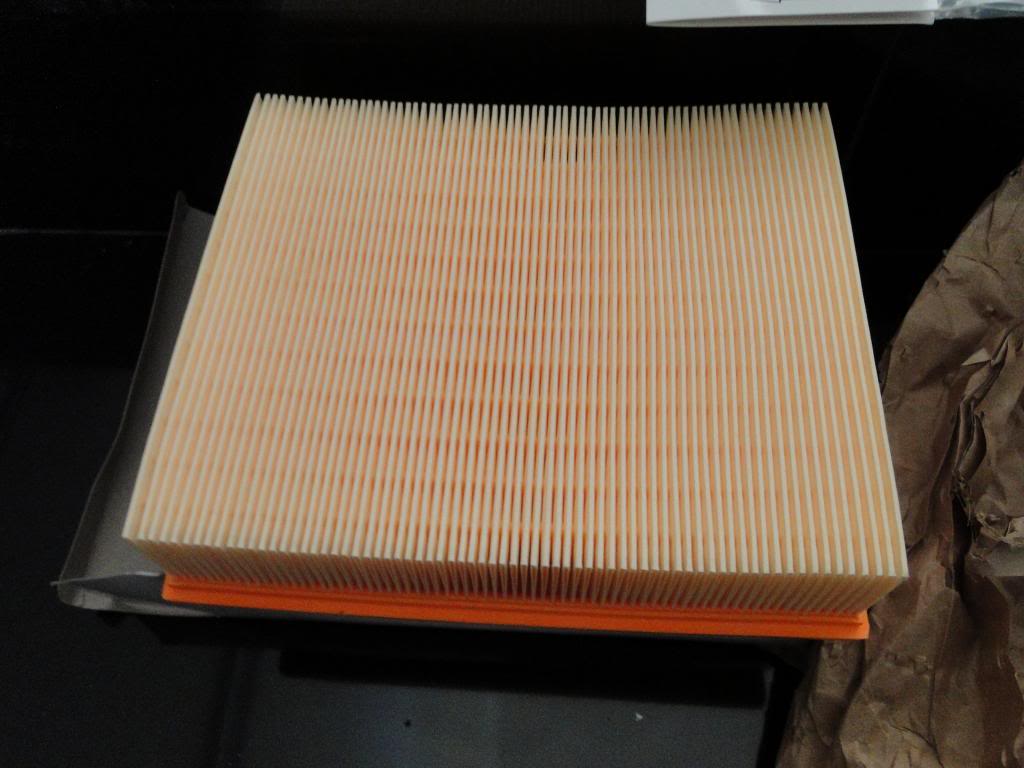
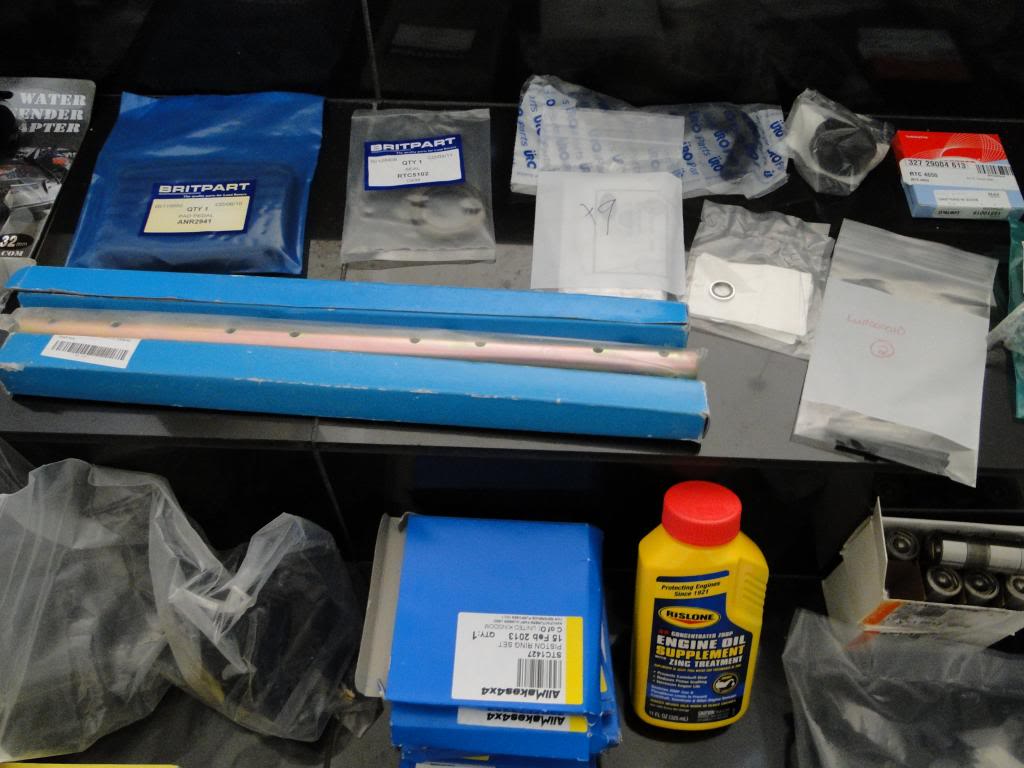
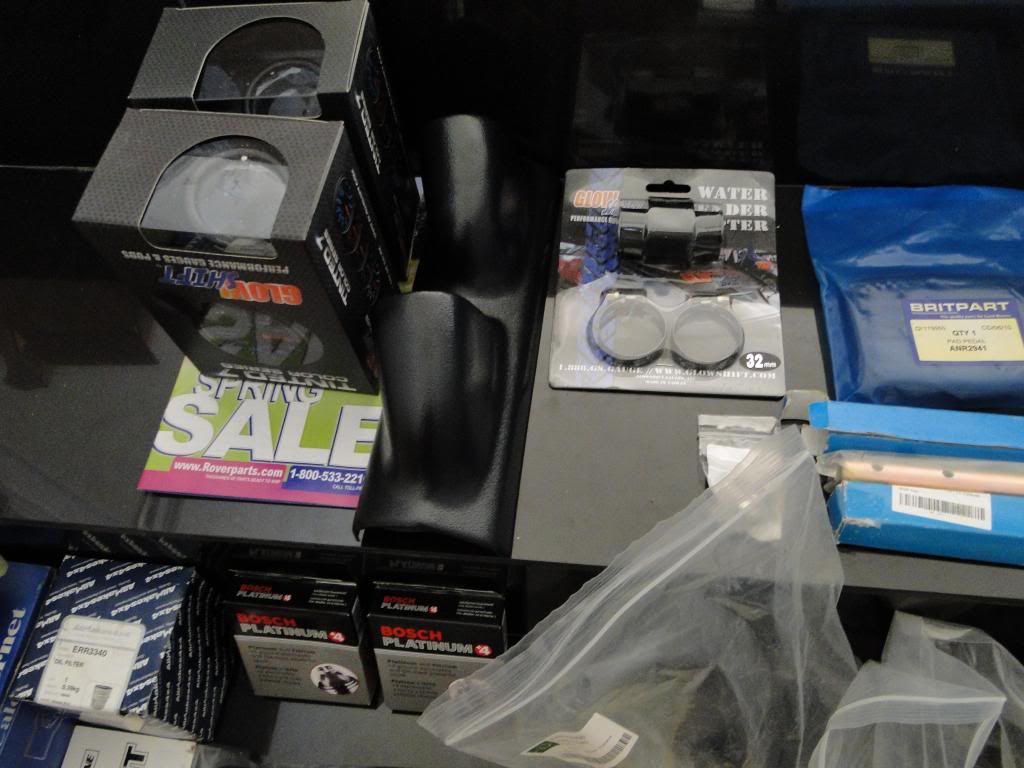
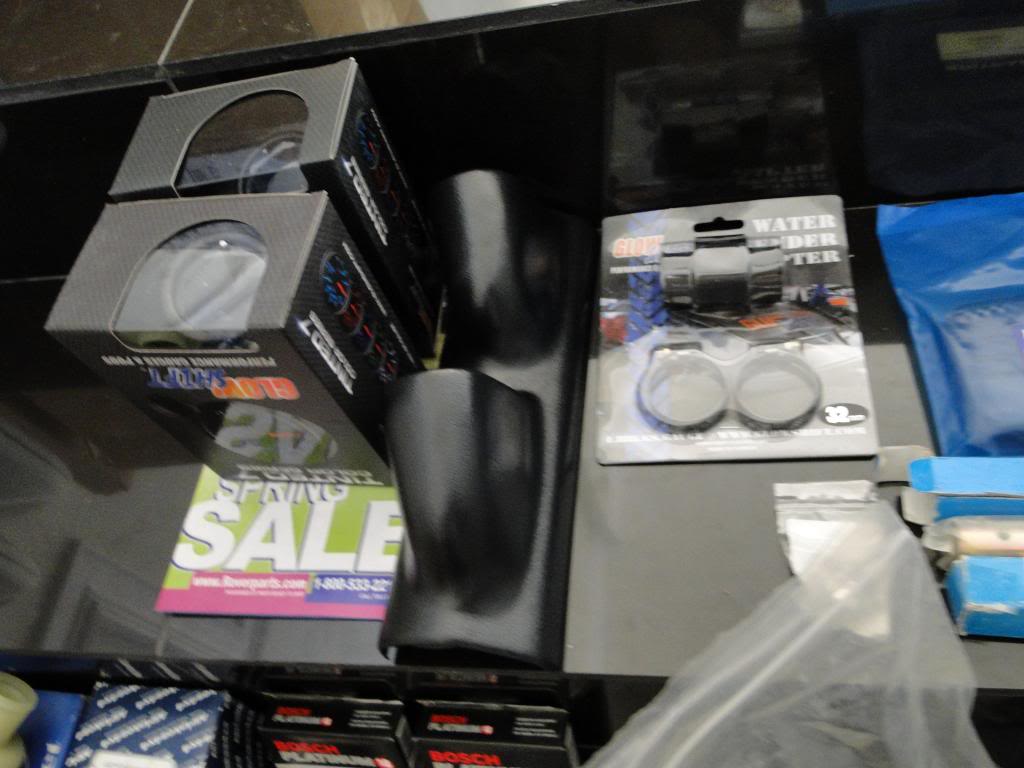
Crankshaft sensor, ATX BP-Utah Water Pump, Piston Rings, Timing Chain Kit, Oil Pump Kit, Master Cylinder Rebuild Kit, Connecting Rod Bearings, Main Bearings, Lifters, Auto Transmission front & rear seals, New Greaseable U-Joints on both driveshafts, auto Transmission filter kit, Serpentine Belt, Air Filter, Oil Filter, Thermostat, Bosch 4 Platinum Spark Plugs, 8mm Kingsborne spark plug wires, used 2004 flywheel, new starter, oil pan seal, new camshaft, brake pedal pad, Front & Rear Akebono ceramic pads (EUR676 + EUR493), headgasket kit, upper radiator hose, new alarm, possibly new head unit for stereo, dual A-pillar gauge pod, oil pressure + water temp gauges GlowShift, new rocker shafts, motor mounts, rear d-pillar passenger side, evap hose driver's valve cover to throttle body, Land Rover front, middle, and 7-seat rear cargo mats, new black RR Sport Wheel Caps, and 2 new front & rear black RR Sport emblems.
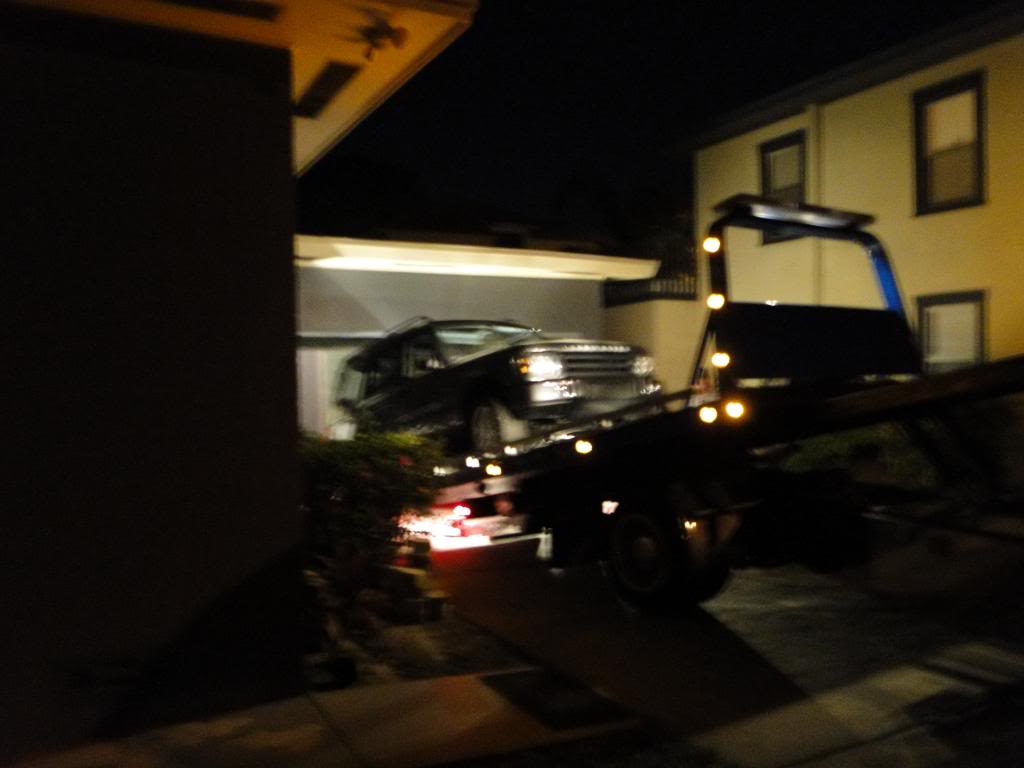
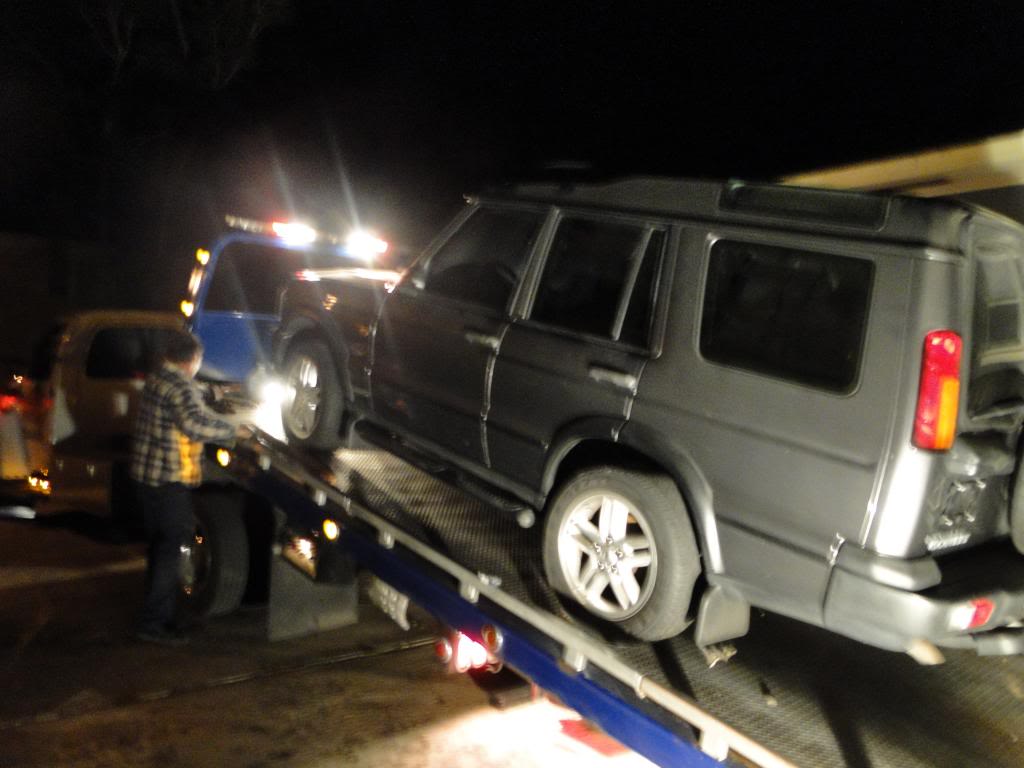
DAY 1: Flatbedding the car 1 hr to my house. Battery was dead, so hooked up some jumper cables to another car and put transmission in neutral to roll it out of the garage. It was quicker and cleaner than jumping under the car with brake fluid from a leaky master cylinder.
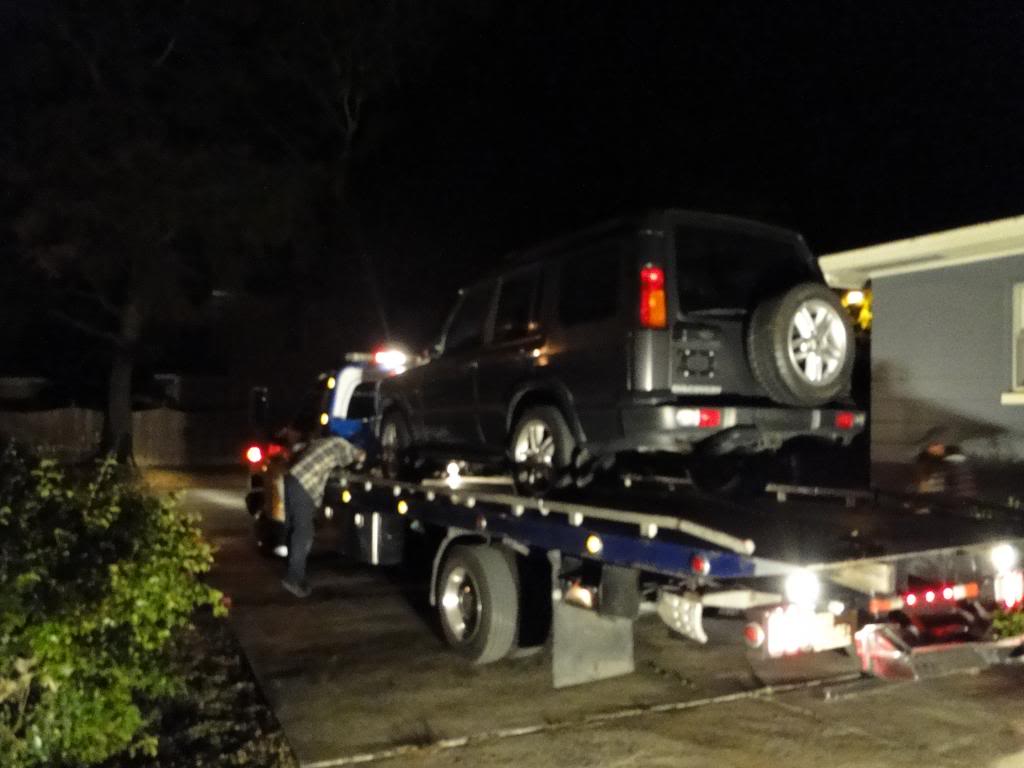
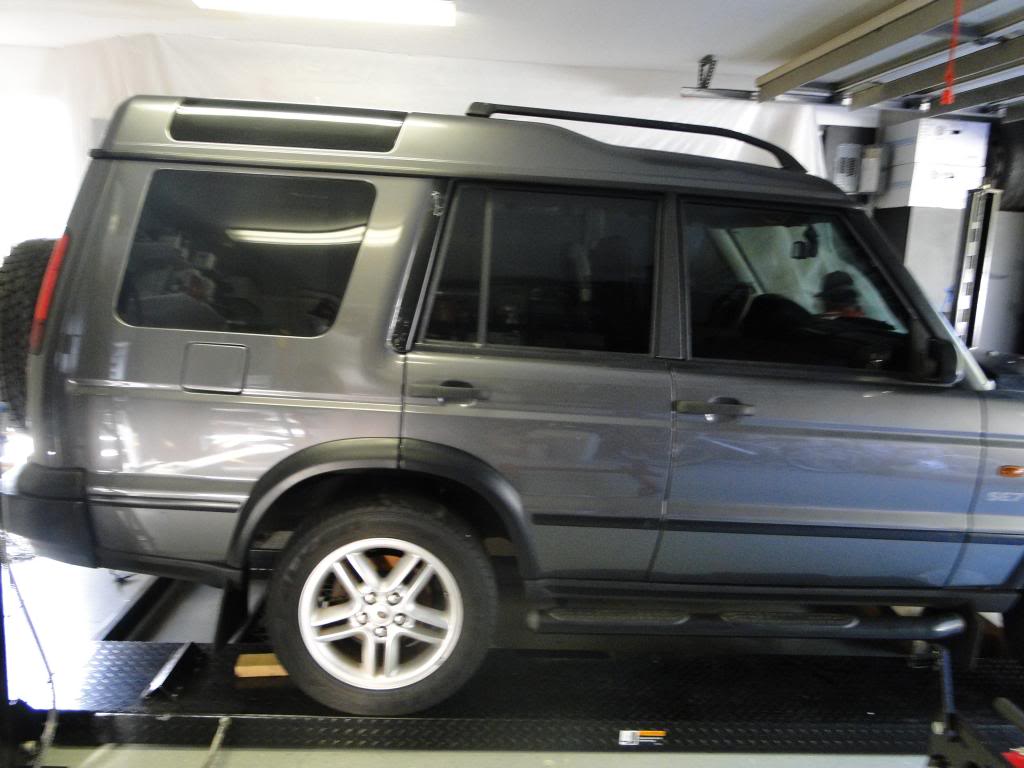
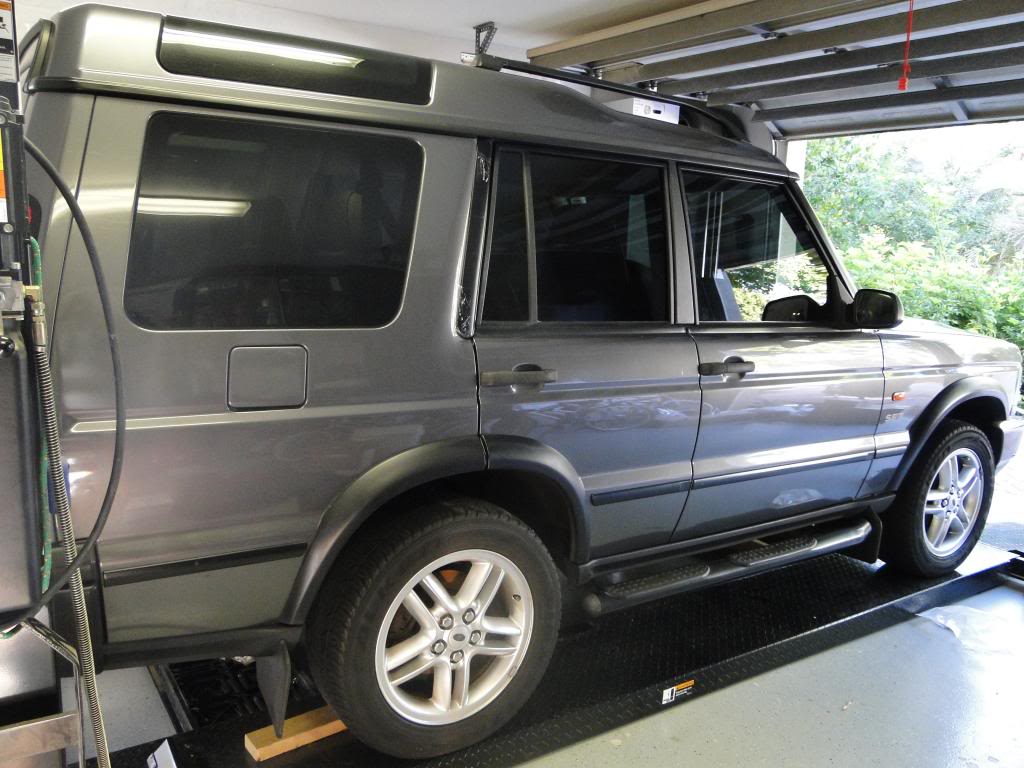
Testing the electrics again after arriving at my house. Bad switch or motor on front sunroof, all other electrics seems OK. AC blower works, all switches, seat motors work. No air suspension on this SE7 - rare.
I'm going to post some lingering questions I have before I begin with the pics.
QUESTIONS:
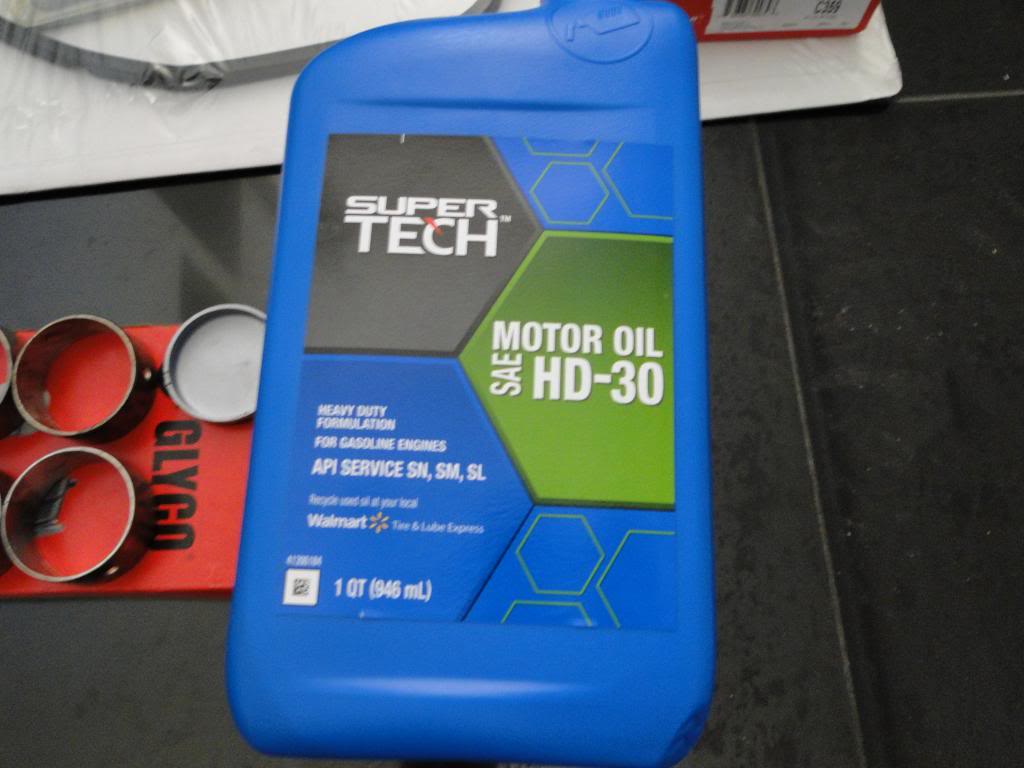
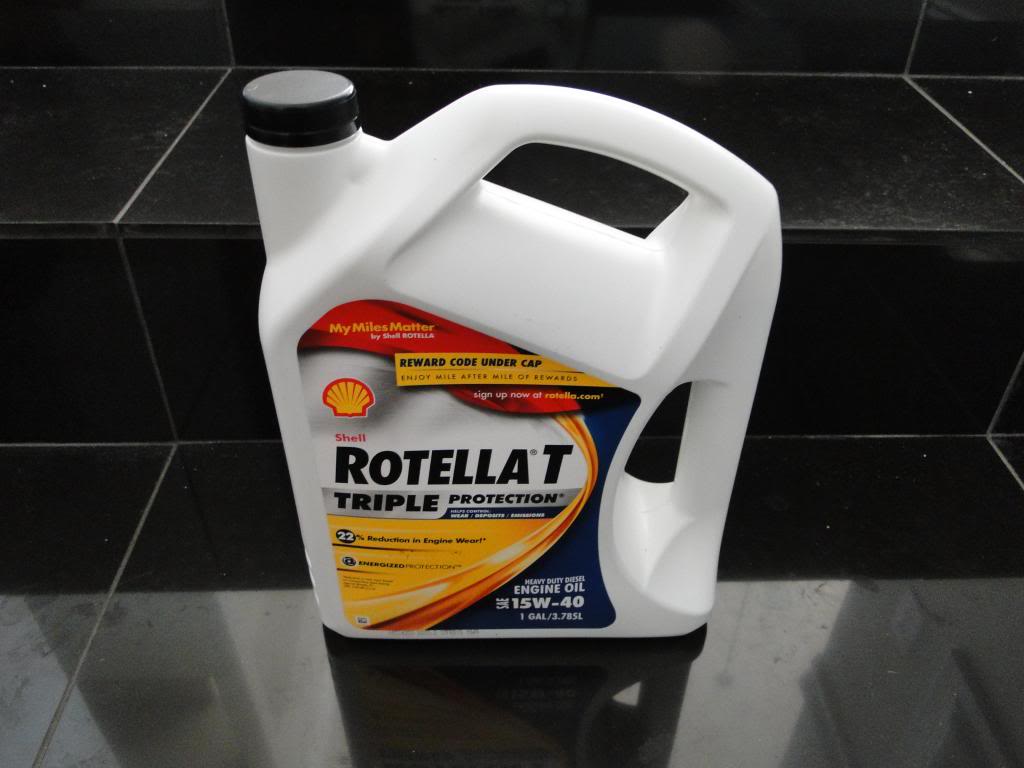
- My machinist told me to soak all engine parts in 30 weight dino oil - I got 3 quarts of the cheapest SAE-SN oil at Wal-Mart. Is this OK?
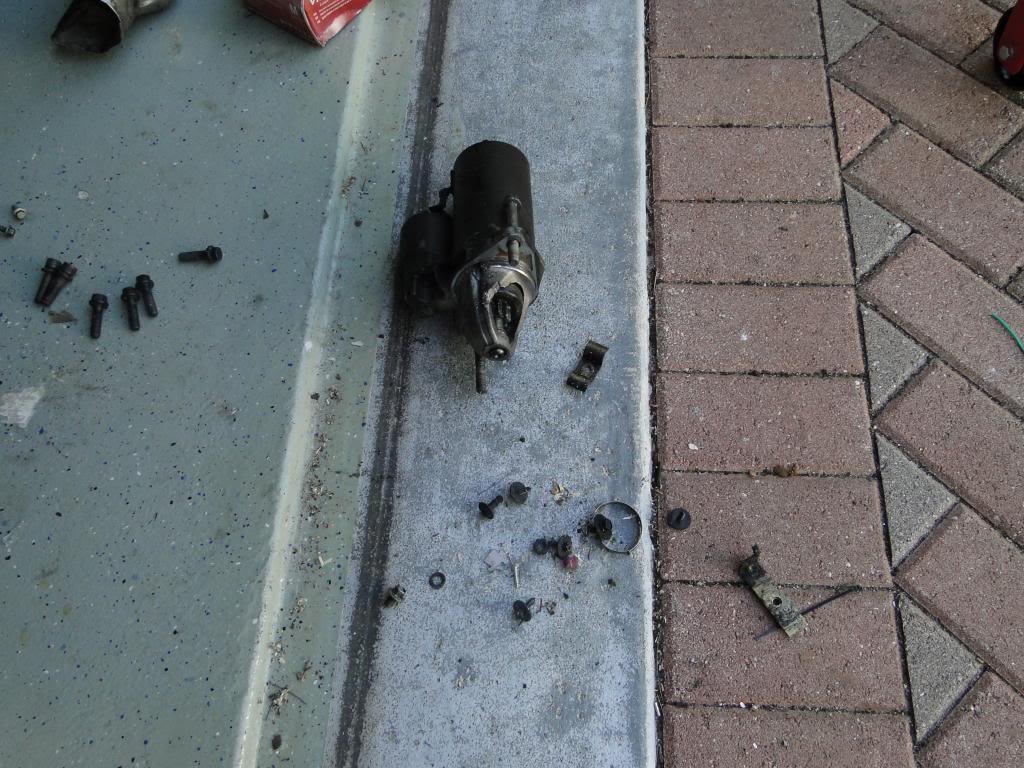
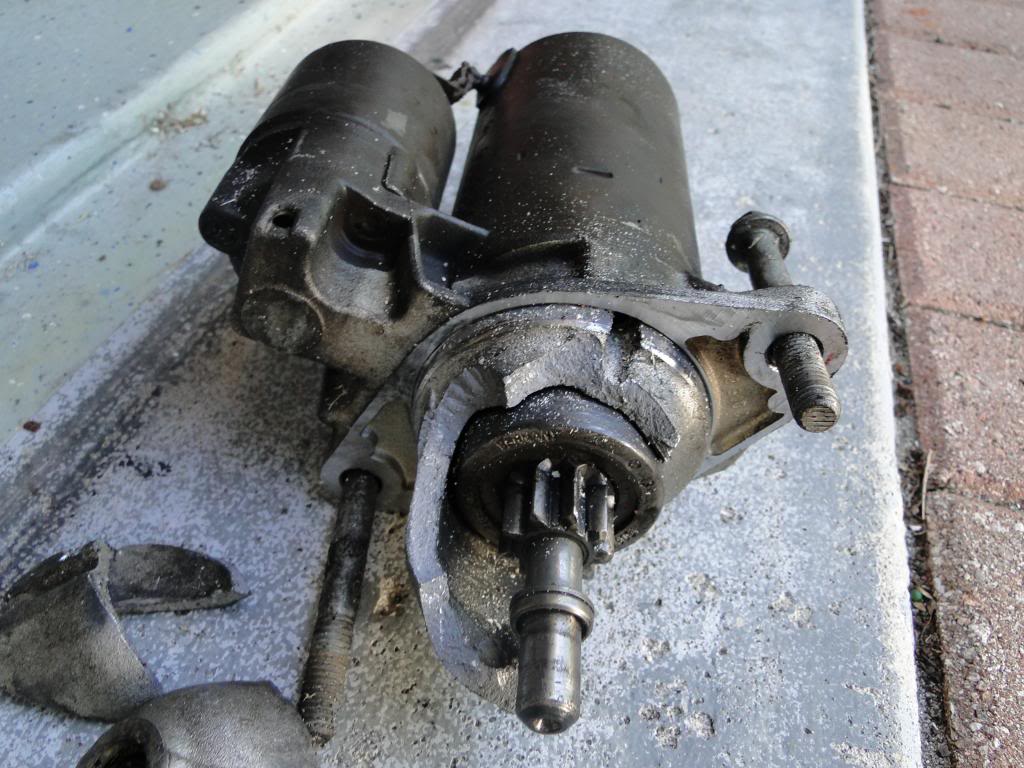
- What could have caused an exploded starter and chipped 2 flywheel teeth? The flywheel flex plate has no cracking as shown in other threads.
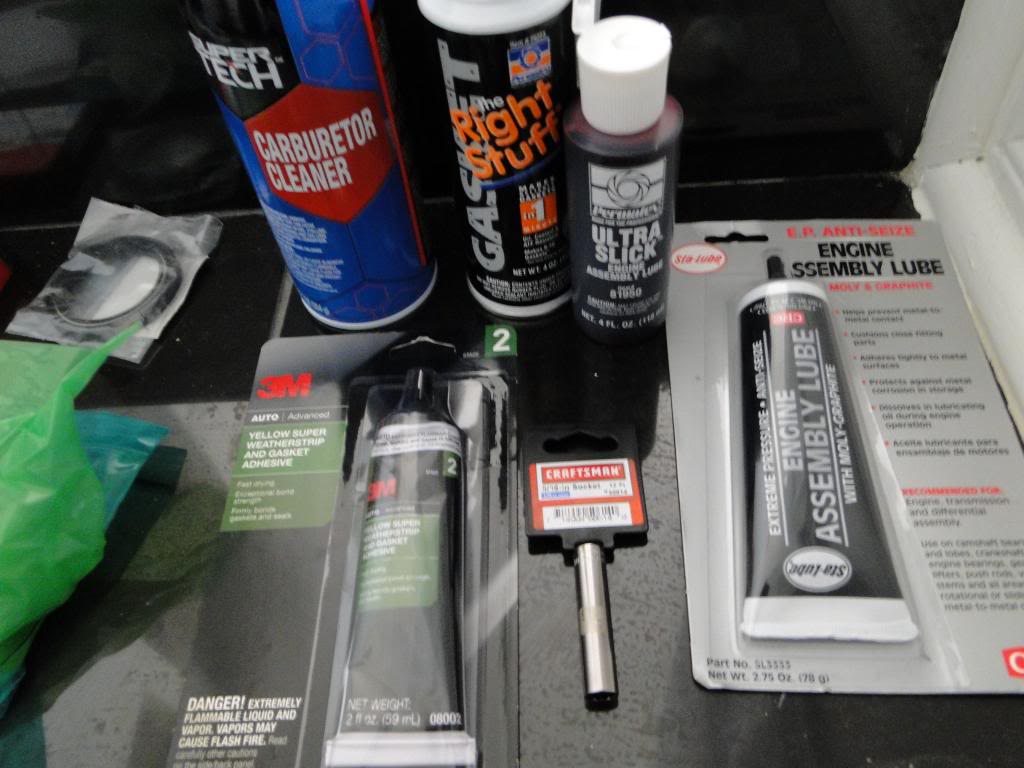
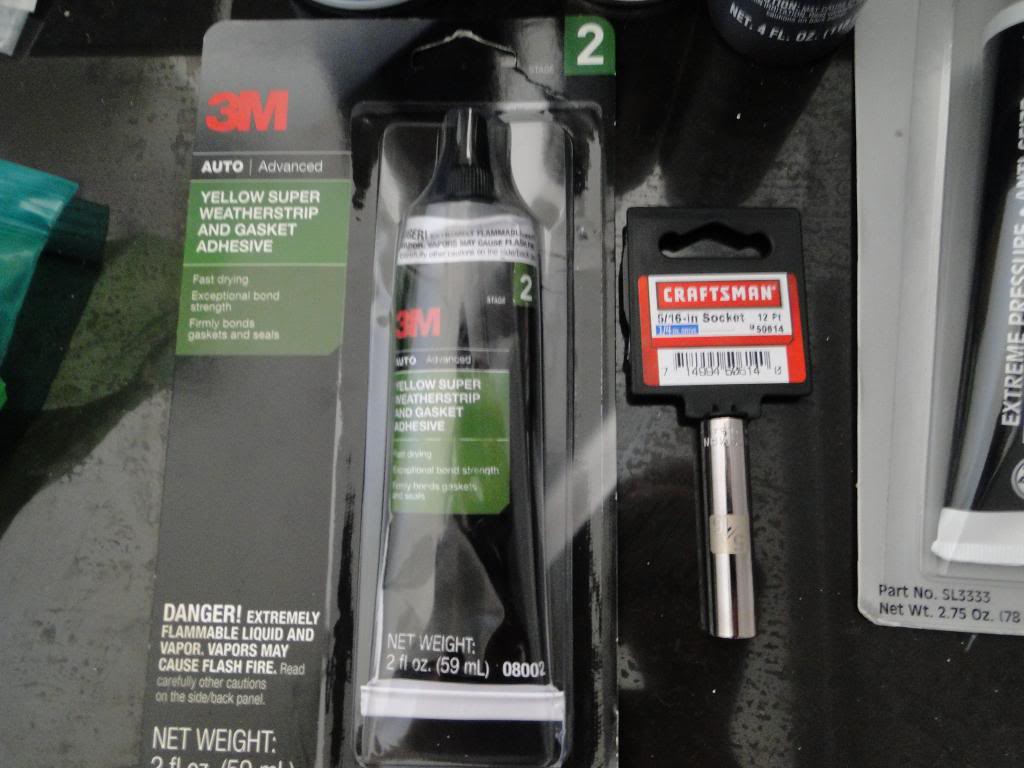
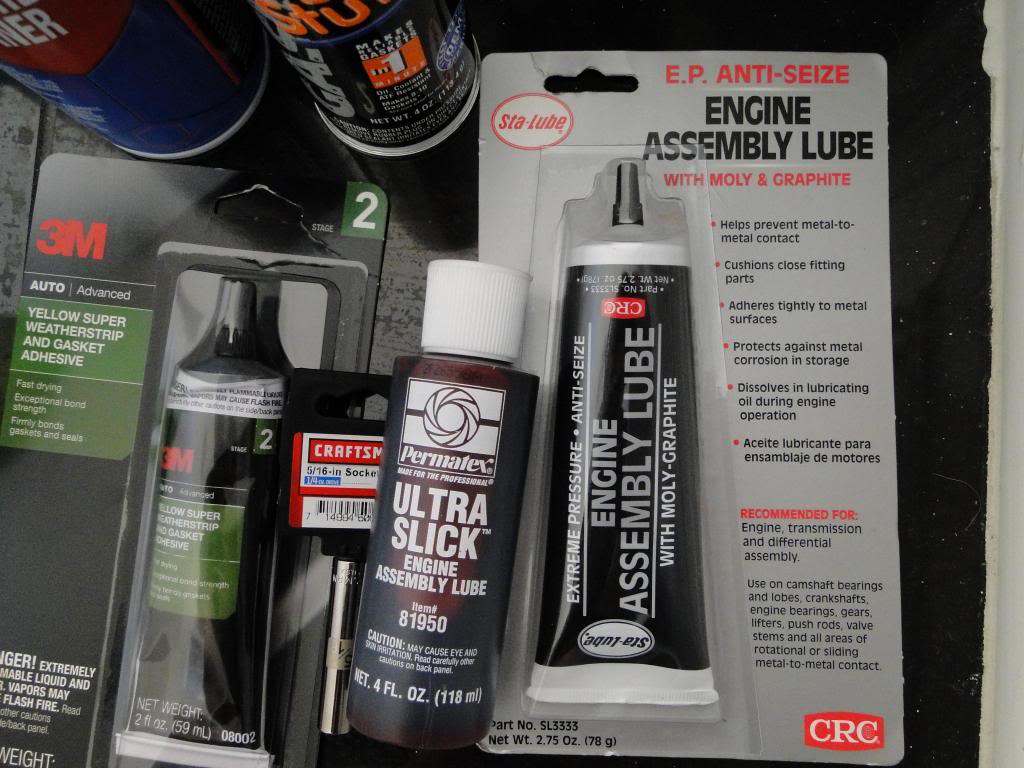
- What engine assembly lube is recommended? I got CRC and the permatex red liquid - which is better?
NEW PARTS:
Crankshaft sensor, ATX BP-Utah Water Pump, Piston Rings, Timing Chain Kit, Oil Pump Kit, Master Cylinder Rebuild Kit, Connecting Rod Bearings, Main Bearings, Lifters, Auto Transmission front & rear seals, New Greaseable U-Joints on both driveshafts, auto Transmission filter kit, Serpentine Belt, Air Filter, Oil Filter, Thermostat, Bosch 4 Platinum Spark Plugs, 8mm Kingsborne spark plug wires, used 2004 flywheel, new starter, oil pan seal, new camshaft, brake pedal pad, Front & Rear Akebono ceramic pads (EUR676 + EUR493), headgasket kit, upper radiator hose, new alarm, possibly new head unit for stereo, dual A-pillar gauge pod, oil pressure + water temp gauges GlowShift, new rocker shafts, motor mounts, rear d-pillar passenger side, evap hose driver's valve cover to throttle body, Land Rover front, middle, and 7-seat rear cargo mats, new black RR Sport Wheel Caps, and 2 new front & rear black RR Sport emblems.
DAY 1: Flatbedding the car 1 hr to my house. Battery was dead, so hooked up some jumper cables to another car and put transmission in neutral to roll it out of the garage. It was quicker and cleaner than jumping under the car with brake fluid from a leaky master cylinder.
Testing the electrics again after arriving at my house. Bad switch or motor on front sunroof, all other electrics seems OK. AC blower works, all switches, seat motors work. No air suspension on this SE7 - rare.
Last edited by jthomas; Mar 16, 2013 at 02:16 PM.
Thread Starter
|
Three Wheeling
Joined: Feb 2013
Posts: 79
Likes: 8
From: South Florida, South America
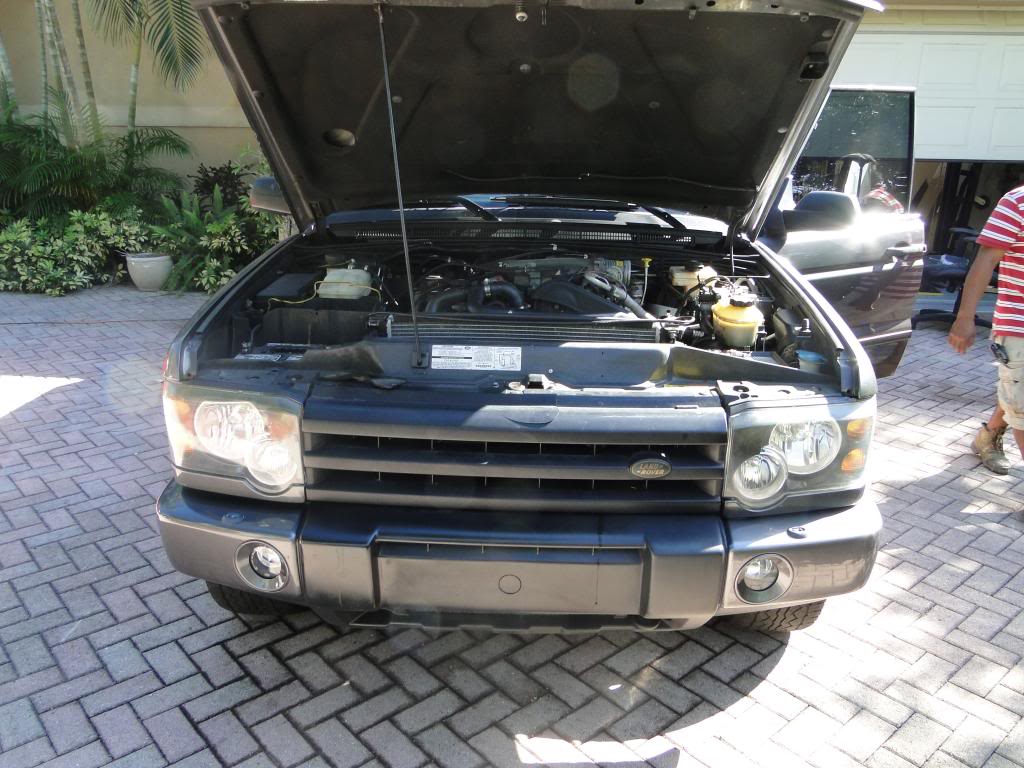
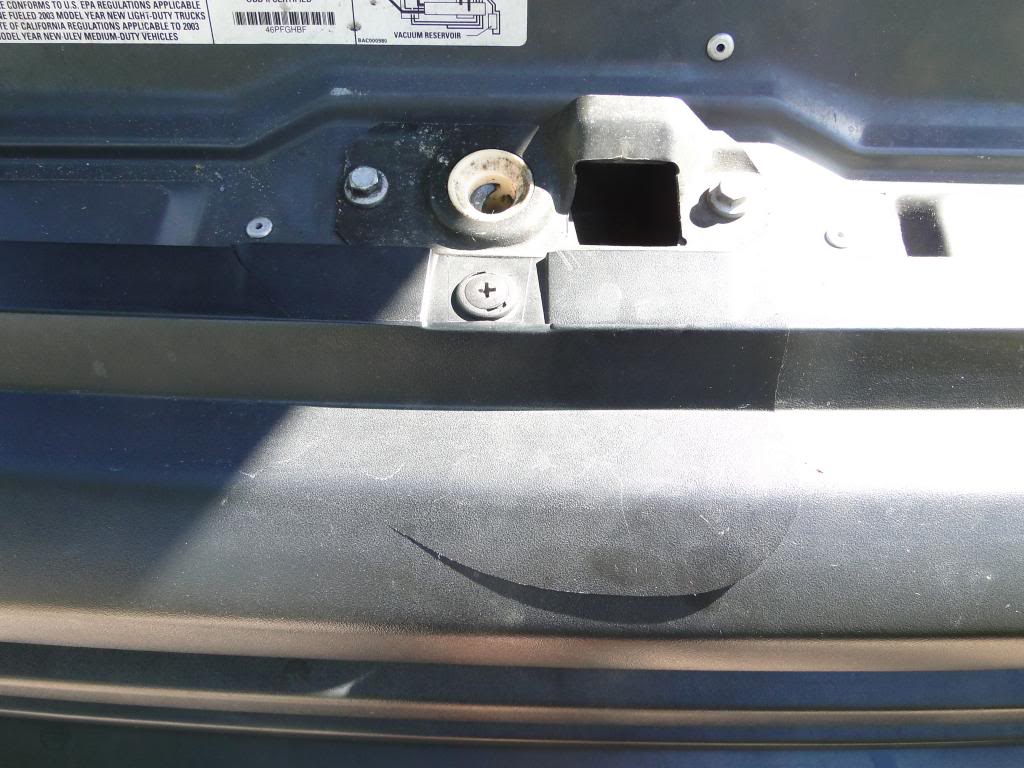
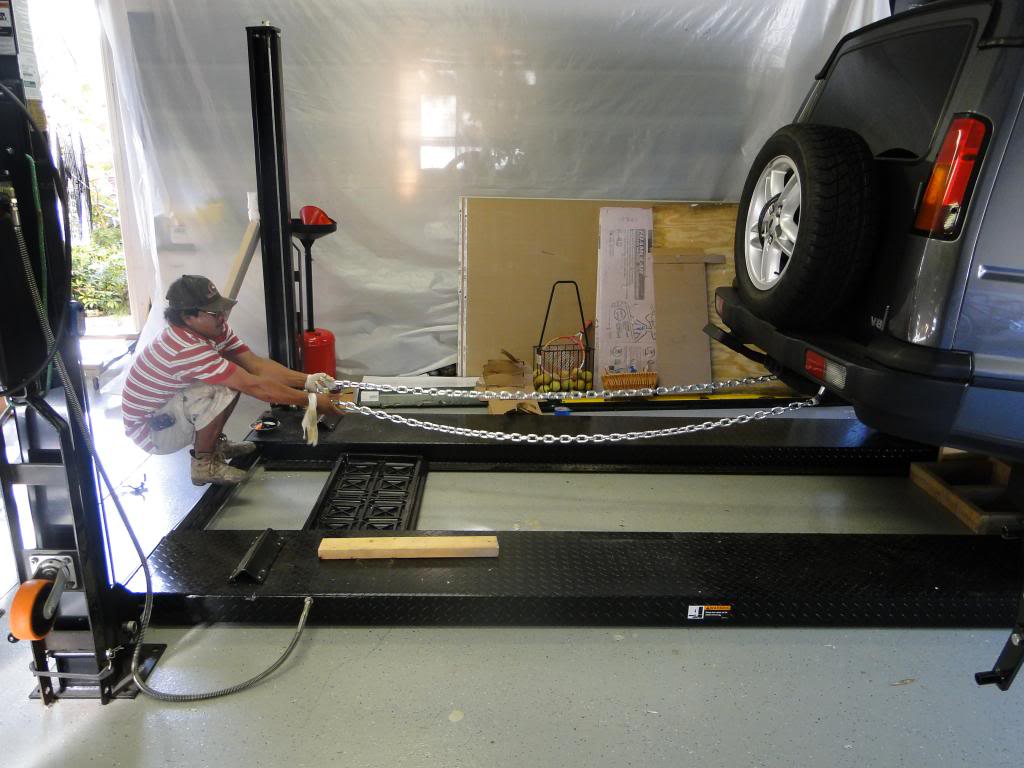
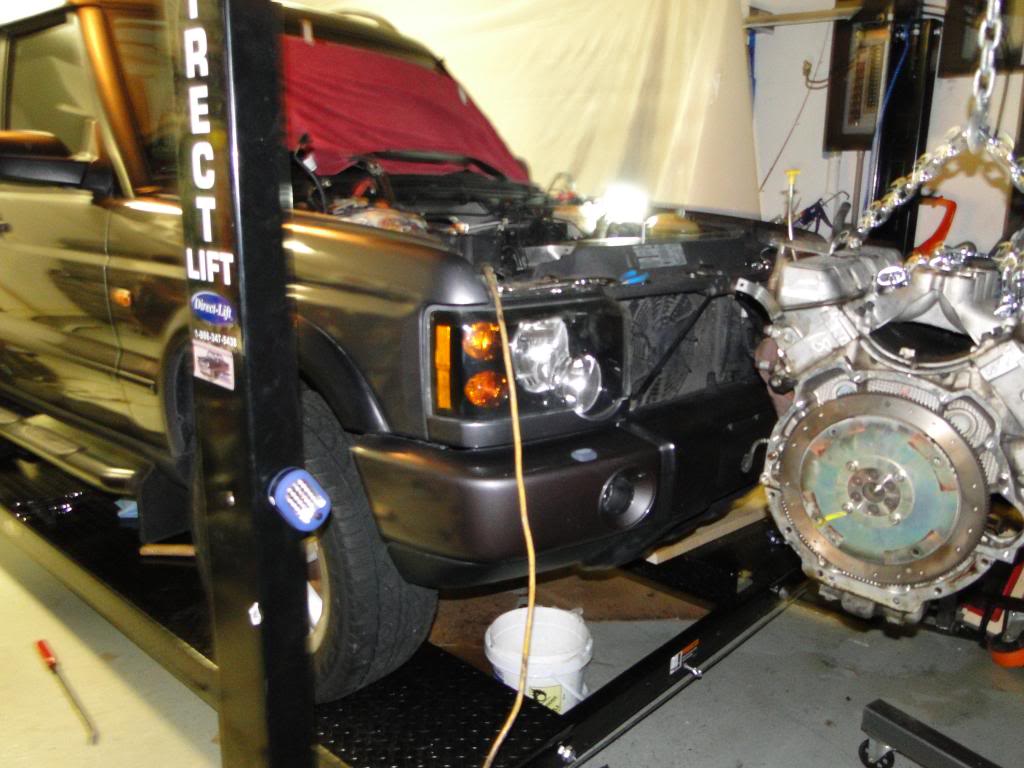
Day 2: Wash exterior of cat hair, see scratches from cats on roof and hood. Have helper pull car with chains onto 4 post lift in garage. See previous low-speed impact damage on front grill and lower bumper. Previous owner said Land Rover dealer broke his grill when he took it in. LIAR - front bumper screwed on at bottom - no factory, drips in clear coat on passenger side of front bumper from respray. Nothing a little JB weld and Krylon Fusion won't fix though. Some wetsanding for the clearcoat. No obvious frame damage.

Thread Starter
|
Three Wheeling
Joined: Feb 2013
Posts: 79
Likes: 8
From: South Florida, South America
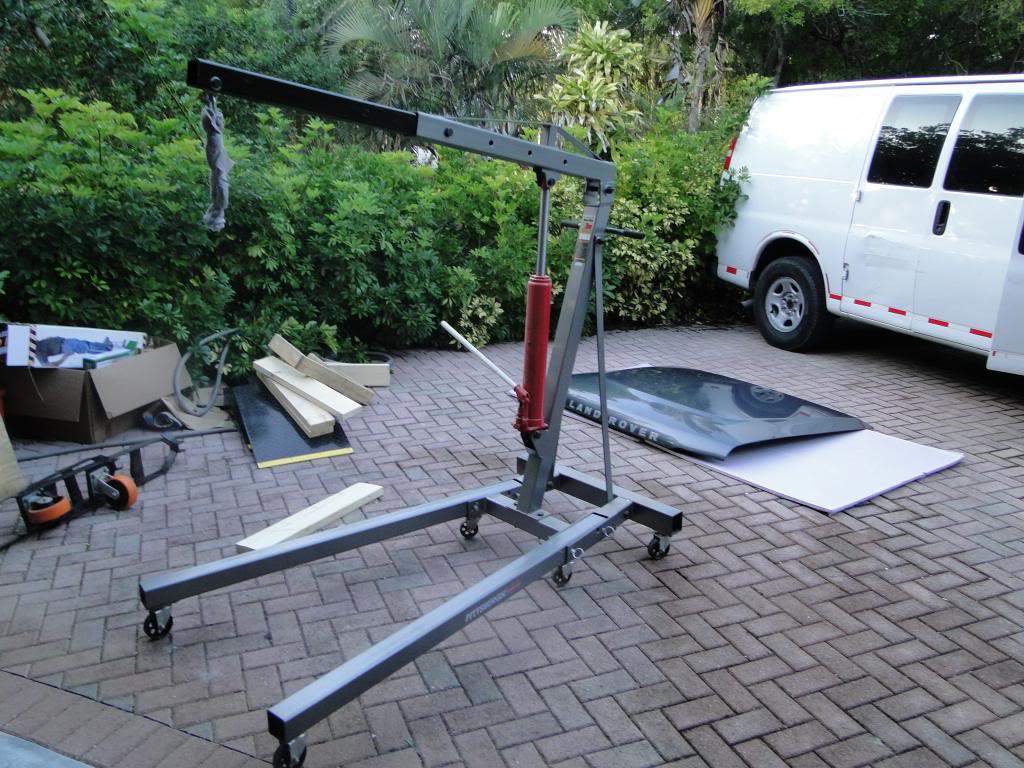
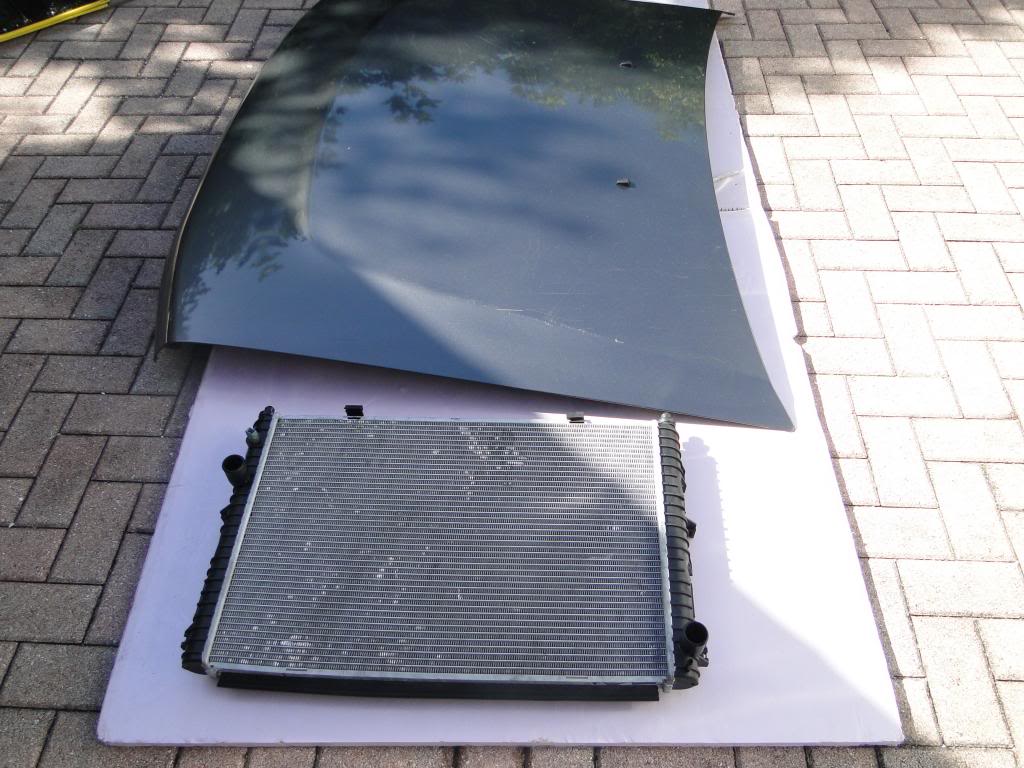
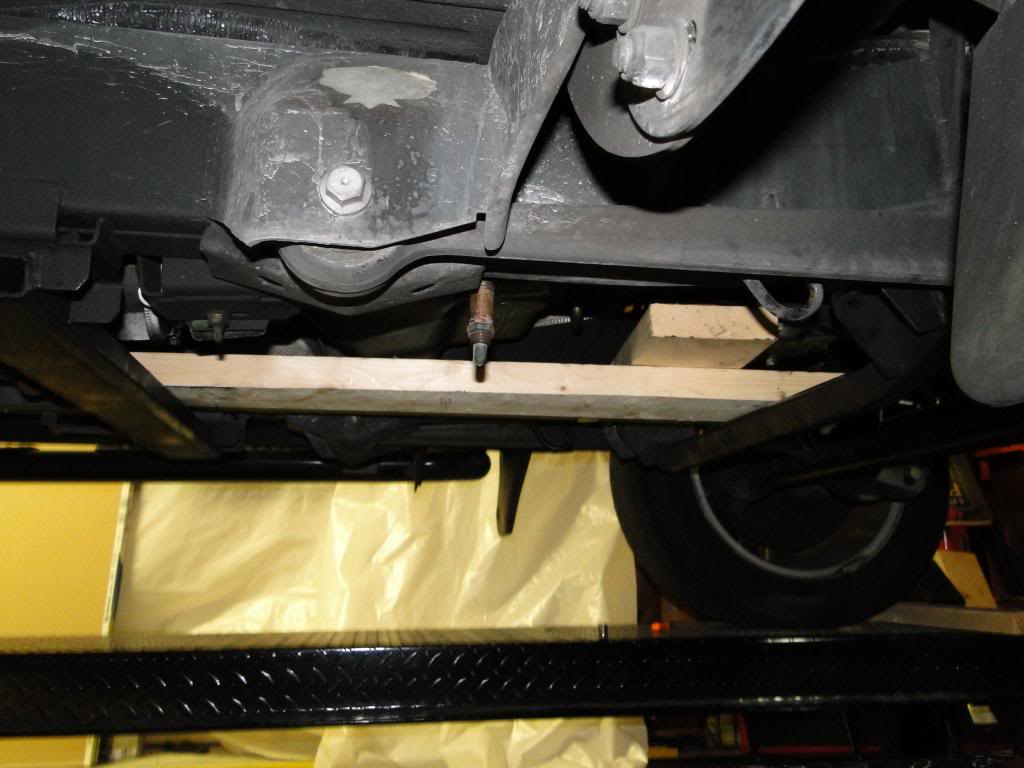
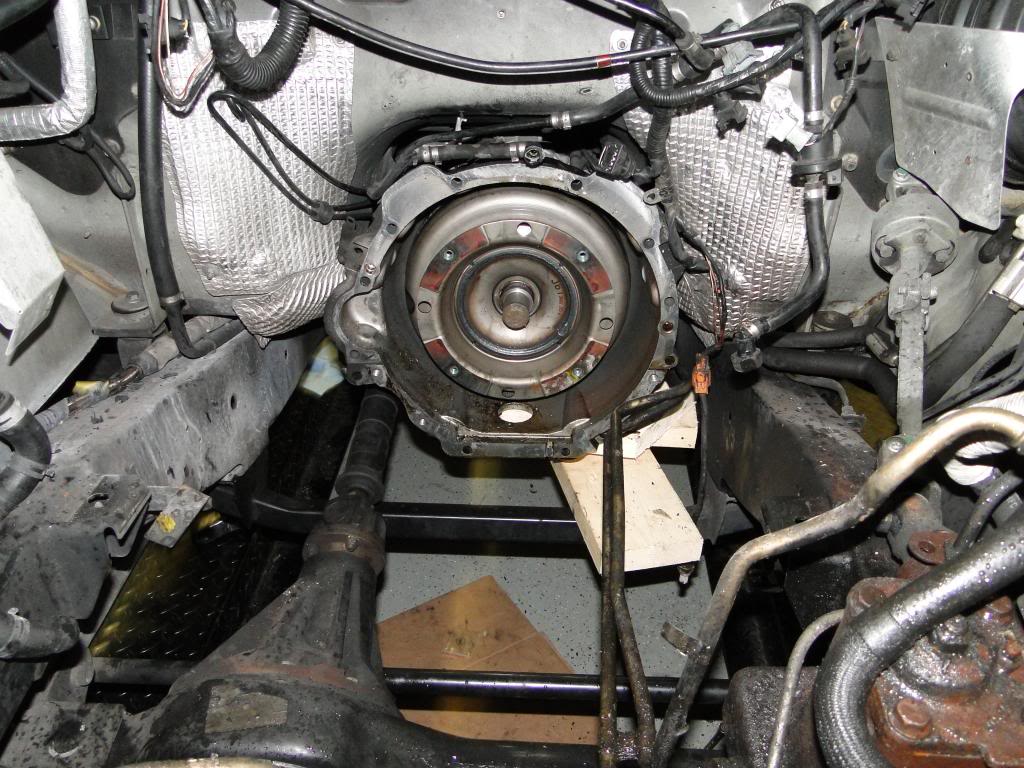
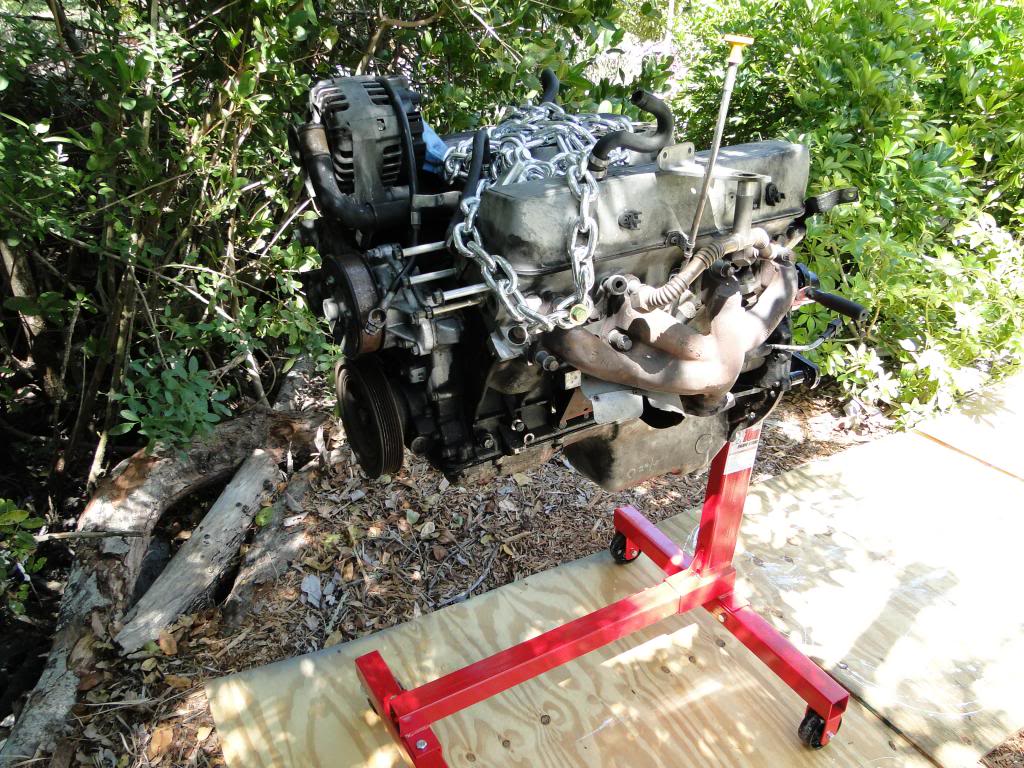
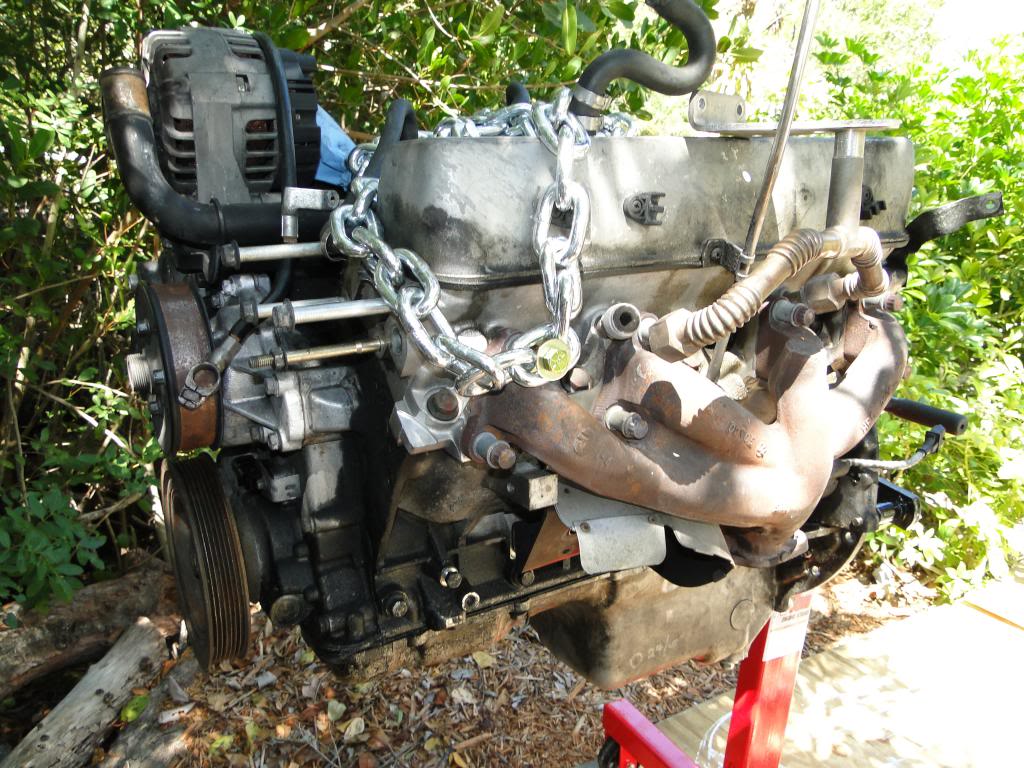
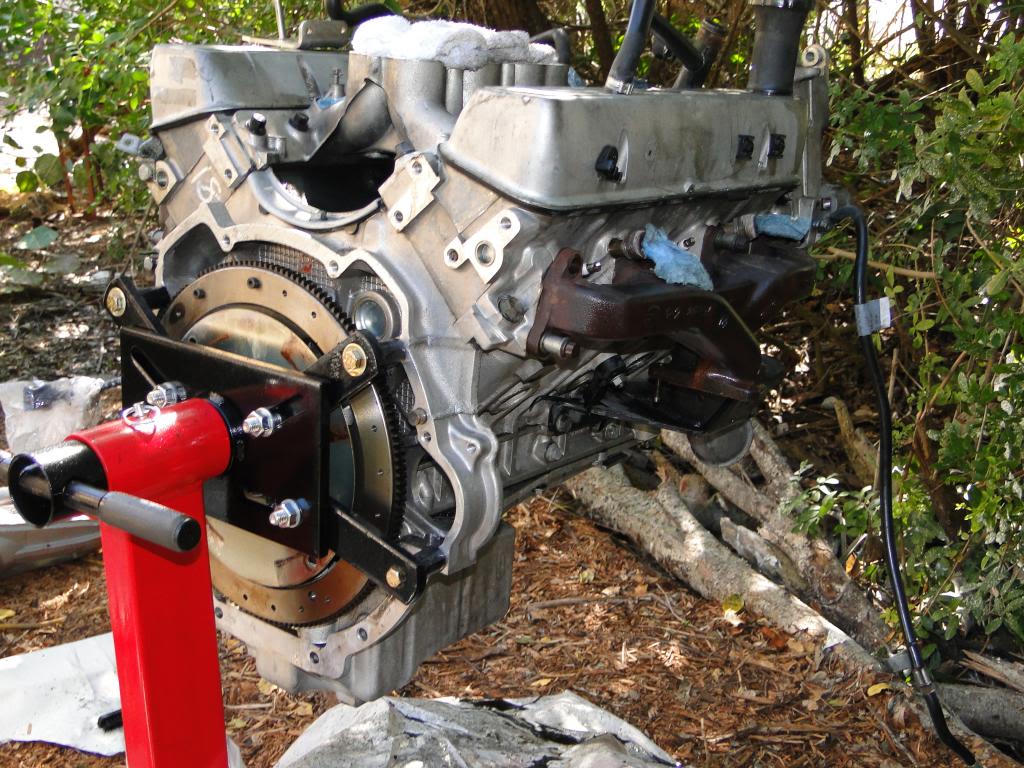
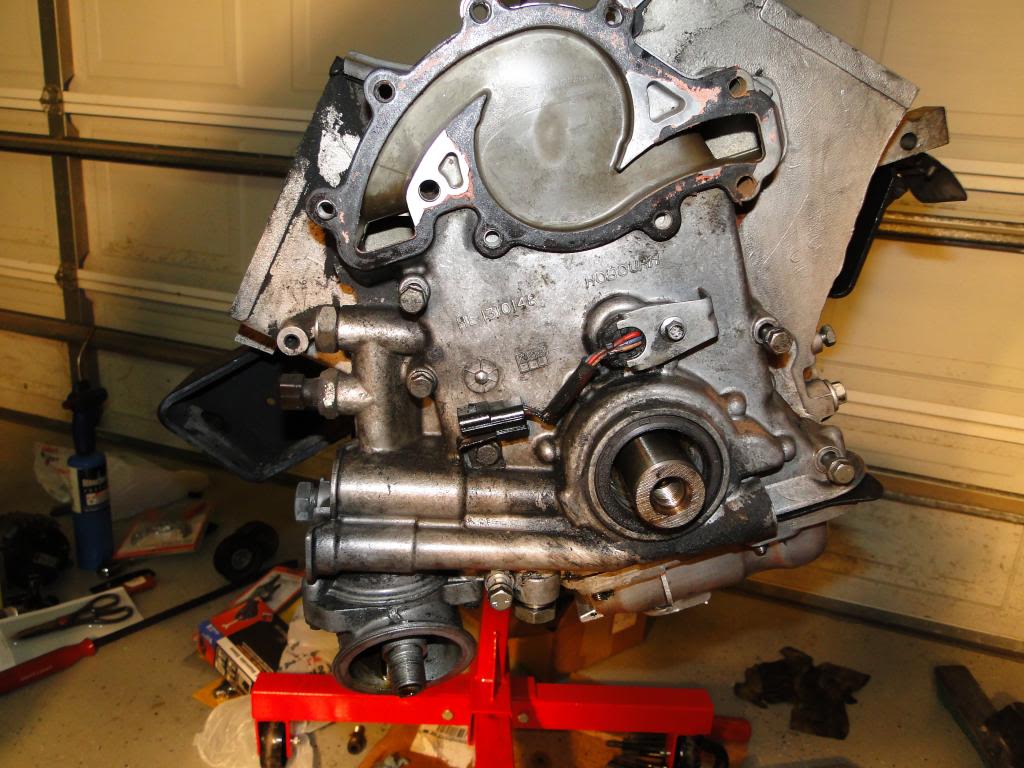
DAY 2 Continued: Remove hood, pull radiator (don't disconnect tranny cooler, just remove battery box and air filter, take 30 minutes), pull engine. Supported transmission with wood 2x6's put across frame bracing. Like many others, tricked by RAVE saying remove 12 bolts, leave upper 2 in - thought this meant remove 10 bolts, leave upper 2 in (10+2=12). Had trouble separating from tranny until realized there were 14 bolts in total. Install engine on engine stand, used grade 8 bolts (debate about grade 5 bending vs grade 8 snapping off).
Torque Converter Bolts - took a good 15 minutes to find the right inspection hole!

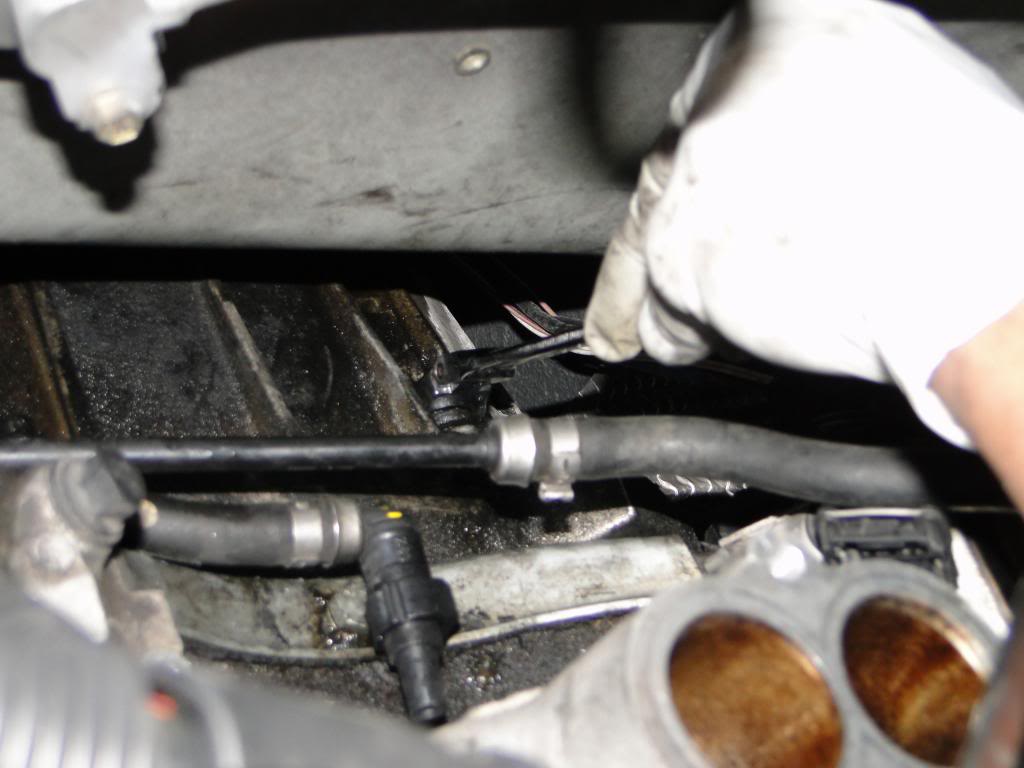
Torque Converter Bolts - took a good 15 minutes to find the right inspection hole!
Thread Starter
|
Three Wheeling
Joined: Feb 2013
Posts: 79
Likes: 8
From: South Florida, South America
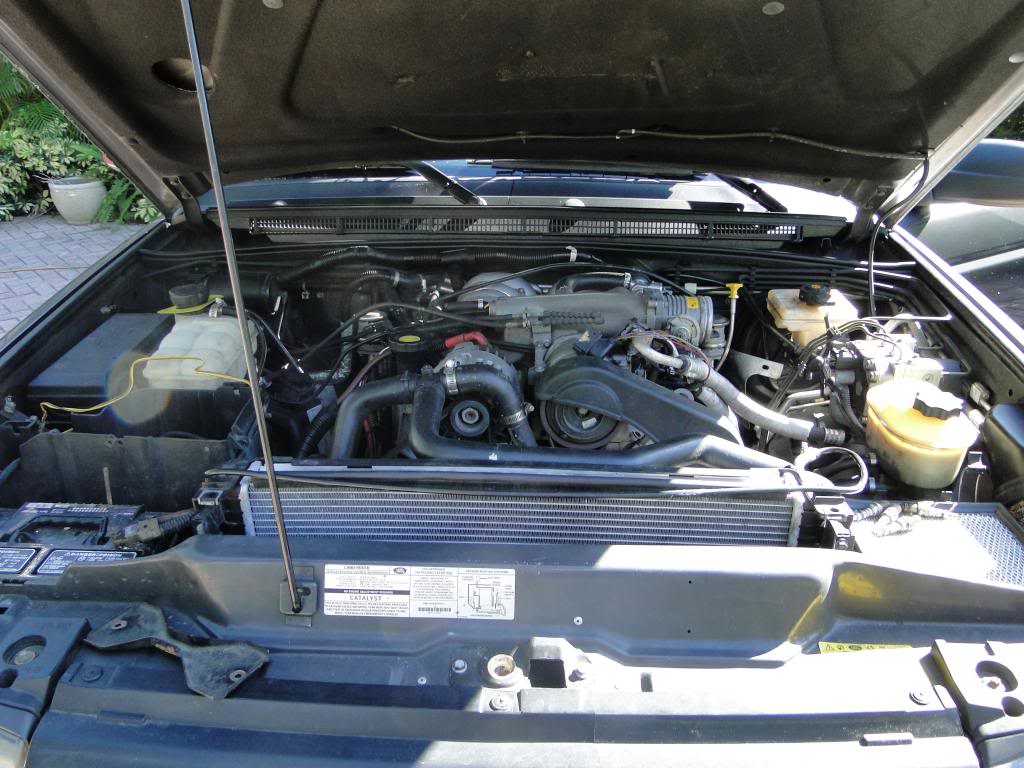
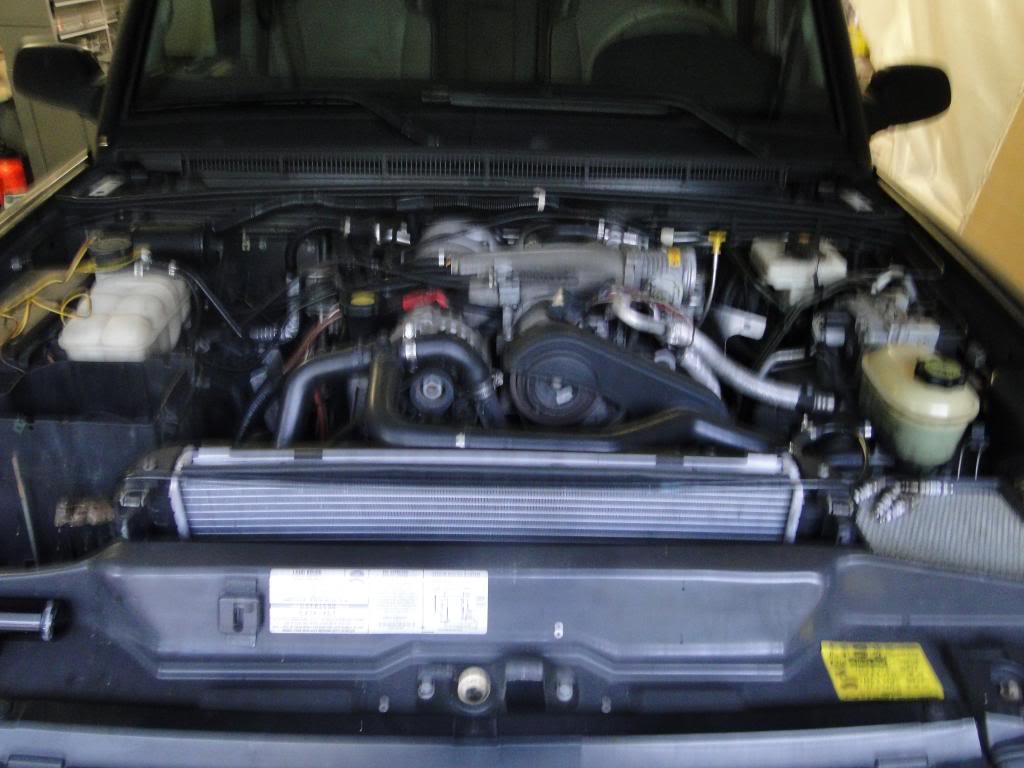
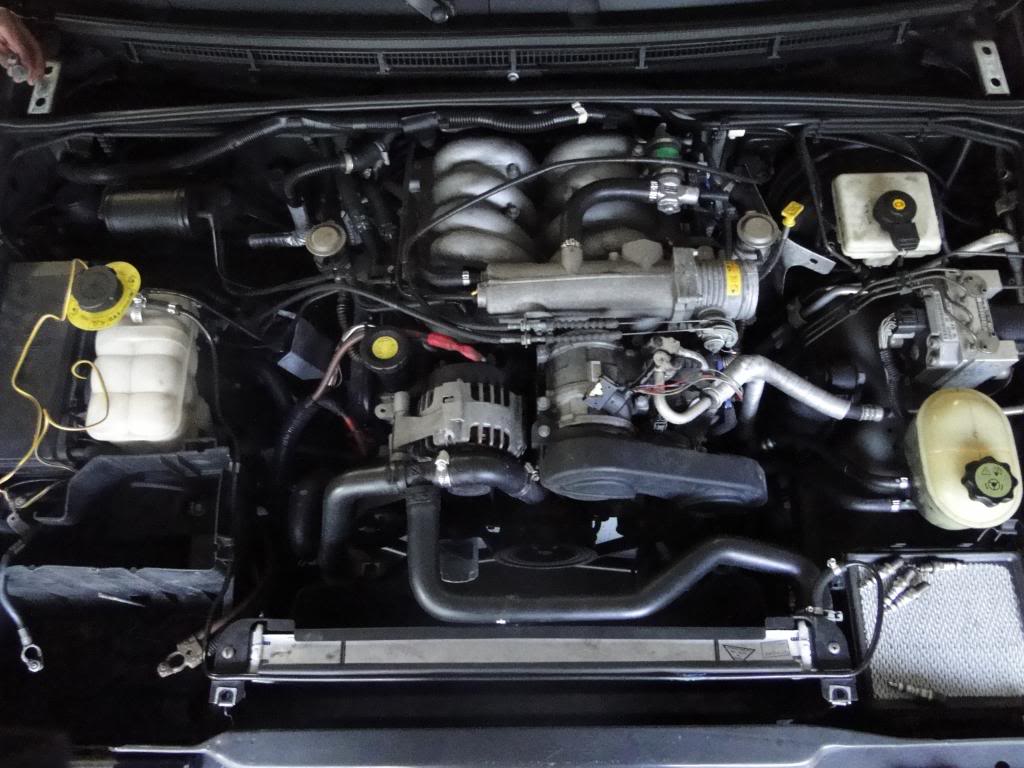
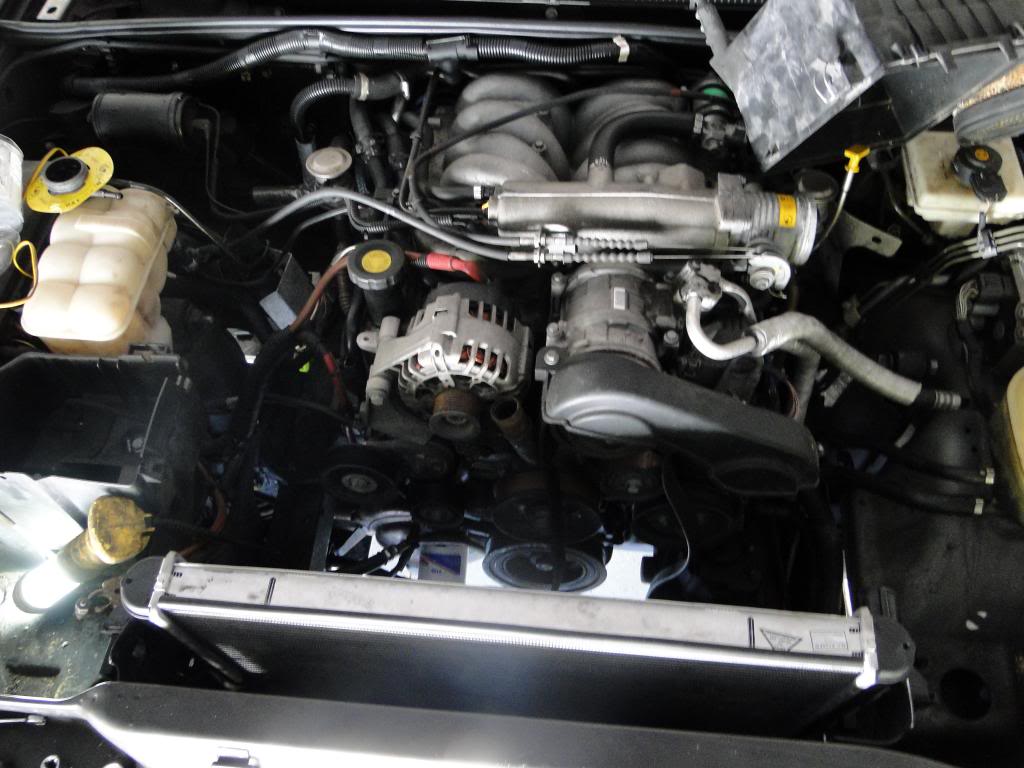
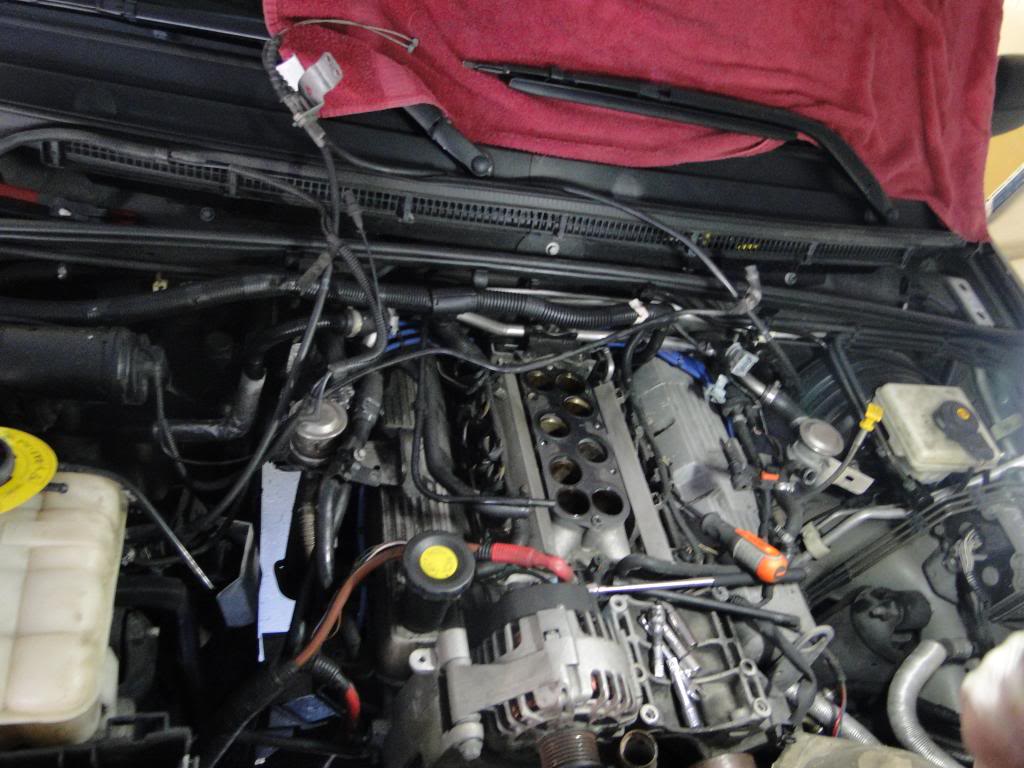
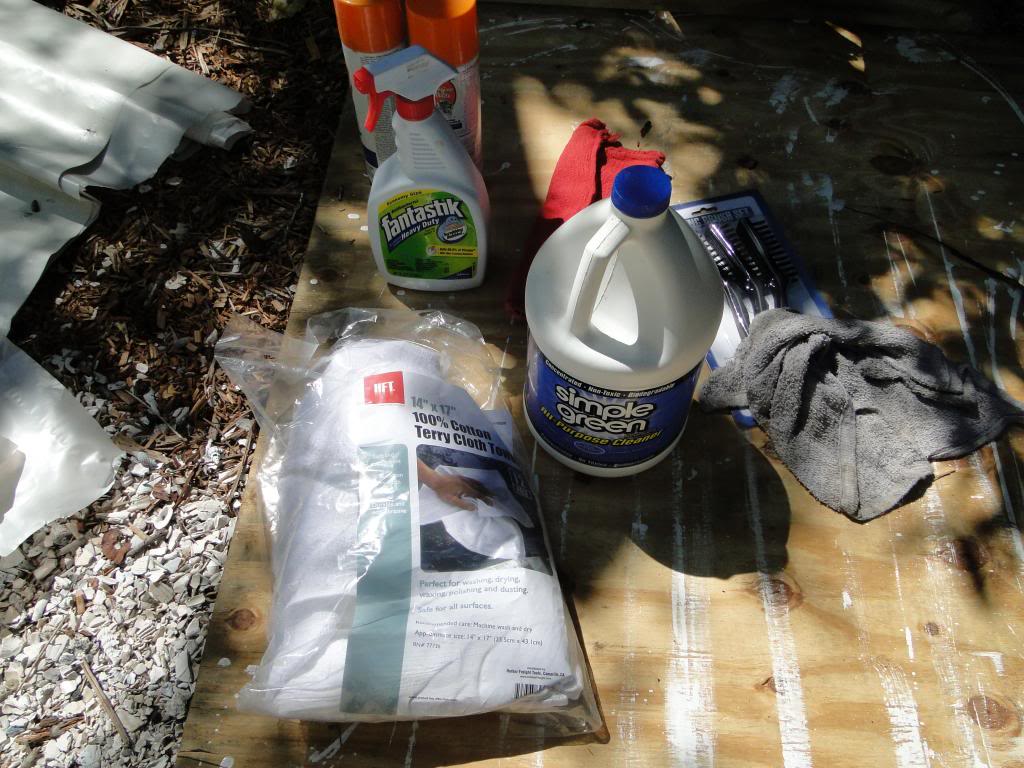
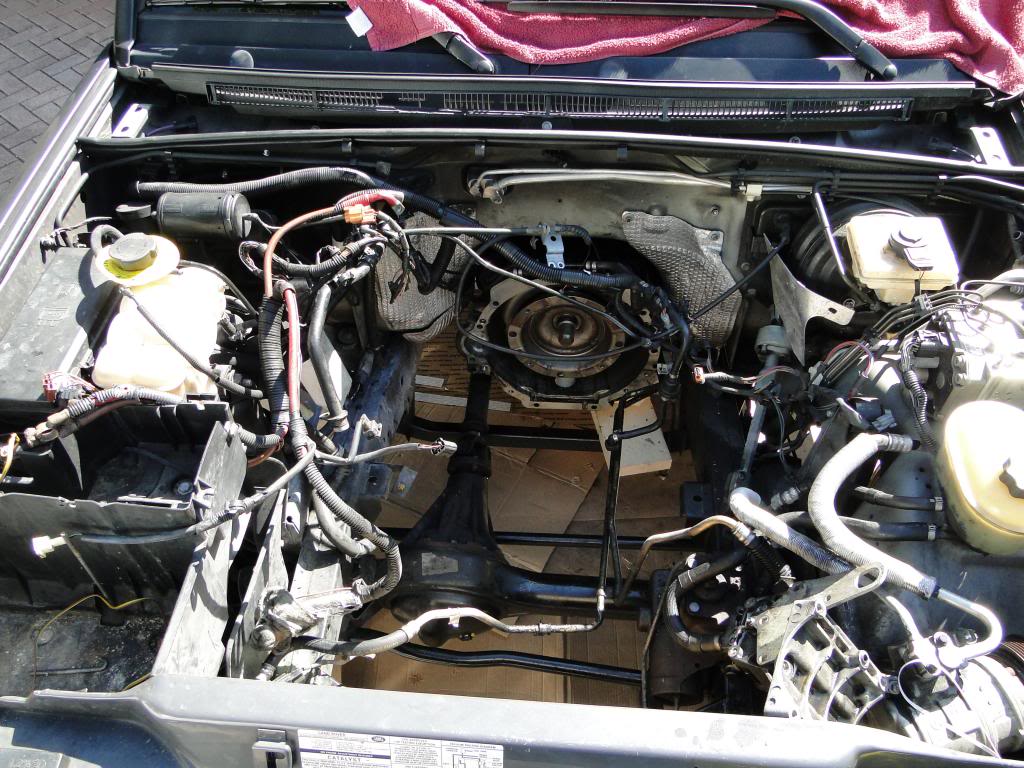
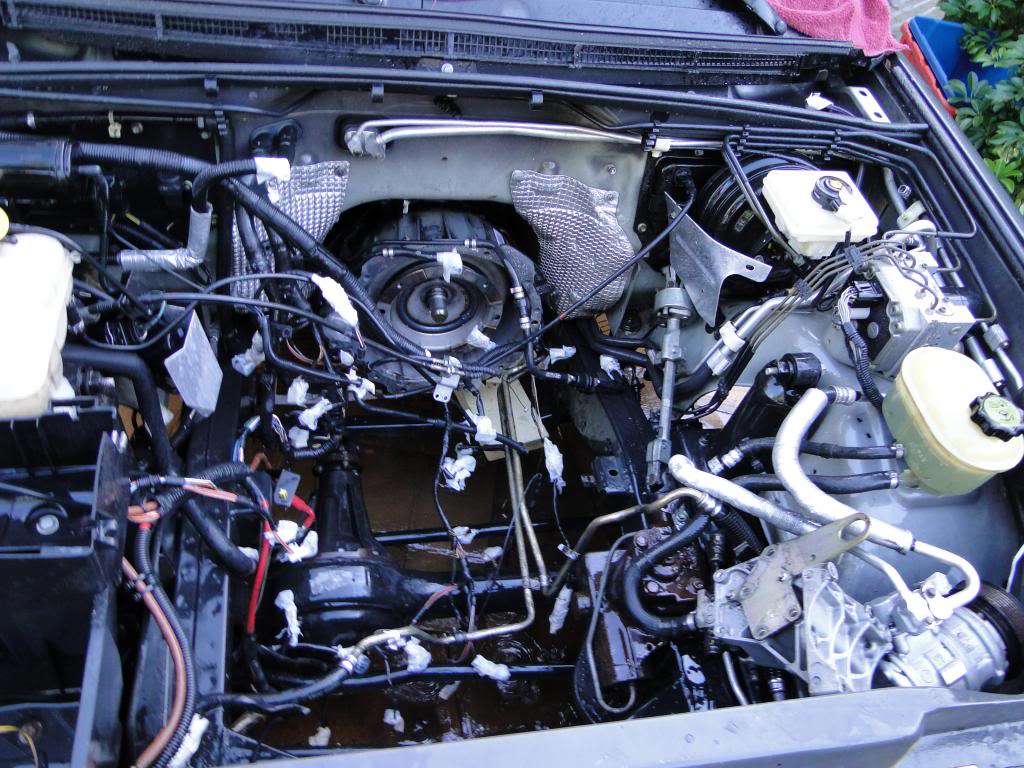
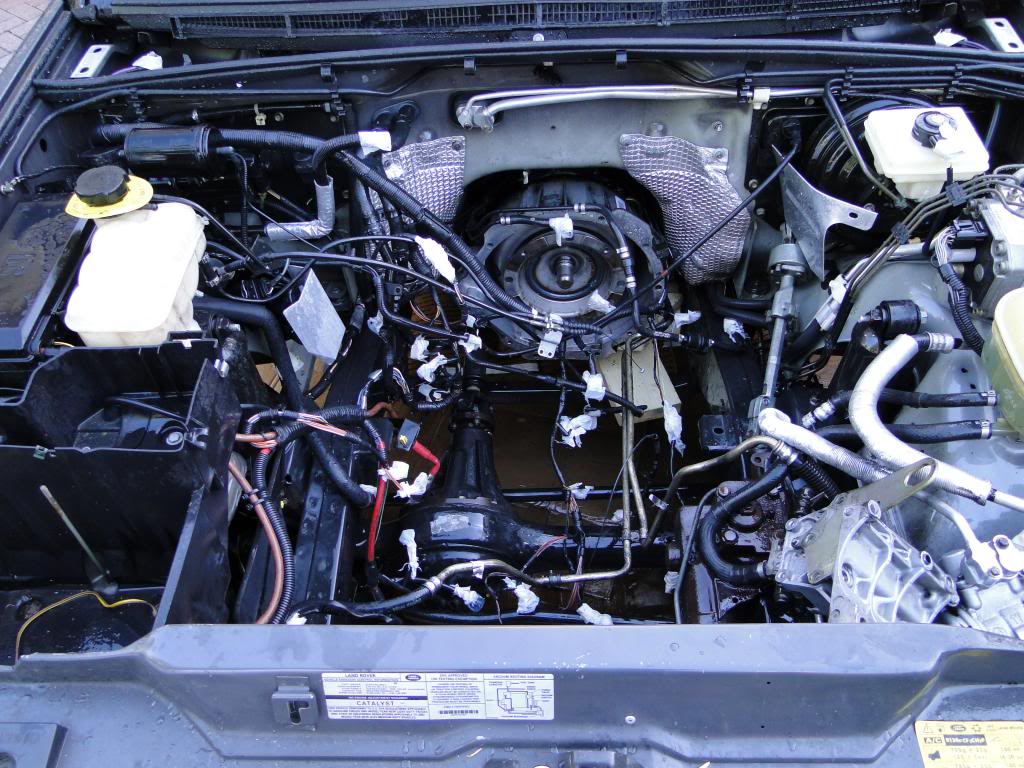
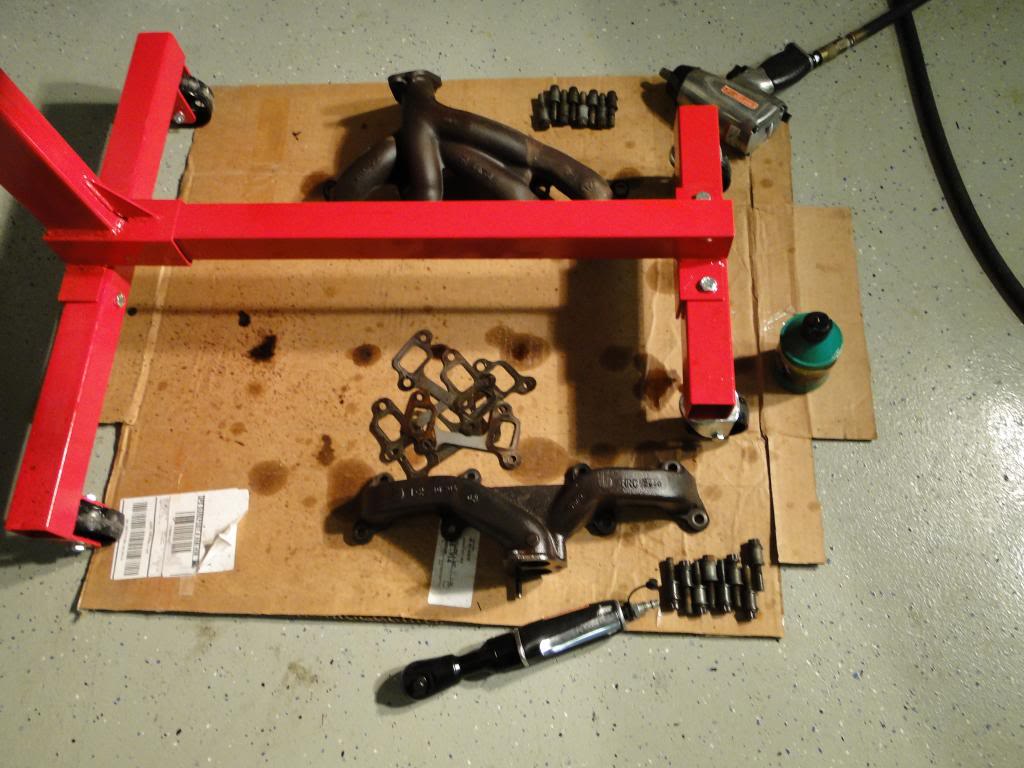
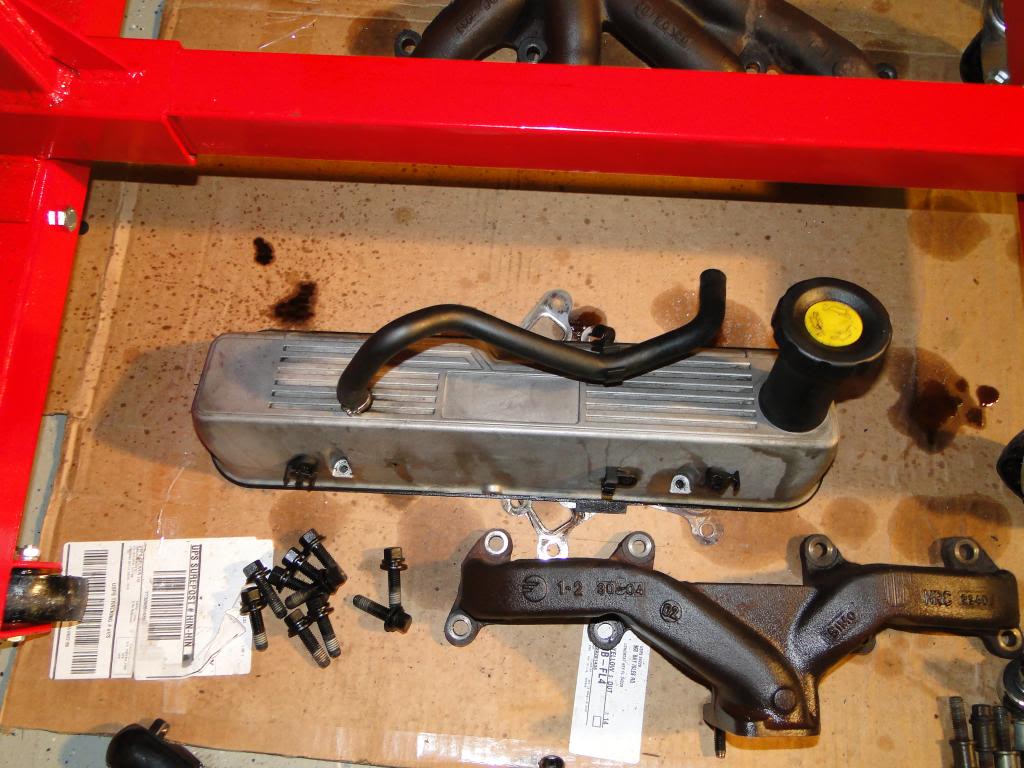
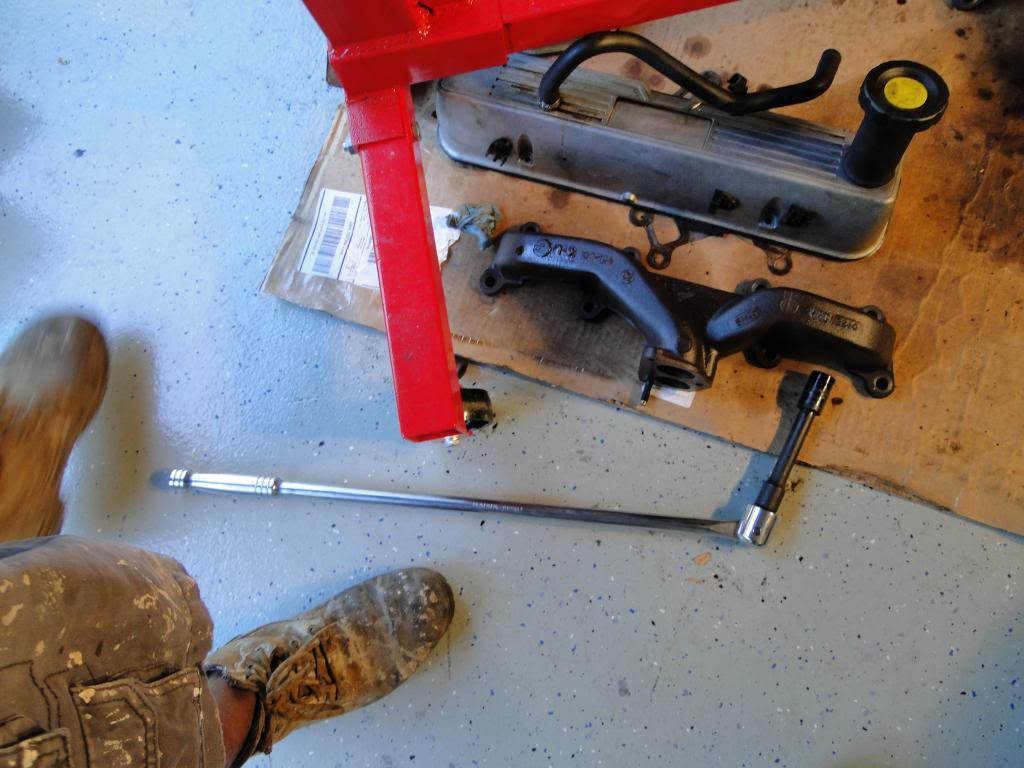
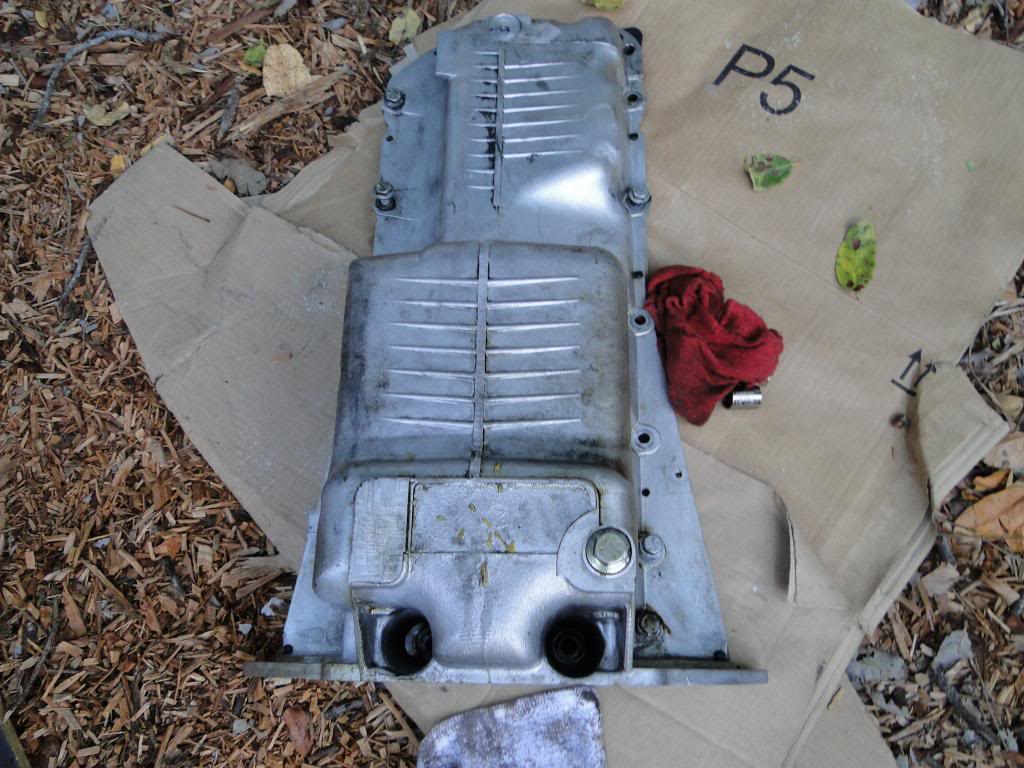
DAY 3: Engine and engine bay degreasing (lots of brake cleaner after steam washer and engine degreaser failed). Valve Cover, exhaust, alternator removal.

ENGINE BAY BEFORE CLEANING:
AFTER CLEANING:

ENGINE BAY BEFORE CLEANING:
AFTER CLEANING:
Thread Starter
|
Three Wheeling
Joined: Feb 2013
Posts: 79
Likes: 8
From: South Florida, South America
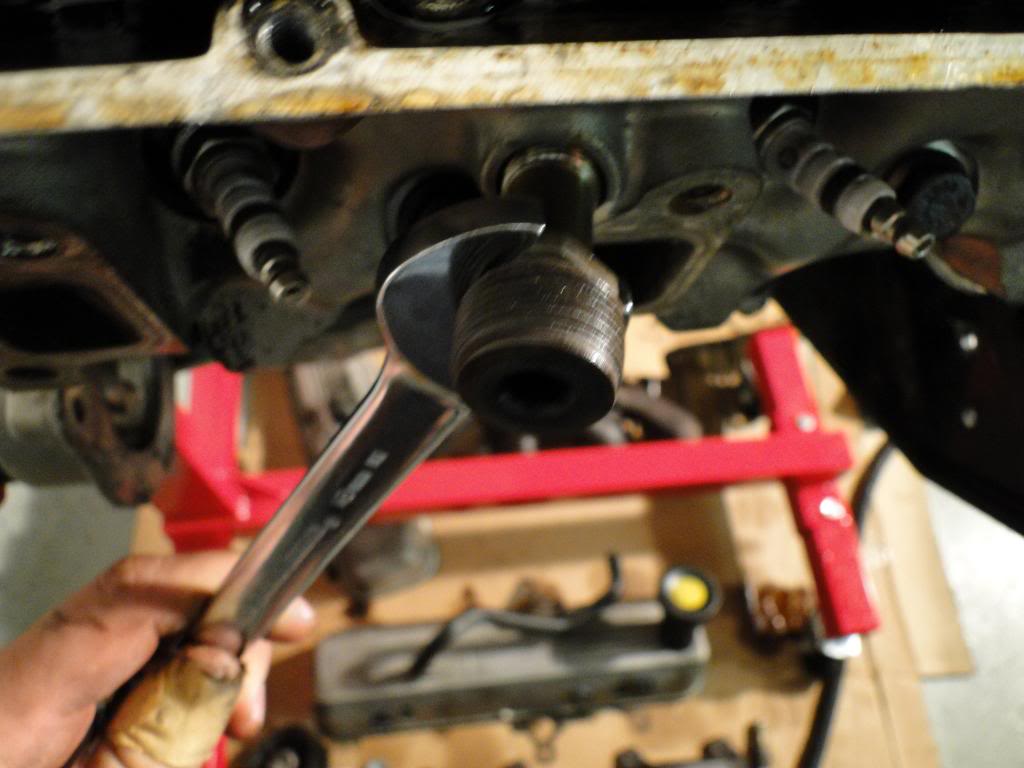
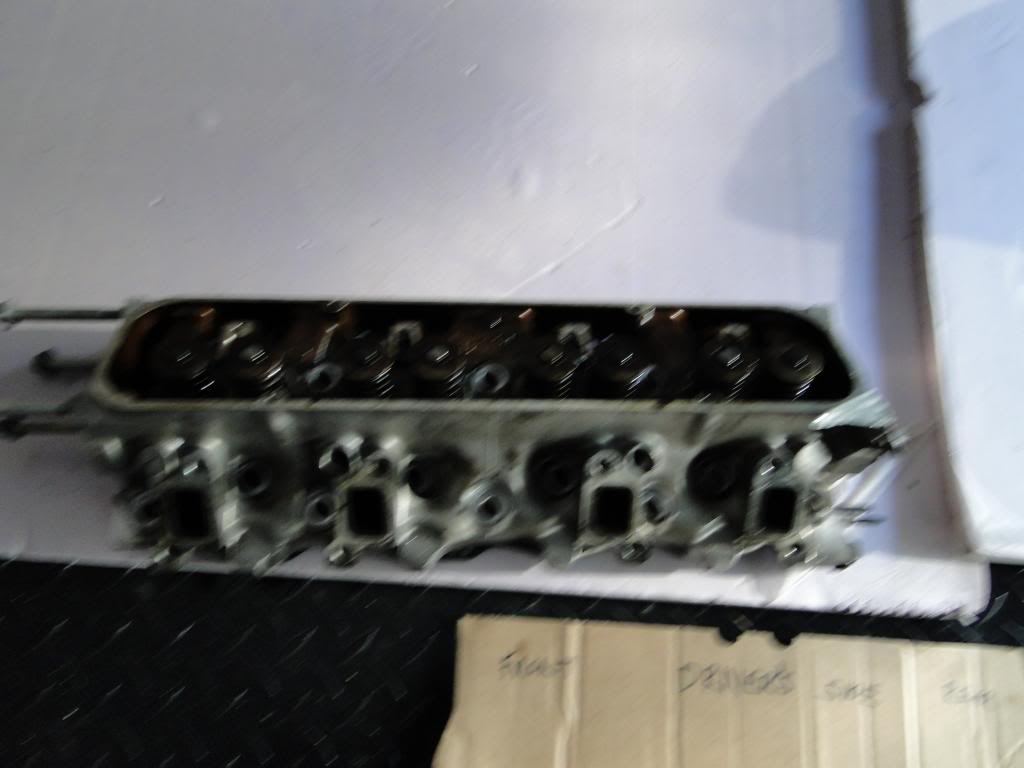
Day 4: More disassembly, drop off heads at machine shop. Go buy bigger breaker bar (25") from Harbor Freight to take off head bolts. Degrease engine bay.
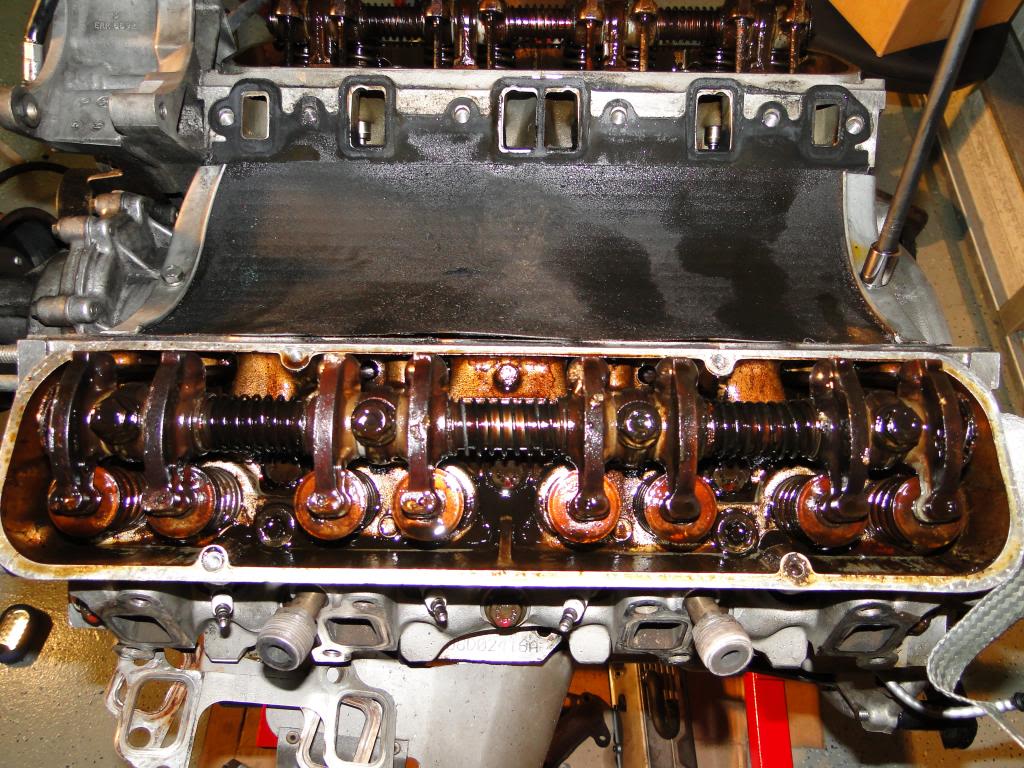
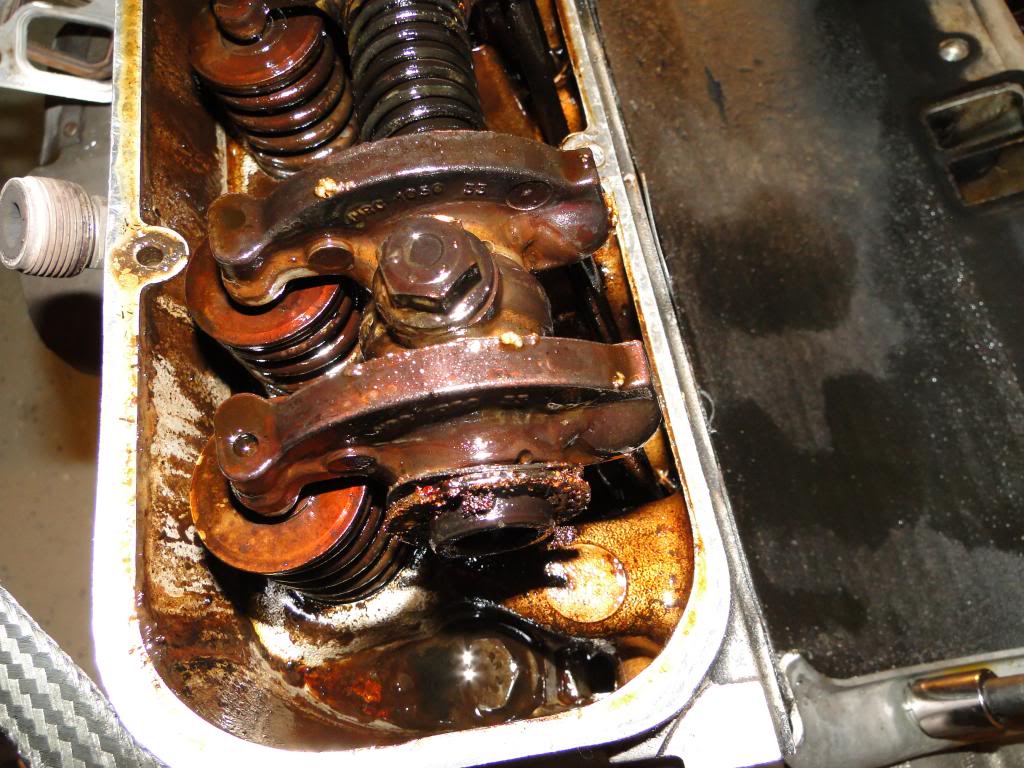
Good Round Push Rods:
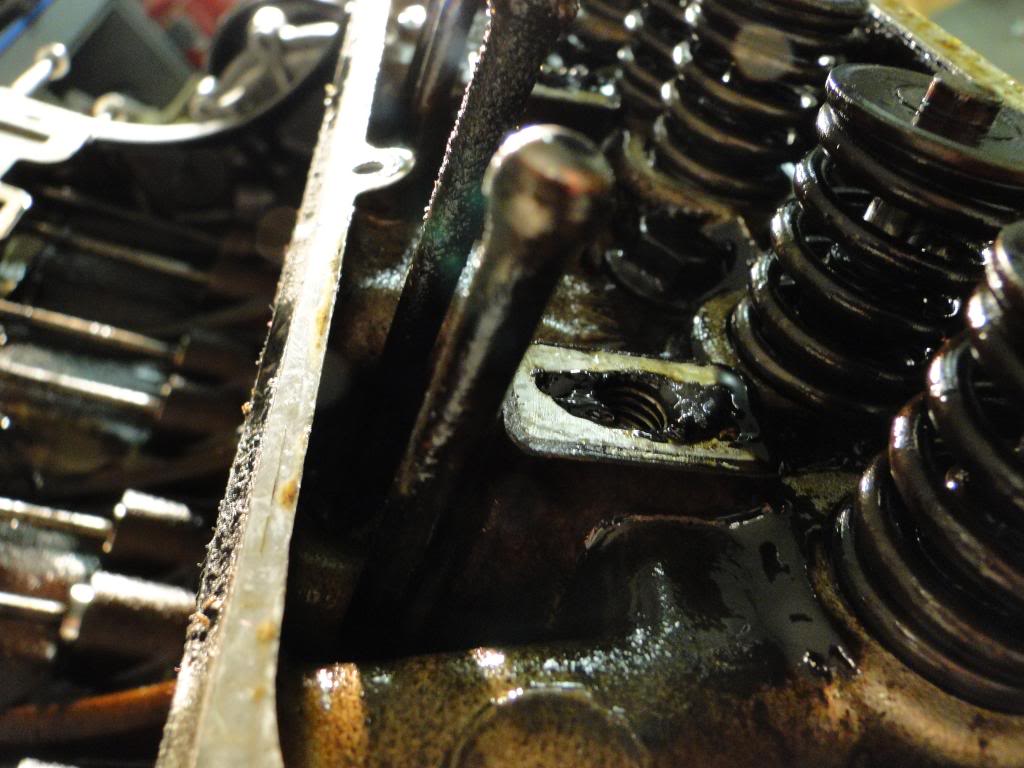
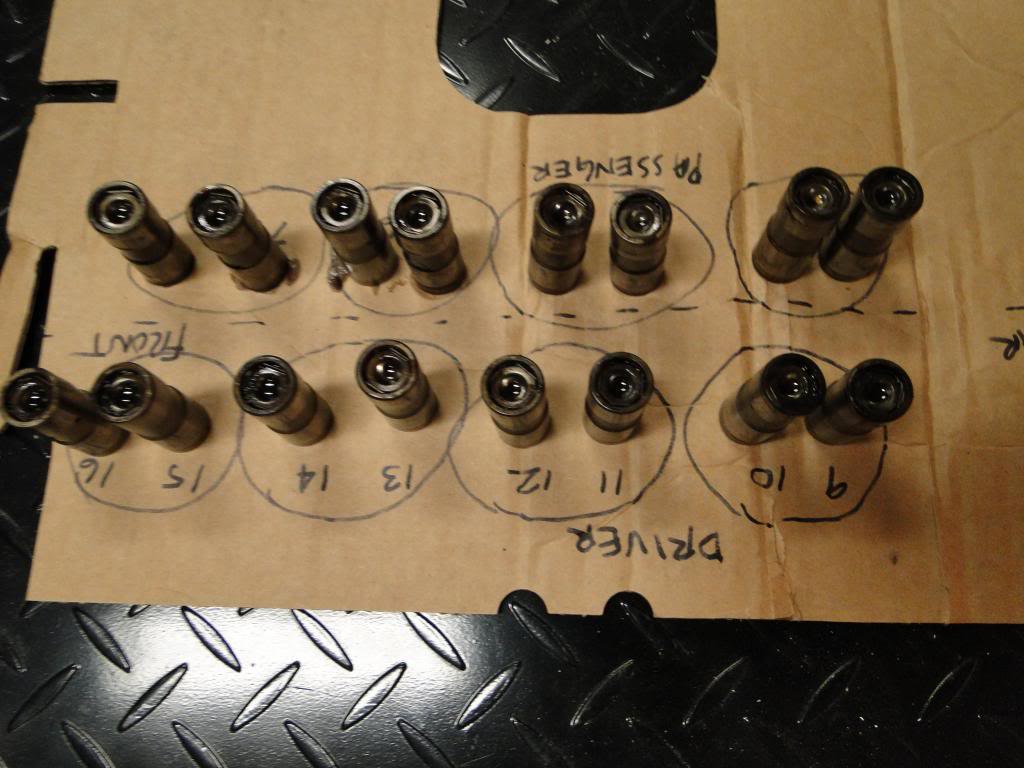
One bad cam lobe and bad lifter - all new lifters and cam ordered.

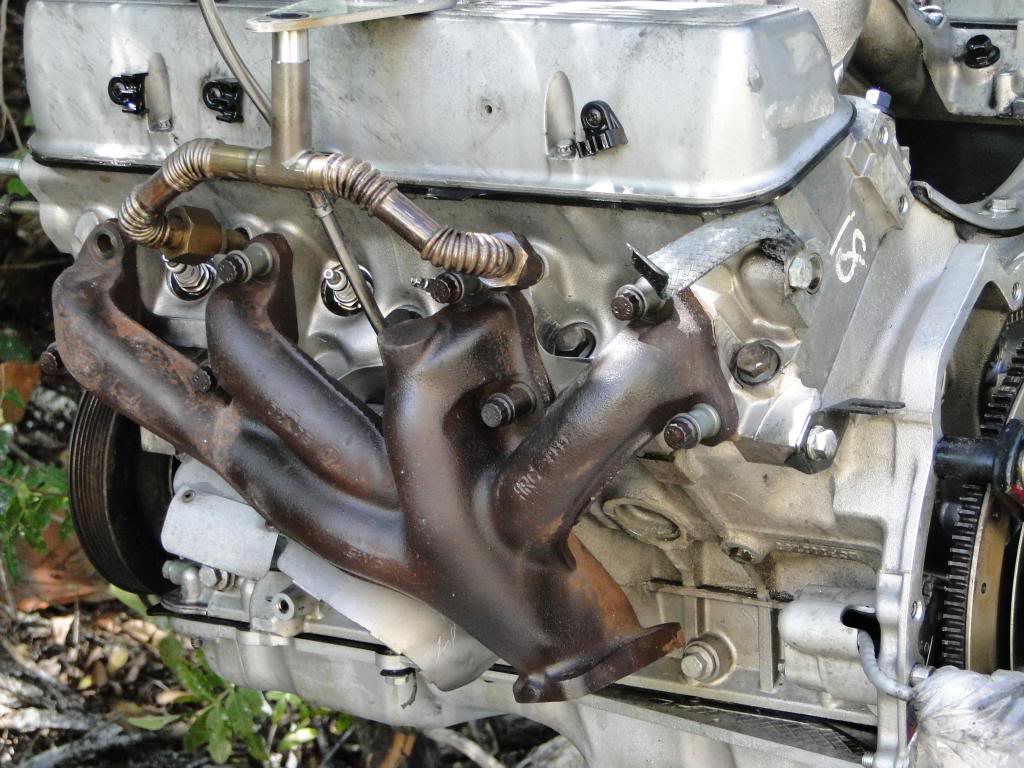
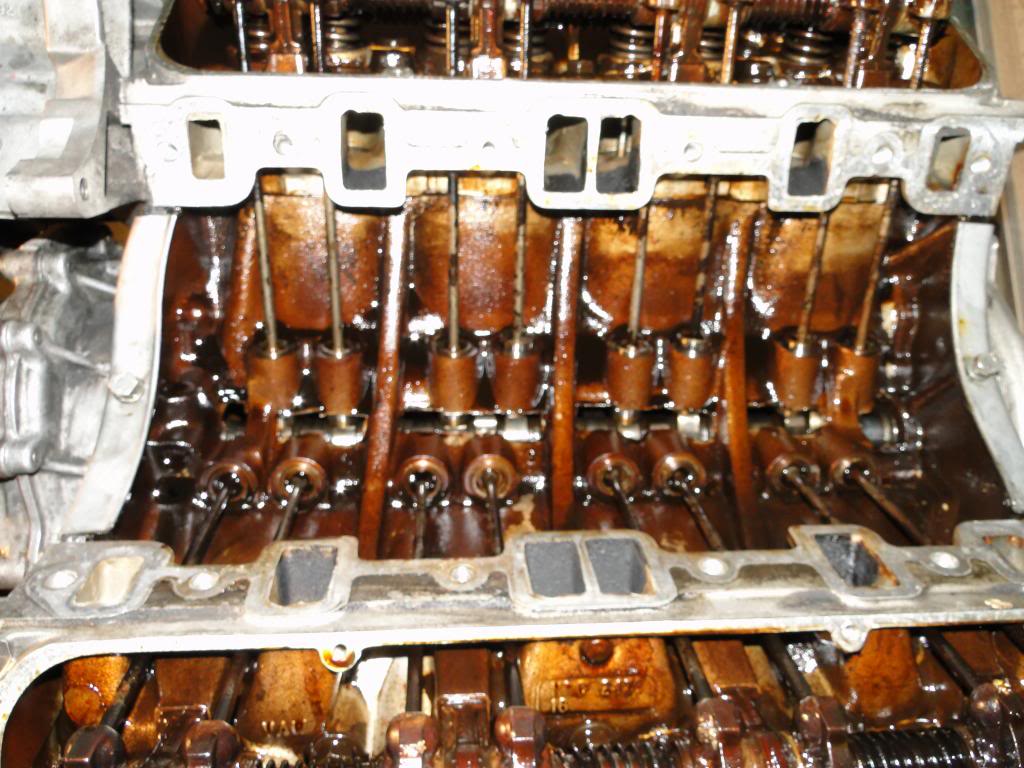
Head Gasket Leak Passenger Side:
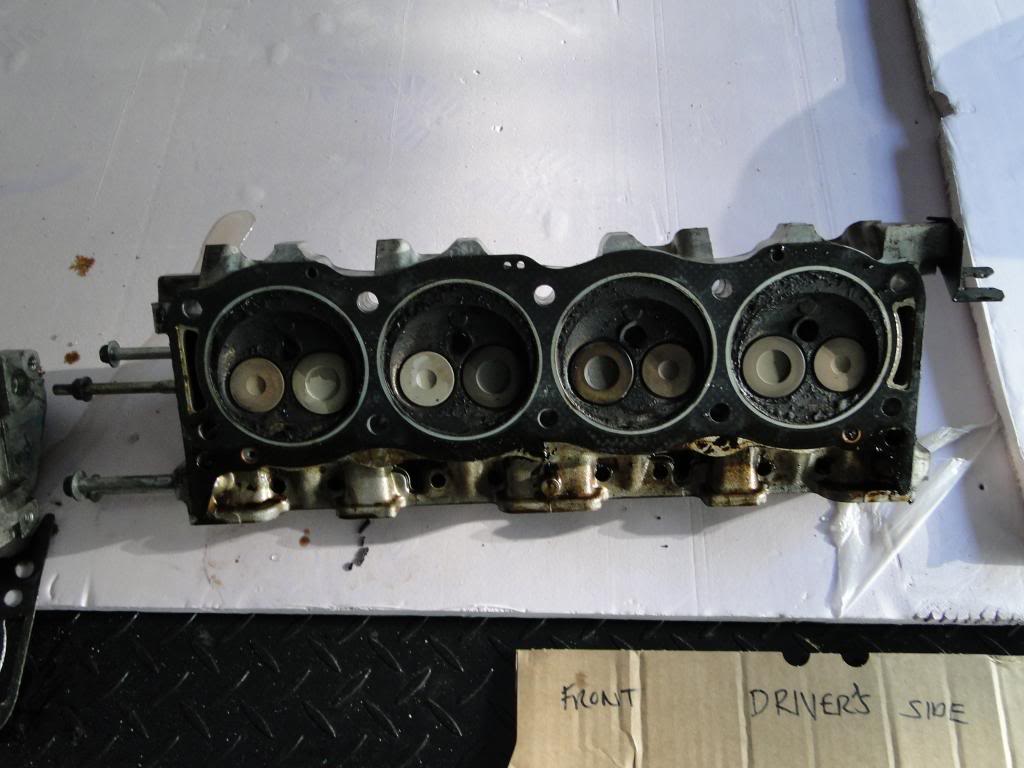
Driver's Head:
Good Round Push Rods:
One bad cam lobe and bad lifter - all new lifters and cam ordered.
Head Gasket Leak Passenger Side:
Driver's Head:
Thread Starter
|
Three Wheeling
Joined: Feb 2013
Posts: 79
Likes: 8
From: South Florida, South America
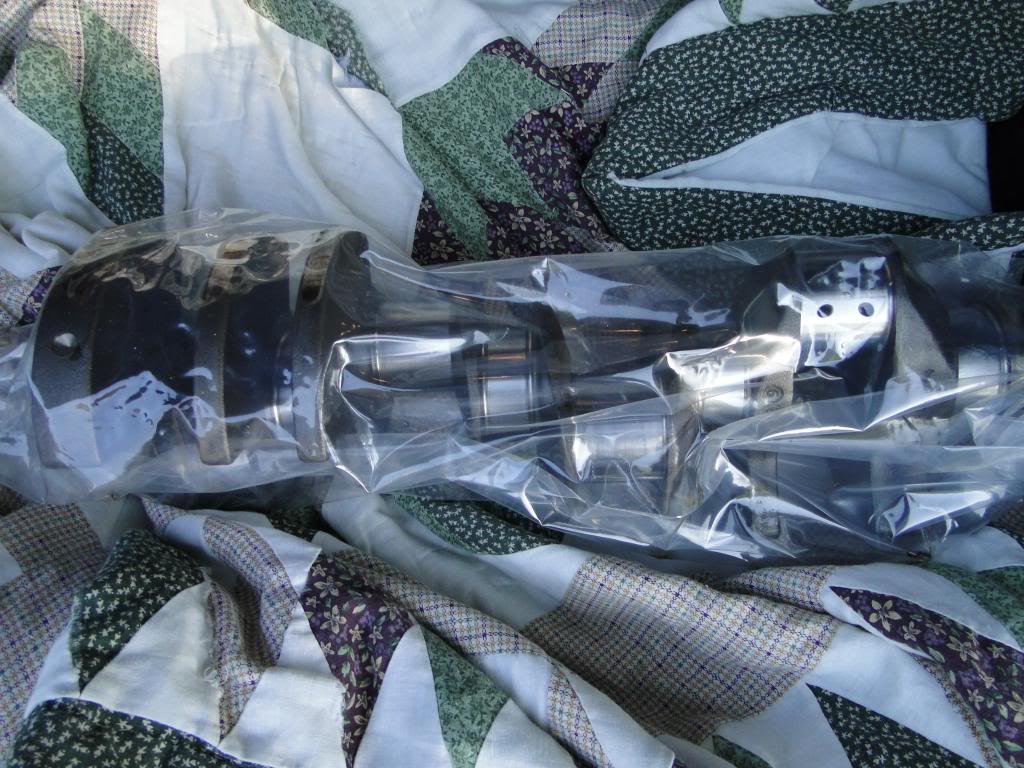
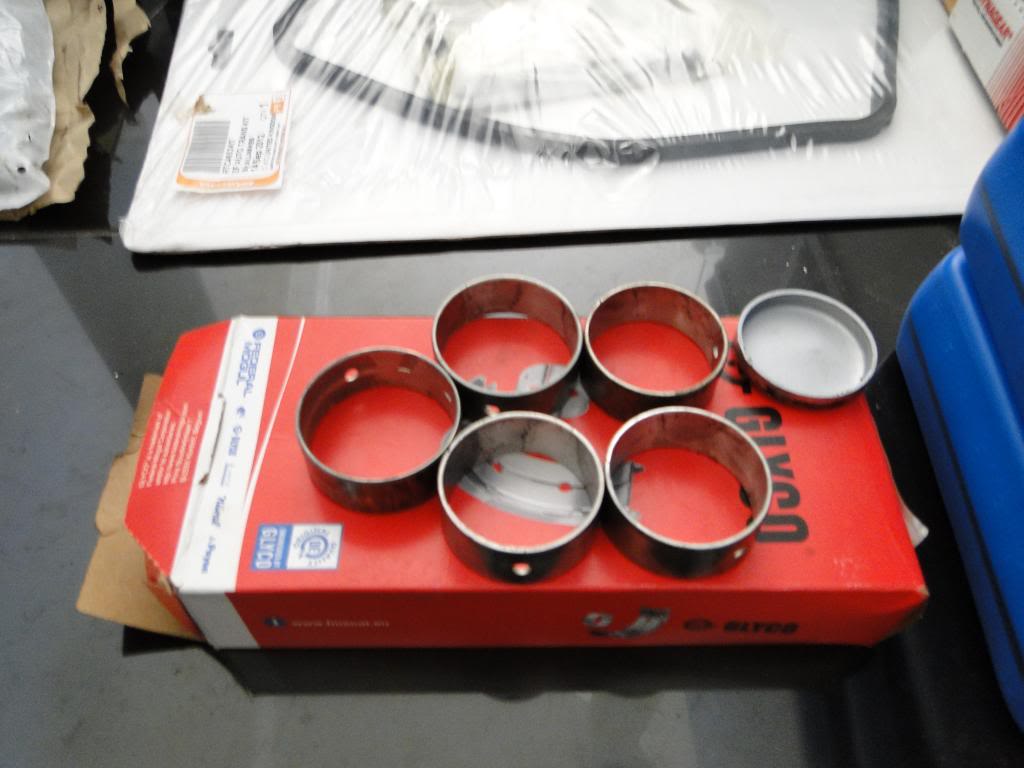
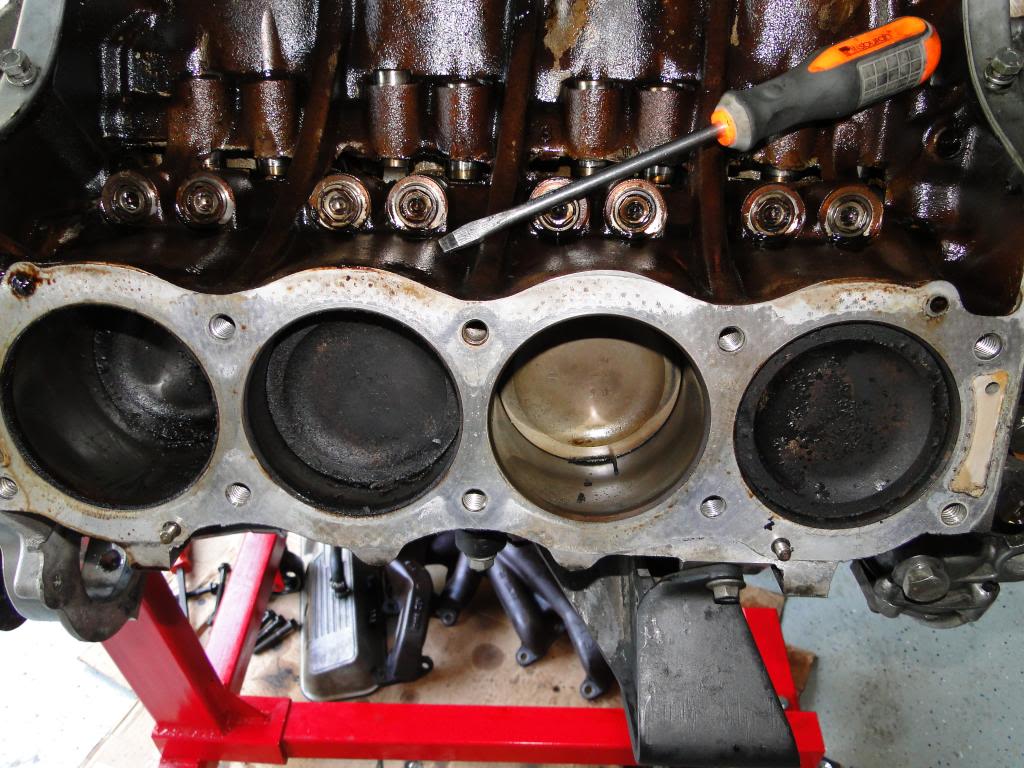
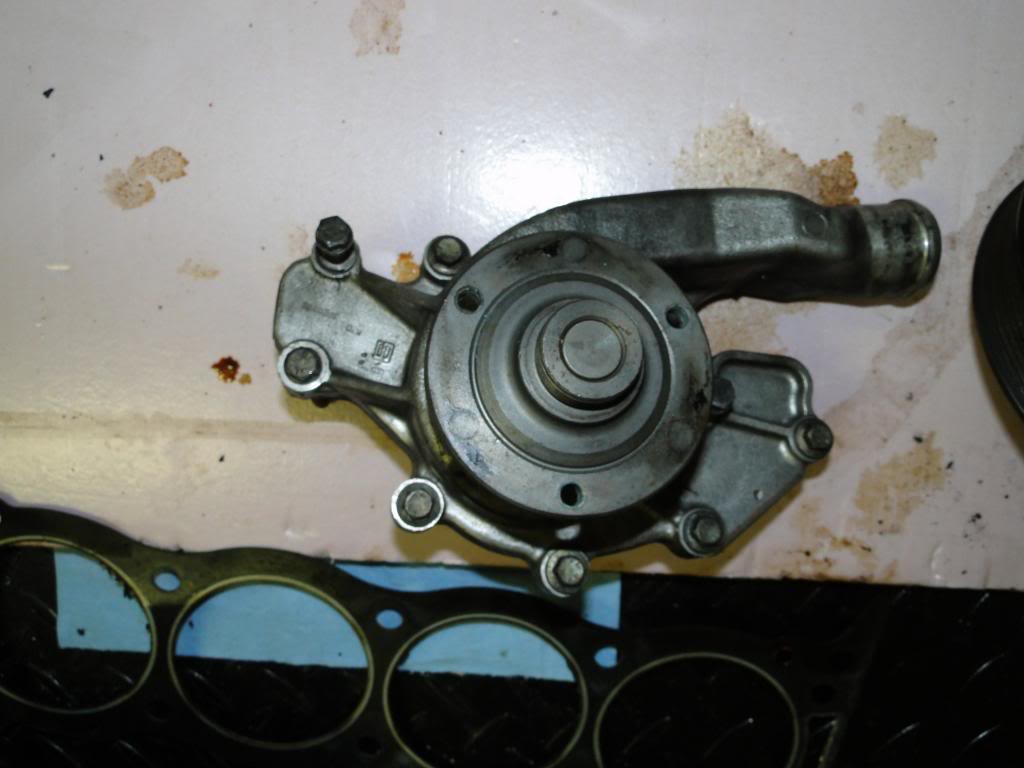
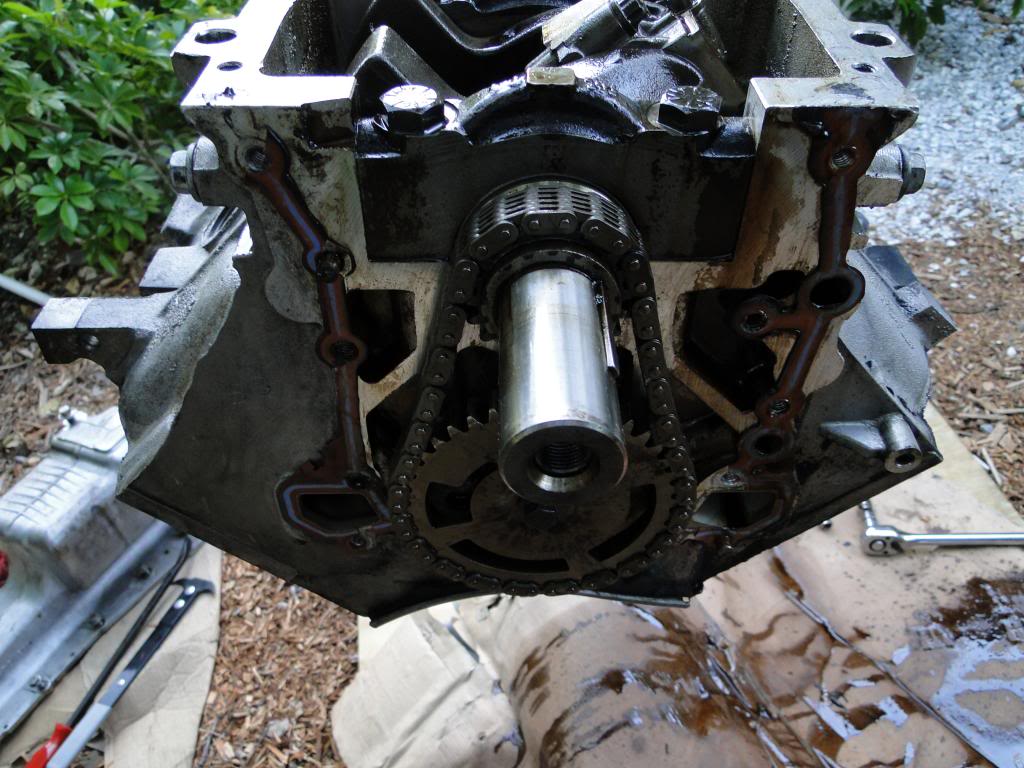
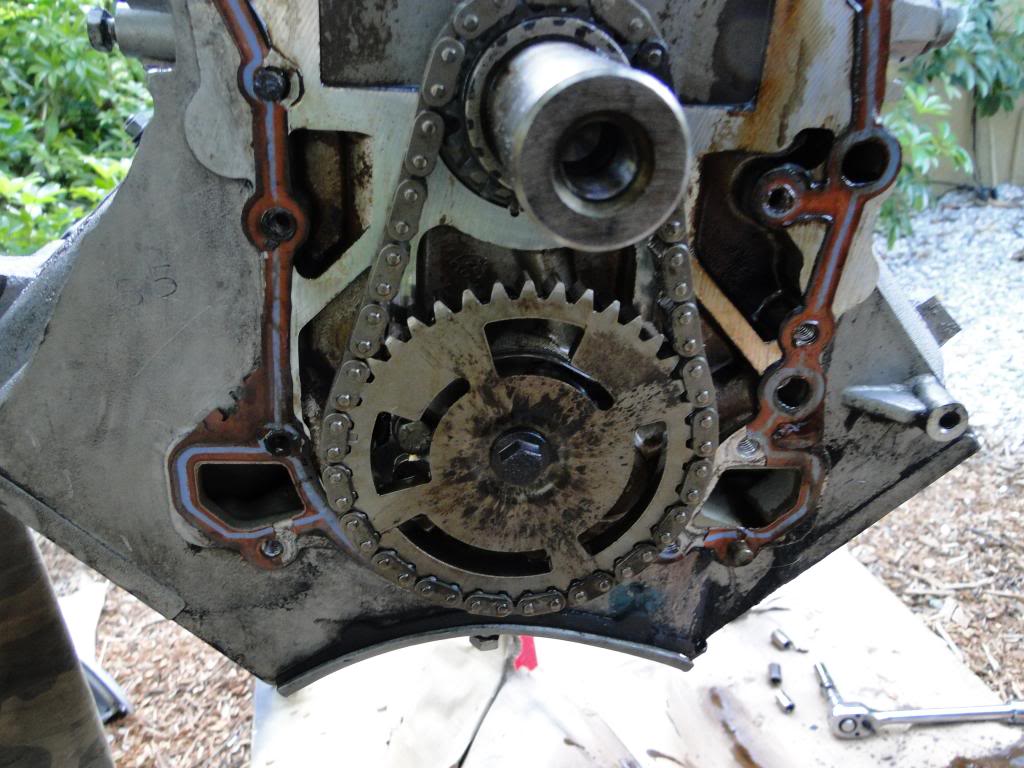
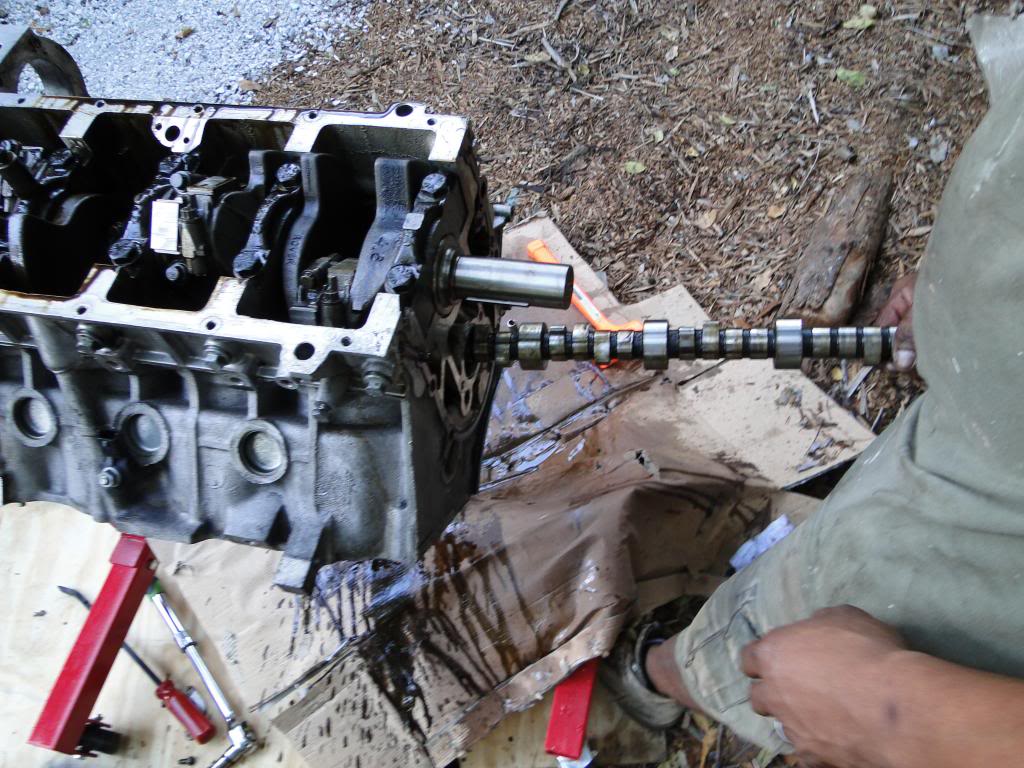
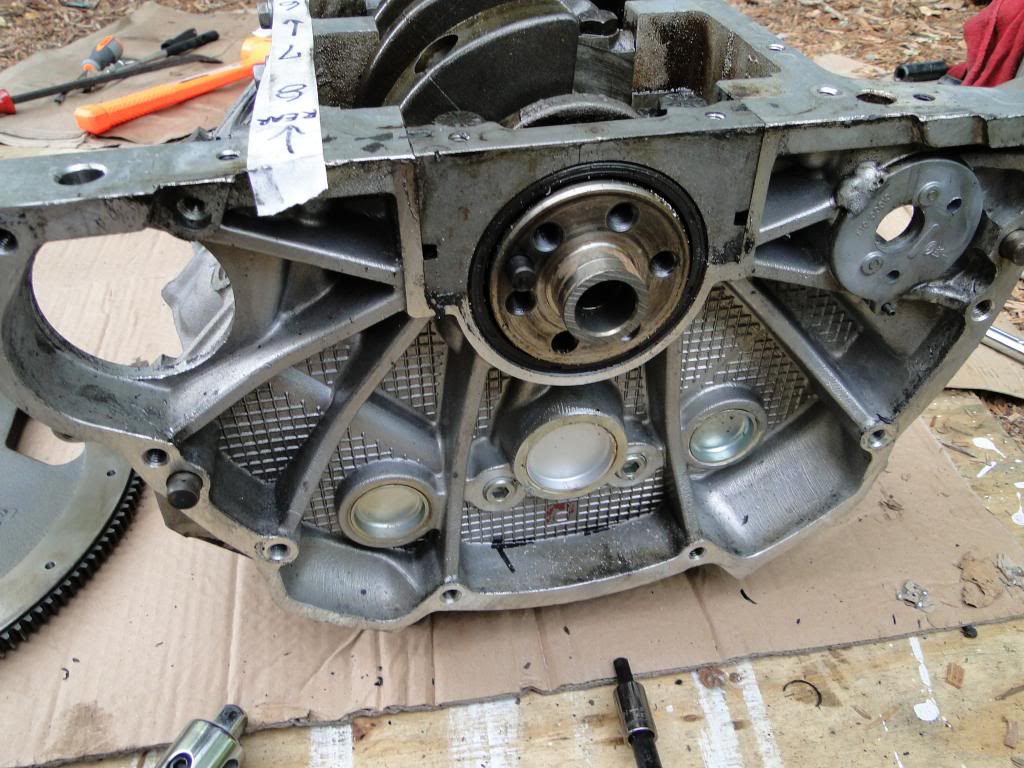
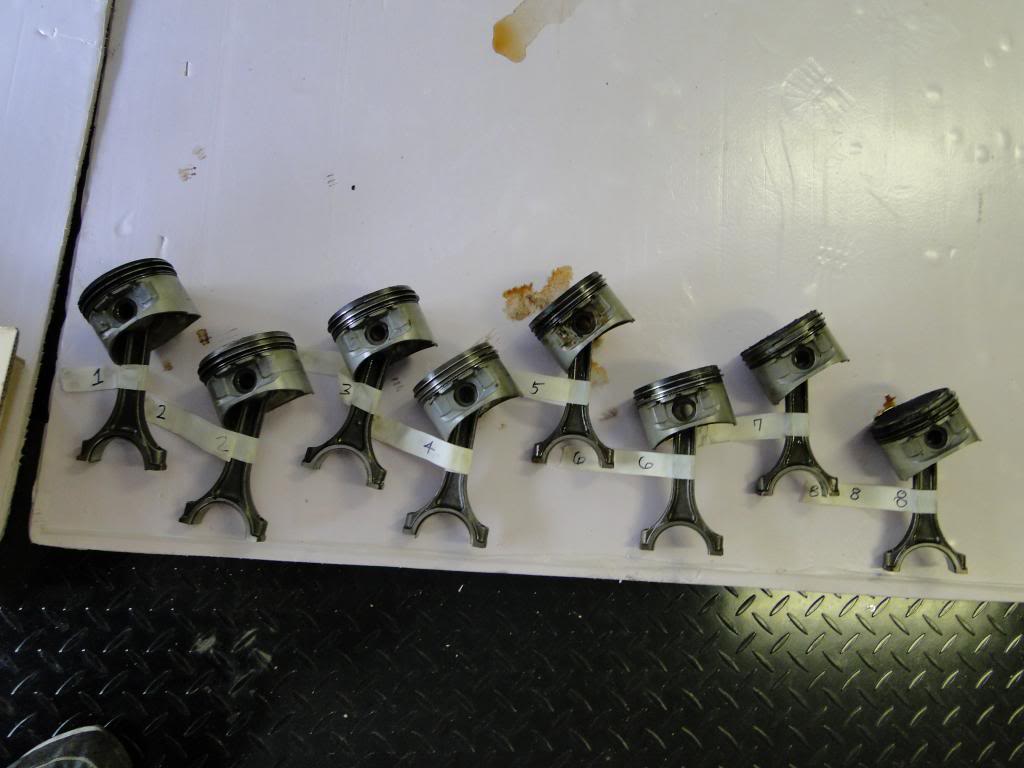
Day 5: Block disassembly. Drop off block, old cam, and crank at machine shop. Crank to be polished, ordered new FINISHED cam bearings from DAP.
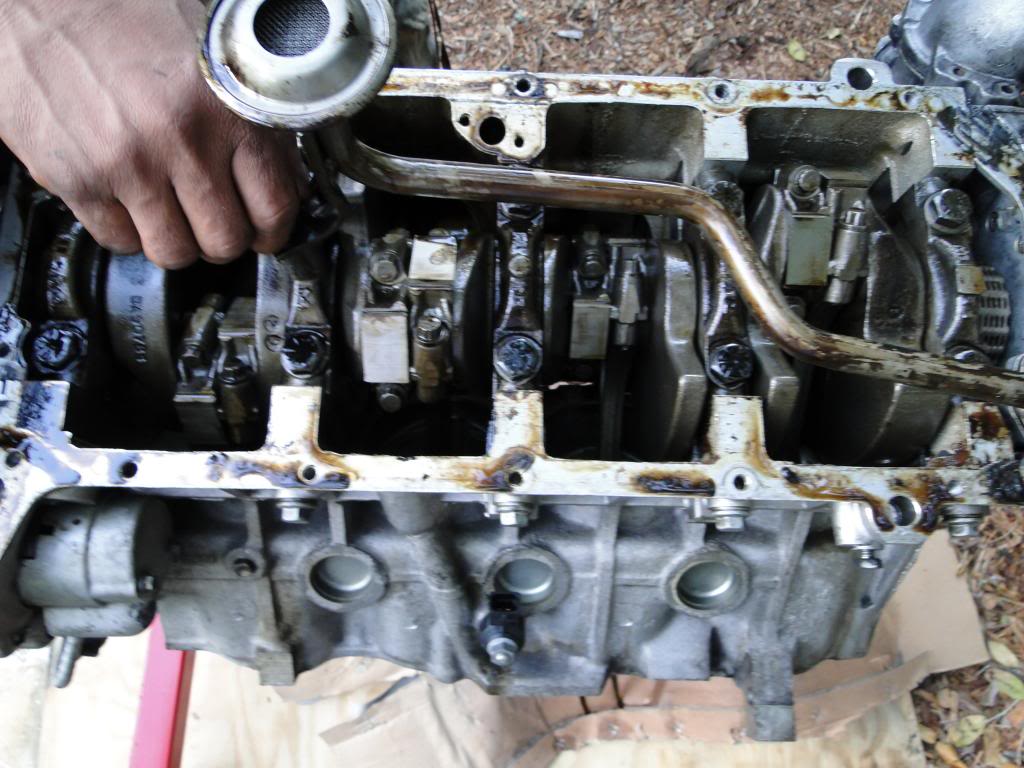
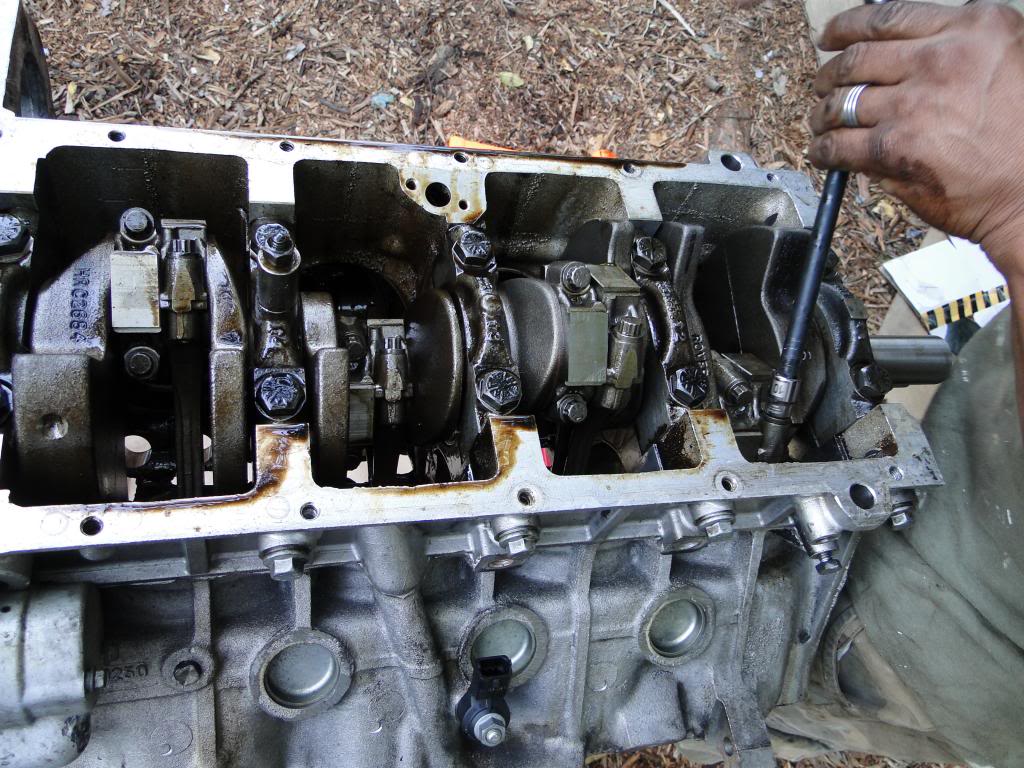
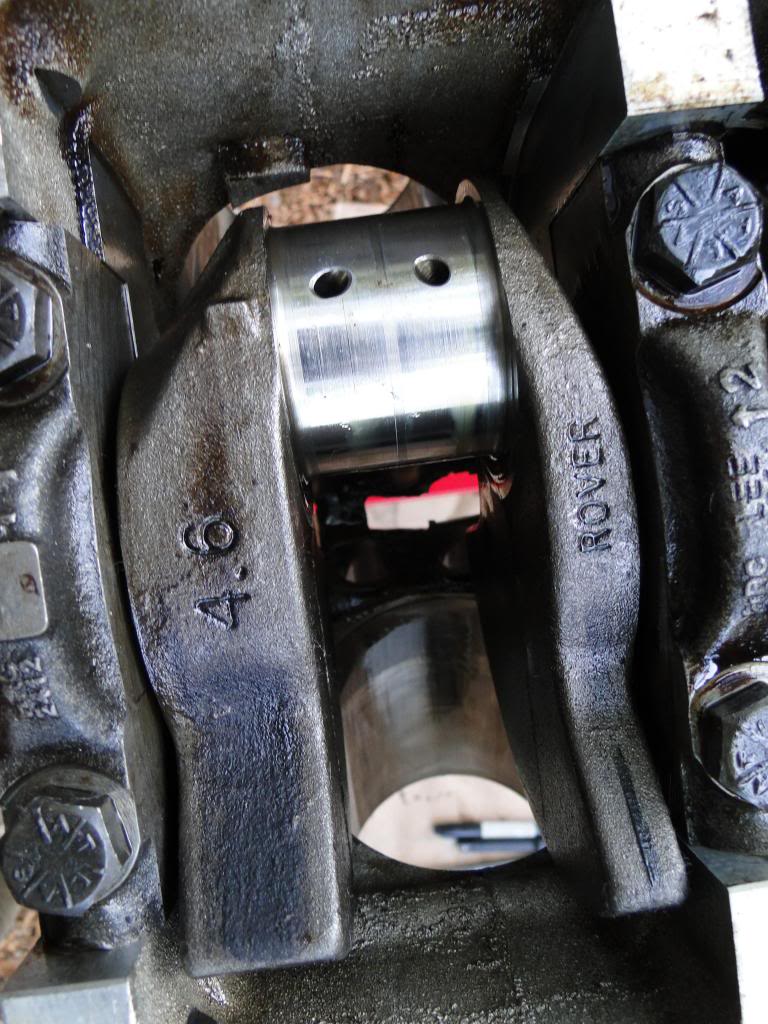
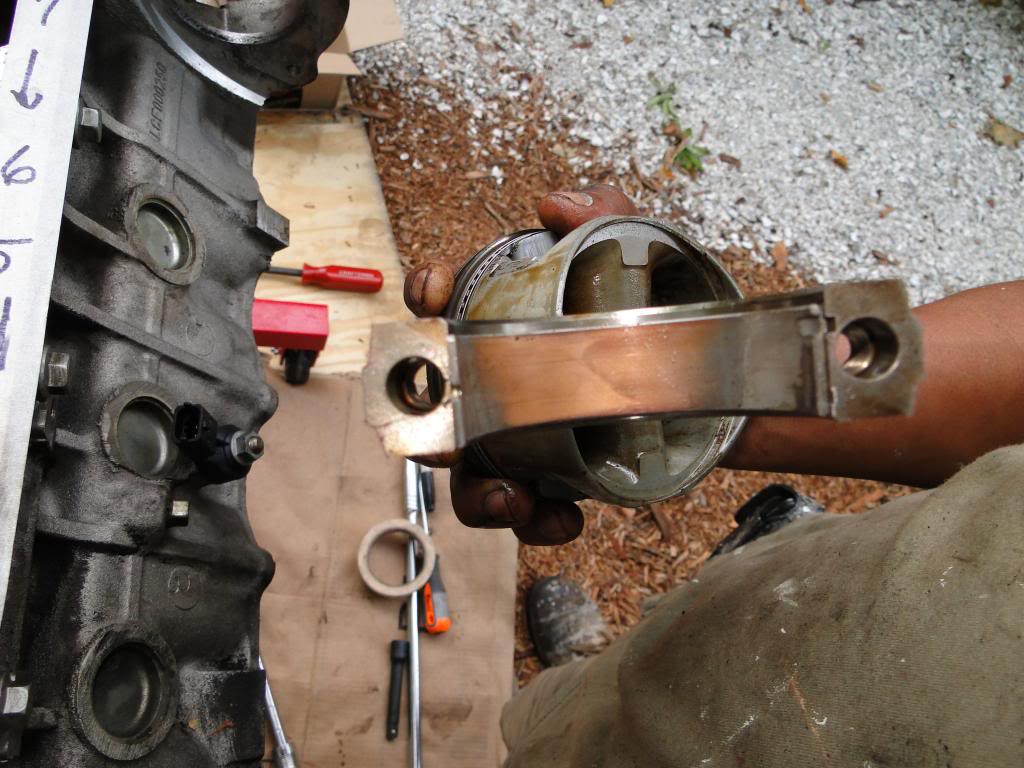
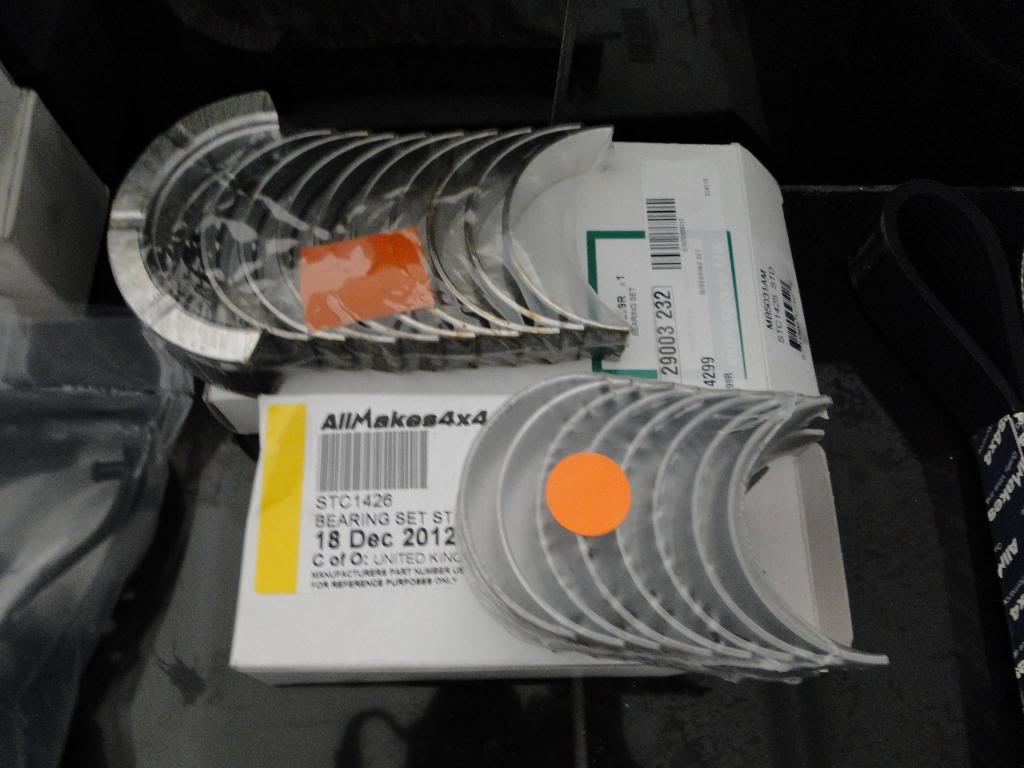
Worn old rod bearings - ordered new rod and main bearings:
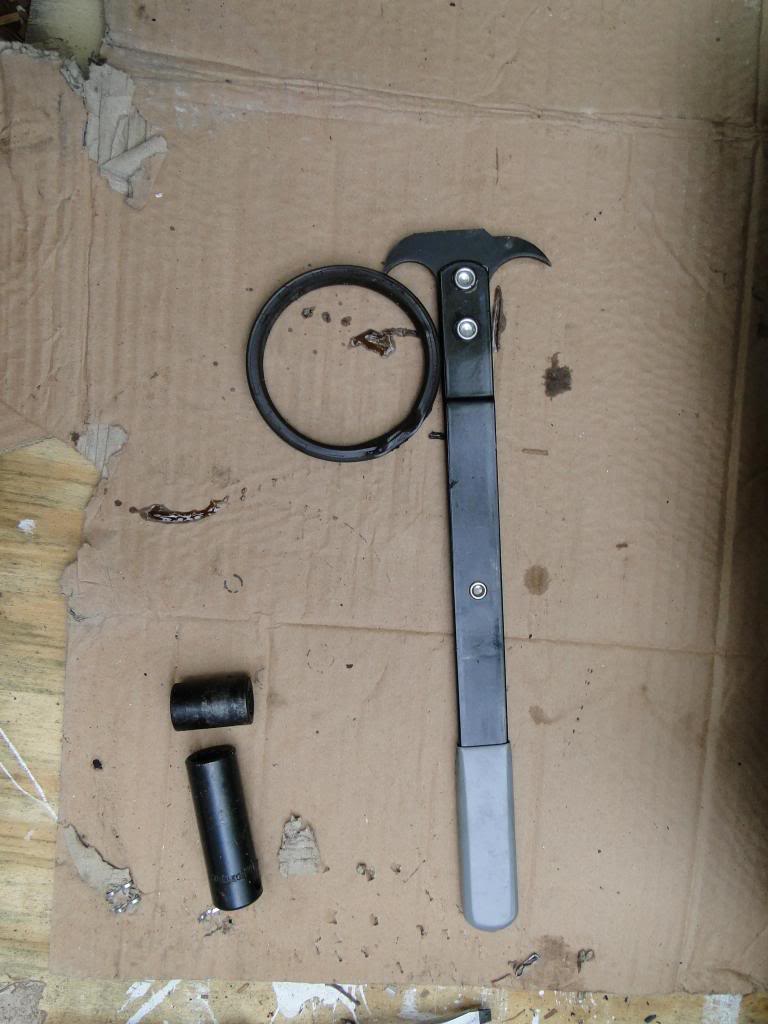
Removing crank seal, should have waited to remove rear main bearing cap first, would have then been cake to remove the rear crank seal:
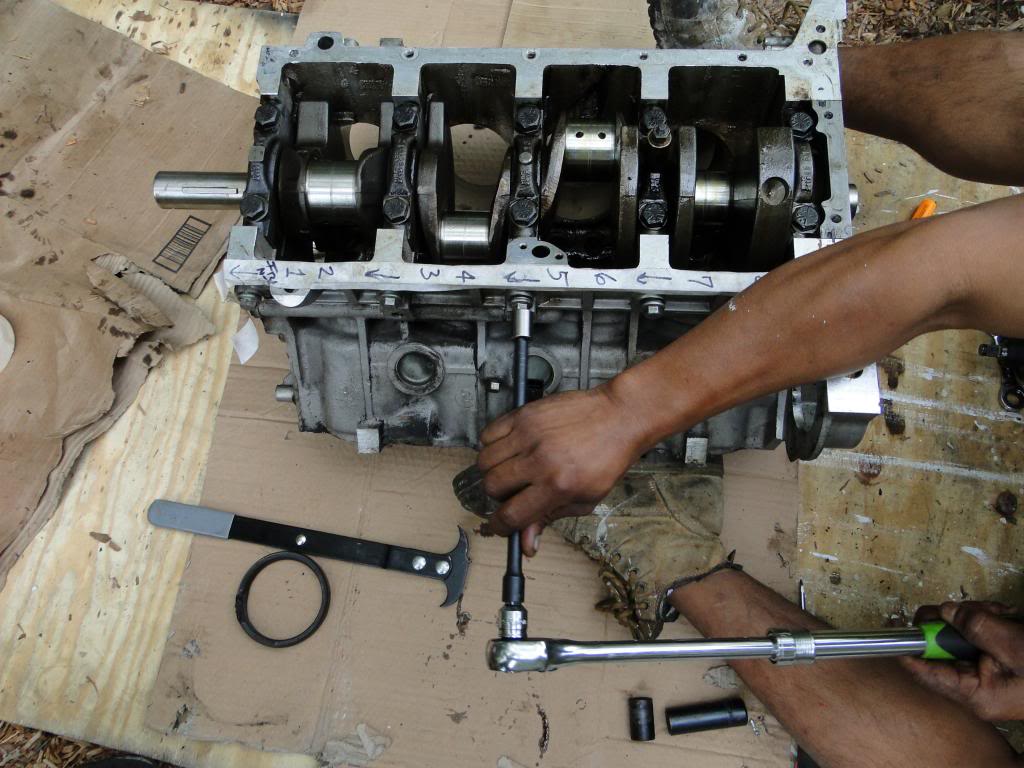
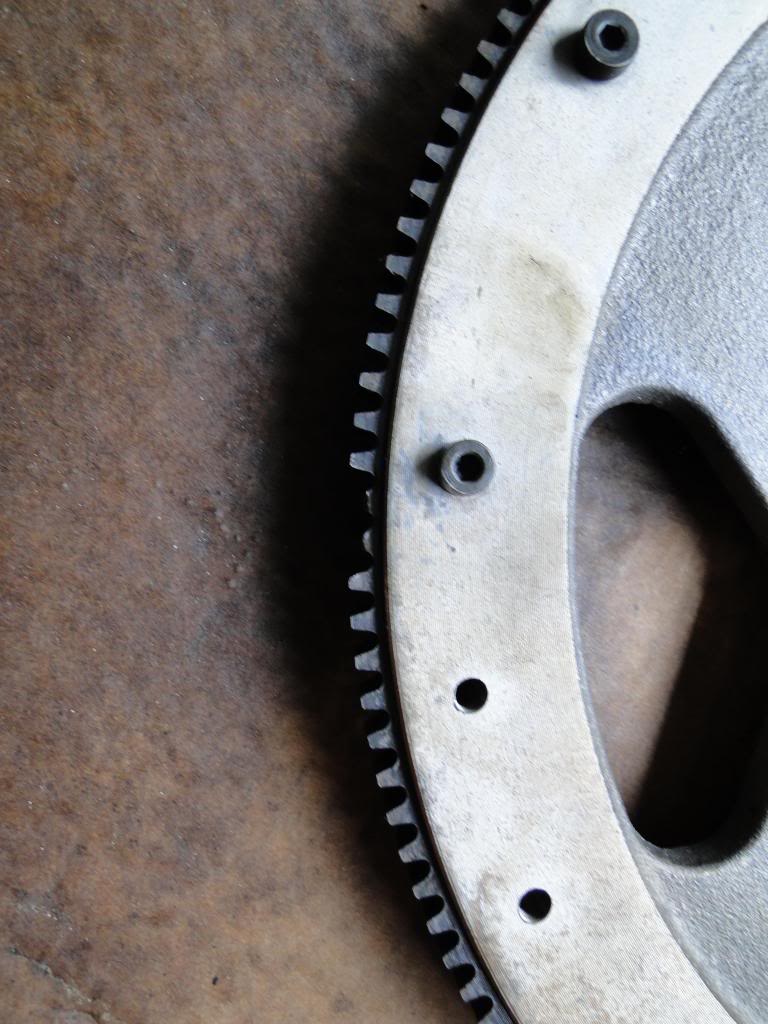
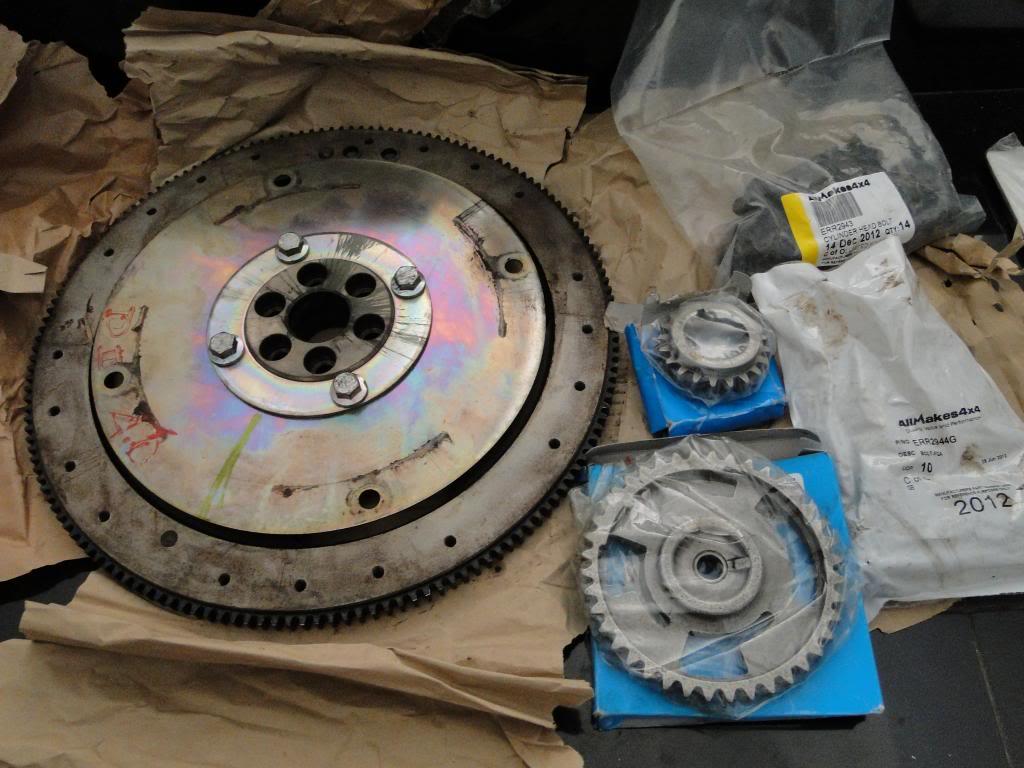
2 Missing Flywheel teeth:
All loaded up for machine shop drop-off:
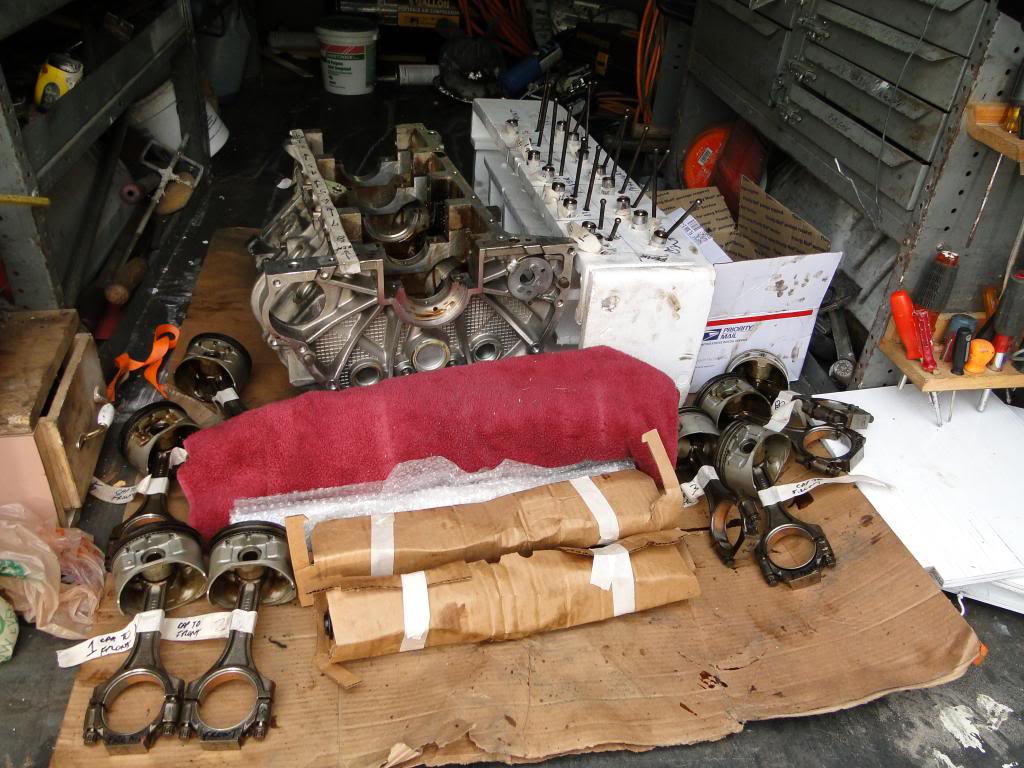
Worn old rod bearings - ordered new rod and main bearings:
Removing crank seal, should have waited to remove rear main bearing cap first, would have then been cake to remove the rear crank seal:
2 Missing Flywheel teeth:
All loaded up for machine shop drop-off:
Thread Starter
|
Three Wheeling
Joined: Feb 2013
Posts: 79
Likes: 8
From: South Florida, South America
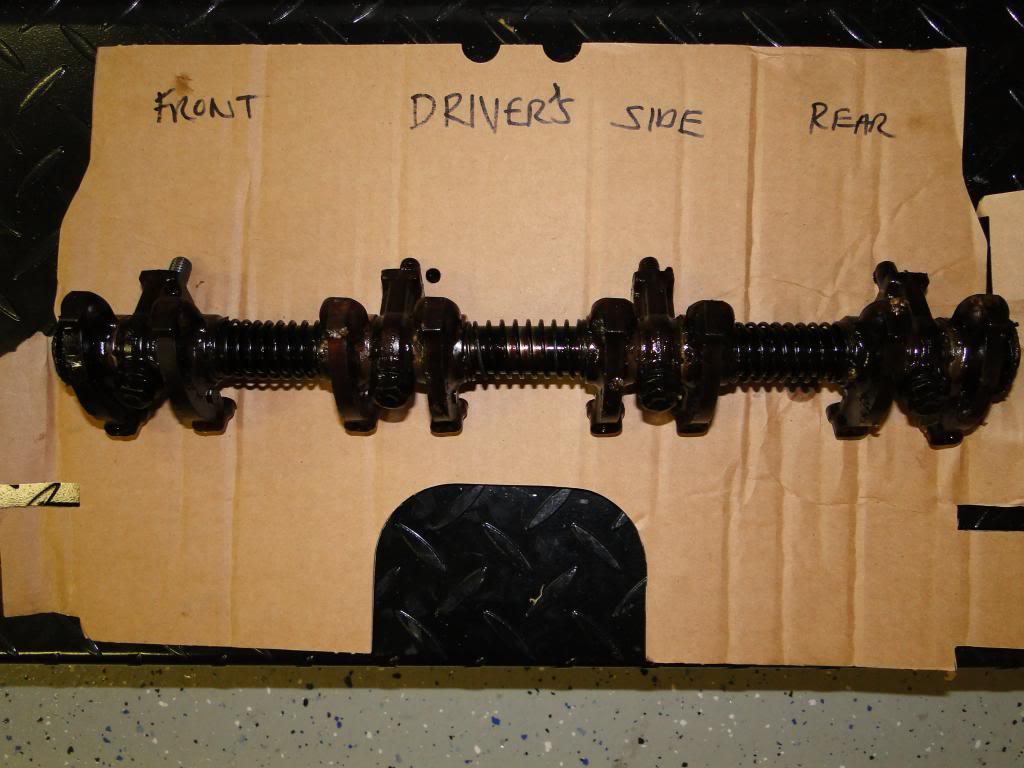
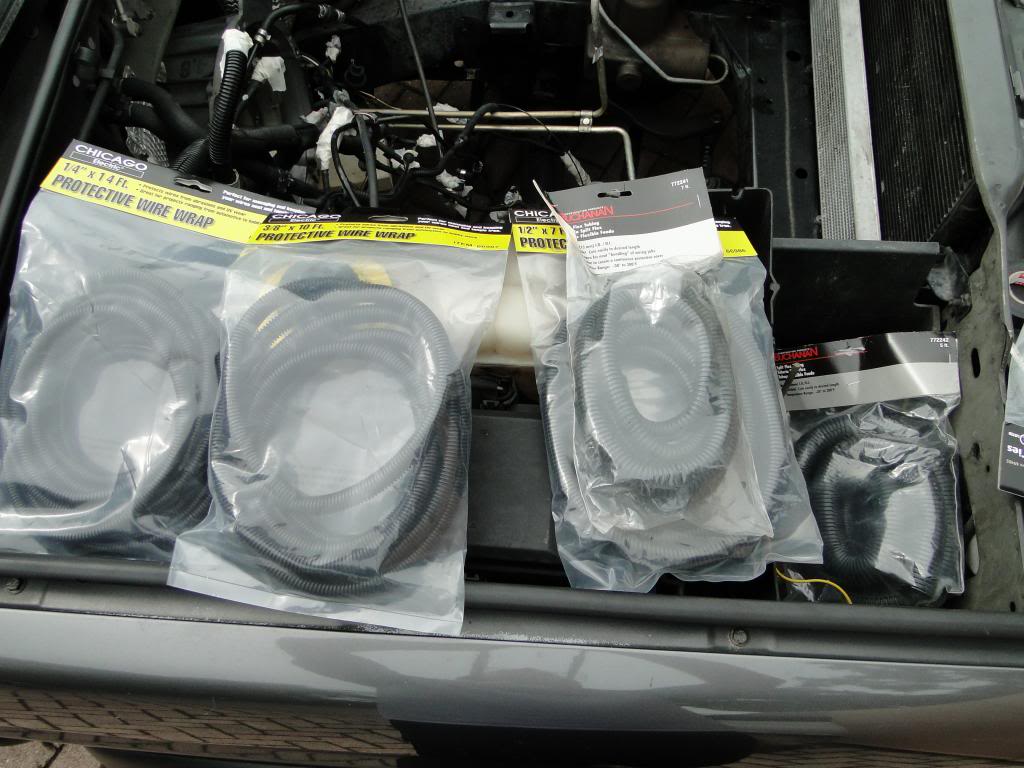
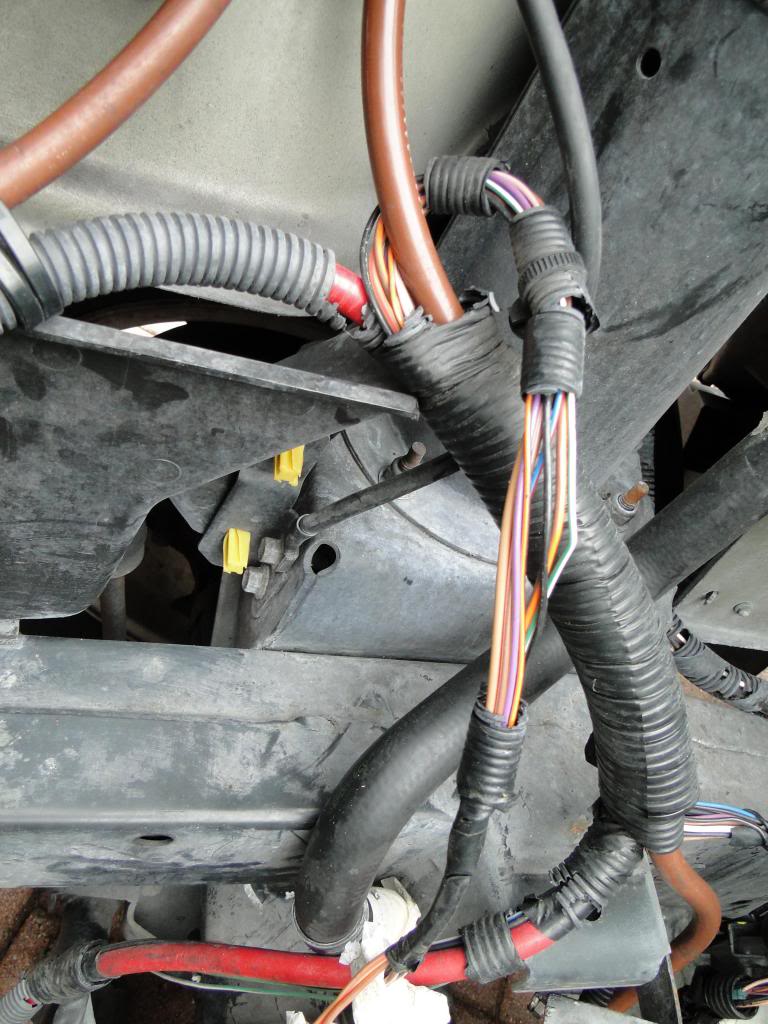
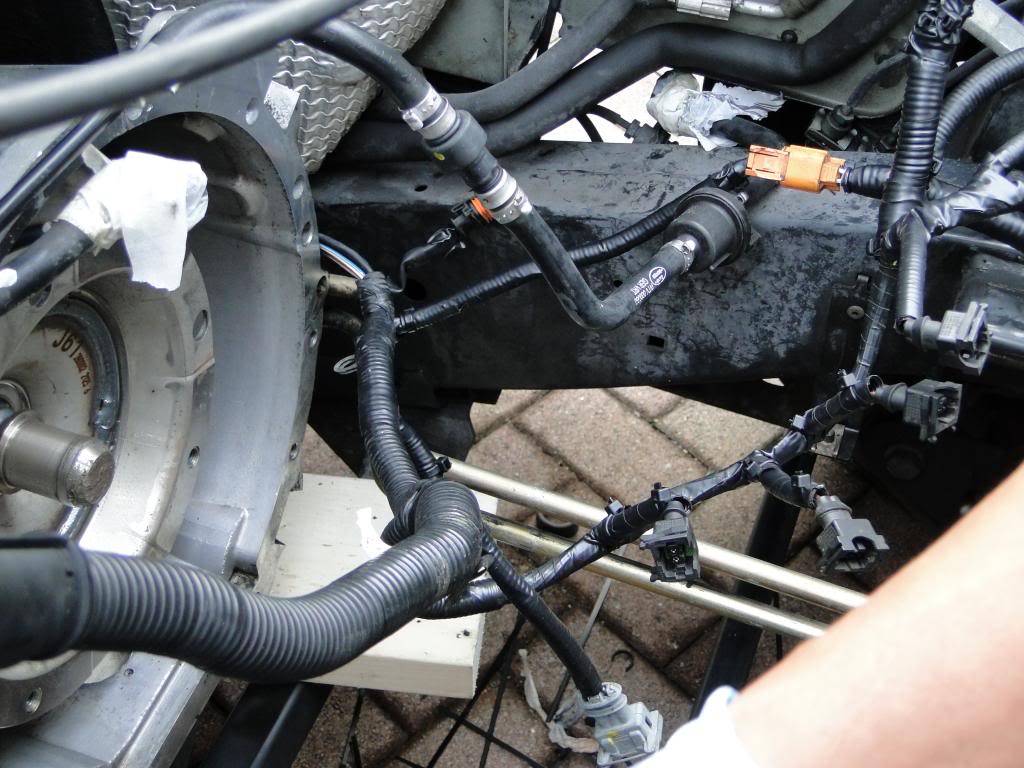
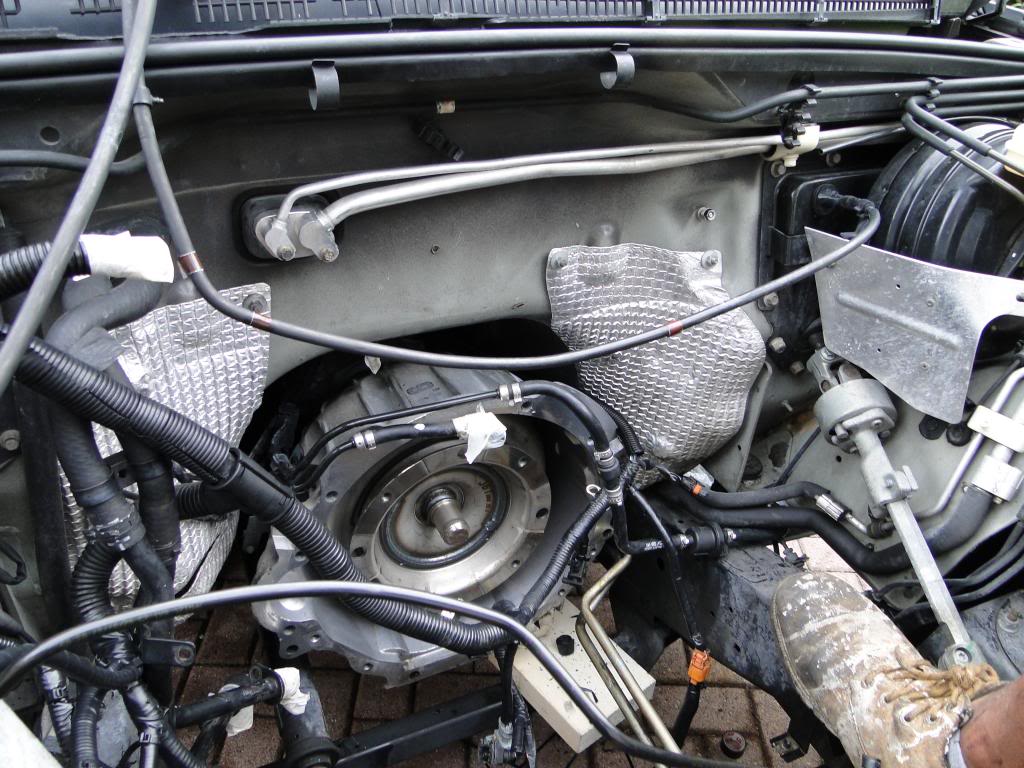
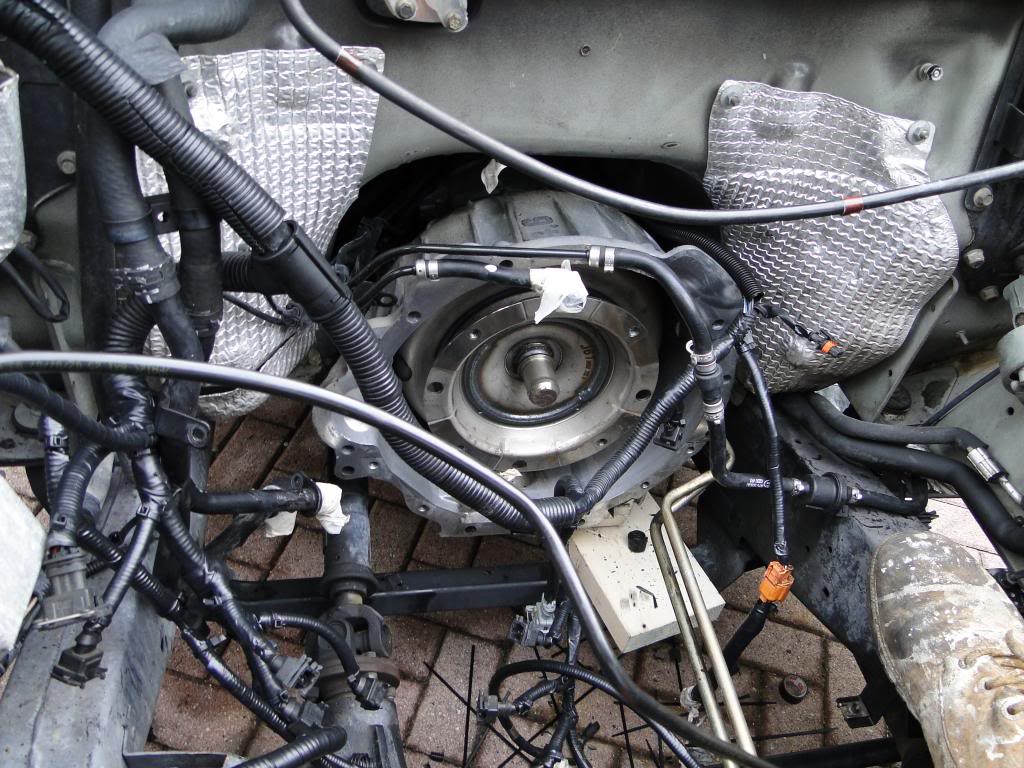
Day 6: New plastic conduit and zip ties for engine harness:

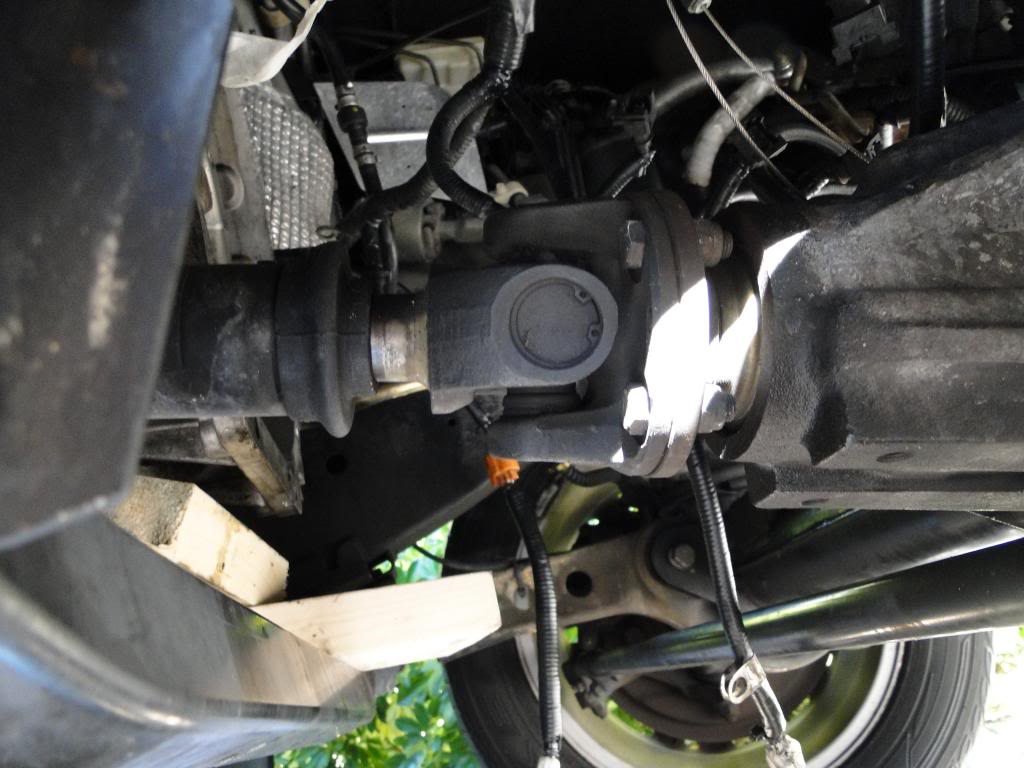
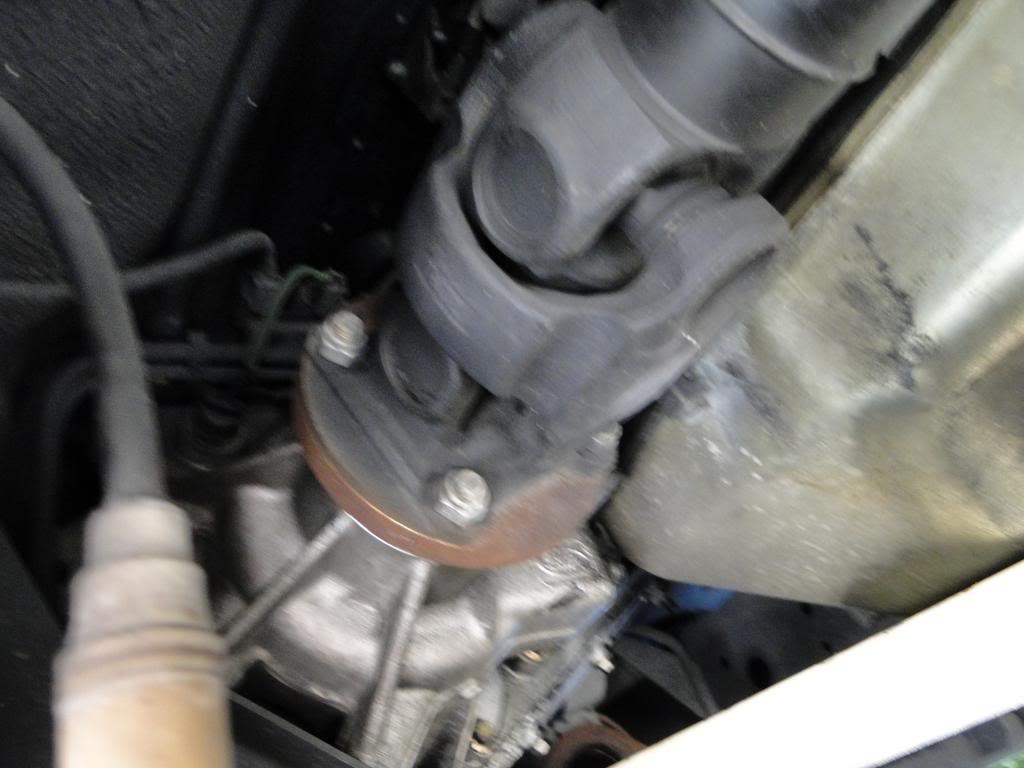
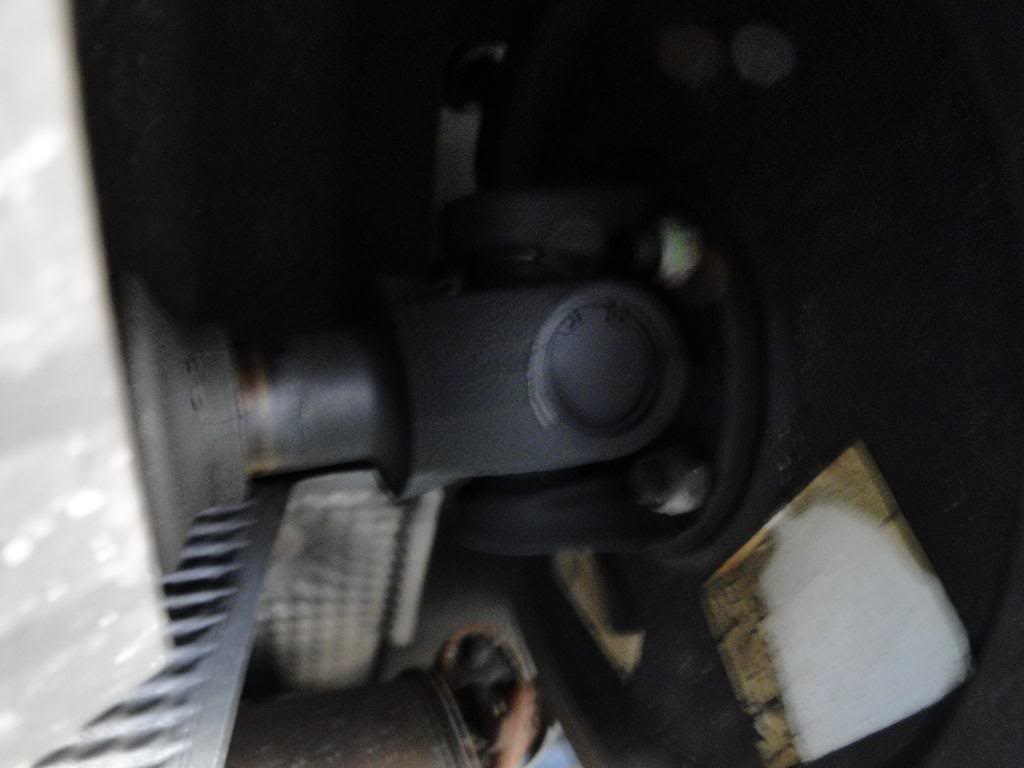
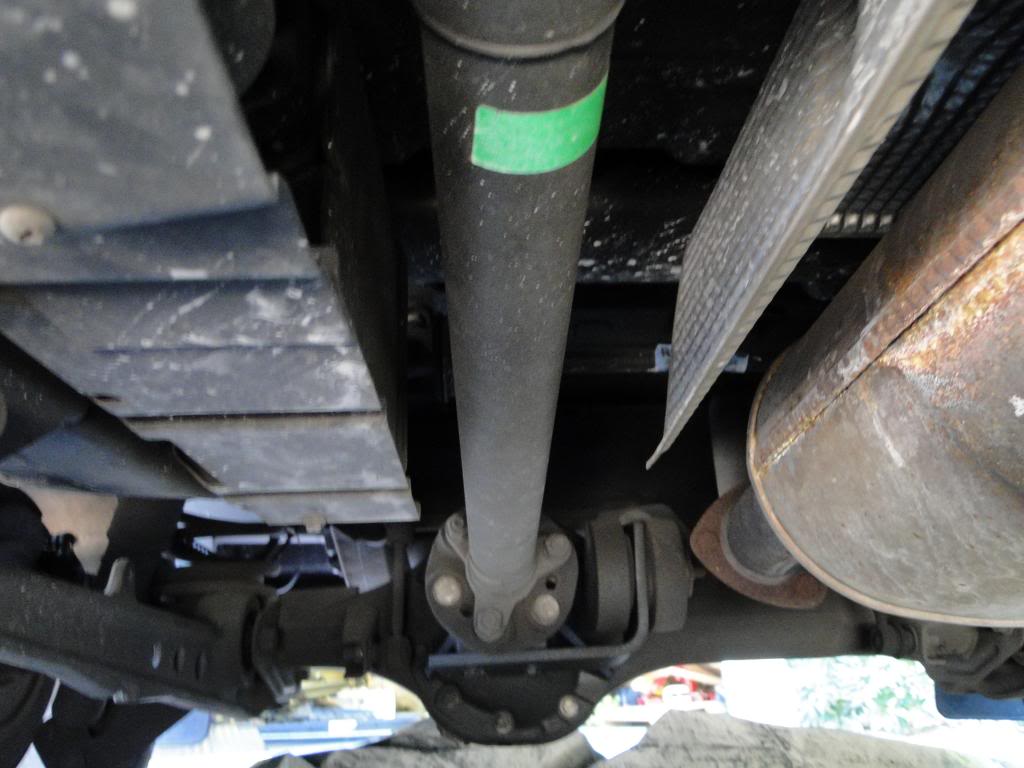
Remove front and rear driveshafts to rebuild with NEAPCO Made in USA u-joints from Advance Auto parts:
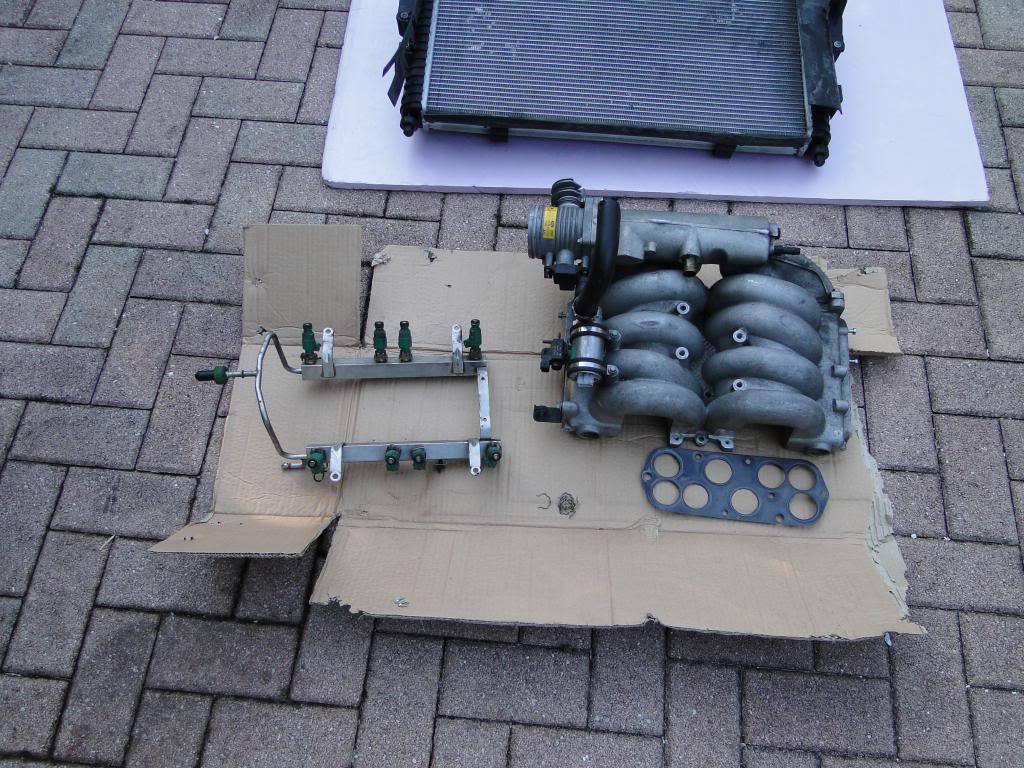
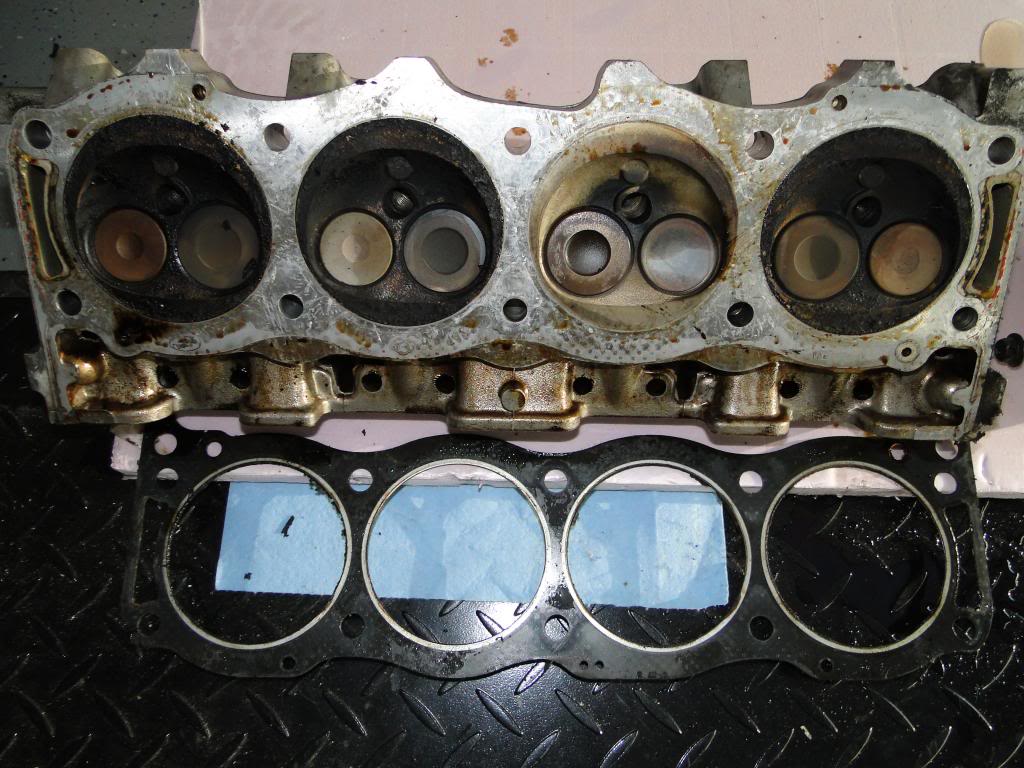
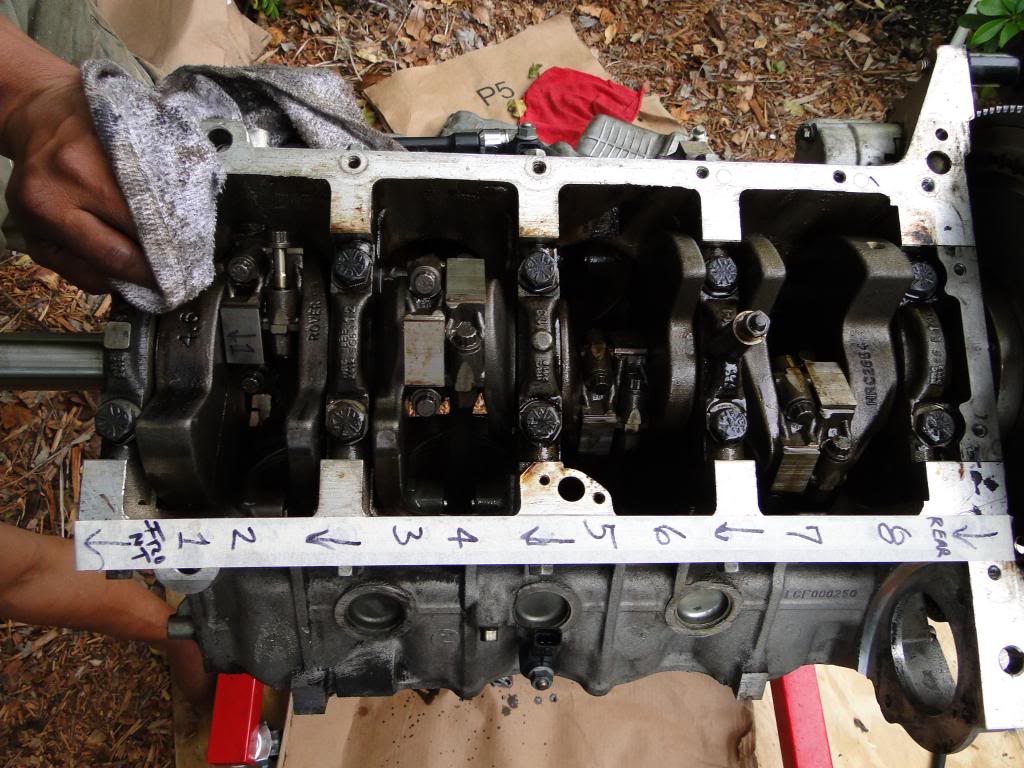
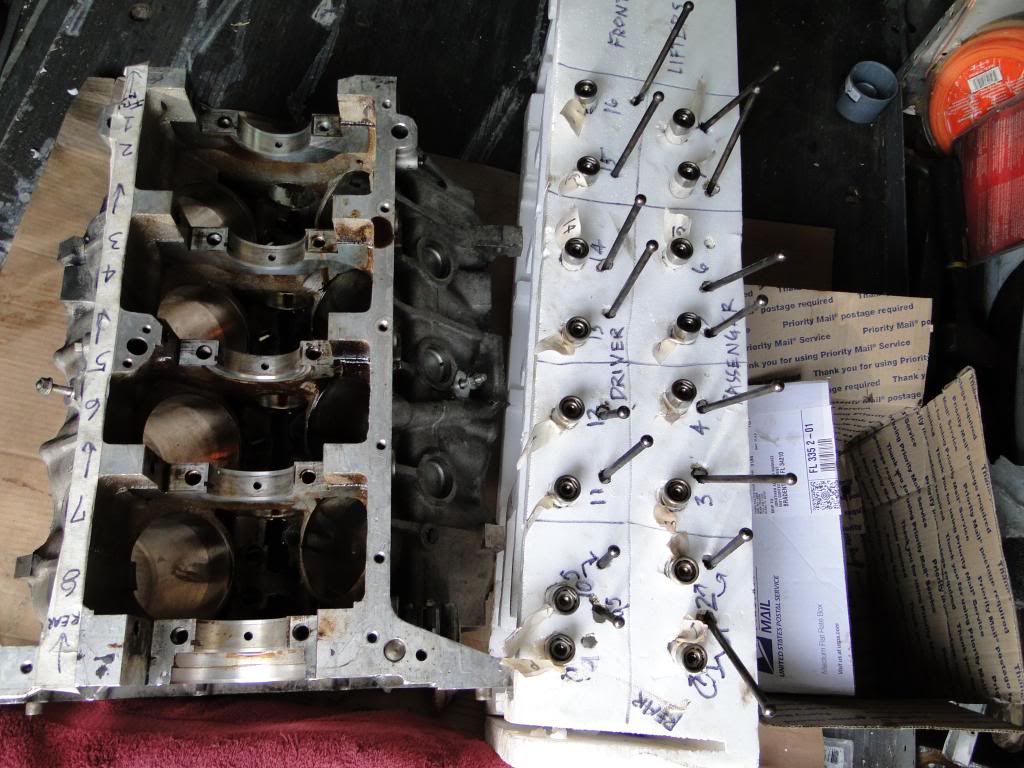
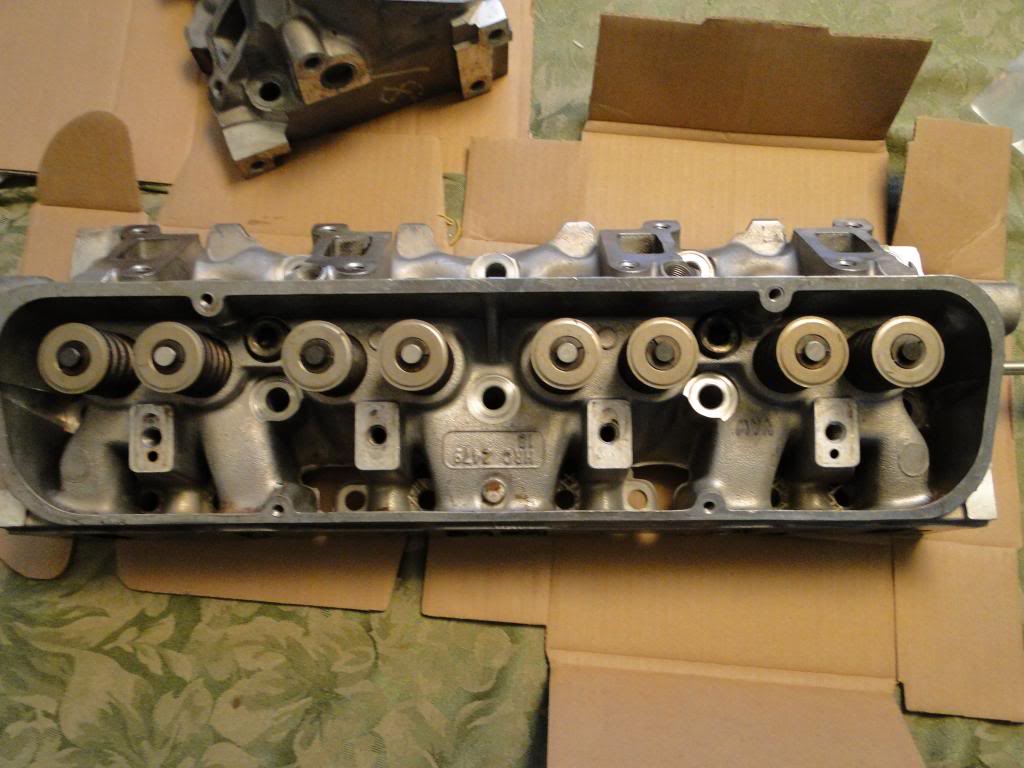
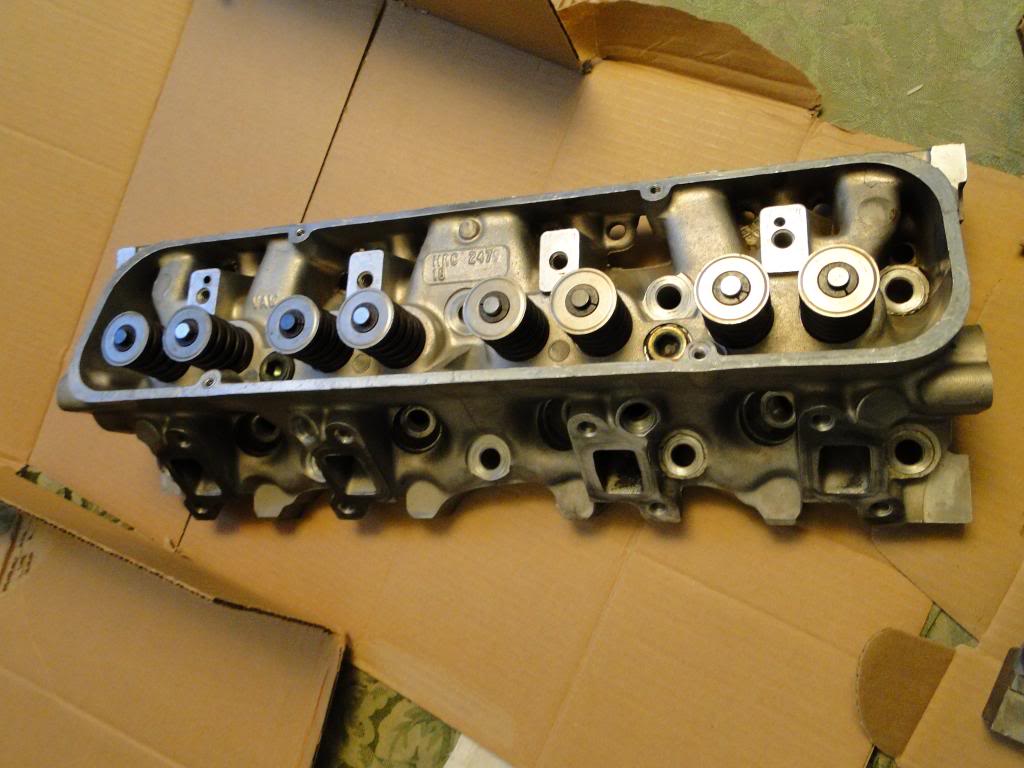
Pick up cylinder heads - did valve job and resurfacing, new valve seals - $275:
Remove front and rear driveshafts to rebuild with NEAPCO Made in USA u-joints from Advance Auto parts:
Pick up cylinder heads - did valve job and resurfacing, new valve seals - $275:
Thread Starter
|
Three Wheeling
Joined: Feb 2013
Posts: 79
Likes: 8
From: South Florida, South America
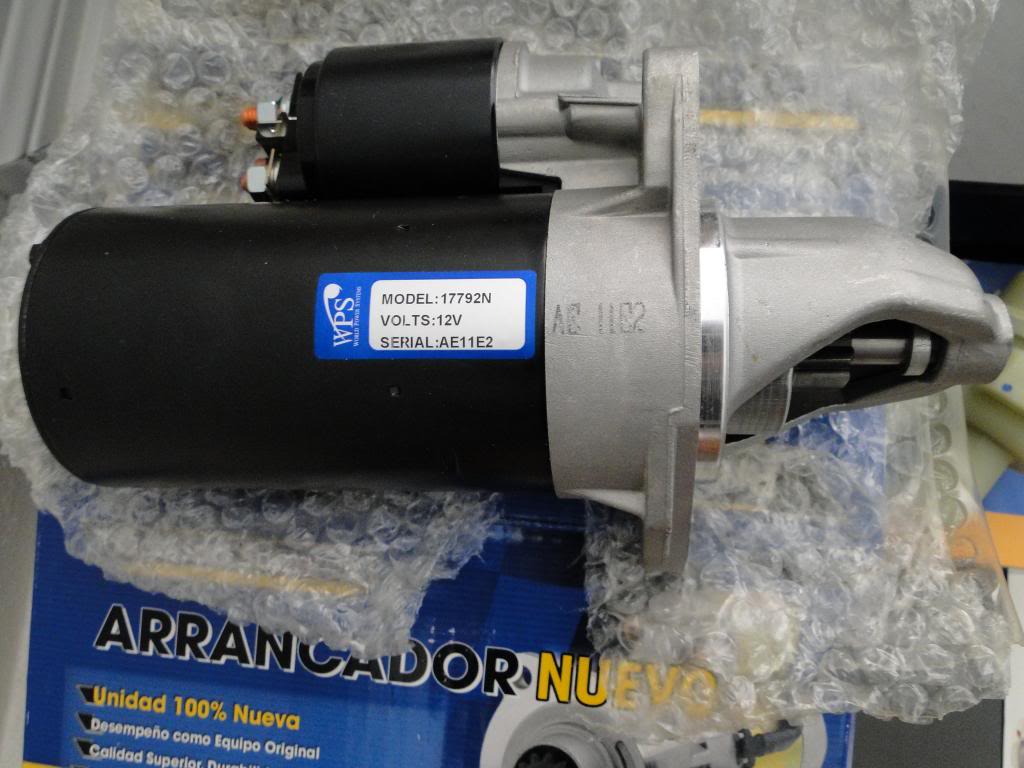
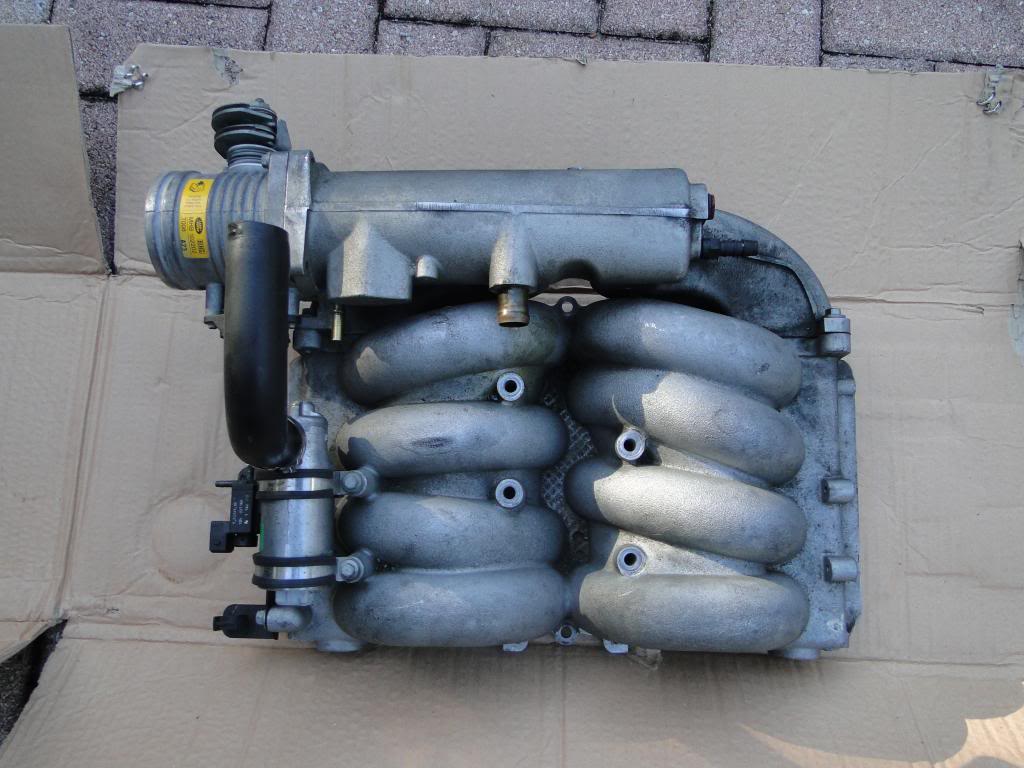
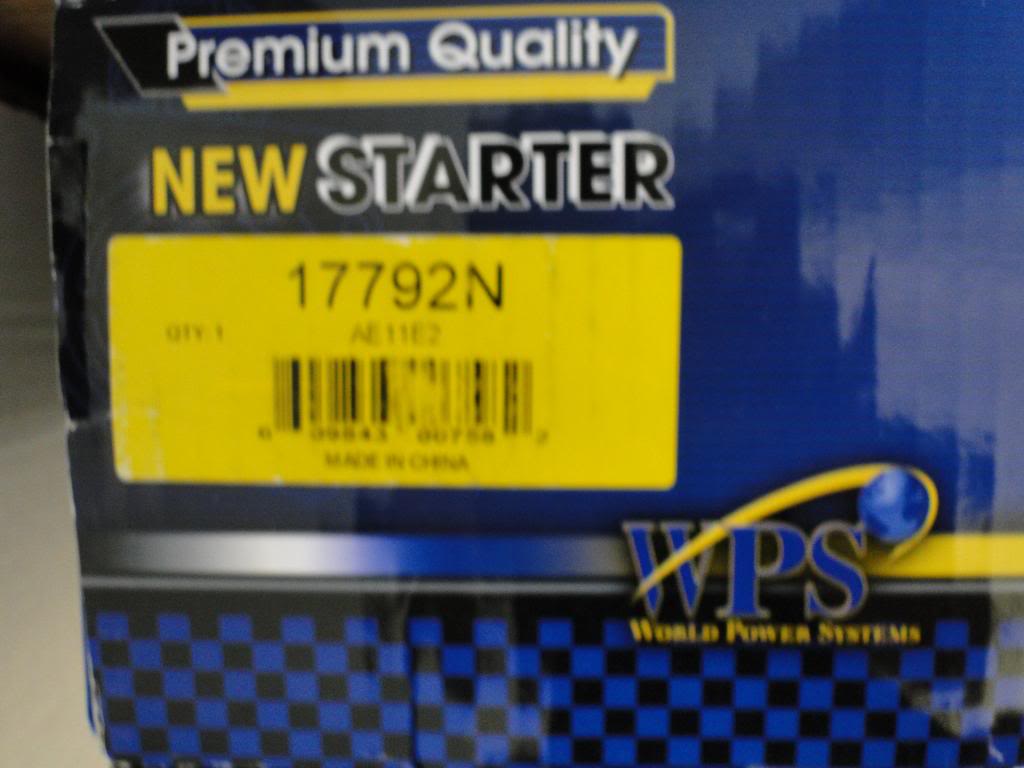
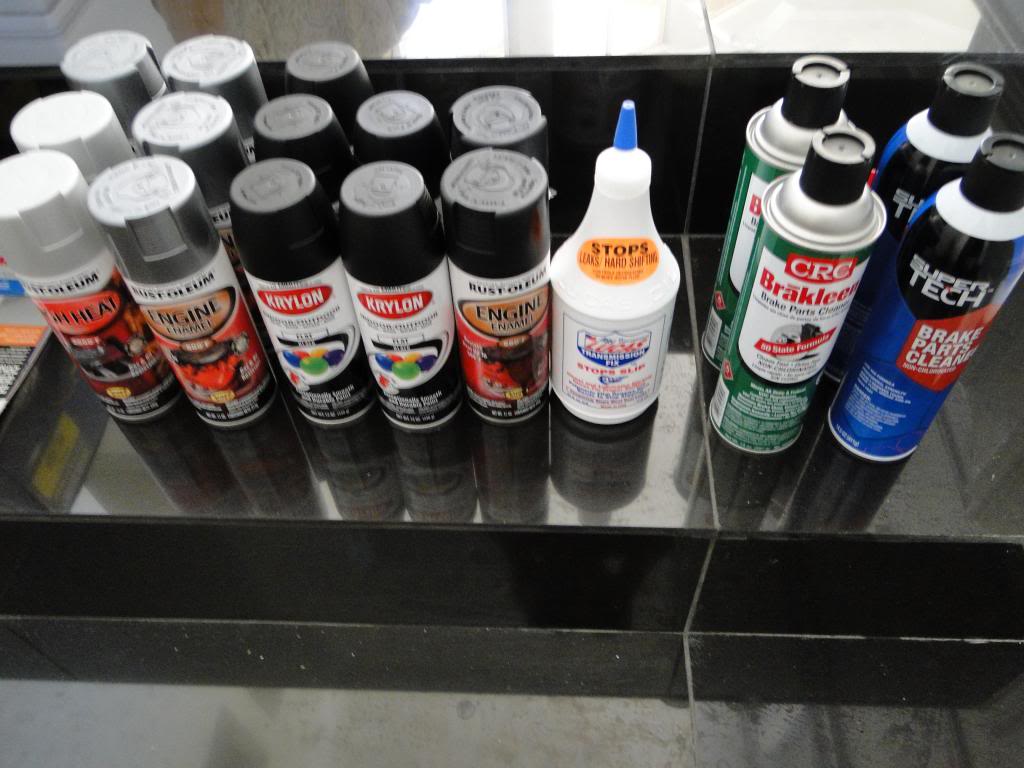
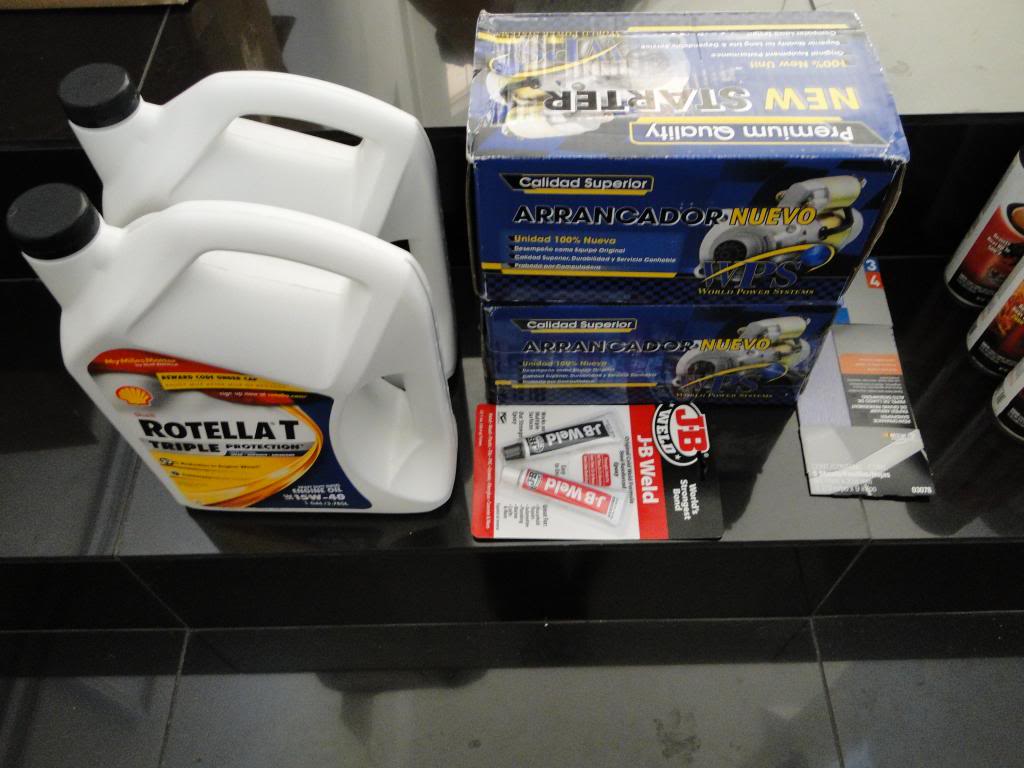
Day 7: (ordered parts from BPUtah, DAP, AtlanticBritish, MiamiBritish, eBay) Bought paint for repainting intake, valve covers, plastic wheel arches, front grill & bumpers, Power Steering pump, oil pan, etc.) Bought 2 new starters off of eBay - both are NEW, and are the SAME, I bought 1 for $75 from Georgia and another for $83 from California. I am taking this car to South America, so I don't want to have to wait on a starter. Both are high-torque starters.

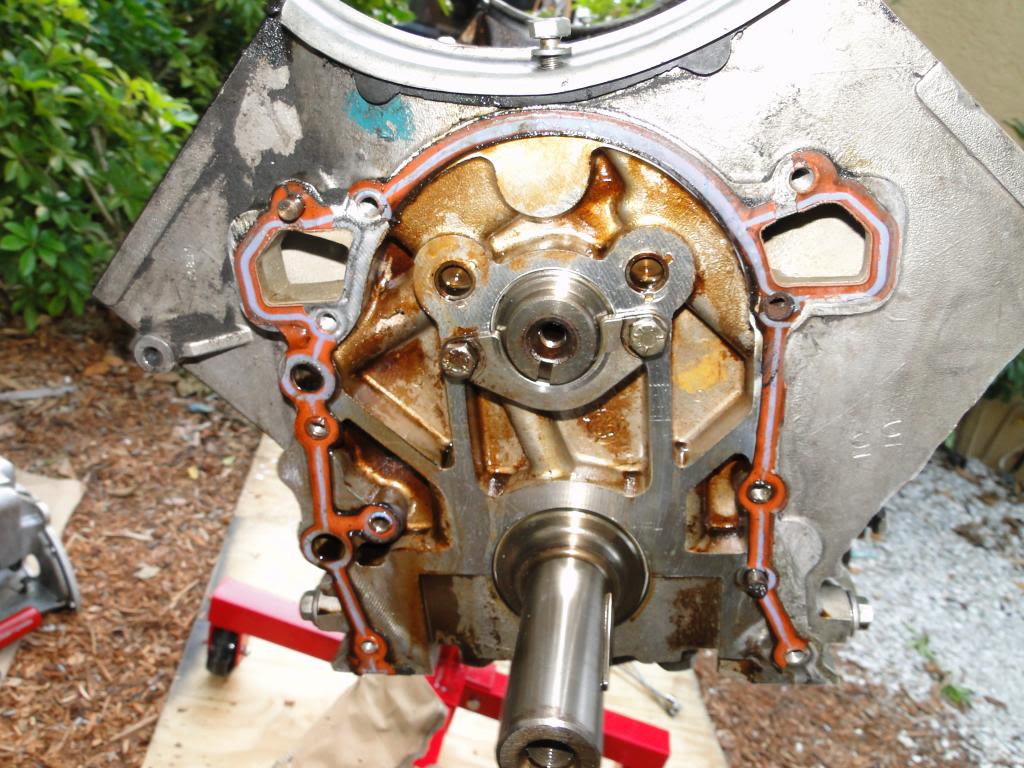
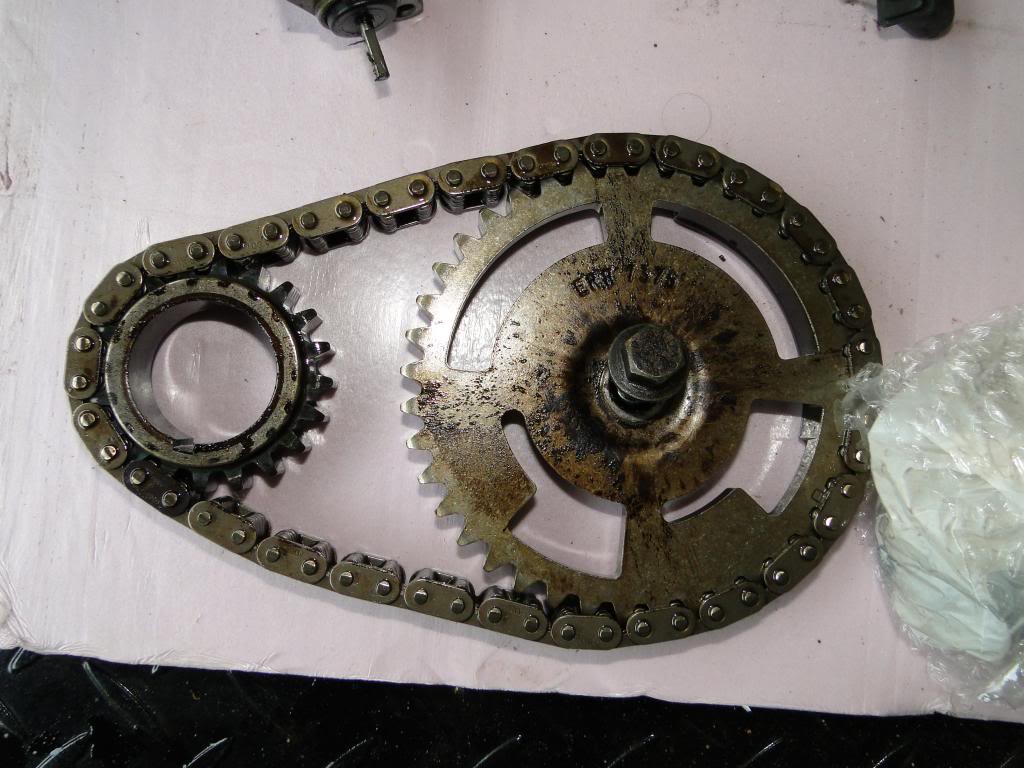
Used 2004 flywheel + oil pump gears, timing gears:
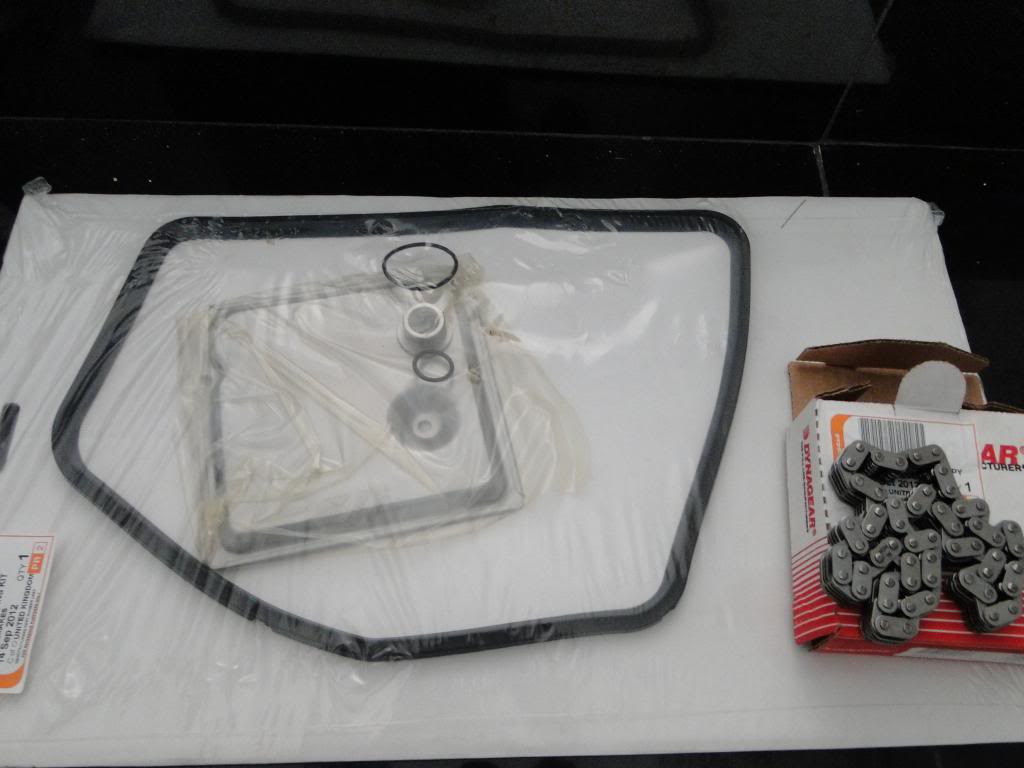

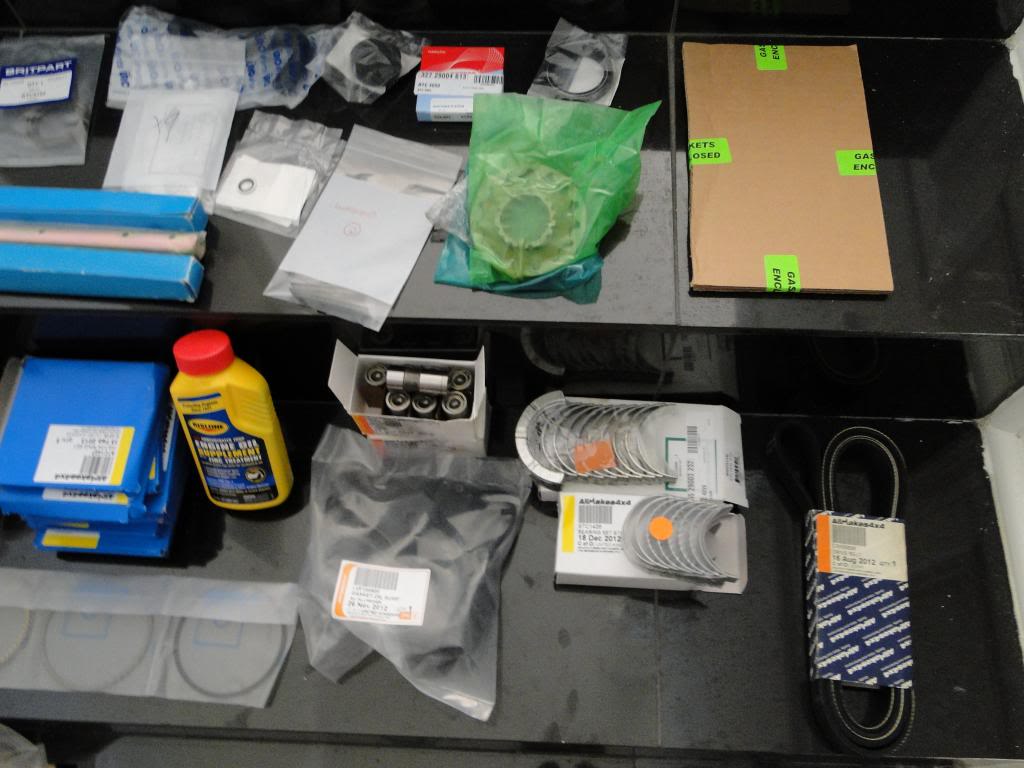
New rocker shaft, piston rings, engine mounts, oil pressure + water temp gauges:
Used 2004 flywheel + oil pump gears, timing gears:
New rocker shaft, piston rings, engine mounts, oil pressure + water temp gauges: