
oil pressure gauge install w/ adapters help


Thread Starter
|
Winching
Joined: Apr 2009
Posts: 561
Likes: 4
From: Port Huron, MI
hey guys,
i know alot of D2 owners want oil pressure gauges in their trucks, but the task can be daunting to some especially when you try and adapt a sending unit to the front cover oil pump!! here is how i did it, what i used and where i got it from..... this is to help and for reference only....any modifications to your front cover, could damage engine if not properly done!!!!
First off you need a gauge, i used a 25$ gauge from harbor freight:
http://www.harborfreight.com/cpi/cta...emnumber=98475
I used a electric gauge w/ sending unit, because its easier to install and looks better, i recommend you think about what gauge you'd like to see in your truck, and how you can read the data better ( analog or digital )
After that i need to find a way to install the sending unit on the front cover, this is the hardest task because the of the room you have to work with in the engine bay. the front cover has 2 ports on the passenger side that you can get oil pressure from. One is currently being used by the trucks ecu for the dash's oil pressure light, i decided not to remove the light or sending unit, so we are going to use the port above the stock sending unit.
First you need an adapter for you gauge's sending unit, and because sending units come in different sizes, mine need something special to ensure i had room because of the alternator bracket!!!
My local Carquest Auto Parts store sells a metric adapter kit for gauges, since the thread on the front cover is m-12x 1.5, i picked up a pack for $7.99 that included this adapter!!!
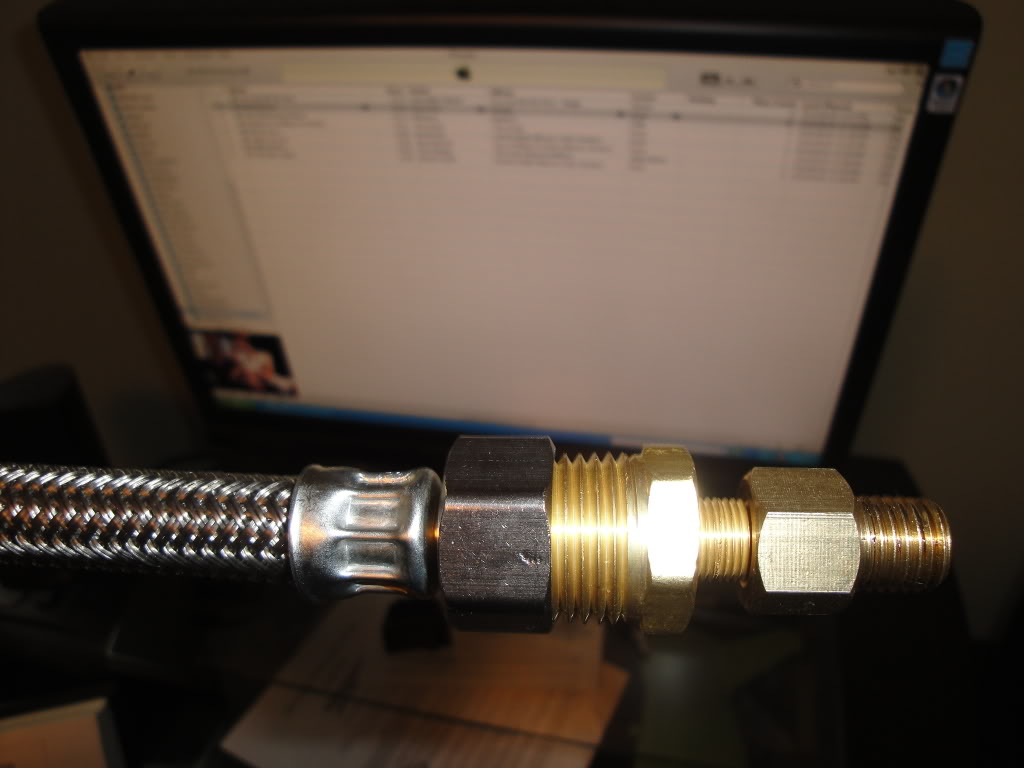
The adapter is on the right hand side and will accept a 1/8 nipple like my sender has, except the alternator bracket is getting in the way, so i moved the stock sending unit up to the next (highest of the two) port and began to mock it up!!! still i need more room then what was allowed, so i went to home depot and picked up a faucet line (1) 1/8 close nipple and (2) 1/8 to 3/4 adapters. when your all done it should look like this!!!

Finished product below!!!!
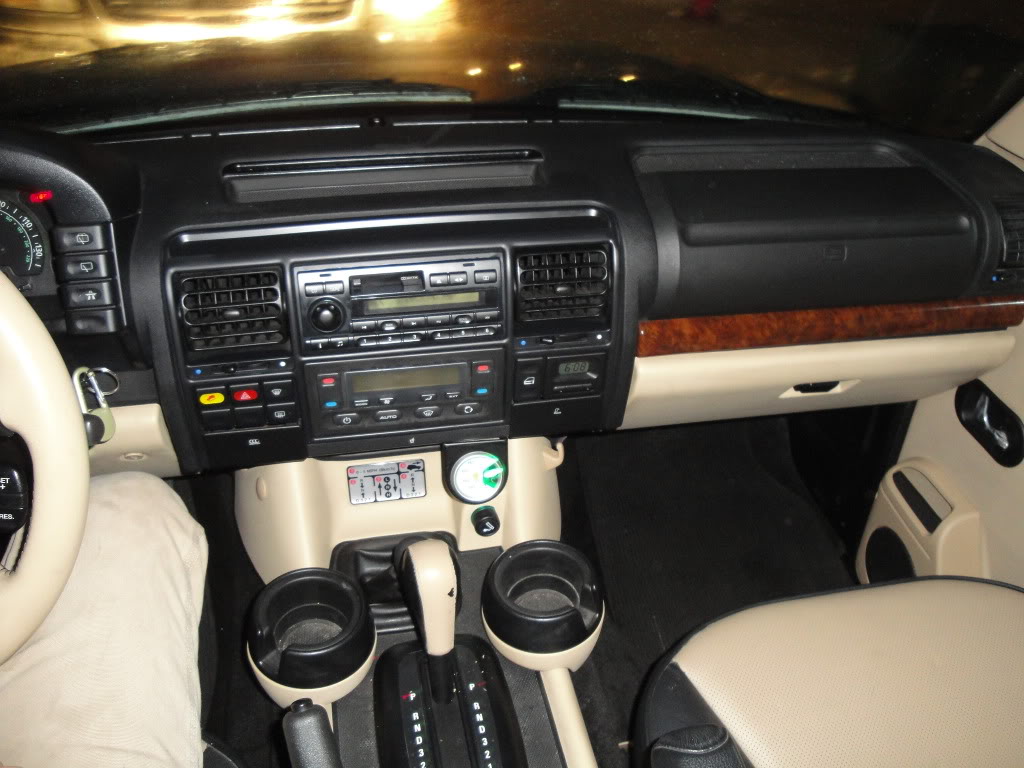
Now that you have the hardest part taken car of.... now you simply need to install the gauge in a place you can see it!! i chose to use a stamped steel gauge mount from Carquest Auto for $5.99. Its a 2-1/16 hole mount for a 2 inch gauge.
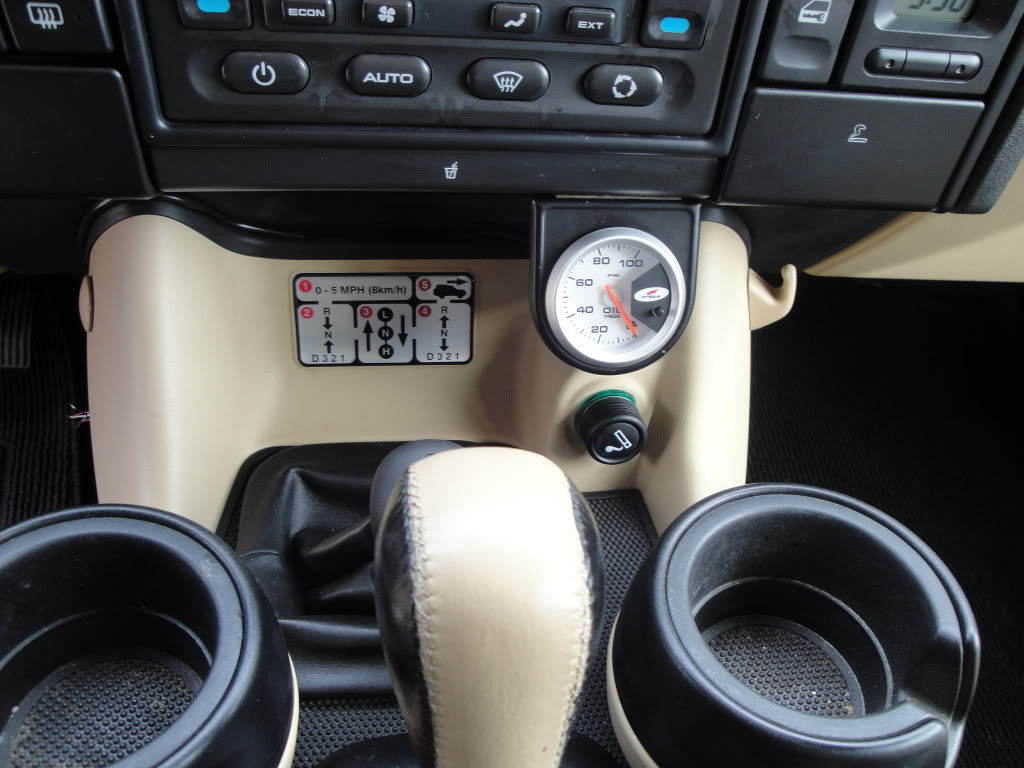
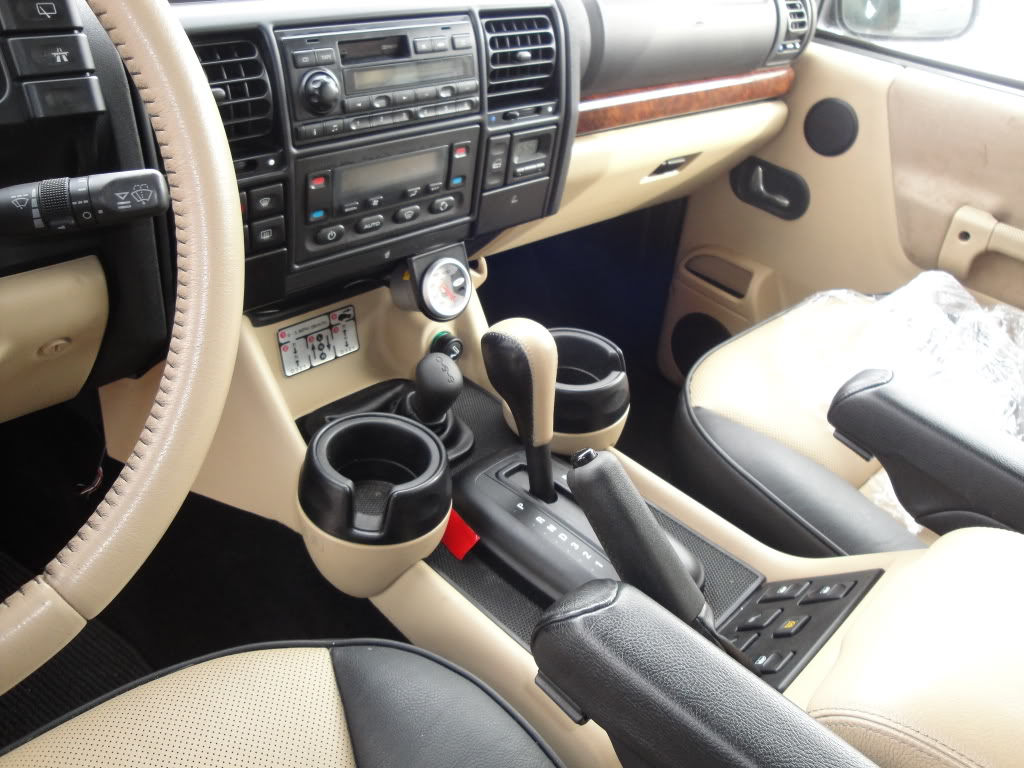
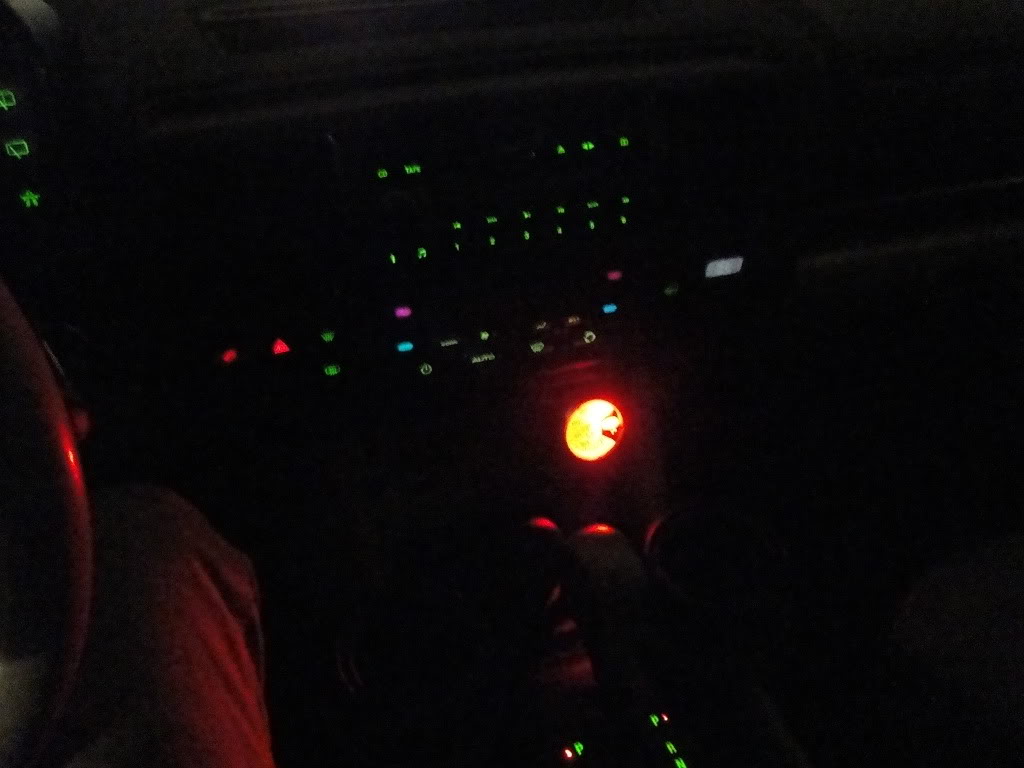
I mounted mine to the trim underneath the A/C controls, some people have a cup holder tray or just a trim piece. Mine is the cup holder version i took from a junkyard D1. First i used two sided tape for mock up and when it was in the right spot i secured the mount with two wood screws to the cup holder tray bottom!! here is another pic:
After that all we need to do is wire the gauge up to power, i havent gotten this far yet, as i'm doing as we speak. but basically you want a power source like the ignition wire under the dash that is hot when the KEY IS ON and cold when KEY IS OFF. After that you'll need a ground wire to the frame of the car, one is located behind the drivers side kick panel.
i'll get more pics up soon, as i should have this wired up tonight!!!
i know alot of D2 owners want oil pressure gauges in their trucks, but the task can be daunting to some especially when you try and adapt a sending unit to the front cover oil pump!! here is how i did it, what i used and where i got it from..... this is to help and for reference only....any modifications to your front cover, could damage engine if not properly done!!!!
First off you need a gauge, i used a 25$ gauge from harbor freight:
http://www.harborfreight.com/cpi/cta...emnumber=98475
I used a electric gauge w/ sending unit, because its easier to install and looks better, i recommend you think about what gauge you'd like to see in your truck, and how you can read the data better ( analog or digital )
After that i need to find a way to install the sending unit on the front cover, this is the hardest task because the of the room you have to work with in the engine bay. the front cover has 2 ports on the passenger side that you can get oil pressure from. One is currently being used by the trucks ecu for the dash's oil pressure light, i decided not to remove the light or sending unit, so we are going to use the port above the stock sending unit.
First you need an adapter for you gauge's sending unit, and because sending units come in different sizes, mine need something special to ensure i had room because of the alternator bracket!!!
My local Carquest Auto Parts store sells a metric adapter kit for gauges, since the thread on the front cover is m-12x 1.5, i picked up a pack for $7.99 that included this adapter!!!
The adapter is on the right hand side and will accept a 1/8 nipple like my sender has, except the alternator bracket is getting in the way, so i moved the stock sending unit up to the next (highest of the two) port and began to mock it up!!! still i need more room then what was allowed, so i went to home depot and picked up a faucet line (1) 1/8 close nipple and (2) 1/8 to 3/4 adapters. when your all done it should look like this!!!
Finished product below!!!!
Now that you have the hardest part taken car of.... now you simply need to install the gauge in a place you can see it!! i chose to use a stamped steel gauge mount from Carquest Auto for $5.99. Its a 2-1/16 hole mount for a 2 inch gauge.
I mounted mine to the trim underneath the A/C controls, some people have a cup holder tray or just a trim piece. Mine is the cup holder version i took from a junkyard D1. First i used two sided tape for mock up and when it was in the right spot i secured the mount with two wood screws to the cup holder tray bottom!! here is another pic:
After that all we need to do is wire the gauge up to power, i havent gotten this far yet, as i'm doing as we speak. but basically you want a power source like the ignition wire under the dash that is hot when the KEY IS ON and cold when KEY IS OFF. After that you'll need a ground wire to the frame of the car, one is located behind the drivers side kick panel.
i'll get more pics up soon, as i should have this wired up tonight!!!


Thread Starter
|
Winching
Joined: Apr 2009
Posts: 561
Likes: 4
From: Port Huron, MI
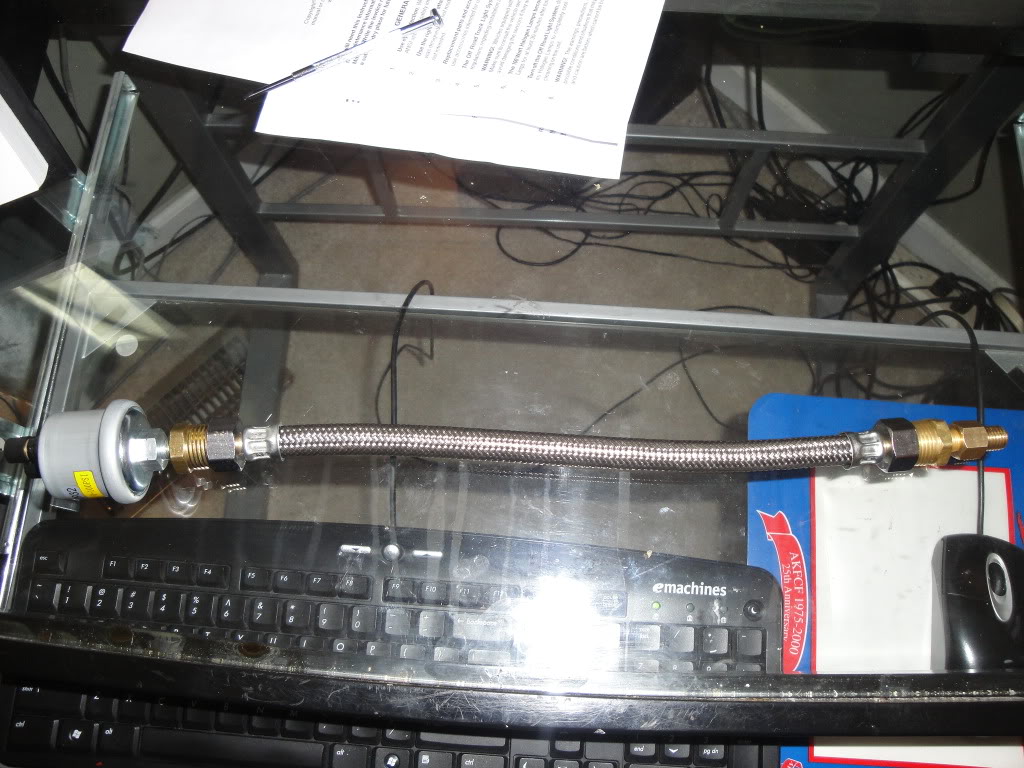
my sending unit is too large to clear the alternator bracket..... i assume all sending units larger than the stock one will be too large also.
so i moved the stock unit up to the highest port on the front cover and i still didnt have enough room... so i made up the braided hose to relocate the sending unit to a more convenient place.
so i moved the stock unit up to the highest port on the front cover and i still didnt have enough room... so i made up the braided hose to relocate the sending unit to a more convenient place.

Camel Trophy
Joined: Feb 2007
Posts: 4,959
Likes: 11
From: Tulsa, OK
Watch the hose. Pretty sure that it is made from polyethylene. Low grades can emulsify in oil. Regular oil cooler lines have a nitrile lining. I am not saying it is going to fail, it just wasn't made for that application. I would hate for it to blow when your engine is pumping 220 degree oil to it.

Thread
Thread Starter
Forum
Replies
Last Post