When you click on links to various merchants on this site and make a purchase, this can result in this site earning a commission. Affiliate programs and affiliations include, but are not limited to, the eBay Partner Network.
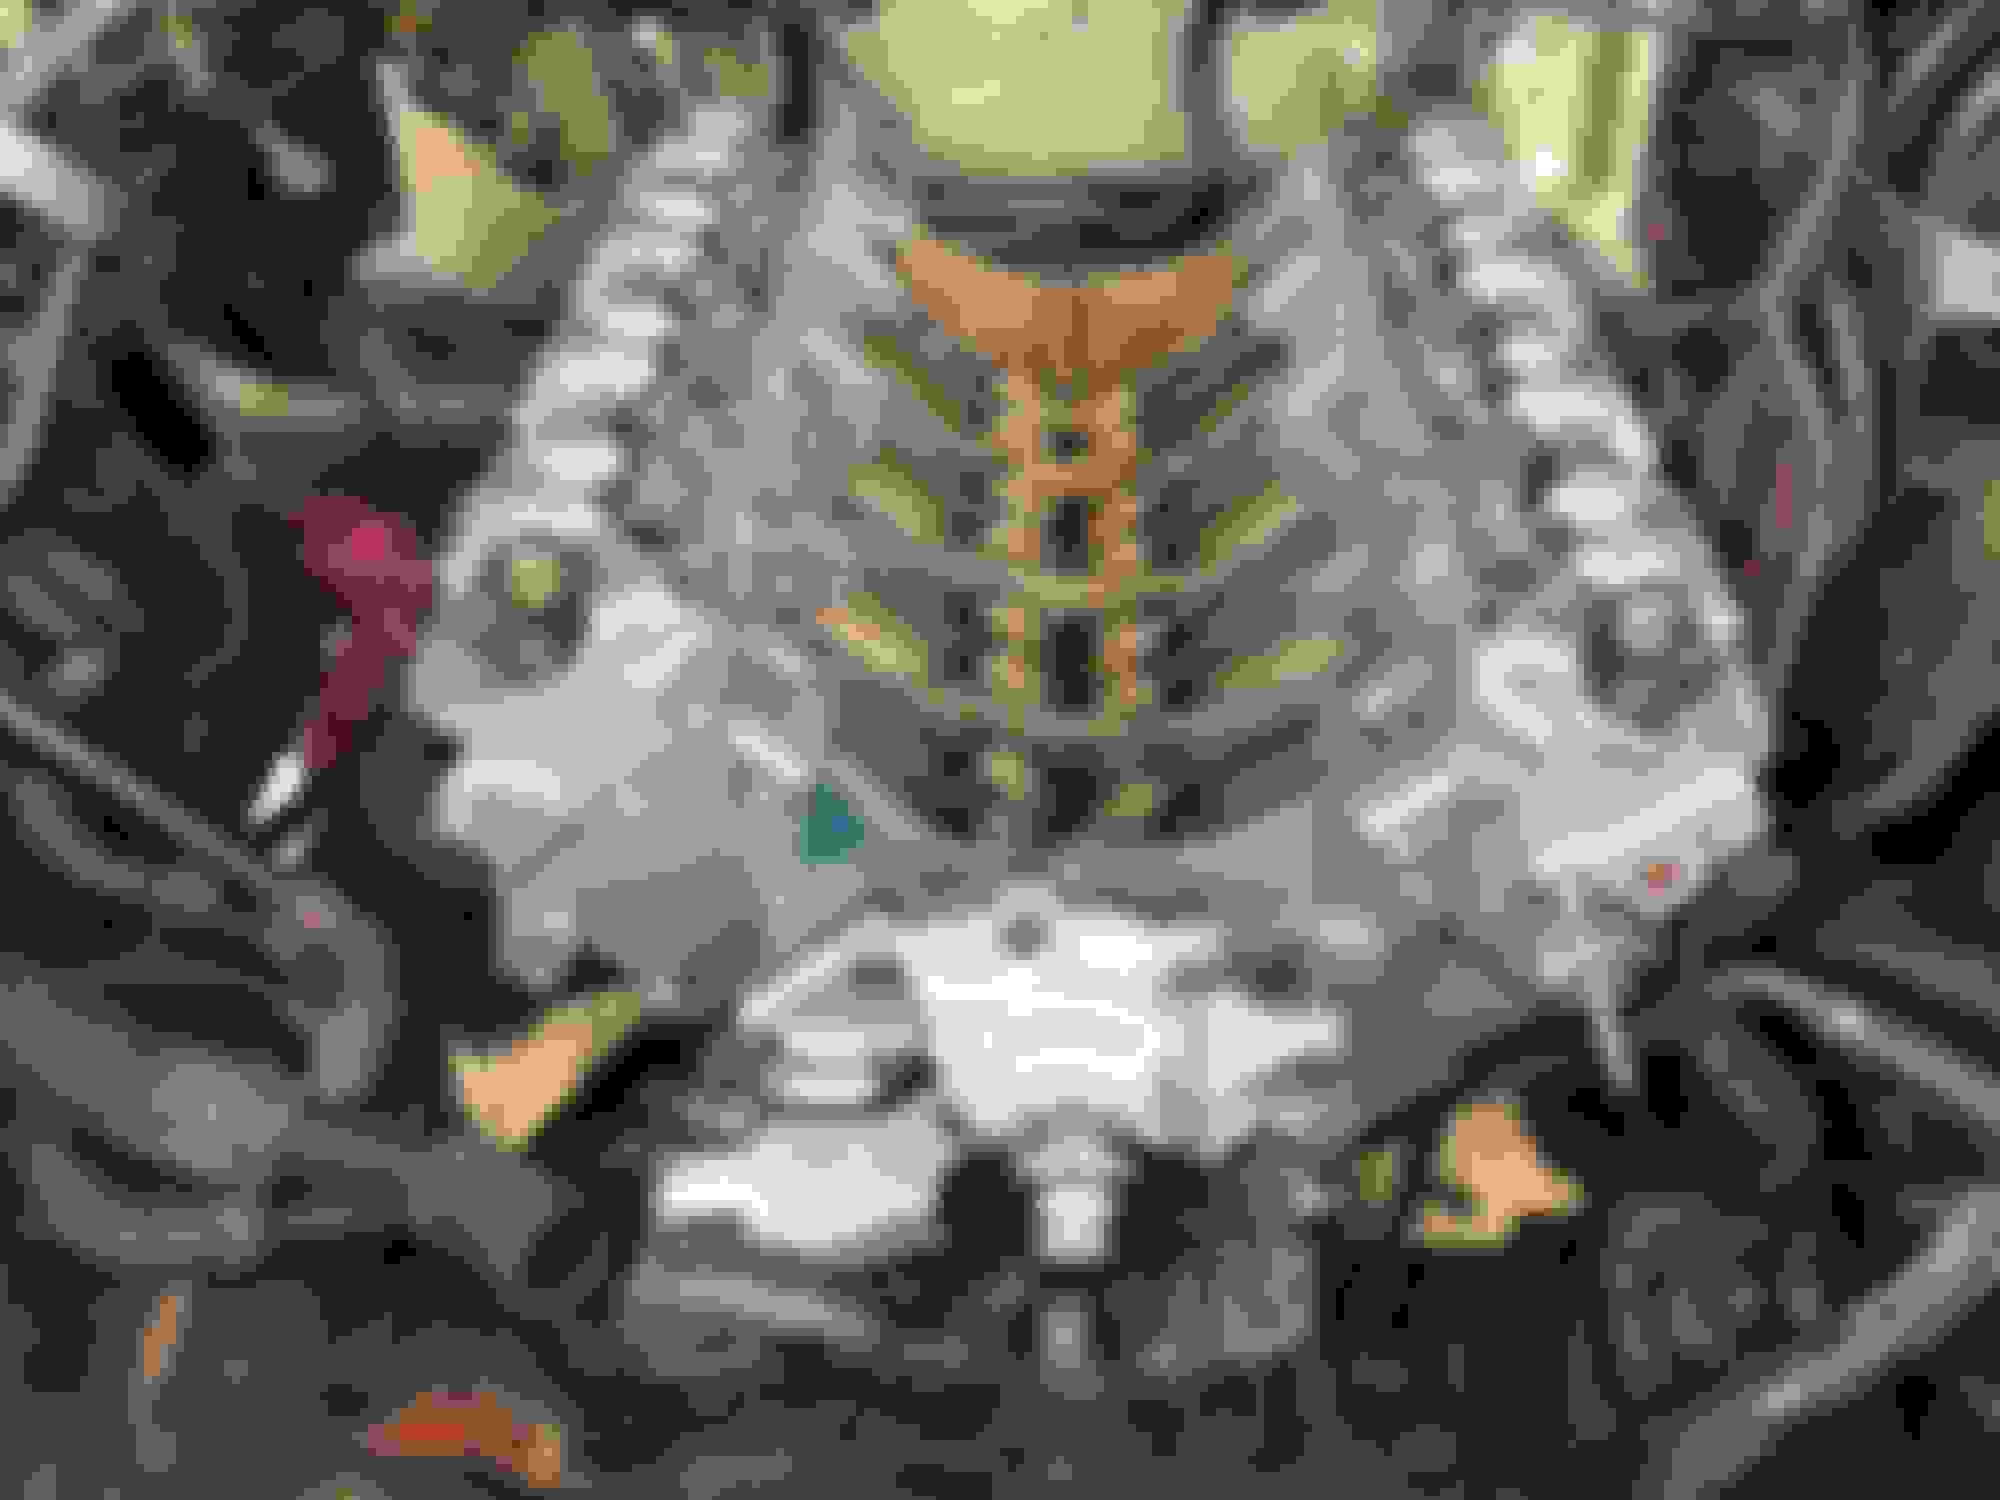
Put a little more work in on the Land Rover with my buddy mjl1987. Gave the heads and block a final cleaning with throttle body cleaner spray.
The head gasket kit was sold by Beck & Arnely on RockAuto for $137.79, and even came with new stretch bolts. Kit looks solid and came with Elring head gaskets, the OEM. Wicked deal over what else is out there.
The rest of the install went just fine.
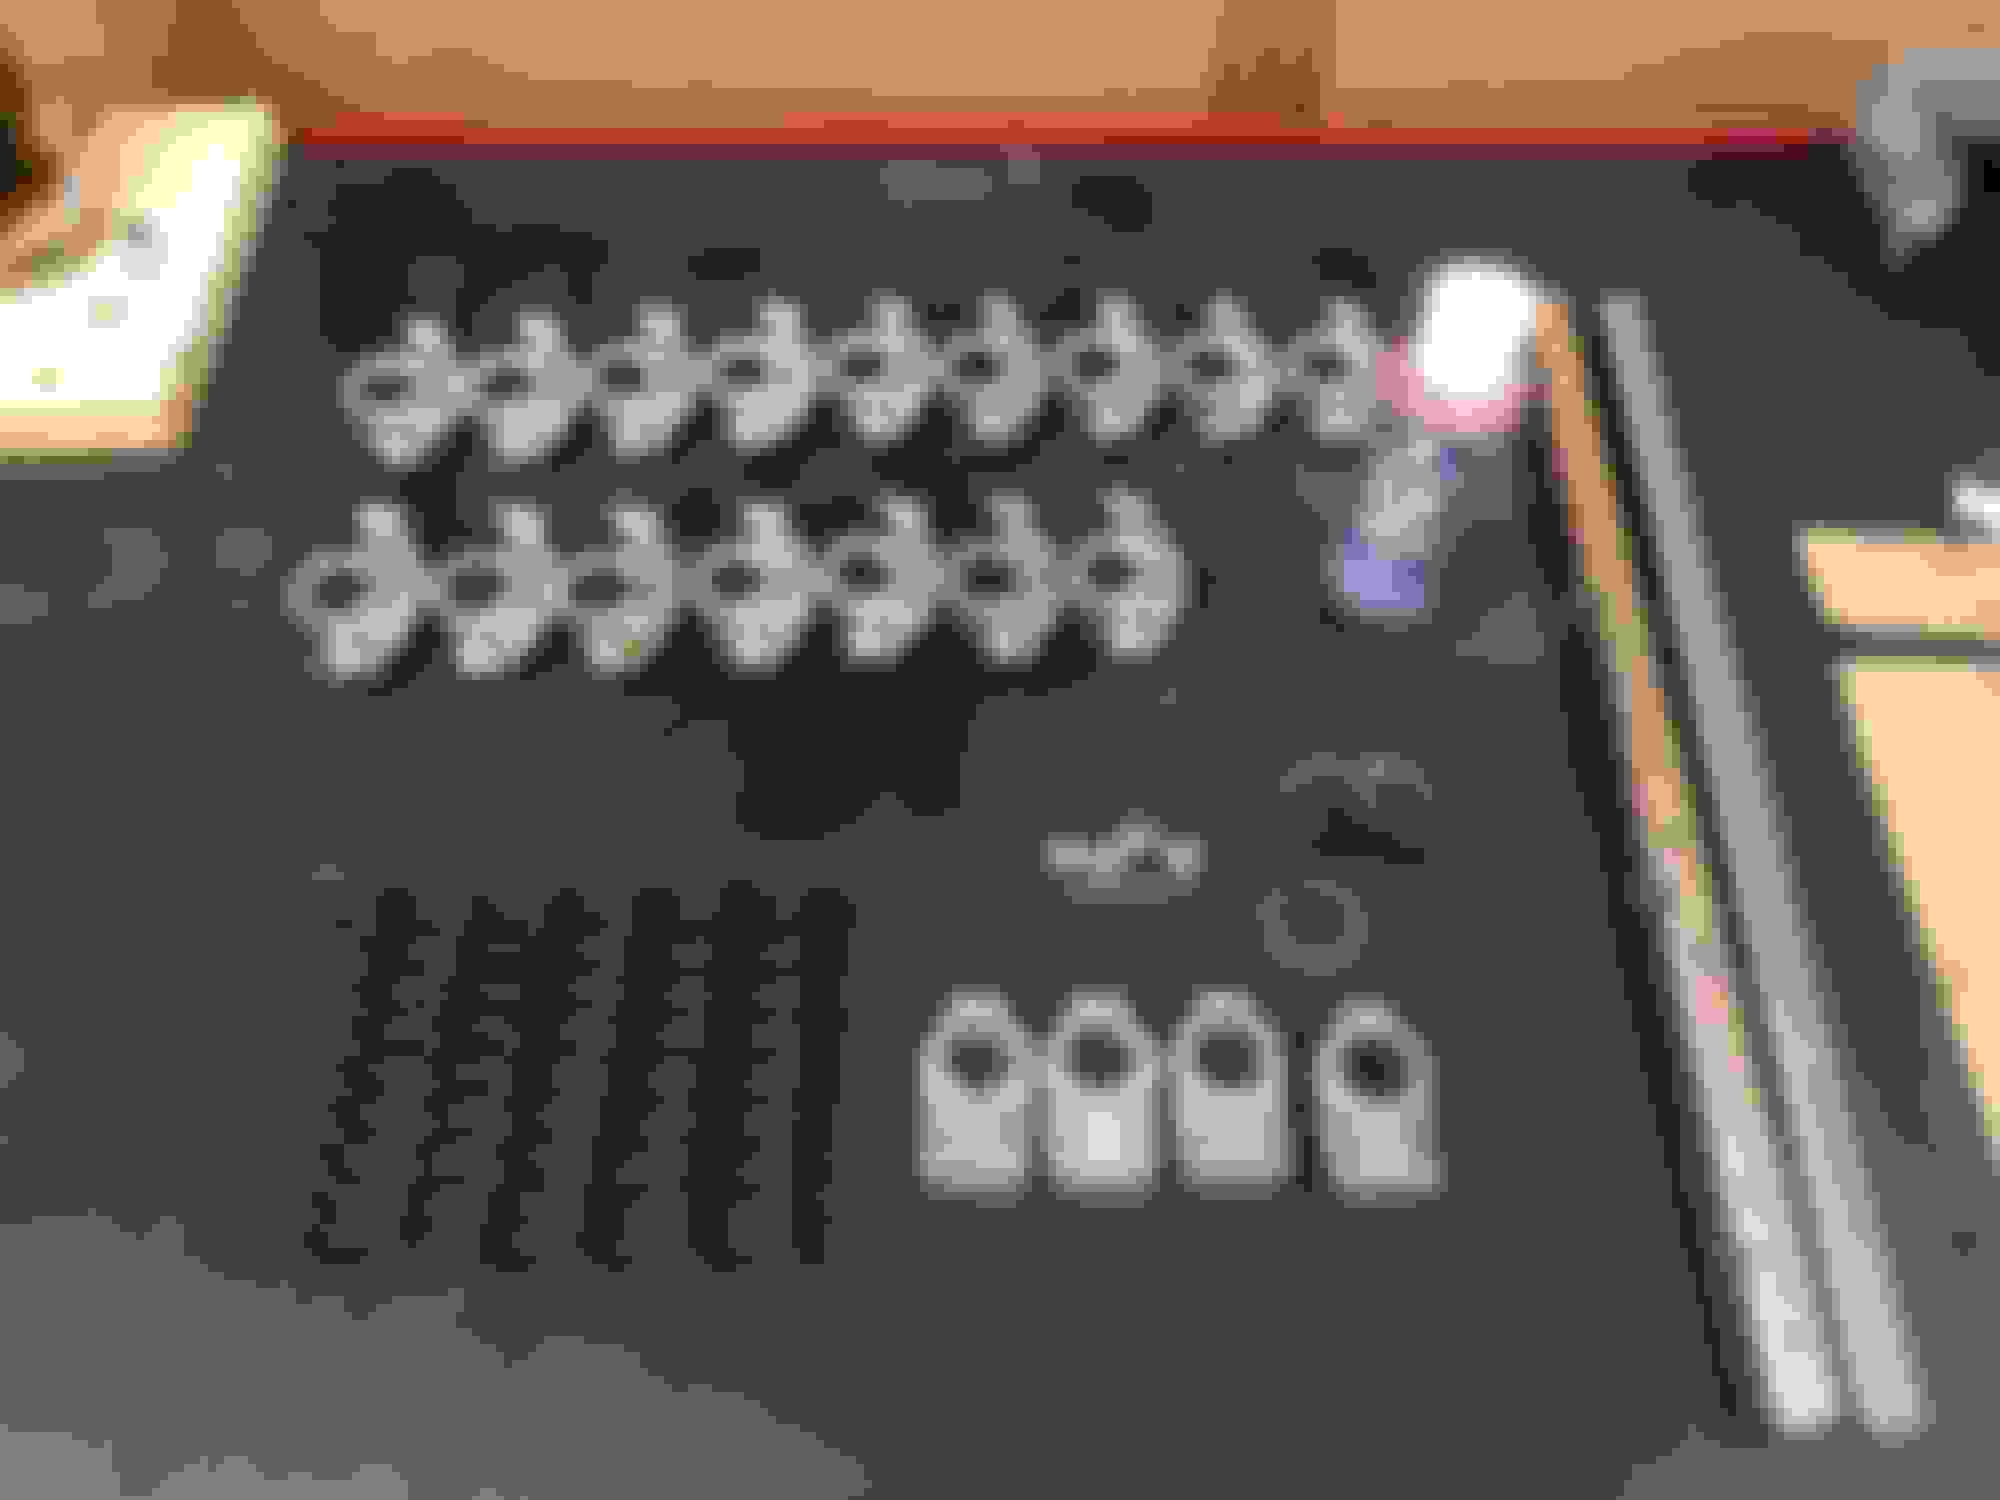
The rest of the build is going to be a little held up at this point. I decided the rocker assemblies I cleaned up were just too worn out to use again. I ordered all new components from Rovers North, but a few pieces were special order and won�t get here for two weeks or so.
I won�t leave the two people following this thread in suspense for too long though.
I decided to replace the rocker assemblies with all new parts from Rover North because the price was right, and the old assemblies just had too much wear on them after I cleaned them up. Some of the parts were special order so that held is up.
The only part I had to reuse were the holding brackets which were astronomical to replace. They aren�t a part that wears so I brushed them clean and sent them in.
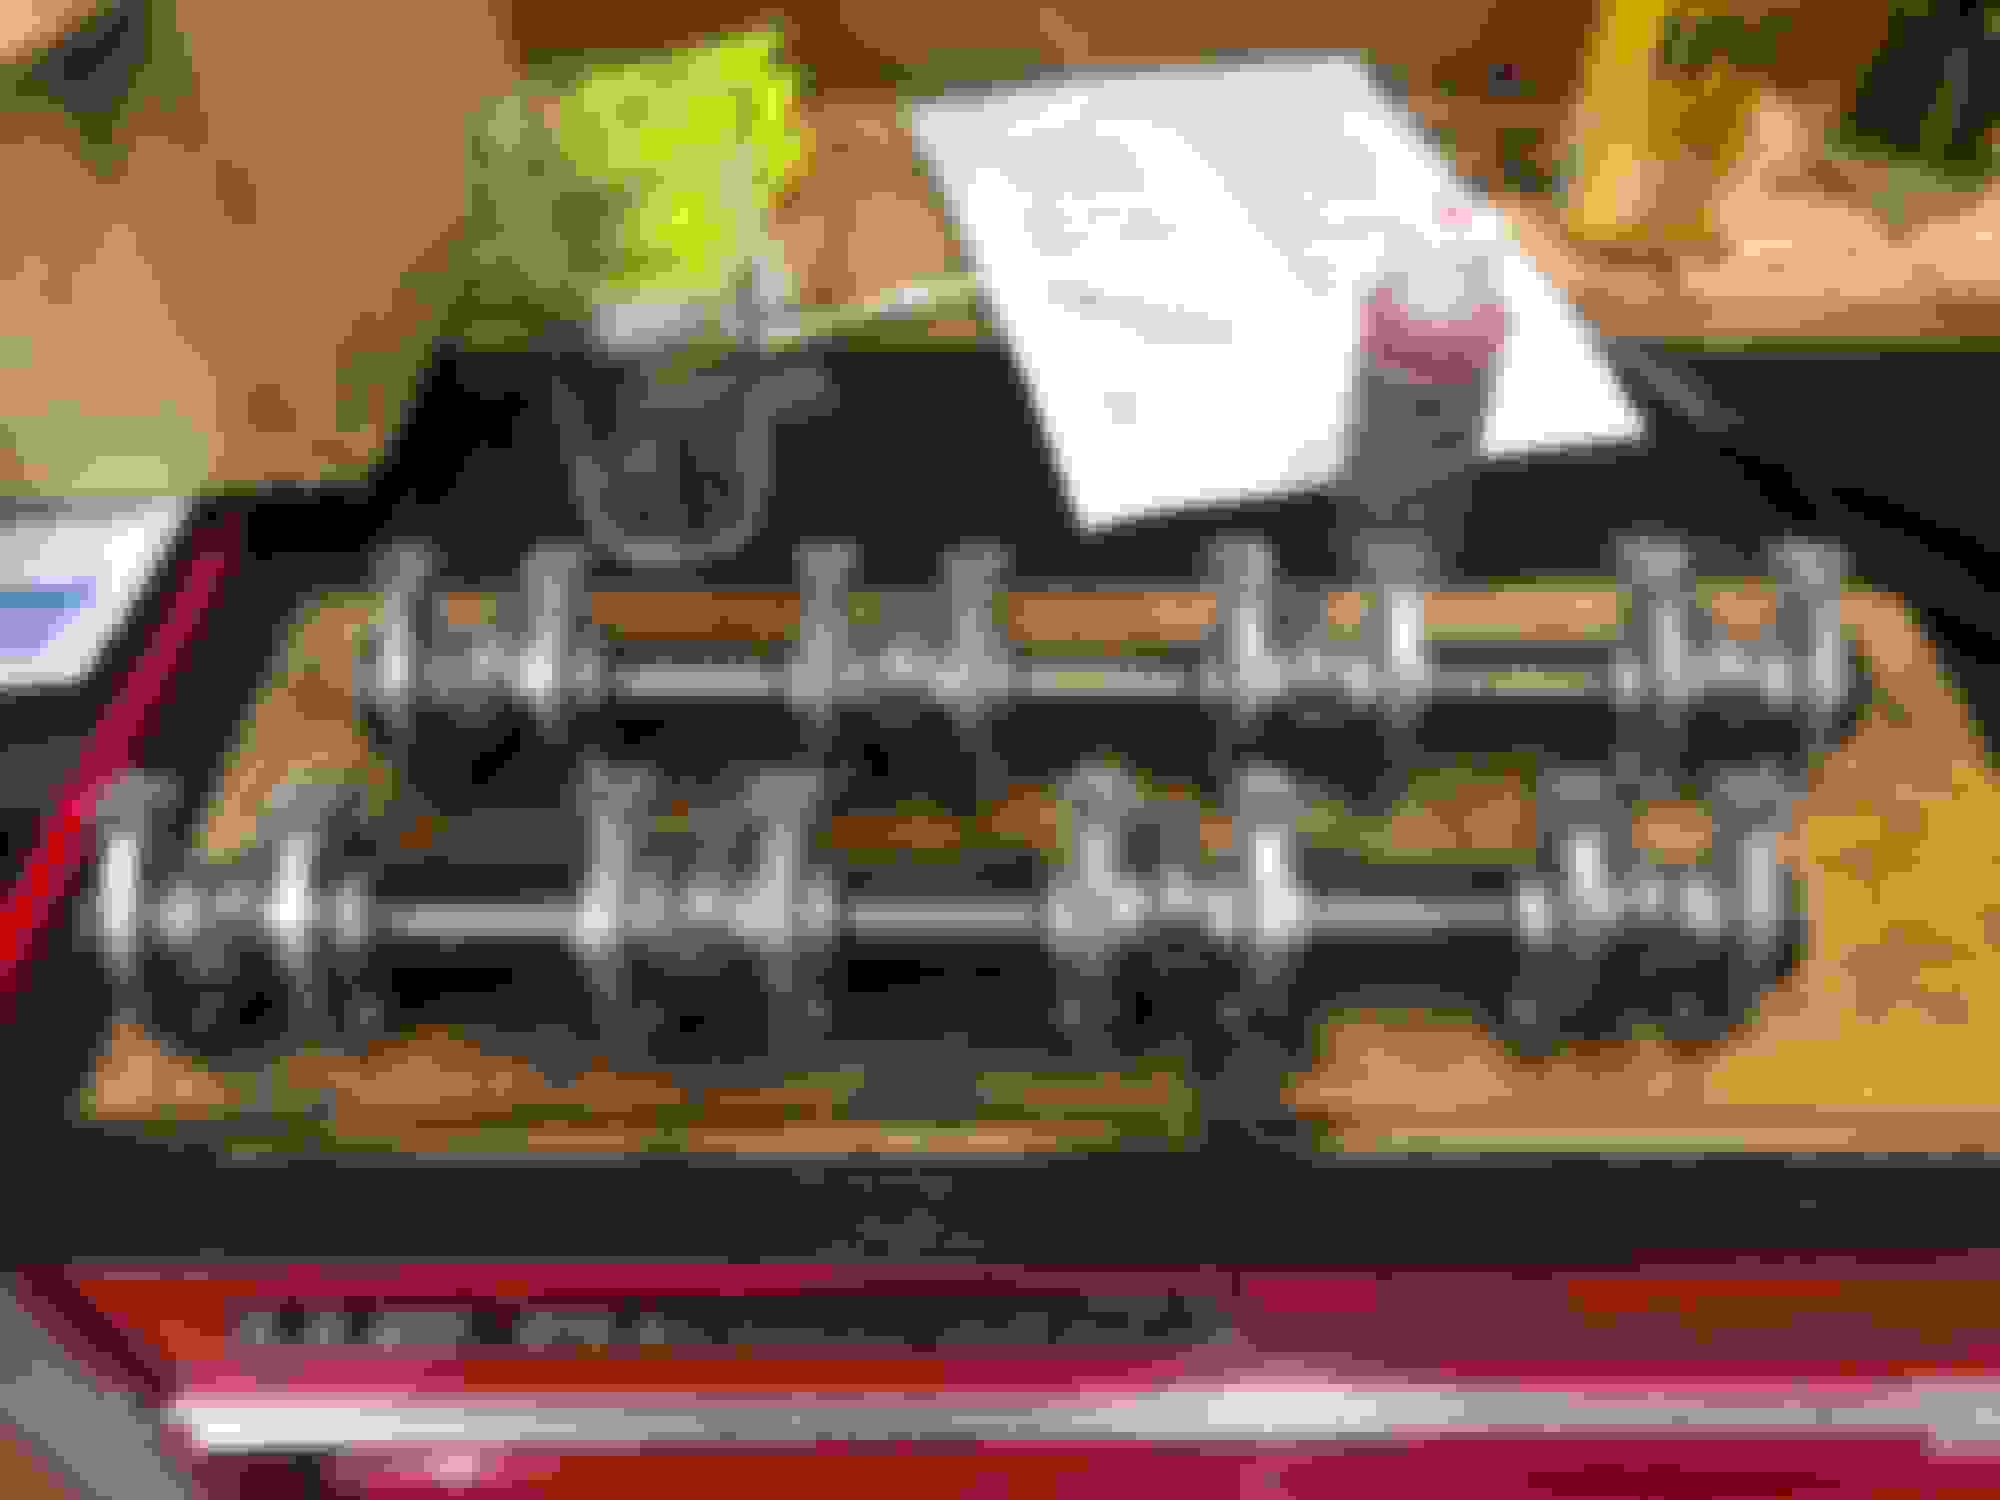
I was going to call it a day but decided to throw the rockers and rods into the rover. Going to my buddy mjl1987�s house to grill tonight because he refuses to come to me. Thanks Mike.
It looks like your doing a great job. How hard were the brackets to push into the rocker shafts?
Thanks, they weren�t bad at all. For me it was a perfect fit. What I did was place the bolt partially in the bracket as I slid it into the rocker shaft. The spring tension was a little difficult but as the bracket wandered over the opening in the shaft the bolt slipped in and held it. A lot easier than trying to fight the spring pressure, align the holes, and then place the bolt through it. Hope that makes some sense!
I really didn�t like that the exhaust manifolds were held on by 12 point bolts. The all rusted down to nubs and I had to destroy a few of them during removal. I decided to go with some good 6 point bolts in case I ever need to remove the manifolds. Here�s a comparison of the 12 point I removed and the 6 point I�m using:
While the length is correct, the threads aren�t cut down deep enough to pass the manifold spacers.
So I broke out the tap and die kit and extended them. Came out absolutely fantastic.
During install it helped to use a jack to lift the exhaust manifolds to the correct height, instead of trying to yank them up and then thread the bolts in by hand. Whole thing went together easily and gave me a spare hand to hold the gaskets with:
I also put in new plugs and wires, very surprised OEM used champions so that�s what I went with; NGK wire because that�s what was available. Plugs went in fine but some of the wires were a real SOB to get a firm seating on.
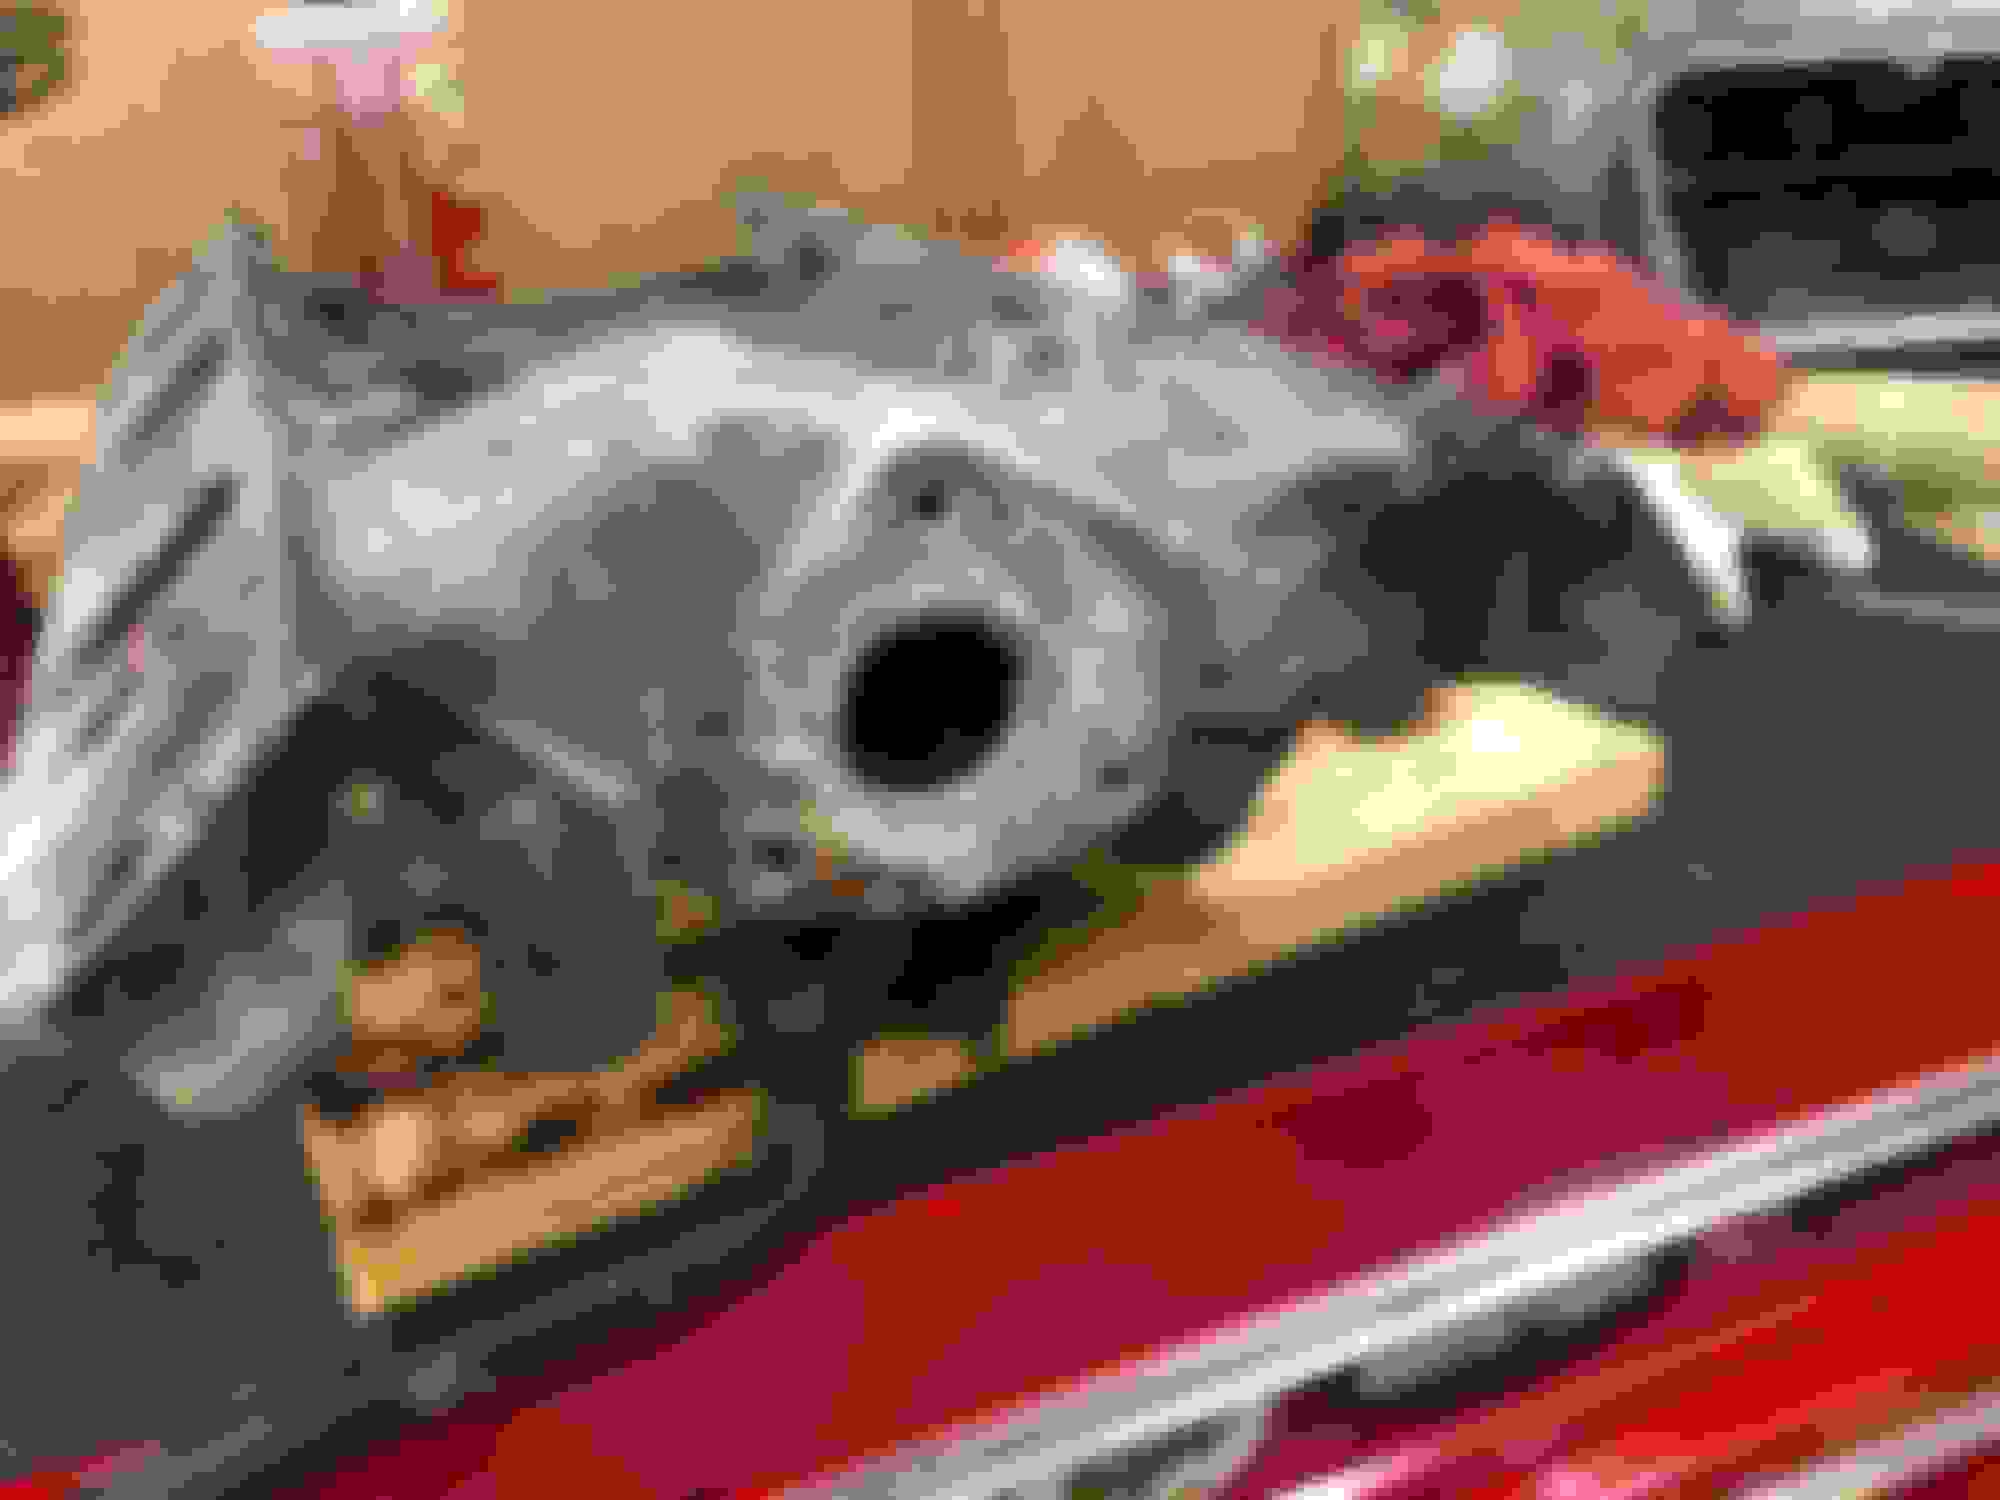
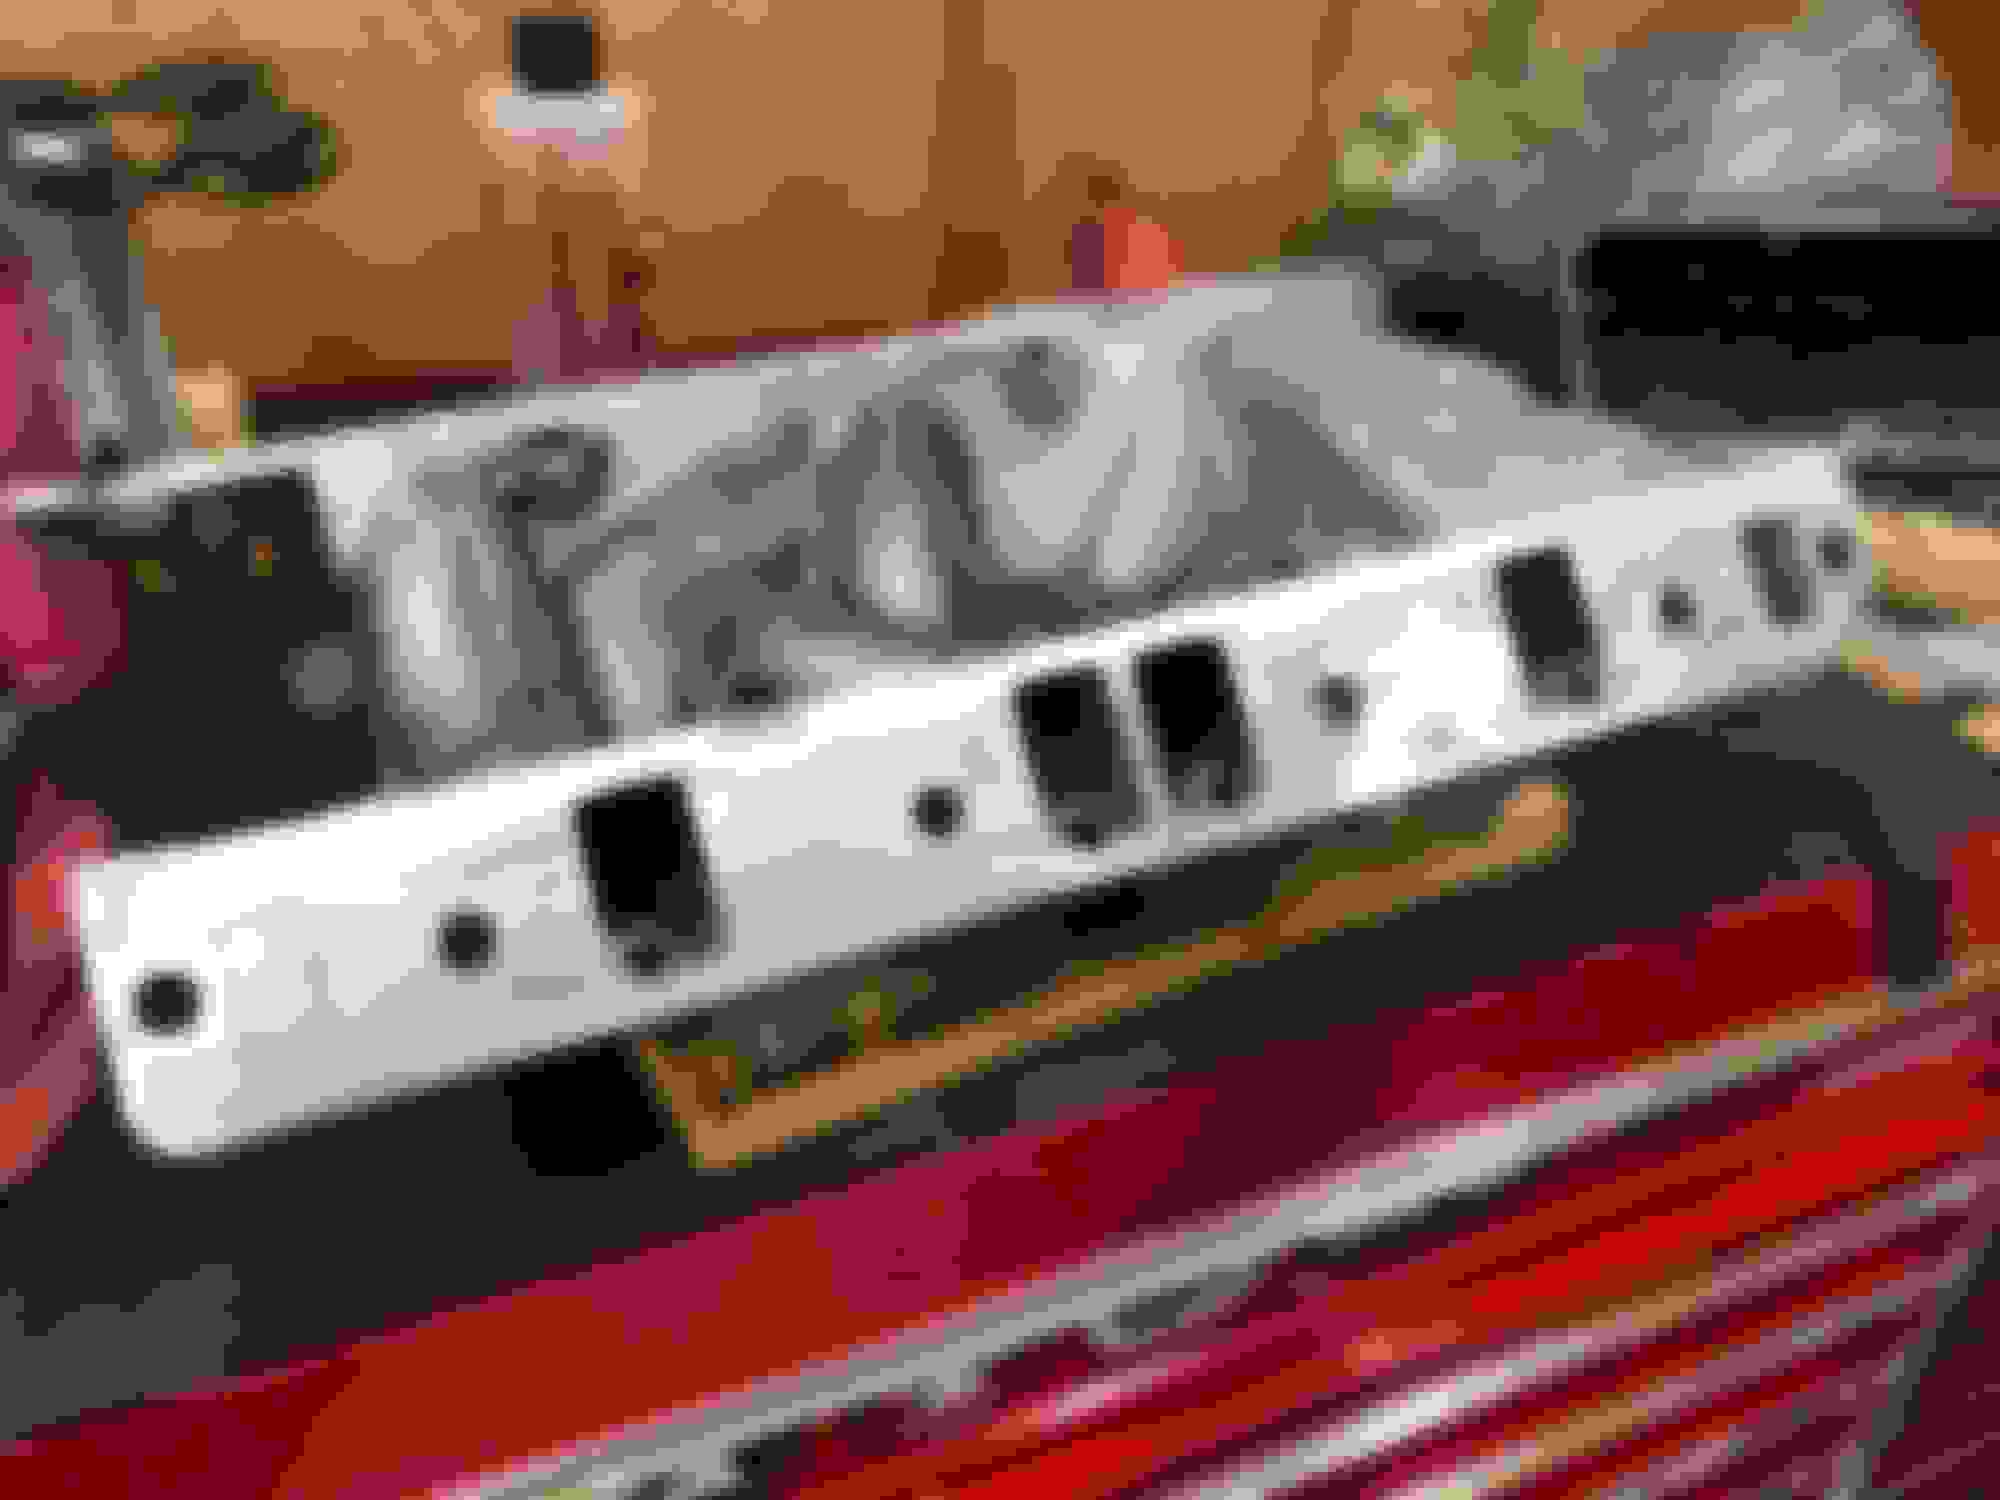
The mating surfaces of the intake manifold were looking a little rough; very rough where the coolant pipe connected. I polished them down nice and level for a good mating.
Before:
After:
Any further on the coolant pipe surface and it wouldn't be level. I decided to stop here and use RTV when putting the pipe on.
Replaced the inject gaskets all around and gave them each a spray test. Spray pattern looked perfect so in the went.
I put her together and she fired right up like champion. Sounded great from the moment it started, unlike most projects where there’s a painful noise before oil hits all the points.
I didn’t notice a flickering oil light at idle. An oil pressure test revealed very low pressure, which was very surprising. Sent me on a wild goose chase which can be followed here: