When you click on links to various merchants on this site and make a purchase, this can result in this site earning a commission. Affiliate programs and affiliations include, but are not limited to, the eBay Partner Network.
The new lifters I ordered came in as well as a few other miscellaneous engine parts. I�m still waiting on some sanding sponges and torque wrench with angle measurement before I get the heads on.
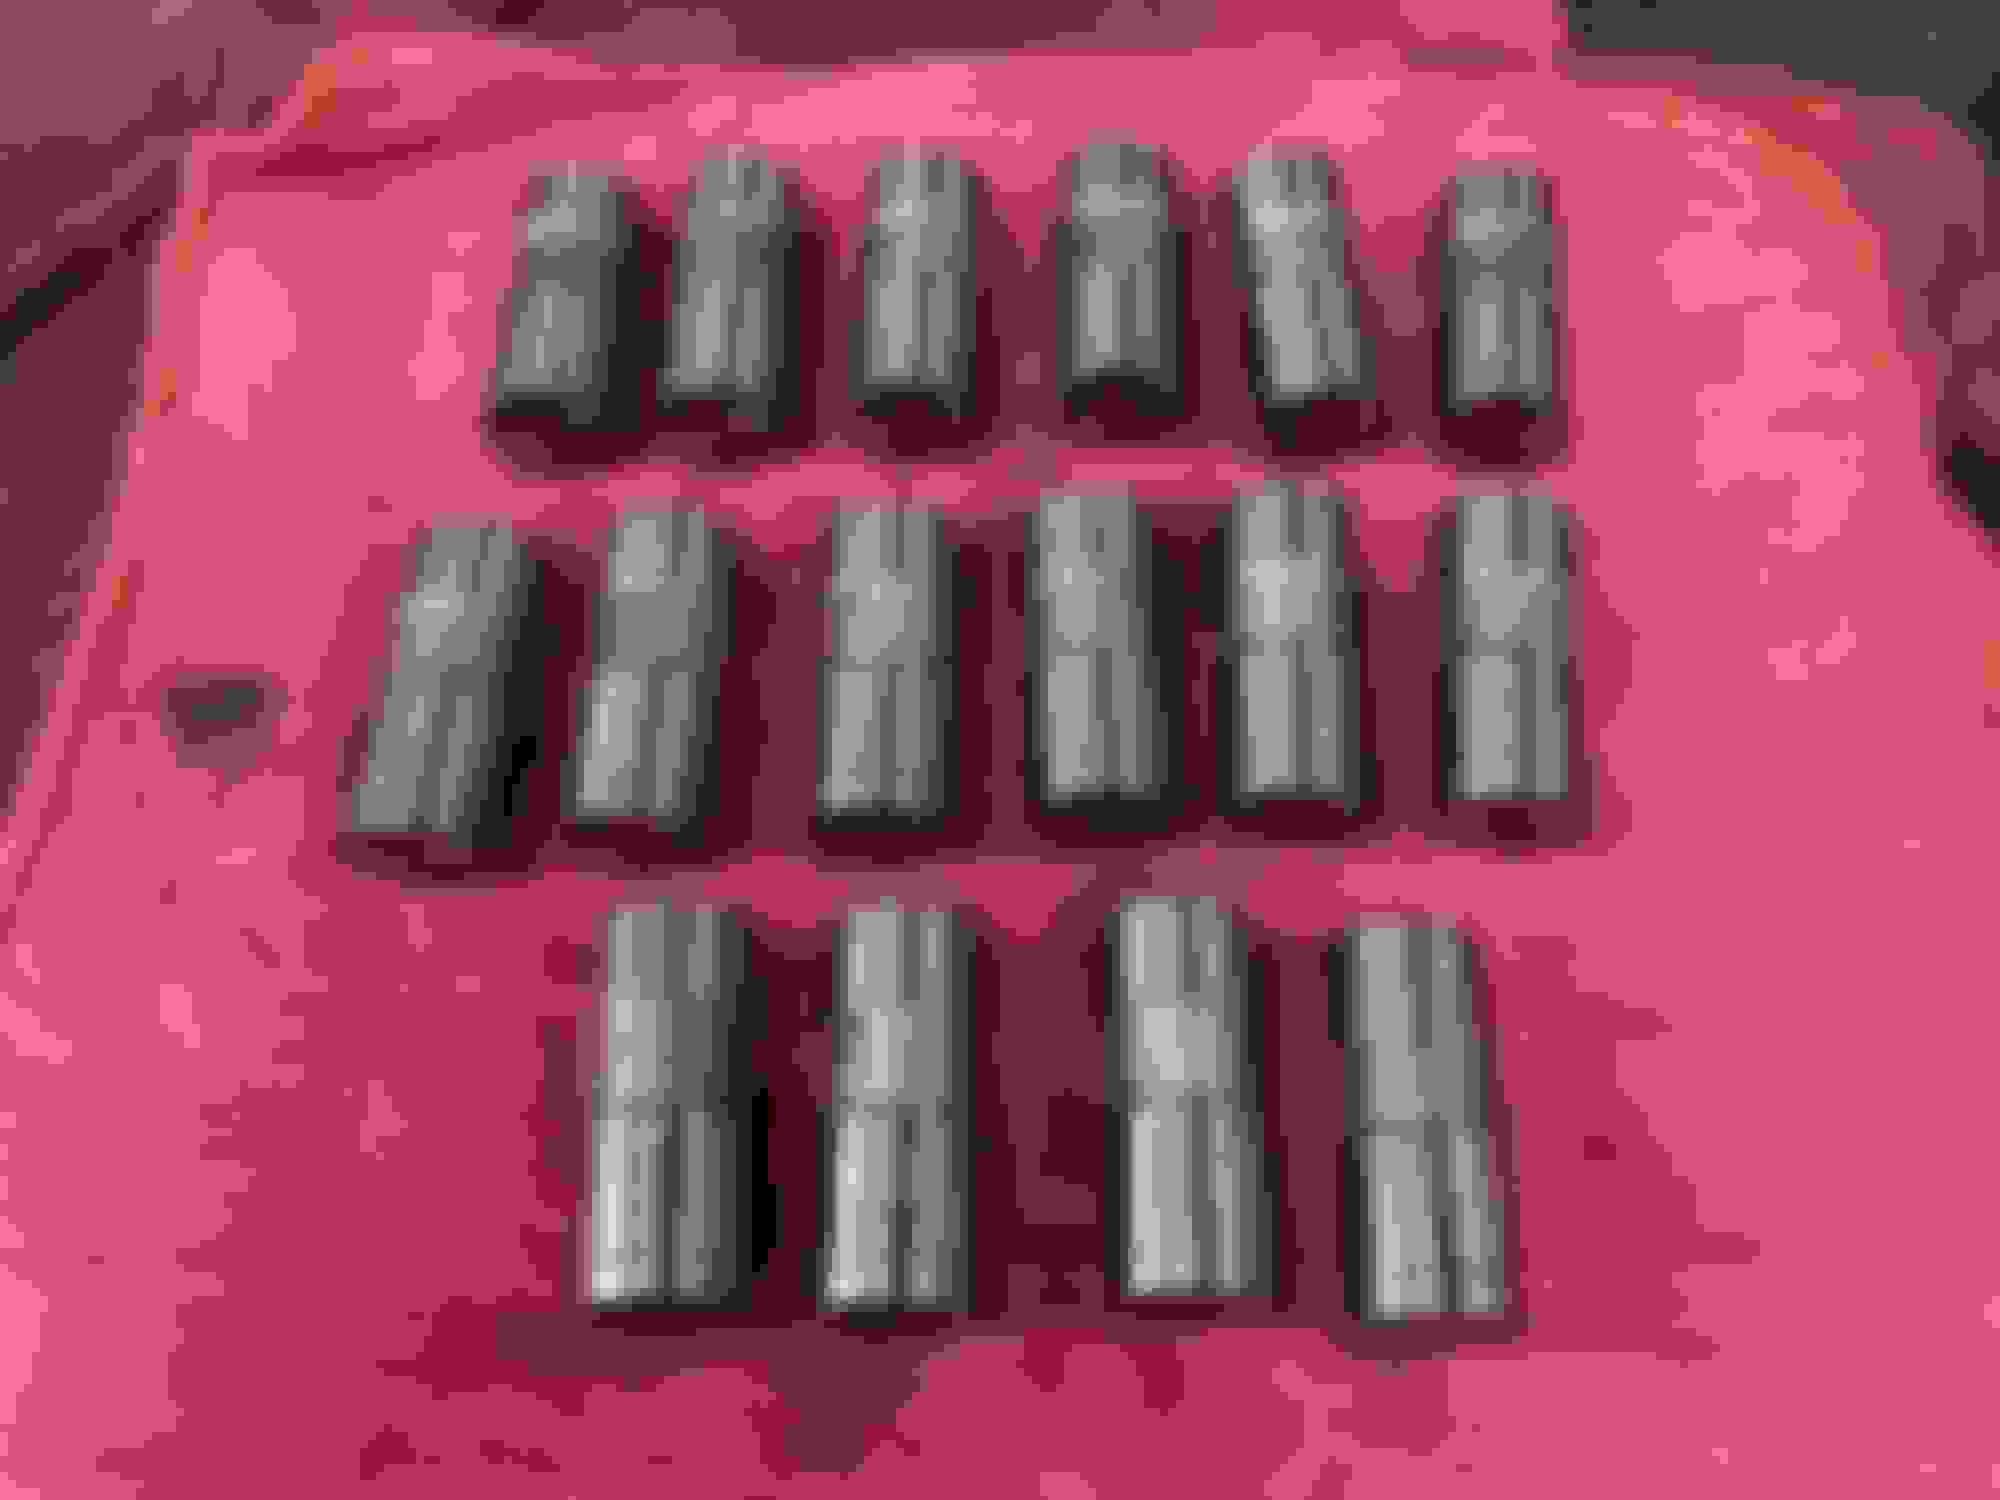
They came from eBay via Lucky8, seem to be a different metal. Here they are next to the old ones, new on top old on bottom. Most of the old ones either have a circle wear mark or a line in them.
I�m going to run Shell Rotella T4 in 15W-40 because a brief search seemed to think it was fine. I�m not an �oil snob�, and run Walmart�s SuperTech in all my cars. Think I can use that instead of this or is this ZDDP business in T4 what I need for this engine?
I also had the perfect container to hold the lifters in while they soak in oil. I�m from Syracuse, which inherently means I was too poor to go to SU.
Do I need to soak the rods and rocker assemblies or can I just lube them up before installation?
Last edited by Ferrarone; Jul 16, 2020 at 02:48 PM.
Reason: Spelling
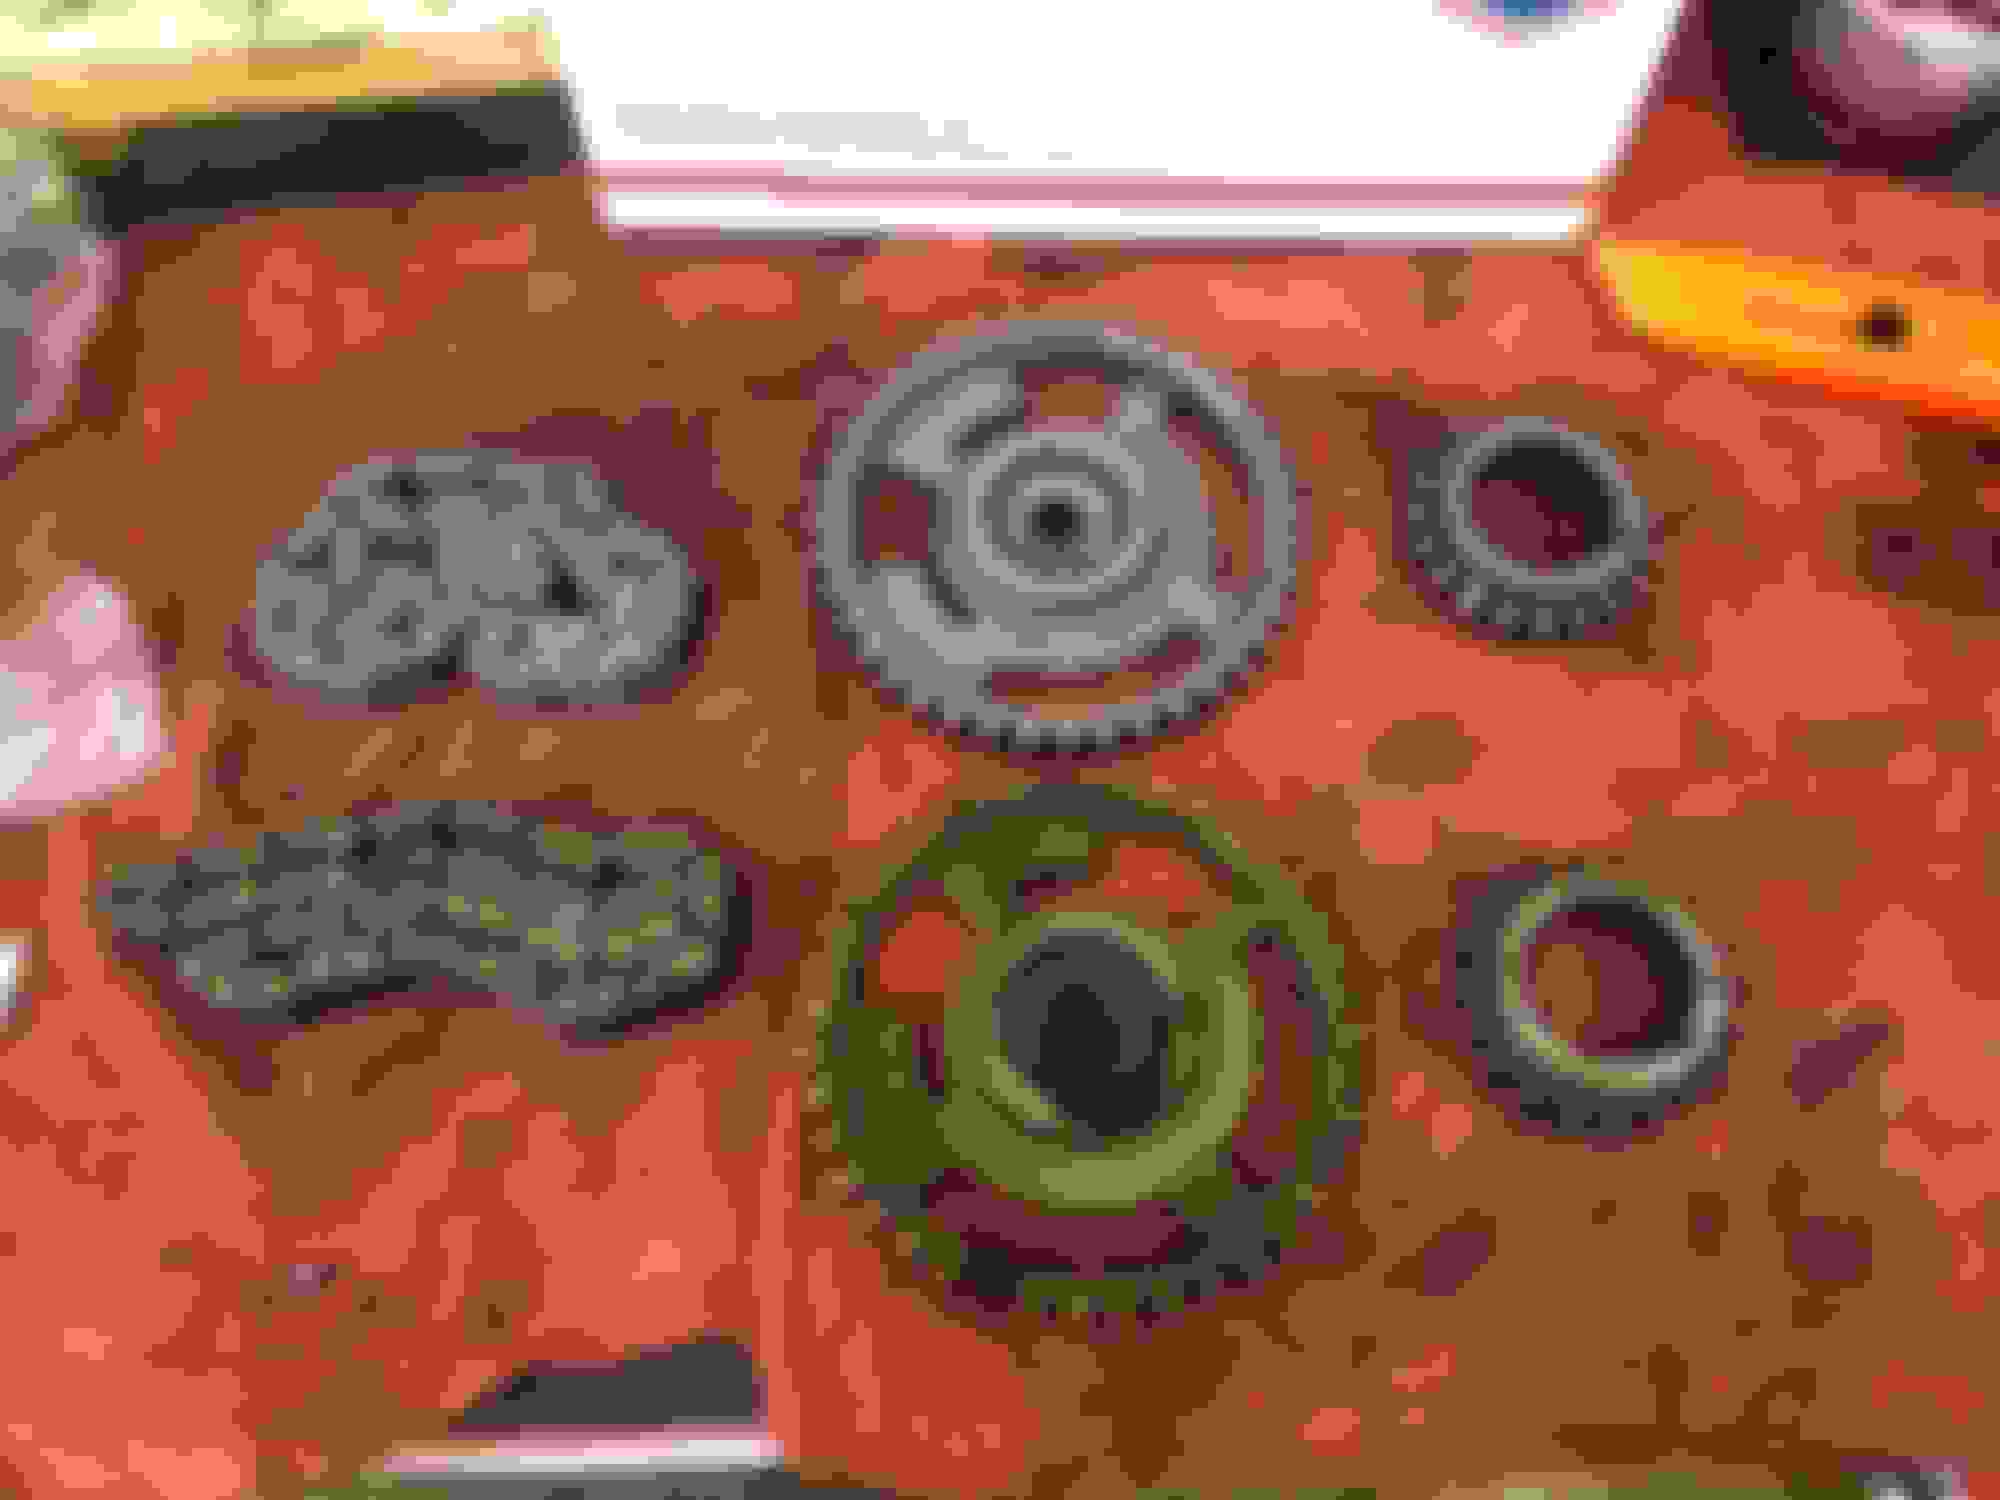
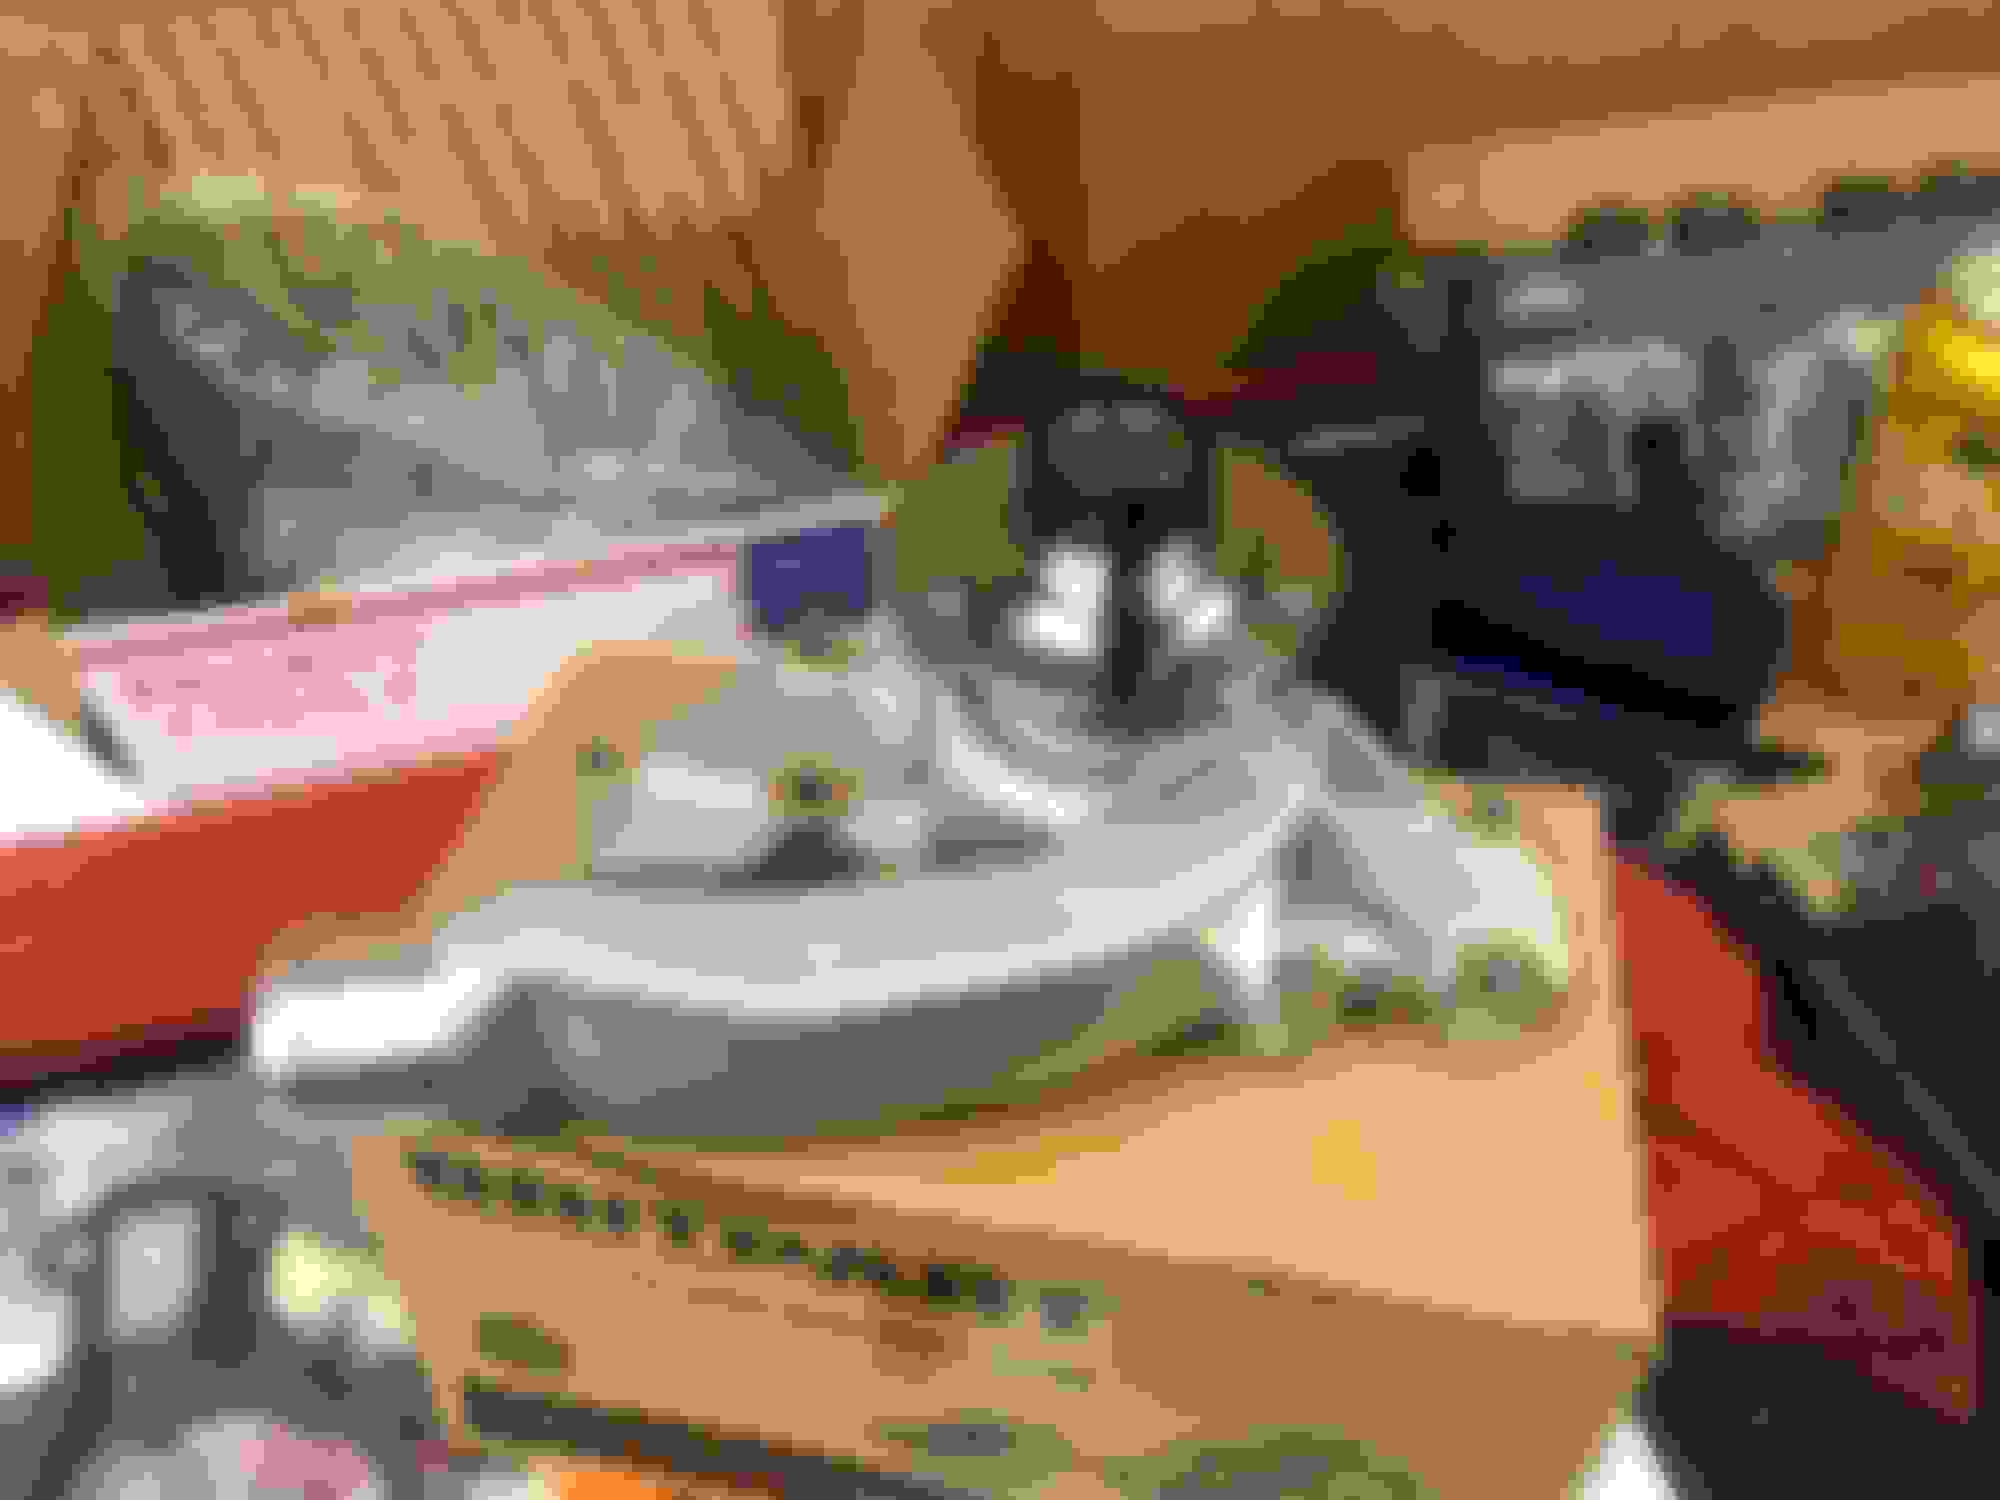
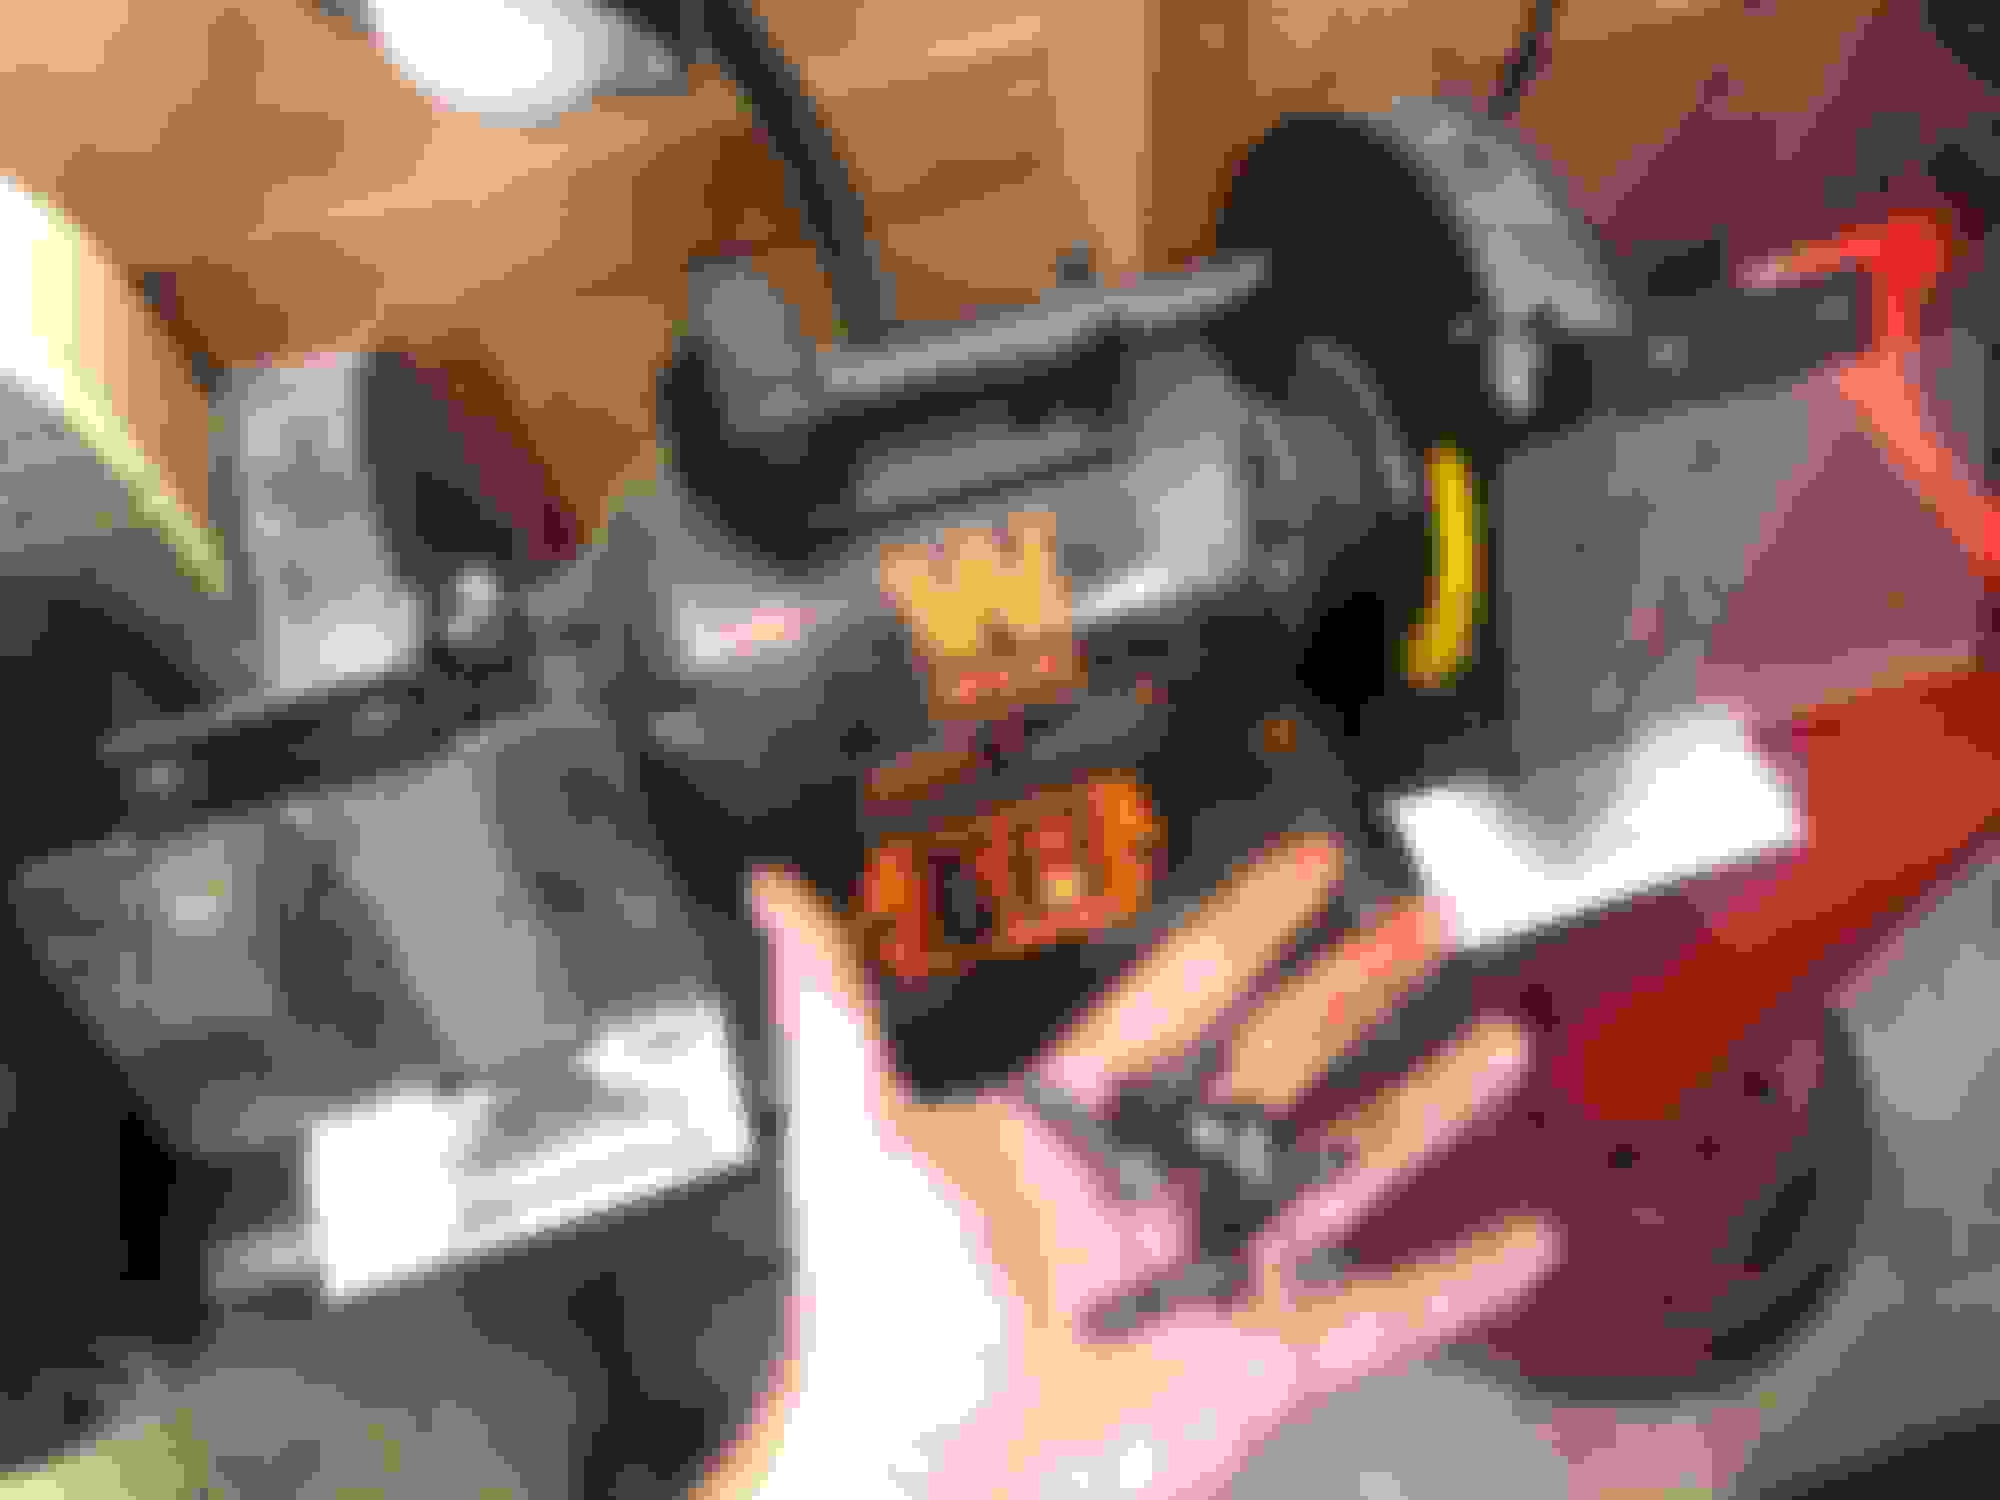
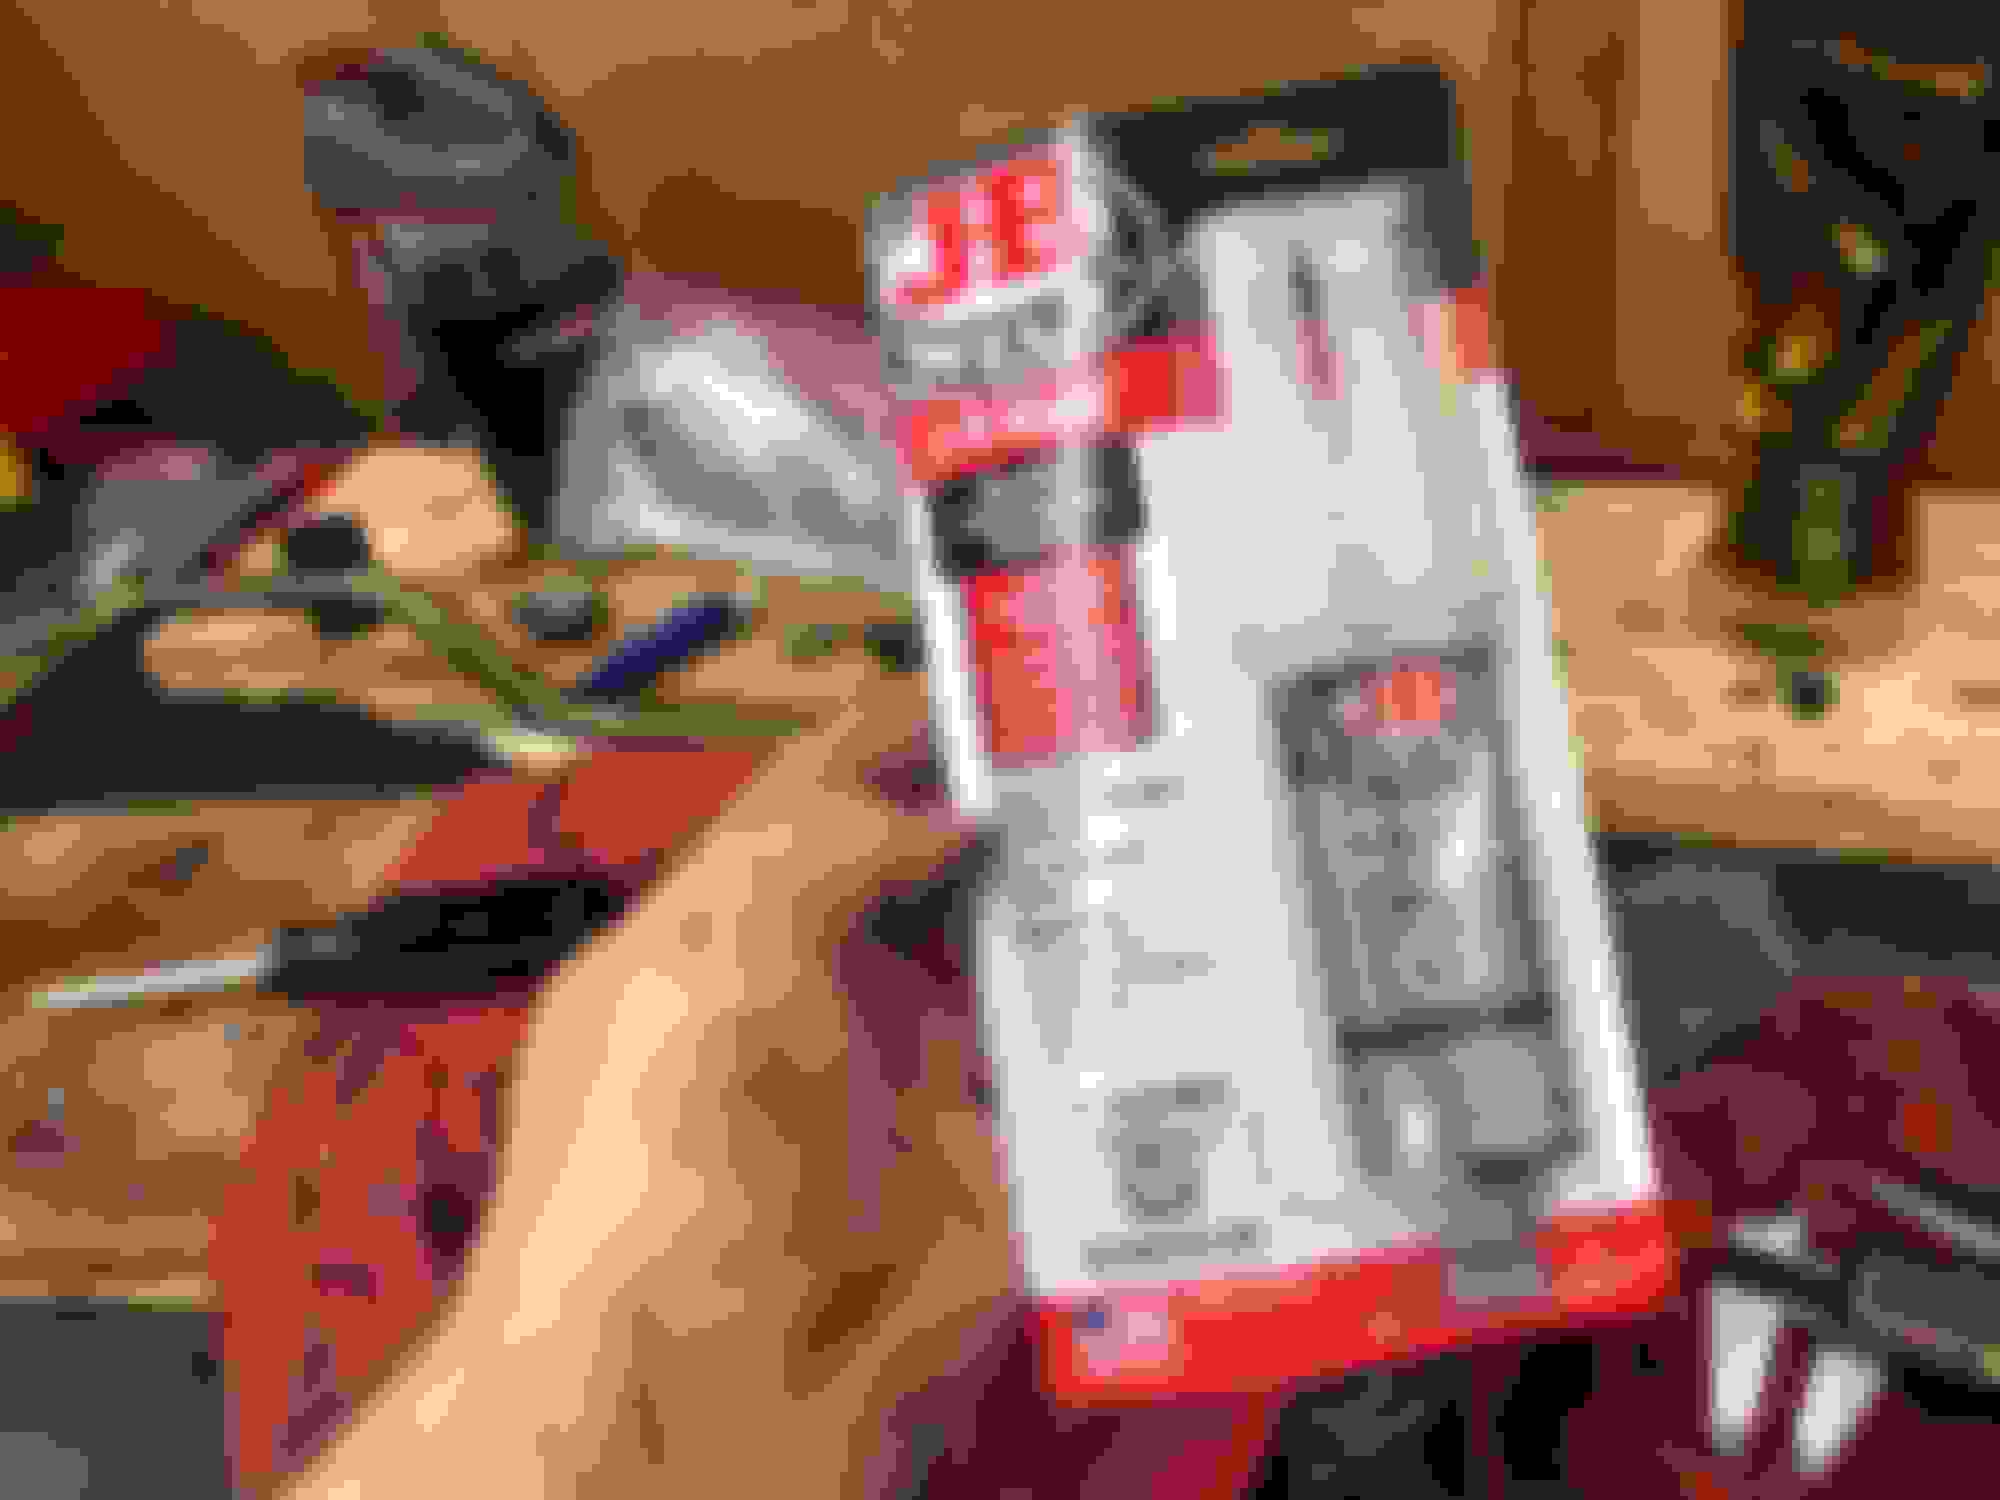
The timing chain kit came in so I made a little more progress. I paid $67 shipped, pretty sure it came off eBay. The brand name is �Bearmach�, made in China. Certainly of questionable quality compared to the original:
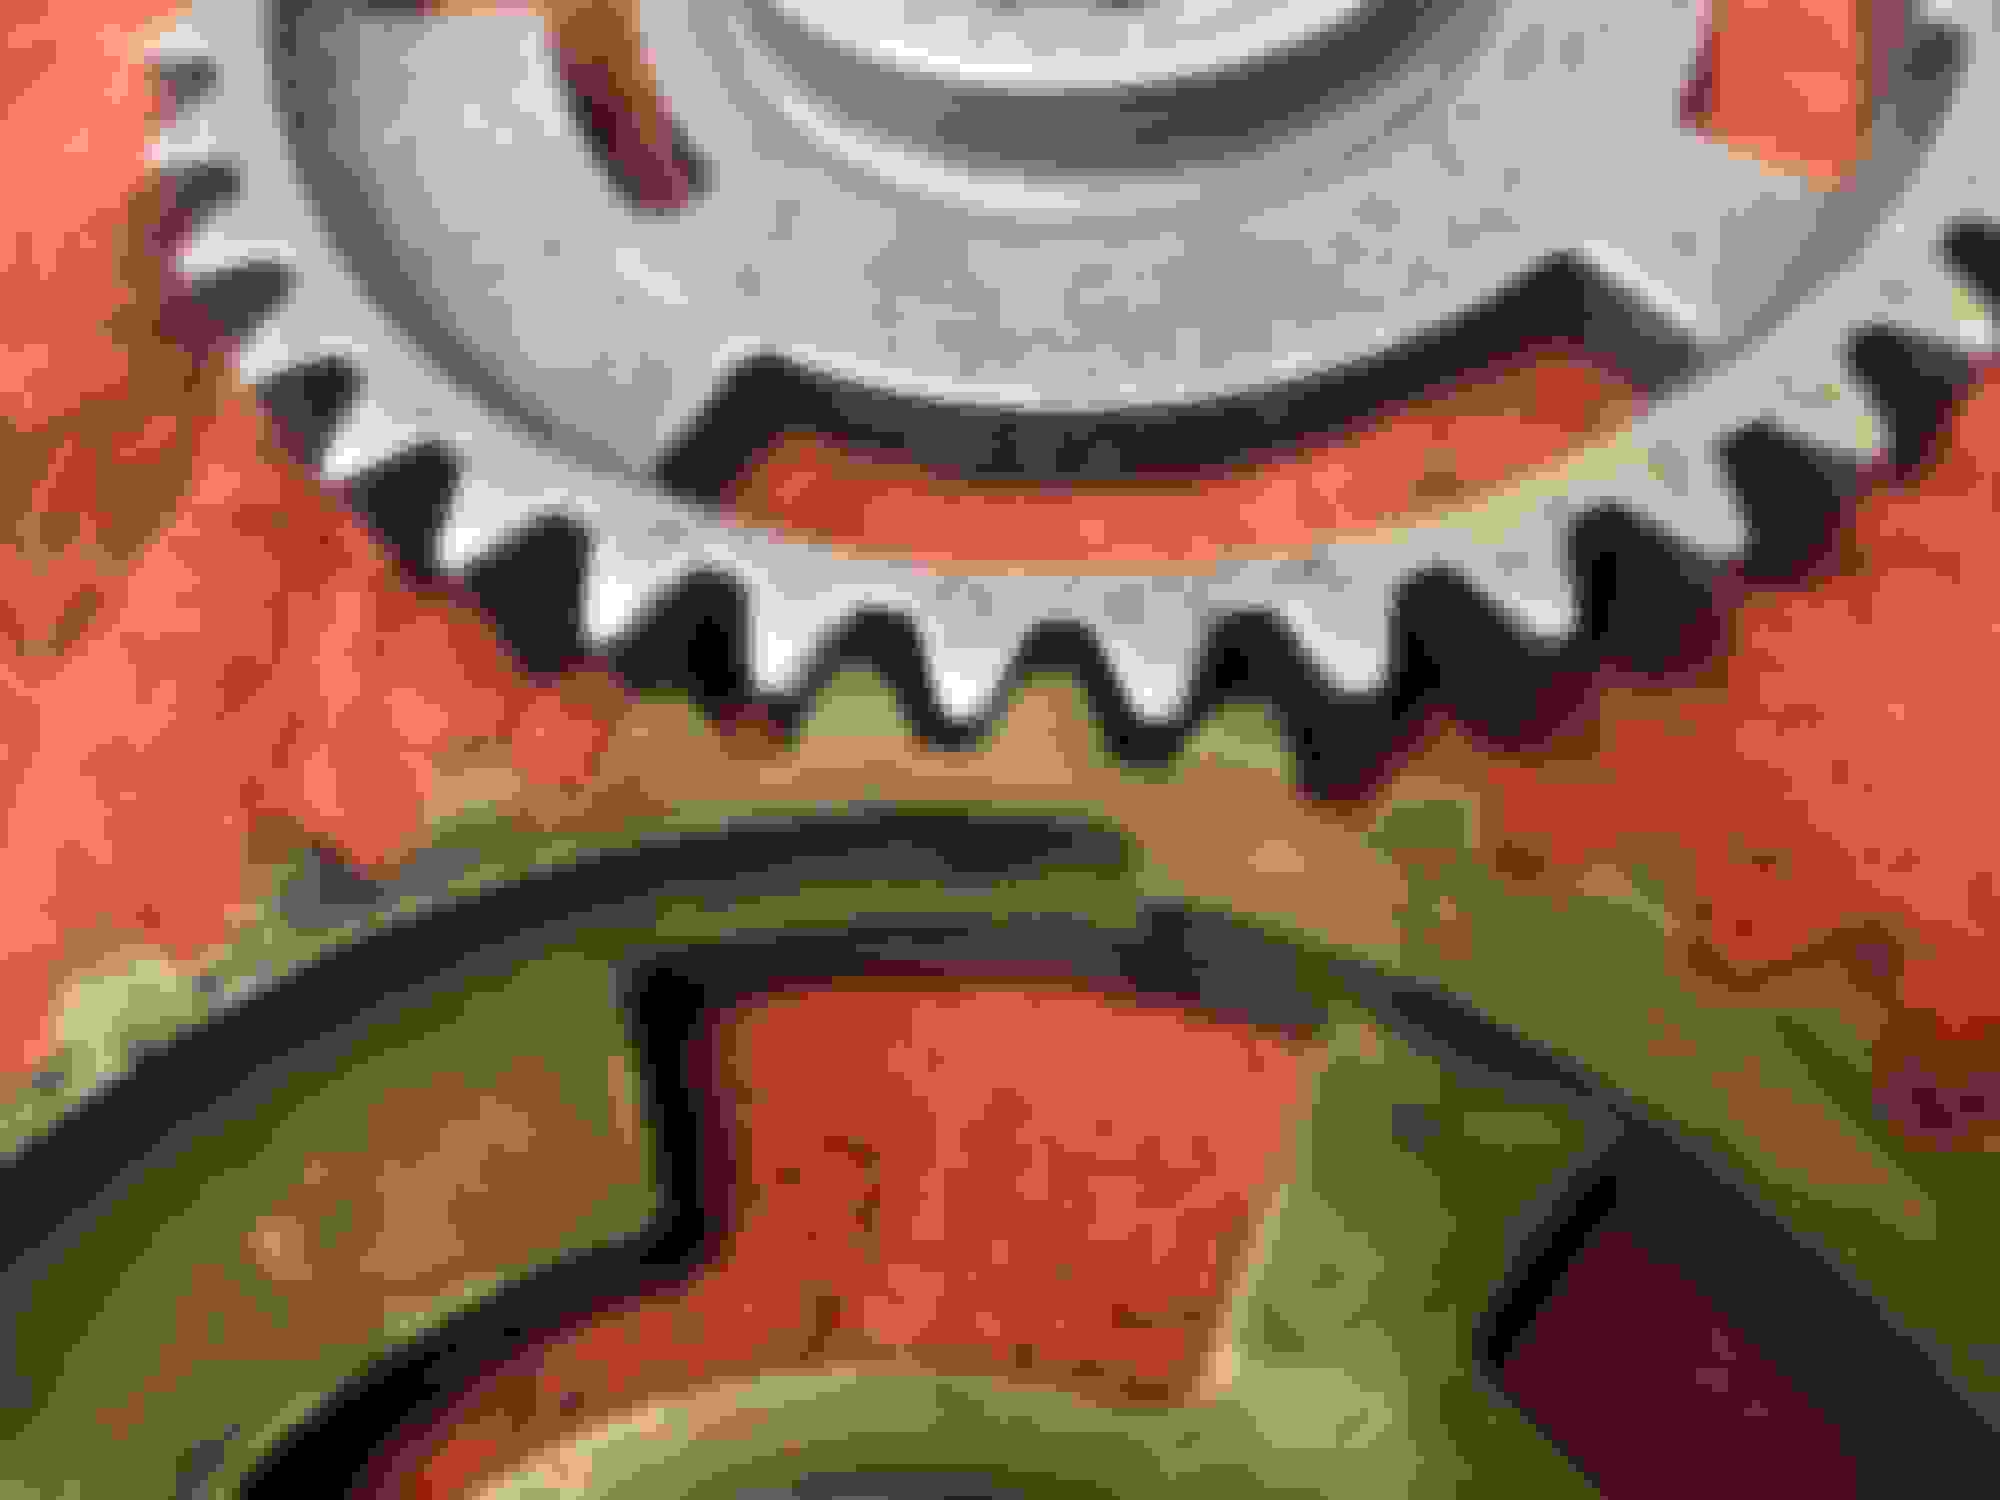
I�m committed, this thing is going on the Disco. The chain is much tighter than my old one. Difficult to tell from the picture but it looks like my original one is alma full chain link longer / stretched form use.
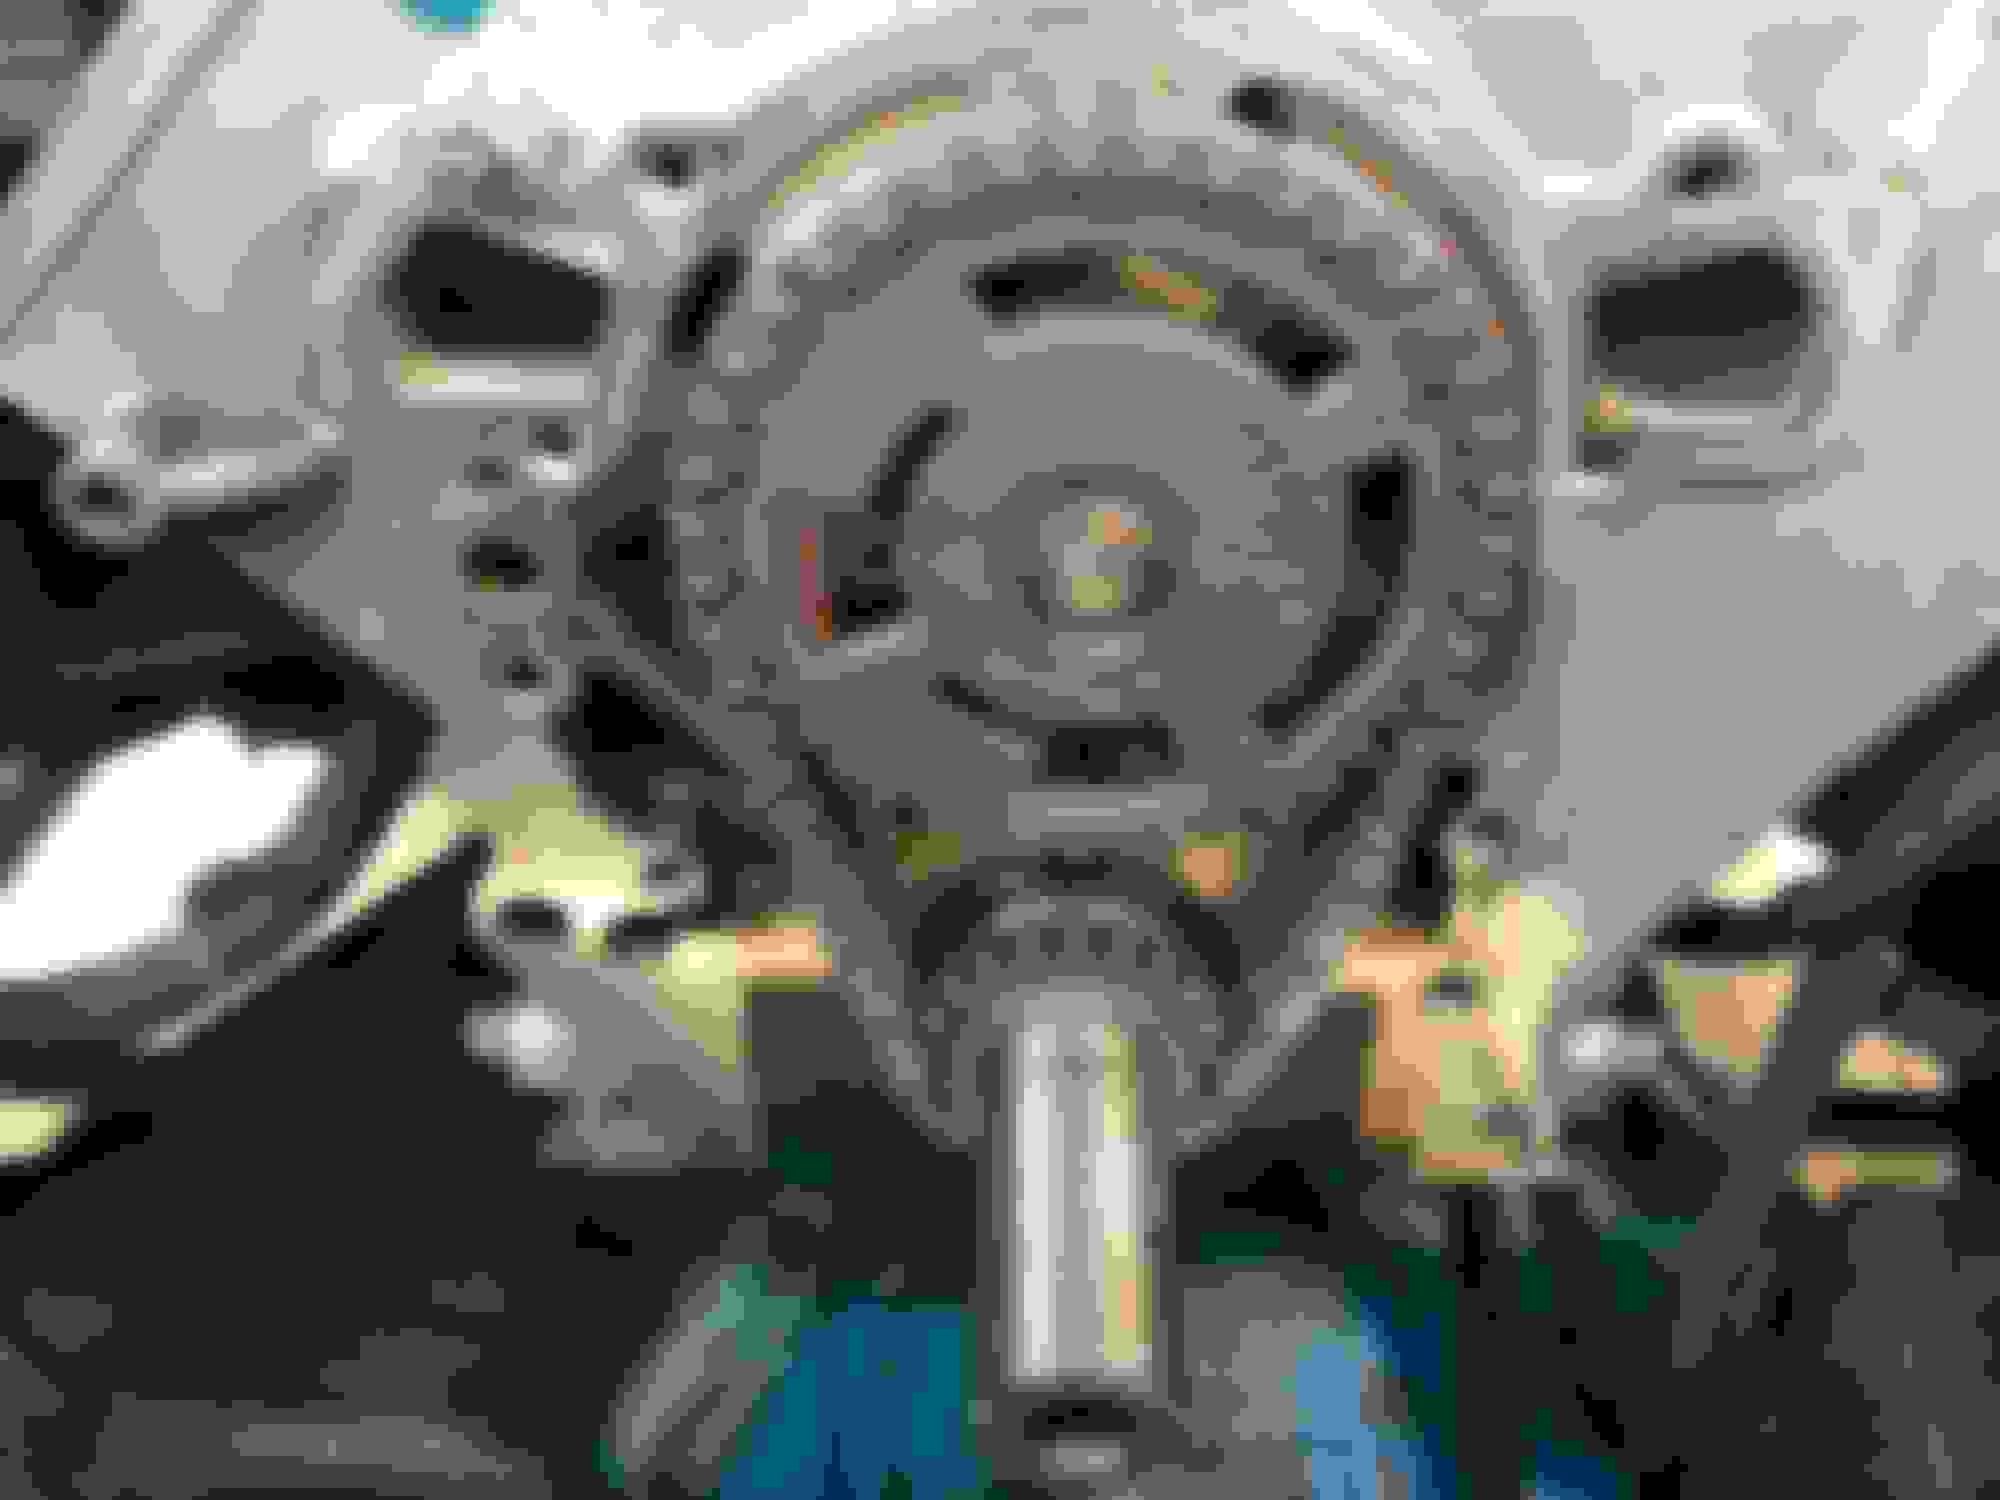
The new kit fought me the entire way on installation. The keyway isn�t machined, so it�s slightly larger than the camshaft wants to take. It came on with some convincing, the metal on the gear is butter compared to the camshaft end.
Real talk though, am I missing a washer between the bolt and upper timing gear? The race manual in a breakdown image of the engine shows one, but I don�t remember taking one off and I don�t have it in my parts bin.
So I figured I might as well put the timing cover on before I call it a day. It�ll be fine right? No, I will discover the gasket I got was absolute crap, and then I�d drop a guide pin and lose it, and then I would damage the other guide pin trying to extract it. Anyways, I thought I was buying a copper gasket, or a higher quality gasket like this:
But I got this, which is crap:
So crappy gasket paired with losing a guide pin, I�m just going to use RTV instead. I�ve done it on my Jeep and Honda, worked great. Biggest downside is I discovered I didn�t pay $67 for my timing gears, it was a $119 set from Atlantic British; should have just bought one off eBay.
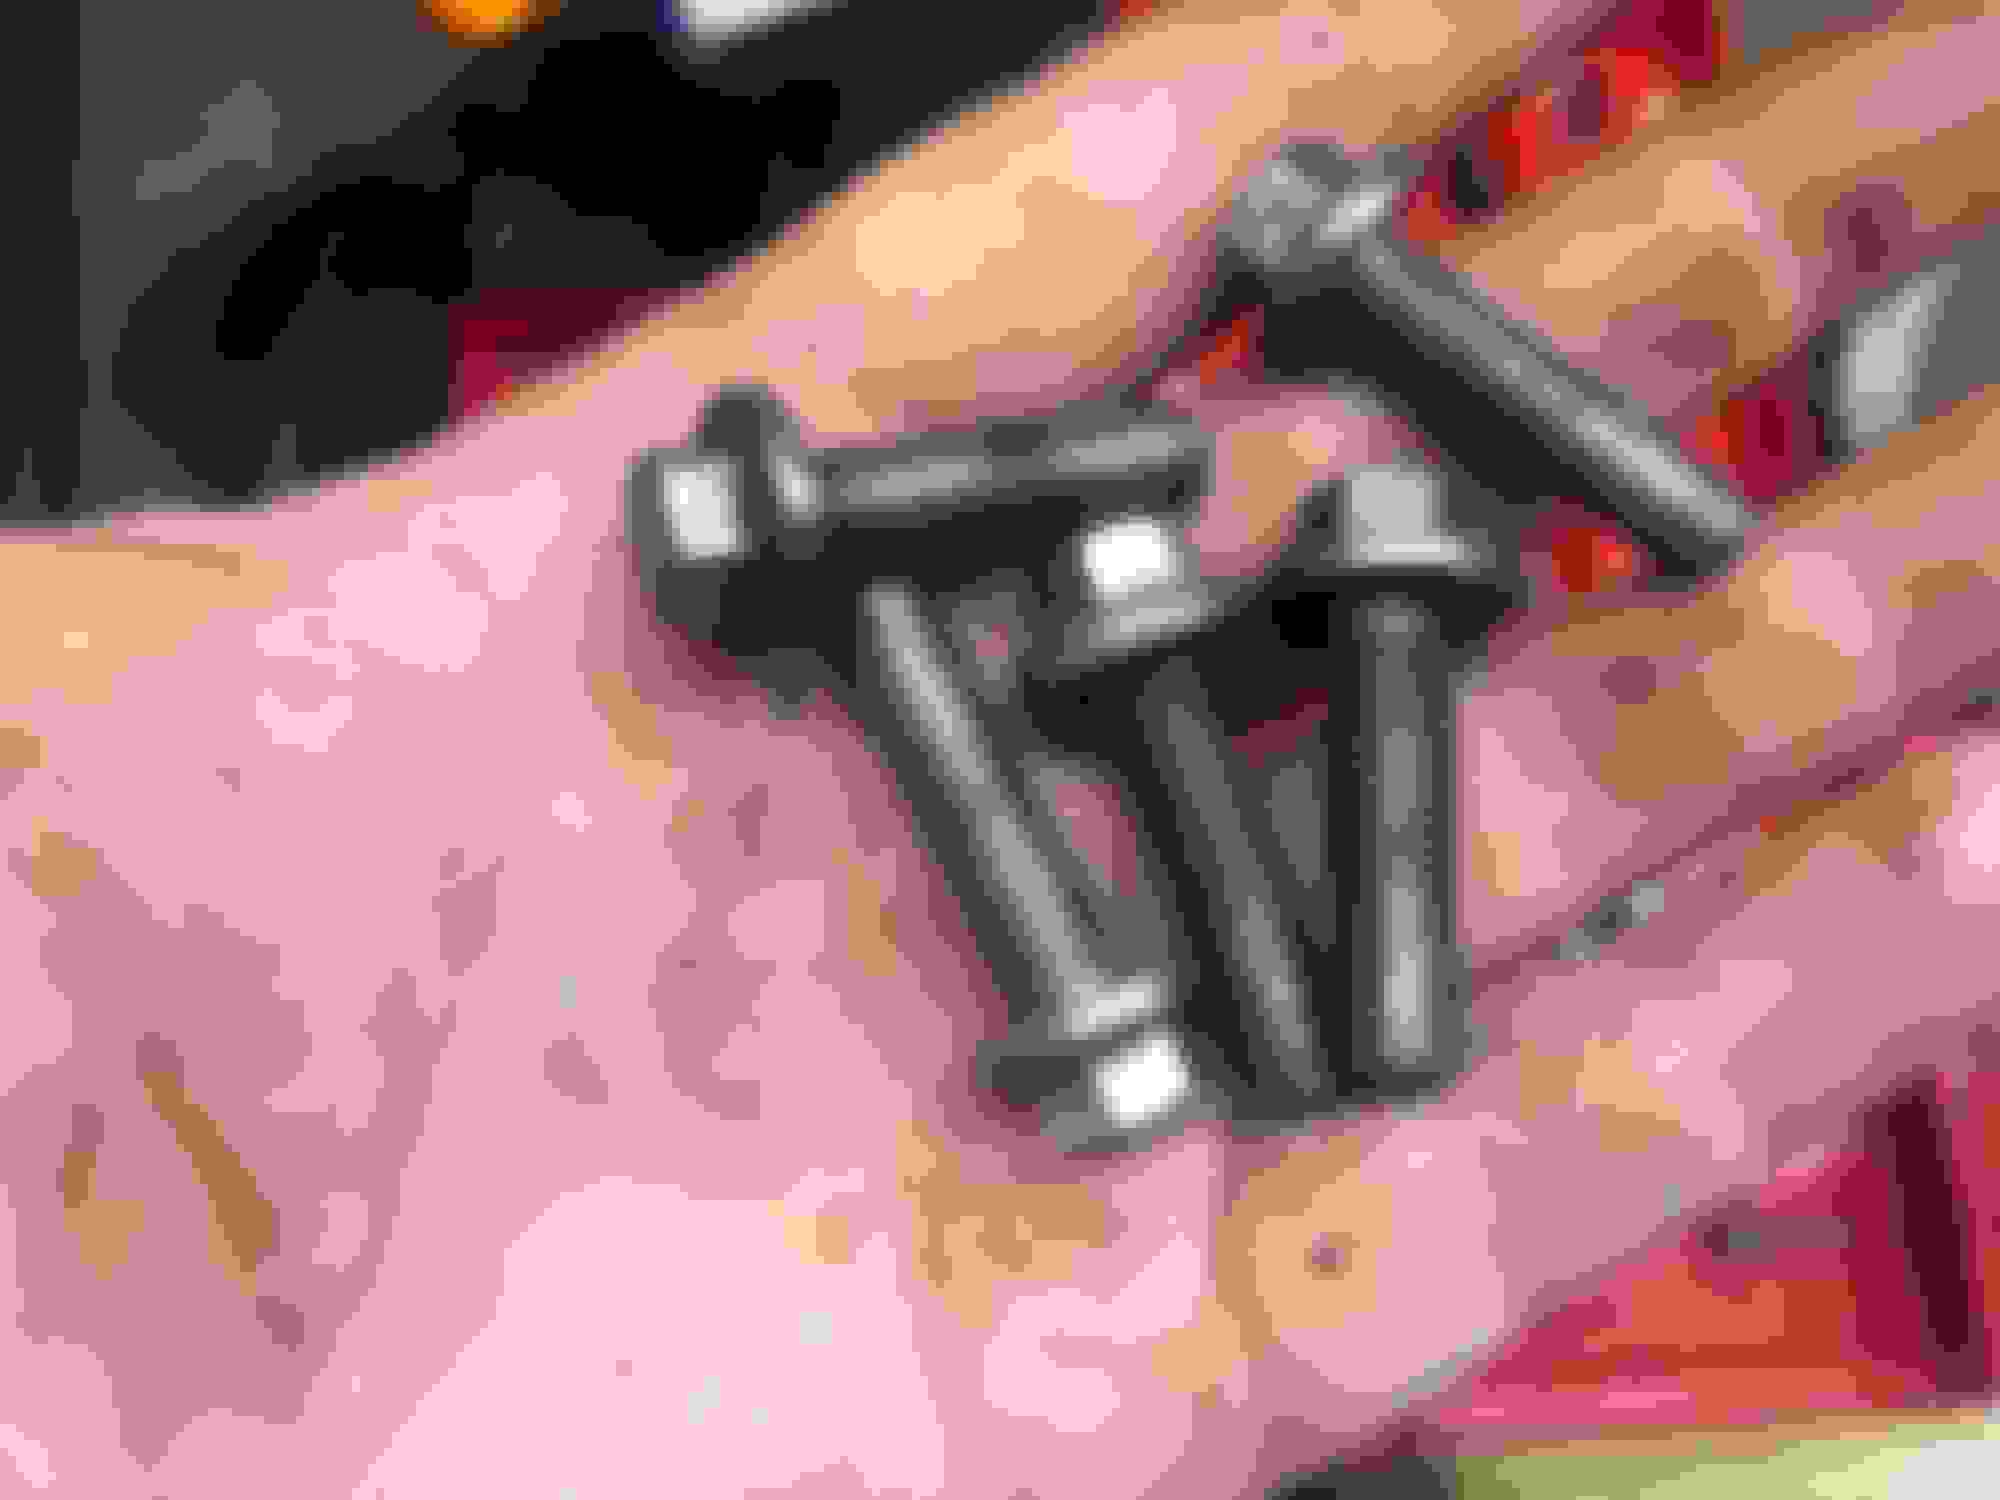
The bolts I had were rusty and still had glue on the threads so I ran them through my wheel. Now they can have my glue and my rust on them.
I don�t have the water pump, but I still want to apply even pressure on the rtv without one. I�m going to use to spare nuts I have and not loctite those bolts so I get level pressure on the timing cover.
The RTV is a little ugly on the outside, but I was going for a good seal without any extra bits that could fall into the engine. Looks like a great seal from what I can tell.
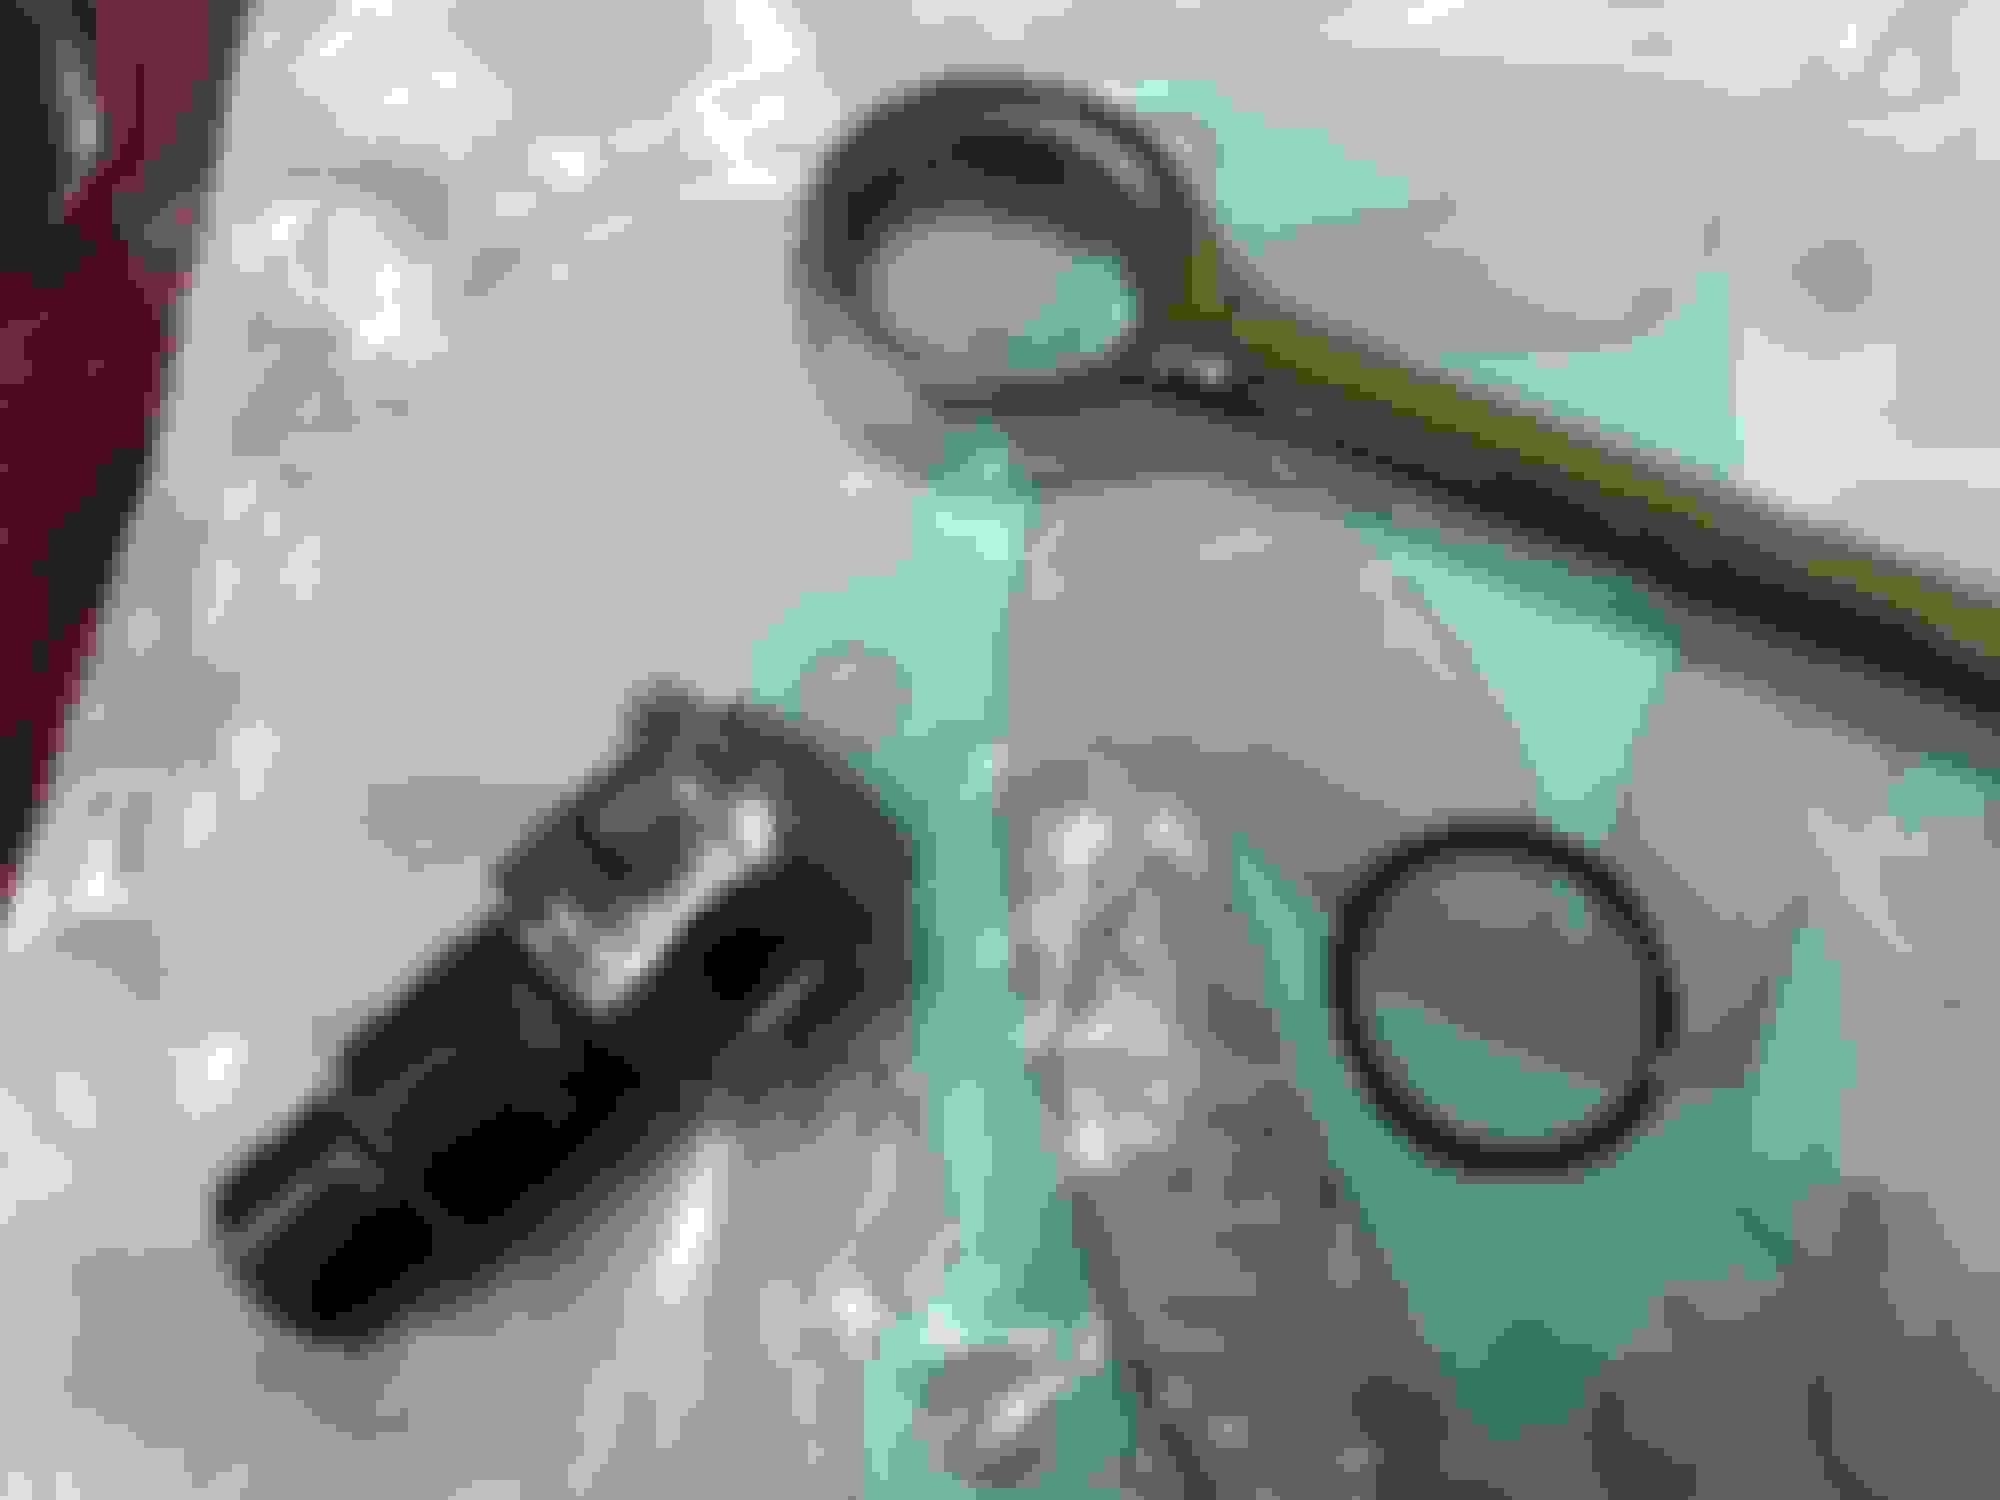
Got back from work a little late, but a part came in so progress must be made. A water pump from Lucky8; I can�t remember the price but it was a deal. Parts arrived and it was a water pump by �Britpart� and an unknown gasket.
I received a water pump gasket from Atlantic British In a delegate kit which again was trash, and arrived damaged. To Atlantic British�s credit they immediately sent a replacement, but like the timing cover gasket I don�t like the look of this one.
Let�s get this part in:
I bought a light from Harbor Freight a few weeks ago, perfect time to use it.
This is the part of the story where I discover the Discovery 2 is all aluminum except for the doors; which is awesome. - except the magnetic mounts on my light won�t latch onto anything. I�ll take that trade any day though.
The water pump bolts are rusty and still have glue on them, so I�m grounded them clean for my own glue, and my own rust.
This is the part where I almost lose my finger to the wire brush. I�m used to using this to manipulate steel to make lathe tools, not so much a brush. Just sucks your fragile little finger right in:
All ten fingers made it. Bolts are perhaps slightly less cleaner than I anticipated, on account of the finger terror and all.
I decided to use threadlocker blue and torque the bolts to 18 foot pounds. Cleaned the mating surfaces with cleaner for a good seal. I thought everything would be great - certainly setup for success:
Then my favorite wrench just fell apart. How very aggravating.
I�ll worry about that later, the show must go on. Torqued to speck and glued in.
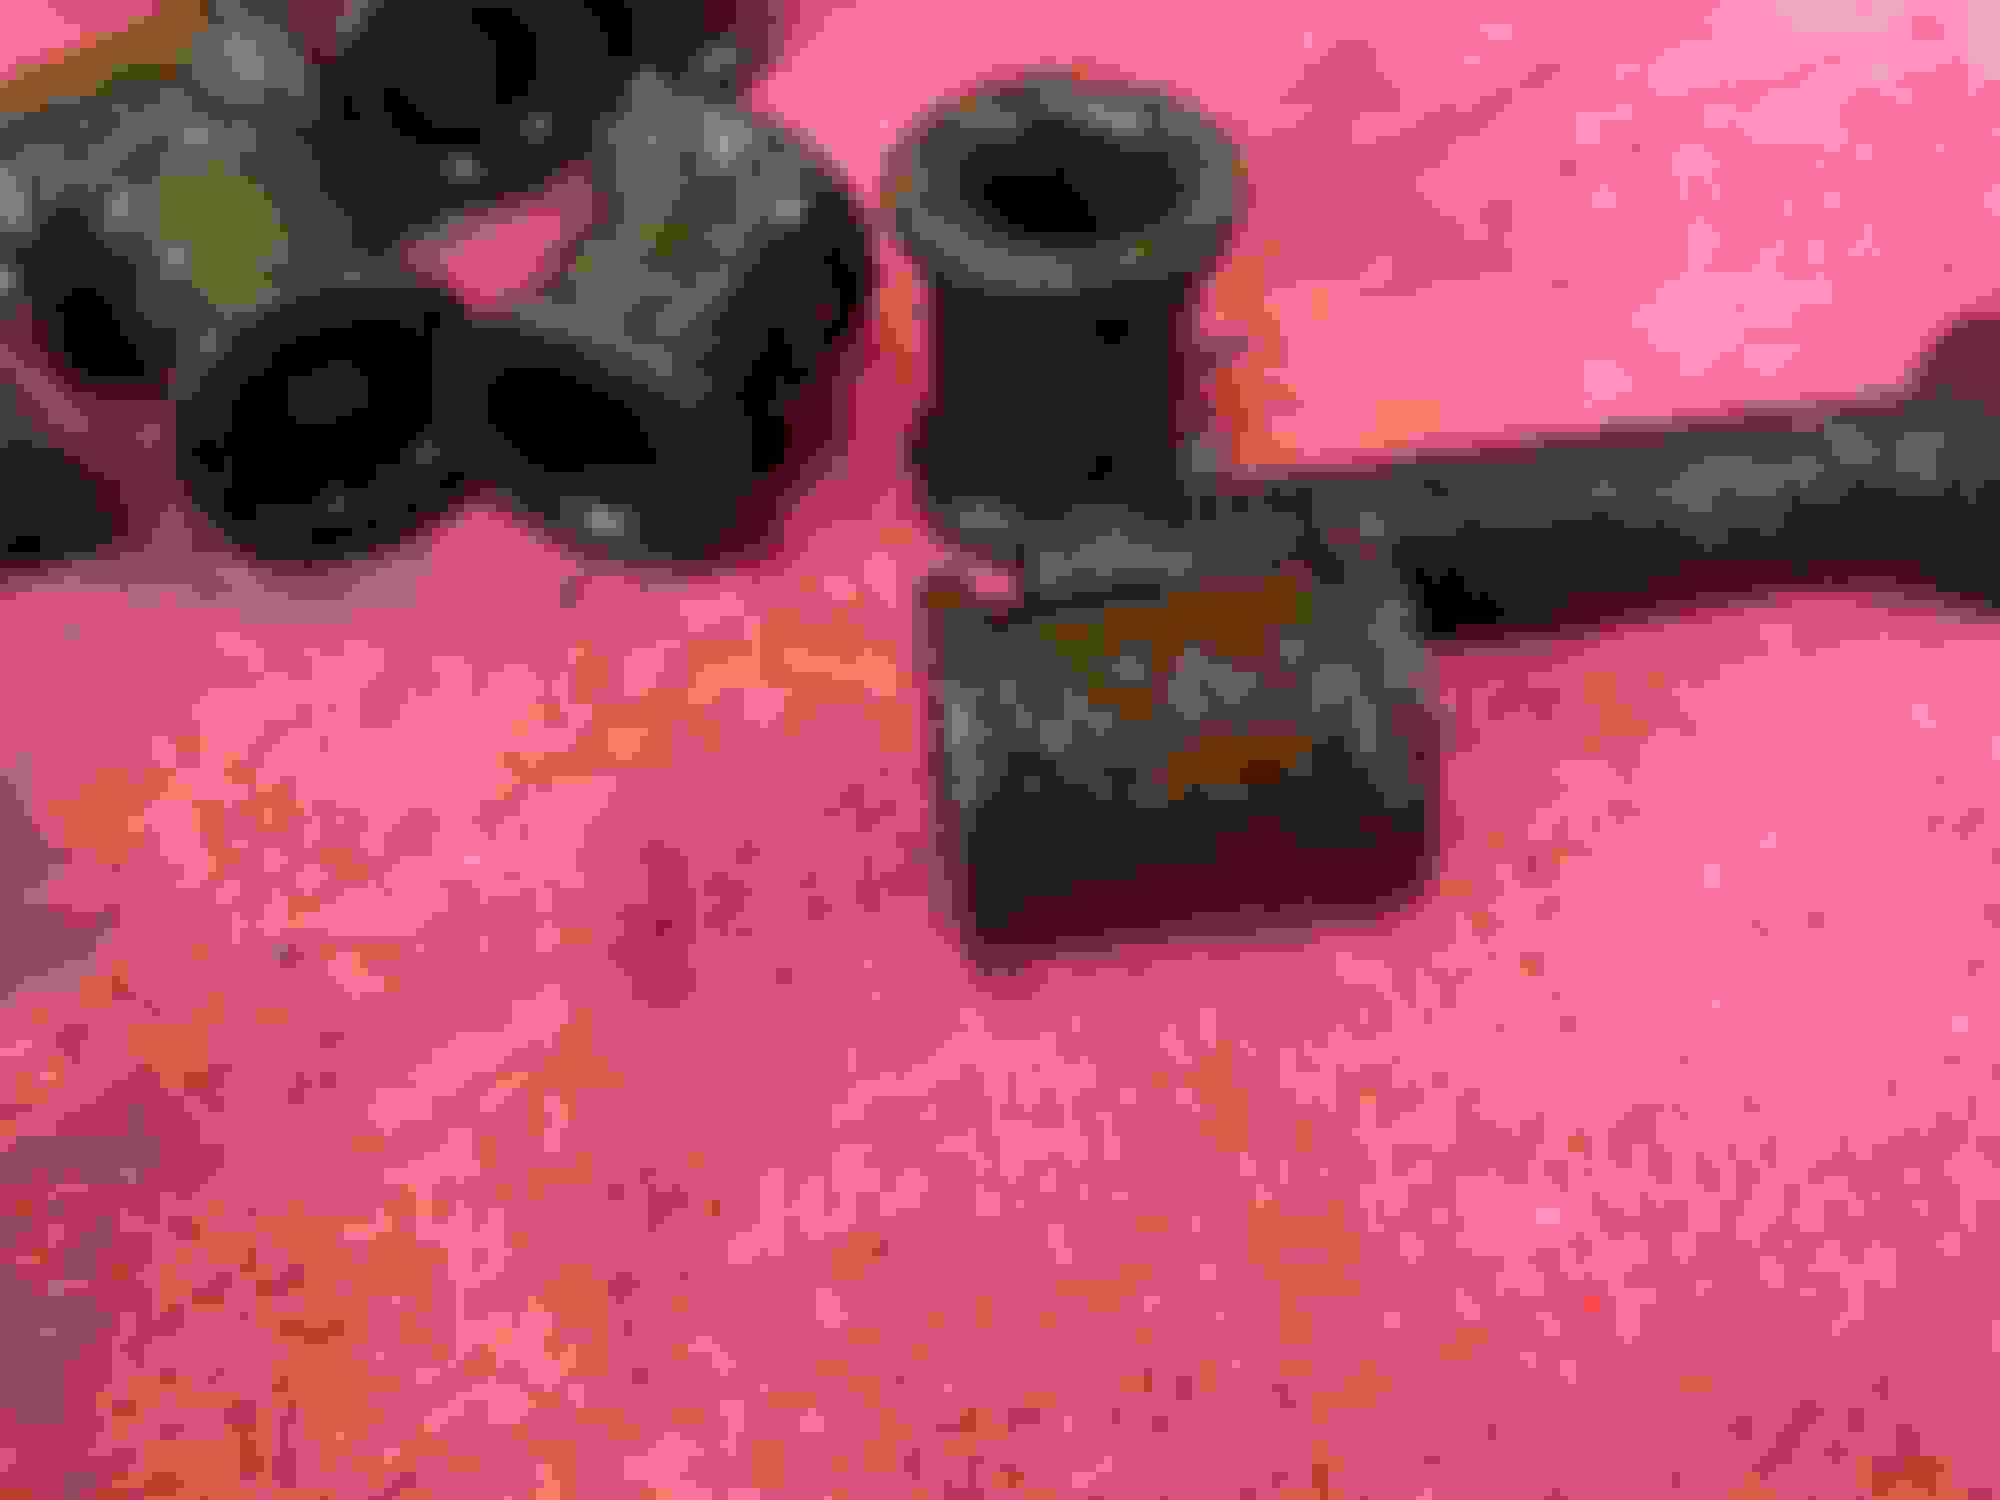
I poured out the exhaust manifold spacers from the Evapo-rust I had them in for the last four days or so. Either the Evapo-rust was too old or there was simply too much rust, just as dirty as when they went in.
I decided to take them to the grinding wheel. A little more work but took the rust off immediately. The 12 point bolts are almost rounded, I think I�m going to replace them with a similar length 6 point bolt. The spacers still have some life left in them.
I�m not looking to make the engine bay an art show, just workable. I might spray paint these down or oil burn them to slow future rust so I can take them off easily next time.
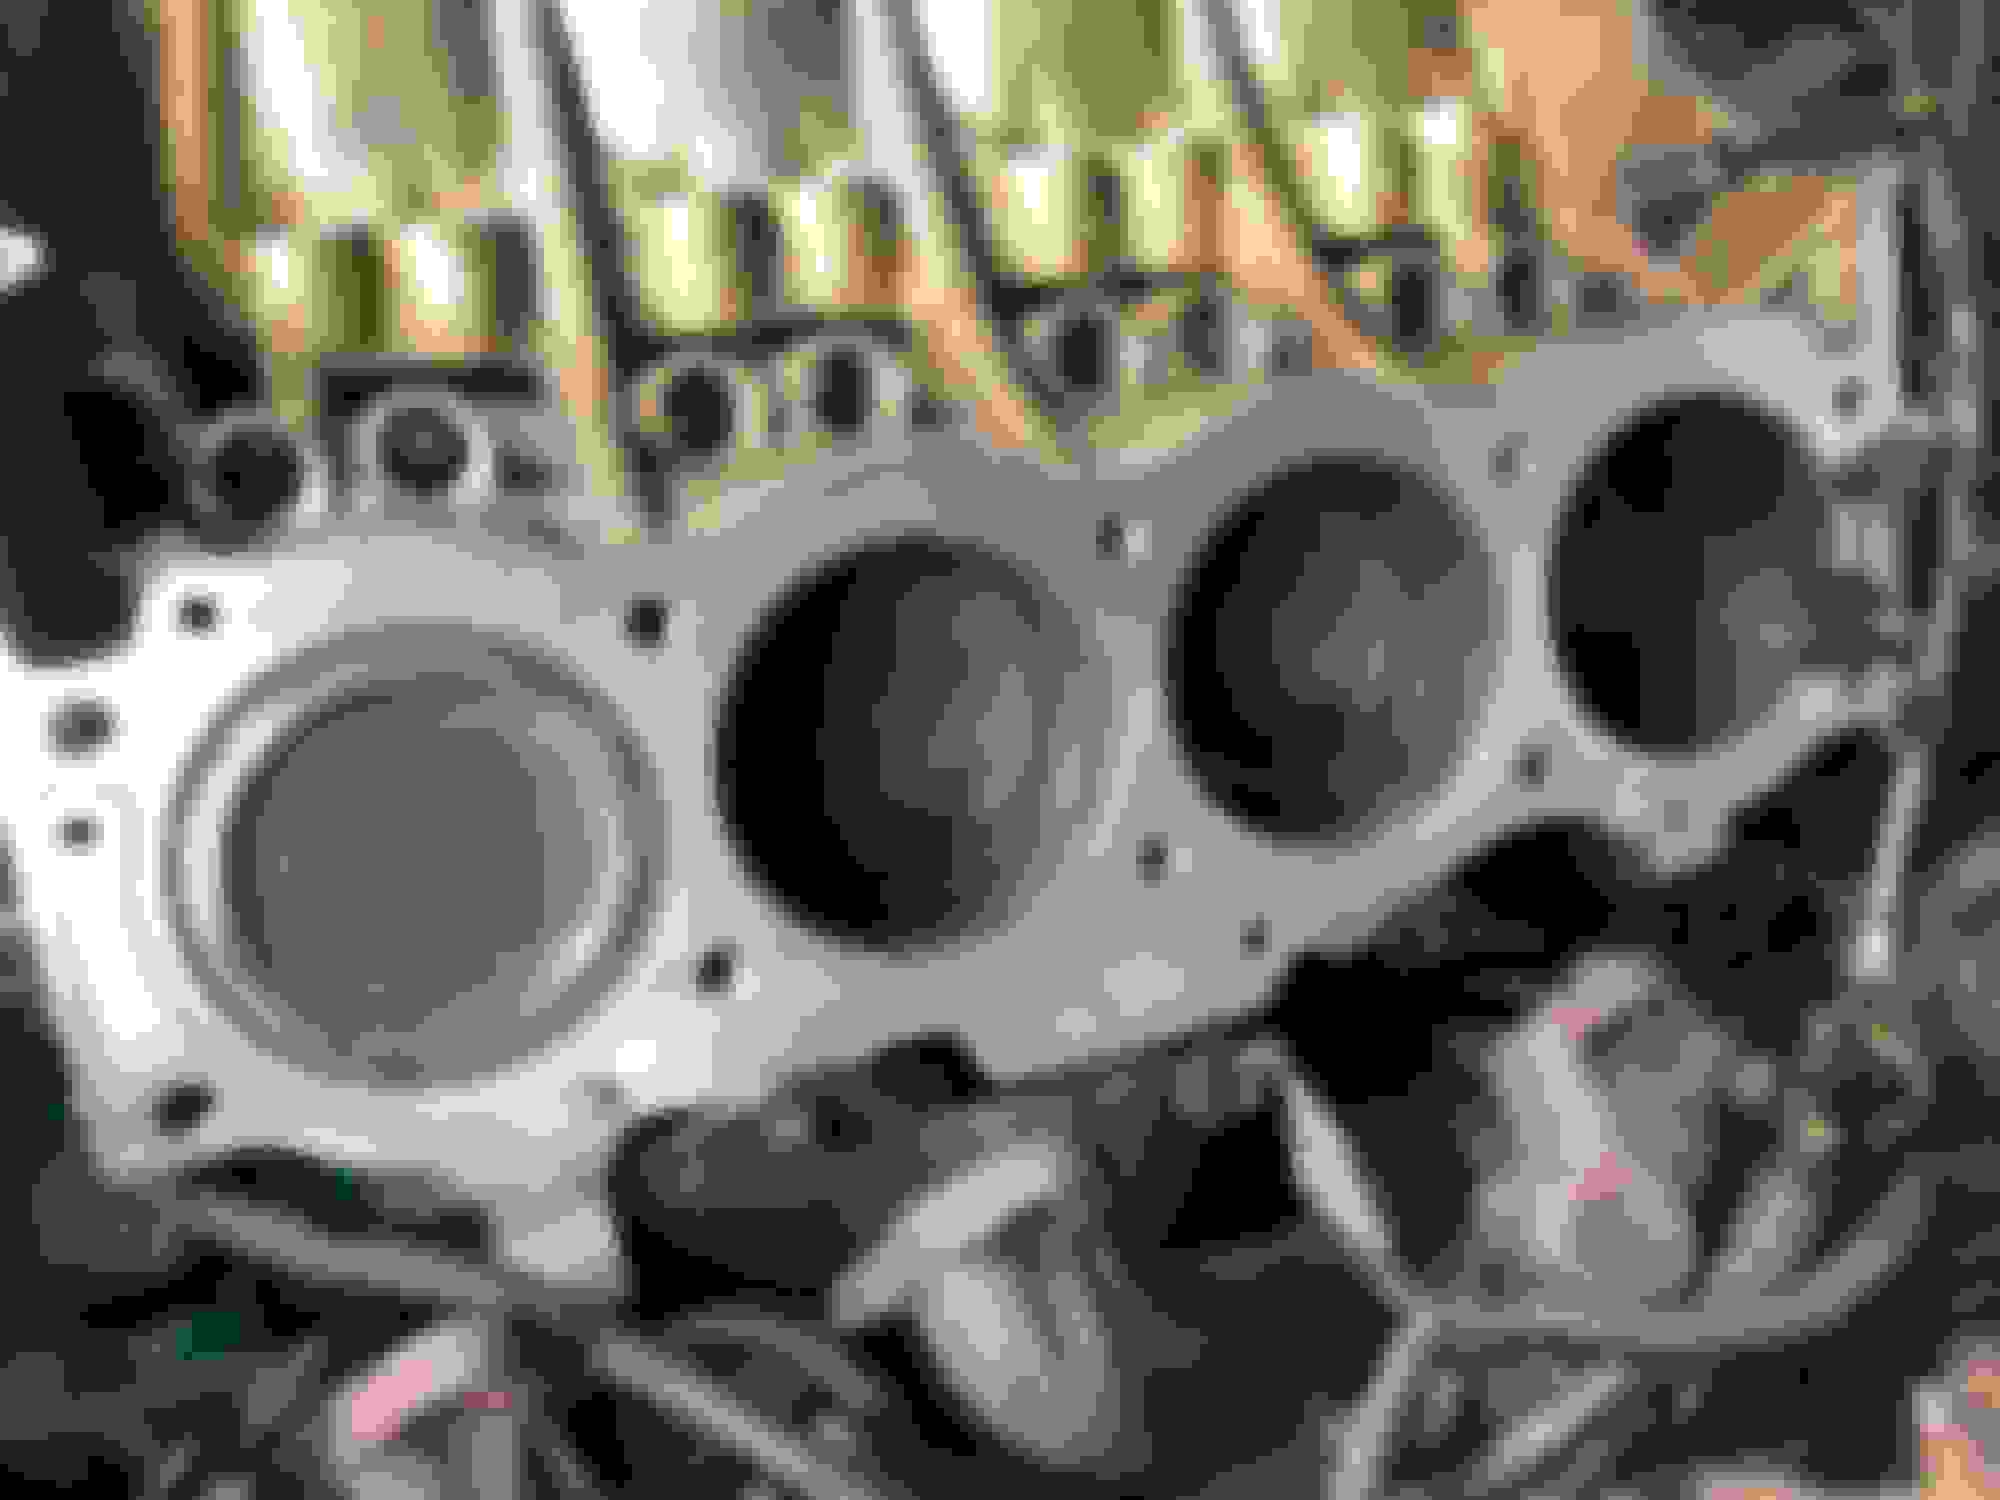
On my last few head gasket jobs I used a die grinder to zip clean the engine block surfaces of old gasket material. I wanted to take better care of this project so I bought some sanding blocks in 80 & 120 grit to sand these down without creating low spots.
I might go a higher grit, but the surface is considerably better than when it came from the factory. The factory surface finish is terrible, you can still see some of the machining marks, I just didn�t want to sand too deep.
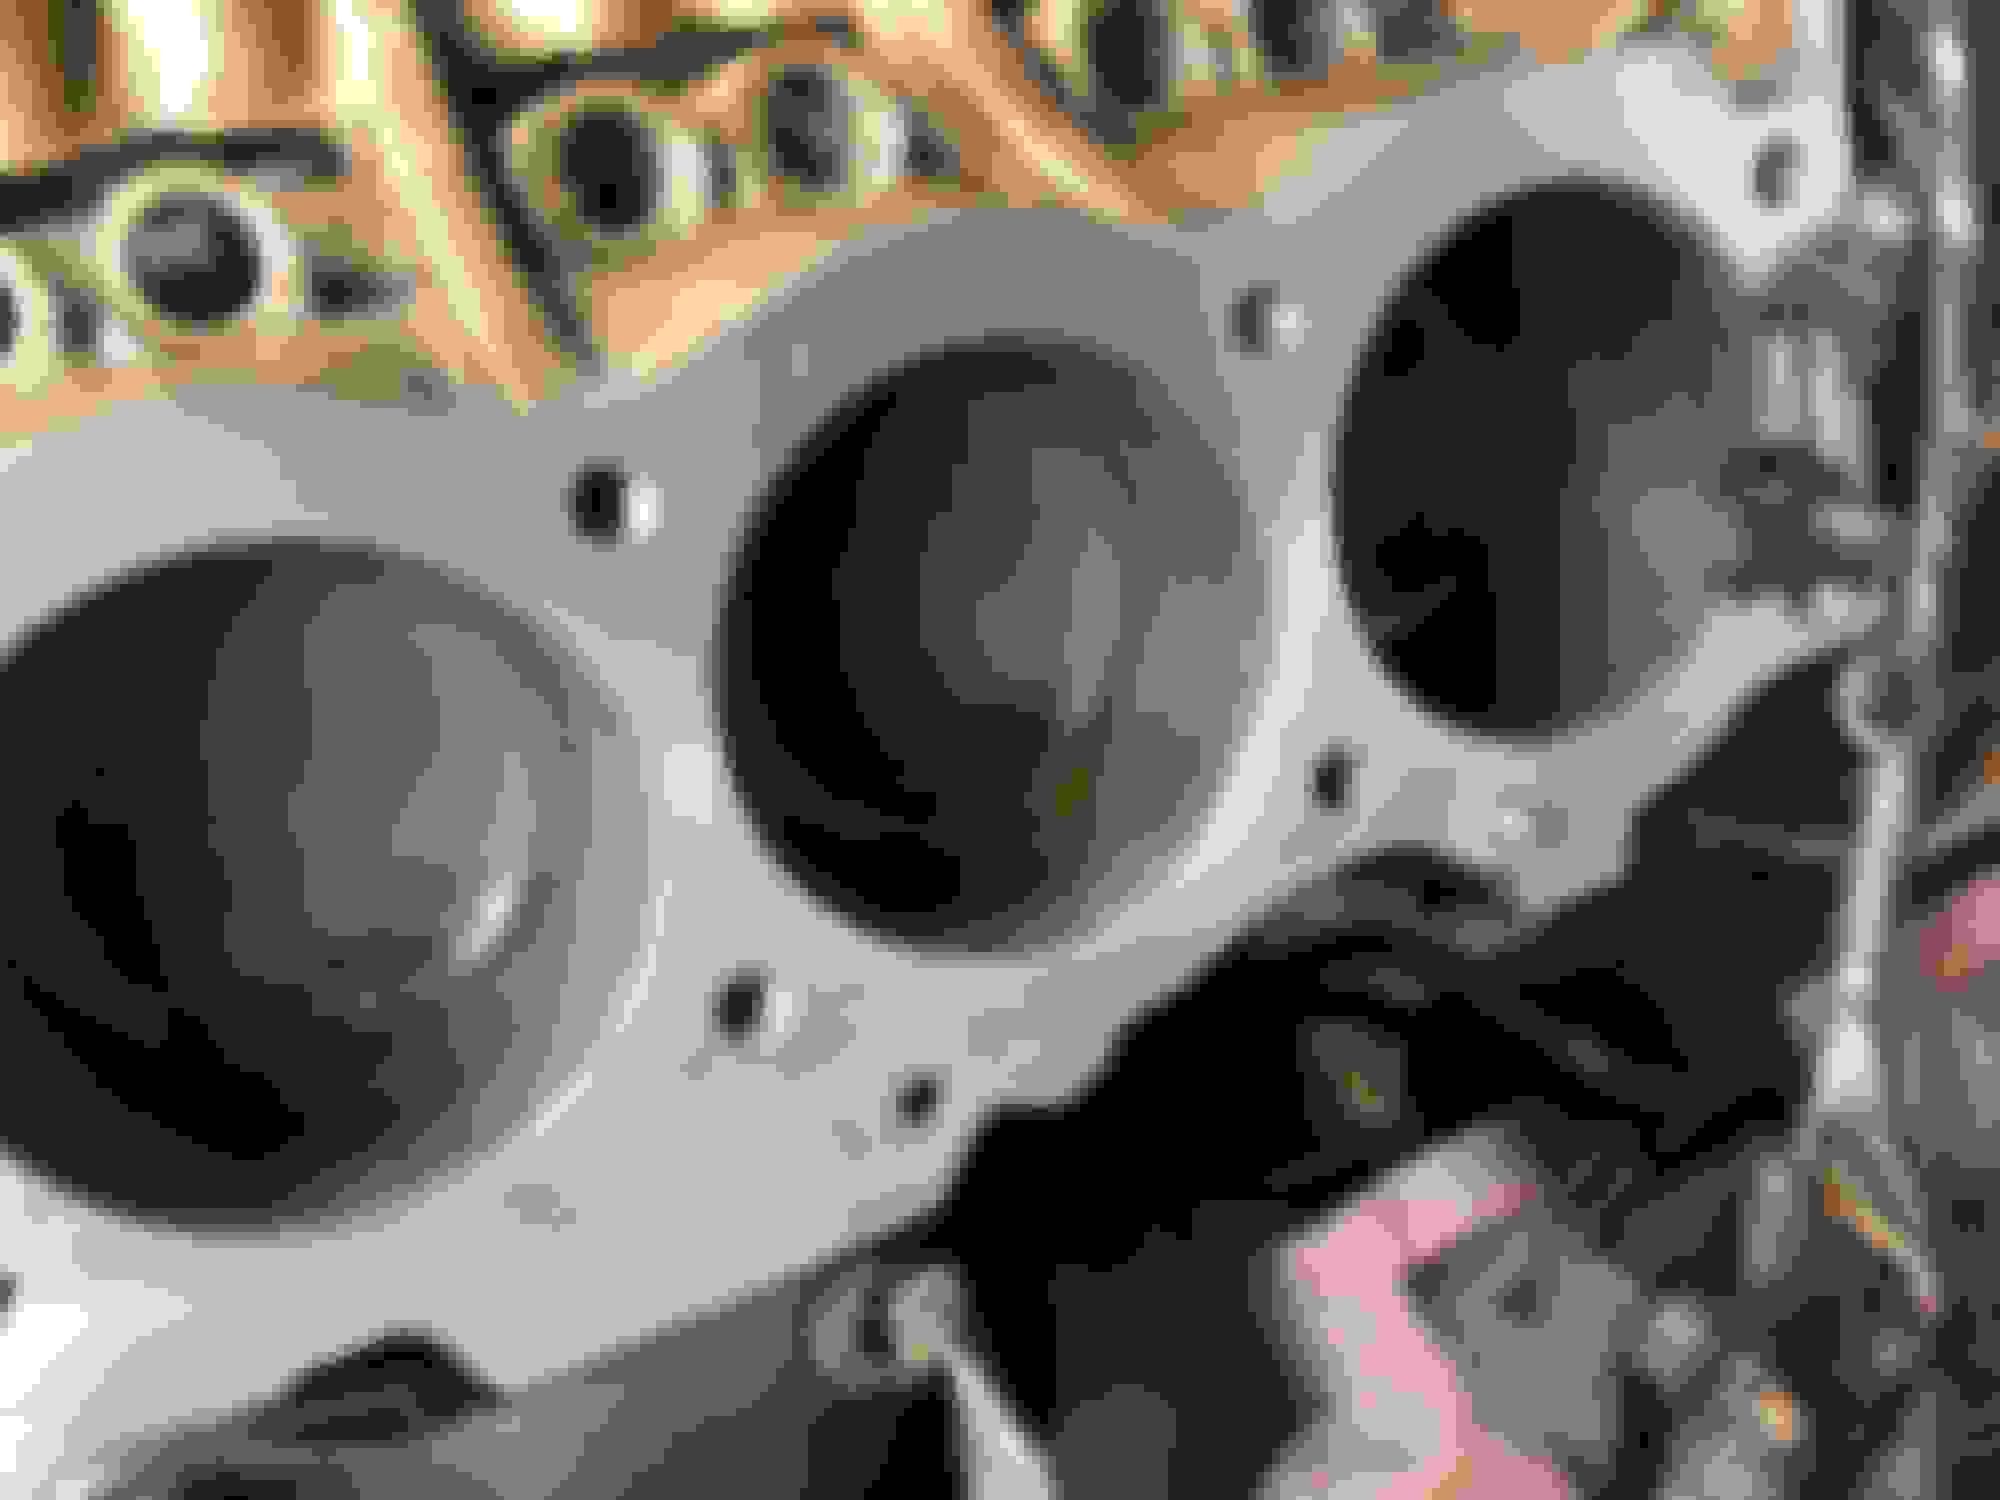
I decided the gash I made in the block top really wasn�t that bad, or in a vital spot so I left the block in the car. I�ve seen a few videos of people repairing Porsche heads and blocks with putting damage far worse with JB Weld, and it worked great. I�m going to do that here with my minor mark.
I had to attempt this three times before I could get a line to hold in the shallow gash. Once I got it Tom take grip I used a razor and then a shop rag clean it smooth. Looks great to me:
I�m going to let this dry and give the block top one more light sanding.