When you click on links to various merchants on this site and make a purchase, this can result in this site earning a commission. Affiliate programs and affiliations include, but are not limited to, the eBay Partner Network.
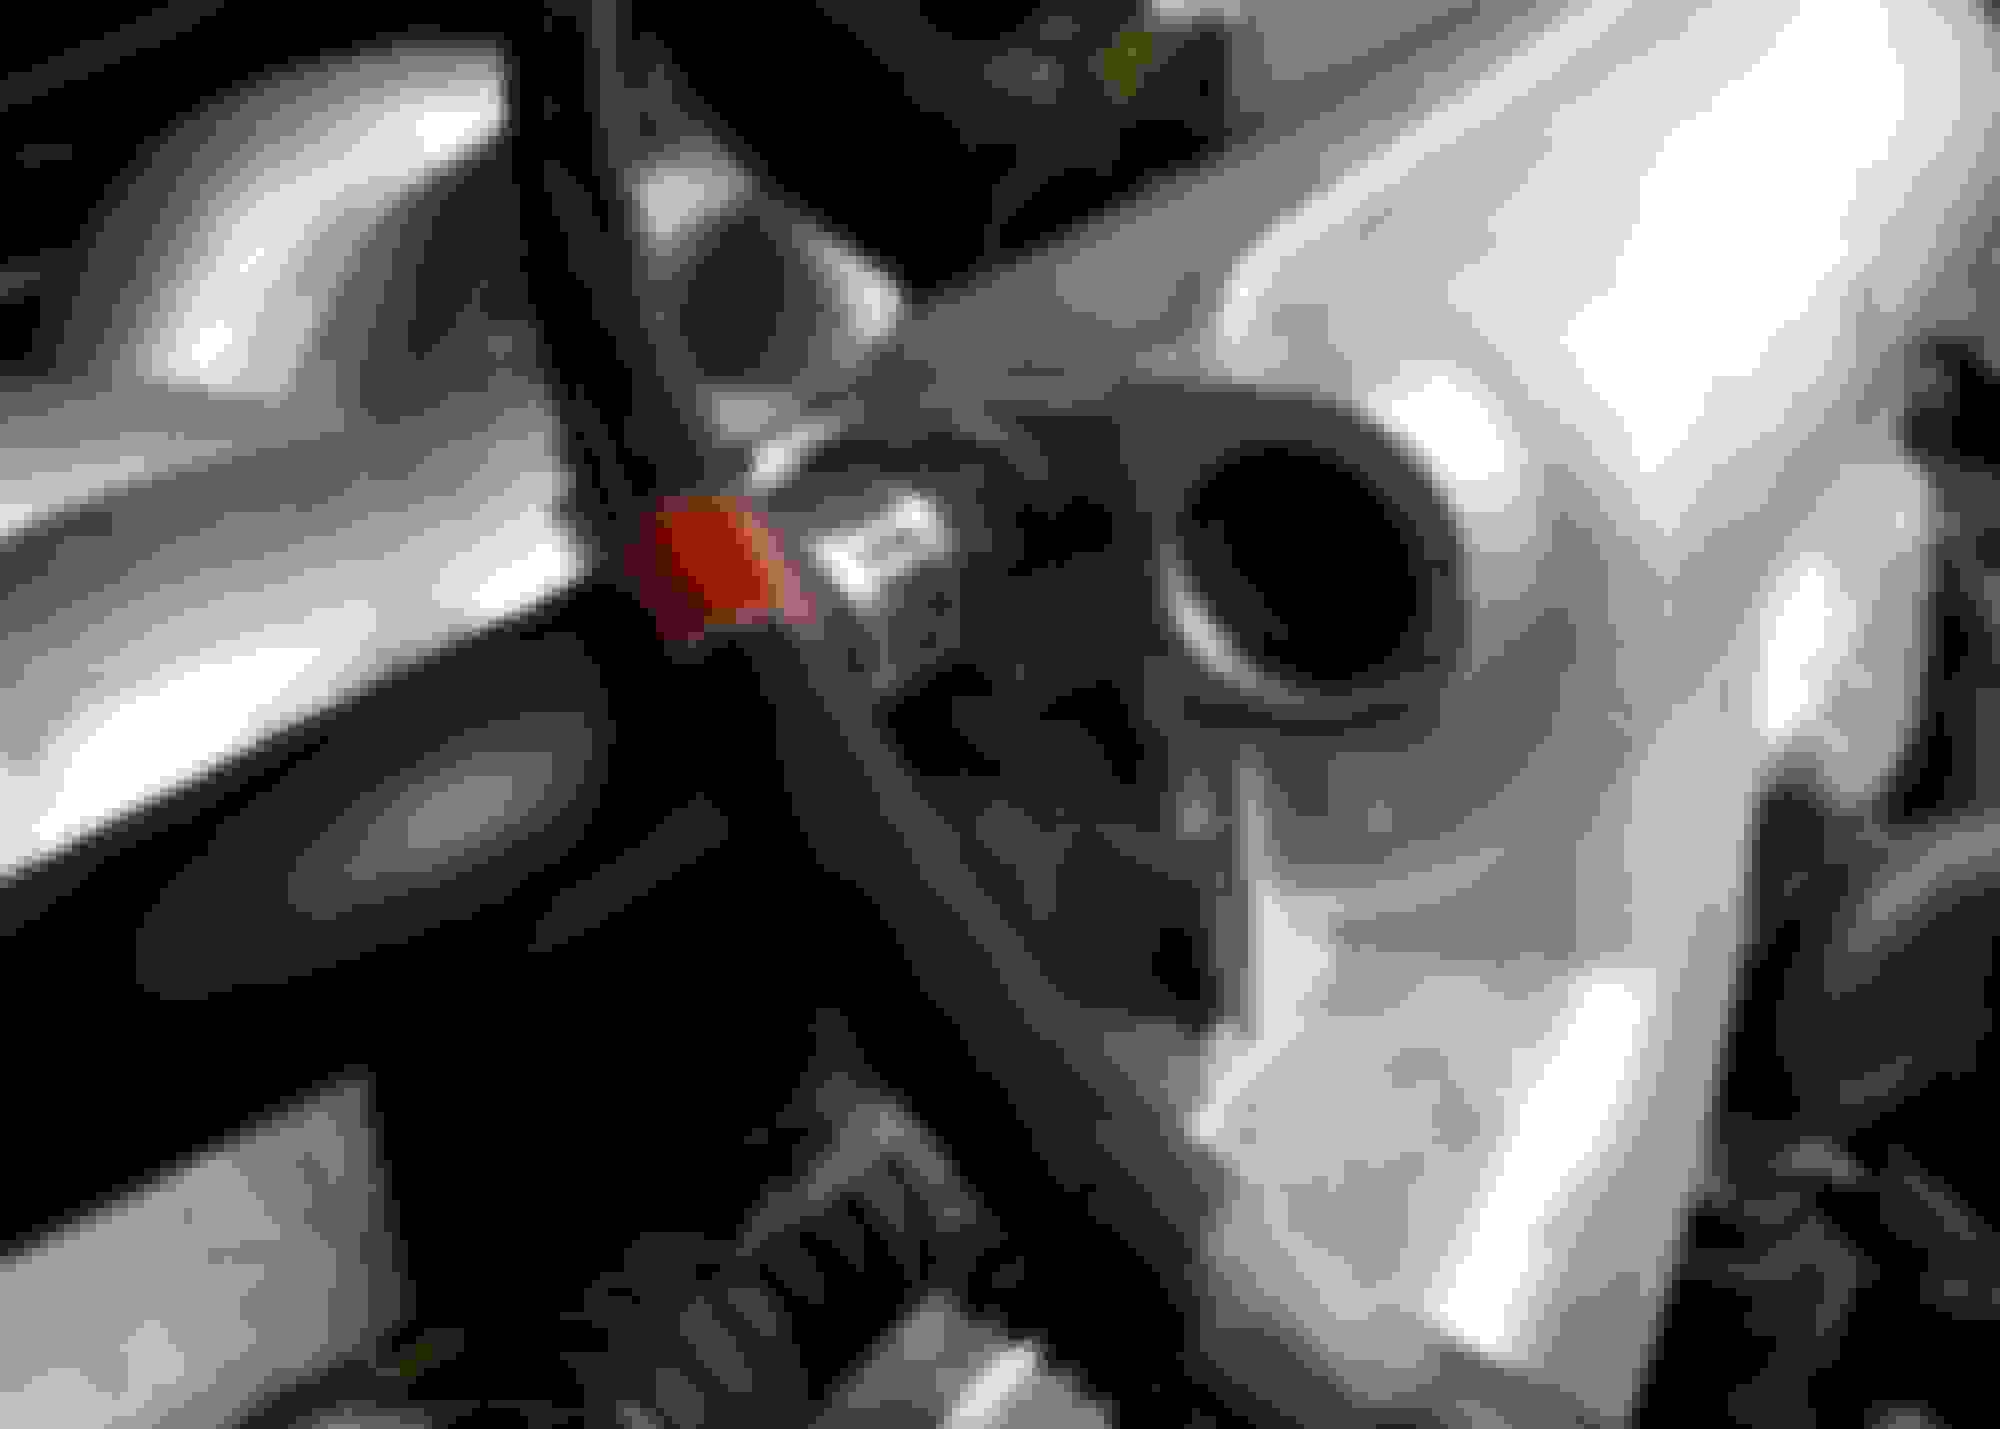
As I reassemble my disco, I am at the point where I want to pop the brake booster plastic pipe into the intake plenum and I discover that the red snap collar is not present on the fitting. (It has not been present in the five years I've driven this machine...not sure what was keeping the line in place all this while.)
Anyway, looking at photos of the fitting on ebay, it looks like it is pressed into the plenum and small metal "teeth" keep it in place (I could not find a description of the part, or anything about replacing it, in the rave manual). If this is true, getting the old one out does not sound like much fun. Does it pry out? Do you try to carefully cut through one side and then collapse it in on itself and then pull out the remnants? If the plenum was off, I could imagine a propane torch might melt out the old one, but that would be a mess.
Is there anything which can be done to salvage this one? I saw just a collar on ebay, used and looking sad for itself, for nearly as much as a new fitting. I would not be against buying the new fitting and pilfering the collar if that is a viable route.
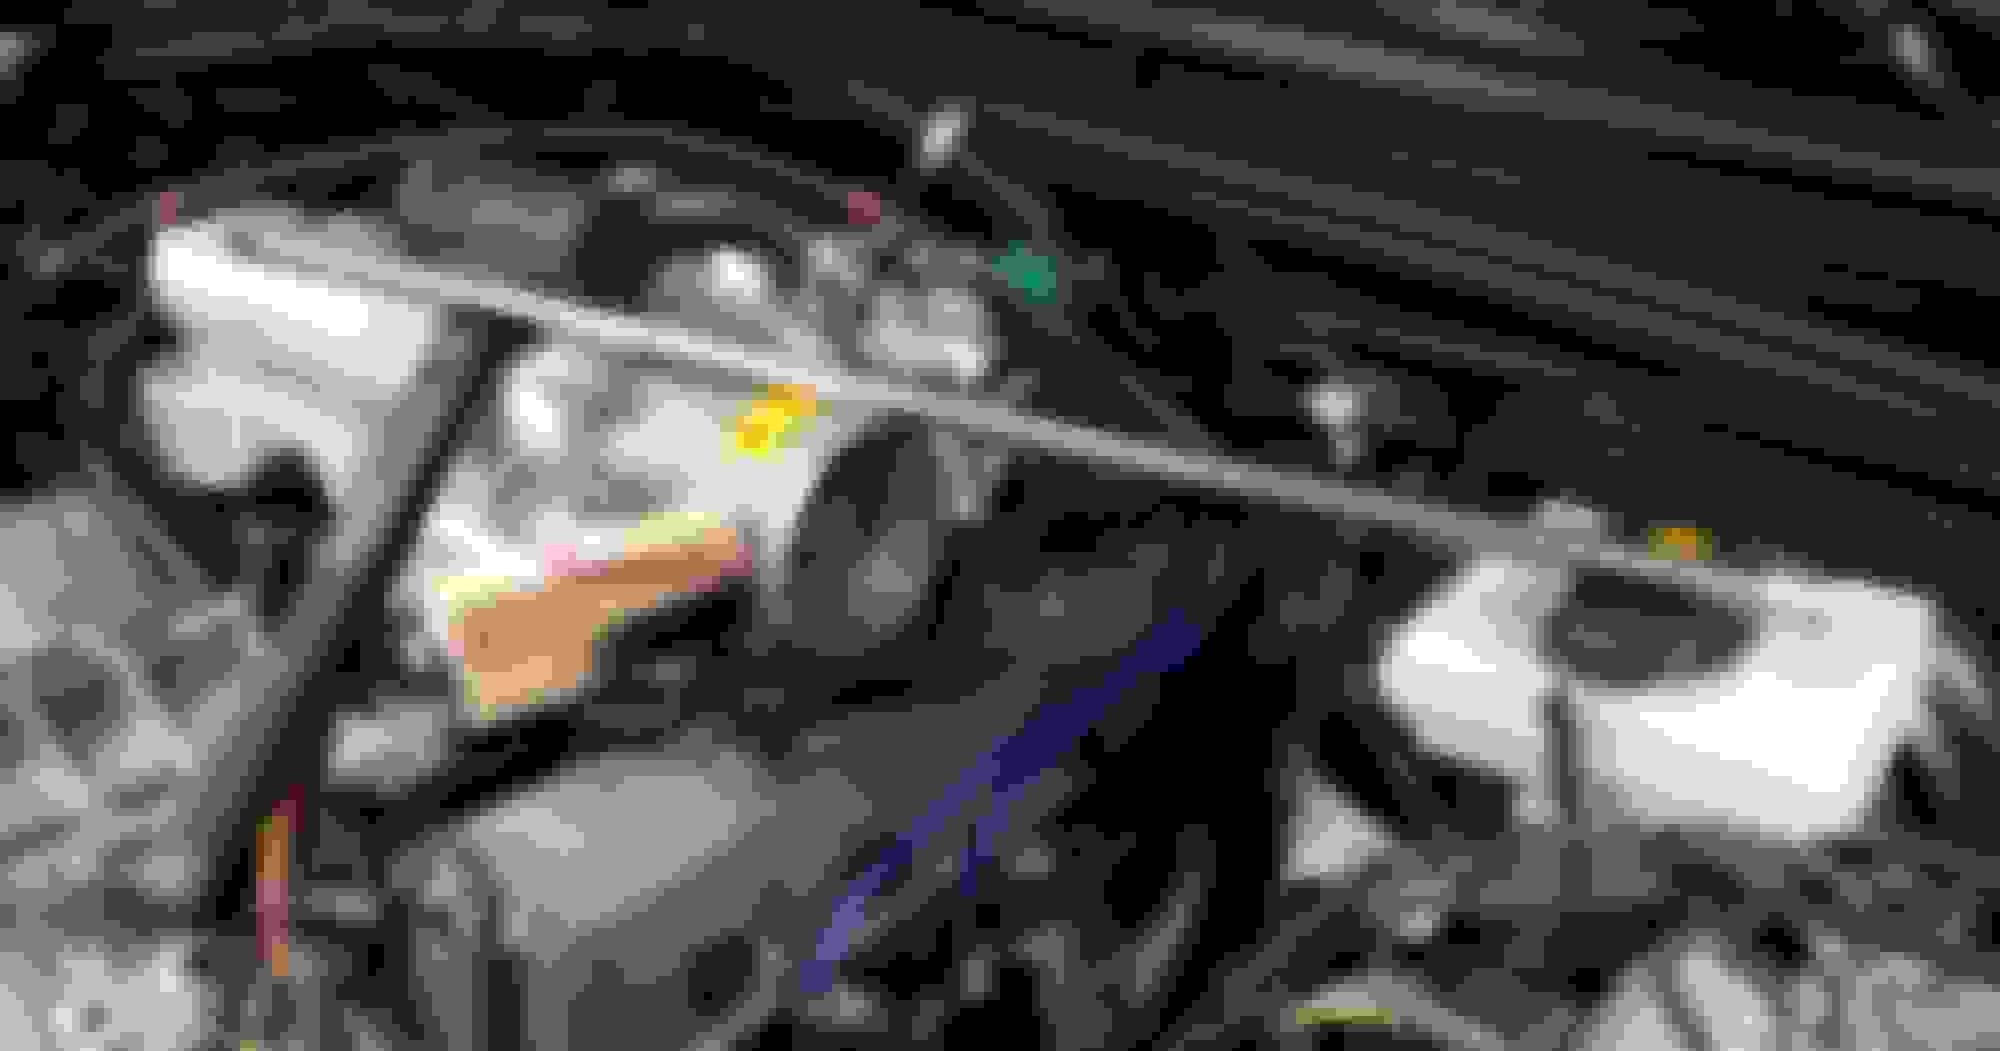
Here's a pic of the current situation is (please ignore all the loose junk, still hooking everything up!):
Mine broke this past weekend when I went to clean my injectors. There's a piece of either plastic or silicone vacuum hose in it that I pulled with some needle nose pliers. Currently mine is being held in place via electrical tape being wrapped around the vacuum line to fill the gap until I get new hose.
Also, when I pulled the plenum off I noticed there were two bolts and a gasket that hold the front of it to the back but you'll have to remove the entire intake manifold to do so; looked like 13mm bolts but once they're off you should be able to remove that and get it out fairly easily.
You can knock the fitting out from the inside using a variety of extensions and a 3/8 drive 10mm socket. That's how I replaced mine. Just make sure not to drop the socket or any extensions inside the plenum otherwise you'll be in a good time.
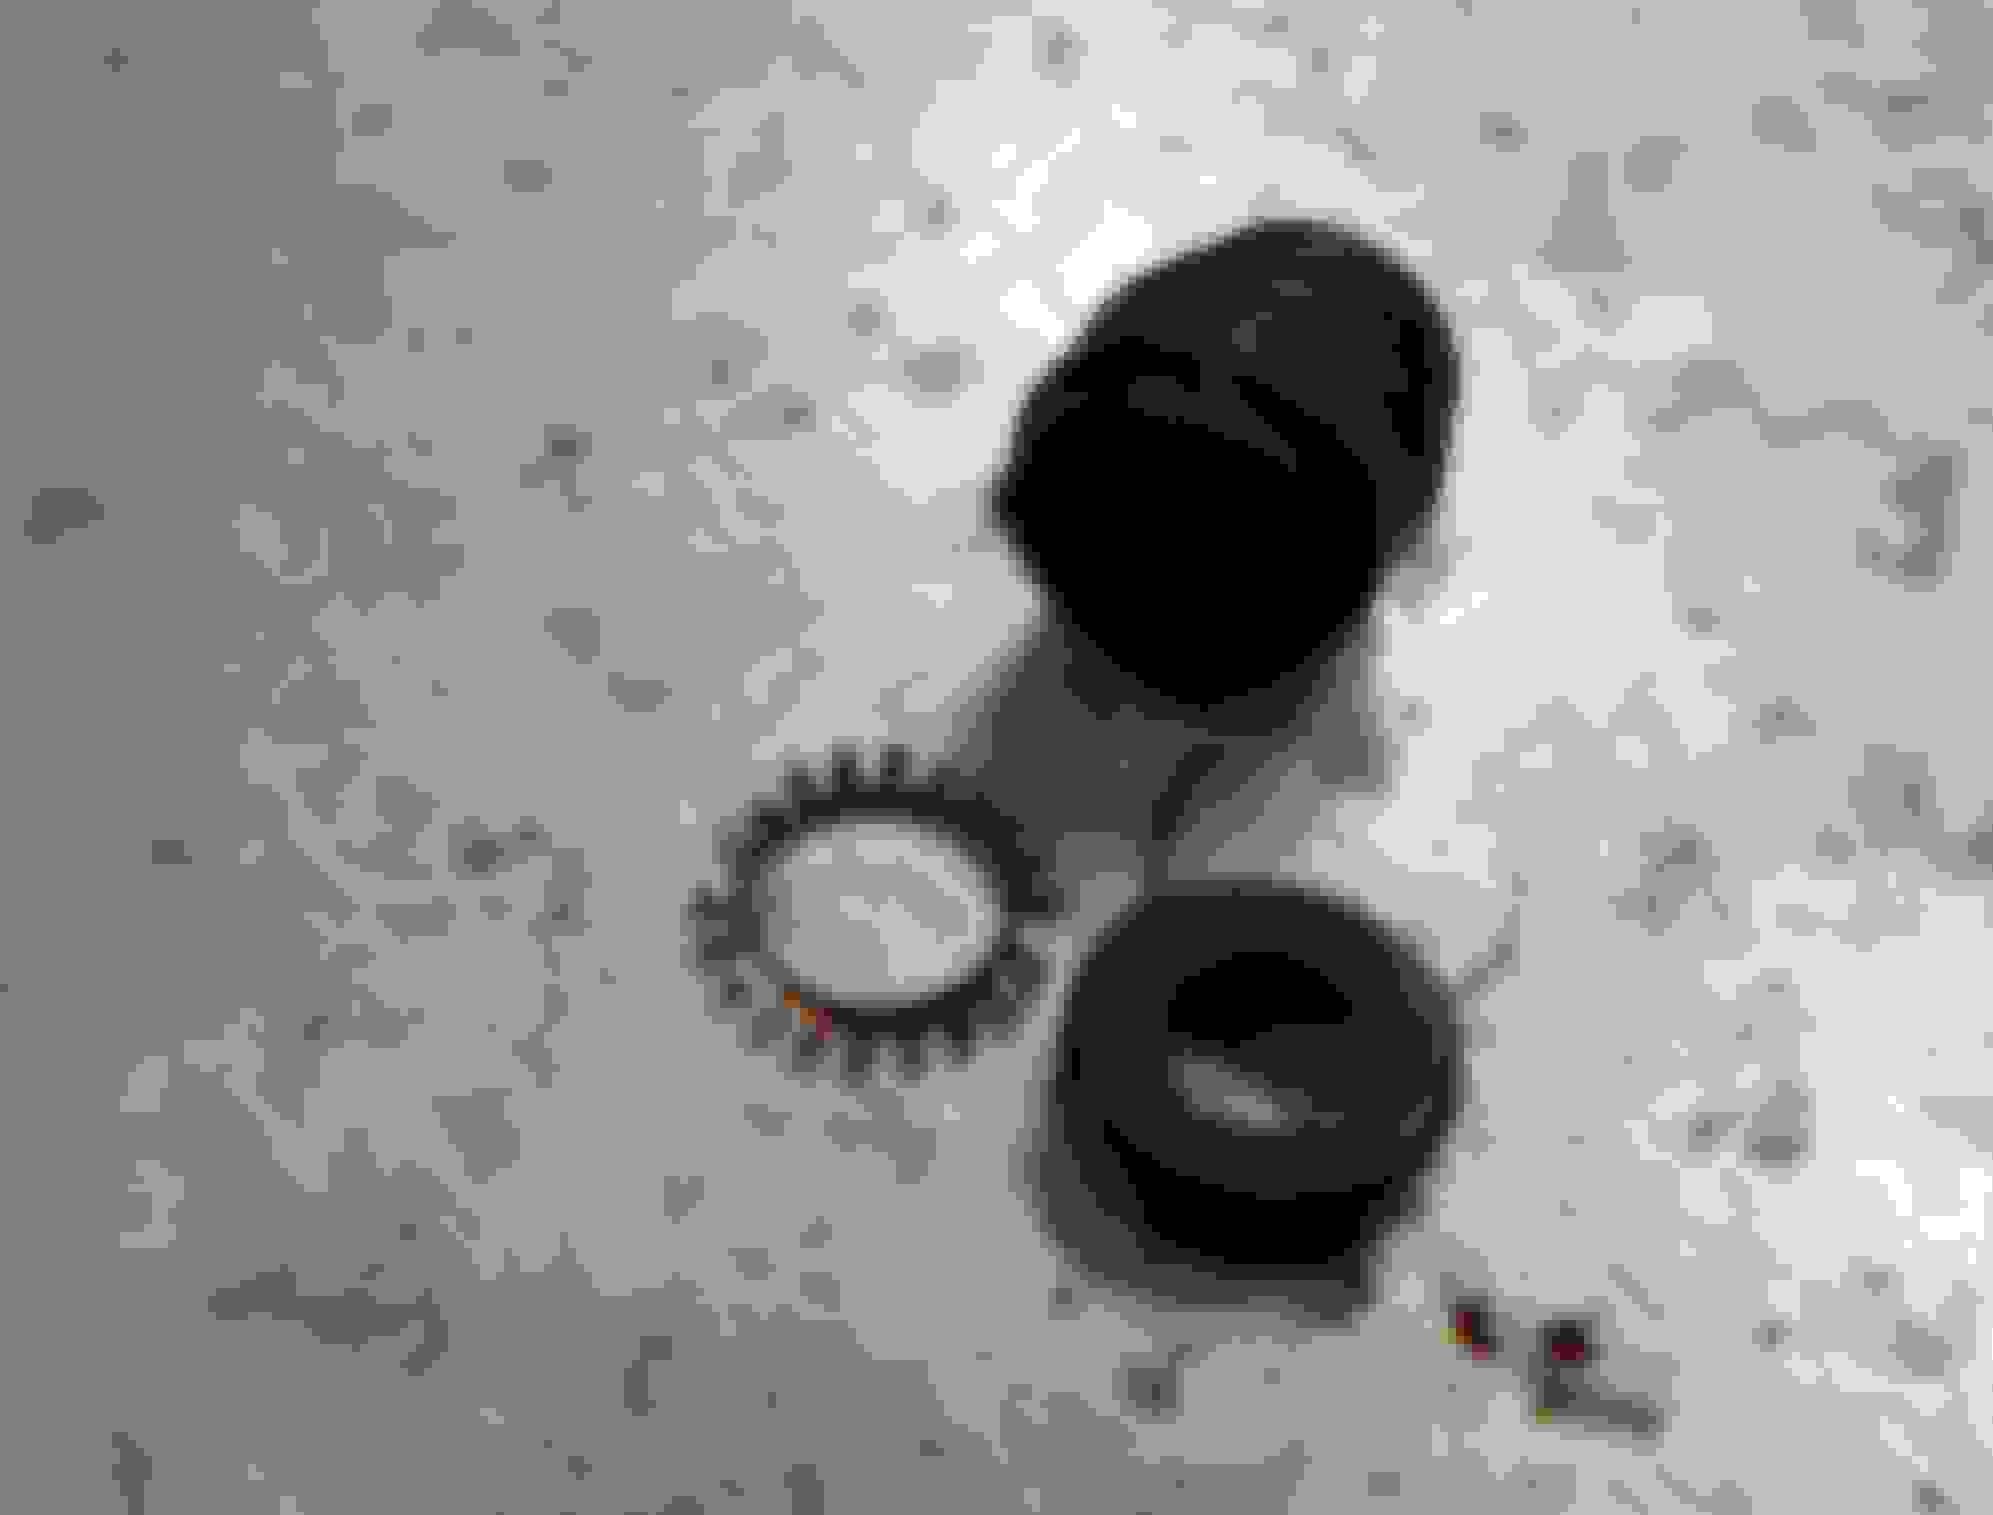
I was able to knock out the remains of the old fitting using a long 3/8 extension and a small dead blow hammer. Maybe six not-all-that-hard blows and it came out. New should be here next week. It will probably take that long to get the upper coil bolts in with the secondary air manifold complicating things. Turned the air blue trying tonight. I think my next step will be putting a point on the bolts, a trick that works surprisingly often in hard-to-align situations. Normally with larger hardware, but I'm not proud.
Here's some shots of the extraction. I propped open the throttle plate and was careful to not rest the extension against it when hitting the fitting. The square end of the 3/8 drive was more than large enough while still being smaller than the hole in the plenum. Some plywood scraps to prop open the throttle and the long extension and dead-blow hammer.
New part just pressed in using the included length of sacrificial pipe and a piece of hardwood, all better now. Still don't know how I had power brakes in the years I drove it with the broken fitting. Then again I'm used to elderly cars with absolutely rock-hard pedals without any "feel" so maybe that was part of it.
 04-17-2024, 05:34 AM