
Roof Rack Build Attempt


#23
 01-02-2013, 07:04 PM

Mudding
Join Date: Jul 2010
Location: In the Disco!
Posts: 129
Likes: 0
Received 0 Likes
on
0 Posts

#25
01-02-2013, 08:25 PM

Thanks for those mounting pictures. One question. How do you draw the bottom portion of the clamp tight; like pull it up against the bottom of the rain gutter? Is it necessary to have it do that? I ask because I see a lot of them with a vertical screw as well as ones like yours. Ones like yours would definitely be way easier to make.
As for today, I got the rear risers put in. I also got the floor supports notched and put in. I can stand on each one individually and it flexes maybe 1/4" so I think it will work out really well once I tie them all together with 3/4" conduit.
I am however quickly discovery why noone is just making these in their garages. I was going to try to fix the rear mounting problem, but my bender cannot bend a small enough radius to make it work, so there it shall stay. My front mount is above the door as well. I'm going to roll with it. Some of the angles are a little "wonky" but I guess that's to be expected from a guy in a garage with a tube bender. I also made the front stilts a bit too short and had to remove the roof rails. I'll buy some gromments to fill the holes. I was upset at first, but I think in the long run I'll be happier with the lower profile.
All in all, running into some troubles because I'm not following the measure twice; cut once rule as well as I should. I'm thinking it'll come out not looking bought, but it won't look like I welded together an angle iron box either. We'll see. Hopefully tomorrow it will be done except for painting it.
Last edited by BrandonS; 01-02-2013 at 08:38 PM.
#26
01-02-2013, 08:57 PM

Winching
#27
01-02-2013, 09:22 PM
Mudding
Join Date: Jul 2010
Location: In the Disco!
Posts: 129
Likes: 0
Received 0 Likes
on
0 Posts
Hey Guys!
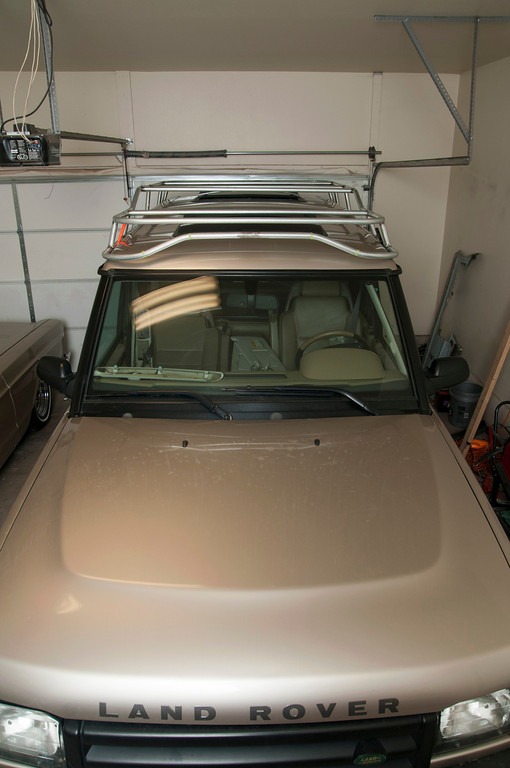
I did not build my rack, it was on the vehicle when I bought it three years ago. This Canadian guy flew down to Orlando to buy it and then drove it back... I snatched it out from under your feet!!!
The rack is a Safety Devices rack. I think I read somewhere that they are not making them anymore but I can't say for certain.
The guy I bought it from had everything but the front bush guard and tail light guards on it. Snorkel, rock sliders, diff guards, roof rack, rear ladder, light, CB, and more where all on it at the time of the sale. The previous owner had the rack and ladder coated in Line-X and also put in the chicken coop flooring. Honestly, that chicken coop flooring is the cat's ****! light weight, strong, weather resistant.
Brandon - that vertical screw on the brackets prevents a lot of sliding of the rack. Just having the two horizontal ones on each side of the post will still allow for some movement over time. Mine really doesn't move, I have only slide it forward once and retightened everything. The one upgrade I am going to do is to spend the extra money on stainless hardware(bolts) to avoid the rust.
I will take apart one of the brackets tomorrow and post more photos so you can have a better look at how it functions.
You are doing a great job on your rack and like a lot of projects, we always figure out better ways to do things, or things that should have been as we go, it's just the way things roll, I know it all too well!!!
#28
01-02-2013, 10:22 PM
Thanks Guru. After seeing the one picture of yours I was thinking I could do something similar to this. Leave the gutter supports as they are and then weld a nut on the outside of them. Use another L bracket for the outside section and drill a hole through it to match the nuts. Then just thread the bolts into the nuts to tighten it. If the bolts are going in closer to the bottom that's the portion that it will "clamp"

Last edited by BrandonS; 01-02-2013 at 10:25 PM.
#29
01-02-2013, 10:53 PM
Mudding
Join Date: Jul 2010
Location: In the Disco!
Posts: 129
Likes: 0
Received 0 Likes
on
0 Posts
Brandon - Your idea looks like it would work. Grab a piece of scrap tubing, fabricate your bracket to it, attach it to the gutter and see how much movement you get once it's tightened. Try and slide it back and forth and lift up on it, do a little R&D before your weld it to you rack.
Oh and it's pretty obvious but just in case you have too much on your mind while tightening the bracket on the gutter mount, remember to use short bolts so you don't do the same thing as with the lights... drive a bolt into the roof!
Again, I will take apart my gutter bracket tomorrow for you and get you some different views / angles of it. It won't be until later in the afternoon though.