When you click on links to various merchants on this site and make a purchase, this can result in this site earning a commission. Affiliate programs and affiliations include, but are not limited to, the eBay Partner Network.
Hopefully I'm in good shape. I swapped ECM, BCU, SLABS ECU, Cluster, Ignition, Clockspring, Cruise ECU, EAT-ECU, Airbag DCU, Radio, Engine, Trans & T/C, Driver's door and Tailgate. I should probably just buy a Nanocom before I even try and start it.
If you swapped the ecu/BCu from the same vehicle, it will/should start up. Other modules are just options, nothing really “coded”
When youre doing all this did you need to swap the harness behind the dash as well or just the engine harness? If you already answered this im sorry, I don't know the names of everything.
I'm doing a similar swap and there's a plug that's totally different.
Engine from 00 I'm using
Vs new 03 car I'm putting my engine into
I'm pretty stuck right now.
The actual “engine harness is the same, just with the addition of the SAI components(ie: crossover valve[grey 2 pin plug], vacuum pump[black 2 pin plug]). The engine will start and run perfectly with these 2 attatched/disconnected. However, there is a body harness/wires that need to be swapped to get the vacuum emissions system(non-SAI) to function properly instead of the positive pressure system(SAI). Passenger side of engine bay is an orange and a grey multi pin connector, the orange multi pin connector is what I believe untilizes the non-SAI vacuum operated system and the grey multi pin connector is for the SAI vehicle. The rover will still run perfectly with the components mismatched but will trigger an immediate check engine lamp due to emissions components mixed.
When youre doing all this did you need to swap the harness behind the dash as well or just the engine harness? If you already answered this im sorry, I don't know the names of everything.
I'm doing a similar swap and there's a plug that's totally different.
Engine from 00 I'm using
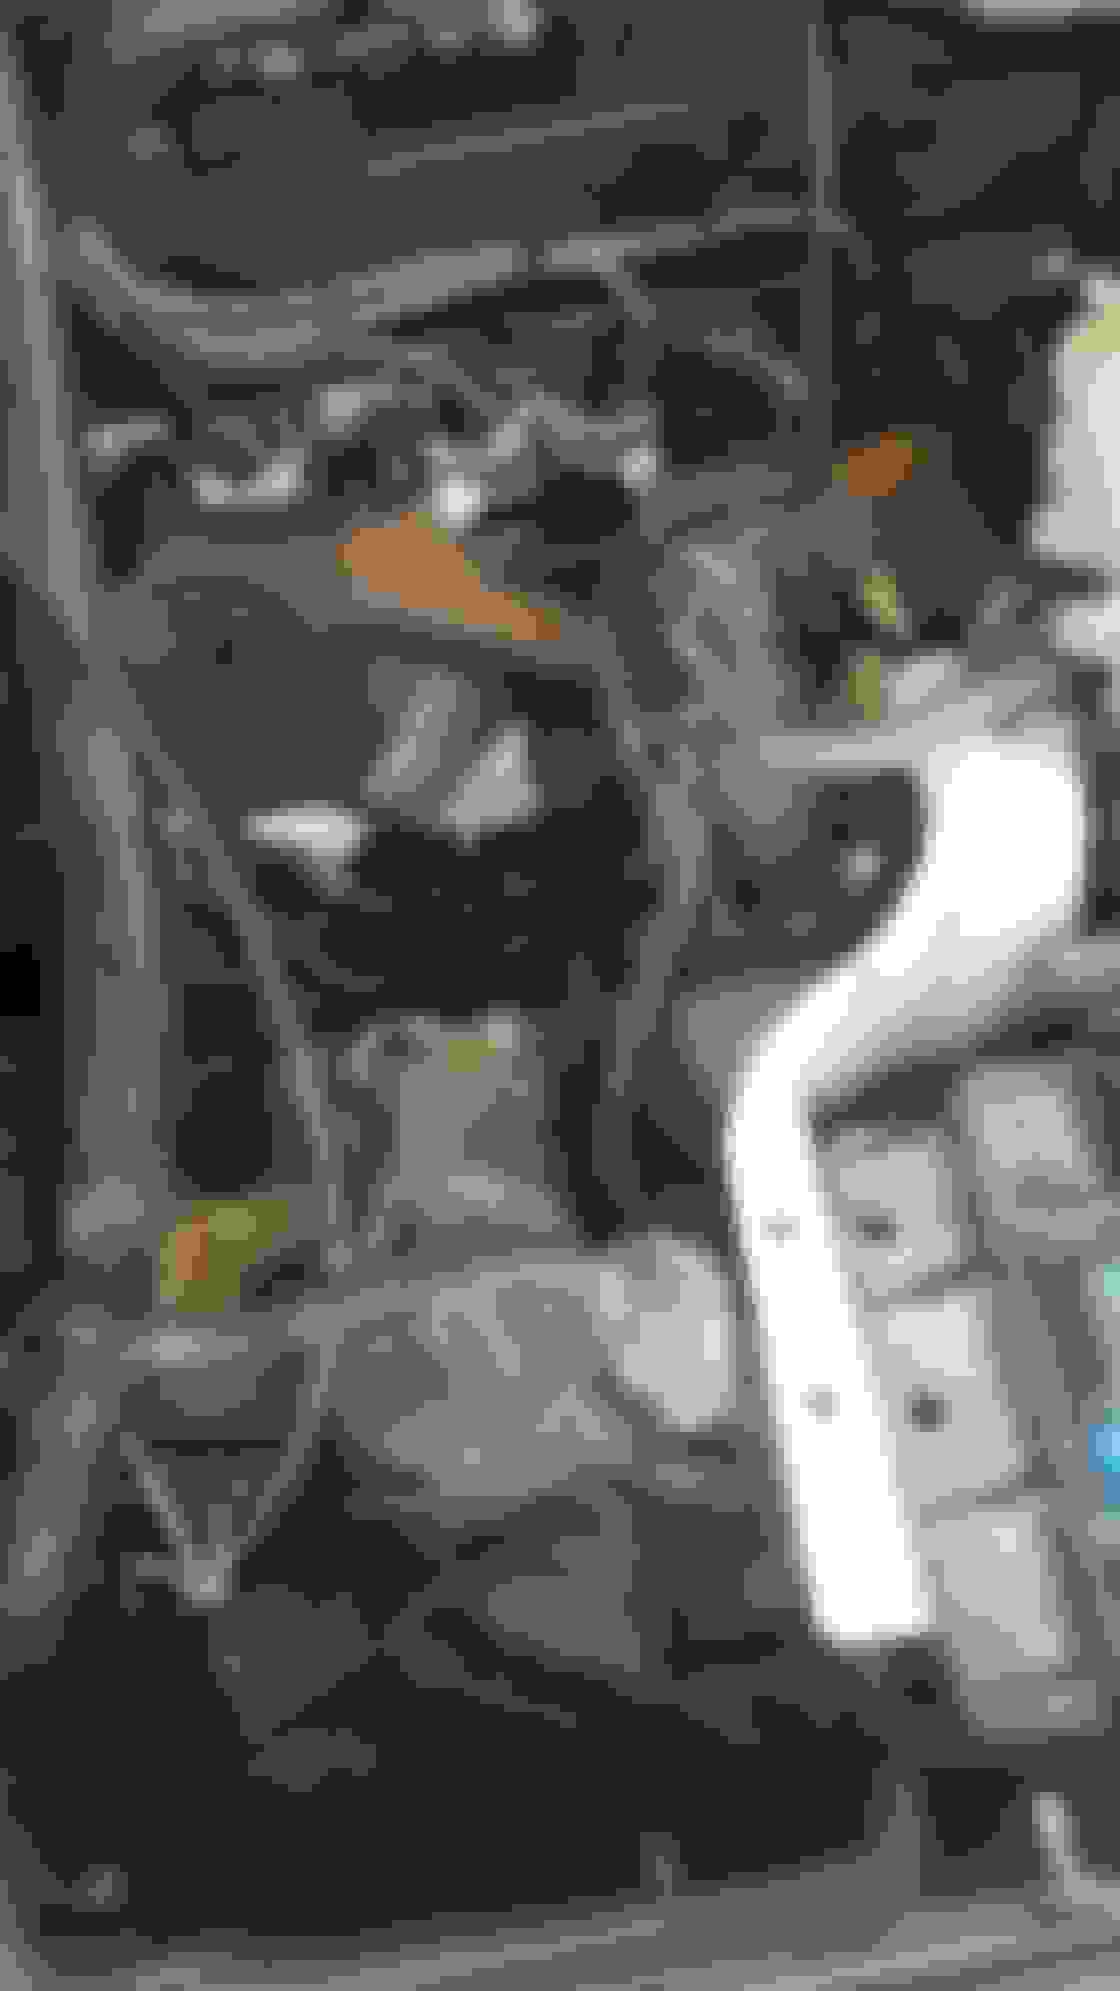
The plug in your hands looks to be the vacuum operated pump connector.
Vs new 03 car I'm putting my engine into
The grey plug looks to connect to the other grey plug inches away.
Yea that's where that Grey multi pin went.. The engine harness wasn't there for the old car so I got confused haha
Alright so yea there aren't any plugs for that non Sai piece so I'll have to remove the harness.. Im gonna try and trace those two wires to where they go before I do that.. Cause this harness looks like alot of work to remove
Hey Land Rover folks, I believe I have successfully adapted the SAI to non-SAI emission system. After the Bosch/GEMS conversion I had finished a week ago, I dedicated some time to trying to get it right. As of now, I don’t have a SES lamp on nor pending codes, I have cycled the ignition multiple times as well during the warm up cycle, as well as a 10 mile drive home. The SES lamp would luminate after the 2nd key cycle as the first key cycle would “pend” the code. The code after swapping ECU/BCU was a p0453 fuel tank pressure sensor. Many items were needed to perform the swap. Including ECM/BCM, fuel pump with pressure sensor and connector/harness, canister vent solenoid with connector/harness and tube, charcoal canister itself( or tube rigging ), mini female electrical spades, wiring and crimps, RAVE manual. On my second try, I went straight to the ECM with succession.
Removing the passenger kick panel or lower a-pillar panel allows accesss to the ECM. I ran a colour coated 4 flat wire lead harness from the ECM to where the SAI vacuum pump used to be and connected the 3 wires from the fuel tank pressure sensor and 1 wire (of the 2) from the canister vent I believe brown/pink tracer and ran them to the ECM. The red circled areas were cut and not spliced into anything, the yellow circles are the wires cut and spliced into the fuel tank pressure sensor and the canister vent valve.