
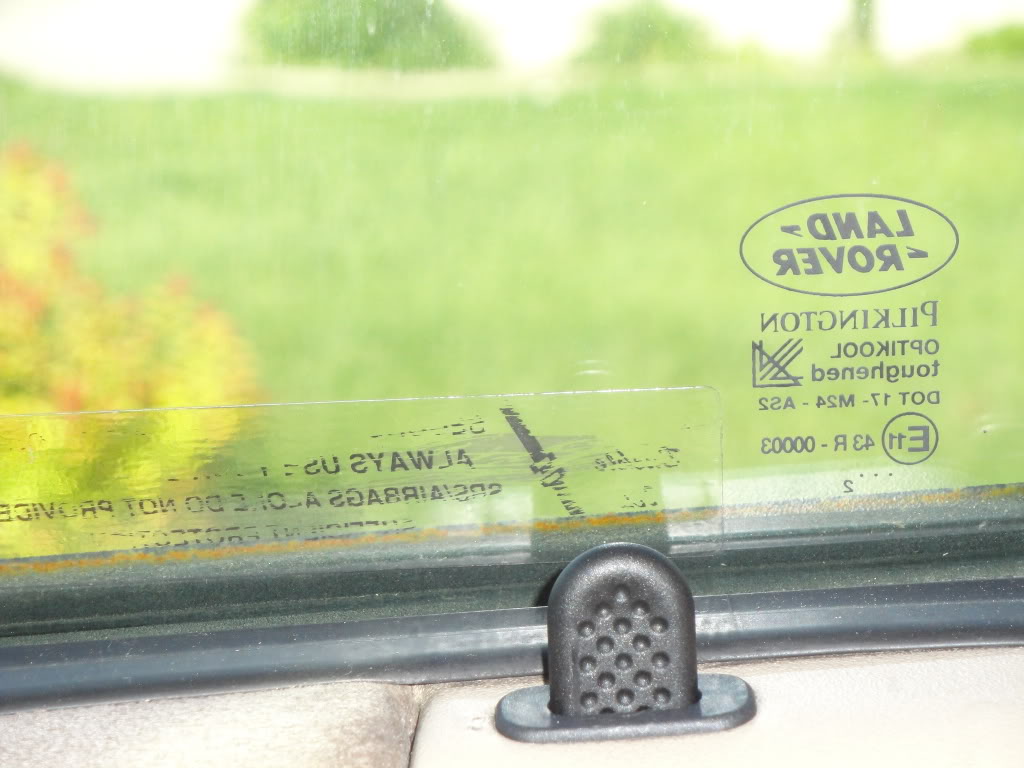
take a look at my passenger side window


Thread Starter
|
Winching
Joined: Apr 2009
Posts: 561
Likes: 4
From: Port Huron, MI
hey guys..
can you tell me whats causing this, looks the stickers are crooked!!! i dont think the car was made like this... whats causing the saggy window, also when i roll the window up... it make some popping noises... motor is good... is this the regulator?
can you tell me whats causing this, looks the stickers are crooked!!! i dont think the car was made like this... whats causing the saggy window, also when i roll the window up... it make some popping noises... motor is good... is this the regulator?

Looks like it got hot. Did the interior of your truck get hot in the past? Like rally really hot? you know, like on fire hot?
The regulator is going bad, to be more specific the roller on the bottom of it.
You can just replace the roller, you will have to remove the regulator and then replace the roller.
There is a write up somewhere floating around here.
The regulator is going bad, to be more specific the roller on the bottom of it.
You can just replace the roller, you will have to remove the regulator and then replace the roller.
There is a write up somewhere floating around here.

Recovery Vehicle
Joined: Oct 2008
Posts: 1,081
Likes: 1
From:
that popping noise you hear will very soon develop into the point where your window will not go up any more, either address the issue in the very near future, or refrain from using that window as much as possible

6th Gear
Joined: Aug 2008
Posts: 6
Likes: 0
I have this same issue and have been searching for that thread again about replacing the plastic roller on the bottom. As I remember, you can either make one out of a sliding door hardware, order a really expensive brass one, or just order the whole assembly.
As for how to do it, look for a post by DiscoMike and download the service manual he is always talking about. There is a section with step by step instructions on how to remove the assembly.
If any one has a link to the thread about those little plastic rollers, please post a link on here, I haven't found it yet using the search.

Winching
Joined: Jul 2006
Posts: 739
Likes: 5
From: west of chicago
I used my 4" grinder with a cutoff wheel (thinner) and removed the rivets holding ea broken plastic roller to the arm.
I then put a S.S. 1/4-20 bolt,(2)washers(that just slide into track), and a smooth blind nut to hold it all.
The windows go up and down quietly, straight, and I hope forever.
luck,greg
I then put a S.S. 1/4-20 bolt,(2)washers(that just slide into track), and a smooth blind nut to hold it all.
The windows go up and down quietly, straight, and I hope forever.
luck,greg
6th Gear
Joined: Aug 2008
Posts: 6
Likes: 0
I used my 4" grinder with a cutoff wheel (thinner) and removed the rivets holding ea broken plastic roller to the arm.
I then put a S.S. 1/4-20 bolt,(2)washers(that just slide into track), and a smooth blind nut to hold it all.
The windows go up and down quietly, straight, and I hope forever.
luck,greg
I then put a S.S. 1/4-20 bolt,(2)washers(that just slide into track), and a smooth blind nut to hold it all.
The windows go up and down quietly, straight, and I hope forever.
luck,greg
Winching
Joined: Jul 2006
Posts: 739
Likes: 5
From: west of chicago
(I used some stainless hardware 'cuz I had it, but not mandatory)
If you don't know what a "t" nut is go to the hardware, I used the style with no locking barbs on the head.
Picture the arm with only a 1/4" hole
The bolt with washer @ head, the arm, another washer (the arm's flimsey), two stainless washers (5/6"? ) on "t" nut (the "t" nut shank is about 5/16 O.D. so won't pull thru 1/4" washer holes.)
The (2) washers may need to be reduced in O.D. by bench grinder to fit in track, but they fit nicely over shank of "t" nut, creating a new roller.
the 1/2" head of the nut fits in the track behind washers.
Tighten the 1/4" with a 7/16" wrench while holding the shank of the nut with a needle-nose.
PS.- I did have to shorten the bolts I had, (3/4" long may work well)
grease the crap out of it.
luck,greg
Last edited by greg409; Jun 8, 2010 at 03:43 PM.

Thread
Thread Starter
Forum
Replies
Last Post
my04h2
Retired - Private For Sale/Trade Classifieds
0
Sep 28, 2010 01:26 AM