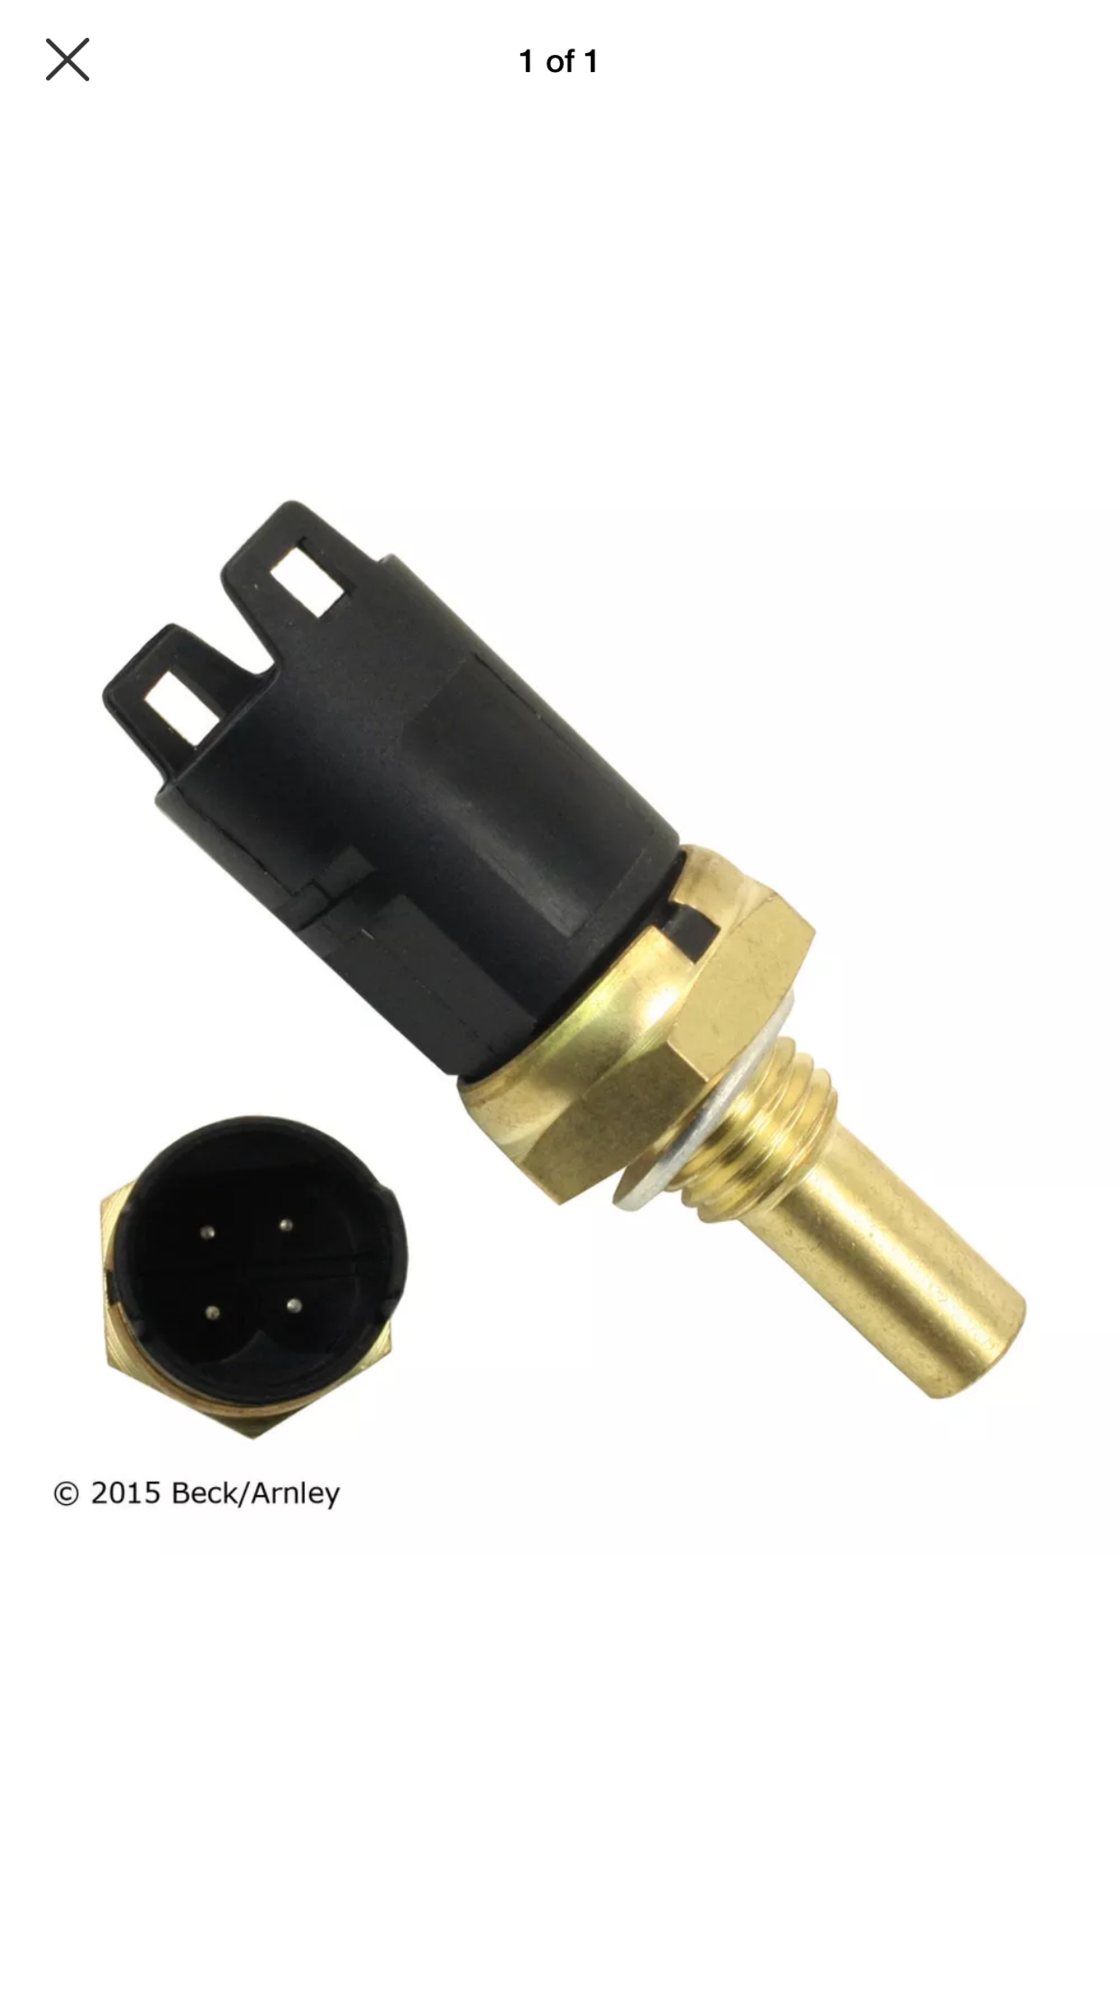
WOOHOO! Code free! Well, for a little bit...
#1
3 amigos? Sorted. Brake, SRS, air suspension lights? All gone.
I had GBR also take out the butt connectors and solder the wires together to get the resistance down in an attempt to kill off my last code: P1118
It came on just as he took it on a test drive and I only asked him to check the wires and remove the butt connectors, so no arguments there and I wasn't going to just leave the checkbook open to sort it out when it should be pretty simple.
So I cleared the P1118 and then about 30 miles later got P1117. To be clear, new 180F thermostat, radiator, and temp sensor (the lower on on the radiator) all as a matter of course recently.
Anyway, I've cleared it a couple times and P1118 came back once, but I'm getting P1117 pretty consistently. I read in another thread that someone just pulled the connectors (both at the intake and the radiator), cleaned and put in dielectric grease in and that cured it. GBR thinks it might be a mismatch of the intake sensor and the radiator sensor and they are angry or not talking too well to each other. They confirmed no chafing in the harness, so I don't think I have a short.
I'm thinking of just getting the upper sensor and replacing it as a matter of course, but what do you guys think? For those who get around, I'm going to cross post this on a couple forums, so if you're on both, don't kill me for trying to get some answers that way...
Thanks for any insight...
#2
3 amigos? Sorted. Brake, SRS, air suspension lights? All gone.
I had GBR also take out the butt connectors and solder the wires together to get the resistance down in an attempt to kill off my last code: P1118
It came on just as he took it on a test drive and I only asked him to check the wires and remove the butt connectors, so no arguments there and I wasn't going to just leave the checkbook open to sort it out when it should be pretty simple.
So I cleared the P1118 and then about 30 miles later got P1117. To be clear, new 180F thermostat, radiator, and temp sensor (the lower on on the radiator) all as a matter of course recently.
Anyway, I've cleared it a couple times and P1118 came back once, but I'm getting P1117 pretty consistently. I read in another thread that someone just pulled the connectors (both at the intake and the radiator), cleaned and put in dielectric grease in and that cured it. GBR thinks it might be a mismatch of the intake sensor and the radiator sensor and they are angry or not talking too well to each other. They confirmed no chafing in the harness, so I don't think I have a short.
I'm thinking of just getting the upper sensor and replacing it as a matter of course, but what do you guys think? For those who get around, I'm going to cross post this on a couple forums, so if you're on both, don't kill me for trying to get some answers that way...
Thanks for any insight...
I had GBR also take out the butt connectors and solder the wires together to get the resistance down in an attempt to kill off my last code: P1118
It came on just as he took it on a test drive and I only asked him to check the wires and remove the butt connectors, so no arguments there and I wasn't going to just leave the checkbook open to sort it out when it should be pretty simple.
So I cleared the P1118 and then about 30 miles later got P1117. To be clear, new 180F thermostat, radiator, and temp sensor (the lower on on the radiator) all as a matter of course recently.
Anyway, I've cleared it a couple times and P1118 came back once, but I'm getting P1117 pretty consistently. I read in another thread that someone just pulled the connectors (both at the intake and the radiator), cleaned and put in dielectric grease in and that cured it. GBR thinks it might be a mismatch of the intake sensor and the radiator sensor and they are angry or not talking too well to each other. They confirmed no chafing in the harness, so I don't think I have a short.
I'm thinking of just getting the upper sensor and replacing it as a matter of course, but what do you guys think? For those who get around, I'm going to cross post this on a couple forums, so if you're on both, don't kill me for trying to get some answers that way...
Thanks for any insight...
Got to blast this while you drive your CODE Free Disco!
Last edited by LR03NJ; 02-08-2017 at 04:39 PM.
The following users liked this post:
longtallsally (02-08-2017)
#3
OK, you get a thanks for that one. Made me laugh. 
Yeah I do feel lucky to have GBR close. They are really cool guys and have an insane amount of knowledge. Tom says that the right front wheel speed sensor will come at some point and I'll probably just let him solder in a new one there too.
On this deal, I'm thinking that I'll just get the upper sensor and do it- the thing can't be that expensive- and go from there. For all intents and purposes there are three components to this code:
- the harness (verified)
- the upper sensor (not done yet)
- the lower sensor (brand new)
By process of elimination, what the heck else could it be other than something catastrophic like a full ECM failure, which I'm not putting money on based on everything else working well.
I've got a couple other strange buzzes here and there that I'm sure will come around to remind me to give her some love, but she really is getting close to being just a nice machine to cruise around it. It was even warm enough today that I opened the sunroofs for a bit!!
#5
#6
Make another new post. Lets just keep this post a happy ending!
Same here, if I see someones code in this forum, for sure I'll get it too.
Its all a game of deciphering the CODE. Cheers Brah!
#7
#8
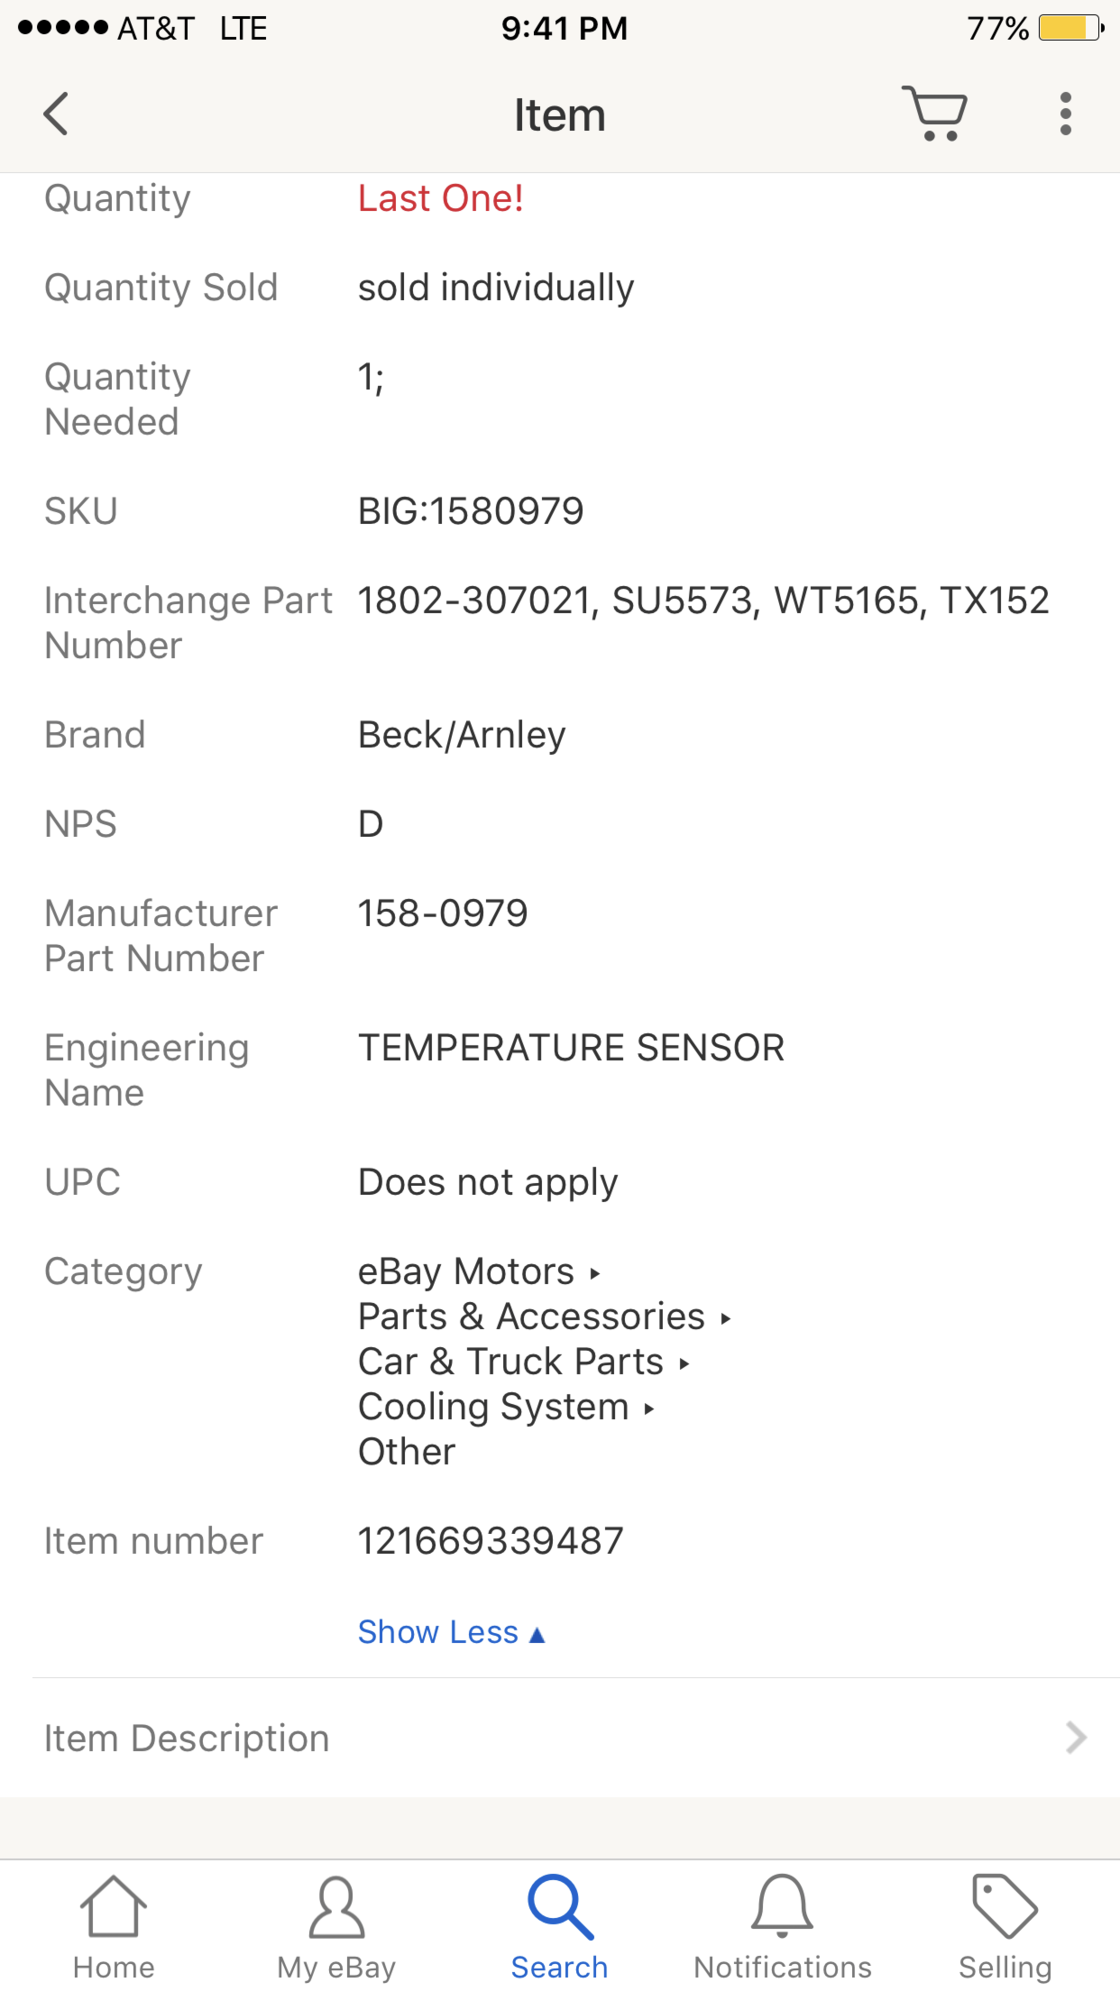
if it's the one on the intake, there are only two options, the two spade rectangular style or the circular style. Mine has the circular style. They are only about $20 on eBay
#9


