2006 4.4 ltr Water Pump, Thermostat Housing, belts and pulley
#1
Well, I changed out the water pump, thermostat housing, fan belt, serpentine belt and idler pulley on our 2006 Range Rover Sport 4.4 HSE.
The fan tools are worth their weight in gold. They saved me a ton of time and headache.
The tear down went quicker than I on the LR3 (the LR3 is at the paint shop to respray the hood and top due to clear coat failure). I did forget to order the intake manifold housing gasket. The one on the truck was in good shape, but for such an inexpensive part and given that it is such a simple fix once everything is torn down, I wish that I would have changed it out. PUT IT ON YOUR ORDER LIST! The throttle body was fairly clean, but was still dirtier than I thought it should have been given the light miles, 36,000. The inlet from the EGR Valve was coated with black soot. I spent some time cleaning it up, another thing to add to the list is a second bottle of throttle body cleaner spray. I always seem to need just a bit more after the first can runs dry.
Keep track of all of the bolts. I would use a diagram next time or a cardboard chart and push holes to hold the bolts or labeled baggies. It will save you time. I tried to keep everything separated correctly, but the two bolts that hold the top of the belt tensioner pulley bracket look too long to fit, they aren't and they do.
As mentioned in other posts, be careful of the smaller metal gasket between the driver's side of the throttle body and the egr valve. I suggest have an extendable magnet tool handy to use on all of the hard to reach places, it will safe lots of time searching for bolts that drop into the abyss. You can also put a shop towel under areas that you are working on to help keep the bolts from dropping out of sight.
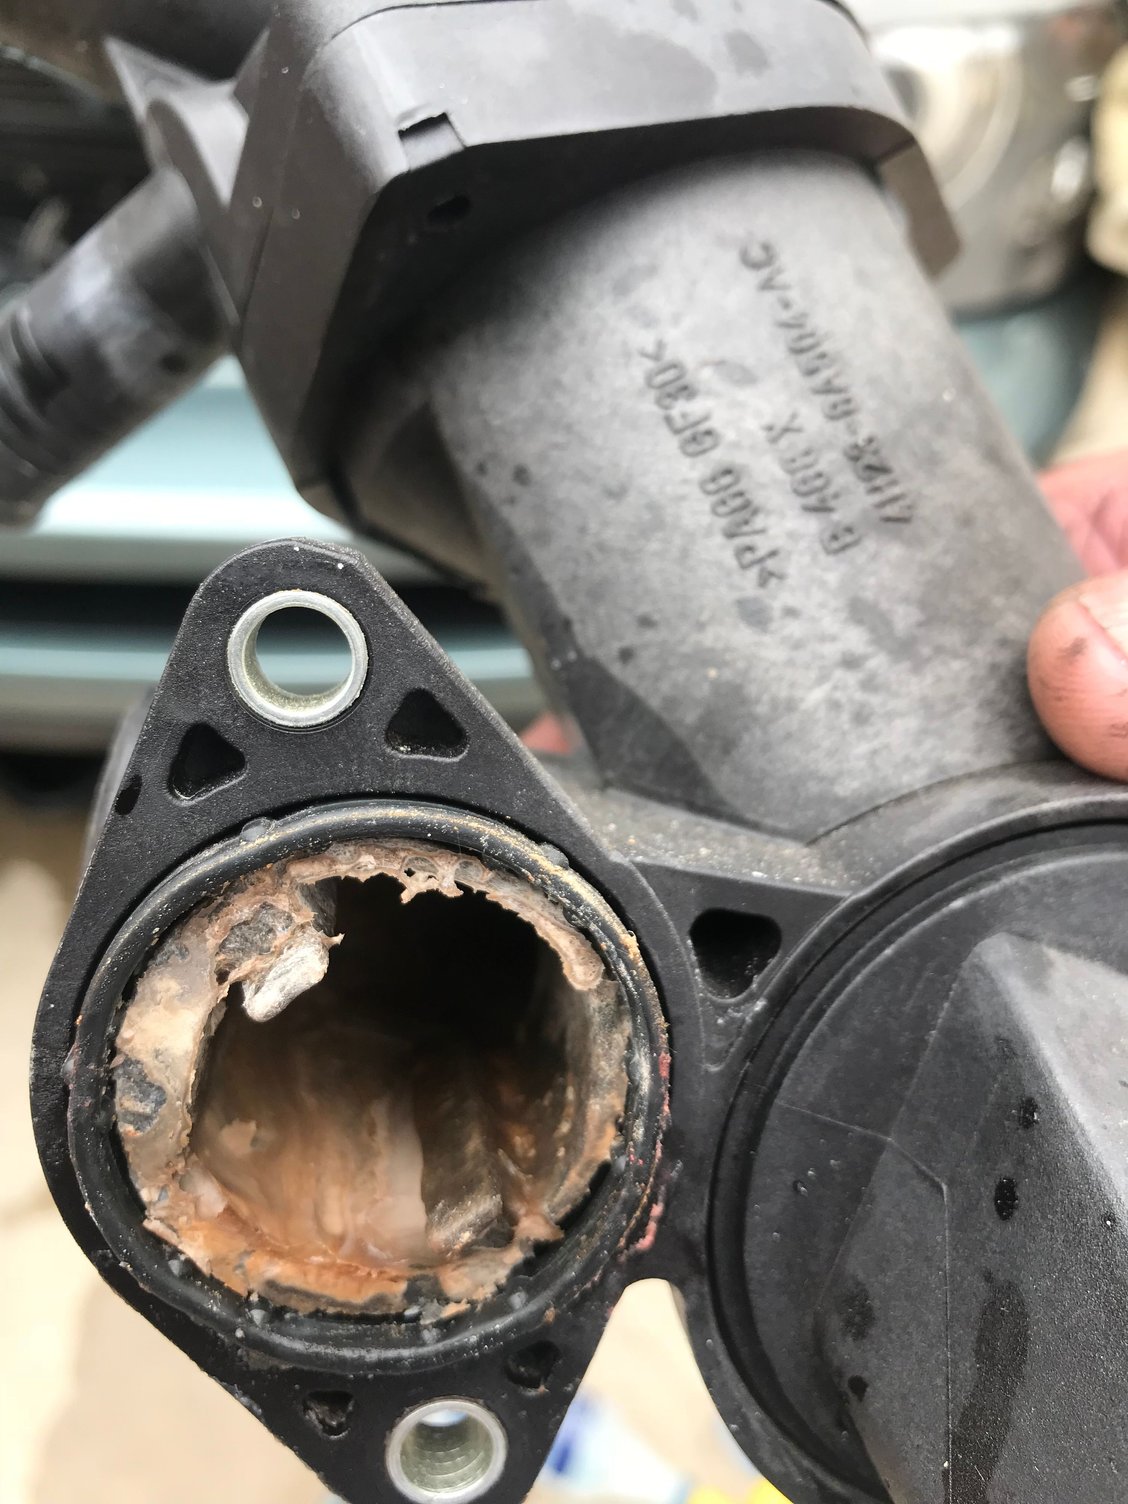
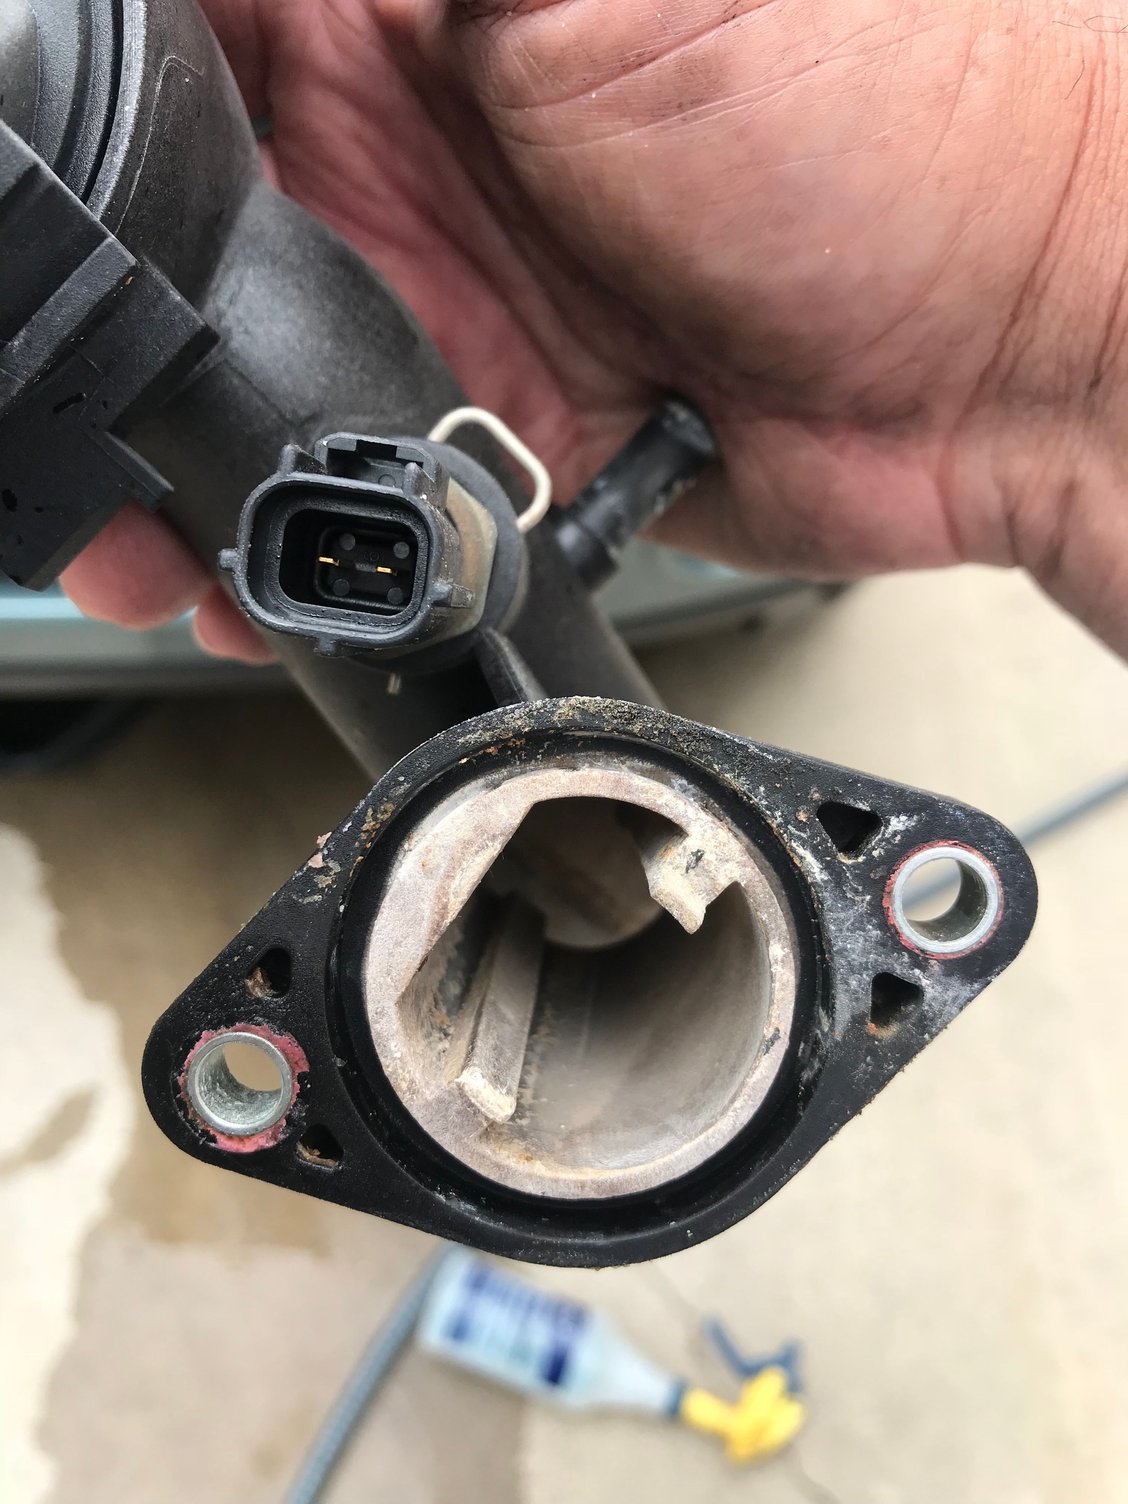
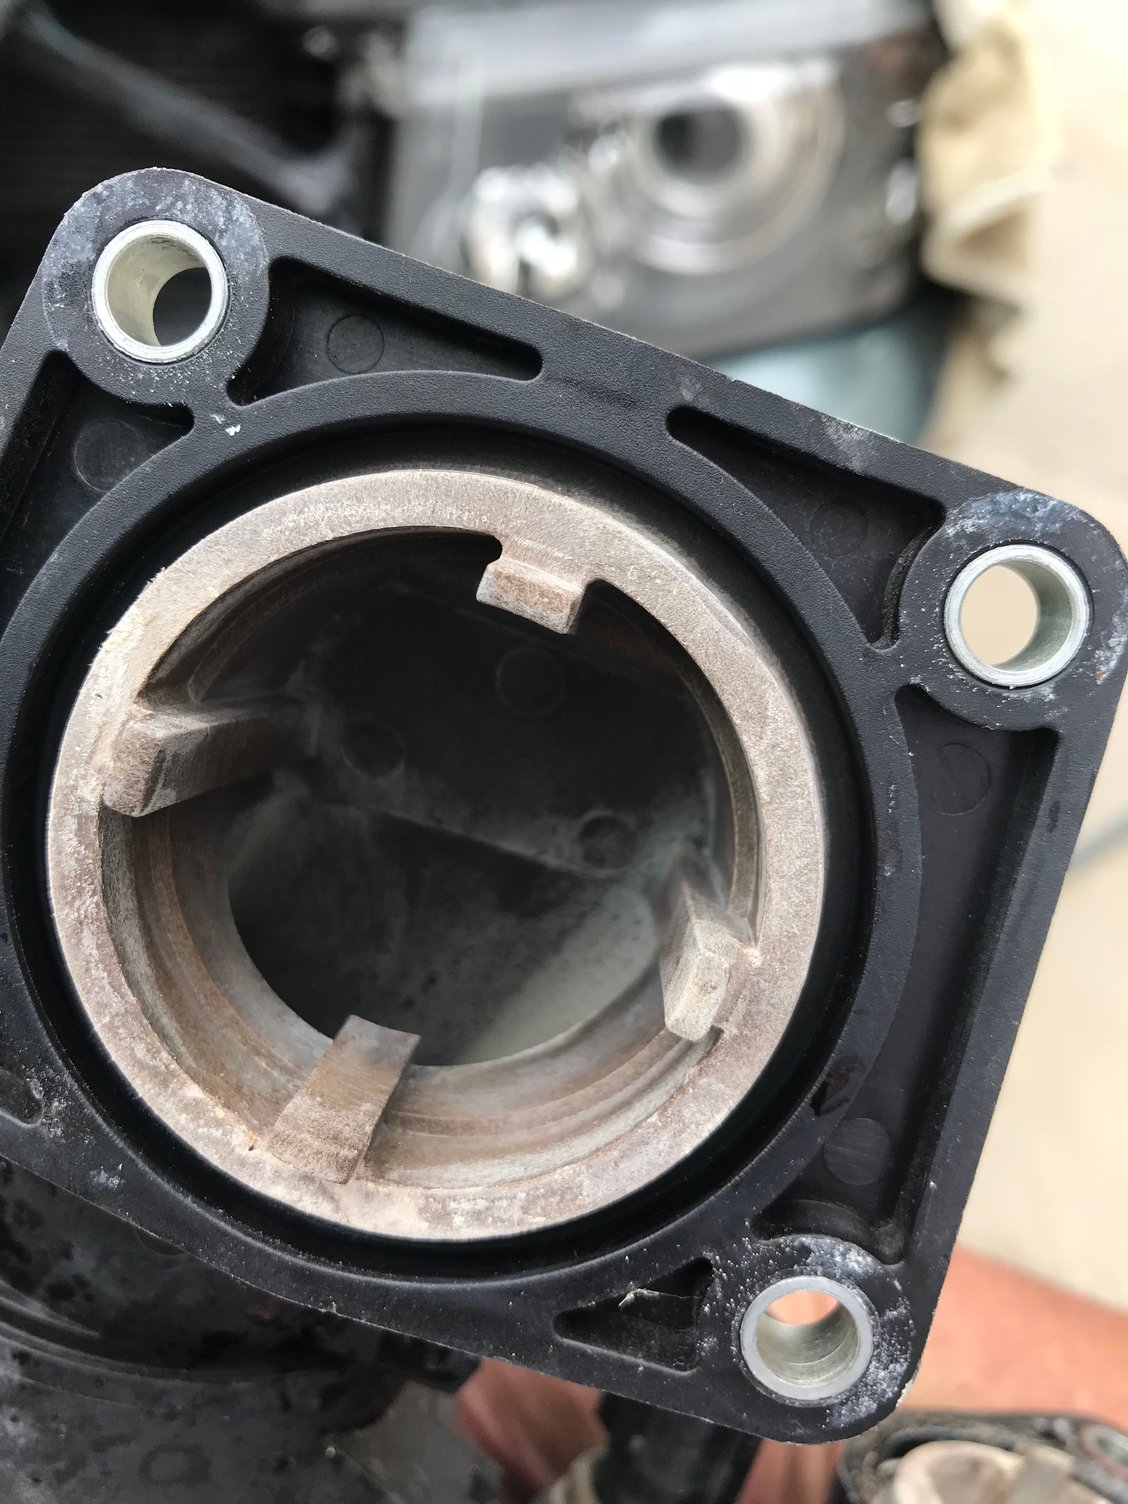
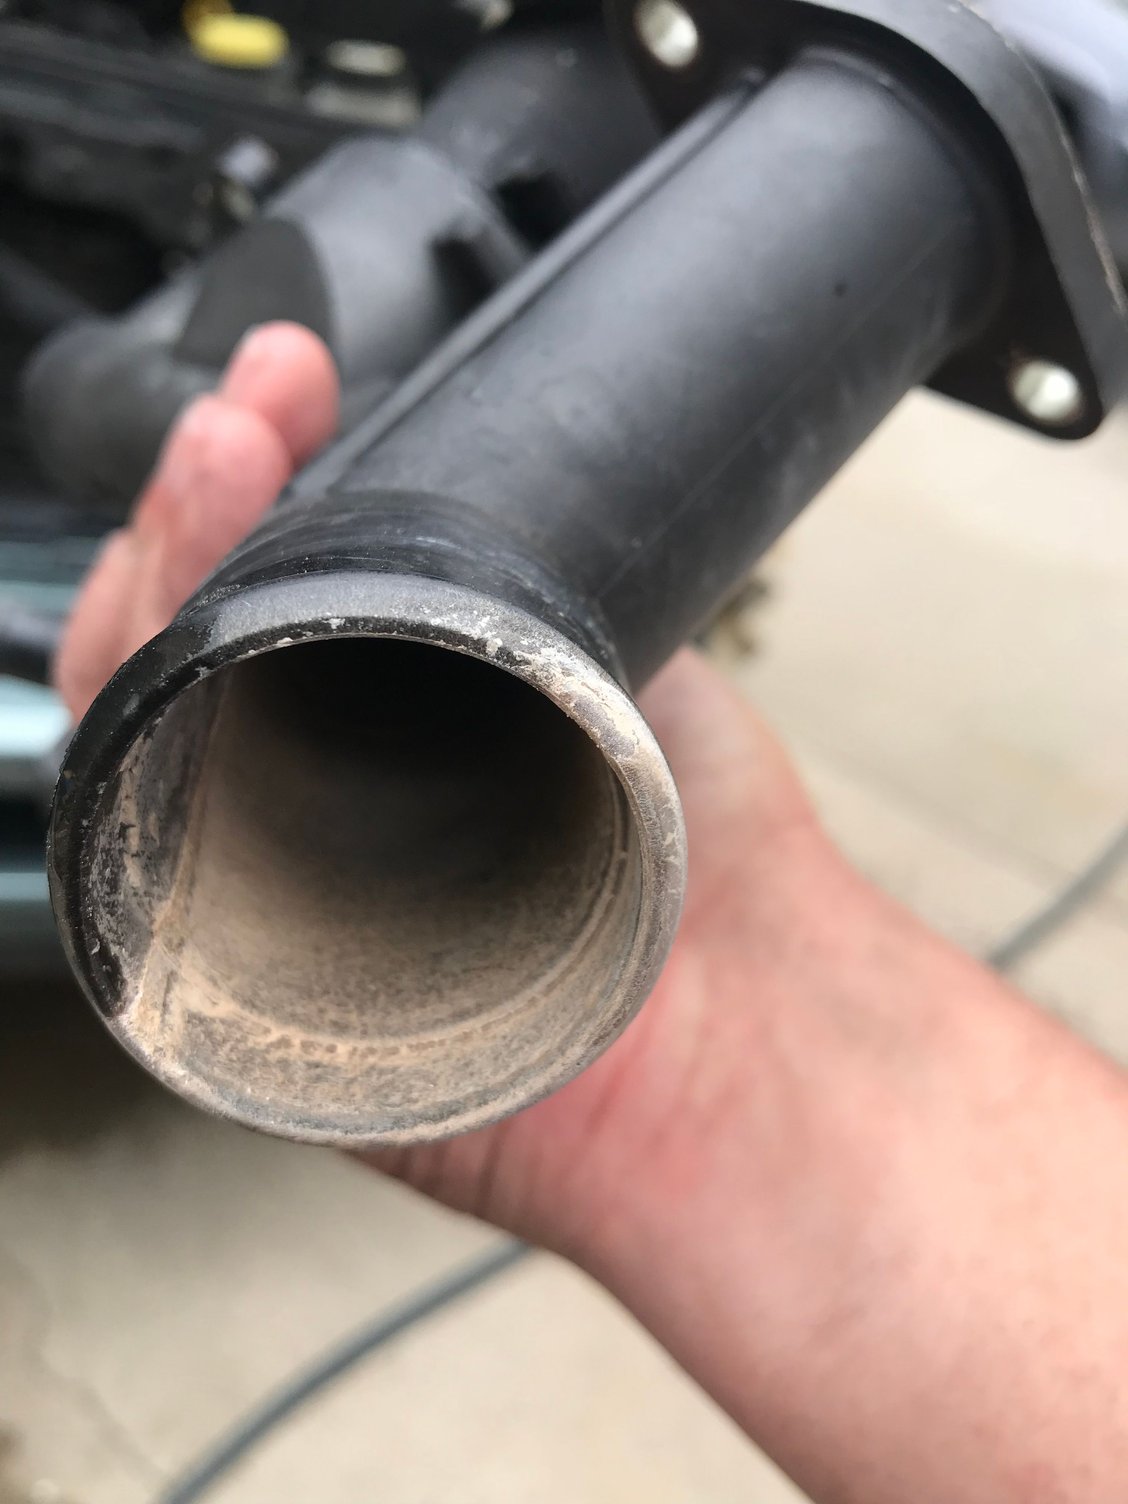
This truck sat for 9 years from 2007 to 2016 (first owner hit a snow bank in Indiana, had it towed to the dealer, bought a new Rover and left this one). It had 15,800 miles on it when I got it and needed to some work, rats....... When I got it running, the shop did a coolant flush. I have been driving it for two years and it now has 36,000 miles on it. When I removed the thermostat housing, there was a fair amount of sediment that had built up on the driver's side inlet. I am now thinking that they did a drain and fill vs an actual coolant flush. Who know what might be sitting in the bottom of the engine. (I did replace the radiator when I put the truck back together two years ago).
Reassembly went pretty well. I had to find a diagram for the serpentine belt, no diagram found in the engine compartment or in the owners manual......thankfully several diagrams in Land Rover Forums!
Route the smaller hoses on the Throttle Body before you bolt it up, they are a bear to sort out once things are assembled.......
I filled the upper hoses with coolant as I reassembled them to try to get as much air out of the system as possible.
I double and triple checked all of the bolts and hose connections (I missed one small hose clamp on the egr valve on our LR3 when I changed out the thermostat housing last month, I had a bit of a clean up to do.......).
Started up the motor, did the bleeding cycle a few times and everything is tight, no leaks, heater works and it would appear that all air bubbles are out of the system.
I could not tell if the leaks were from the thermostat housing alone or they were coming from a combination of a leaking thermostat housing and a leak from the water pump gasket. One leak was on the passenger side on the front of the engine block just above the passenger side corner of the water pump. The water pump gasket looked pretty good but looked like it had a small place that could have been leaking. The water pump bearing was solid and was not leaking.
It took me a bit longer than it should have, about 5 hours total. I mixed in a trip to O'Reillys (I had ordered two fan belts and no serpentine belts......O'Reillys had a Gates belt for $36, double an online price) and a big gulp run. I also took some time to do some spray painting of a couple of pulleys that had a bit of rust on them.
I feel confident that I could head out across the desert without fear of a cooling system breakdown.
Phil
2005 LR3 HSE HD Tonga Green
2006 Range Rover Sport HSE Giverney Green
2010 Range Rover Sport HSE Santorini Black
#2
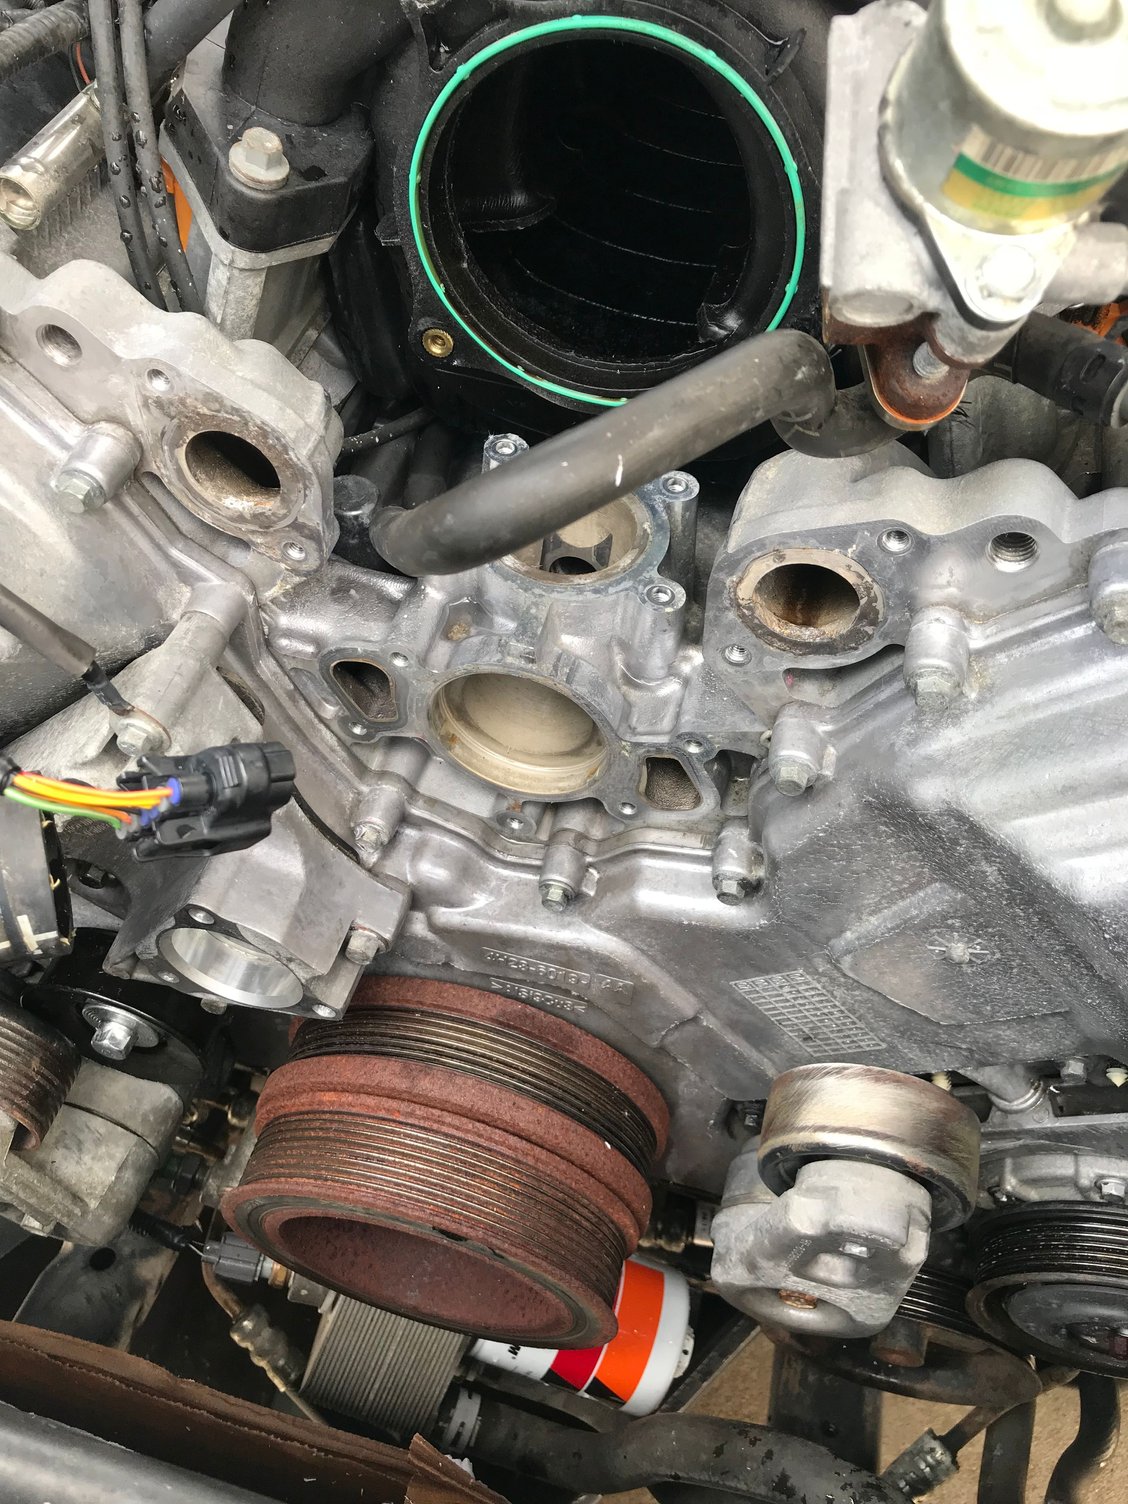
Well, I changed out the water pump, thermostat housing, fan belt, serpentine belt and idler pulley on our 2006 Range Rover Sport 4.4 HSE.
The fan tools are worth their weight in gold. They saved me a ton of time and headache.
The tear down went quicker than I on the LR3 (the LR3 is at the paint shop to respray the hood and top due to clear coat failure). I did forget to order the intake manifold housing gasket. The one on the truck was in good shape, but for such an inexpensive part and given that it is such a simple fix once everything is torn down, I wish that I would have changed it out. PUT IT ON YOUR ORDER LIST! The throttle body was fairly clean, but was still dirtier than I thought it should have been given the light miles, 36,000. The inlet from the EGR Valve was coated with black soot. I spent some time cleaning it up, another thing to add to the list is a second bottle of throttle body cleaner spray. I always seem to need just a bit more after the first can runs dry.
Keep track of all of the bolts. I would use a diagram next time or a cardboard chart and push holes to hold the bolts or labeled baggies. It will save you time. I tried to keep everything separated correctly, but the two bolts that hold the top of the belt tensioner pulley bracket look too long to fit, they aren't and they do.
As mentioned in other posts, be careful of the smaller metal gasket between the driver's side of the throttle body and the egr valve. I suggest have an extendable magnet tool handy to use on all of the hard to reach places, it will safe lots of time searching for bolts that drop into the abyss. You can also put a shop towel under areas that you are working on to help keep the bolts from dropping out of sight.
This truck sat for 9 years from 2007 to 2016 (first owner hit a snow bank in Indiana, had it towed to the dealer, bought a new Rover and left this one). It had 15,800 miles on it when I got it and needed to some work, rats....... When I got it running, the shop did a coolant flush. I have been driving it for two years and it now has 36,000 miles on it. When I removed the thermostat housing, there was a fair amount of sediment that had built up on the driver's side inlet. I am now thinking that they did a drain and fill vs an actual coolant flush. Who know what might be sitting in the bottom of the engine. (I did replace the radiator when I put the truck back together two years ago).
Reassembly went pretty well. I had to find a diagram for the serpentine belt, no diagram found in the engine compartment or in the owners manual......thankfully several diagrams in Land Rover Forums!
Route the smaller hoses on the Throttle Body before you bolt it up, they are a bear to sort out once things are assembled.......
I filled the upper hoses with coolant as I reassembled them to try to get as much air out of the system as possible.
I double and triple checked all of the bolts and hose connections (I missed one small hose clamp on the egr valve on our LR3 when I changed out the thermostat housing last month, I had a bit of a clean up to do.......).
Started up the motor, did the bleeding cycle a few times and everything is tight, no leaks, heater works and it would appear that all air bubbles are out of the system.
I could not tell if the leaks were from the thermostat housing alone or they were coming from a combination of a leaking thermostat housing and a leak from the water pump gasket. One leak was on the passenger side on the front of the engine block just above the passenger side corner of the water pump. The water pump gasket looked pretty good but looked like it had a small place that could have been leaking. The water pump bearing was solid and was not leaking.
It took me a bit longer than it should have, about 5 hours total. I mixed in a trip to O'Reillys (I had ordered two fan belts and no serpentine belts......O'Reillys had a Gates belt for $36, double an online price) and a big gulp run. I also took some time to do some spray painting of a couple of pulleys that had a bit of rust on them.
I feel confident that I could head out across the desert without fear of a cooling system breakdown.
Phil
2005 LR3 HSE HD Tonga Green
2006 Range Rover Sport HSE Giverney Green
2010 Range Rover Sport HSE Santorini Black
The fan tools are worth their weight in gold. They saved me a ton of time and headache.
The tear down went quicker than I on the LR3 (the LR3 is at the paint shop to respray the hood and top due to clear coat failure). I did forget to order the intake manifold housing gasket. The one on the truck was in good shape, but for such an inexpensive part and given that it is such a simple fix once everything is torn down, I wish that I would have changed it out. PUT IT ON YOUR ORDER LIST! The throttle body was fairly clean, but was still dirtier than I thought it should have been given the light miles, 36,000. The inlet from the EGR Valve was coated with black soot. I spent some time cleaning it up, another thing to add to the list is a second bottle of throttle body cleaner spray. I always seem to need just a bit more after the first can runs dry.
Keep track of all of the bolts. I would use a diagram next time or a cardboard chart and push holes to hold the bolts or labeled baggies. It will save you time. I tried to keep everything separated correctly, but the two bolts that hold the top of the belt tensioner pulley bracket look too long to fit, they aren't and they do.
As mentioned in other posts, be careful of the smaller metal gasket between the driver's side of the throttle body and the egr valve. I suggest have an extendable magnet tool handy to use on all of the hard to reach places, it will safe lots of time searching for bolts that drop into the abyss. You can also put a shop towel under areas that you are working on to help keep the bolts from dropping out of sight.
This truck sat for 9 years from 2007 to 2016 (first owner hit a snow bank in Indiana, had it towed to the dealer, bought a new Rover and left this one). It had 15,800 miles on it when I got it and needed to some work, rats....... When I got it running, the shop did a coolant flush. I have been driving it for two years and it now has 36,000 miles on it. When I removed the thermostat housing, there was a fair amount of sediment that had built up on the driver's side inlet. I am now thinking that they did a drain and fill vs an actual coolant flush. Who know what might be sitting in the bottom of the engine. (I did replace the radiator when I put the truck back together two years ago).
Reassembly went pretty well. I had to find a diagram for the serpentine belt, no diagram found in the engine compartment or in the owners manual......thankfully several diagrams in Land Rover Forums!
Route the smaller hoses on the Throttle Body before you bolt it up, they are a bear to sort out once things are assembled.......
I filled the upper hoses with coolant as I reassembled them to try to get as much air out of the system as possible.
I double and triple checked all of the bolts and hose connections (I missed one small hose clamp on the egr valve on our LR3 when I changed out the thermostat housing last month, I had a bit of a clean up to do.......).
Started up the motor, did the bleeding cycle a few times and everything is tight, no leaks, heater works and it would appear that all air bubbles are out of the system.
I could not tell if the leaks were from the thermostat housing alone or they were coming from a combination of a leaking thermostat housing and a leak from the water pump gasket. One leak was on the passenger side on the front of the engine block just above the passenger side corner of the water pump. The water pump gasket looked pretty good but looked like it had a small place that could have been leaking. The water pump bearing was solid and was not leaking.
It took me a bit longer than it should have, about 5 hours total. I mixed in a trip to O'Reillys (I had ordered two fan belts and no serpentine belts......O'Reillys had a Gates belt for $36, double an online price) and a big gulp run. I also took some time to do some spray painting of a couple of pulleys that had a bit of rust on them.
I feel confident that I could head out across the desert without fear of a cooling system breakdown.
Phil
2005 LR3 HSE HD Tonga Green
2006 Range Rover Sport HSE Giverney Green
2010 Range Rover Sport HSE Santorini Black
#3
#4
This is a great write up. Especially since I am about to do the same job. I have two questions-
1. Does your LR have the rear climate control? If so, did you see any way to bypass or delete it when you were replacing the hoses? I ask because my third row seating is now under a drawer system and fridge so no real need to the rear climate control.
2. Besides prefilling hoses did you need any other tricks to get the air out of the cooling system?
Thanks,
Eric
#6
I didn't notice any issues on our LR3 that I did a month ago or on the Range Rover Sport that I did last weekend. The LR3 does have rear heat, the RRS does not. The bleed process was pretty simple, it actutally went quicker and smoother than I thought that it would. Fill whatever hoses you can that are at the top of the engine. Do get the fan tools (if you are in the area, you can use mine, otherwise I got mine from AST Tools in Colorado) and do order the intake manifold seal. One thing that I didn't mention, put some cardboard on the engine side of the radiator. You don't want to damage the radiator during the procedure. I used a flat file box, fit perfectly and it was double thick. Phil
The following users liked this post:
ericcooke (07-19-2018)
#7
Well, I noticed that sweet smell of coolant on our Range Rover Sport HSE. I changed out the thermostat housing and water pump in May. After digging around, it looked like it was coming from the water pump. I pulled the fan off, the fan tools are a huge help. If you plan on doing anything around the fan, get the tools, $60 well spent. took off the fan belt and the loosened the serpentine belt. You have to remove two pulleys to get to the water pump. After pulling the pulley that attaches to the water pump, I discovered that coolant appeared to be leaking from the bottom of the waterpump gasket. When I installed the water pump, I torqued the bolts to the specified settings. When I saw the leak, I tried to tighten the bolts, they all seemed to be about 1/2 turn loose. I snugged them all up and put everything back together. It took about 30 minuted start to finish. The hardest part was getting the fan/fan clutch assembly back on. There isn't much room and there really isn't much extra shaft beyond the threads. (remember that it is a reverse thread). I disconnected the lower fan shroud. I gave me more room and I could hold the fan at 3 and 9 o'clock. It made getting it threaded up much easier. So far no leaking. I will check in a few days and hopefully all will be well. I need to double check the torque settings on the water pump bolts. I may also get a different torque wrench, I don't have much confidence in the old one. Hopefully, this will do the trick. Phil
#8
A quick side note, I changed the thermostat housing on our LR3 a few months ago. The brand new thermostat housing was defective. It has a crack that started to weep coolant on one of the tubes that connects to the block. There are two, each has a groove on the top. It leaks from the groove. I bought the part from LRNJ on Amazon. They will not stand behind their product. Claim only a 30 warranty. Be cautious on Amazon purchases. I am trying to get Amazon involved. Not a huge financial loss, as I am going to by OEM from the dealer this time around, but be careful. Phil
#9
I picked up my Genuine Thermostat housing from Lucky8.
Cool that this thread popped up today. I just ordered a new water pump, gaskets and all the hoses as well. Decided if I was going in there after the pump I was doing all the hoses while I was in there. Did the thermostat last year on both trucks and replaced the bleeder T with brass.
Thanks for the write up
#10
Was the one you received from LRNJ genuine OEM? I mean being a dealer I would think it would be, but I am curious if it actually came in LR plastic and is stamped as a genuine would be.
Armyrover -I will be doing the same too. I dont need to, but I know the housings can fail. And also figured if I am going in there I may as well do the works. I plan to also install a block heater.
Armyrover -I will be doing the same too. I dont need to, but I know the housings can fail. And also figured if I am going in there I may as well do the works. I plan to also install a block heater.


