When you click on links to various merchants on this site and make a purchase, this can result in this site earning a commission. Affiliate programs and affiliations include, but are not limited to, the eBay Partner Network.
I was able to remove and clean the switch without having to buy the entire $300 part, number YUD501590WUXG. First, I removed the gear shifter. Next, I removed the console. This is tricky as you have to be firm to get it out, but it is almost entirely plastic so be careful so you do not break any of the clips. Once removed, there are 2 screws that hold the cover to the electronic board. Once the screws are removed, you can pull the cover off and reveal the back side of the electronic board. I then pried the electronic board out of the console with a small screwdriver. Be careful, there are 4 white plastic plungers, one on the top and bottom of each switch, that can fall out easily. These plungers activate the electronic board when you press the switch. On my board, there was some sticky substance, like coffee or soda that had seeped through to the top of the electronic board. I simply wiped the board clean, particularly under the little rubber covers, with alcohol wipes and put everything back together. Problem solved!
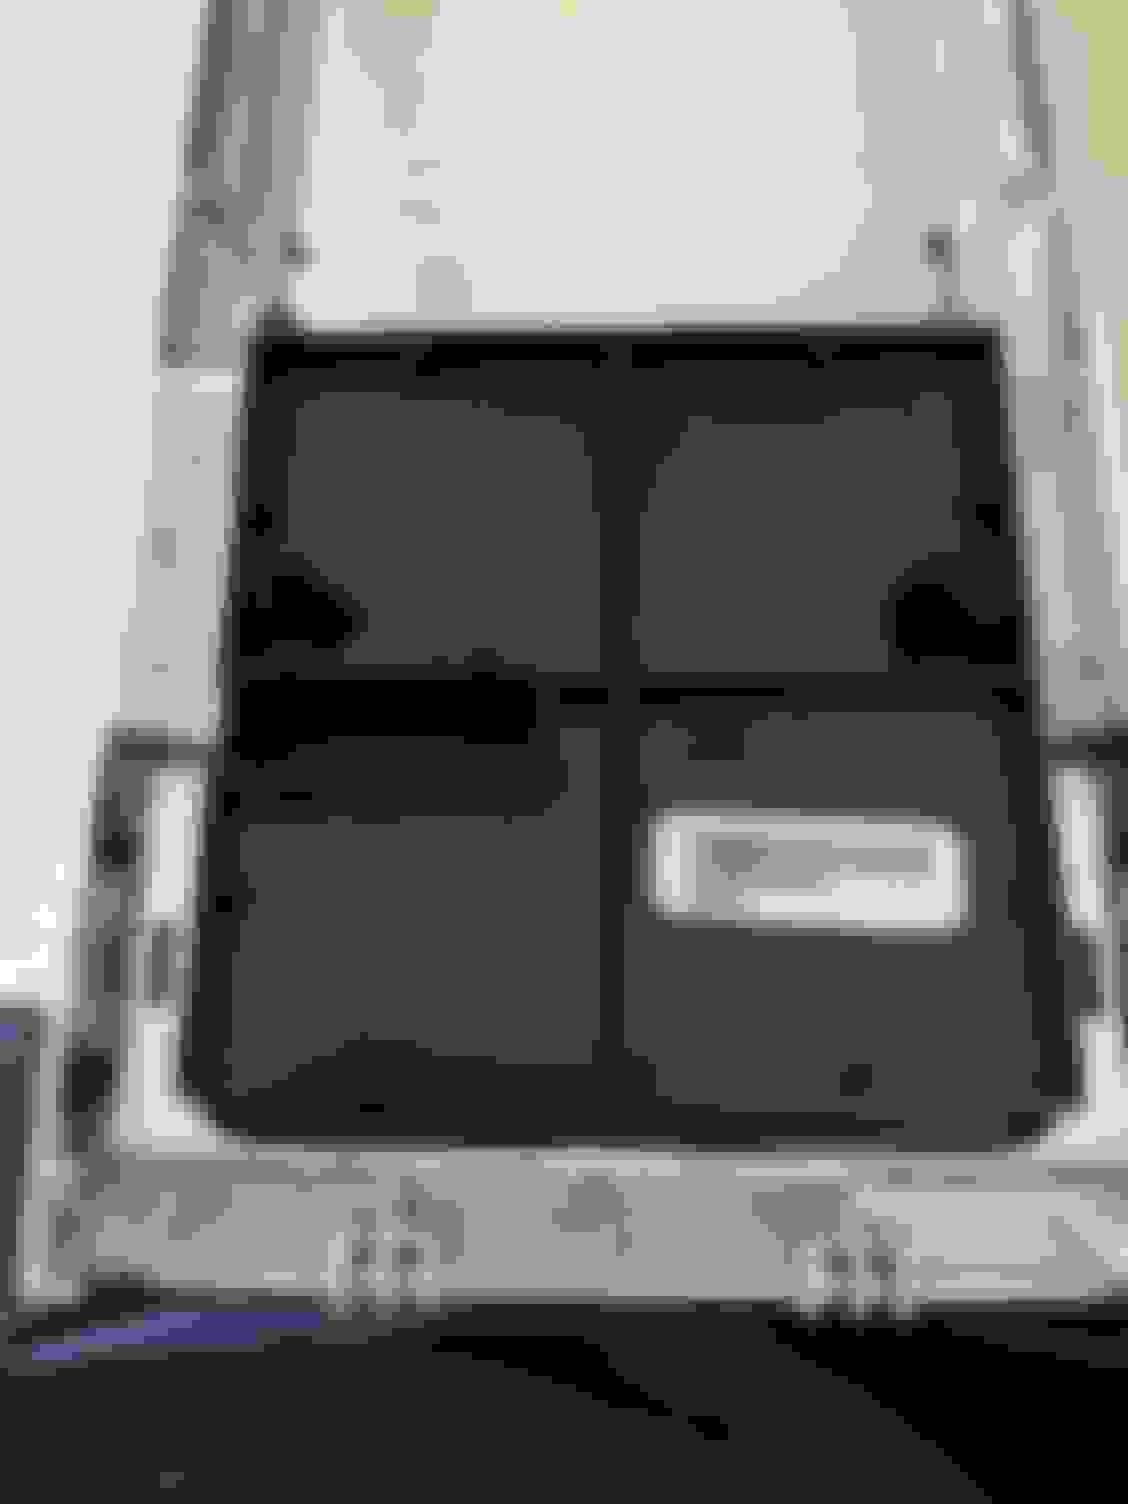
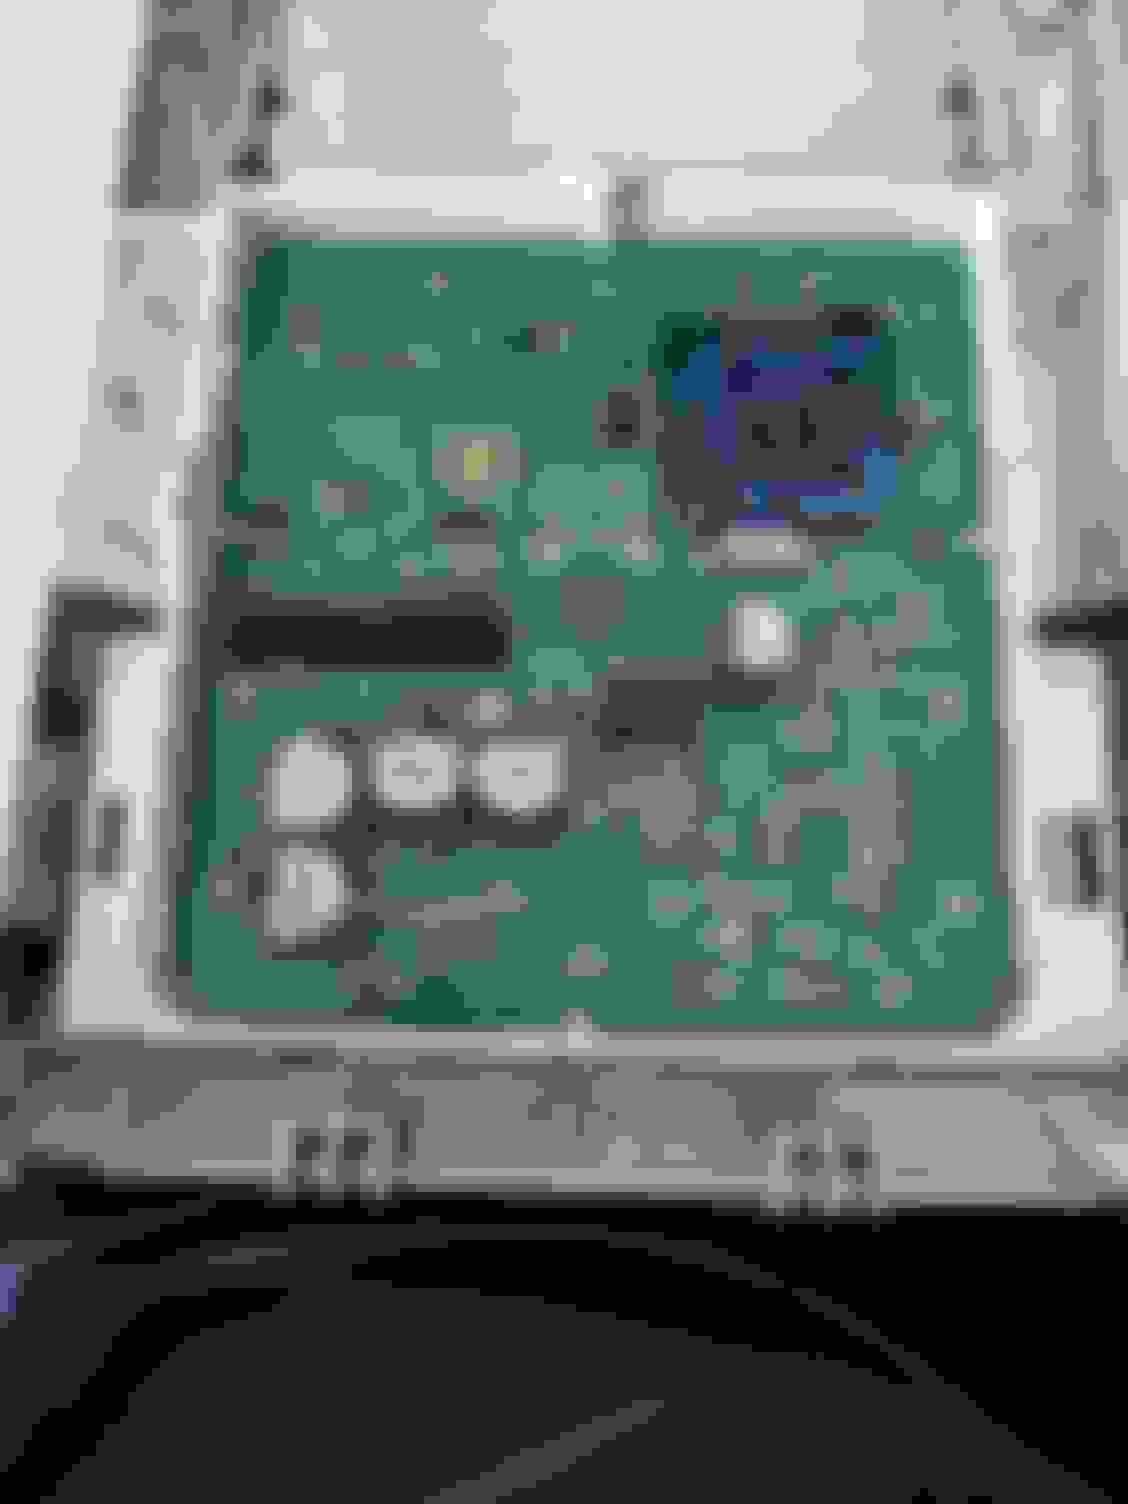
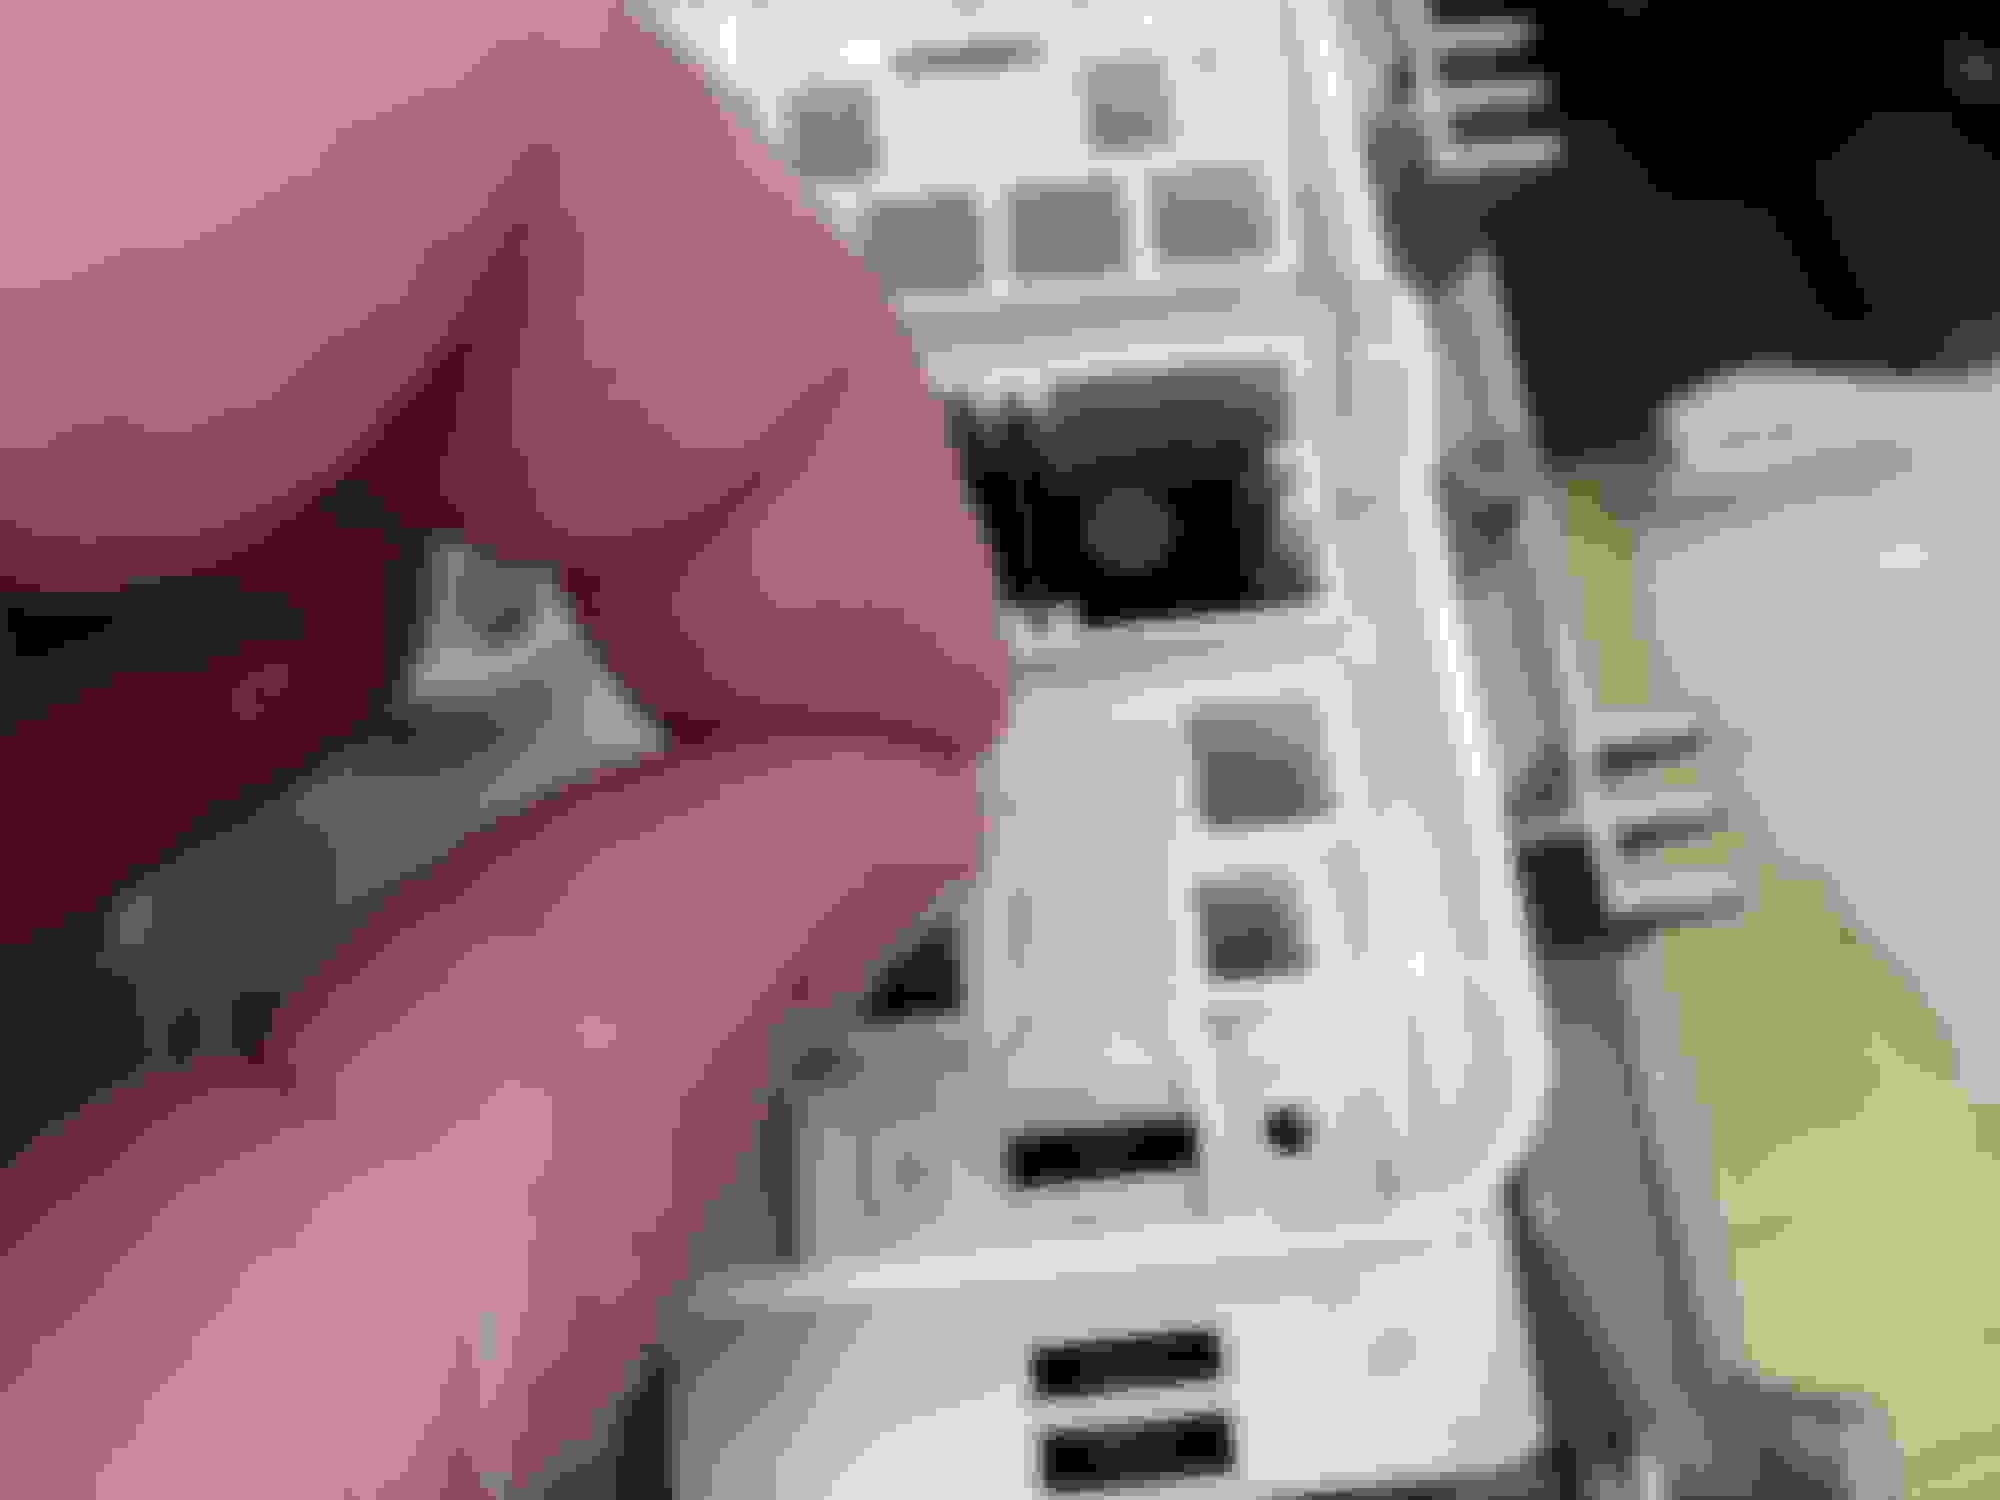
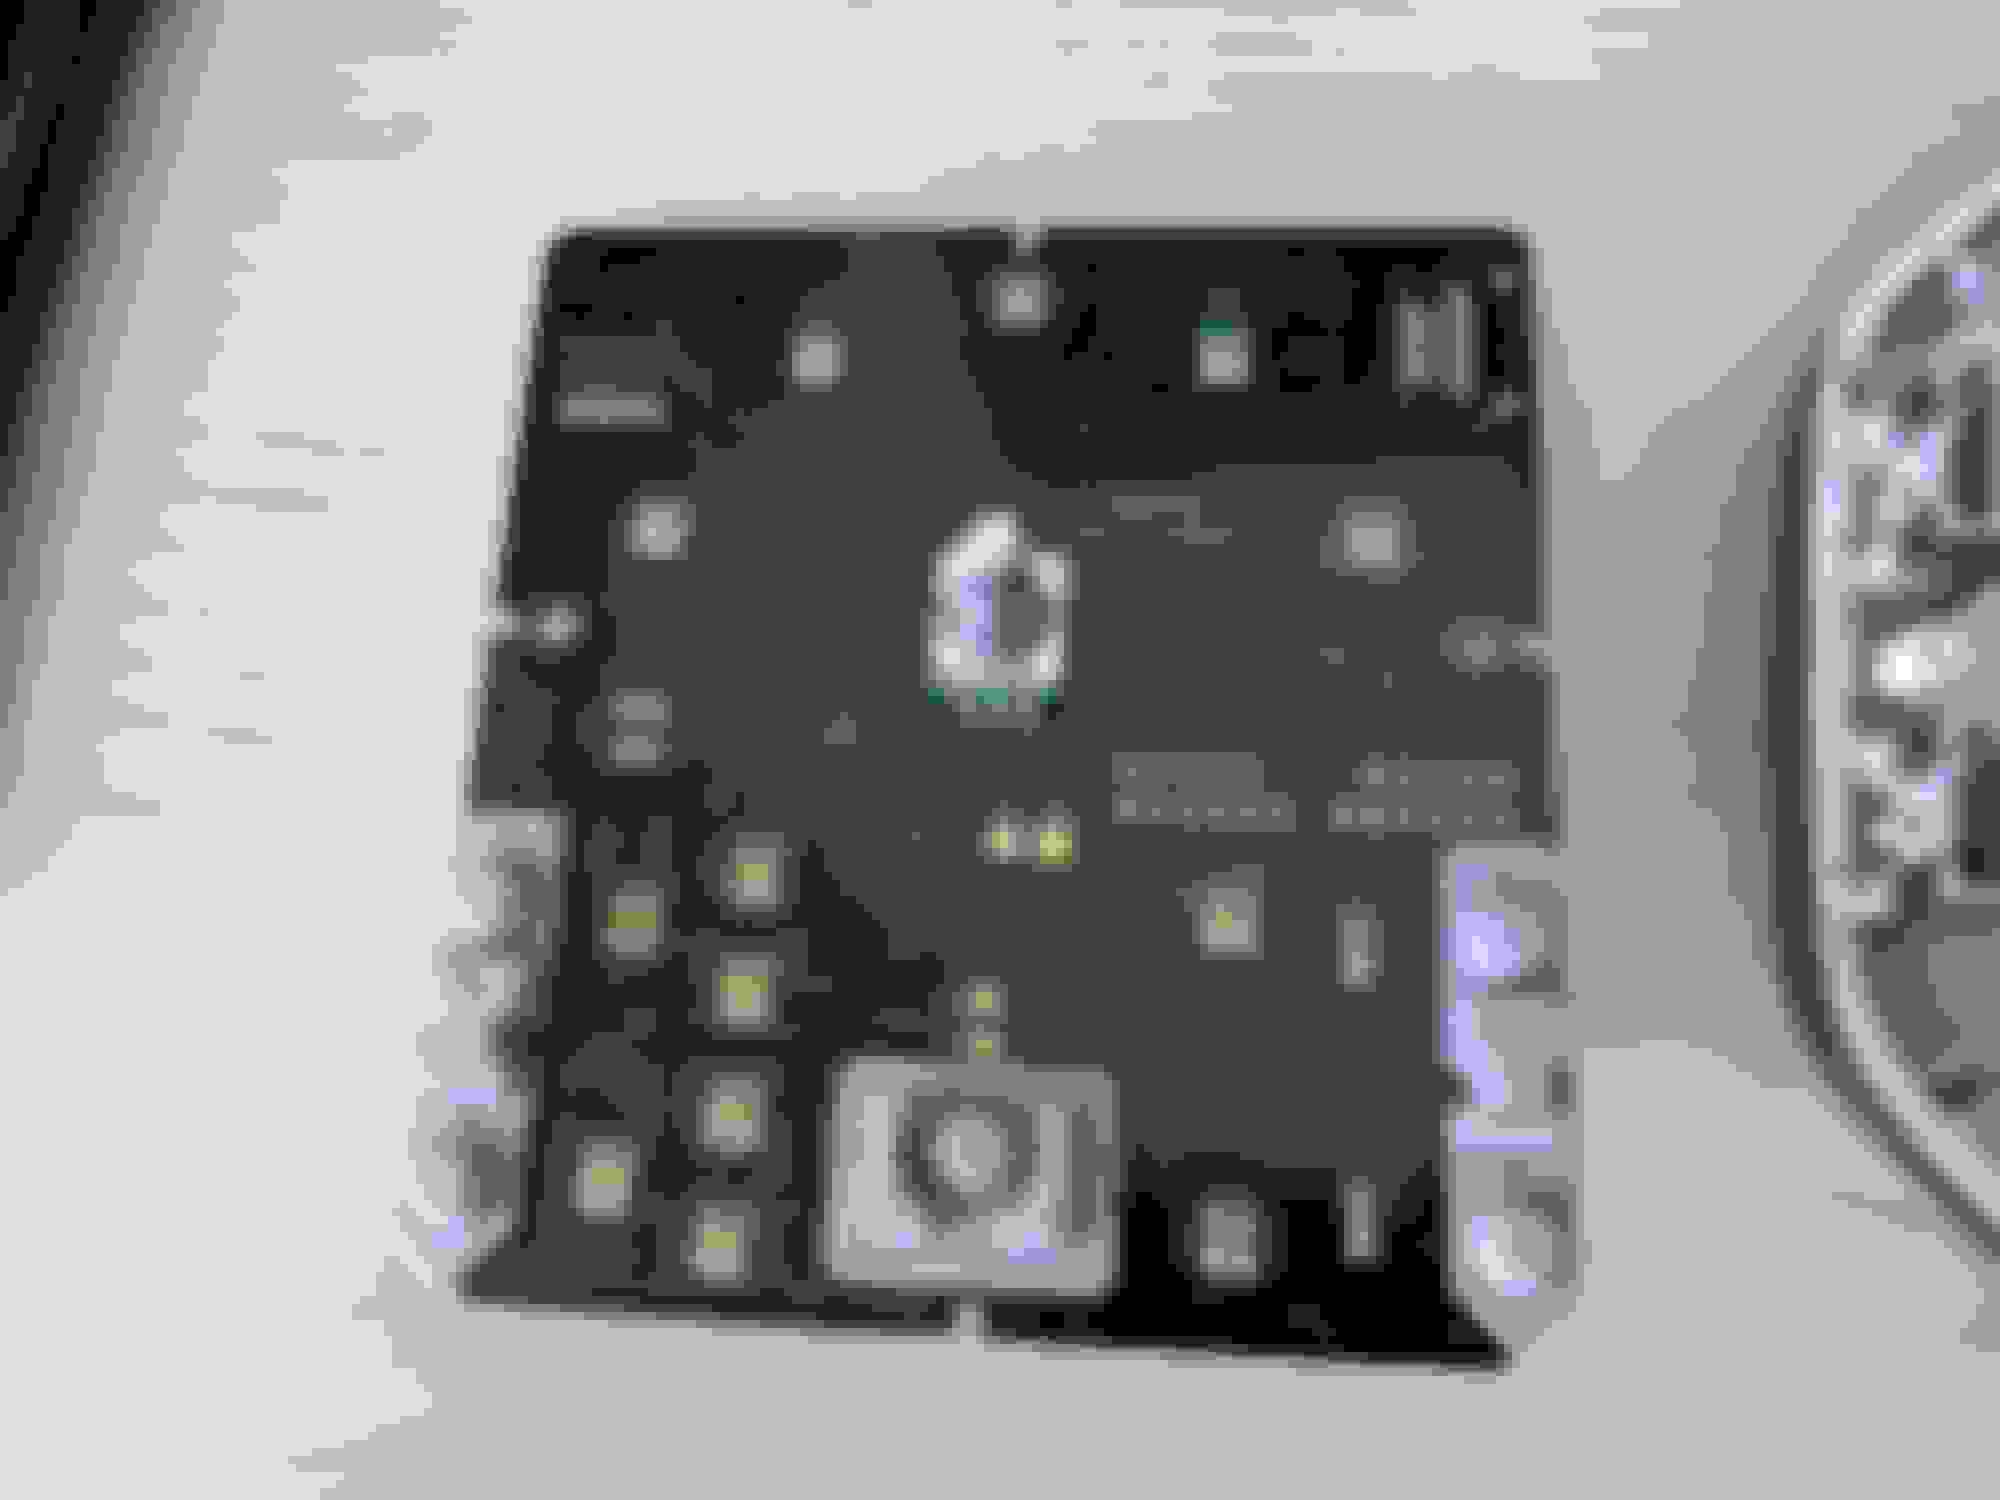
Console removed from vehicle. Back of console. Bottom side of electronic board with back of console removed. Bottom side of switch with electronic board removed. Small white plungers that can easily fall out. Top of electronic board that needed to be cleaned with alcohol wipe, especially under the rubber pushers.
I was able to remove and clean the switch without having to buy the entire $300 part, number YUD501590WUXG. First, I removed the gear shifter. Next, I removed the console. This is tricky as you have to be firm to get it out, but it is almost entirely plastic so be careful so you do not break any of the clips. Once removed, there are 2 screws that hold the cover to the electronic board. Once the screws are removed, you can pull the cover off and reveal the back side of the electronic board. I then pried the electronic board out of the console with a small screwdriver. Be careful, there are 4 white plastic plungers, one on the top and bottom of each switch, that can fall out easily. These plungers activate the electronic board when you press the switch. On my board, there was some sticky substance, like coffee or soda that had seeped through to the top of the electronic board. I simply wiped the board clean, particularly under the little rubber covers, with alcohol wipes and put everything back together. Problem solved!
Console removed from vehicle. Back of console. Bottom side of electronic board with back of console removed. Bottom side of switch with electronic board removed. Small white plungers that can easily fall out. Top of electronic board that needed to be cleaned with alcohol wipe, especially under the rubber pushers.
looks like i have the same problem, i am stuck in low range and both Hi and Low lights are on. I am unable to change to high range and get the Transfer range change not available message..going to clean the connectors on the ECU modul behind the battery today and than remove the center panel to clean the switch and all the other mess... Unfortunaly they powerwashed my engine (LR3 2005 V8) and ever since i had that message coming on and yesterday it finaly got stuck in low range...wishme luck, i hope your post helps i have no dealer close to me ... stuck in Mexico Cabo San Lucas
I just took mine apart today. But for ride hight issue after cleaning my console. Would go up, but no response for lowering. In my case I had corrosion. I had to flow solder on the old contacts to help restore things. Works great now. Pic below shows healthy contact on left, what I saw on right. Restoration is the bottom pic. Glad I like taking the console apart for a deep cleaning every year anyway. Camping/dog sure make a mess of it.
Last edited by DakotaTravler; May 6, 2023 at 02:36 PM.
worked like a charm thank you so much for this post it fixed my problem in less than 2 hours after cleaning the Transfer modul behind the battery as well- i highy appreciate your help
Just wanted to add:
If you want to bench test the board before sticking back in the car, your ground/earth pin is number 18, raise switch is pin 4, and lower switch is pin 5.
I had to use some 2000grit sandpaper on the pad for the lower switch.
Now I have a fun new code though "too many LED illuminated" which popped up when testing in the car so I probably have some corroded pins elsewhere on the board I need to reflow/resolder. At least it hasn't cost me any money yet and I don't have to use the gap tool to adjust height modes anymore
[img alt="Red: pin 18, ground
Yellow: pin 5, lower sw
Orange: pin4, raise sw"]https://cimg5.ibsrv.net/gimg/landroverforums.com-vbulletin/731x975/e_c54a045cddb6772349d54d6b1a5b57be31f20513_1__c2b1 46610ccf6de2c1aac7aa7ec5901cdc37de19.jpg[/img] Red: pin 18, ground Yellow: pin 5, lower sw Orange: pin4, raise sw
Just wanted to add:
If you want to bench test the board before sticking back in the car, your ground/earth pin is number 18, raise switch is pin 4, and lower switch is pin 5.
I had to use some 2000grit sandpaper on the pad for the lower switch.
Now I have a fun new code though "too many LED illuminated" which popped up when testing in the car so I probably have some corroded pins elsewhere on the board I need to reflow/resolder. At least it hasn't cost me any money yet and I don't have to use the gap tool to adjust height modes anymore Red: pin 18, ground Yellow: pin 5, lower sw Orange: pin4, raise sw
Originally Posted by DakotaTravler
I just took mine apart today. But for ride hight issue after cleaning my console. Would go up, but no response for lowering. In my case I had corrosion. I had to flow solder on the old contacts to help restore things. Works great now. Pic below shows healthy contact on left, what I saw on right. Restoration is the bottom pic. Glad I like taking the console apart for a deep cleaning every year anyway. Camping/dog sure make a mess of it.
I put a tiny bit of solder onto my "lowering" contact, but still don't have continuity between this pad and the yellow pin 5. I do have continuity between the other pins and pads.
I only put a tiny amount of solder on because I'm not that great with my iron, do I need to add more?
How does a connection like this fail inside the pcb between the pin 5 and the pad of sw5?
Last edited by biggreen96; Aug 10, 2025 at 07:35 PM.
Reason: speeling mistakes
Yeah it seems to work best when you flow solder over the whole copper bus (both sides of the sw). Get some flux paste or use a solder with a high flux content to help it flow over the pad evenly and not glob up. Ideally, you'll want both sides of the bus to be about the same height. It's possible the little copper pad in the bottom of the switch/button shifts around and doesn't hit the bus properly or just gets a bunch of gunk built up in it. It's more of an issue with the circuit not completing across the bus switch pads than a failure of the bus. I suppose it's possible your board does have an issue somewhere else. Probably worth reattempting the solder though. I still need to pull mine back apart and look into the LED issue. I'll try and remember to take more pics in case you need to compare something.