When you click on links to various merchants on this site and make a purchase, this can result in this site earning a commission. Affiliate programs and affiliations include, but are not limited to, the eBay Partner Network.
LR3 4.4 MAP sensor clean/replacement/break the connector
I decided to remove and clean the MAP sensor today on my 2006 4.4 LR3. They generally don't get too dirty, even with all the oil sucked into the intake, but they can certainly fail. With failure you may have false lean conditions reported at higher RPM. Also I decided to break the connector and include how to temporarily resolve that.
First you need to locate the sensor. It is positioned beyond the gates of hell at the back of the engine. Set your EAS to access height, remove the grille (to prevent damage) and be prepared to almost lay completely across the engine. Its not easy to see or remove. Much will be done like a blind man at an orgy - by feel.
Get a bright work light and take a look around first. Feel around for the connector, the two screws holding the sensor and all the fun stuff in the way. It will be licking digging in the Halloween guessing bowl but less fun. The connector has a tab that pushes down on the top back end, right where the wires enter. Push down and pull back. With years of dust getting into the connect it may not come off easily. Used a screwdriver in a small opening to help push it back (see photo).
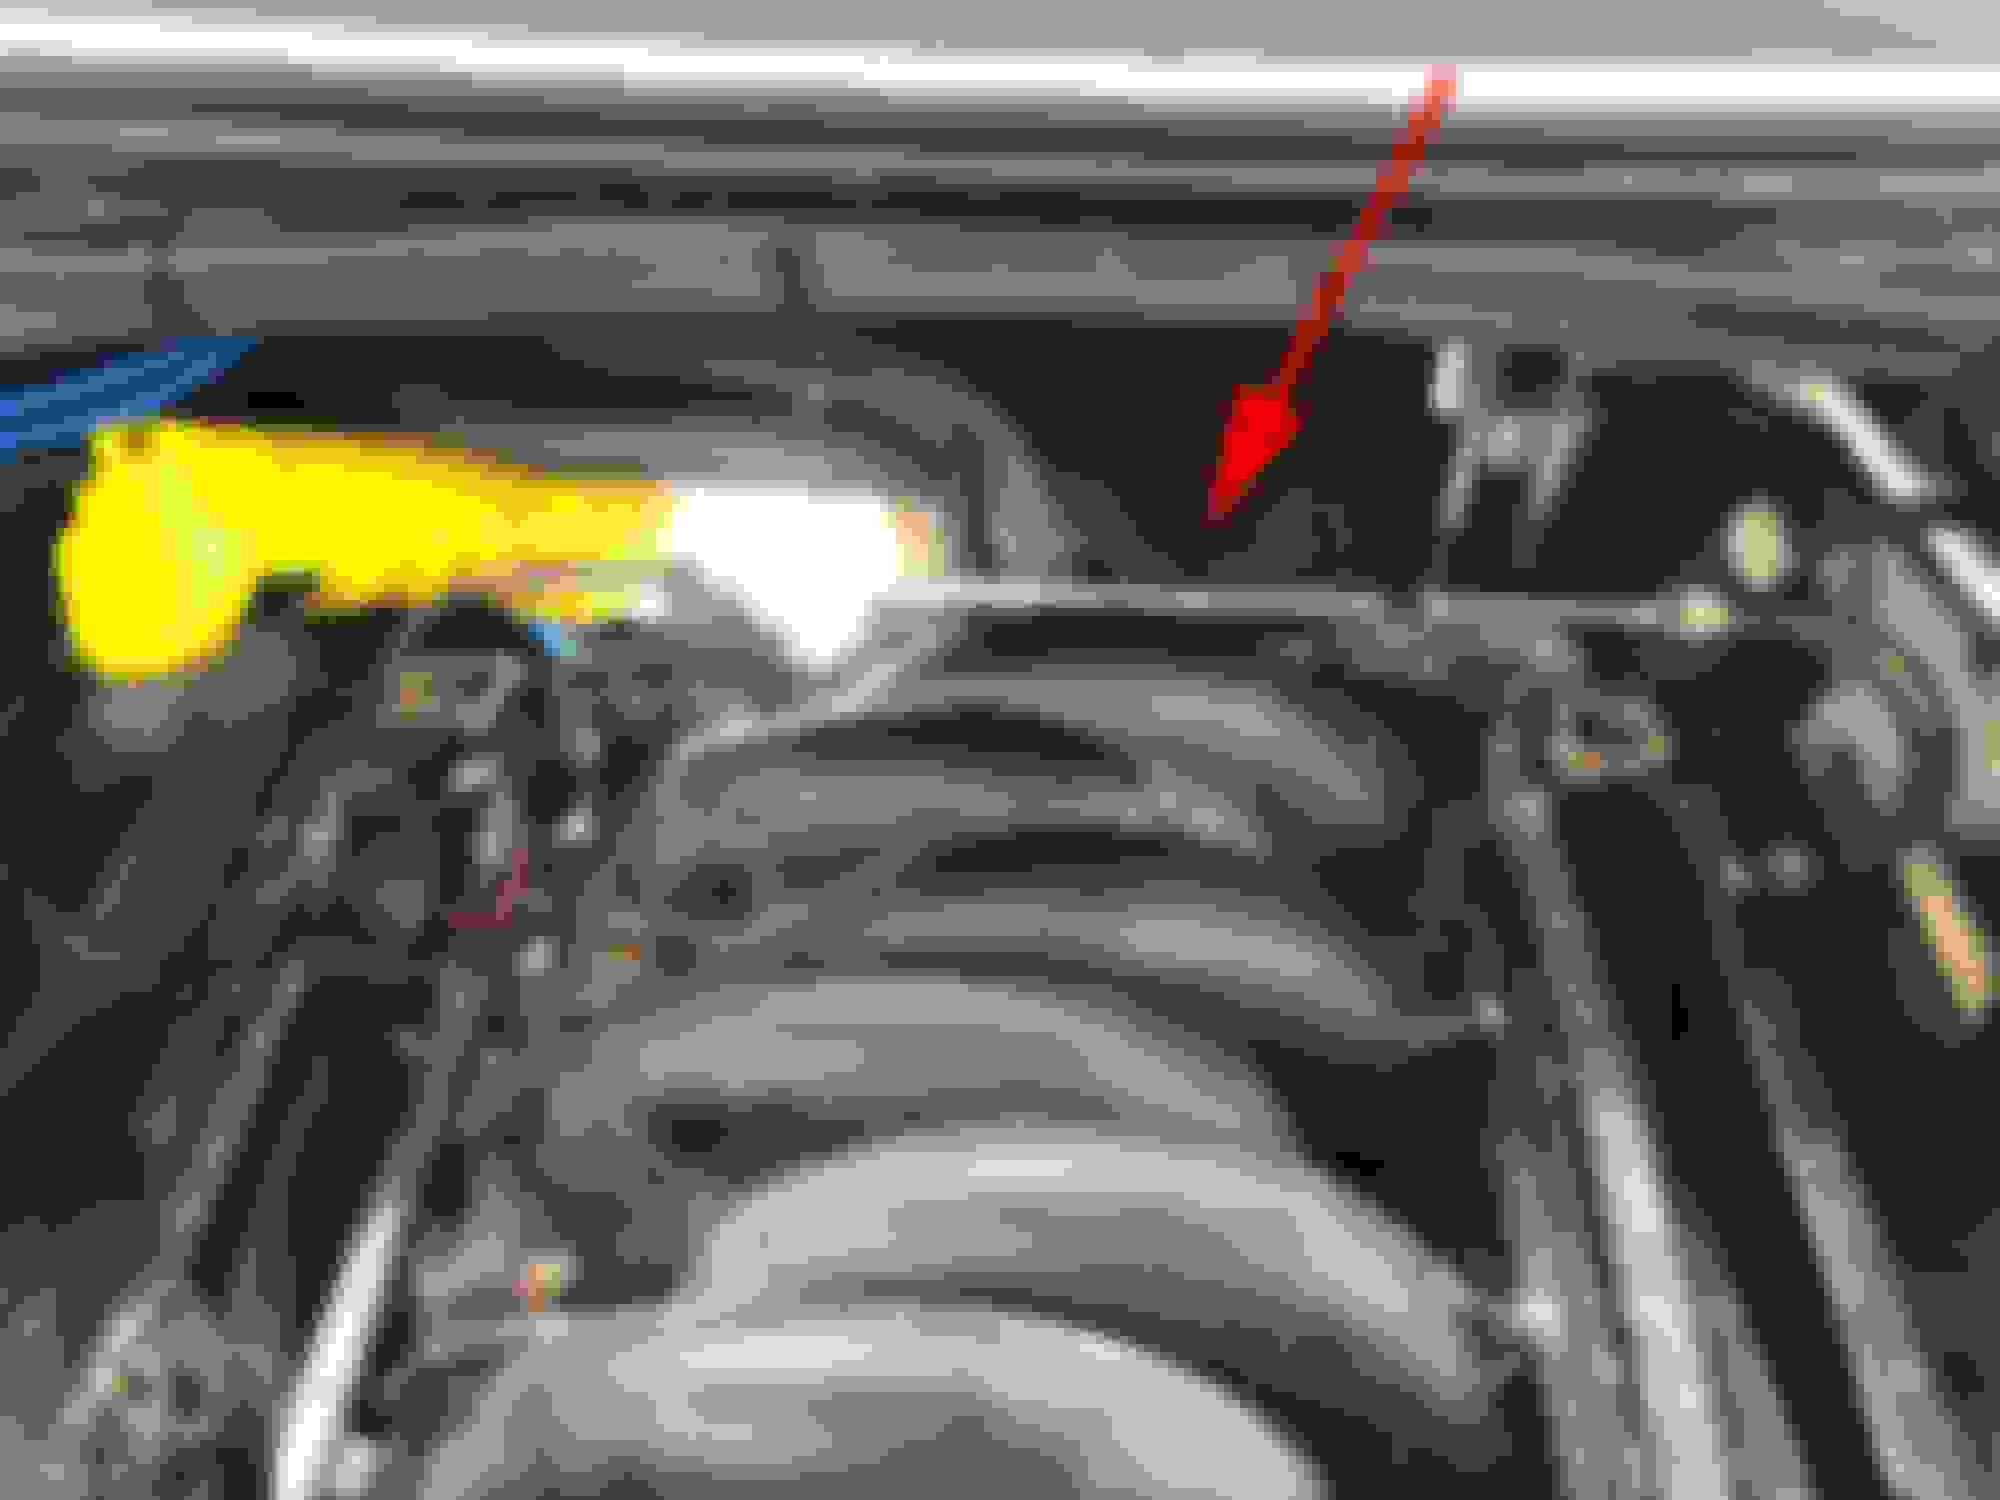
MAP sensor location on the 4.4 V8
Map sensor itself. Intake on left, transmission to the right. The sensor tilts downward to the right.
Pretty sure this is the actual gate to hell. But you can put a screwdriver through here to aid in pushing the connector backwards.
Once you have the connector off, use a torx T20 to for removing the screws. You will want it to be magnetic. Or magnetize it. Or use a separate magnet like I did. What I am saying is, you need a magnet. Or if you have a small garden fairy to catch it from falling, that will do. But if you drop one, good luck finding it. Worst case you can probably use any other sorta fine-thread screw. Just make sure the length is proper and not too long.
Torx bit, T20, and magnetic device.
Once removed, replace or clean and install a the sensor in reverse. Getting the screws back into position is not easy. I used a very small screwdriver to first align the sensor to its screw holes. The sensor can rotate, so this helps a lot to square things up before putting the screws in. I used my magnetic wand to get them into place them carefully slide the magnet off sideways as to not pull them out.
Since the sensor is located in hell, its rather hot there. That has degraded the plastic a bit so like me you may have broken the connector tab off. I searched around the vehicle for a connector I could cannibalize but found none. Because it tilts downward, it will certainly fall off with vibrations. I needed to do something! So I ran a couple cable ties in a loop through the connector (green arrow in second pic) and around the harness above. Then I pushed on the connector as I tightened the cable. All is well until I source and install a new connector.
Cable tie through where tab once proudly lived.
Green is tab on sensor (hidden from view here) then up and around to secure the connector.
Last edited by DakotaTravler; Apr 28, 2019 at 02:33 PM.
Thanks for the images. Looks like, well, an educational endeavor…. Any good guesses who is the real manufacturer for the MAP sensor? One of the images seems to have something which resembles very much the old Motorola logo.