When you click on links to various merchants on this site and make a purchase, this can result in this site earning a commission. Affiliate programs and affiliations include, but are not limited to, the eBay Partner Network.
Its wired into a second battery power terminal that I routed to the rear last project. Been using it mostly to power camping stuff, but finally installed the extra light strip too.
I usually keep them live to power the cooler, but I also put a breaker in under the hood for the second battery in case the whole line needs to be shutoff. Picture is from before I put the + line in between the breaker and the battery, but had just ran the entire line from the back, so you can see the + line run into the bottom of the breaker. It actually fit in the box pretty nicely. Also usually camp with a drawer system so it sort of blocks the panel from being hit with stuff.
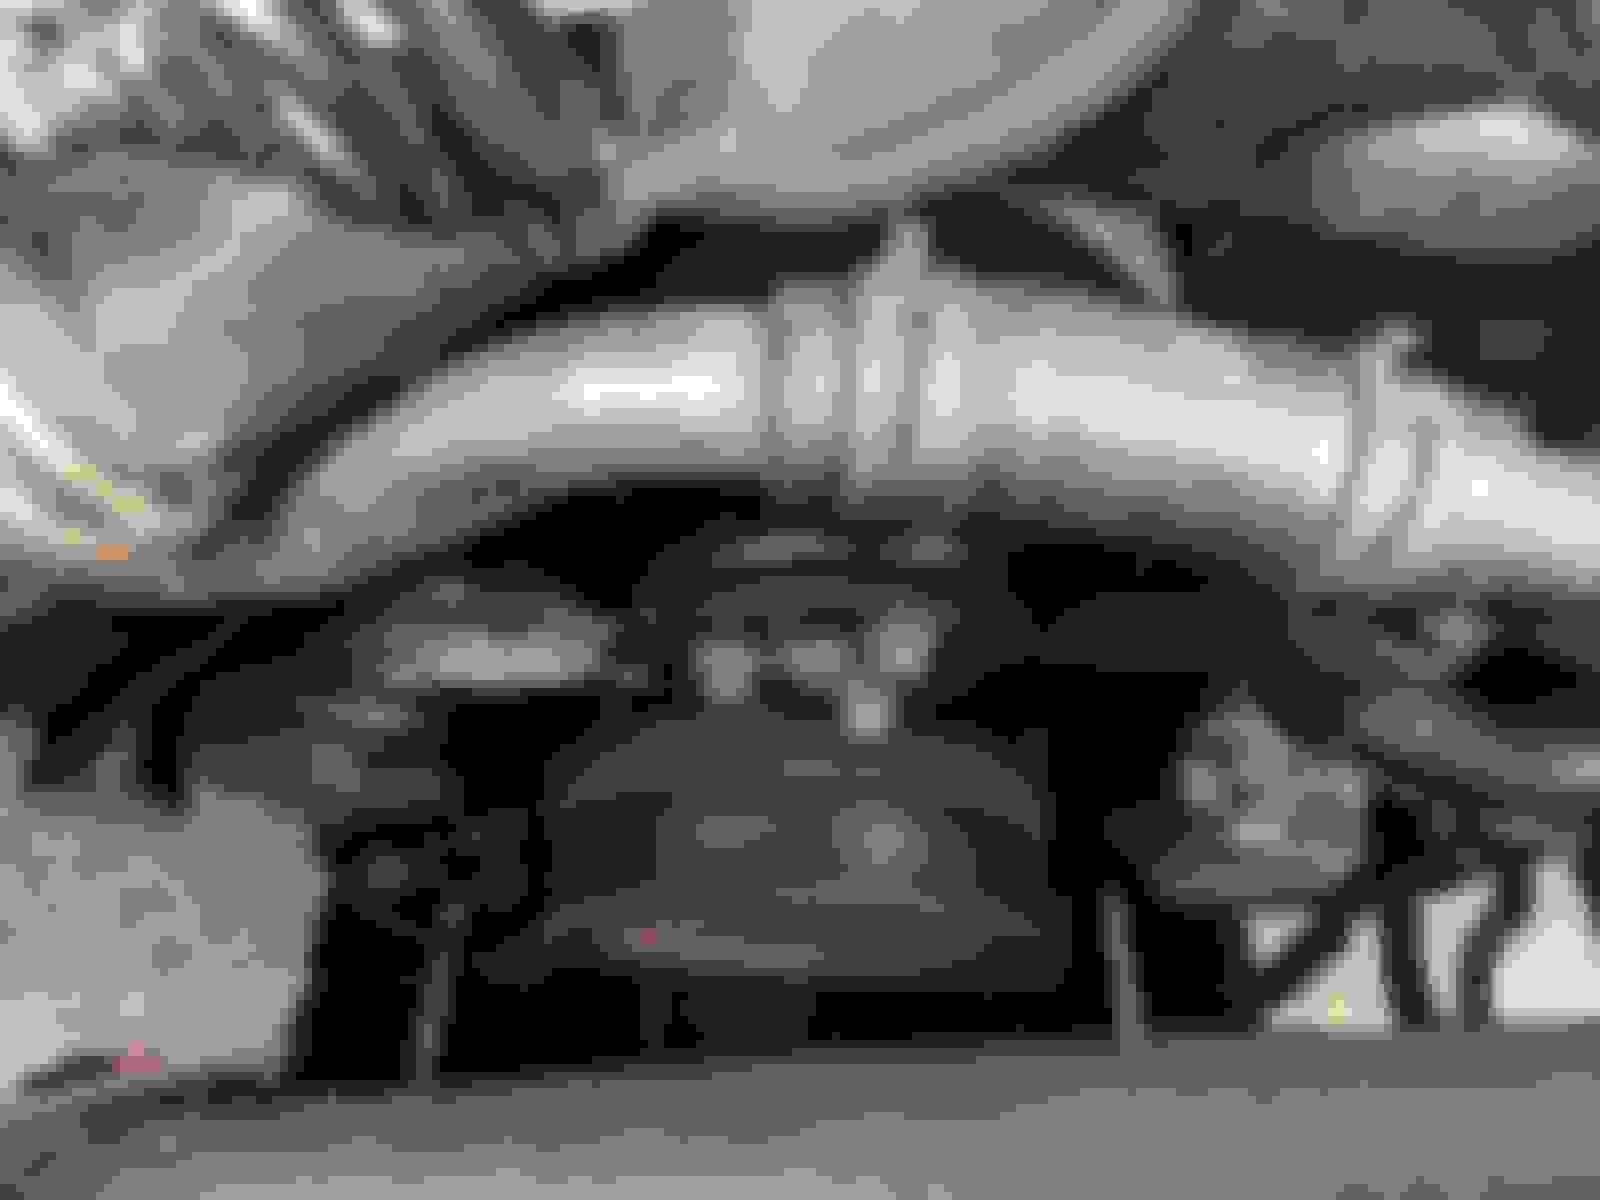
Thanks @morrisdl no i didn't do any trimming. meant to post pictures and sound, but i completely skipped that part. However, I looked to further upgrade the fans,and measured out the dimensions of the radiator and space between the Engine and Radiator.
So here are some pictures of the new fans (they are 3450 CFM), and the engine with the brackets removed!
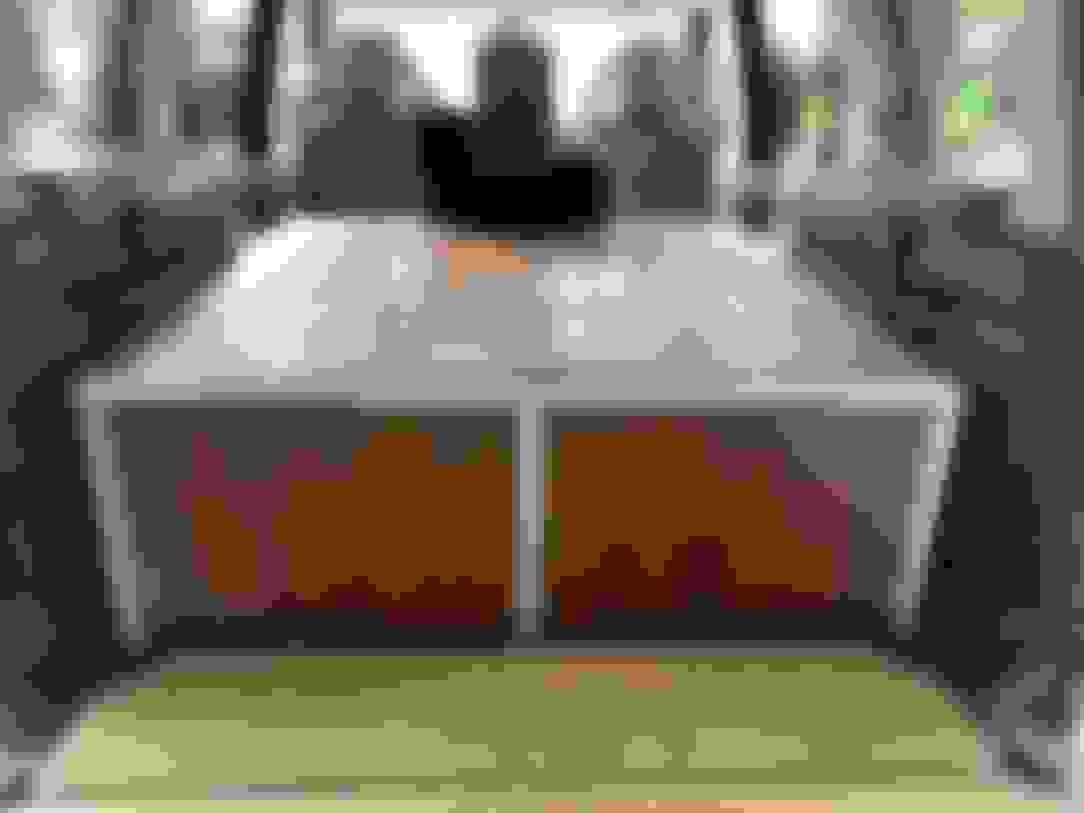
Finally finished my roof rack decking install. Obviously I dont want to secure anything to the decking itself, so I created some anchor points at various locations and down the center.
Thanks @morrisdl no i didn't do any trimming. meant to post pictures and sound, but i completely skipped that part. However, I looked to further upgrade the fans,and measured out the dimensions of the radiator and space between the Engine and Radiator.
So here are some pictures of the new fans (they are 3450 CFM), and the engine with the brackets removed!
Refinished the OEM front A-Frame Bar. Sanded, degreased, washed, rinsed, dried, primer paint, and finished with a top-coat of truck bed liner paint. Pleased with the way it looks. I painted it with the same top-coat a couple of years ago, but it gradually started to chip and peel off - probably because I did not spend as much time prepping it properly, and did not use a primer. Hopefully this will last a little while longer.
Link to shared Google photos folder with pics - https://photos.app.goo.gl/do3NXywLwyPKA2G17
Of course it is now extremely obvious that the Winch area needs a decent refurb - perhaps next week.


 09-21-2021, 09:35 AM