2011 LR4 5.0 Head Gasket replacement documentation
#31
#32
Agreed with Chuck, all threads should be repaired or be prepared to pull threads out when torquing.
#33
I'm ready to pull the heads, an aside was able to pull the harmonic balancer with a generic puller and longer bolts I got from home depot.
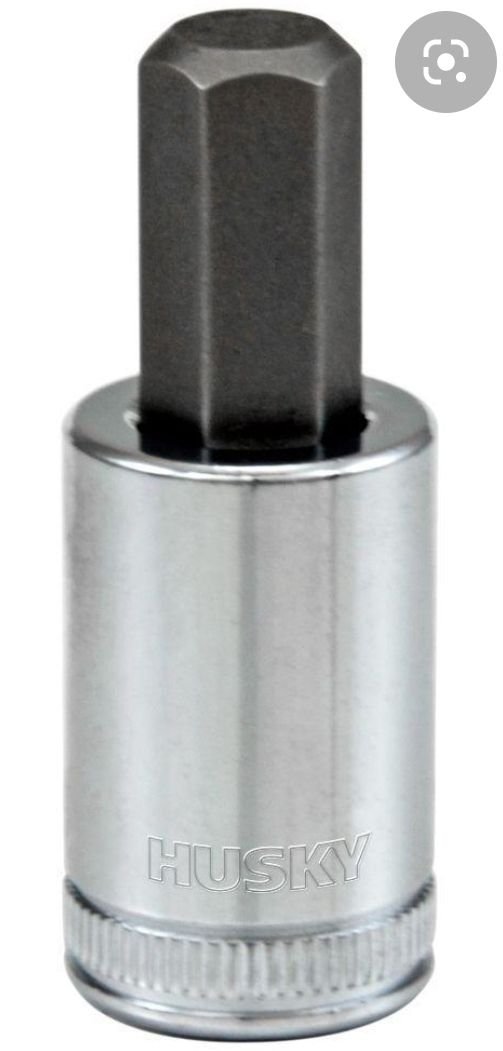
My vehicle is a 2010 range rover with 197500 miles, interestingly I got the m10 ribe/polydrive socket and it was too small. It looks like I have the m11x178 instead of m10x175 head bolts. So I ordered a kit with more ribe/polydrive sockets. I was not aware a 2010 would have the newer head bolts. Just an FYI
My vehicle is a 2010 range rover with 197500 miles, interestingly I got the m10 ribe/polydrive socket and it was too small. It looks like I have the m11x178 instead of m10x175 head bolts. So I ordered a kit with more ribe/polydrive sockets. I was not aware a 2010 would have the newer head bolts. Just an FYI
#34
I'm ready to pull the heads, an aside was able to pull the harmonic balancer with a generic puller and longer bolts I got from home depot.
My vehicle is a 2010 range rover with 197500 miles, interestingly I got the m10 ribe/polydrive socket and it was too small. It looks like I have the m11x178 instead of m10x175 head bolts. So I ordered a kit with more ribe/polydrive sockets. I was not aware a 2010 would have the newer head bolts. Just an FYI
My vehicle is a 2010 range rover with 197500 miles, interestingly I got the m10 ribe/polydrive socket and it was too small. It looks like I have the m11x178 instead of m10x175 head bolts. So I ordered a kit with more ribe/polydrive sockets. I was not aware a 2010 would have the newer head bolts. Just an FYI

The following users liked this post:
EvanB (01-17-2022)
#36
First 5 inserts placed. No significant clearance issues so far. Would be easier with engine out but im not set up for that so I am making do.
The bottom row will work too, I may place a jack under the motor mount to tilt the block a few mm to prevent binding.
Driver side may force me to buy or borrow an angle drill for clearance.
Overall, the NS300L kit offered by Norm has worked well. The inserts themselves look and feel solid. Once they are all in, ill have peace of mind that I won't have any concerns of a pulled thread when the heads are torqued down.
The following users liked this post:
EvanB (01-17-2022)
#37
Finished the last 2 of 10 inserts on the passenger side of the block tonight. I have a couple lessons learned that I will follow in the next post with a few photos.
Tip #1: Clean the block surface well and apply contact paper. Then cut the bolt holes out with a razor knife. I saw a few videos where people tried to cover the head surface with a trash bag but that just looked messy. The contact paper stays in place and worked excellent in keeping debris out of the wrong places.
Tip #1: Clean the block surface well and apply contact paper. Then cut the bolt holes out with a razor knife. I saw a few videos where people tried to cover the head surface with a trash bag but that just looked messy. The contact paper stays in place and worked excellent in keeping debris out of the wrong places.
The following users liked this post:
EvanB (01-17-2022)
#38
Tip #2: Loosen the top motor mount bolt with an 18 mm socket and then jack the engine up about a 1/2 inch on the side that you're working on. Place a spacer in the gap created at the motor mount and then remove the jack. This will allow straight in clearance past the wheel well for drilling and tapping of the bottom row.
The following users liked this post:
EvanB (01-17-2022)
#39
#40
Tip #4: The instructions provided with the insert kit suggest to blow the shavings out of the hole intermittently as you proceed with an air compressor. There is the recommendation to wrap the hole with a rag so the shavings don't fly everywhere. I found that even doing this created a significant mess where I didn't want shavings.
A better solution came when I saw a piece of scrap half inch thin walled metal tubing laying around. Duct taping this to the end of one of my shop vac nozzles proved to be a great solution. Enough air squeezes around the tubing within the hole to allow sufficient suction to remove the shavings straight into the shop vac. No mess.
A better solution came when I saw a piece of scrap half inch thin walled metal tubing laying around. Duct taping this to the end of one of my shop vac nozzles proved to be a great solution. Enough air squeezes around the tubing within the hole to allow sufficient suction to remove the shavings straight into the shop vac. No mess.
The following users liked this post:
EvanB (01-17-2022)

