
Land Rover Safari 5000 Lamps Not fit in ARB Bumper? Here's Your Solution

For all of you that have thought of trying to fit your 9 inch Genuine Land Rover Safari 5000 Driving Lamps in your 8 inch 1999-2002 ARB Bumper and saw they don't fit! Here's my solution! And yes, the bumper is on a D1 but it is an early D2 bumper. No guarantees on other models.
Anyways, here we go.
After lots of thought on alternative mounting positions and none of them sufficing how I like, I decided to make the lights work where they were designed to, in front of the grill directly behind the factory on the ARB Light Mounts. Simply enough, my LE trim Disco had factory fog lamps, so once the factory bumper was gone it left those plugs. I had been searching for quite awhile for these lamps and finally found some in great condition, plus, all I had to do was plug them into the old fog lamp plug!
Most importantly, I went to Lowe's and acquired a 3' x 1.5" x 1/8" piece of metal stock, unfinished. It was around ten bucks I think. Then, I proceeded to cut two 6"ish strips out of that metal. After that...
I spent about an hour at Lowe's today of buying bolts, returning them, trying another size, then finally finding what I needed. I'm glad I parked up front so I could walk back and forth between the truck and Lowe's, lol.
Last edited by honda50r; Jul 23, 2012 at 09:16 PM.
...After that, I drilled two 3/8" holes on each side of the strips. Then sprayed them black.
(Sorry the pic is huge)
As you can tell, one hole was for the first bolt while the back hole was for the lamps themselves.
As the photo shows, it was around 2 inches of drop to get the lamp where I wanted it. For the front bolt, part#: Hillman#881773 This is a 3/8"-16 x 2 Hex Screw.
Shown here: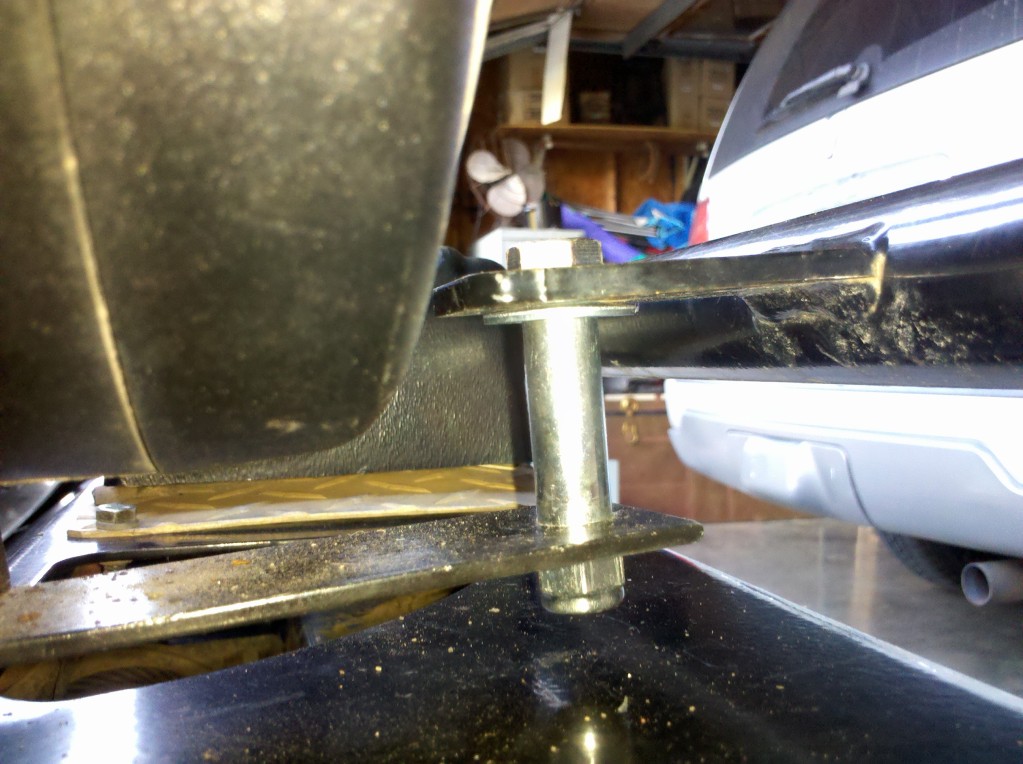
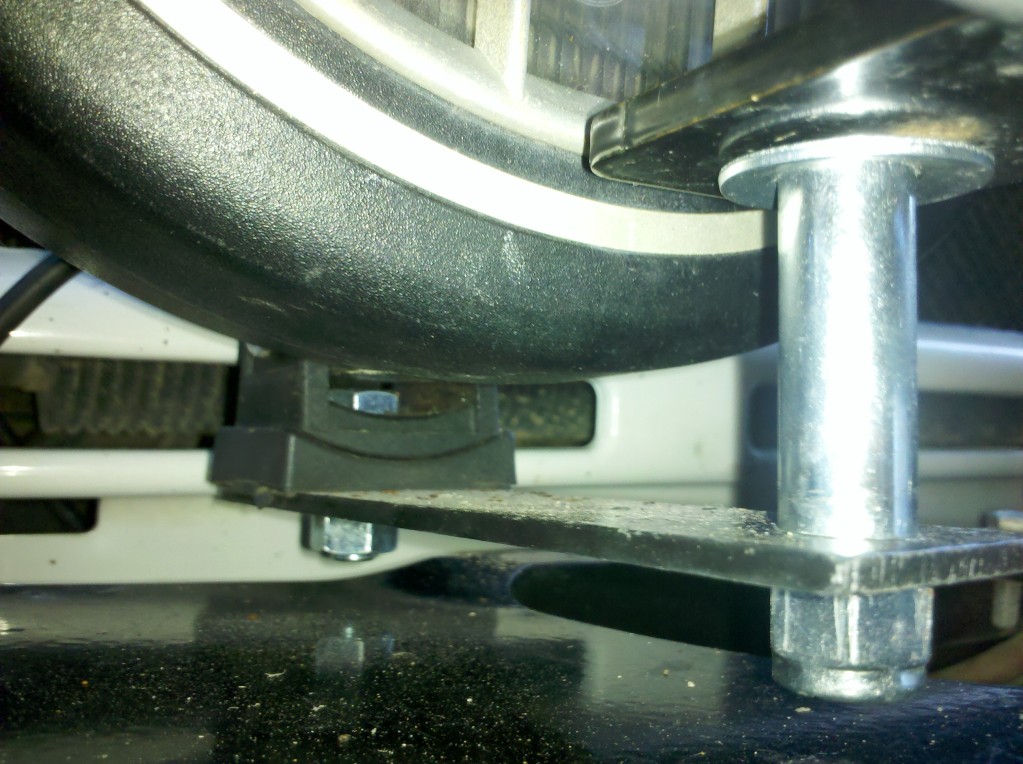
To keep the ridgidity, I used a 3/8" x 1.5" Stainless Steel Spacer, as you can also see in the photo below. This spacer had to be trimmed down about 1/8" to accommodate the nylon lock nut. In order to keep the top from "circling" around the ARB 1/2" light mount I had to use a washer underneath also. If I had to do it again, I would use a washer under the cap along with on top of the spacer, if that makes sense.
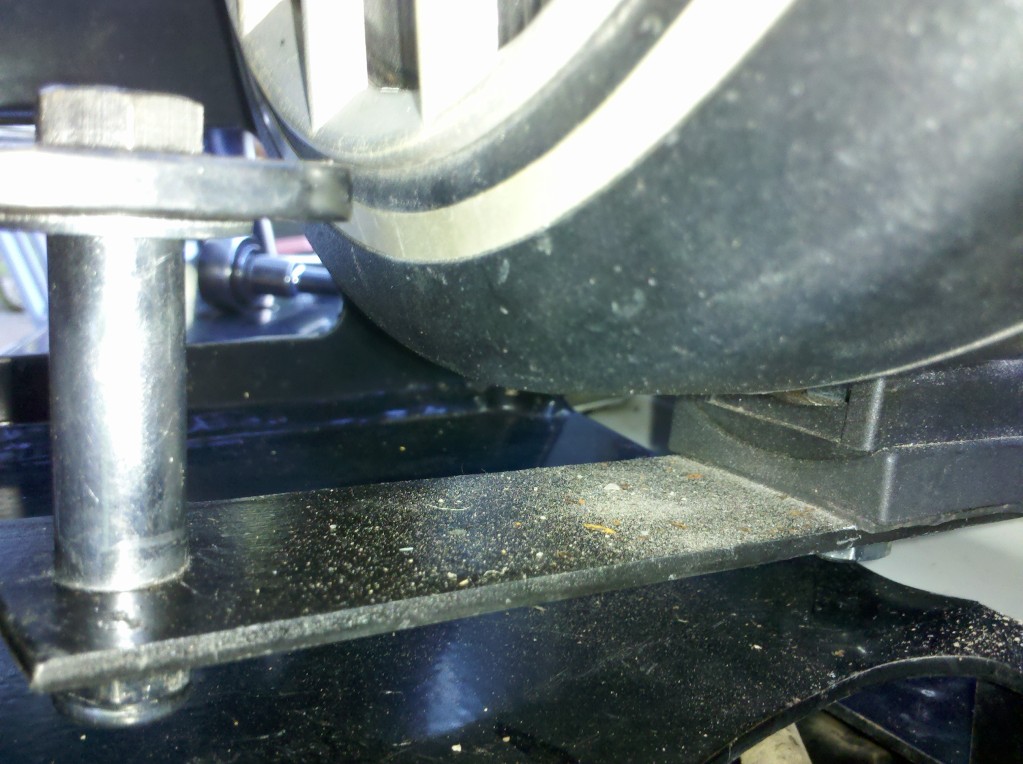
For the lamps, I replaced the factory stem with a 3/8" x 1" hex bolt of which accommodated the rear-most hole in the steel. It was also sinched up with a nylon lock nut. (Below under the lamp)
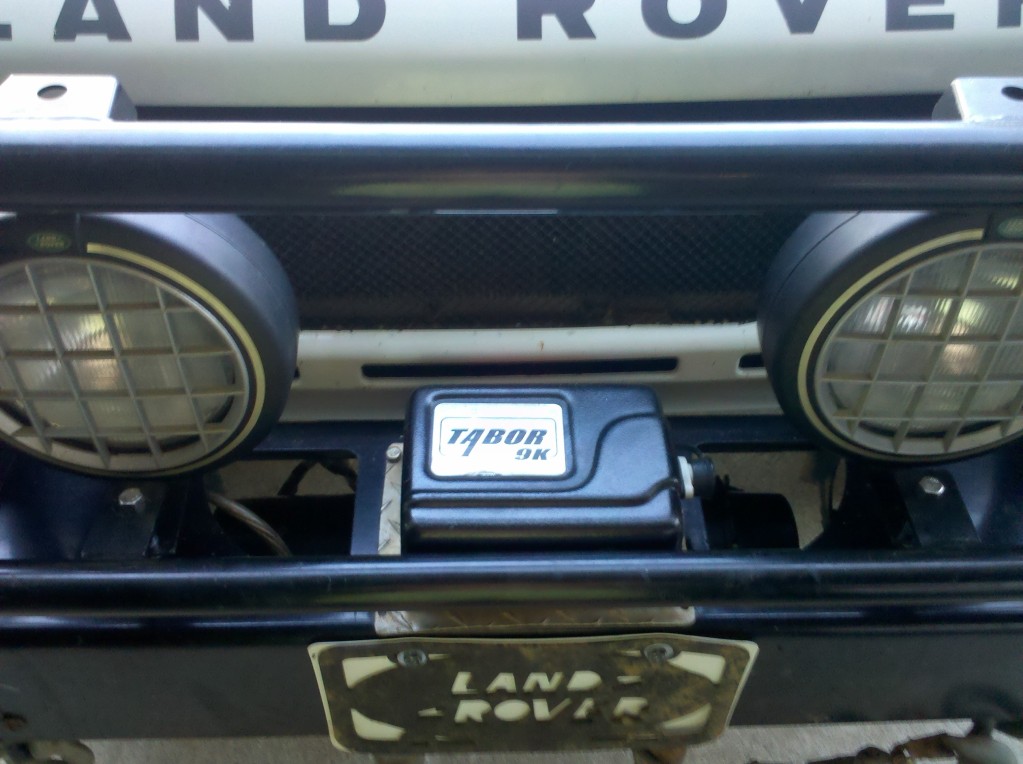
Finished product!
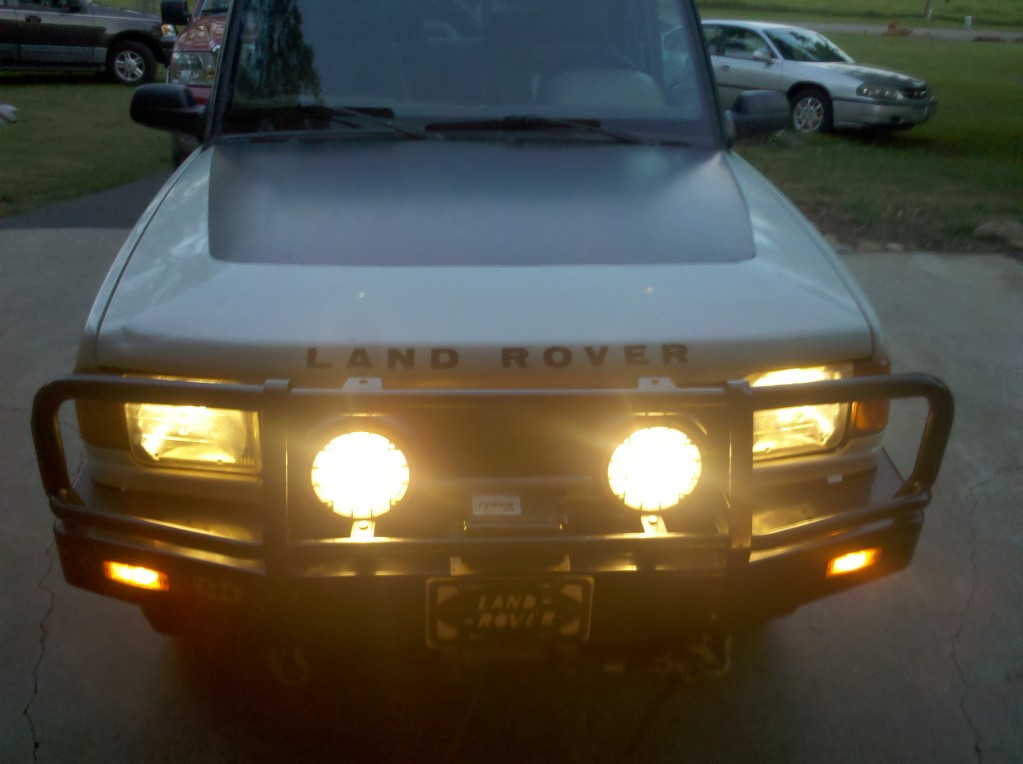
I was thinking of painting the hardware, but it would wear off soon anyways and look even worse. Plus, I don't mind the stainless steel accents at all.
I hope this helps somebody! That is my goal!
(Sorry the pic is huge)
As you can tell, one hole was for the first bolt while the back hole was for the lamps themselves.
As the photo shows, it was around 2 inches of drop to get the lamp where I wanted it. For the front bolt, part#: Hillman#881773 This is a 3/8"-16 x 2 Hex Screw.
Shown here:
To keep the ridgidity, I used a 3/8" x 1.5" Stainless Steel Spacer, as you can also see in the photo below. This spacer had to be trimmed down about 1/8" to accommodate the nylon lock nut. In order to keep the top from "circling" around the ARB 1/2" light mount I had to use a washer underneath also. If I had to do it again, I would use a washer under the cap along with on top of the spacer, if that makes sense.
For the lamps, I replaced the factory stem with a 3/8" x 1" hex bolt of which accommodated the rear-most hole in the steel. It was also sinched up with a nylon lock nut. (Below under the lamp)
Finished product!
I was thinking of painting the hardware, but it would wear off soon anyways and look even worse. Plus, I don't mind the stainless steel accents at all.
I hope this helps somebody! That is my goal!


TReK
Joined: Nov 2009
Posts: 2,433
Likes: 5
From: Woodway, WA

Looks good Honda, nice work, and nice write up.

Thread
Thread Starter
Forum
Replies
Last Post
dvnoriega
Retired - Private For Sale/Trade Classifieds
2
Mar 16, 2017 08:28 AM
yloDiscoII
Retired - Private For Sale/Trade Classifieds
11
Nov 2, 2011 11:23 PM