
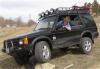
My new BajaRack: Installed! (pic intensive)

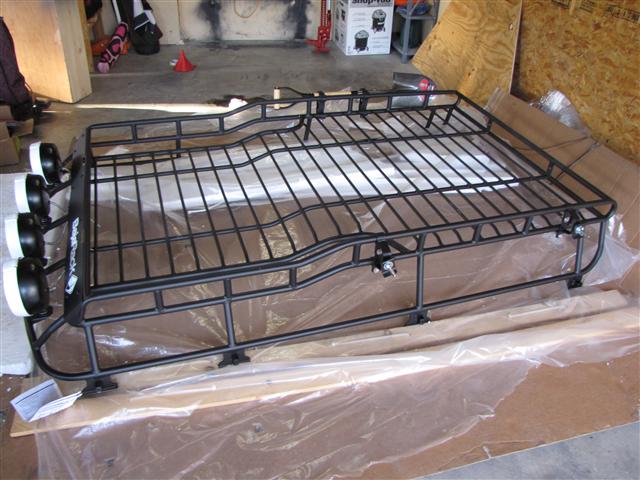
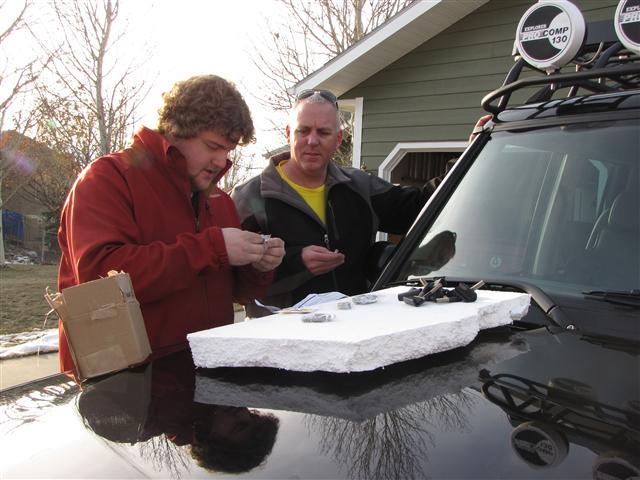
So, Monday was a big day for my Disco. I was expecting my order from BajaRack. The shipping company told me that they would be in my part of town around 3:00, so I made sure I was home for it. They showed up at 2:58 (gotta love efficiency!) and we wheeled my rack into the garage. I took a good, hard look at it and signed for it when I was satisfied that there was nothing wrong with it. I wasted no time in calling my buddy Dan to help me lift it onto the truck. Then I installed the four lights I got for it.
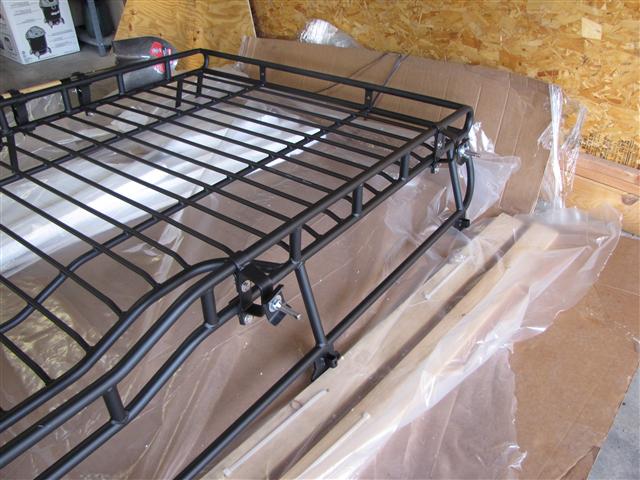
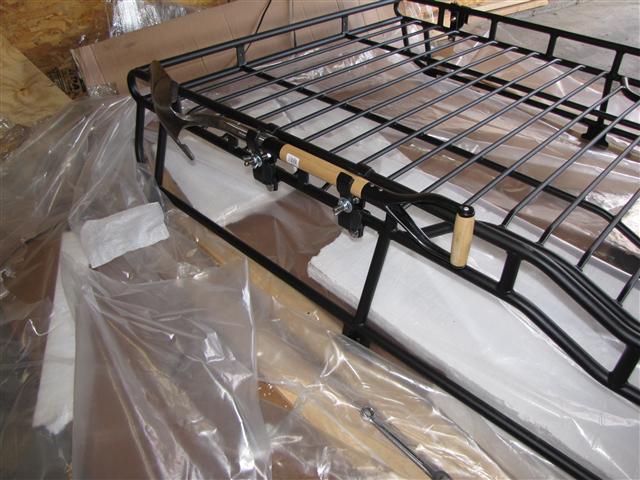
I also bolted on the Hi-Lift mounts, and the mounts for the shovel/axe.
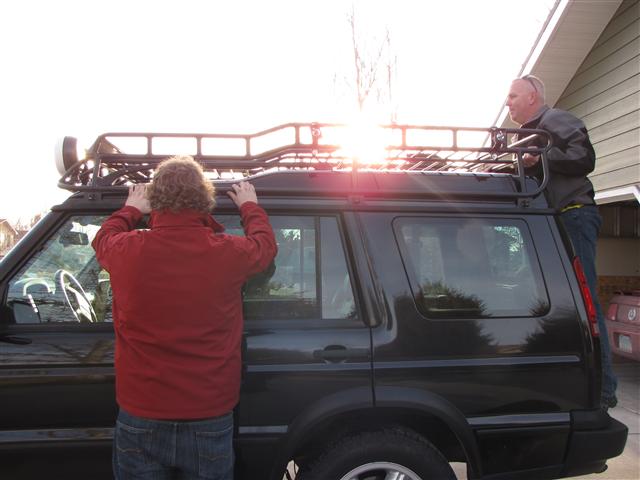
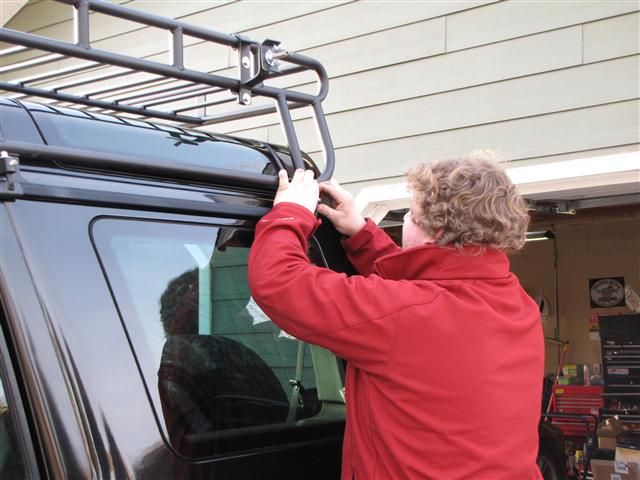
Then we hoisted the rack in the air and walked it onto the truck.
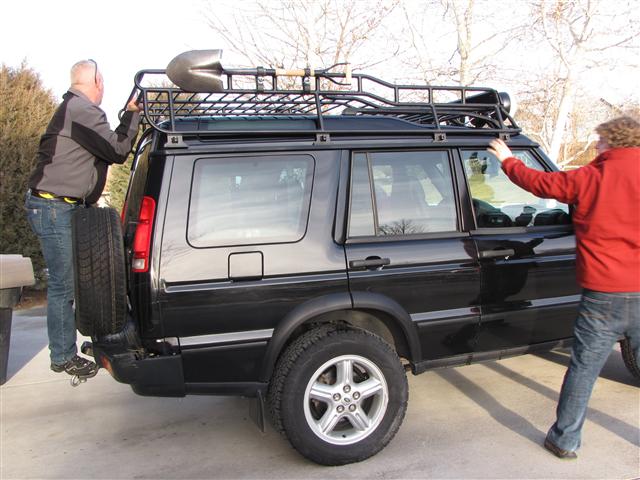
I lined it up while Dan pushed.
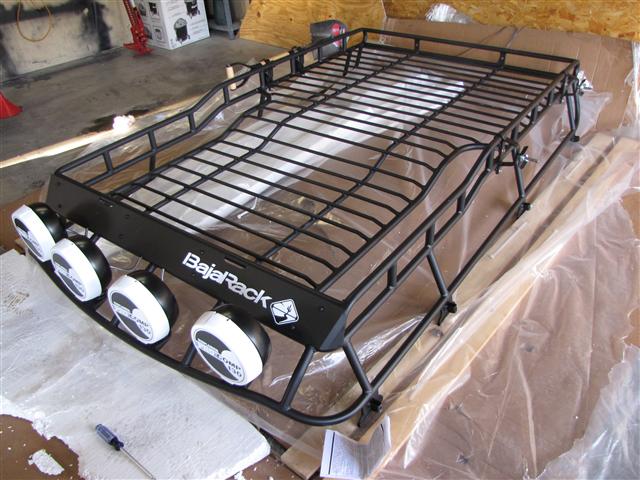
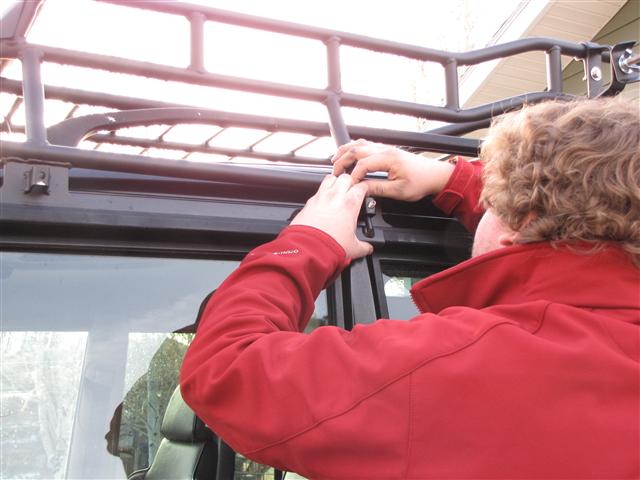
Then came the clamps/brackets. This took a little thinking at first, but it was pretty easy.
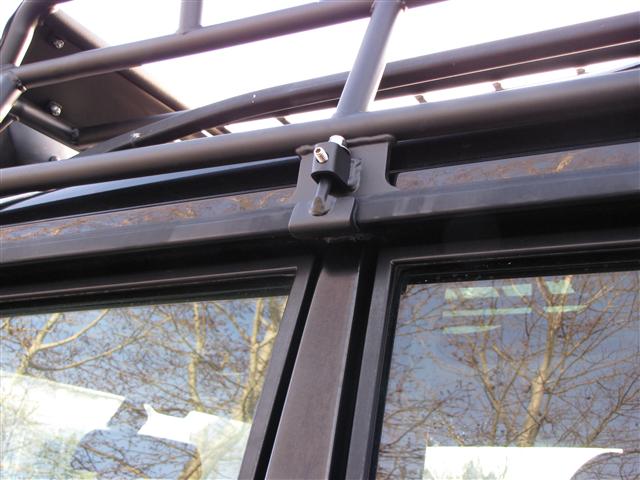
Then it was on there.
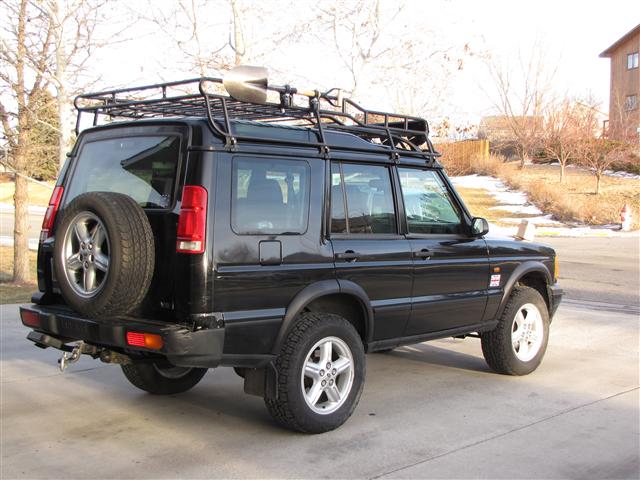
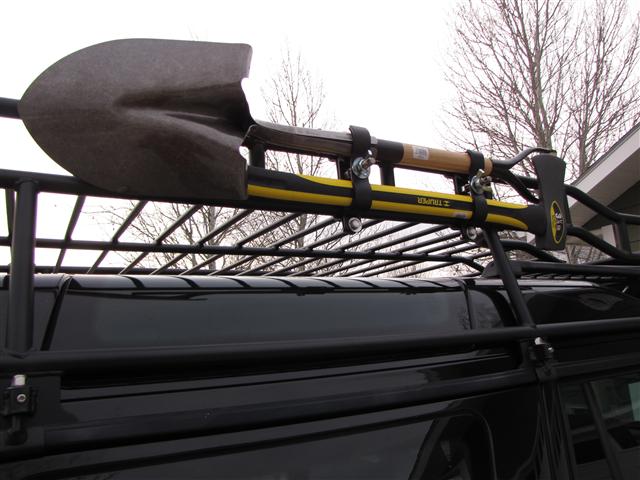
After a bit of adjusting to get the Hi-Lift in the right position so it wouldn't rattle, and the addition of an axe, I was done. I really like how it turned out.
Here's the Hi-Lift:

And the shovel and axe:
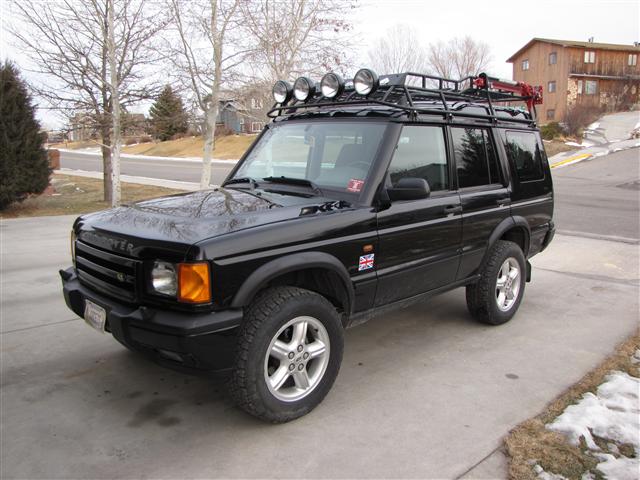
I love the way it looks. Makes it look much more like an expedition-ready or overland Land Rover. Which is the point. The BajaRack seems really well made. The welding is solid and the powder coating looks pretty good. I really like that the flooring has much tighter spacing than other racks. I don't even need to install any kind of flooring to use it. And at just 100lbs, it's not heavy either. And I have to admit, I do like that it is different from the normal Safety Devices type rack. Not that those look bad or anything, but I like that mine is a bit different.
As another buddy put it: I've gone a long way to ensure that my Disco is easily spotted in a parking lot!
I also bolted on the Hi-Lift mounts, and the mounts for the shovel/axe.
Then we hoisted the rack in the air and walked it onto the truck.
I lined it up while Dan pushed.
Then came the clamps/brackets. This took a little thinking at first, but it was pretty easy.
Then it was on there.
After a bit of adjusting to get the Hi-Lift in the right position so it wouldn't rattle, and the addition of an axe, I was done. I really like how it turned out.
Here's the Hi-Lift:
And the shovel and axe:
I love the way it looks. Makes it look much more like an expedition-ready or overland Land Rover. Which is the point. The BajaRack seems really well made. The welding is solid and the powder coating looks pretty good. I really like that the flooring has much tighter spacing than other racks. I don't even need to install any kind of flooring to use it. And at just 100lbs, it's not heavy either. And I have to admit, I do like that it is different from the normal Safety Devices type rack. Not that those look bad or anything, but I like that mine is a bit different.
As another buddy put it: I've gone a long way to ensure that my Disco is easily spotted in a parking lot!
Last edited by wreckdiver1321; Jan 23, 2013 at 11:39 PM.

Rock Crawling
Joined: Oct 2012
Posts: 407
Likes: 0
From: San Diego, CA
Nice rack! How much did it run you to get it shipped?
And honestly, I'm more jealous of the fact that your rear step is keeping itself up
And honestly, I'm more jealous of the fact that your rear step is keeping itself up
Last edited by keoni004; Jan 29, 2013 at 07:37 PM. Reason: typoooooooooo
Thanks keoni!
Just the rack would be $1135 shipped. With the Hi-Lift and Axe/Shovel mounts, the total was $1289. Which isn't bad at all considering that I don't even need to put a floor in it like I would had I gotten a SD or Voyager rack. You'd have to pay at least that without shipping for a Voyager rack with those mounts and a floor.
I'm happy with it, it's very well made and the coating is really nice.

Pro Wrench
Joined: Oct 2010
Posts: 1,669
Likes: 2
From: San Juan, Puerto Rico
nice rack.
How was it? And how did your Disco fare during that trip?
Right now I'm planning an epic month-long overland trip from my hometown in Billings, through the Beartooth Mountains in southern MT/northern WY, the Rockies in western MT, the Lolo Motor Way in the Idaho panhandle, through Washington to the Columbia. From there I'll go to Portland, with a quick trip to Astoria, then up the whole length of the WABDR, over to Glacier NP, then home again. I'm hoping it'll be a great adventure.
Right now I'm planning an epic month-long overland trip from my hometown in Billings, through the Beartooth Mountains in southern MT/northern WY, the Rockies in western MT, the Lolo Motor Way in the Idaho panhandle, through Washington to the Columbia. From there I'll go to Portland, with a quick trip to Astoria, then up the whole length of the WABDR, over to Glacier NP, then home again. I'm hoping it'll be a great adventure.

I ran the first couple of legs of the WABDR (up to Ellensburg) over 5 days of leisurely driving and camping. Most of the roads are non-technical and maybe just a little rutted in those sections. You gain and lose elevation a few times.
The most difficult part I encountered was the section pictured here.

This was the uphill side which wasn't too bad. A lot of big rocks, so pretty bumpy and slow going. The downhill part was the same and was one of the only times I needed to use low 4 to assist braking the engine.
My Rover performed very well. One of my buddies who drove it for a couple stretches commented on how he felt the Rover did better off road than on the the highway.
There are some more technical parts of the WABDR, but overall I believe it is pretty easy and your truck will likely do fine.
I took two jerry cans with me for piece of mind, but we never needed them.
