When you click on links to various merchants on this site and make a purchase, this can result in this site earning a commission. Affiliate programs and affiliations include, but are not limited to, the eBay Partner Network.
After a significant amount of researching, I haven't seen a good discussion on adding a secondary battery to the Disco. So, I figured I would document my efforts. This is an ongoing project since it's going on about two weeks worth of research/design.
I started down this path to power the lights I plan to add to the roof rack. I am looking at a set of KC Gravity Pro6 lights and a couple of sets of the C-Series Area flood lights (#328). The goal was to keep the removal of the roof rack easy without complicating the disconnecting of power. So, I thought I would build a box for the battery and mount it to the roof rack. This would house the battery(ies) and the Trigger 2100 wireless switch. If I put it on the roof rack, I wouldn't have to deal with pulling headliners, drilling holes in roofs, etc. Seemed like a good idea. But, I wouldn't have a way to charge it if I was out camping or away from electricity. Yes, I could charge it with a battery charger when I was home, but I still needed enough juice to keep up with nightly discharges.
This is where it gets fun! The Pro6 set I am looking at pulls about 13A, and the two sets of floods pull about 6.4A. I wanted to be able to have two nights worth of runtime, so I figured I would need to run the Pro6's for about 4 hours and the floods for another 3 hours per night. Quick math says I need a 72Ah worth of current. To keep at little extra current just in case, I rounded up to 80 Ah. For two nights, that makes it a whopping 160Ah battery! Because I would be mounting this in a case and I would be completely (potentially) discharging the battery, I need a Sealed Lead Acid, deep discharge battery. The case I'm using is an MTM AC35. This also limits the form factor of the battery I can put in the case. These type of batteries are not cheap. Maybe I could get by with a smaller battery? And, that led me down the path of figuring out how I could charge the battery while the car was running...
I knew I could easily build a cable to connect the box on the roof to the battery, I just wasn't sure how to get it to the roof from inside the car without compromising the wading capability. Which means I had to start pulling things apart.
Battery housing
The battery housing is located at the rear passenger quarter panel. I also needed a way to separate the starting battery from the secondary battery while still being able to charge it.
Spare terminal for positive
There is a spare screw hole for adding additional power loads. This is where I am adding the battery isolator I bought off of Amazon. With the isolator providing a charging voltage without allowing the starting battery to be drained from anything connected to the second battery, I can drain the secondary battery and still be able to start the car. Definitely a requirement!
After researching on DigiKey for parts to make waterproof connections and provide covers to keep unmated connections covered, I settled on a set of two prong circular connectors. I started looking for spots to get the power to the outside of the car. After pulling up the back panel where the spare is, I found a spot I thought would work.
Under rear panel behind 3rd row
Rubber grommet behind air compressor
The rubber grommet is to the right of the air compressor.
Close up of rubber grommet
The rubber grommet seems to be a good spot to cut a hole, run a wire, and reseal with some silicone. That would allow me to get to the spot where I wanted to mount the outside connection. Since I was planning to only plug the battery box in after a night of use, I was going to make a cable that would run from the back up to the roof just hanging there while driving to recharge the battery.
Opening from under the car where rubber grommet would come through
This is on the outside of the car, underneath. The grommet doesn't fit in this hole, but another one hole behind this one.
Bracket that would be drilled to mount connector
This is where I would mount the connector. It is on the inside, passenger side of the bumper.
While this would check off the easy removal and recharging requirements, it does not look good or seem safe if it gets caught by a branch or other object. It was during this timeframe that I started to think, what if I wanted to put some extra stuff in the car (i.e., Dometic CFX75 or ARB 50)? New requirements mean back to the drawing board�
A few days later and several hours of researching different connectors/ways to get wire out of the back (and rethinking how to mount a battery in the engine compartment), I figured it made more sense to mount the battery inside the cabin but removably. This would allow easier access to the batteries (yes, at this point I think I�m going with multiple 20Ah batteries) and allow running other items inside the car.
Disregarding the connectors from DigiKey, I found a set of connectors and accessories from Powerwerx that seem to fit the bill when it comes to easily mountable, small form factor, and inexpensive. I have many different options for volt meters, switches, plates, etc. I will be wiring the case for a few different capabilities, but more on that later.
With the connection to the starting battery and the case designed, I�m back to trying to get power to the roof rack without looking too awful. Since this is a luxury vehicle, I want this to look good. That means as little dangling wire as possible.
There is plenty of room on each side of the tailgate to run wires up the side to the roof. The trick is getting the wire to the outside tailgate, and once up top, figuring out how to hide the wire.
I started out thinking if I could get the wire to one of the top wire harnesses in the tailgate, I could potentially get to the antenna mast.
One of two wire harnesses at top of tailgate
Inside top headliner, underneath antenna
Attempting to remove antenna
With the bolts on the inside and what looks like the whole space inside the cover being use, I didn�t think it was going to work. And, I couldn�t even get the cover off. I�m assuming it is bolted on, and I wasn�t going to remove the headliner to unscrew it.
I didn't have anymore time this weekend to finalize where to run the wire. I have an idea, but I probably won't get to it til this coming weekend. Until then...
Can you take a picture or a video of the rear quarter panel going back IN? I took mine out to pull a fuse, but cannot figure out how to get the panel to snap back in.
Can you take a picture or a video of the rear quarter panel going back IN? I took mine out to pull a fuse, but cannot figure out how to get the panel to snap back in.
Check the thread you started in the D5 forum. Replied there with some detail. If that doesn�t make sense, let me know.
Well, made some progress this weekend. My goals were to:
Build the battery box
Install the battery isolator
Run power to the roof rack
The battery box was really fun to see it come together. Using MTM�s AC35 and a number of Powerwerx electrical parts, I was able to create a container that is marine grade (could mount on roof rack) and can hold a significant amount of weight. It has several options for power outputs, making it usable both in the car and outside while camping.
Battery box and set of KC floods
All the goodies to make the battery box
Most of the holes I drilled are 1-1/8� holes and are standard for the PanelPole and volt meter inserts. I also added some M6 terminals to the top in case I need to power something with banana plugs, ring terminals, or straight power cable. This also serves as the main power distribution point underneath
Switched power in case I need it with power outlets
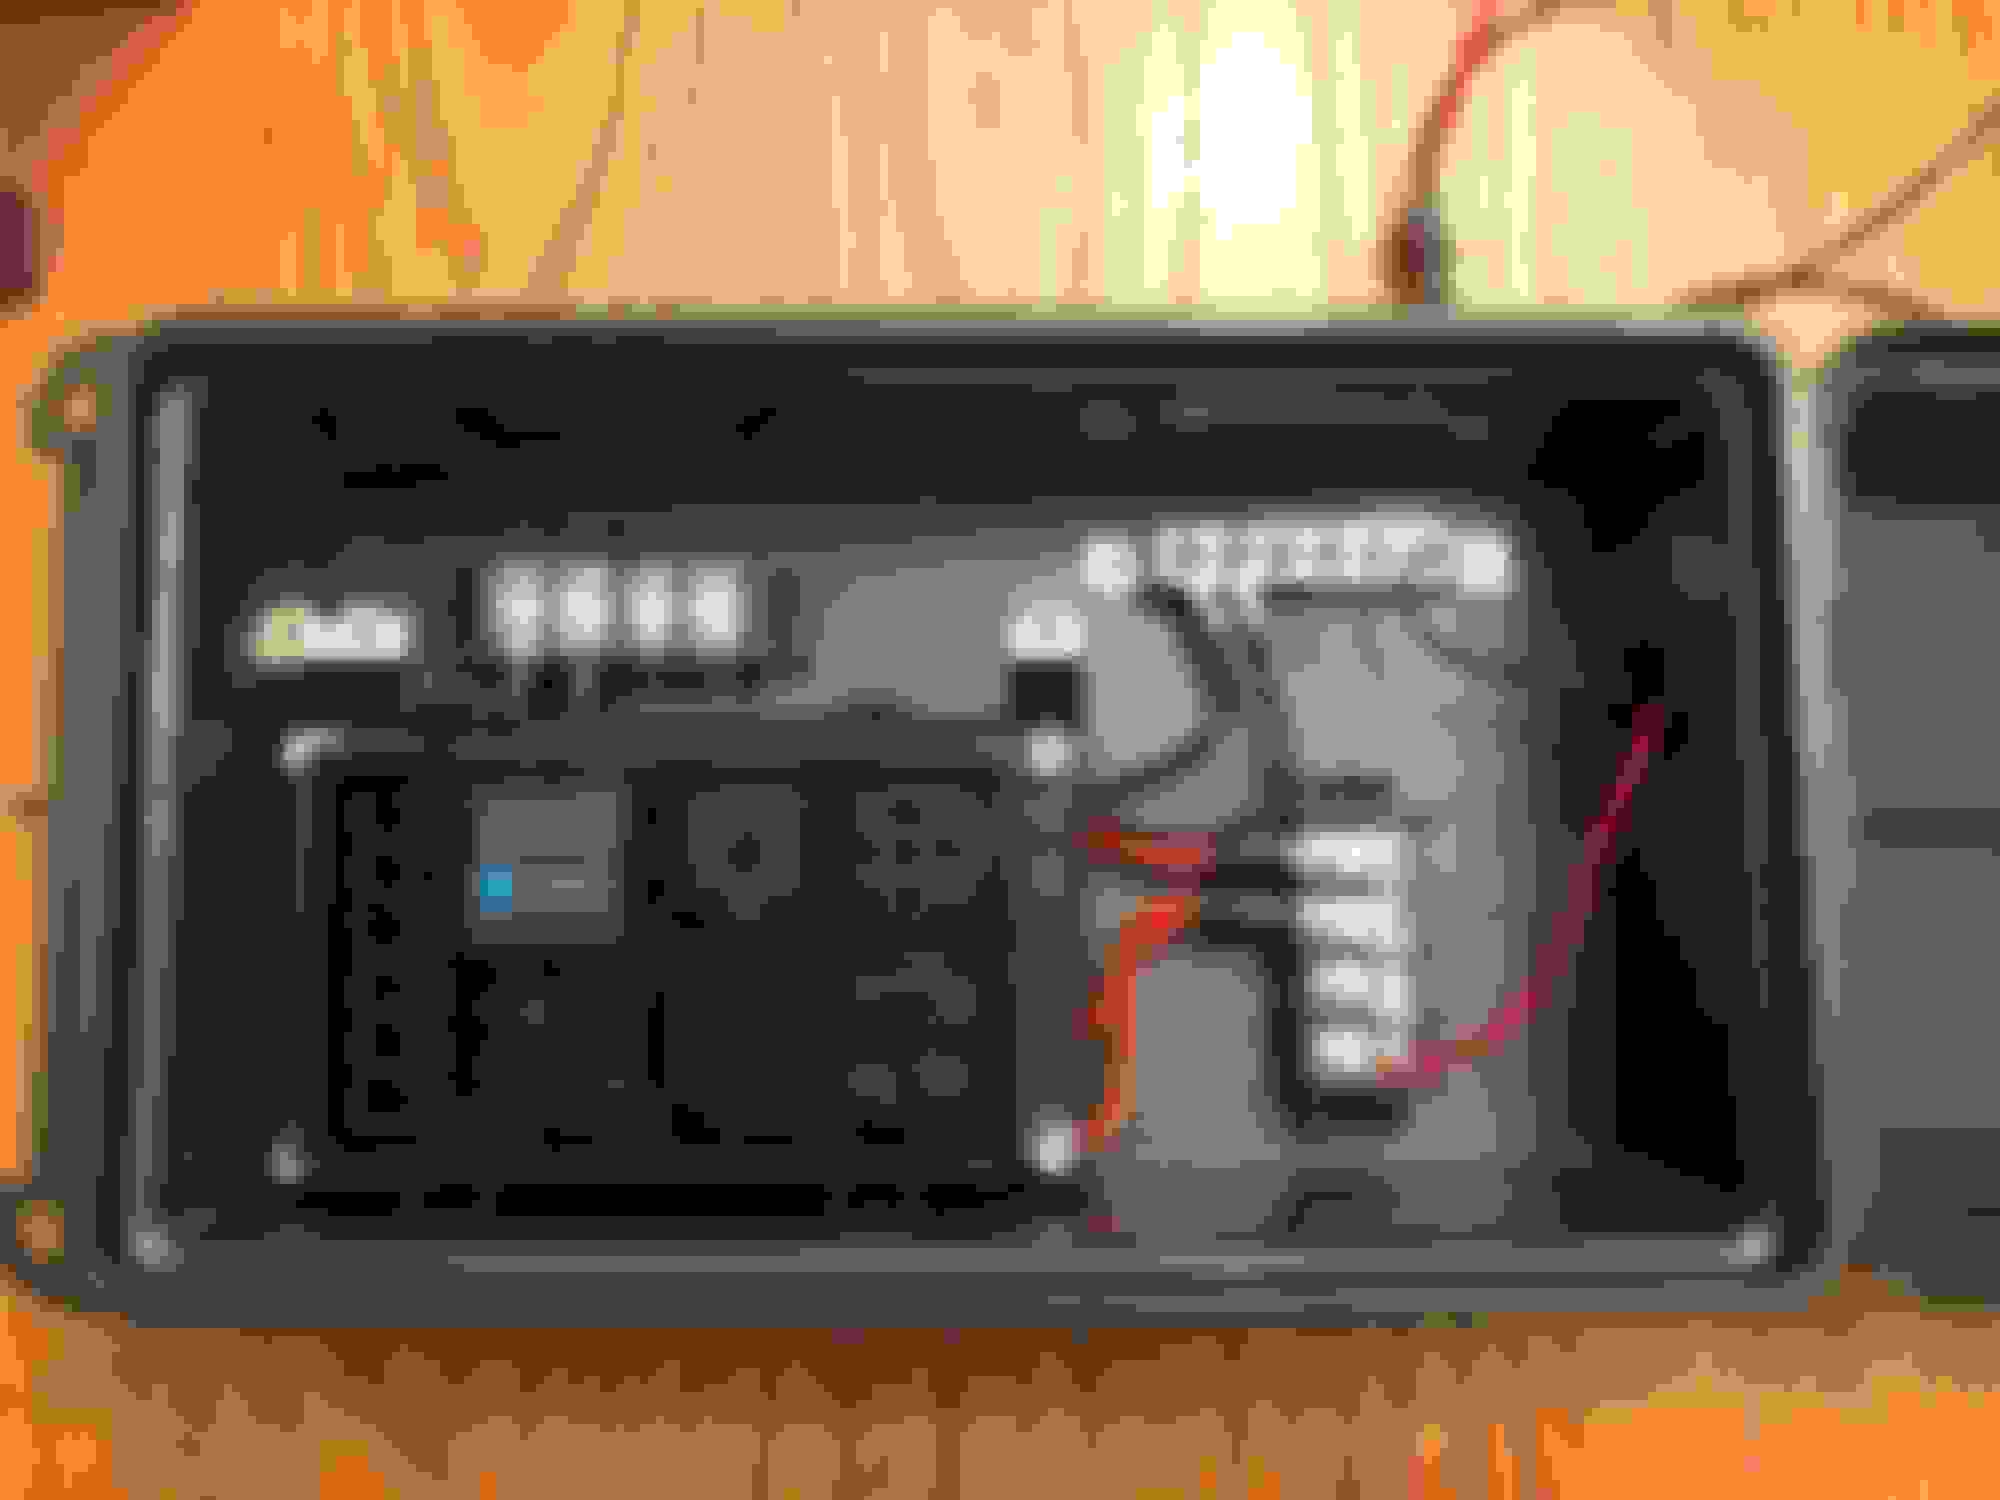
Inside of box (wired)
The switch panel came with some metal screws, but I wanted some black bolts with nuts to keep it tight. So, I picked up some #6-32 bolts with lock washers and nuts. After getting all of the holes drilled, panels mounted, and some batteries I have lying around installed, I was able to test the box.
Powering the KC floods
Success!!! Now, I just need to grab my three batteries and get them mounted in there.
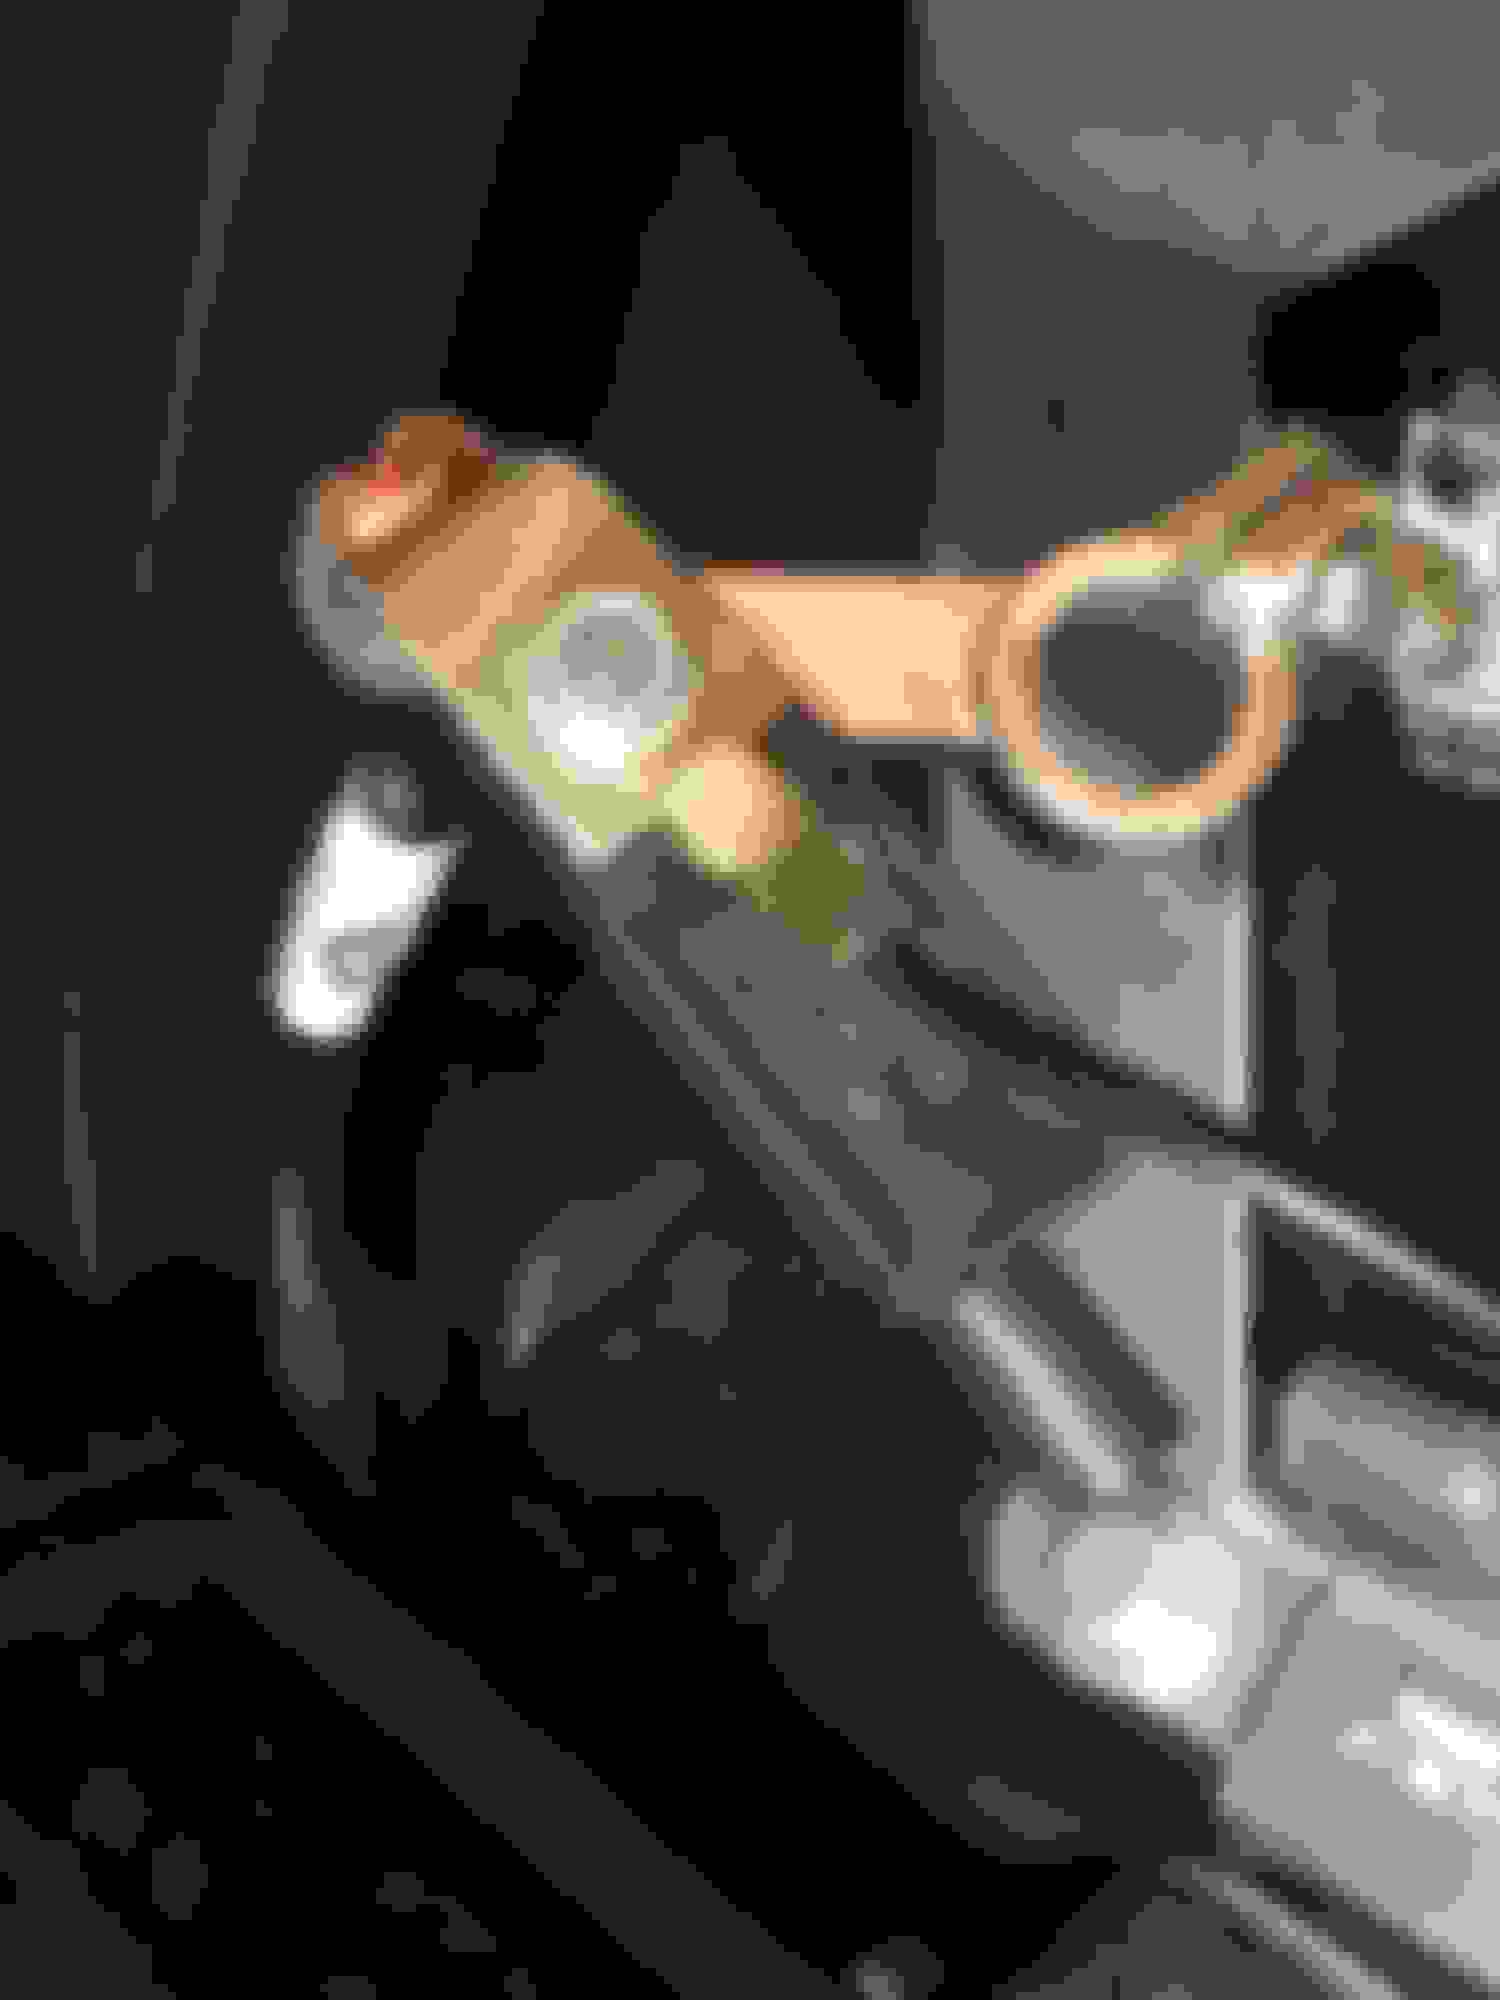
My next step was to get the battery isolator installed in the rear quarter panel***. This was pretty straightforward with the instructions, but only if you make sure to read through the whole set before starting. After removing the negative and positive terminals, I was ready to proceed. The extra mounting hole on the battery fuse was put to use after getting an M8-1.25x12mm bolt. I�m a bit OCD/****, so I might end up purchasing a matching bolt from the dealer so they match .
Using the extra slot for the battery isolator
The negative terminal was pretty easy to work with to connect directly to the battery box. After making the cable long enough, I just reseated the ring terminal onto the junction point on the wire.
Battery isolator connected to negative terminal
Next, I needed to find a way to mount the isolator. The instructions wanted to drill holes in something to hold the cover on and the isolator in place. I didn�t really hunt for a location to do that, but the fuse box is right there. So, some double-sided foam tape will be used first to see how it holds up. But, you still need a way to close the cover on the isolator. I just found some extra bolts lying around and matching nuts. I installed the bolts backwards from the way they were meant to be and voila!
Mounting the isolator to the right side of the fuse box
Seemed like it was meant to be, but the panel cover wouldn�t go back on because the isolator stuck out too much for the recess part of the cover. A little adjustment of the jack and the isolator, and I was able to get the cover back on. Hopefully with the sticky tape and being situated between the jack and fuse box, the isolator won�t be falling out when bouncing around on the trails.
Had to move it back to get the panel cover to close
After cleaning up the wires, adding some heat shrink to my cables, and heating all of the connectors, I was ready to reconnect the terminals and turn on the car. As expected (or hoped for), the isolator turned on and I was receiving 14+V out of my cable. As a final test, I plugged it into the battery box and checked the voltage at the battery. Boom!
Got alternator voltage
All of the cover panels went back on nicely, and there�s even a cavity to store the cable when not in use right behind the jack cover. Pretty happy with the way this all turned out.
Final set up with cable coming out of panel cover
I was able to get all of this done over the course of a couple hours. Unfortunately, I was not able to start the power to the roof. Kids and family time took priority this weekend. Or, it could be that I'm procrastinating on this one because I think I�m going to wind up cutting a hole in the spoiler to put in another PanelPole to make a clean connection on the roof. I really like the idea of what it would look like, but I'm not a fan of drilling into my disco.
I�m going to spend the week thinking about other ways to make the roof look nice when the rack is not on top. I might finish up the power next weekend. Or not...
***Disclaimer that you should not proceed with this part if you don�t feel comfortable/know what you�re doing when working with electrical wiring. Serious harm can come to you if you don�t follow proper precautions.
Apparently, everything didn't go as smoothly as I thought it did. It all seemed to work fine last night. But, this morning, I tried to use the LR Remote app to start my car. No luck. The error I kept getting was a window was open. But, if I went to the status page, nothing was showing as open (of course from the car I knew nothing was open). Started to get worried that the battery isolator was causing issues for some reason. But, then I remembered I needed to RTFM...
Whenever you disconnect the battery, you have to recalibrate the windows. Quick reset by closing every window completely, then holding the switch in the close position for one second. After that, Remote app started working again.
Fancy new cars and their windows not working after a battery replacement
Work has been keeping me busy the last two weeks, but that didn�t mean I wasn�t making progress. Since the last post, I have run the power to the top and connected the first pair of lights. I�m still not certain on how best to run the wire, so I just have it run to the rack and zip-tied in place. I did get two of the 20Ah batteries that fit just right into the box.
Two 21Ah Duracell batteries
After a lot of consideration, I decided to run the wire out the battery compartment in the rear quarter panel in between the body and the brake light. Rubber grommet covers the hole to the wire
Added connectors to the power wire
Wire run behind rubber cover between brake light and body
Wire run up tailgate cavity
Once up the tailgate, I ran it out the gap next to the hinge to the roof rack. I plan to keep the wire like this for awhile to see how it works with taking the rack on/off. Jury is still out on if I want to drill a hole for the PanelPole connector. I�m afraid the bouncing around/vibration will cause the wire to come loose. So, I�m keeping it directly connected for now.
The lights were installed using Rhino Rack�s work light mounts. I cut the connectors off and ran the wire through the back of the mount before screwing them to the rack. I like the mounts and will have four total - one on each side and two on the rear.
KC flood mounted to Rhino Rack Work Light Mount
Lights mounted to rear of roof rack
Now, up to this point, I was using the switch on the secondary battery box to turn the lights on and off. A few weeks back, I researched options for wirelessly controlling accessories and settled on Trigger�s 4 switch system. I kept putting off ordering it because it is a $200+. And, it was a good thing I did! As it turns out since then, they have come out with a 12V bluetooth relay for ~$50. This is perfect for what I wanted because I was only planning to use two channels, and I wasn�t really planning to mount the wireless rocker panel switches anywhere inside. With the relay, it has bluetooth built-in, so I can control it with their app from my phone. But, I still need a junction box on the roof to run everything through.
Insert another MTM ammo container. I had an empty container lying around, and it fits a relay/fuse box and a couple of terminal blocks.
Reusing another ammo container to be the junction box for the roof lights
I drilled a 3/4� hole in the side to run the power wires into the box, and wired up the relay box.
Drilled 3/4" hole and inserted a rubber grommet to stick the power wires through
Once everything was wired up, and I installed the relay, I was able to connect it to the my phone and control the output.
Inside the junction box with the relay/fuse box wired
Using a Trigger ONE relay to control the lights
Everything hooked up, and the batteries are charging and lights working!
Alternator in and power out
And, let there be light!
So, that�s my experience with installing a secondary battery and getting power to the roof rack on a D5. I�ll run this for a few months and post back with any updates or changes based on use.


 .
.