When you click on links to various merchants on this site and make a purchase, this can result in this site earning a commission. Affiliate programs and affiliations include, but are not limited to, the eBay Partner Network.
I really liked the look of the Bond Rover but did not want to modify the vehicle too much, as I did not know if I would like the final result (look, sound, and function). I did not want to spend a lot of money on the light either as I may not like it in the end. However want a crap one so a read a ton of reviews. I also wanted the bar to be no higher than the roof rails to keep the same lines, and hopefully the air would flow cleanly over.
I decided on the Nilight 41Inch Single Row 200W Combo Light Bars, 2 Years Warranty
For install I grabbed some thin 2” metal strips from Home Depot. I bent them so that it would be a super tight fit. I originally did not want to screw into the roof rails and was going to hold it with 3m or gorilla tap. I soon found that to be a pain as I could not adjust height or depth. First, was deciding on placement, far enough forward to not affect the sunroof or let light in from the sunroof, but far enough back that it did not look hill billy. Once I decided, I placed the two back screws. This allowed me to still adjust the height. I wanted it as low as possible, but first wind tests were awfull. I raised it up a bit and it got better. I later read that the awefull sounds can be created by airflow vibrating the cooling fins. Putting door protector trim solves that issue. I bought some and it worked perfectly, so I dropped it back down and I think it got quieter yet. Almost silent ( although tuff to tell with that basket, I do not hear a front noice like I did though.
Wiring: I looked through tons of forums and websites and could not find easy access throuw the firewall so I decided to go with a Trigger 4 channel wireless remote.
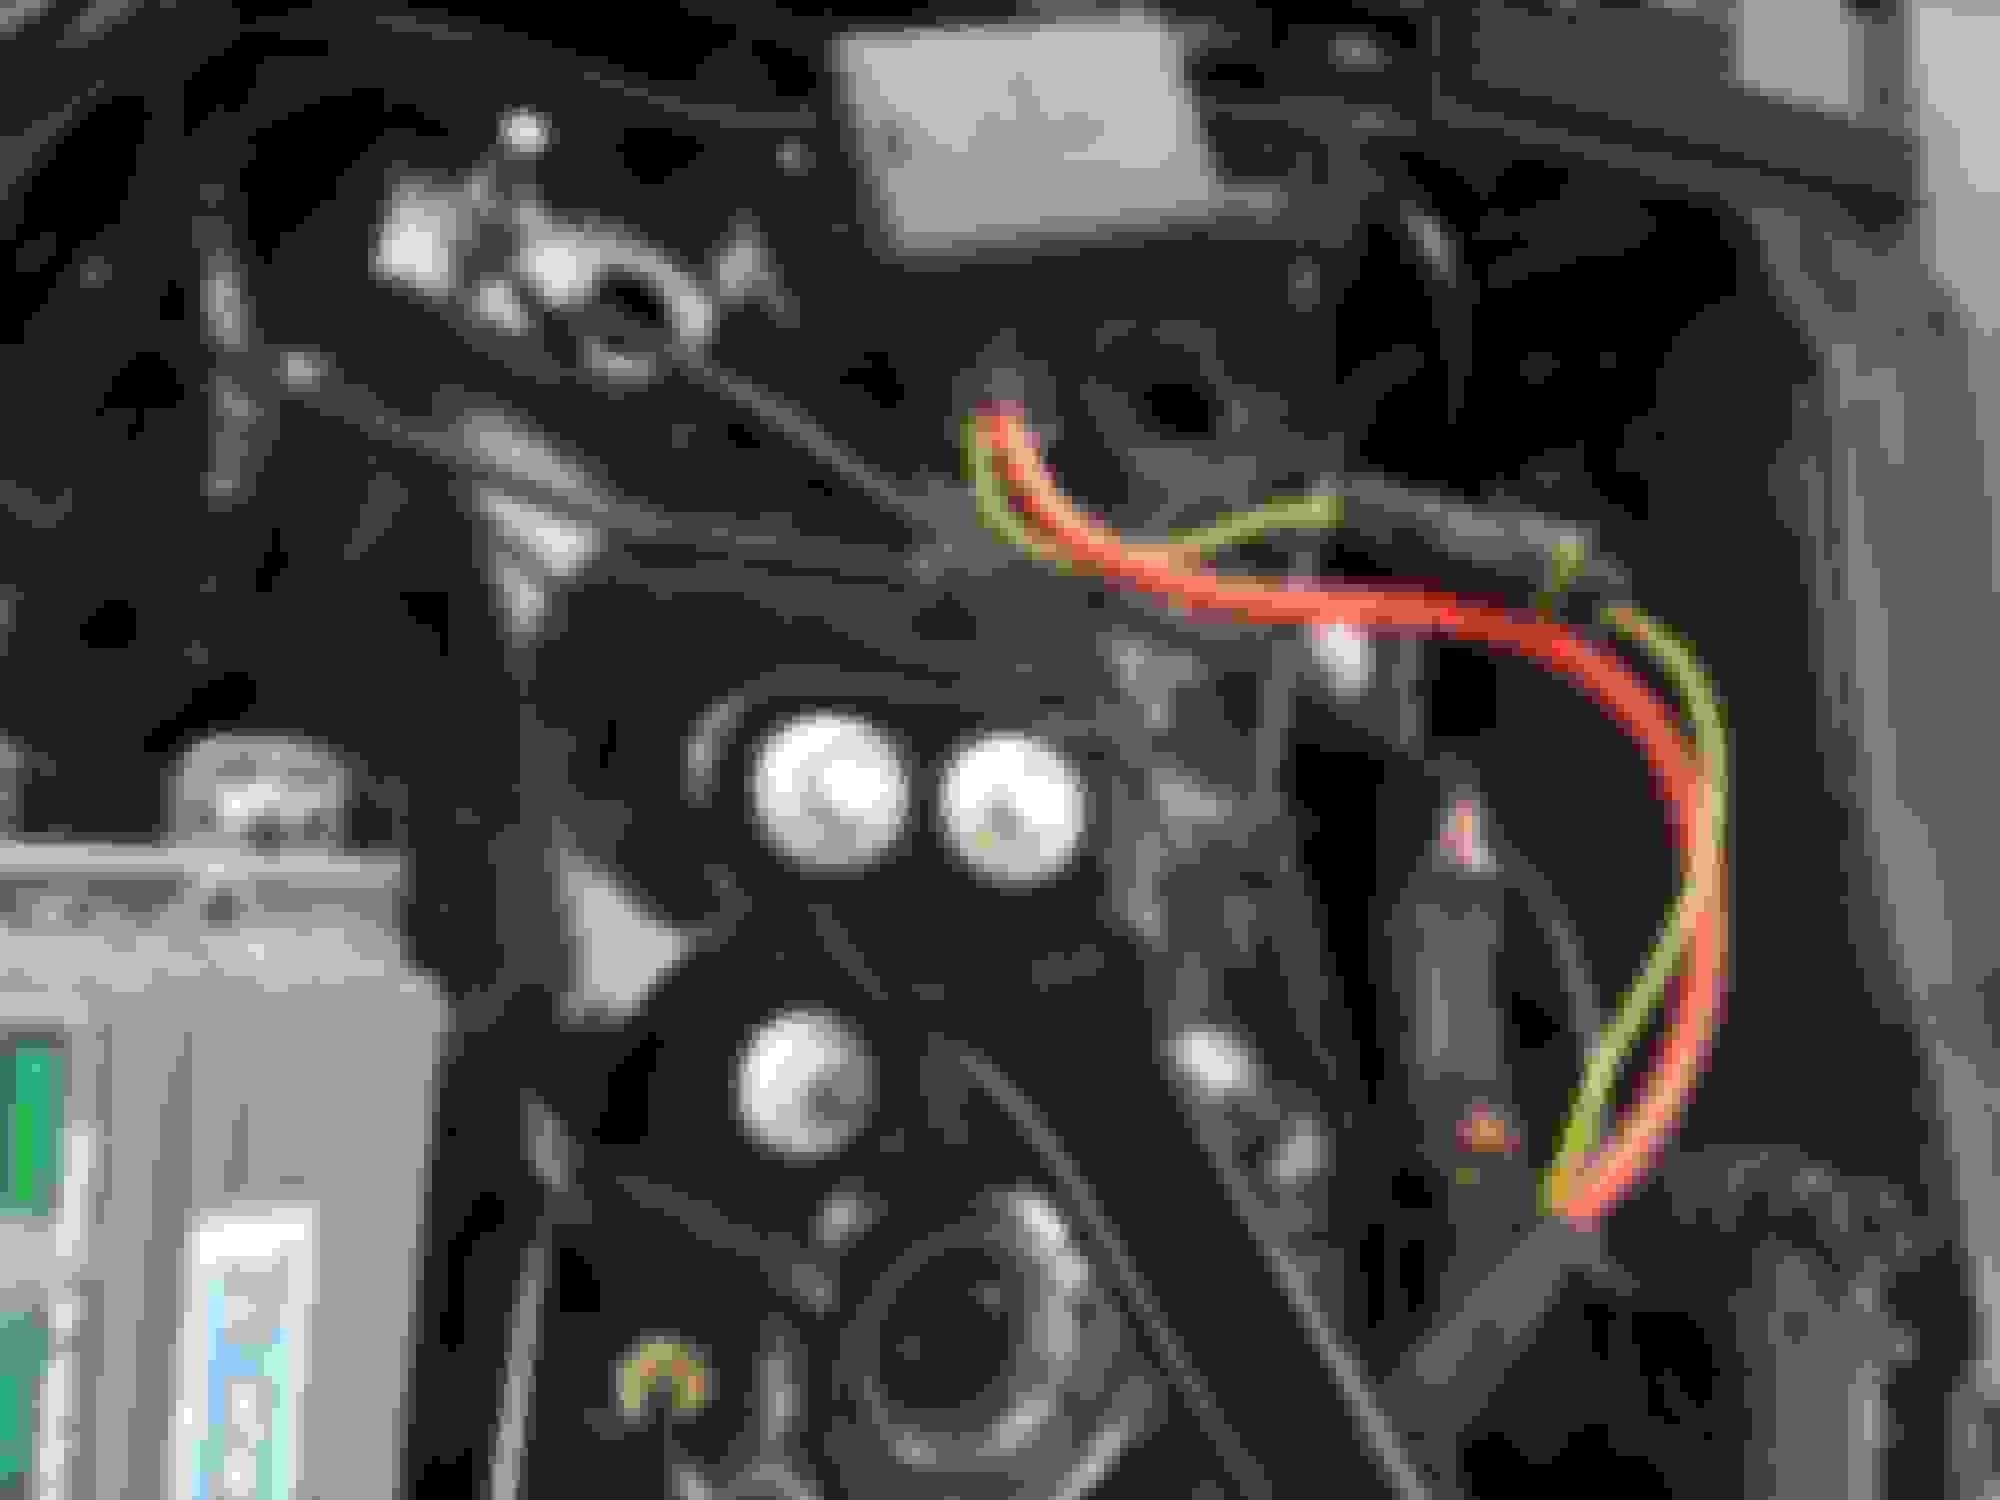
I connected both positive and negative to the boosting posts. The negative you can partially screw out, for the positive I had to cut a little plastic and used a tiny screw clamp. Wiring went up the A pillar under the plastic.
Check out the pictures and if you have any questions feel free.
In case it was not clear in the pics. The mounts were j shaped and square bent at 2�, 2.5�, about 10�. In the original plan of using 3m I wanted them to be long for more holding surface.
If doing it over, and I likely will. I would use shorter pieces and aluminum. I would also love to see how the double row curved light would look.
Light output is awesome with the single though.

 11-01-2018, 07:02 PM