When you click on links to various merchants on this site and make a purchase, this can result in this site earning a commission. Affiliate programs and affiliations include, but are not limited to, the eBay Partner Network.
Hello! I'm a rather obnoxious guy who loves luxury vehicles and customizing them. I've been pretty focused on the 1st and 2nd gen Lexus LS400 as my entry builds into the show and drift arenas. I learned of a crazy off-road event that originated here in Oregon, the Gambler 500, and the combination of obnoxious fun and environmental stewardship really drew me in. So I was off in search of a $500 rig to build for my first off-road adventure!
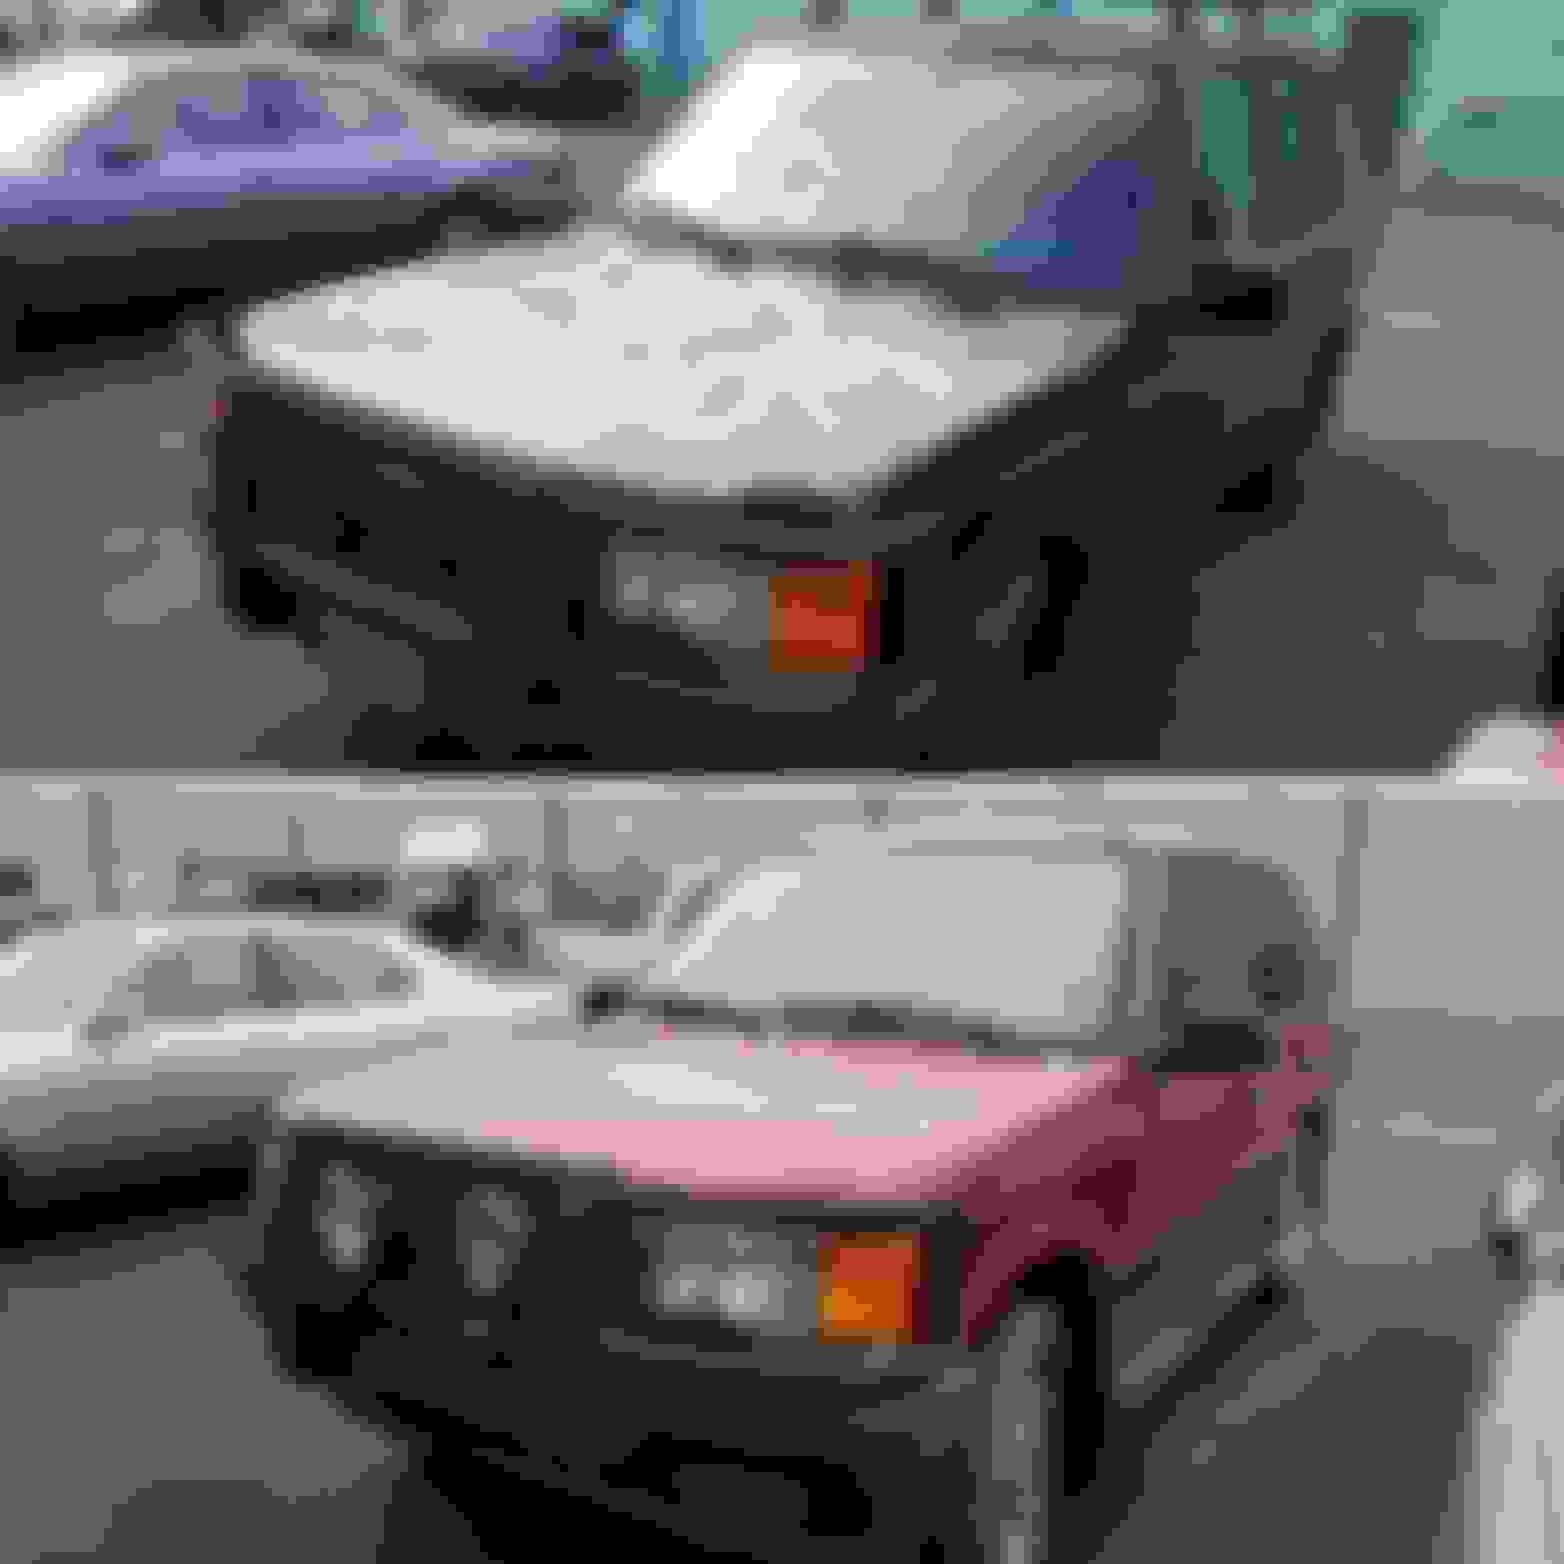
AND OH BOY DID I COME UP ON A WINNER! Or should I say WINNERS? I scored not 1 but 2 P38A Rovers to play with!
The WoodcoteGreen is a 1998 4.0 SE with ~140,000 miles, and walnut interior with lightstone piping. It's possibly a "50th anniversary" edition, but the rims are the 18" Mondial, not Proline. The previous owner said the owner before them said they had replaced the wheels and couldn't find the right ones so they went with these. But from what I read on another Rover forum I found (that I won't promote because of a lifetime ban on my intro post discussing my Gambler build) the 50th anniversary SE in the US was more or less a gimmick badge stuck on the models with this specific package and then having upgraded wheels put on them, so I don't know how important it is, but it would be a cute addition to the moniker on the build.
Now for the bad: The EAS isn't functioning correctly, the rear is stuck up and the front is all the way down. It sat for over a year and there was something living in the engine bay and the entire thing stinks like rodent urine. Aside from the seats the interior is pretty beat up; lots of broken and missing plastics and a cheap aftermarket head unit. And best of all, under over a inch of body filler the hood was completely ruined. That leads me to go on a full inspection of the entire body looking for more damage. I was noticing today that I think a lot of the glass is aftermarket replacement. The truth is that if the body is thrashed, I'm just going to destroy it all the way and I'll plan to salvage the motor into the red. That's a quarter in my hand. Hidden under over an inch of body filler.
The Rioja Red Mica is a 1996 HSE with a black interior, no motor or ECU. Originally I had spoken to the owner as a part-out and I was getting the coil springs to replace the failing EAS on the green one. However, when I called him up to get the springs, he said I could have the whole rig for the same price, so there I have it. There's a little damage to the driver's door panel and the front seats have wrinkled-up piping. It was re-ended and the tailgate and bumper are thrashed. HOWEVER it seems to be in generally better shape than the green. I actually think I can PDR that out.
And here's where I am right now:
The real reason I even have these is because I need a tow rig ASAP. I have a car to go get in Portland and I'm tired of renting Uhaul trucks. My initial plan was to pull the coil springs from red and stick them in green. But now I have to be concerned with bigger issues with the green one. Not only does it have the EAS issue, but there's all sorts of electrical issues. Non of the windows work. The dash says "Fuse 10 blown," but it's not. It reads "key in ignition" when there's no key. Now here's where it really bags me. In my haste trying to move it around, I failed to recognize the battery had the terminals in the opposite location, and I cross-connected it. I've seen that not do anything, and I've seen that ruin entire electrical systems. The previous owner said it was throwing all sorts of fuse codes and such, but I'm still concerned. But since it was full of animal nesting I know it could as easily be that.
So now I'm torn between motor swapping and coil swapping. Suggestions?
Last edited by JonnyObnoxious; Apr 25, 2019 at 10:20 PM.
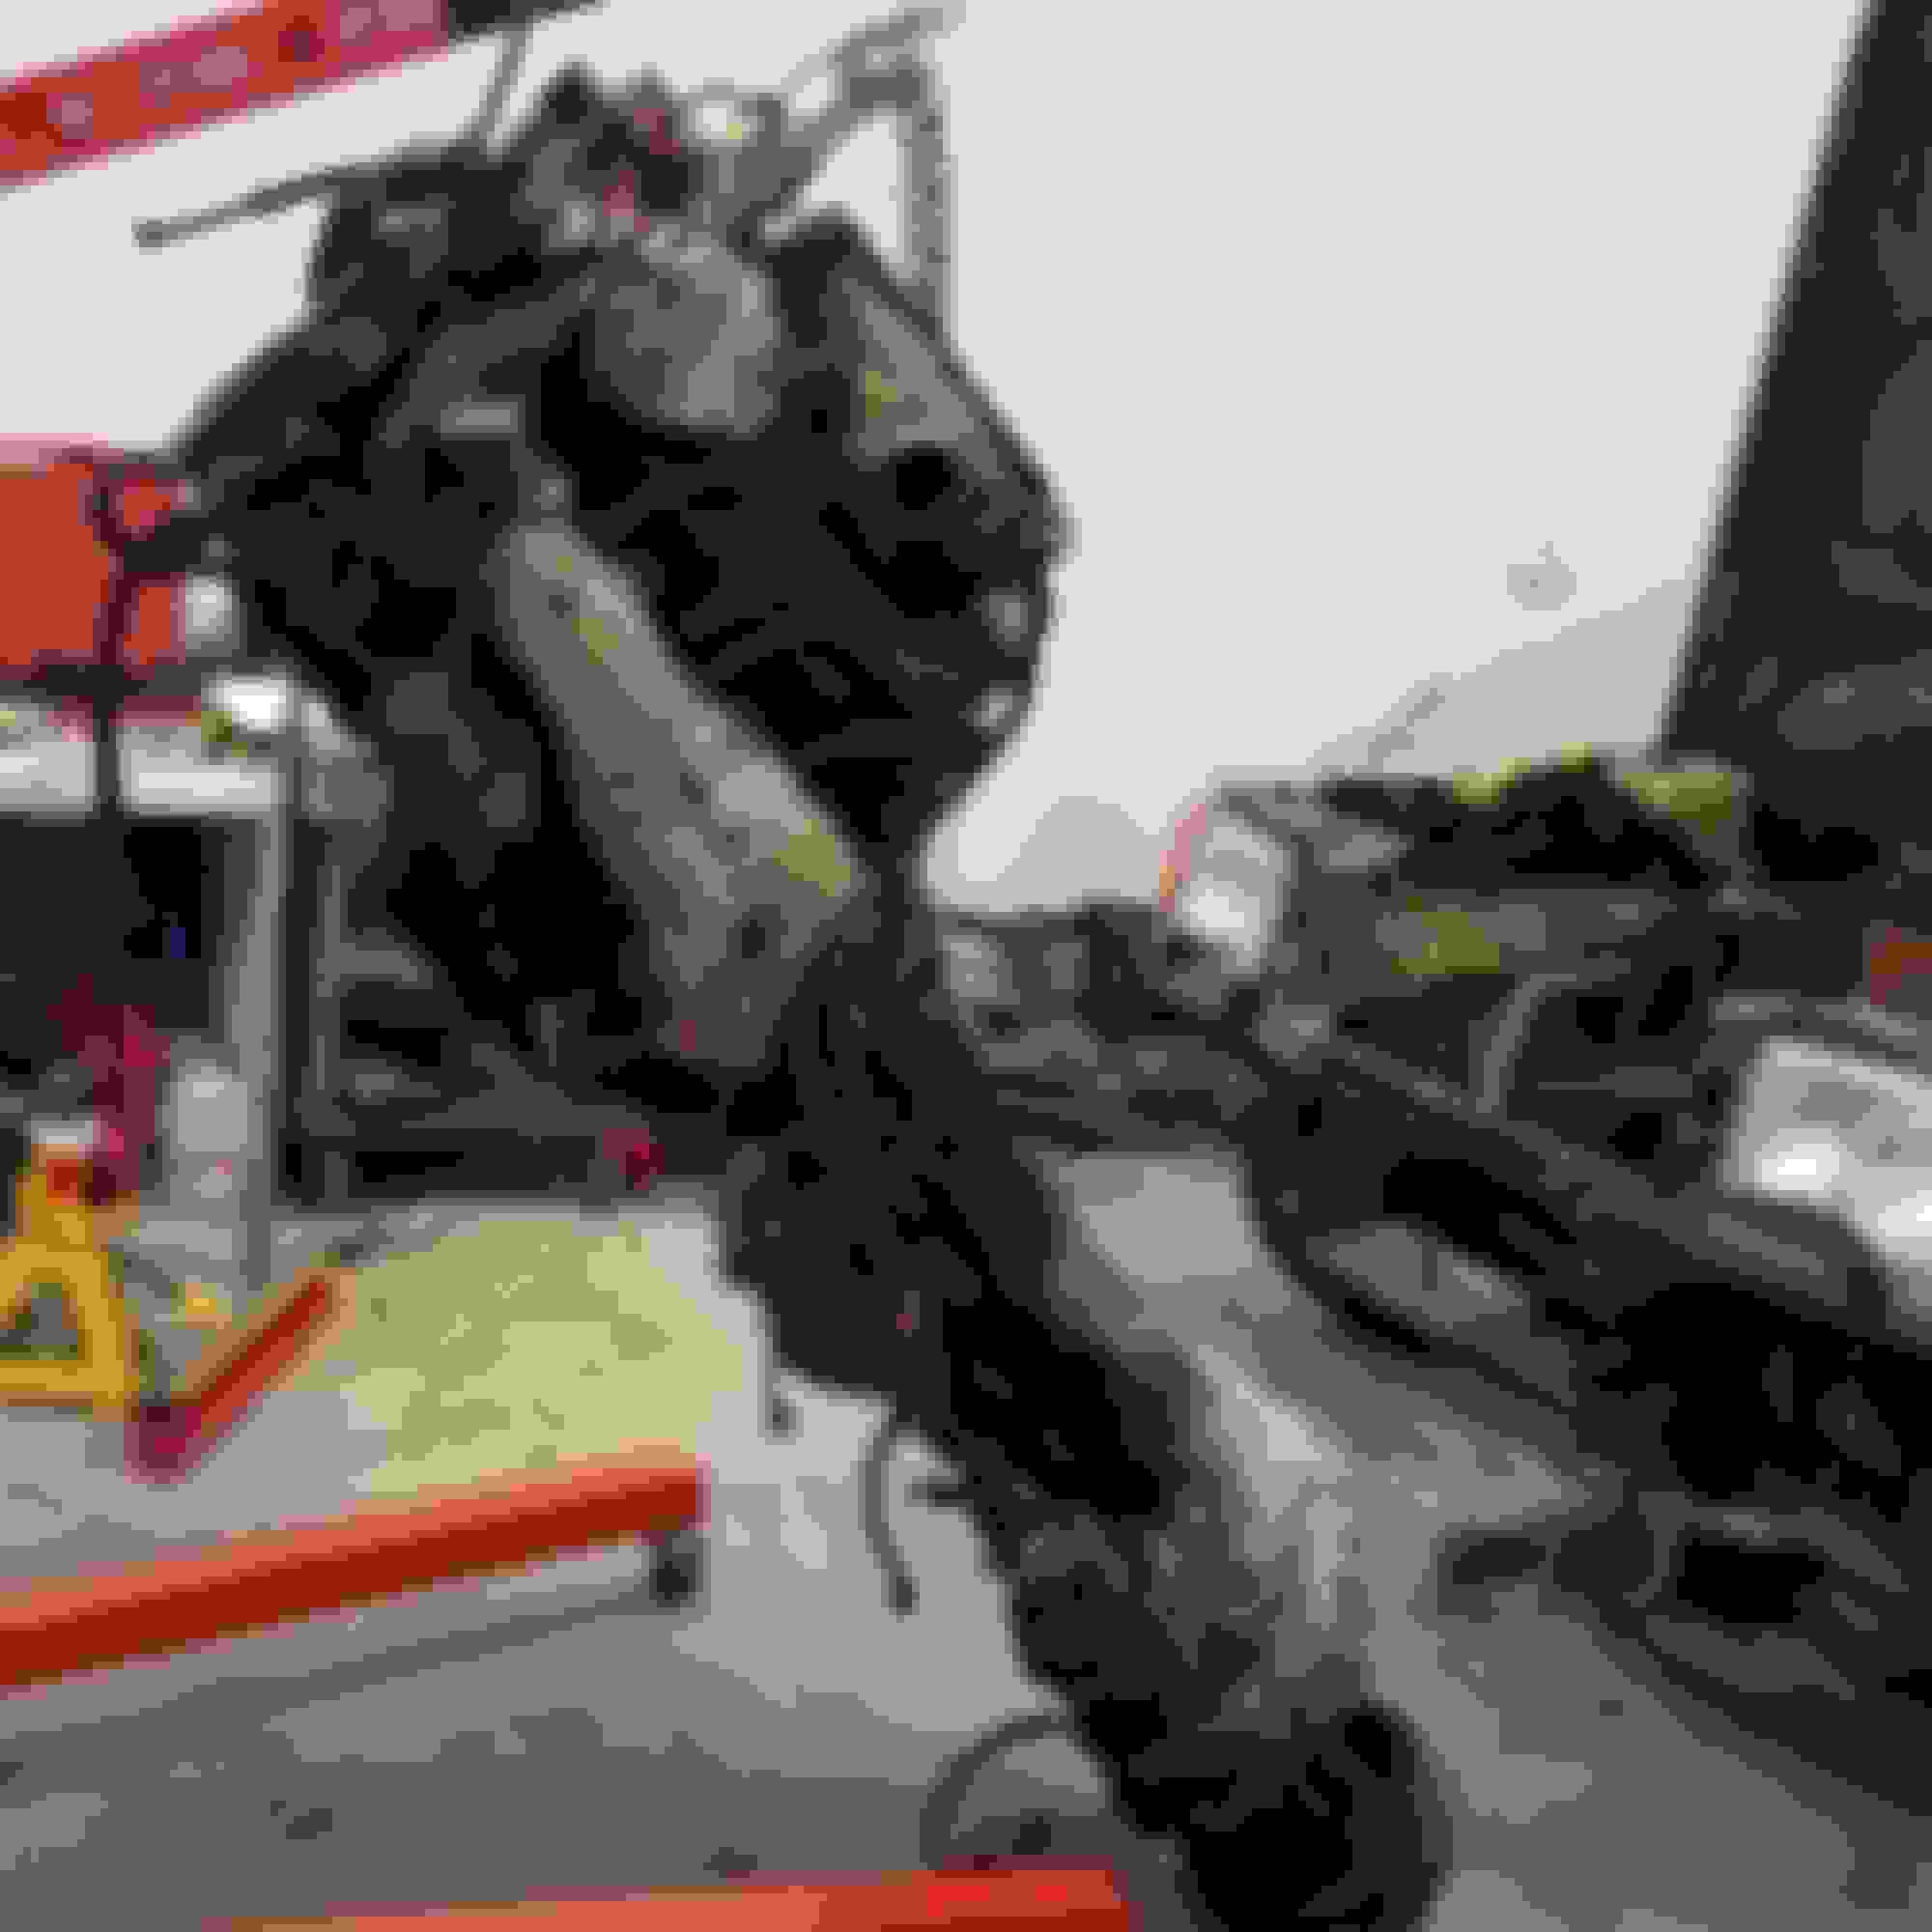
I don't know how people do it. How in the hell does one pull the motor without the transmission? The torque converter bolts were nearly impossible and now I can't get any leverage on the bell housing bolts. Screw it - I'm taking out the whole assembly.
I'll separate the trans after I get them both out because I'm 99% sure I need a rear main seal. Not only is the entire motor caked with old oil, the bell housing access plate was also soaked, and some of the oil looked fresh.
I'm seeing 2 types of rear seals. The regular rubber type that I'm used to, and some fancy one that requires a flange to be seated properly. Are these interchangeable? I'm hoping for the rubber one because I don't have the special tool nor do I think it's available locally.
I'll look at the manual, but is there a convenient list of seals and gaskets to replace on these? I may as well do as much rework as possible while I have the motor out.
And oh boy do I miss working on Lexus right now. These Rovers are ghastly.
And it's out! In the process I can see how it's pulled separately. Drop the trans and MAYBE get enough room to detach those top 8 bolts in the bell. No thanks. I think I prefer pulling and installing as a single unit.
I really need a leveler tho.
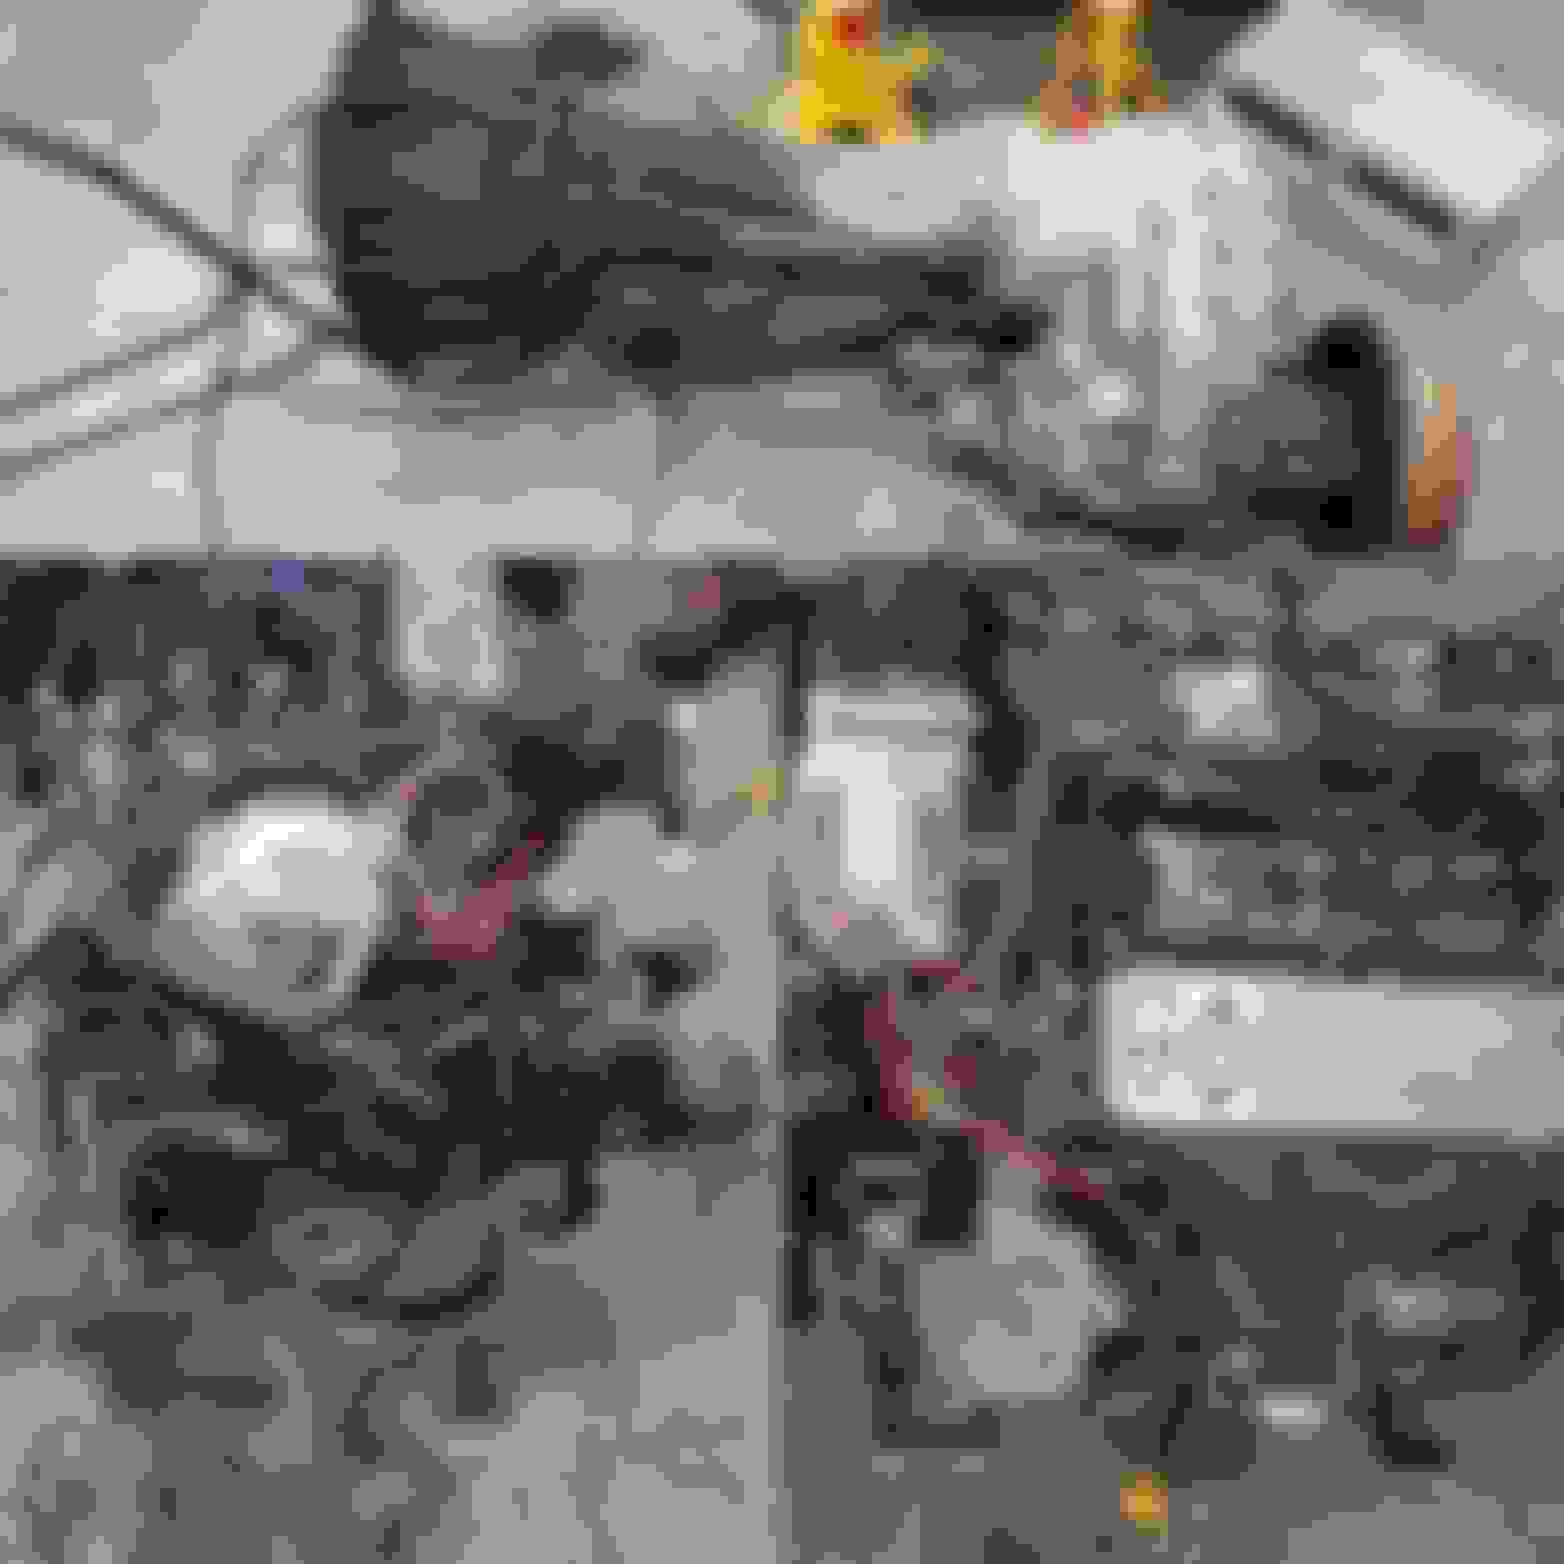
This monster. Dirty rodents! Separated and ready for service.
Now that part's done and it's time to clean and service this!
Had a minute getting it started; I had to get the original ECU for the red one. it's running and driving and stinking and killing my battery cuz I need a new alternator. Gonna look at an upgraded 200A one. Can't wait for the Gambler 500 at the end of June!
Turned out my alternator was just not fully attached. I need to put a lug on it; it's just bare wire right now. But I'm driving her daily and have begun fixing up nuisance problems. I've got 2 windows not working, bad side mirrors, and an aftermarket stereo that's not working correctly. I found a bunch of things unplugged insde the door, but that's not an answer to the problems yet.
Here's a few current pics!
Probably the highest point in Toledo, Oregon. Pacific ocean in the distance. On the way up the trail. Windshield banner Always Be Gambling! Hood logo Rear gate logo Rear windshield