When you click on links to various merchants on this site and make a purchase, this can result in this site earning a commission. Affiliate programs and affiliations include, but are not limited to, the eBay Partner Network.
We need 3/4"x16tpi threads and the 72mm OD gasket. The flow rate, filtration microns, and the weight of the bypass relief valve are specifications to check. I believe the 1411 is a very close match and offers a lot more volume without being so long that it interferes with a steering damper on the drag link.
Napa 1411 is 3/4"x16tpi with 72mm OD gasket, filters to 24 microns, and has a 8-11 lb. bypass relief valve.
The only other NAPA filters I see listed with 3/4"x16 that are bigger in volume are the 1641 and 1714. Those are almost 7" long and they would hit my steering damper. But the 1641 also doesn't have a bypass relief valve, and the 1714 has one at 16 pounds.
Note that big Mann W950/7 is longer, but because of the smaller diameter it has much less volume than the 1411. On my Discovery, there is plenty of room for the 1411.
Originally Posted by Nitrojunkie383
For those who are interested... I spend a little time the other day at work making a list of the the oil filters we can use, both in stock size and extra capacity.
Purolator: Stock L25195 / Extra capacity L40107
Mann: Stock W930/20 / Extra capacity W950/7
Wix: Stock 51068 / Extra capacity 51773 (6.982"lg) or 51515 (5.18"lg)
Mobil 1: Stock M1-204 / Extra capacity M1-301
K&N: Stock HP-2004 / Extra capacity HP-3001
Fram: Stock PH16 / Extra capacity PH8A
NapaGold: Stock FIL1068 / Extra capacity FIL1515
I am sure there a lot of others, but maybe i got most of the ones we would normally use.
Made the list for my maintenance long so I wouldnt have to keep looking up the damn numbers.
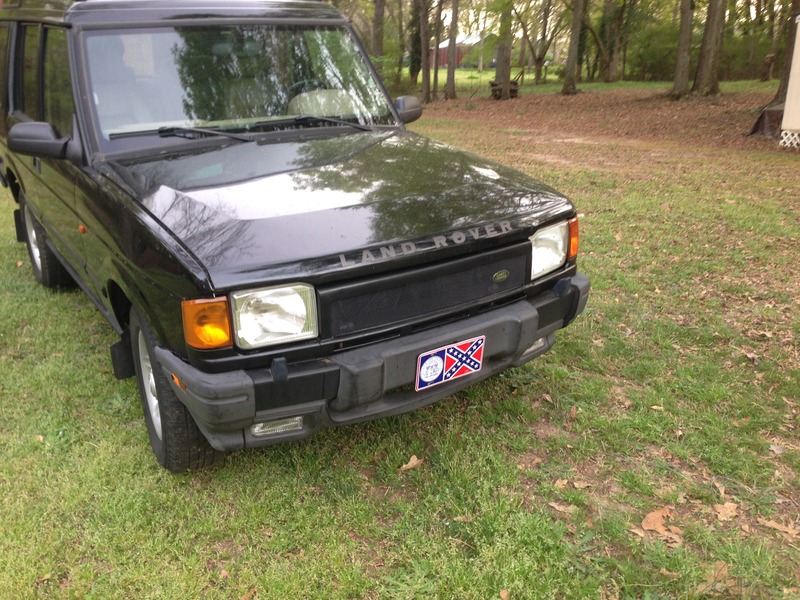
Made some more progress on the cosmetics of the Disco this past weekend.
Finished up the Saudi Grill and turned out pretty good for $4 for gutter guard and $14 worth of epoxy.
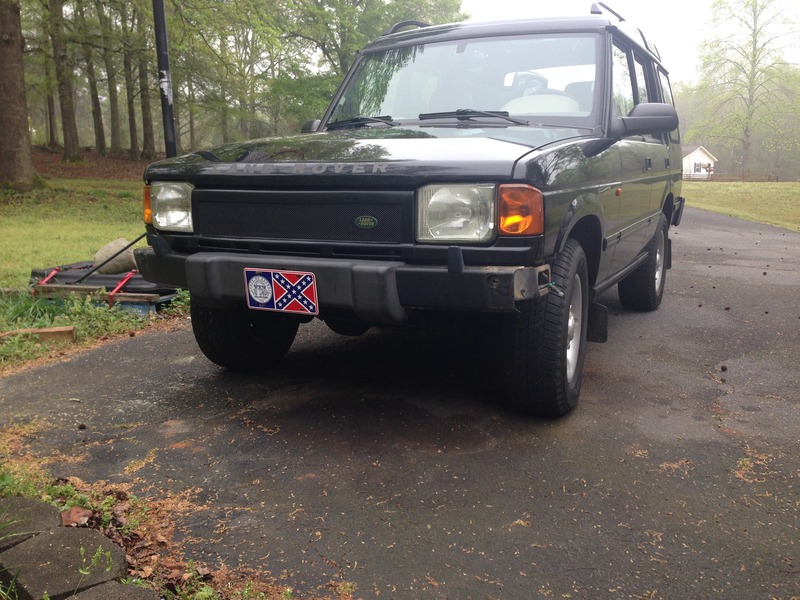
Then I decided to remove the lower air damn with the fog lights for more clearance. I have already found some led replacement lights that i will use for the fog lights. More to come on that later. For now, more hackin.....
Last edited by Nitrojunkie383; May 16, 2016 at 03:35 PM.
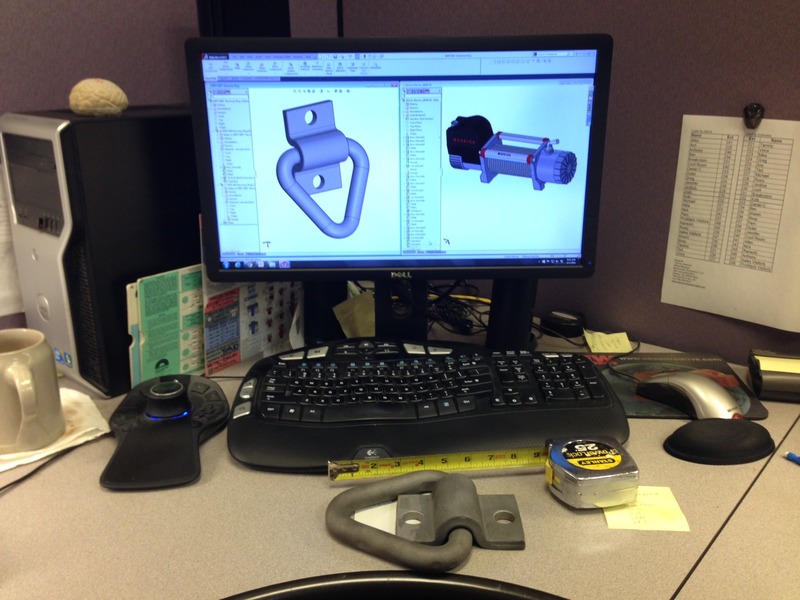
Well, i came across some of my old "lifting rings" that hoarded from a job i worked on years ago. I always thought that they would be pretty cool as recovery rings on a bumper. Now I have something to actually use them on.
Time to start designing my front bumper.....
Last edited by Nitrojunkie383; May 16, 2016 at 03:37 PM.
Yes sir, that is exactly correct.....I built the bar to mount to those holes. Another temporary item I whipped up when first purchased. When time permits I'll be replacing that bumper for good.
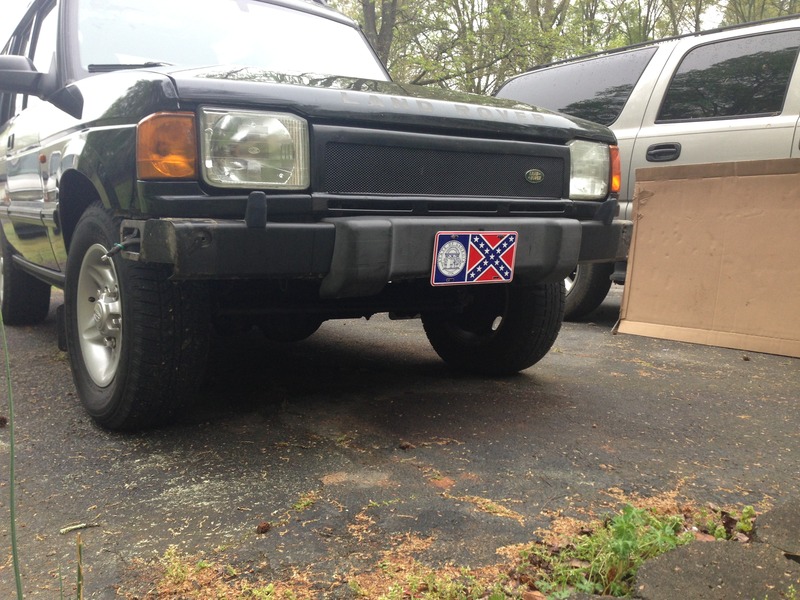
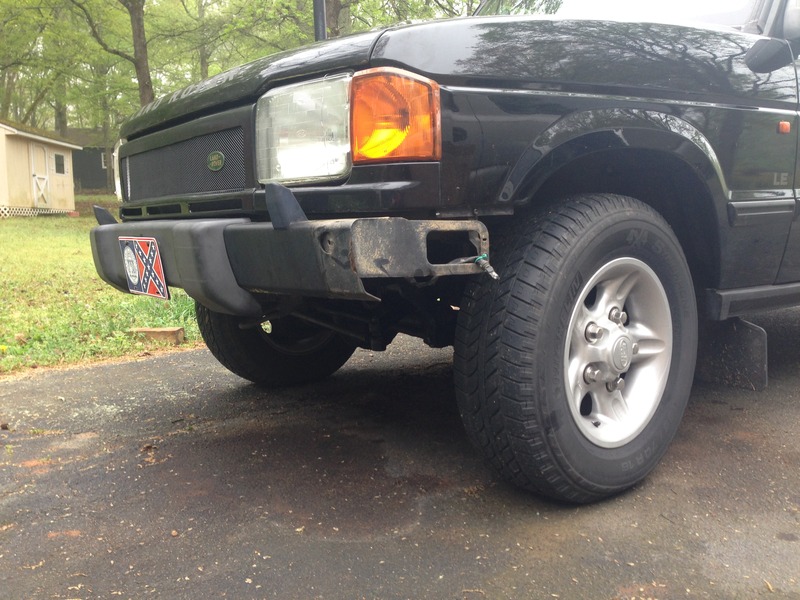
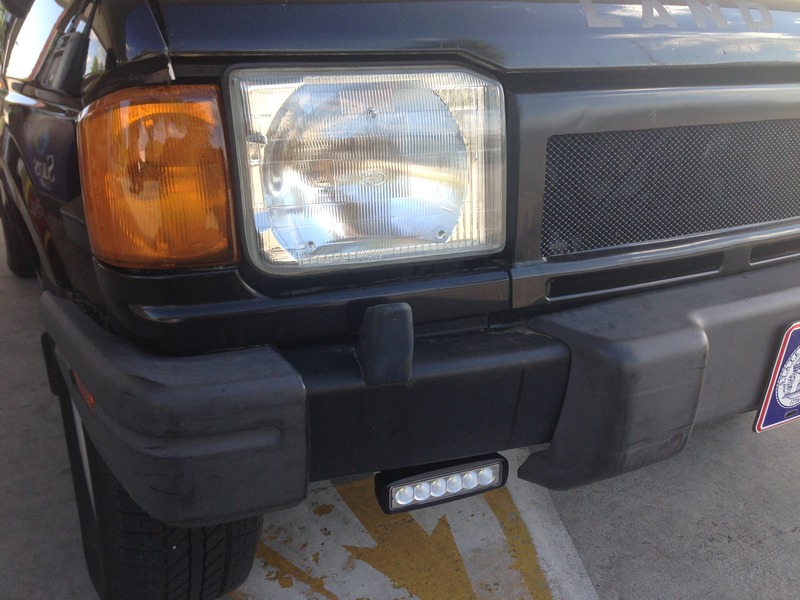
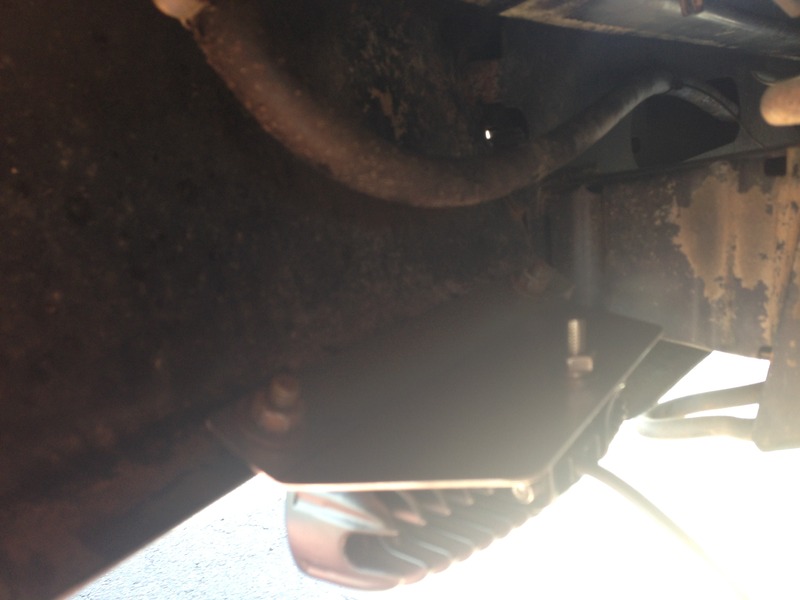
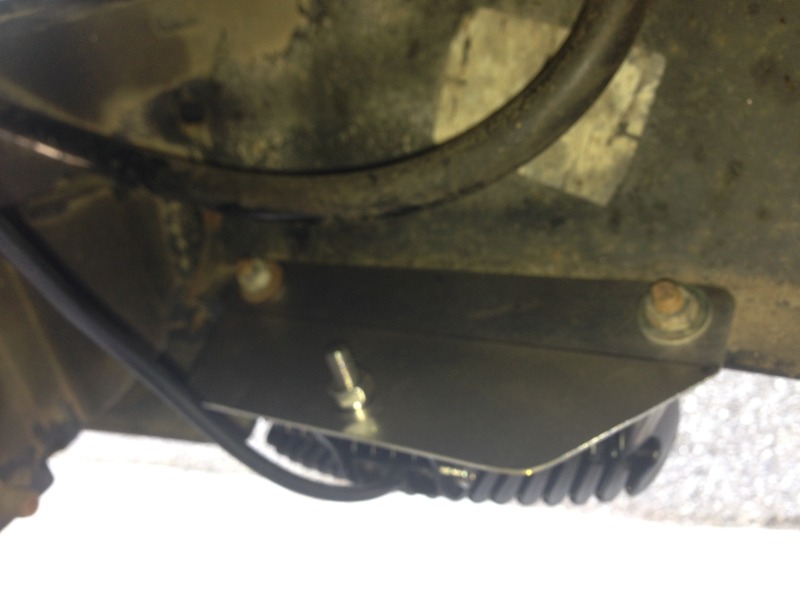
Got my ElCheapo led lights installed...
Turned out pretty well. Fab a bracket out of 14ga stainless steel that mounted to existing studs on the bottom of the bumper. Simple and sturdy.
Last edited by Nitrojunkie383; May 16, 2016 at 03:41 PM.
Those are 'elcheapo now, but they cost 2-3 times what you paid just 3 years ago. Those are great little lights, if you can mount them higher to your liking, you'd see how much better they can get.
On a side note..........You can power that light off a 9volt battery......you can also power a series of them off a lap top power cord.........fun stuff to mess with, possibilities are endless for off the grid.
Yeah, it's funny how supply and demand works.
I thought about mounting them higher, but really just want to keep them as fog lights, and take advantage of the existing wiring and switch.
I have been kicking around some ideas for other lighting higher up. Until I figure out roof rack / light bar.....I probably just going to fab up some brackets that I can mount behind the side mirrors.