When you click on links to various merchants on this site and make a purchase, this can result in this site earning a commission. Affiliate programs and affiliations include, but are not limited to, the eBay Partner Network.
My D90 is going in for a full Expel Ultimate Plus paint protection wrap this Thursday and I was looking for mudflaps and came across these. I chatted with Chris at New Defender Parts in the UK, he's very prompt and professional in replying.
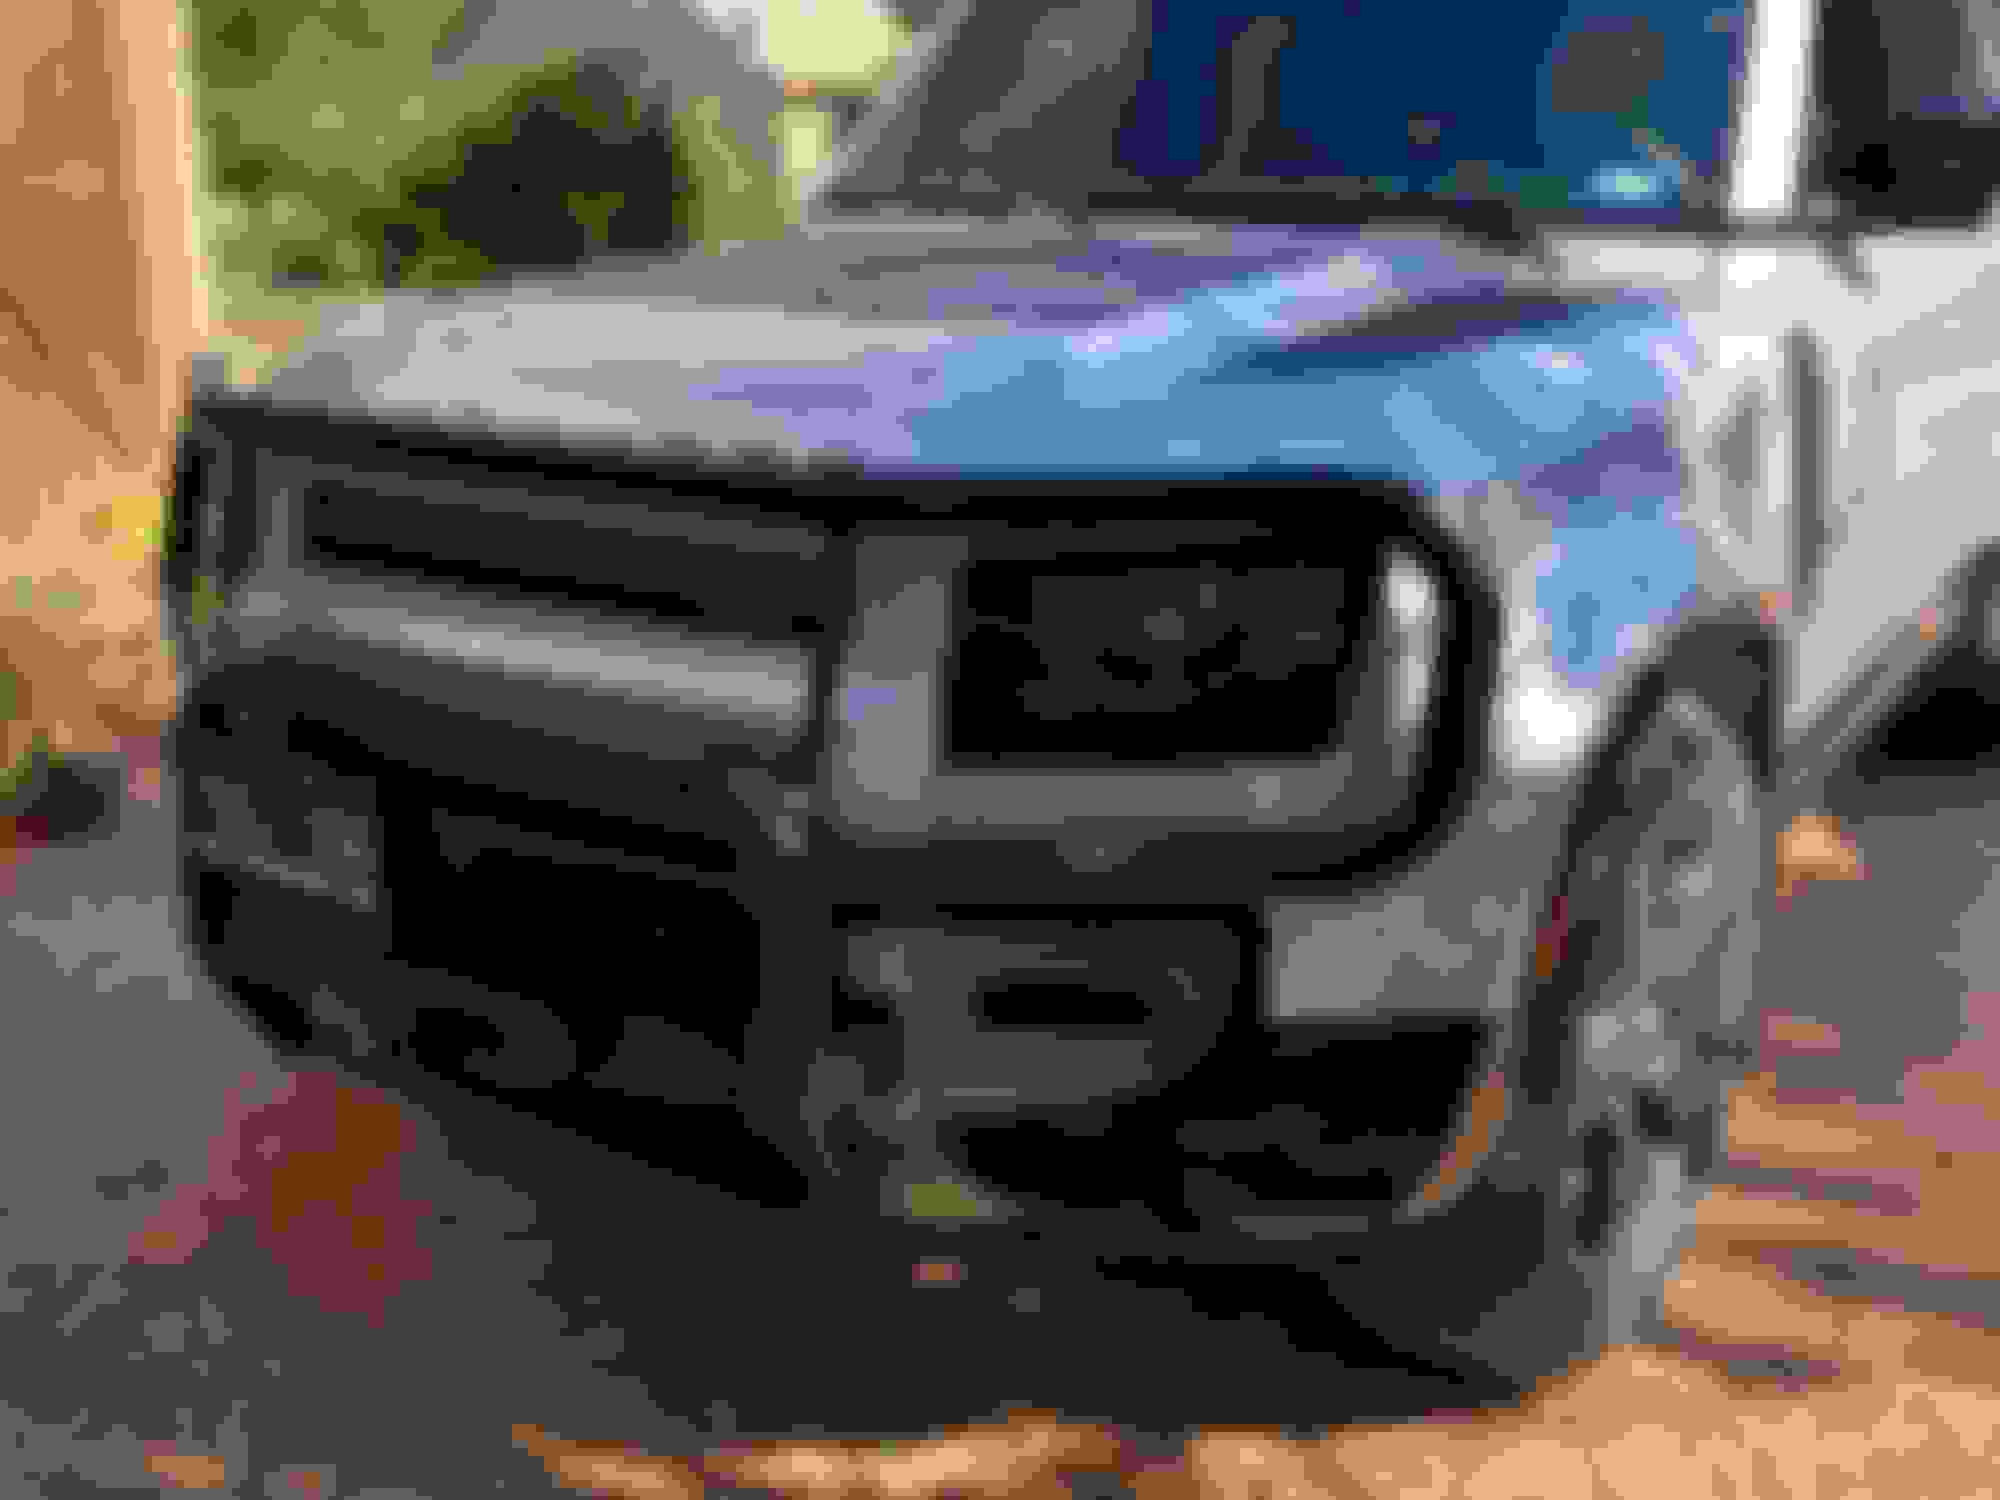
Wondering if anyone here has installed these, or what you all think of them?
I ordered a set from Chris at New Defender Parts in the UK today. His customer service and response is outstanding. I'll have them in about a week. Prior to finding these covers, my plan was to have my Xpel installer do the whole headlight assembly including the surrounding painted areas around the lights, its a PAIN to do that.....Now, I'll just put the headlight cover over the entire headlight and put one piece of Xpel over the cover.
Chris is brilliant with his responses and his customer service 🙏🏼 It’s quite refreshing to see these days!
regarding the headlight covers, I think they’re a superb additional, and was about to push the button on them (especially when I saw a post about a bird flying into a Defender headlight and it was over �1100 to replace……and they’re on back order too 😞🤦♂️ ) but noticed you can’t fit them if you have headlight washers unfortunately 😣
I’d even be tempted to remove the fuse on them and fit the covers to be fair!
I do not like them, they may be very practical, changes the look of the front drastic. Like almost every other car.
Character, distinctive, appealing.... Gone
i do like the metal protective frame, maintains the design.
Last edited by Defendit..; 10-06-2021 at 09:40 AM.
Yep, @Defendit.. . I feel the same re: the Lucky8 versions. Just waiting for them to ramp up production. I suspect they drained all the first run versions supplying the Trek 21 Defenders.
Yep, @Defendit.. . I feel the same re: the Lucky8 versions. Just waiting for them to ramp up production. I suspect they drained all the first run versions supplying the Trek 21 Defenders.
These are available now and in stock at Lucky8, just ordered a set. As of now, not on the website, you have to reach out to them directly.
Yes, I did. I'll try to look up some photos. I think I must have been the first consumer to purchase one because I went back & forth with them on how to install. It wasn't obvious and when you start drilling into your Defender, you only want to do it once. I'll find some photos and post them soon.
The tips I would give (I think they now have instructions posted on their "support" page):
- Make sure that they are the right side up/down. I had no problems, but I checked a LOT.
- Use masking tape to mark 2" up from the bottom of the light. It was a PITA to get that right, but you only get one shot, so make sure it happens.
- The covers are slightly curved, but not quite enough. You will have to curve them more, but DON'T before installing. They aren't hugely beefy so they will bend. I figure they will take the force of a bird strike at highway speeds but won't prevent a limb from taking out the light. I have AU roo-bars so I think I'm now covered either way. Reality is, I installed them 'cause I thought they were cool.
- I used a silver/gray sharpie and marked the holes to drill. I aligned the left side of the guard and put the hole in the center of the black trim and then moved it to do the right. The guards are slightly long at this point.
- I then drilled four small holes in the black trim. I think they will be easy to mask/cover up if I wanted to remove it. Forgot the hole size, but make sure they are equal to the shaft size of the screws, not the outside fins/wings. If you don't know what I'm talking about, I suggest you hire this job out.
- I then secured the more vertical side of the guards with the screws. I think it's the in-board side. Then you flex the guard slightly to secure the other side. It bulges out more due to this. Otherwise, you'll have to drill two of the holes into the quarter/side panel of the vehicle and not the trim. I talked to Lucky8 and this is the planned, correct way to do it.
- They warn not to drill too far in or you will hit the lights. That's really a LONG ways away. I put take on the drill to make sure that I didn't go beyond the screw length, but was safe. One one side of the trim, it bumps into the aluminum body panel. I did NOT drill into that, but stopped when I hit resistance. The black trim is actually plastic.
Good luck!
EDIT: Pics - Not great lighting, but you get the idea. Left lens Close up of right lens.


 10-05-2021, 09:41 AM