When you click on links to various merchants on this site and make a purchase, this can result in this site earning a commission. Affiliate programs and affiliations include, but are not limited to, the eBay Partner Network.
FYI - I let the US distributor know about having to shave the outside of the caliper. This was news to him. He's asked for some additional profile photos and is going to share this with the team in Australia. ( I sent him the one photo you posted of the grind in progress. I didn't feel like taking off my wheel when you had just a good pic posted. )
Jake at Tuffant?
No worries. I'd be curious to see how your grinding looks (done by a pro) versus mine if you ever get the chance.
Is that Canadian PSI or something? Seems awfully high. Especially with your new and much stiffer sidewalls. Why don't you run Comfort setting when not carrying Acme safes full of lead anvils?
Is that Canadian PSI or something? Seems awfully high. Especially with your new and much stiffer sidewalls. Why don't you run Comfort setting when not carrying Acme safes full of lead anvils?
Haha
I will lower it but my new TPMS are giving me headaches. They're there and then they're not there. I want to get them working just right, before I go down to a more sensible PSI eh.
Not sure what's going on with them. Discount tire said they had cloned tem and that the car was a self learner but to swing by if problems occur. It's a PITA having bought them at Costco and the TPMS from them (Costco didn't have the right ones). Had I done my homework I'd have gotten 5 of the ones you linked but I was worried if they didn't work I'd be left holding the bag.
It's a $25 part so not a big deal. Sensor is still fine and functioning normally. Just a little of the plastic wire coat has come off. Kind of annoying. A little heat shrink (split and placed) might be the ticket.
Just a something to watch for in wheel weight placement for those going this route. The shop I went to did a less than optimal job.
I've removed a few of the weights and will get a redo or reposition them myself. (Not sure how good an idea that is.)
Either way, a new wear sensor cable may be needed down the track. $25 plus tax shipping and the hassle of figuring out how to do the install. I think it may be plug and play.
One more argument for the swap versus the grind I guess.
Wow! Wish I had seen this before I started. Good info here from Saltek Motorsports. They make some good products if you want to put in ditch lights or move your coolers. Here's the caliper grinding link I just found: Link.
It should work for any rim. How much you remove is highly dependent on the rim. Some require more removal than others. You just need to grind, check the wheel clearance, rinse and repeat. Note all the disclaimers about you grinding your brakes and all the carnage, chaos and hazards you take upon yourself when you do it, though. Good luck.
You'll need spacers on the front for the OEM steelies to clear the massive calipers. Not a great idea using spacers with steels apparently.
I don't think grinding will be feasible on the rears for fitting the steelies. The +41.5 offset will bring them in too much. A caliper swap and spacers to keep the same wheel tracks front and rear might be the way to go.
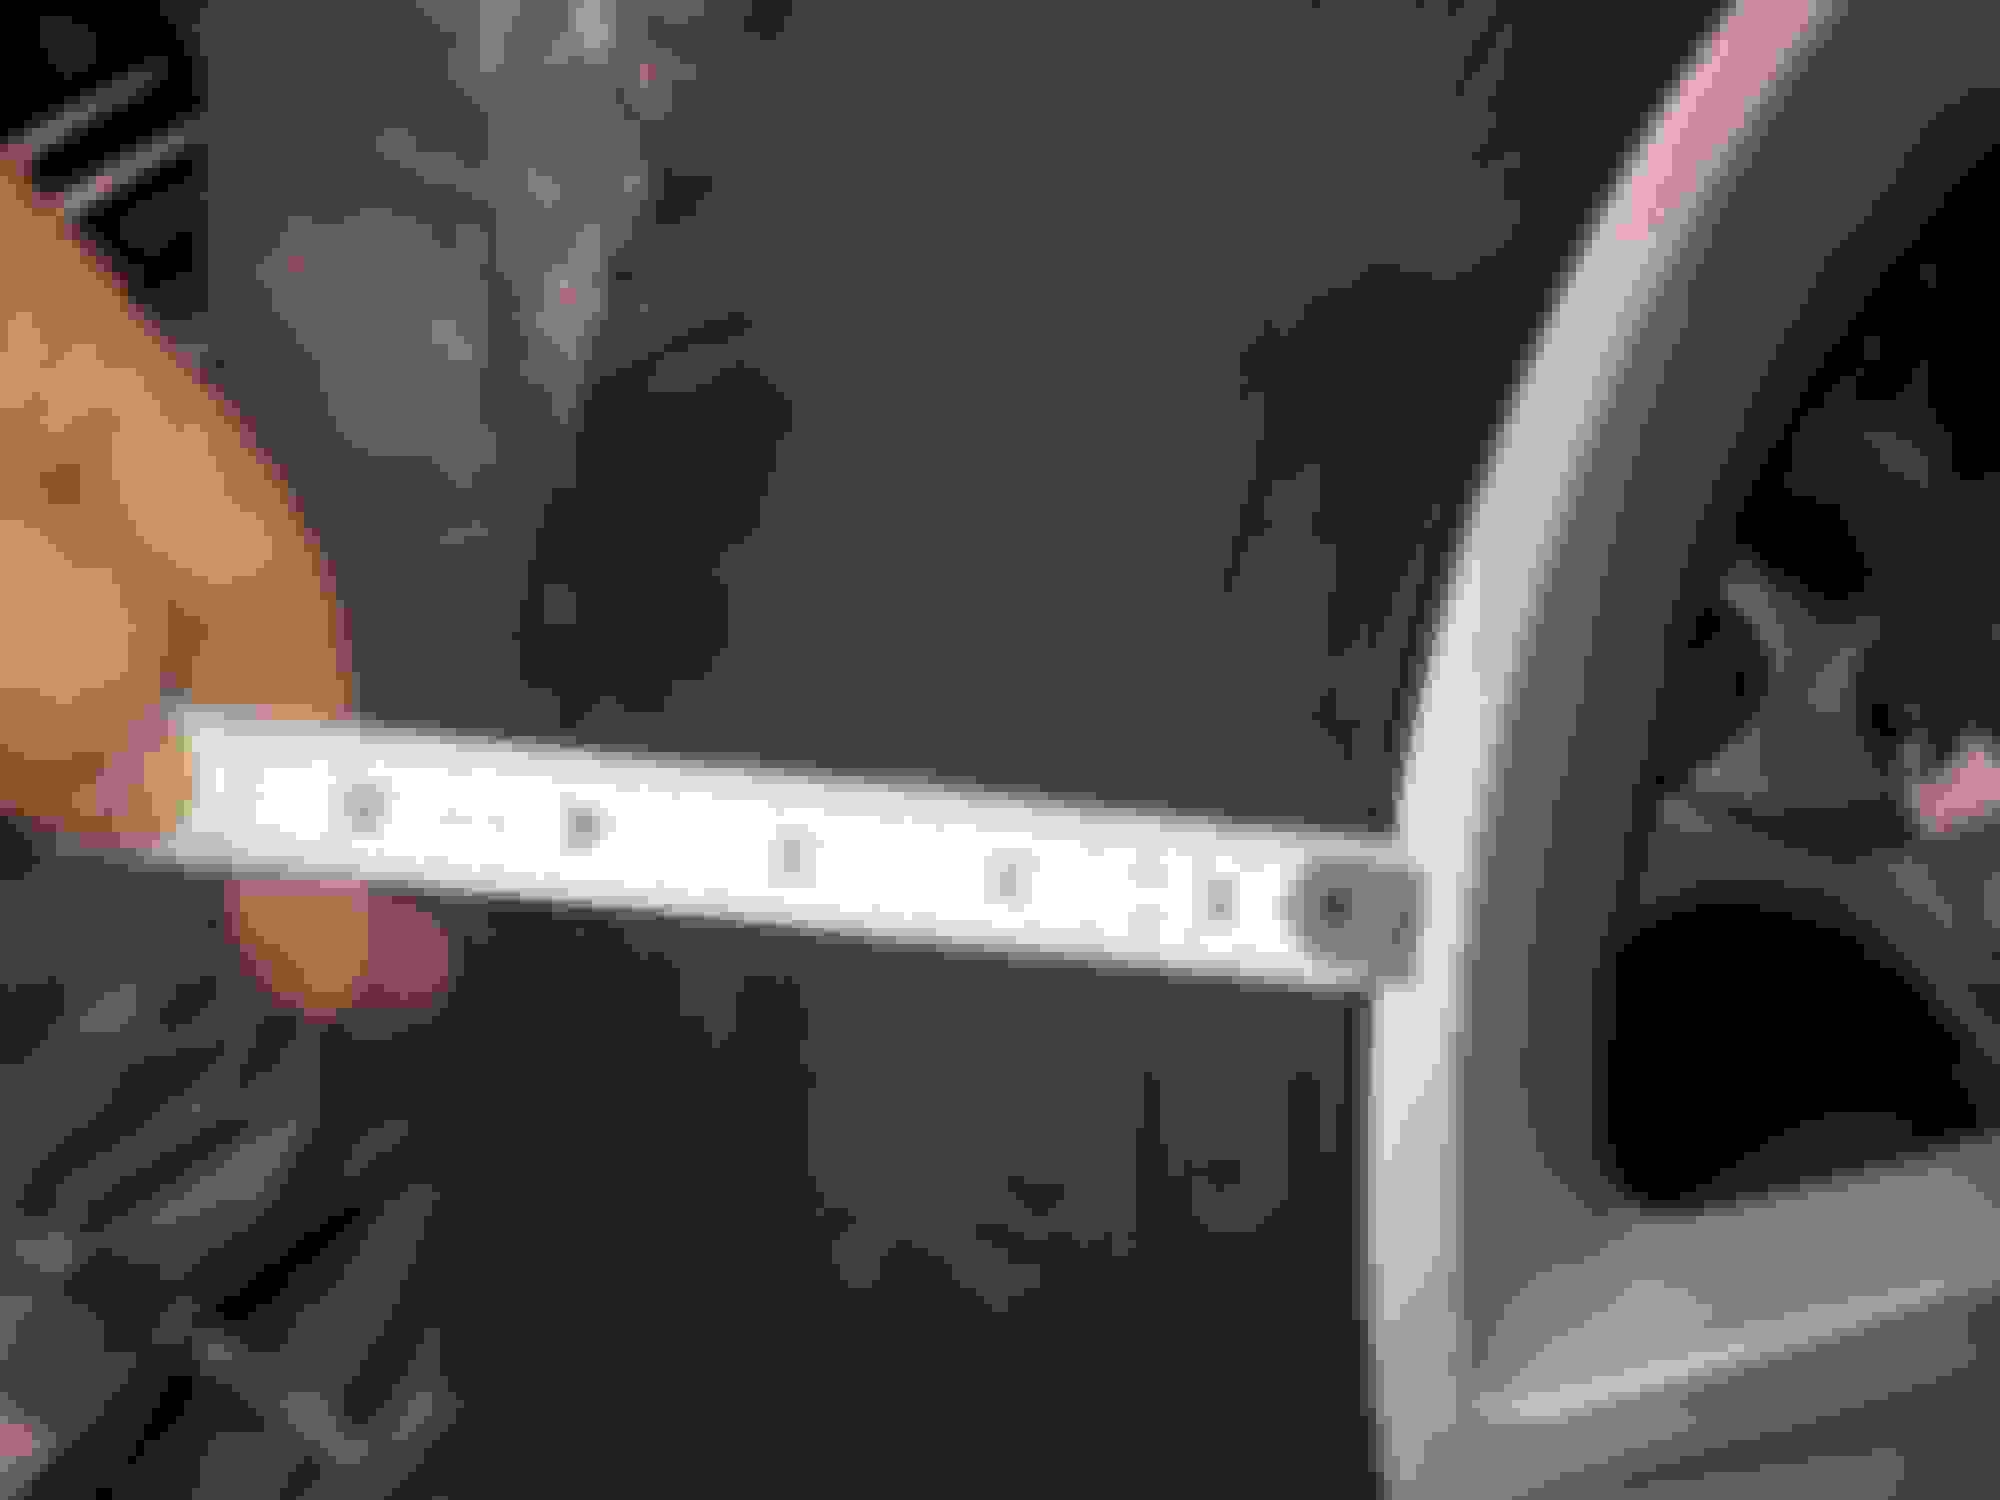
Clearance is tight as a fishes back side on this mod. Front and rear. One alloy has gotten a pretty big internal groove (1-1.5mm deep). This is from the fronts and some off-road debris getting lodged in there. Caliper has a matching groove. All 4 have some internal scratching from dirt. 2-3mm of clearance.
I don't know how thick the alloy is but approximate measures are 5-6mm so I'm likely fine.
Would be very interested to see if/how the steelies fit with a trimmed caliper.
Is that Canadian PSI or something? Seems awfully high. Especially with your new and much stiffer sidewalls. Why don't you run Comfort setting when not carrying Acme safes full of lead anvils?
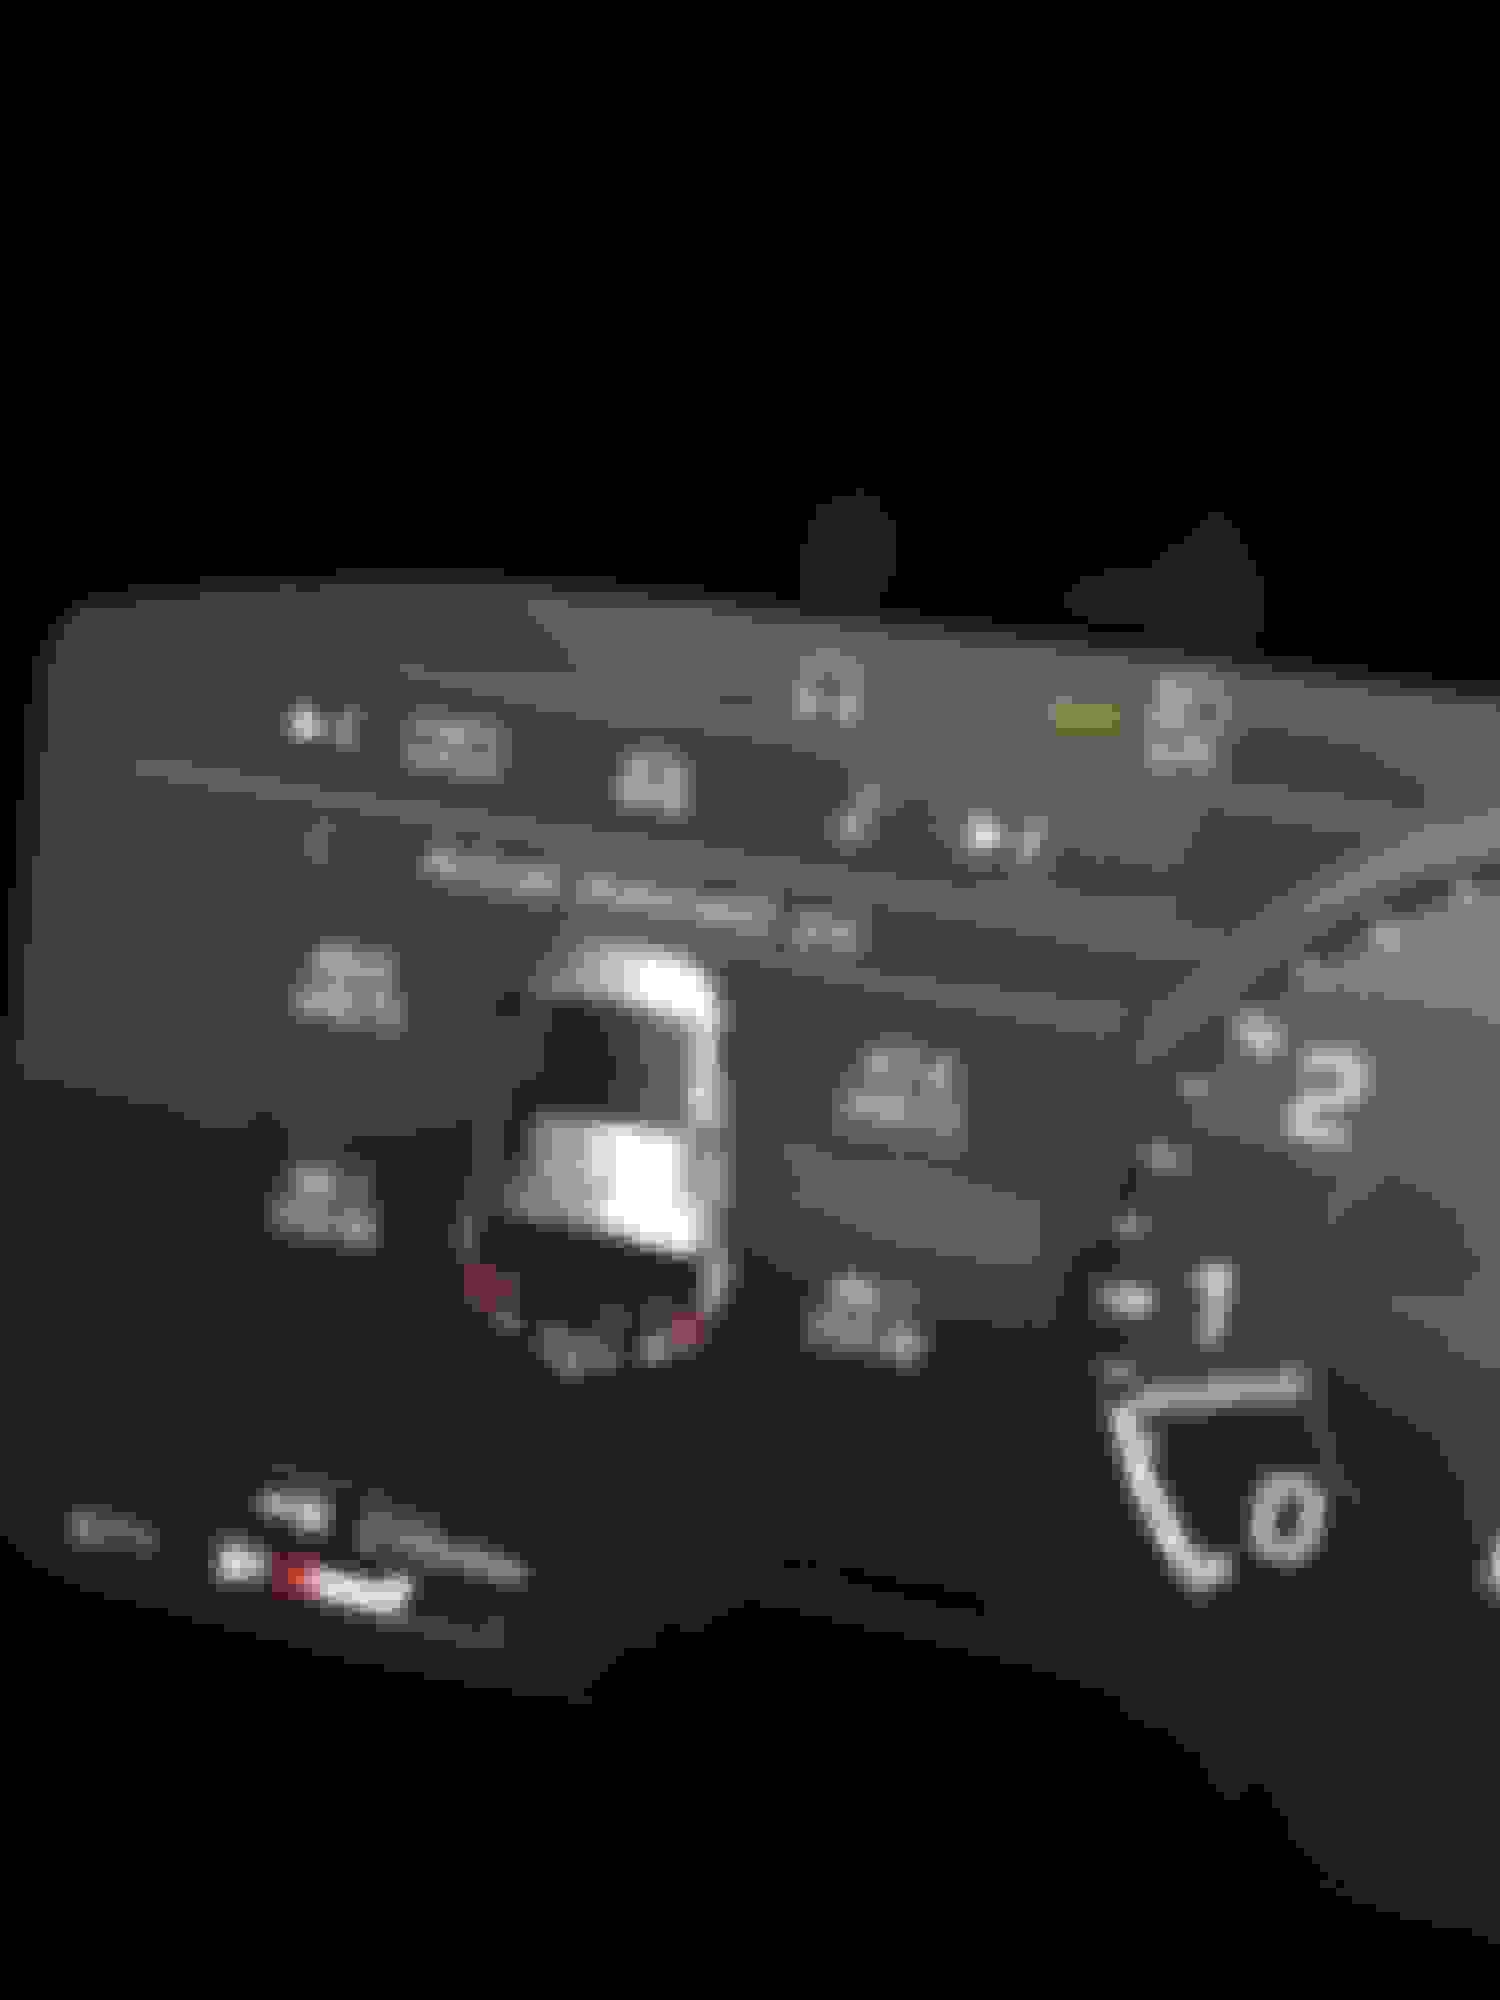
Those are the same "Normal" load (non-light) PSI I have showing in my 2020 Defender 110. Yes, they are high and I run them 4 or 6 PSI under those numbers (and never above 50 psi -- which is the limit of the Ridge Grapplers I have mounted). Otherwise, the ride is terrible.
I recall thinking some time in the recent past that the computer may have a feedback loop in it based on the load being felt by the air suspension / magnetic shocks. I am thinking it may have something to do with the heavy winch and rock sliders I added? But, I am not sure.

 08-05-2022, 07:33 AM